

My Final Project: The Campus ROVER
P3 - Main Chassis
This section is crucial, we can't have a scooter if we don't have a wheelbase and somewhere to ride it!
I wanted to fab the whole scooter using easy-to-work materials, like wood and plastic, but that quickly became unviable when those materials were submitted to the mechanical stresses that the whole assembly would have to endure. So I had to change my approach and lean into using aluminum and steel for the structural design and leave softer materials only for other more aestethic uses.
I started then by doing some conceptual design on OnShape, as I didn't want the scooter only to work but also I wanted it to look pretty. So I made this full design incorporating all functional systems of the scooter, in order to organize and contemplate the space for everything so I obtained a cohesive and integrated design:

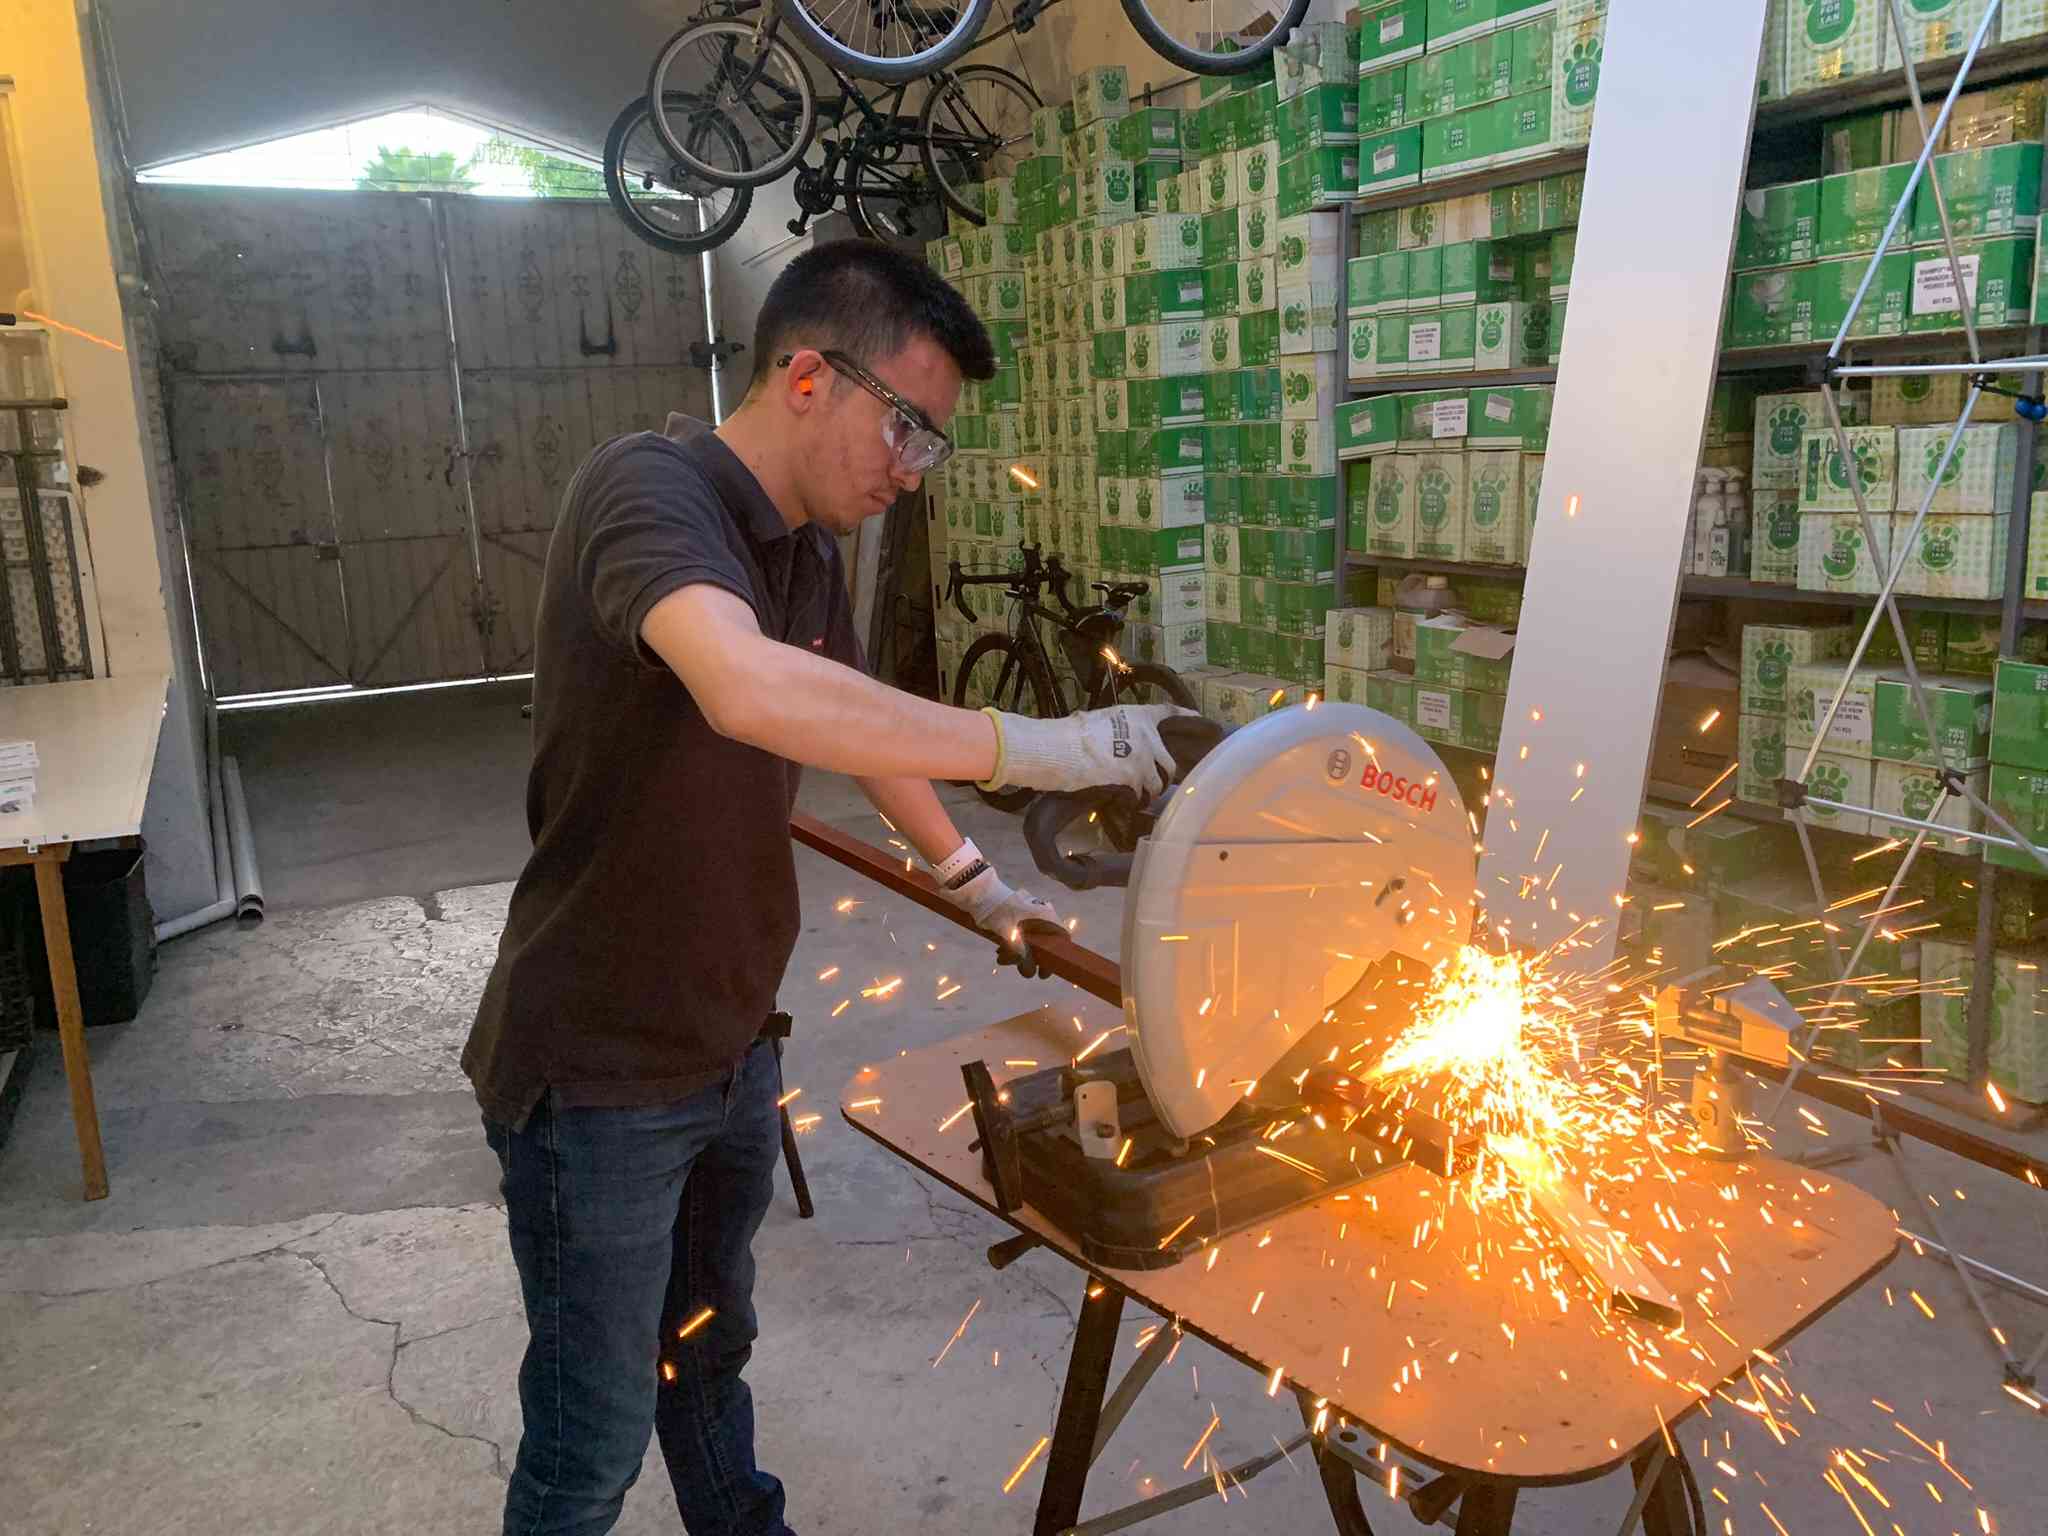
I considered using some 1" x 2" steel profiles for everything structural, which were relatively cheap, easily available and light yet strong enough to be used for my purpose. The only problem I had with using this approach was that I didn't knew how to weld, and had never tried it before, so I had to learn; Issue which I solved within the work for my Wildcard Week!
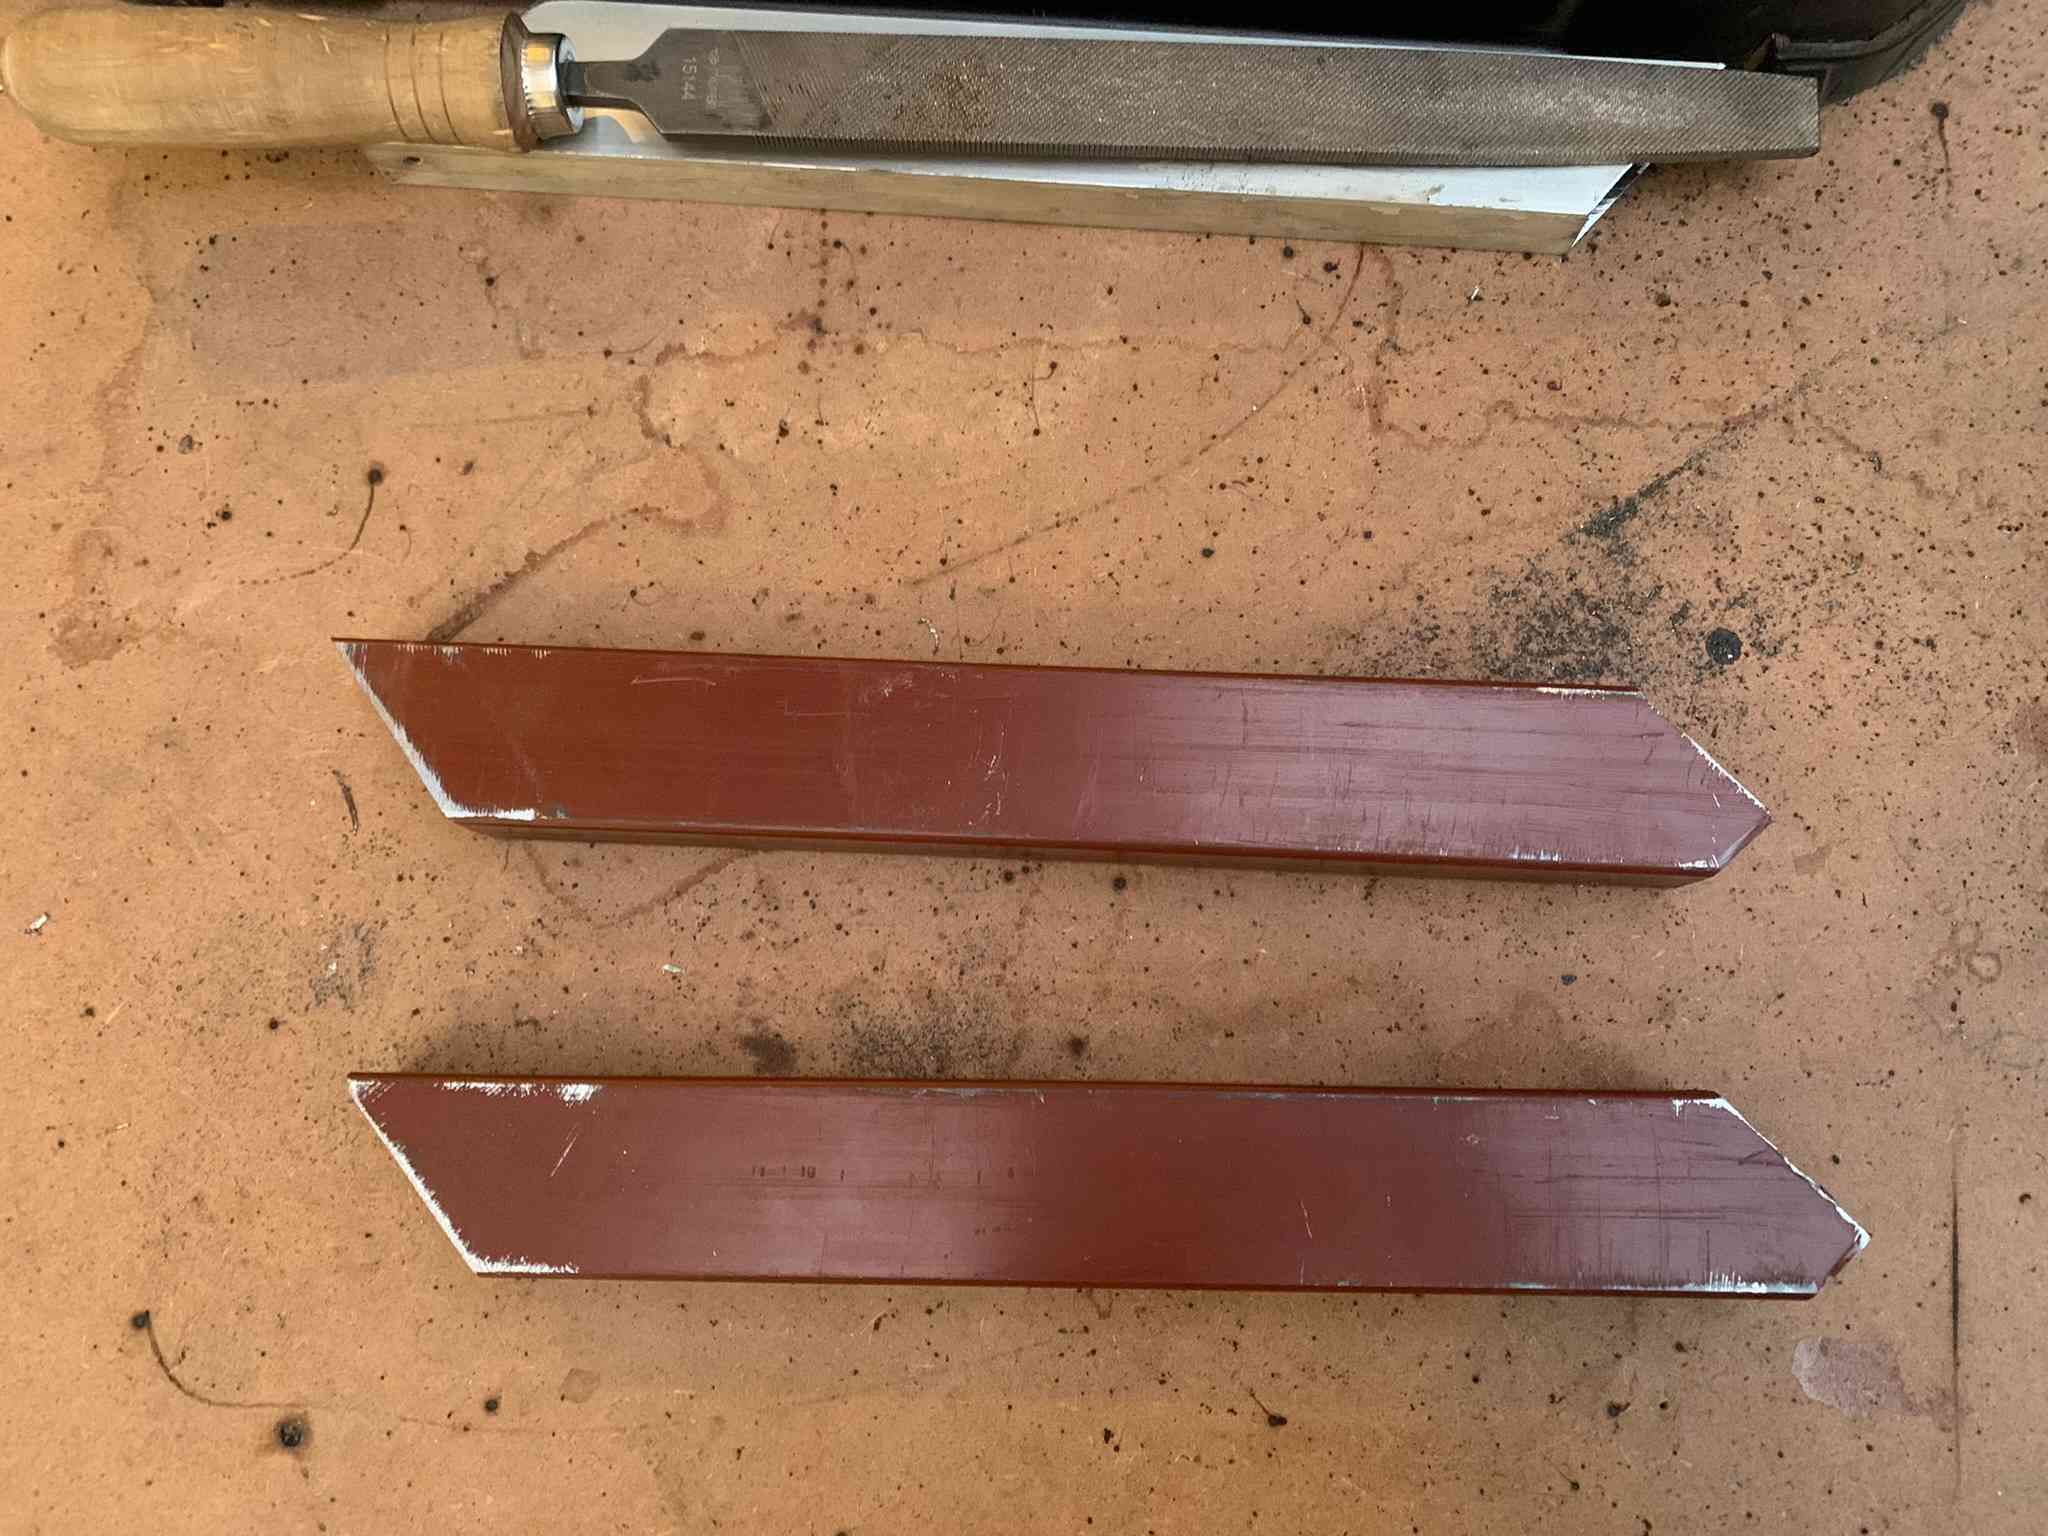
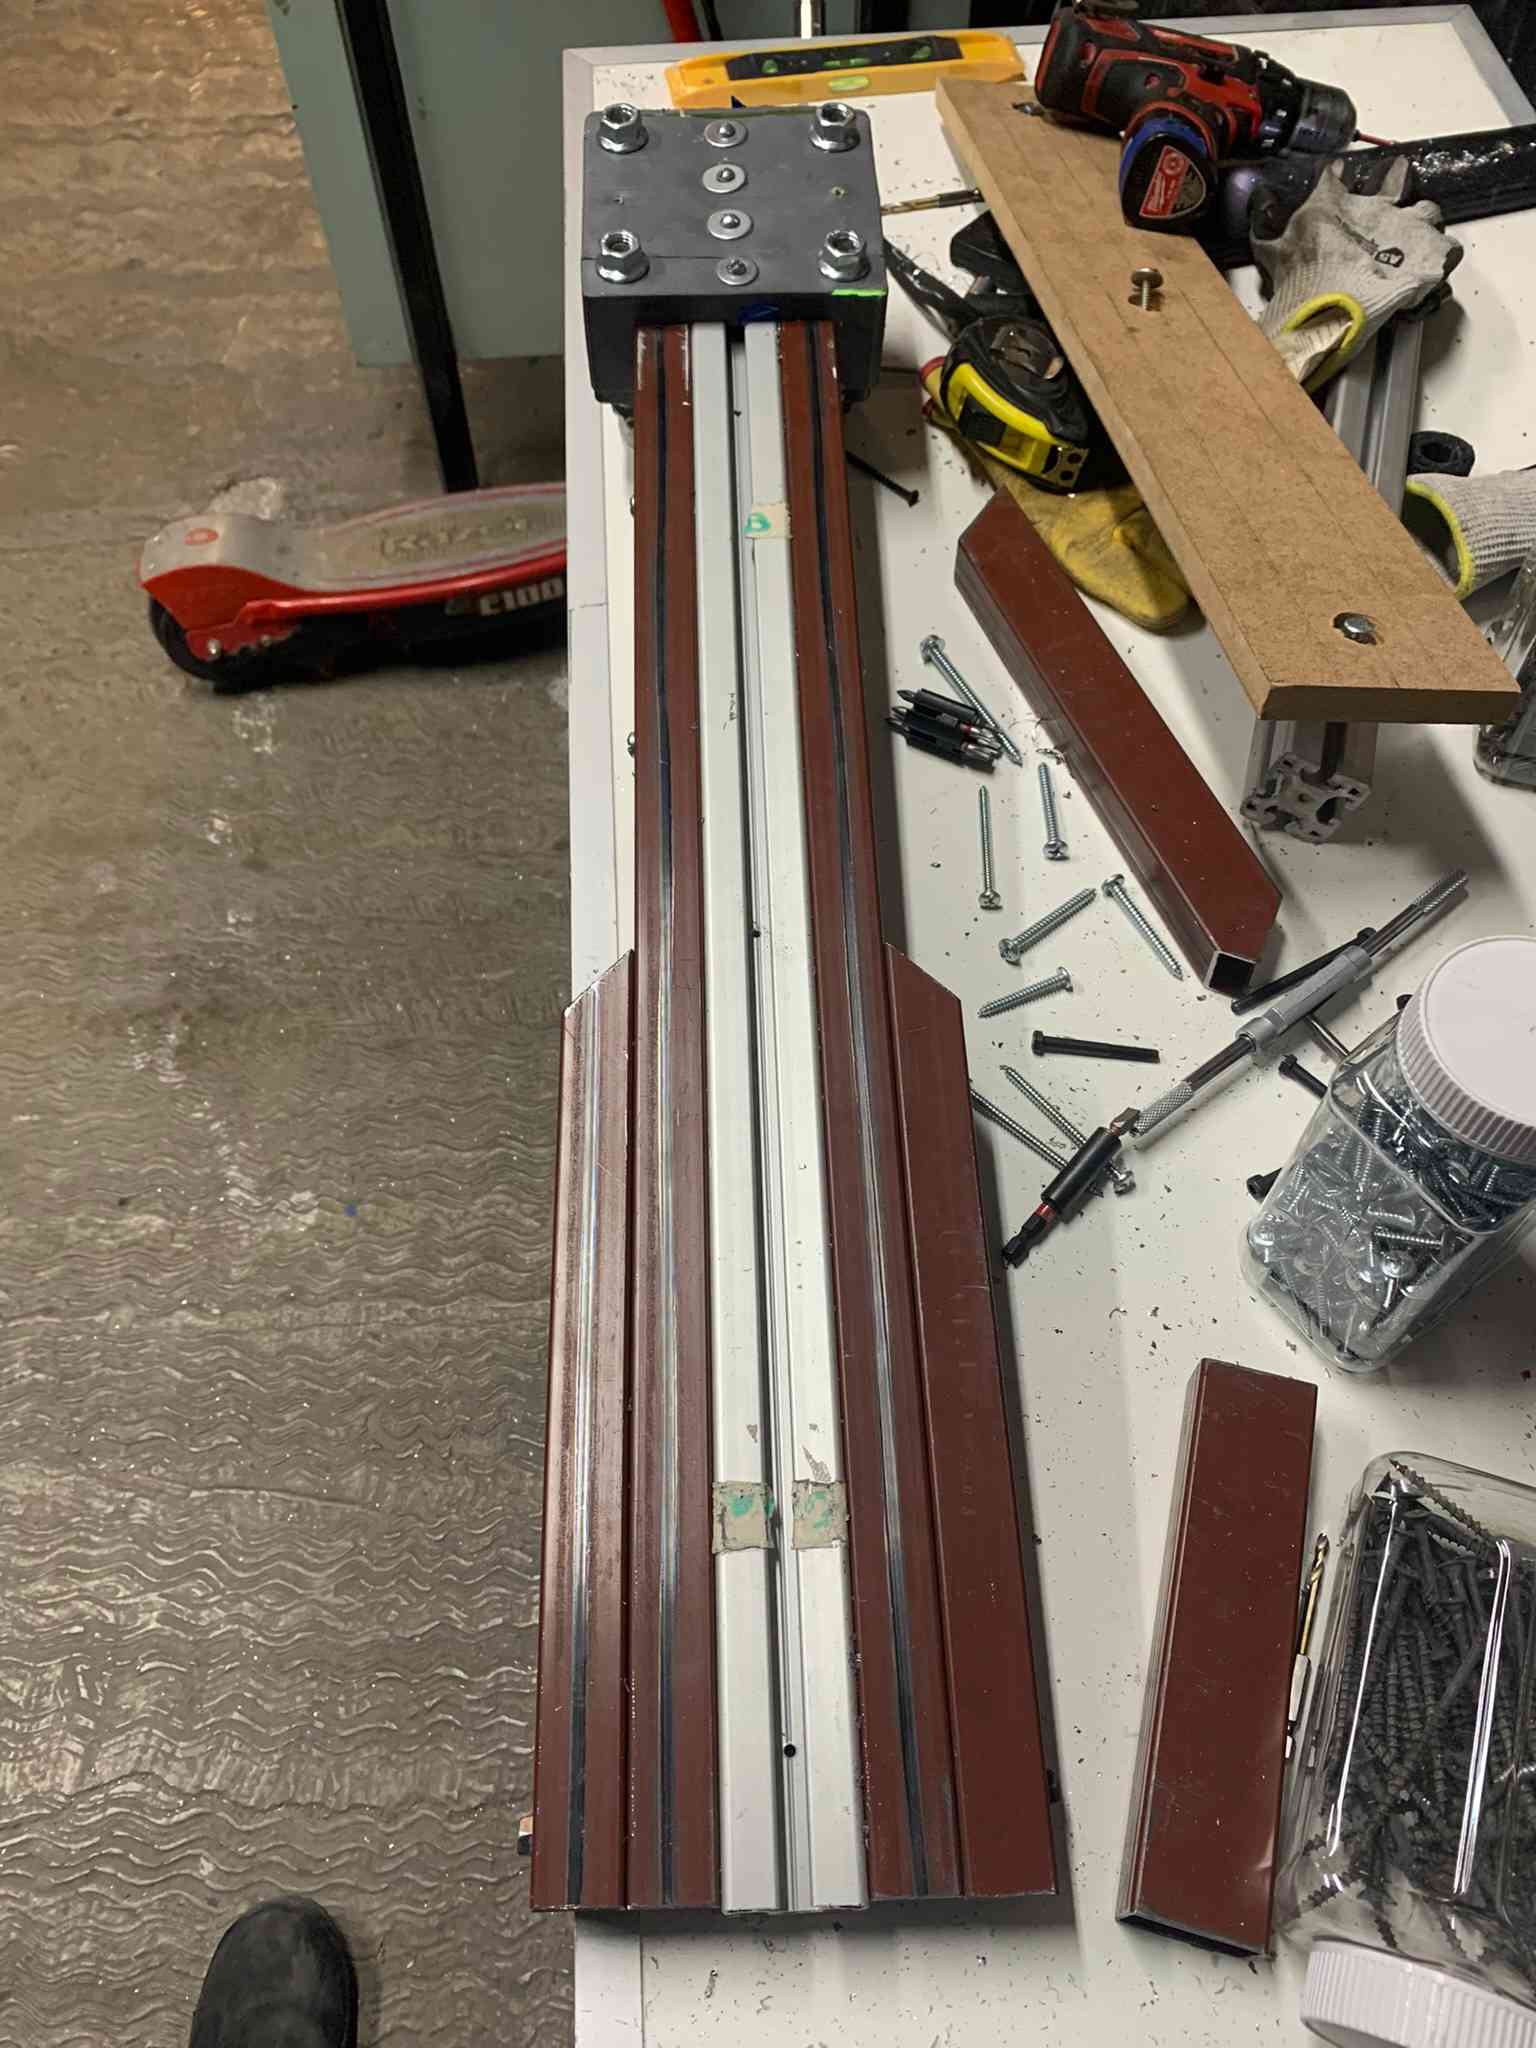
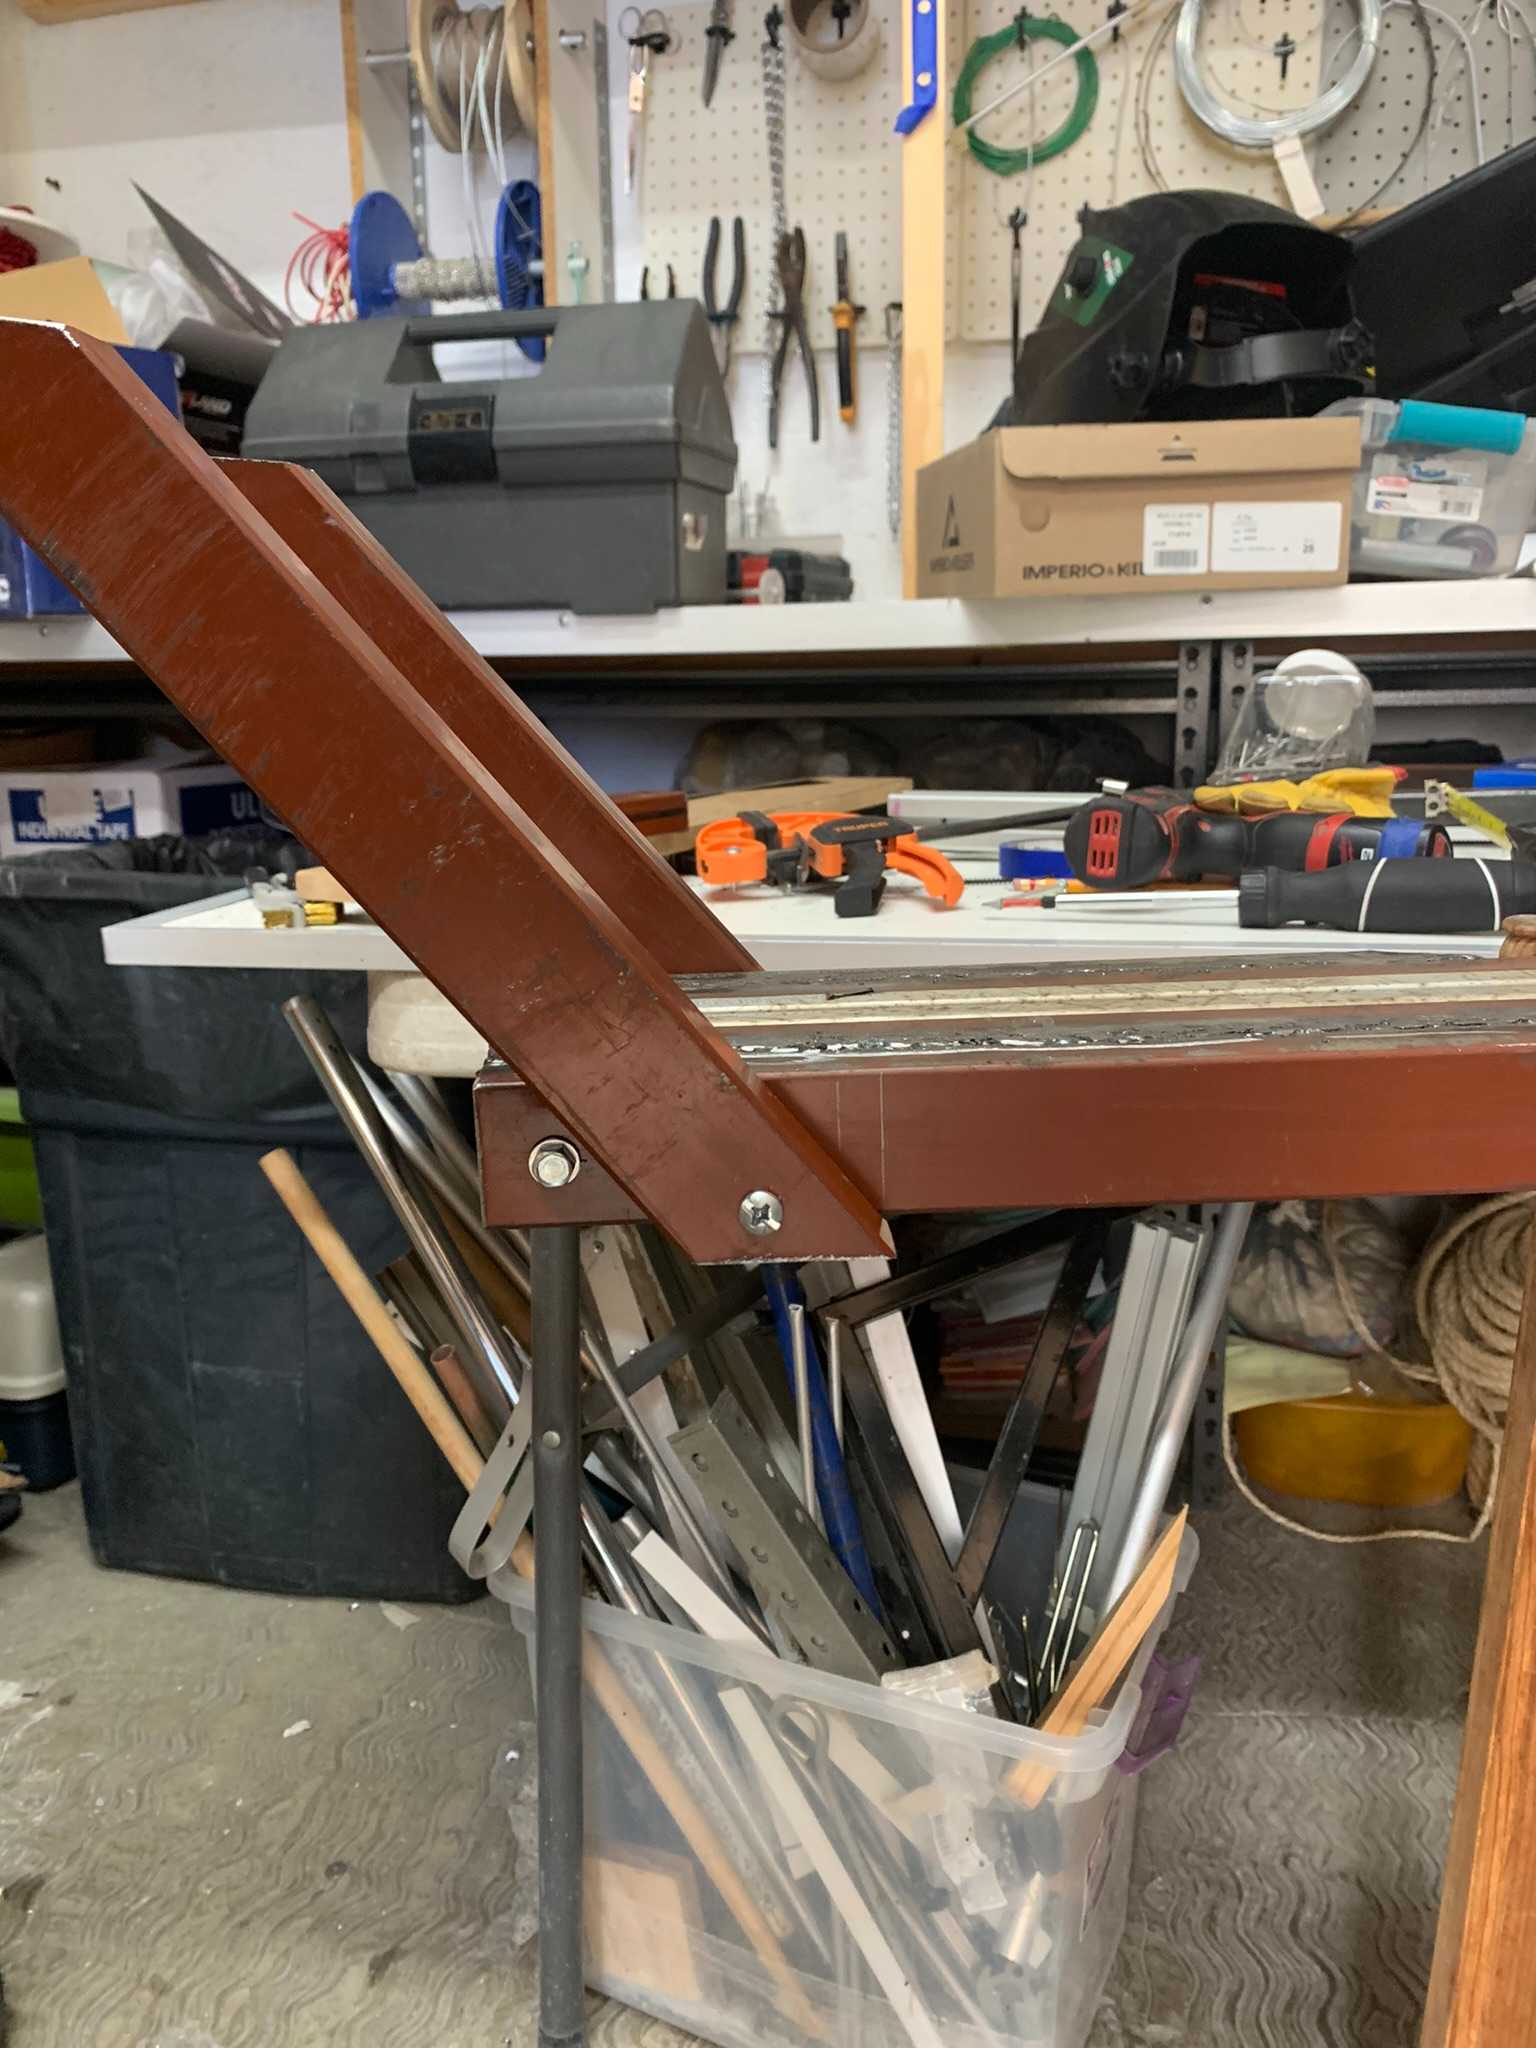
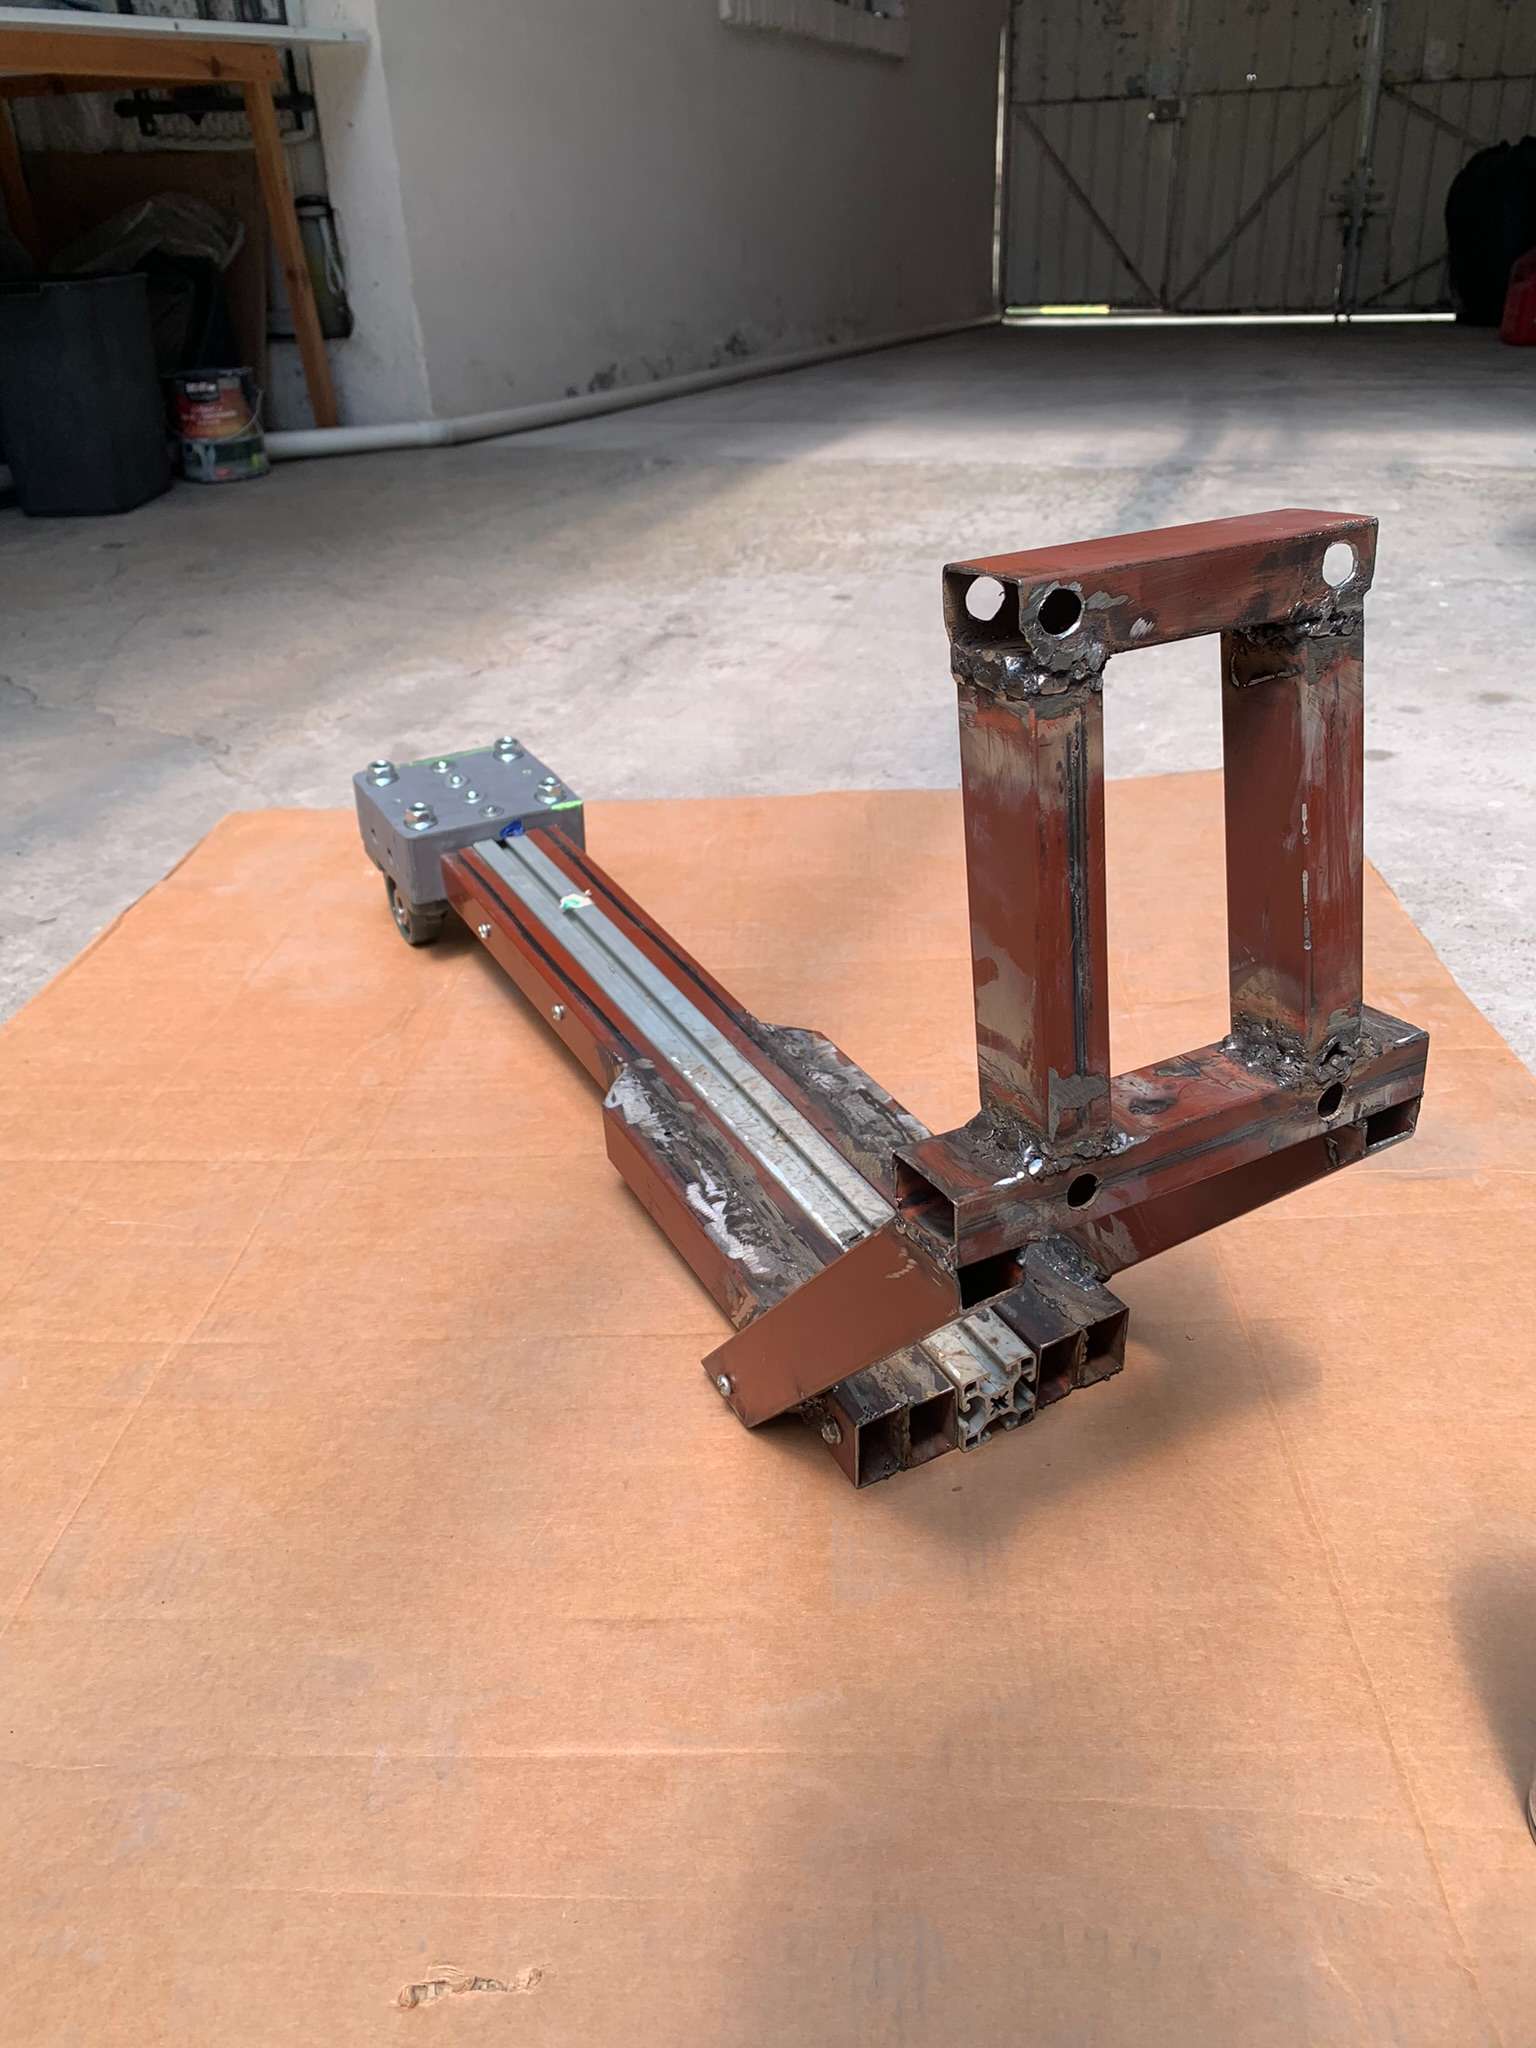
With that out of the way, I started the assembly using the measurements I devised previously on my OnShape design. I cutted all the parts, starting by the 60cm main profiles, the bed wideners with the 45 degree angle and the two arms that hold the riding bed to the drivetrain.
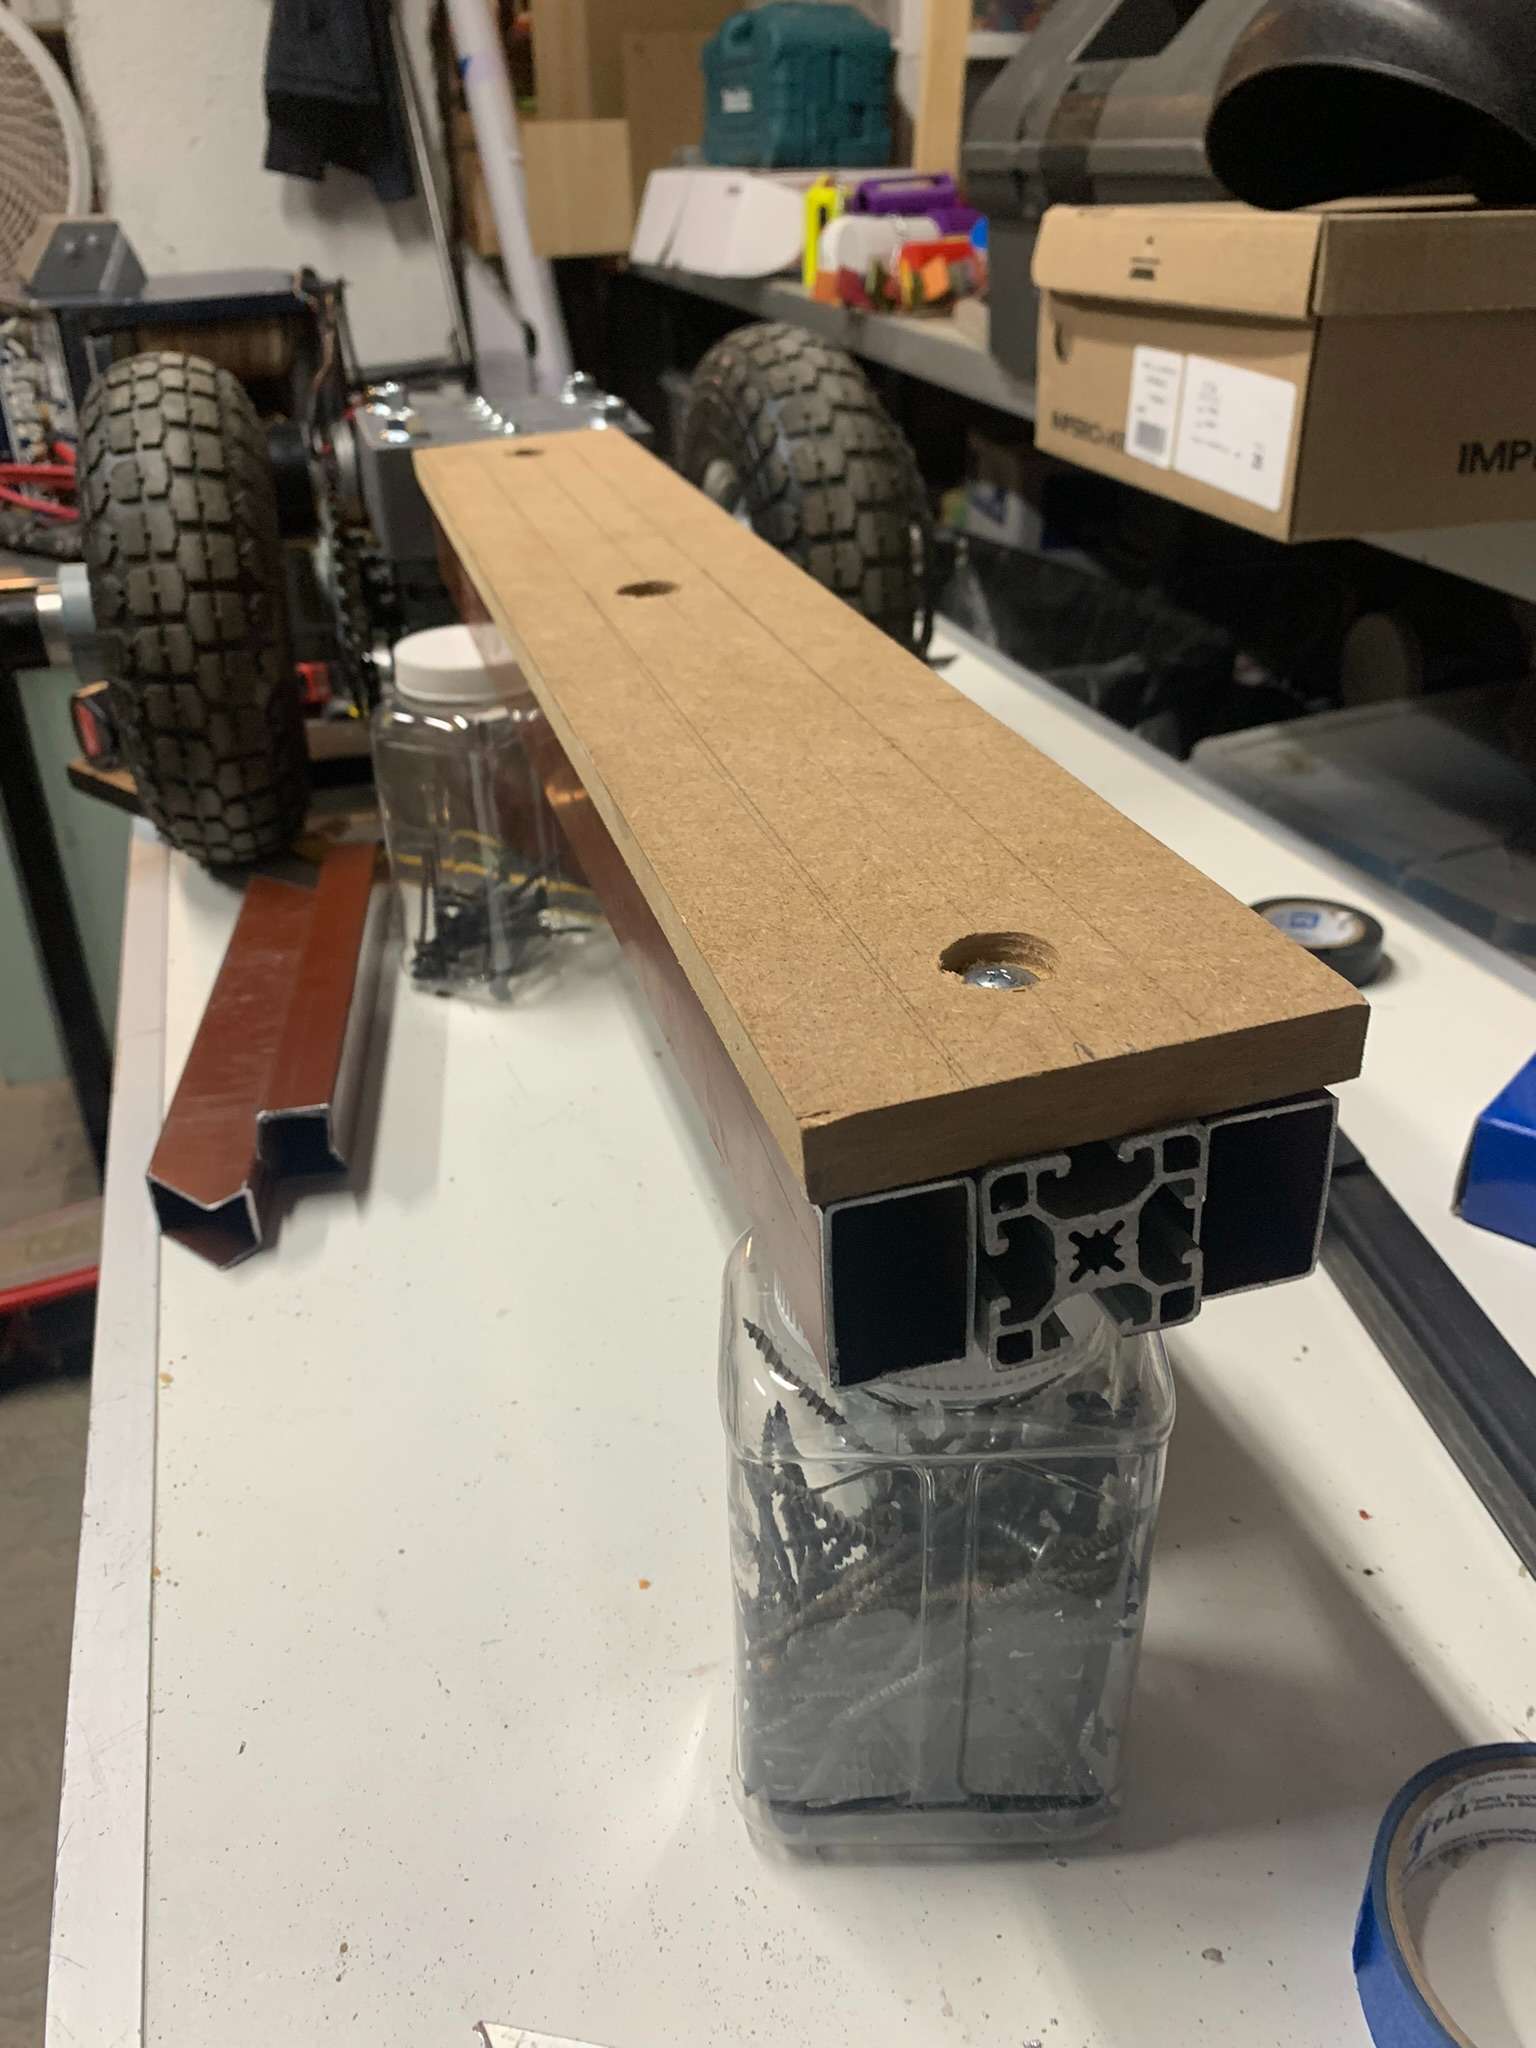
I fixed the steel profiles to a central aluminum T-Slotted profile using some screws. As I can't weld aluminum and steel together (at least yet) but still needed the flexibility of the T-Slotted profile, this seemed like the most sensible approach.
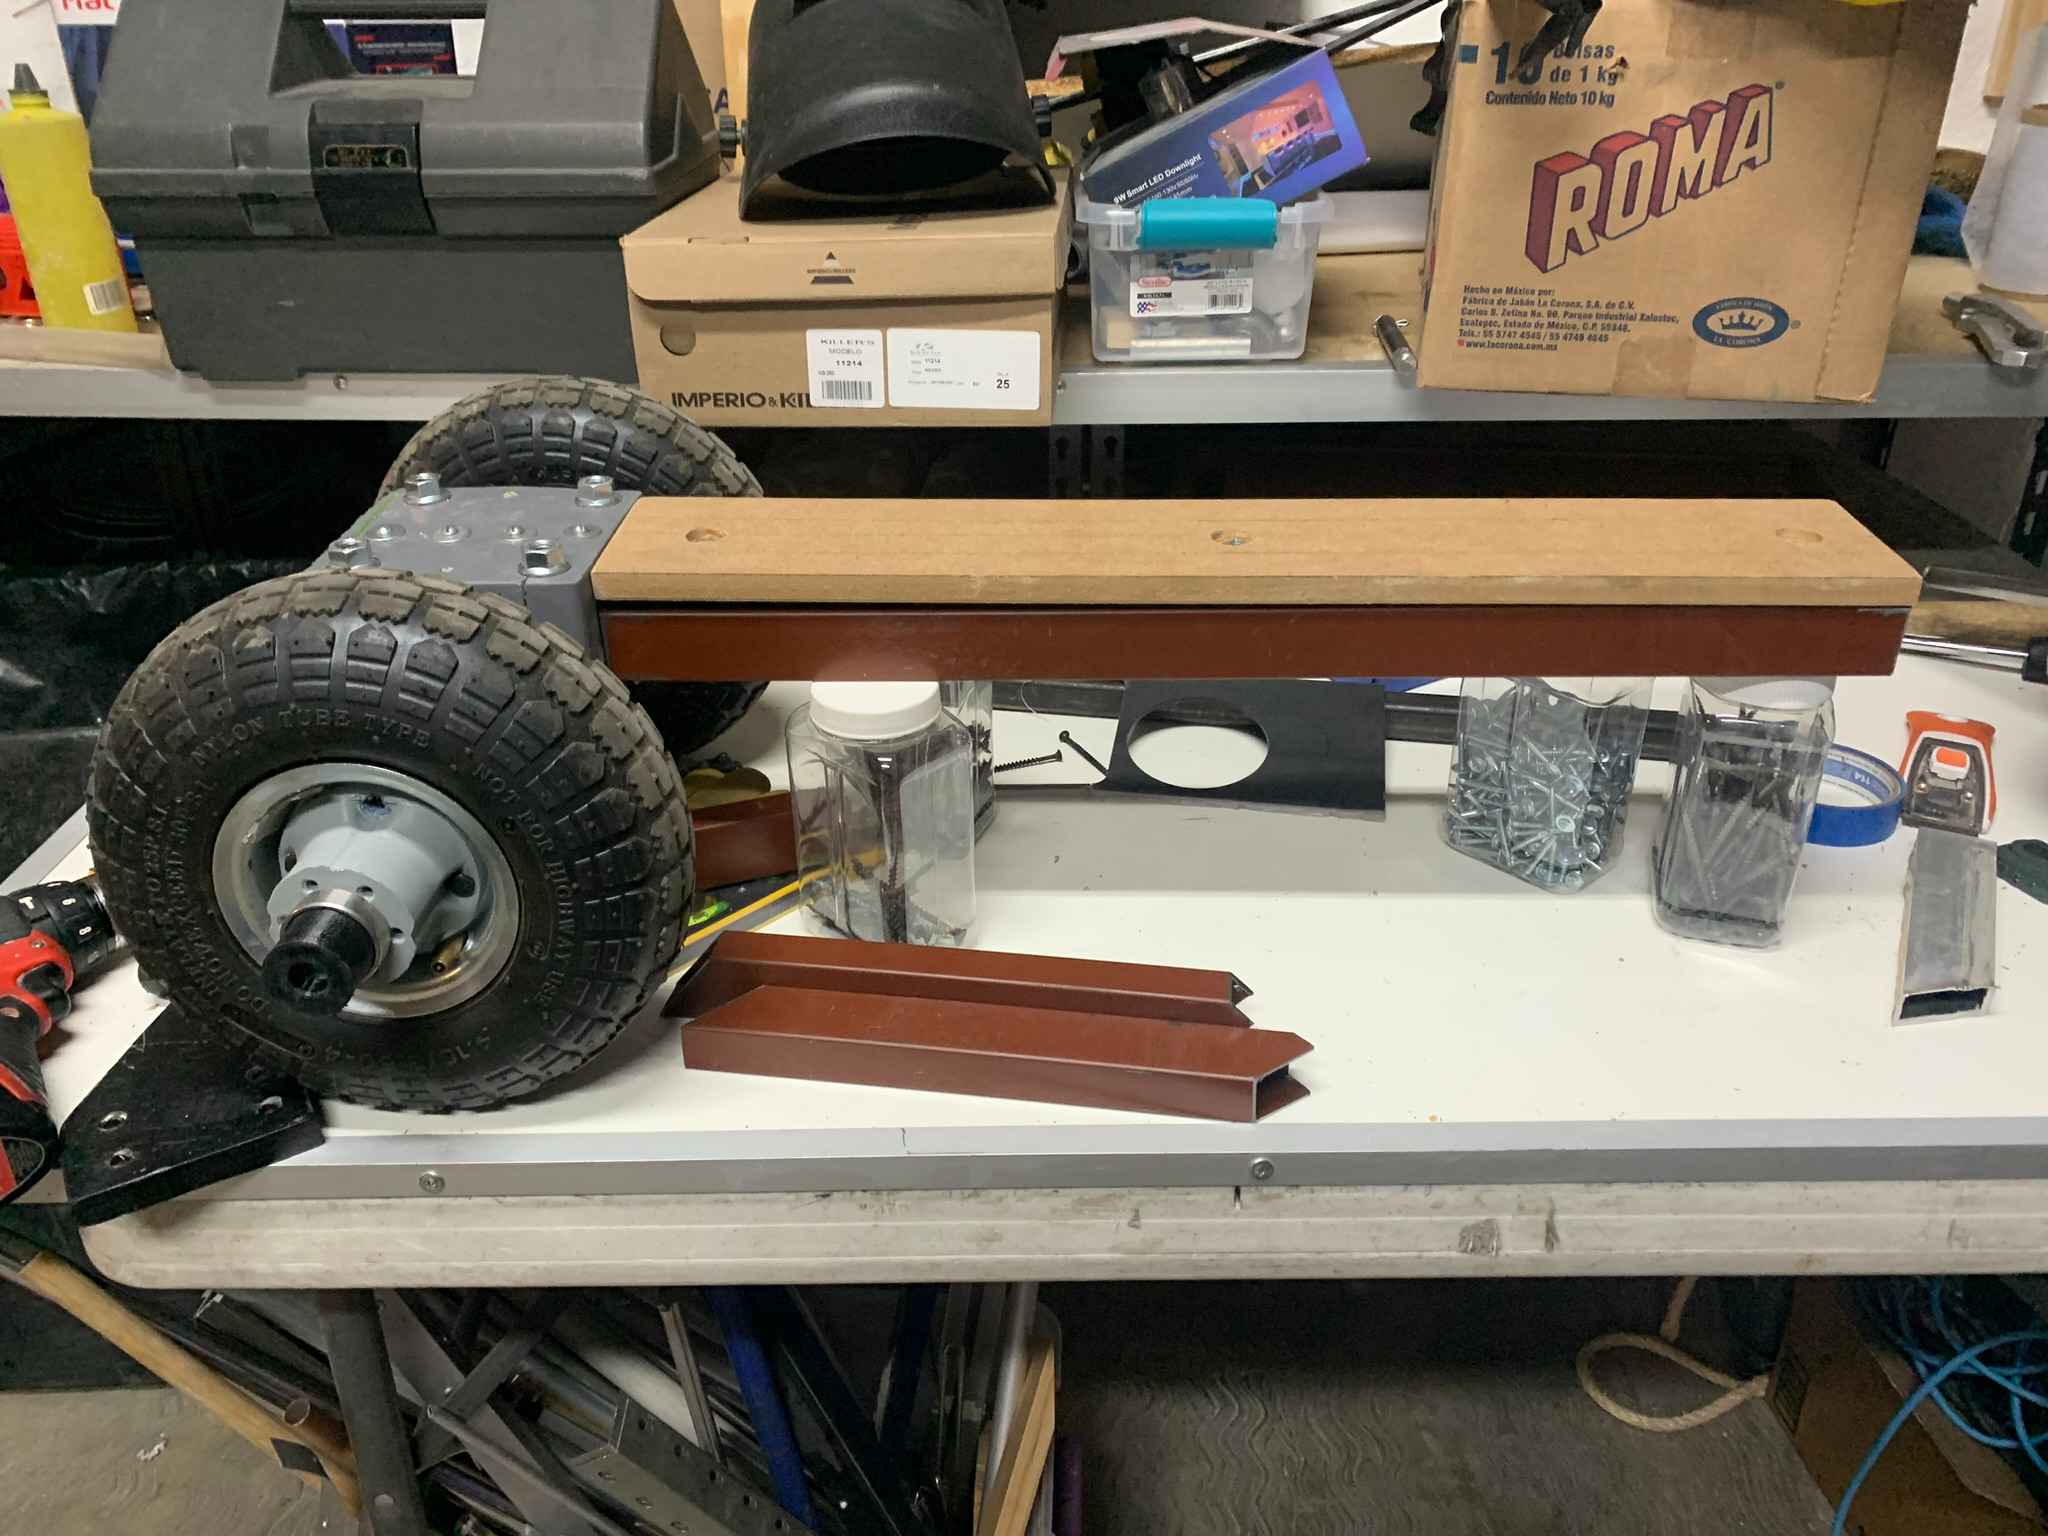
I then temporarily mounted the drivetrain arms using some screws, which holded them in place but still allowed me to do some adjustments.
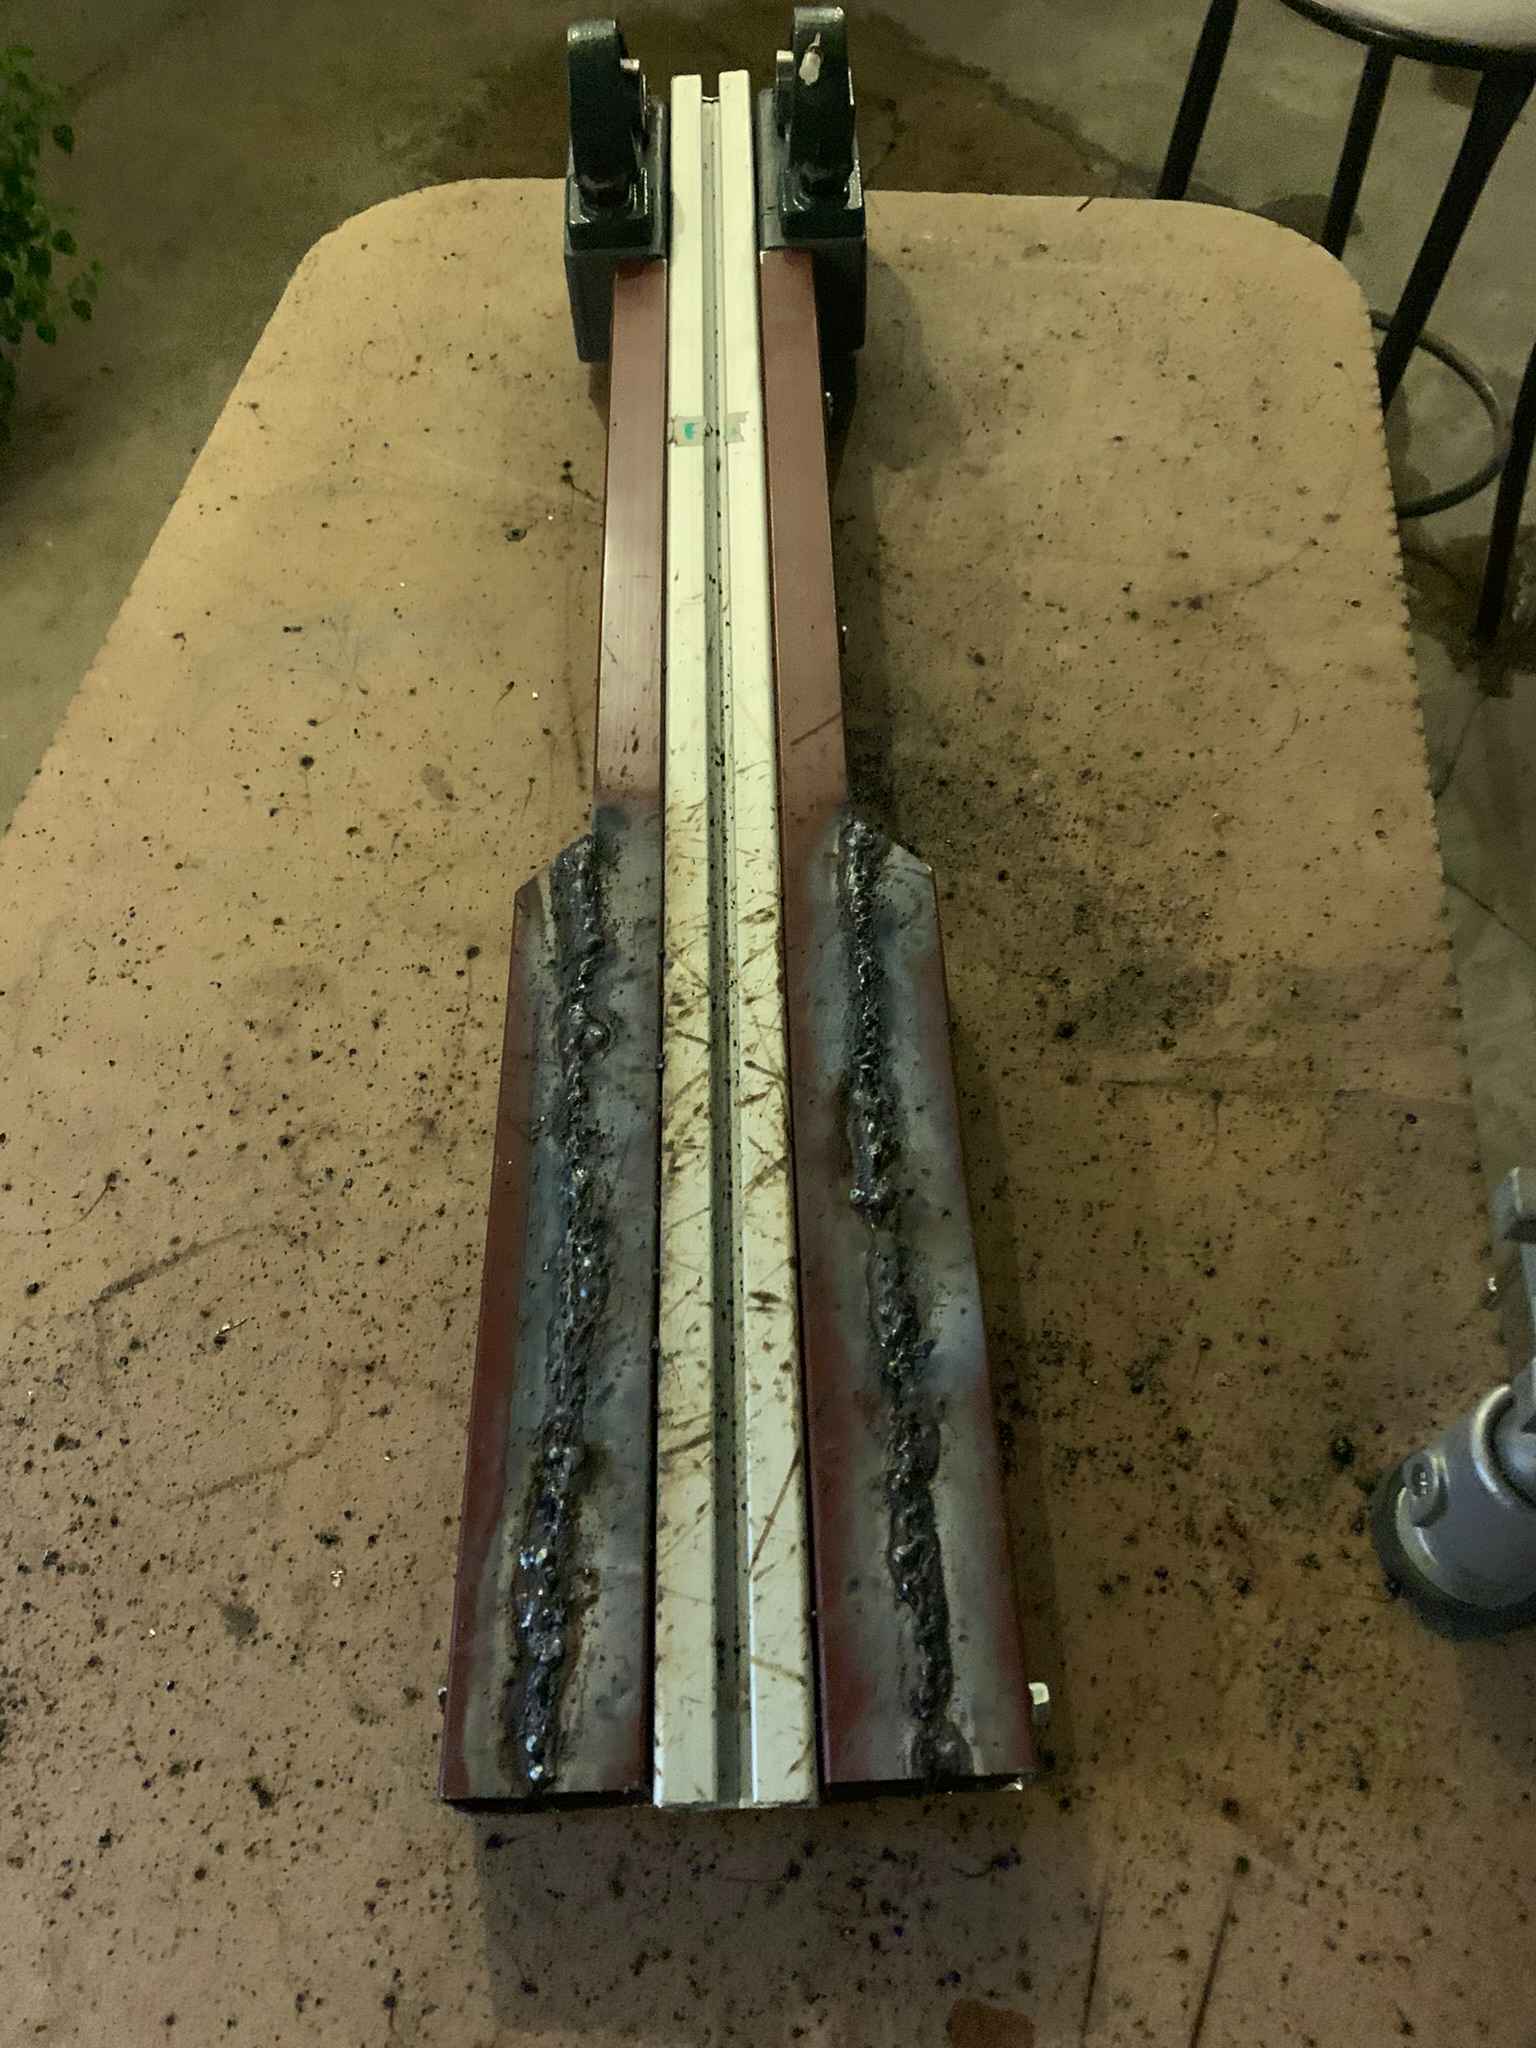
I then welded everything together with using some 6011 electrodes. I know it looks horrible, but it certainly holds everything together with more strength than I expected from some of my first welding jobs. I brushed the weld joints with a steel brush and then removed some of the ugly bumps and creases with an angle grinder.
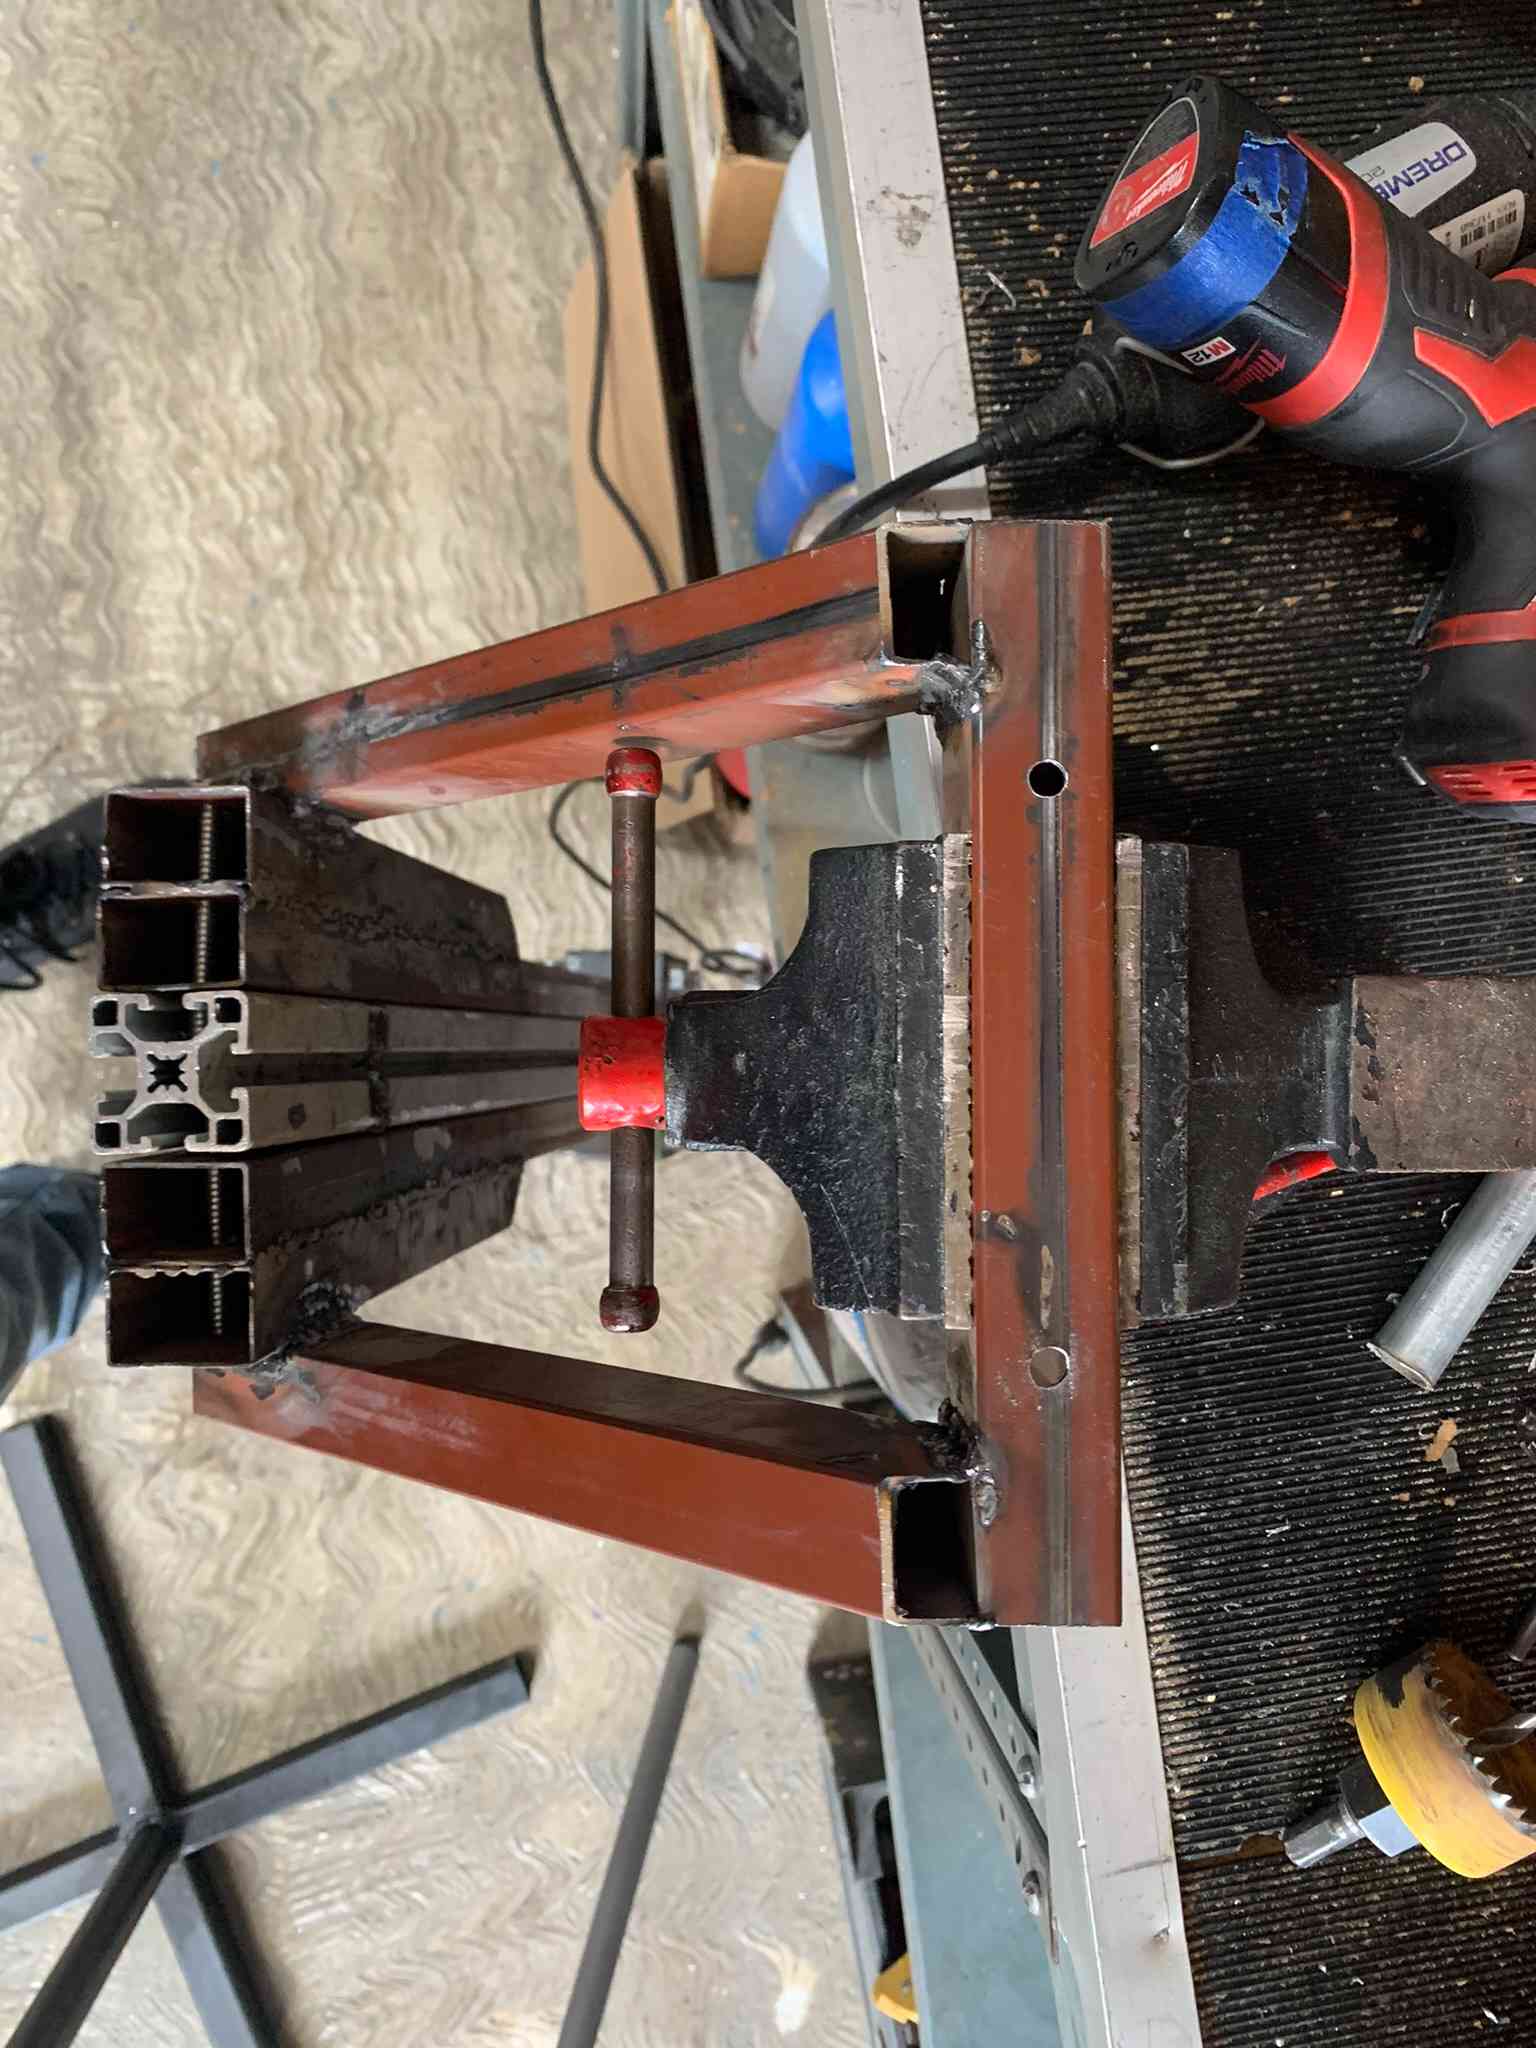
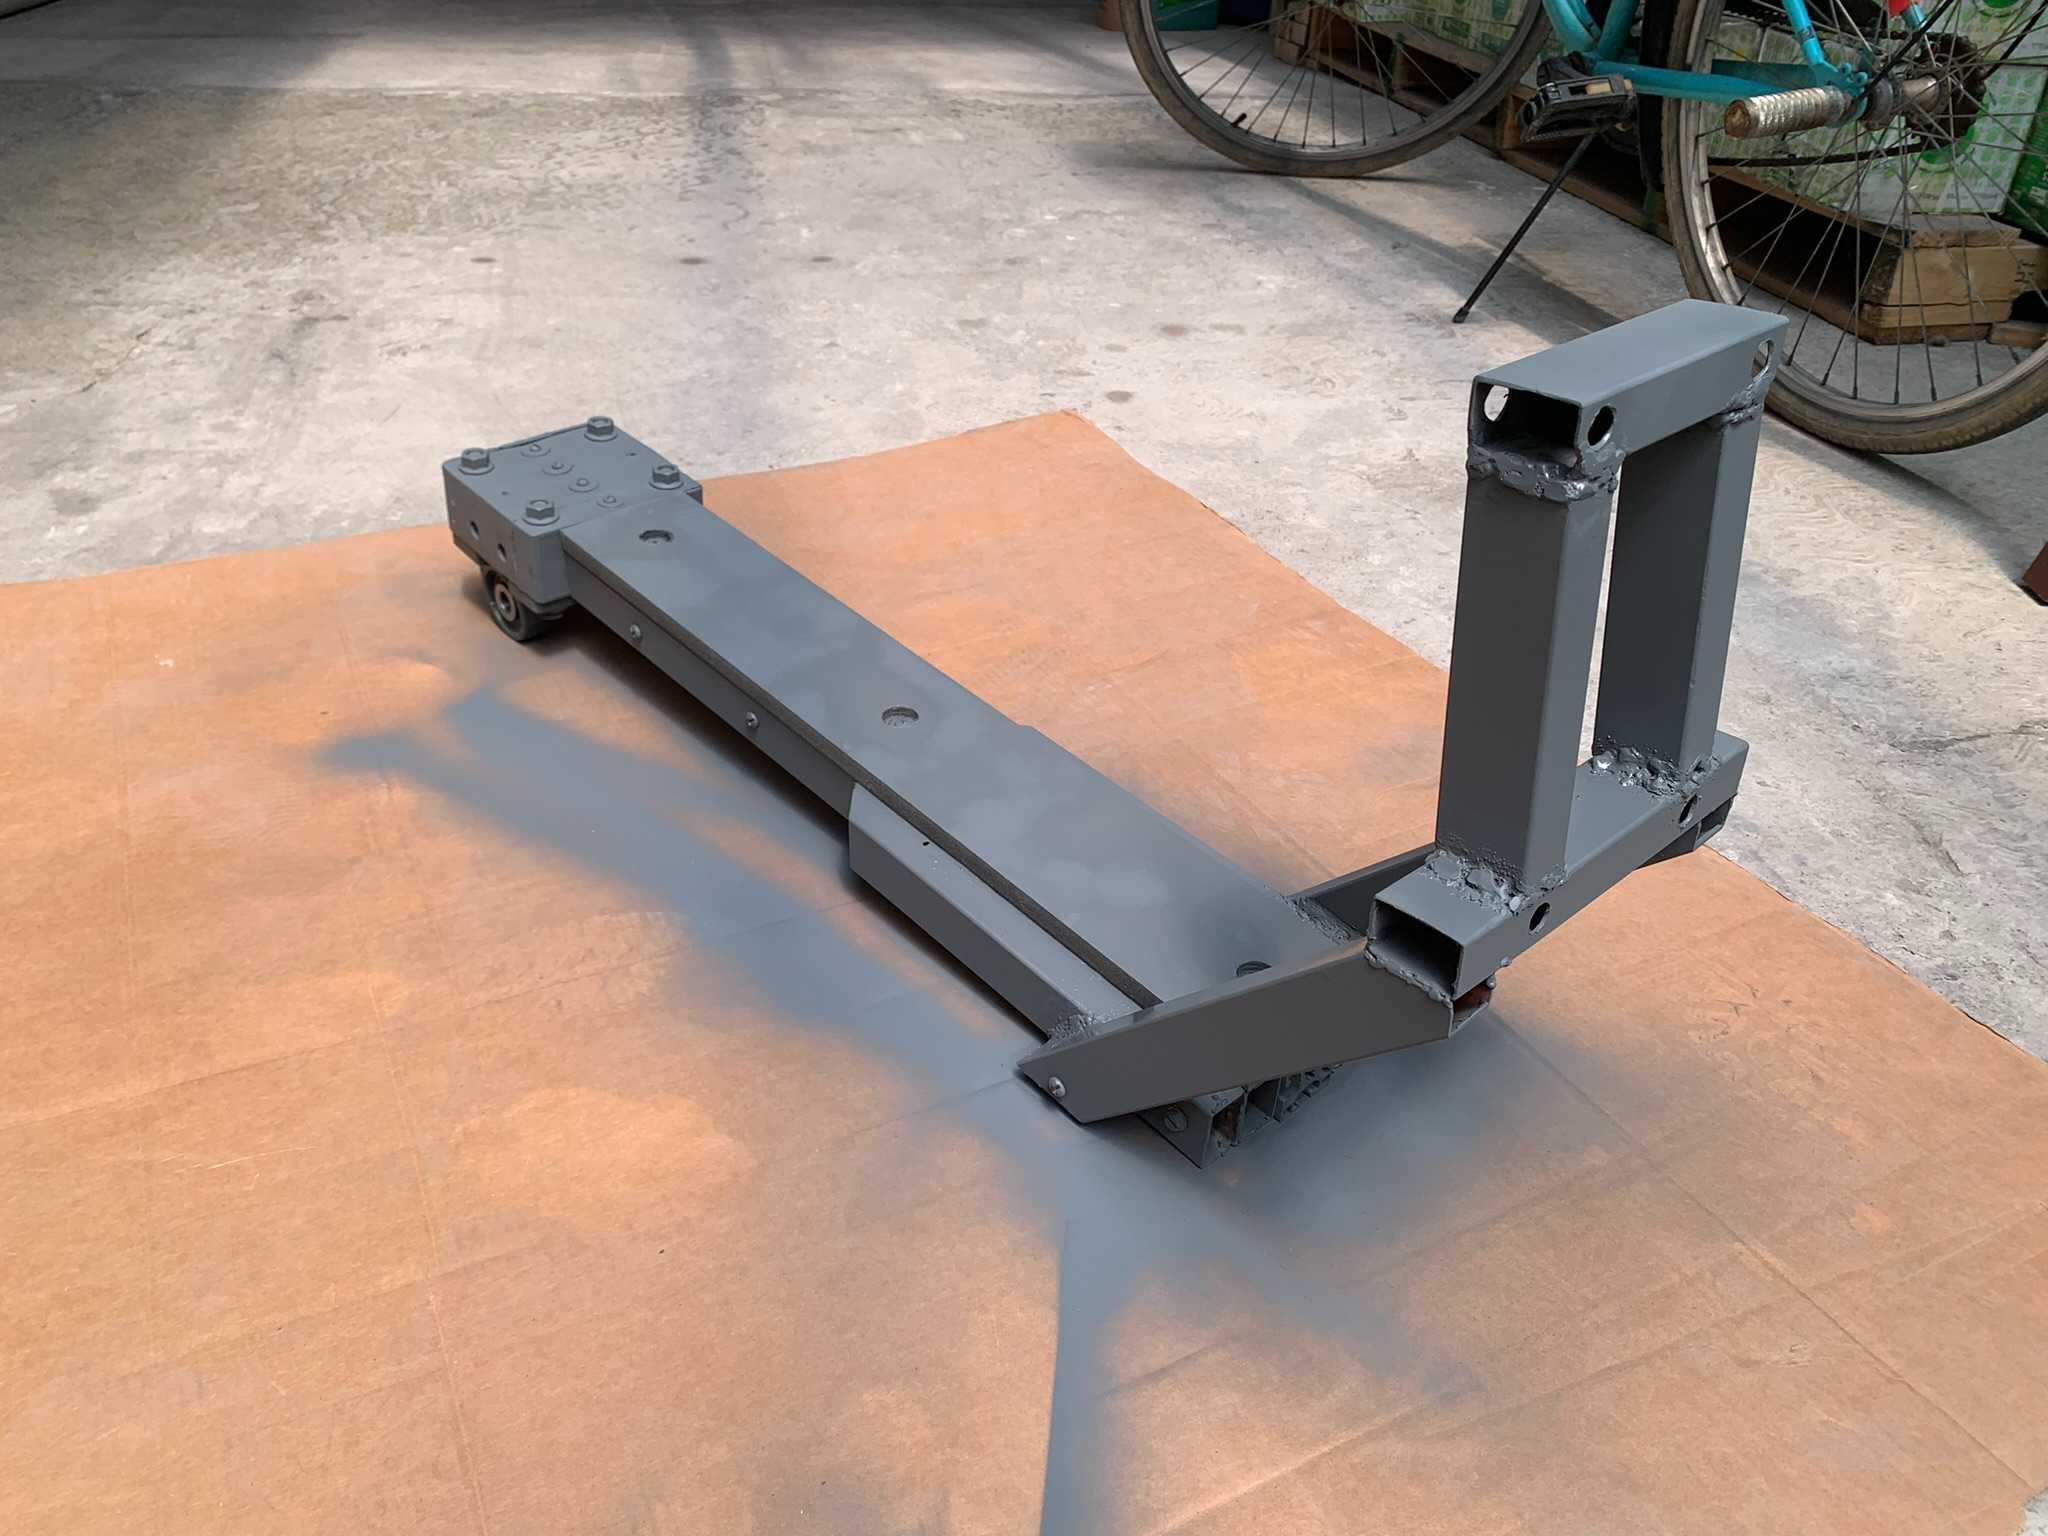
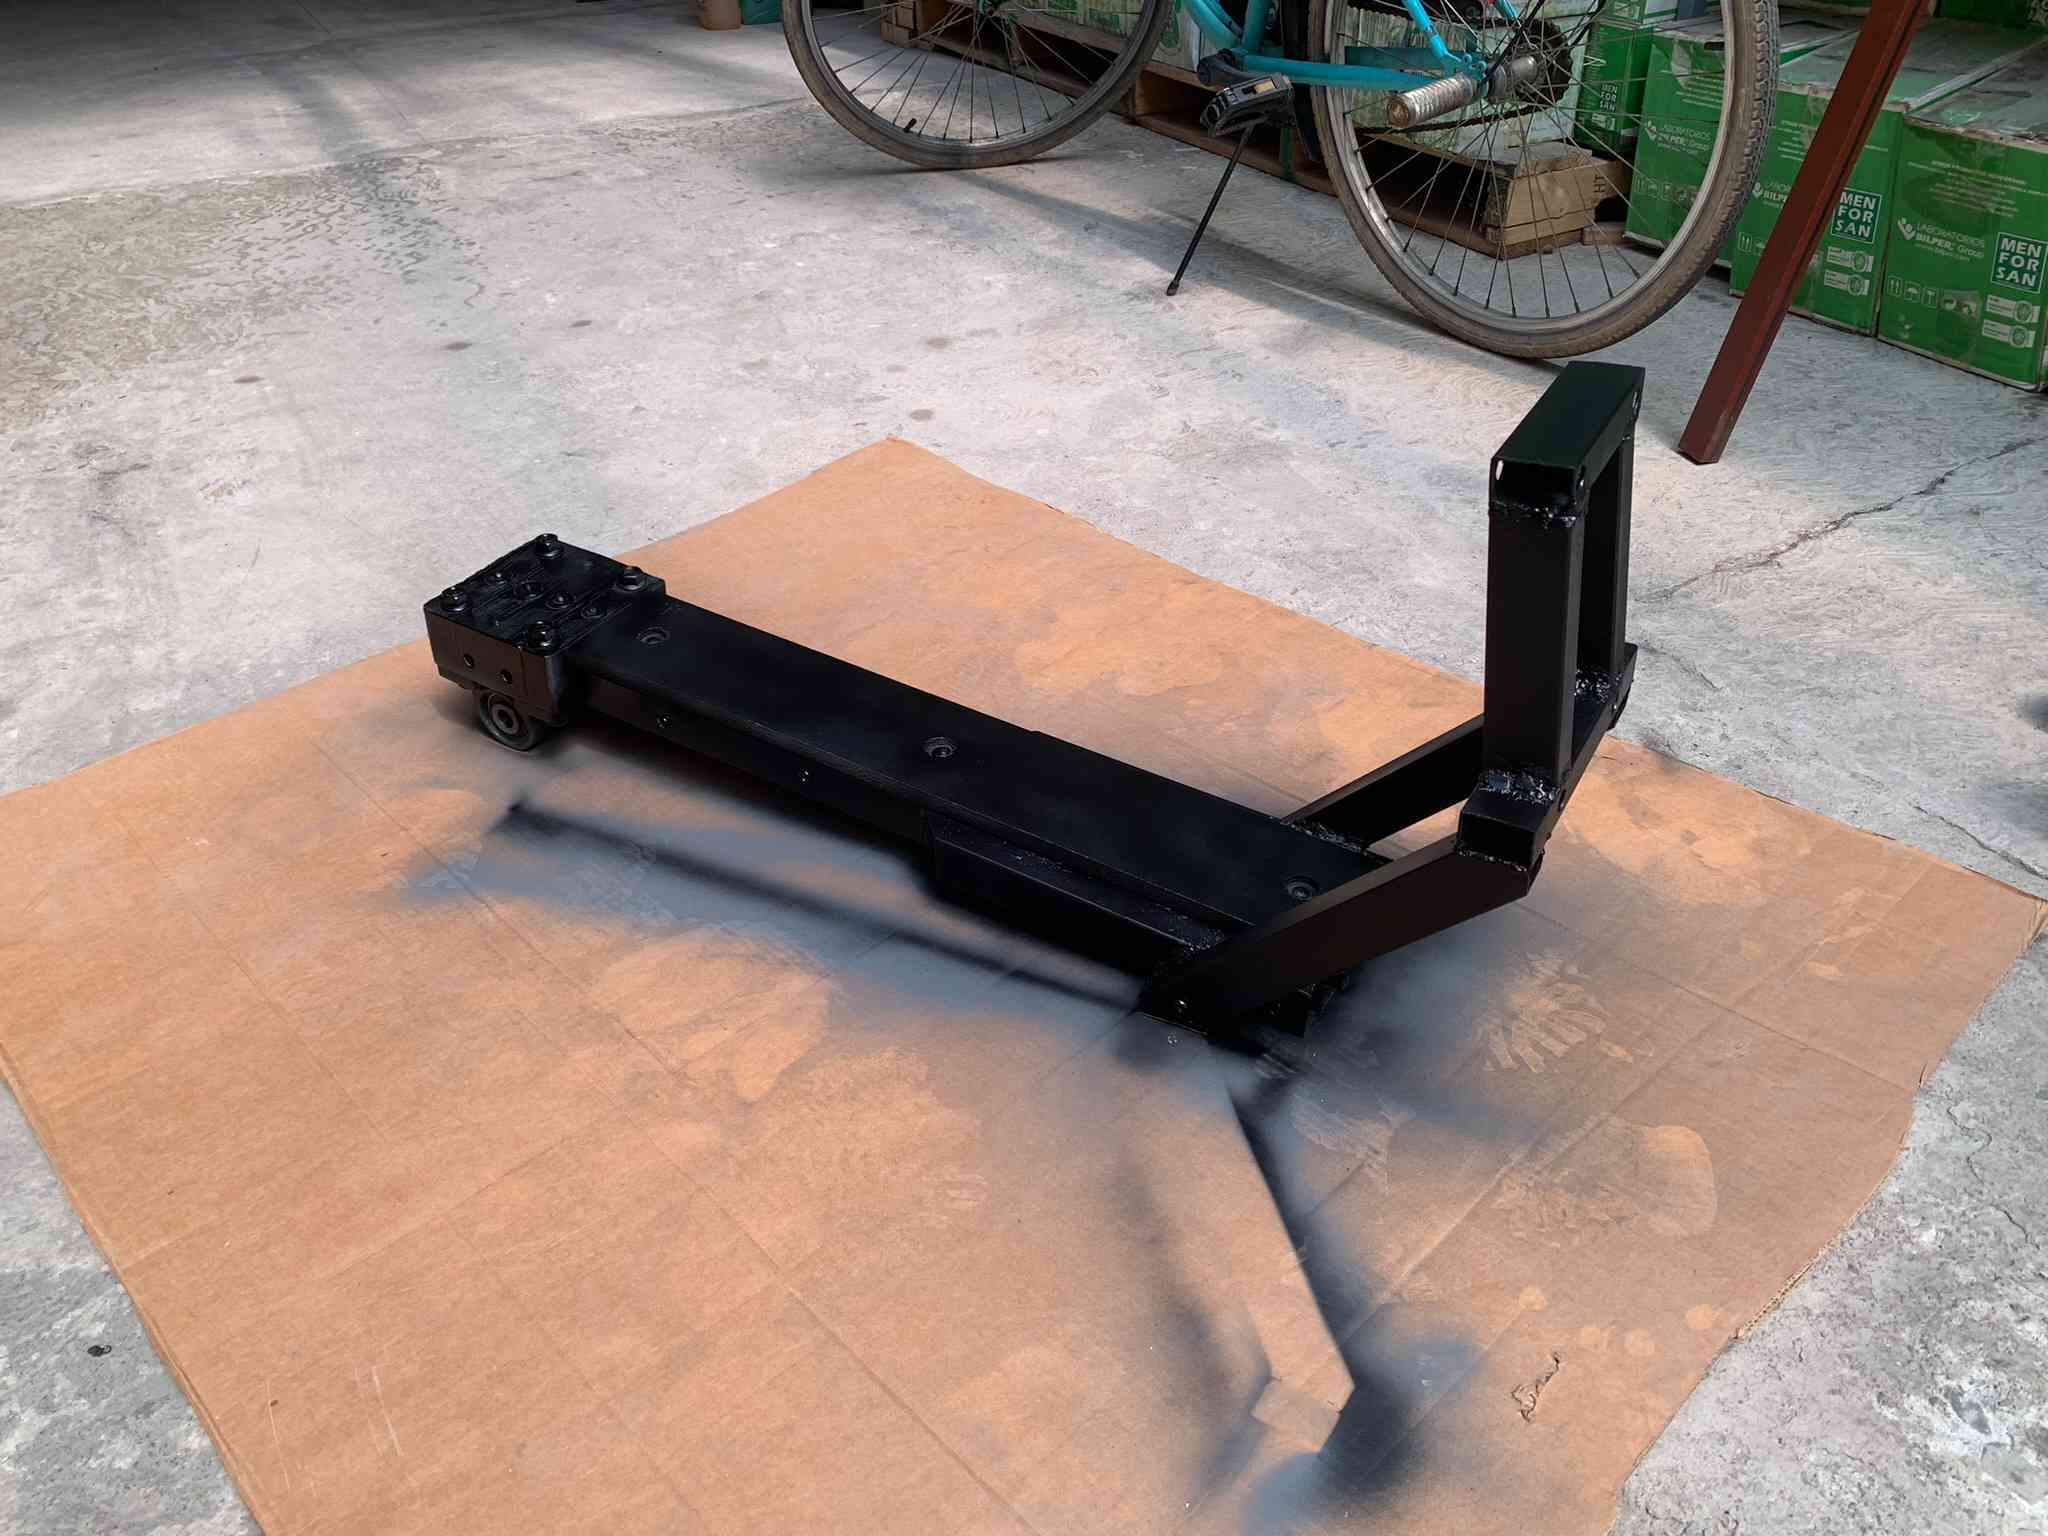
I ended this first part of the assembly by cutting the pieces and welding everything for the drivetrain holder, that sits upon the side arms and doing some 13mm holes for the screws that hold the drivetrain. I also painted the whole chassis with some anticorrosive primer and a second cover with some black spray paint, which really took away some the "I've never done a welding joint before" look.
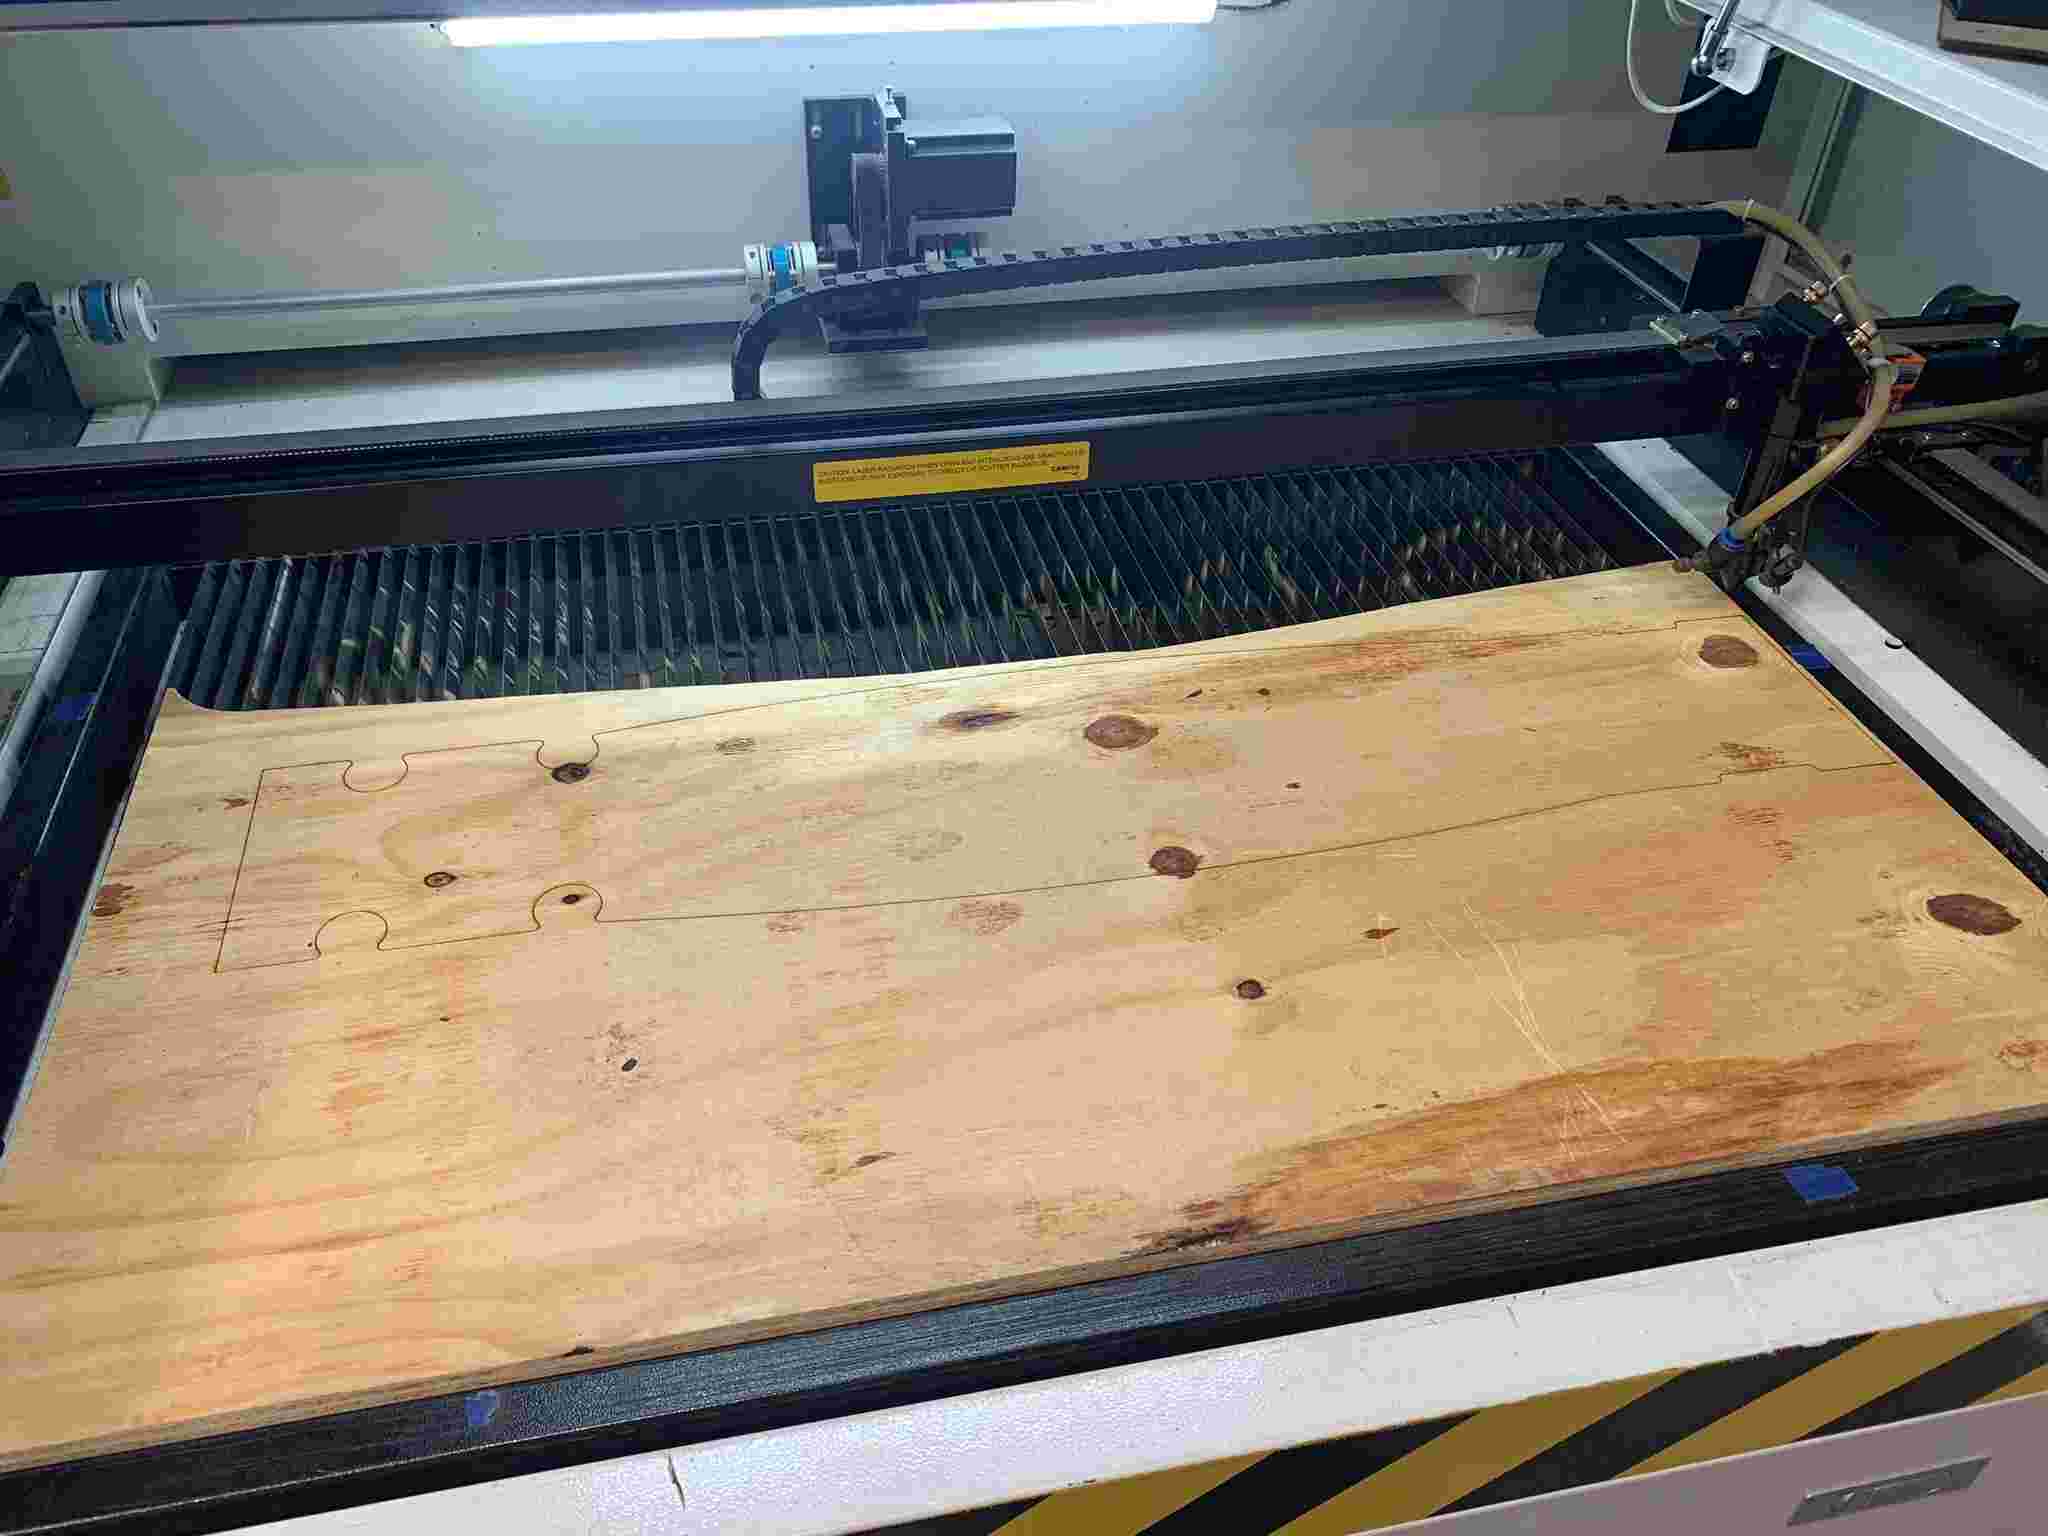
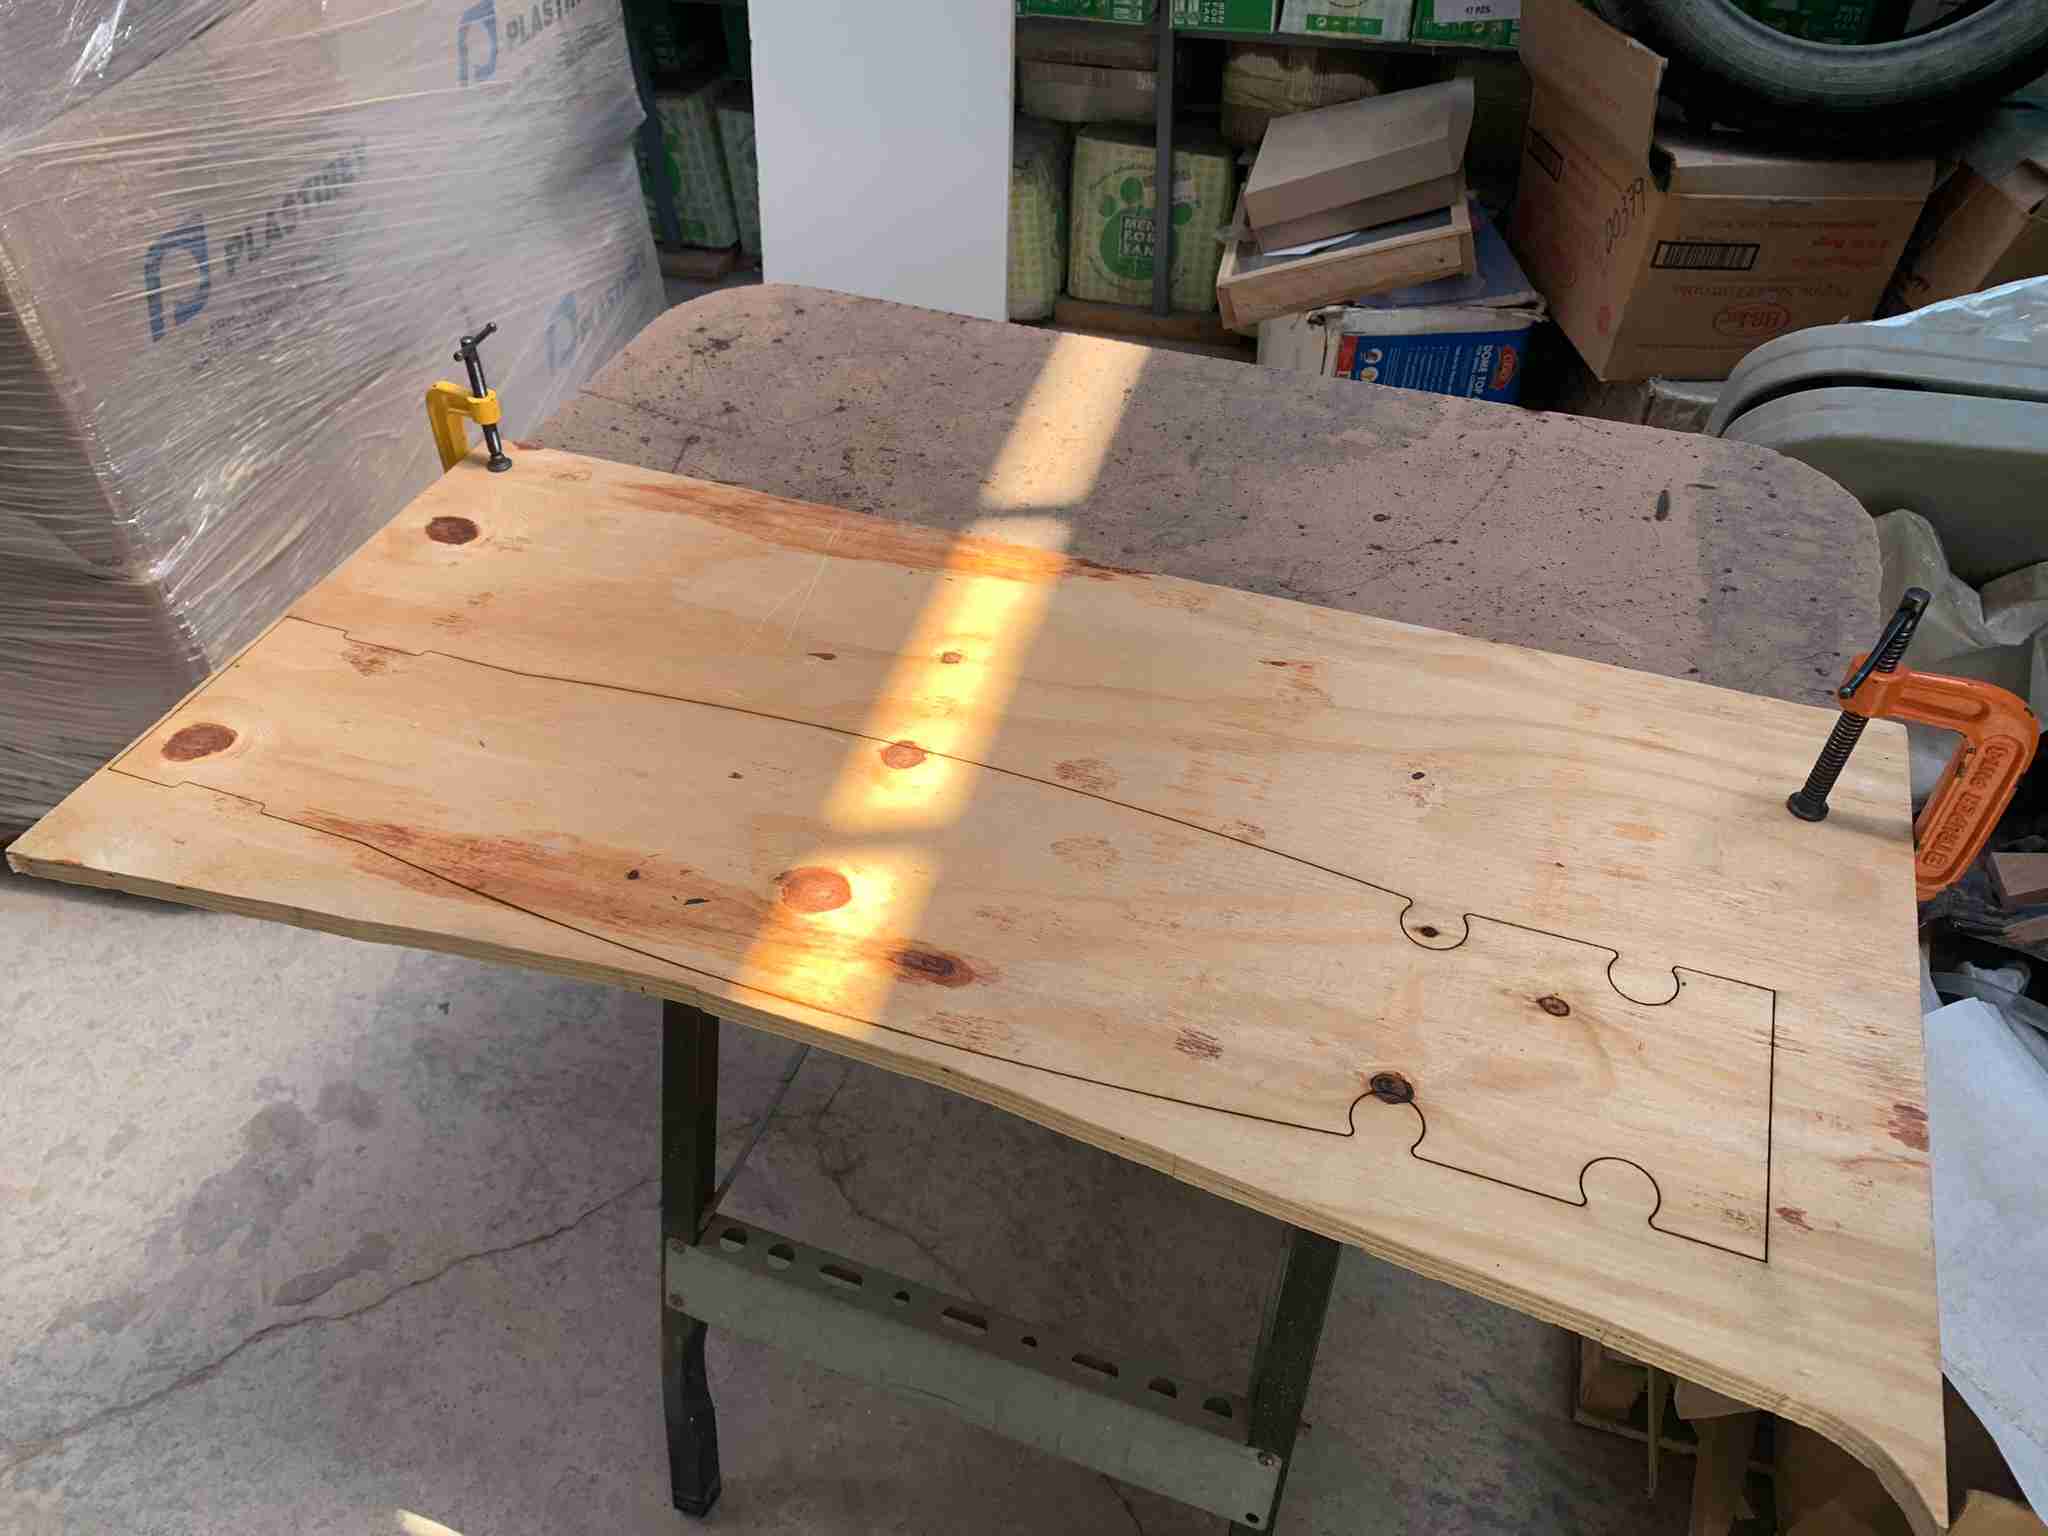
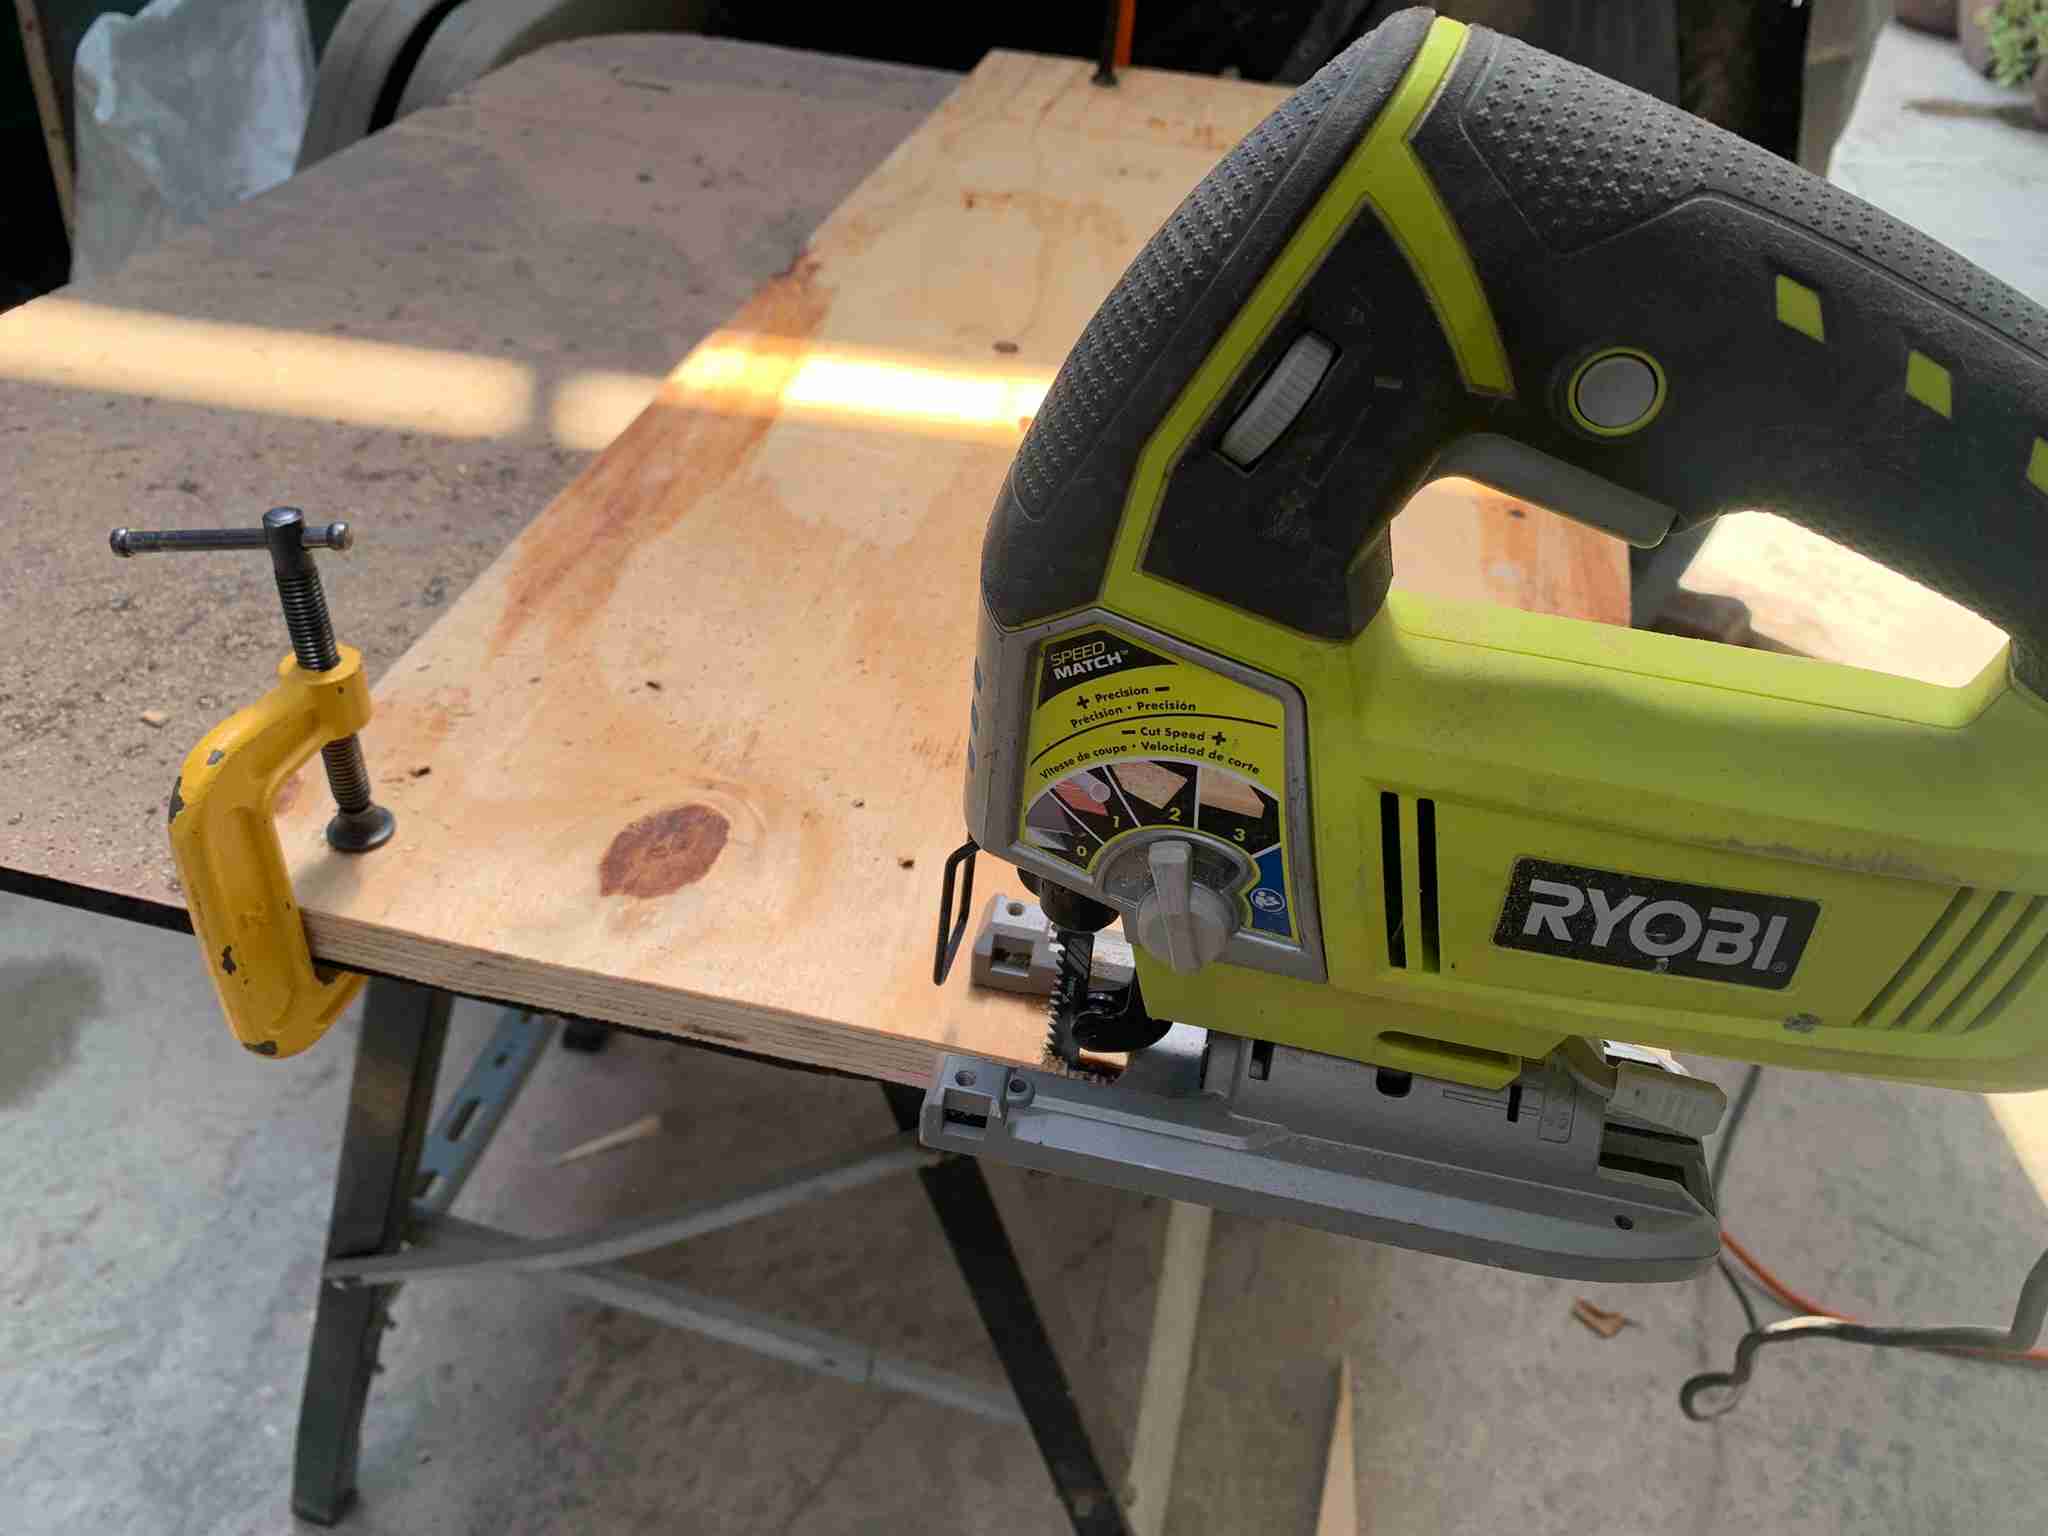
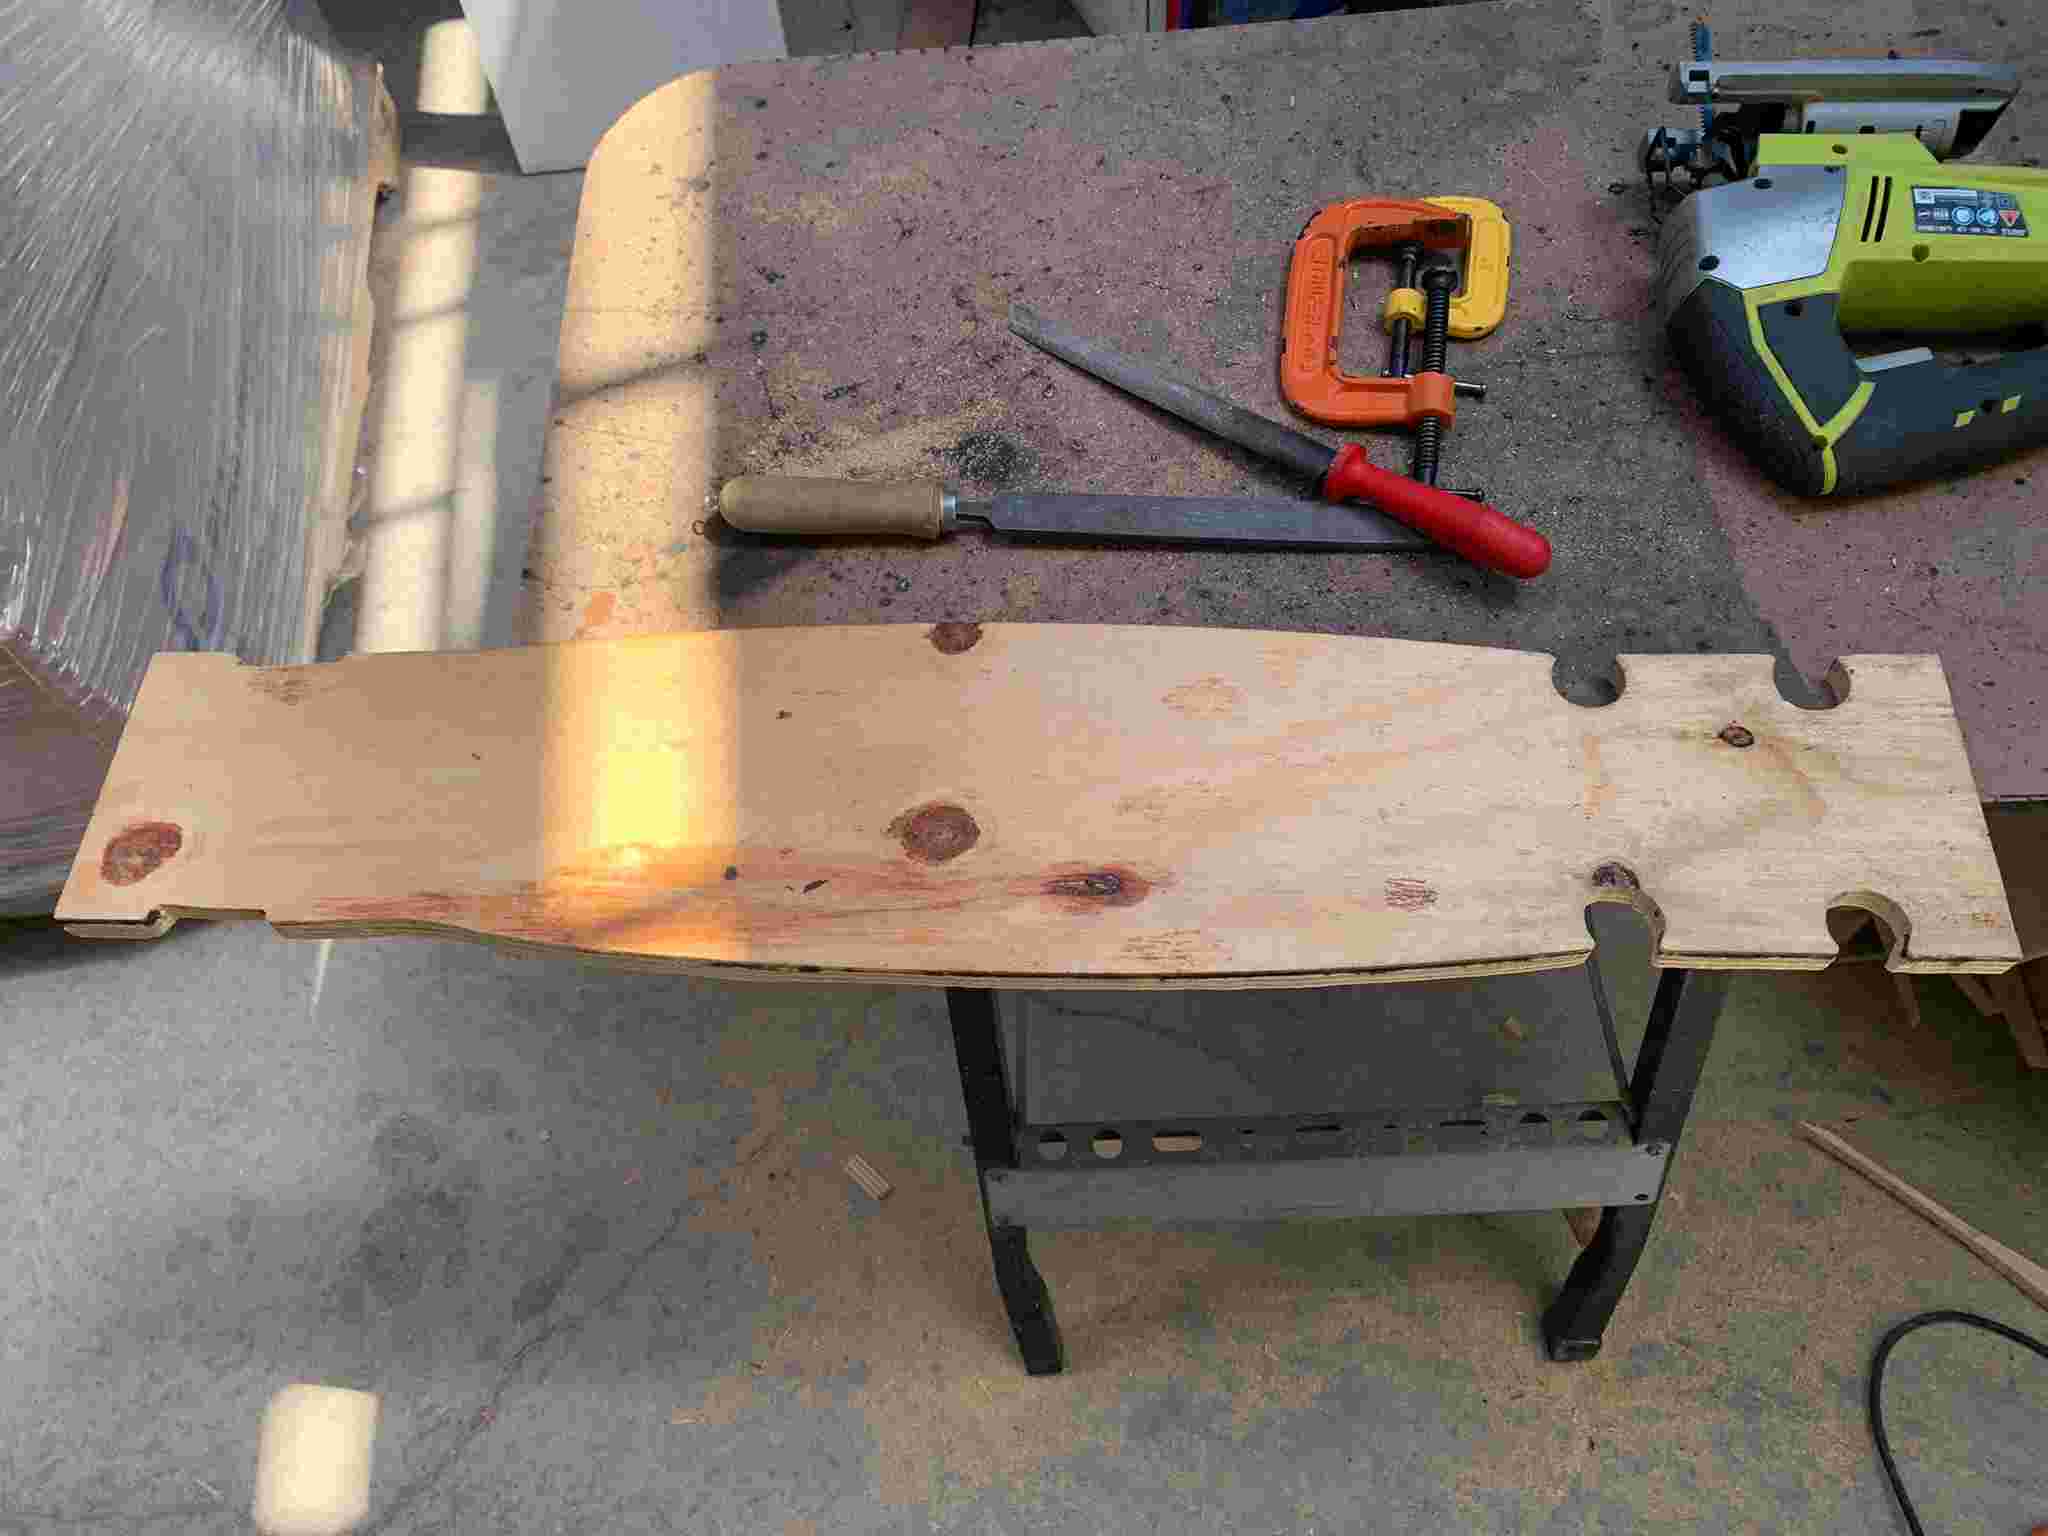
Once the metal chassis was ready, I followed work onto the riding board, the part of the scooter where you actually step on to ride it. I designed the board profile and used the laser cutter to engrave the board's pattern into 18mm thick plywood, and then used a reciprocating saw to cut the board, using the laser engraving as guide for it.
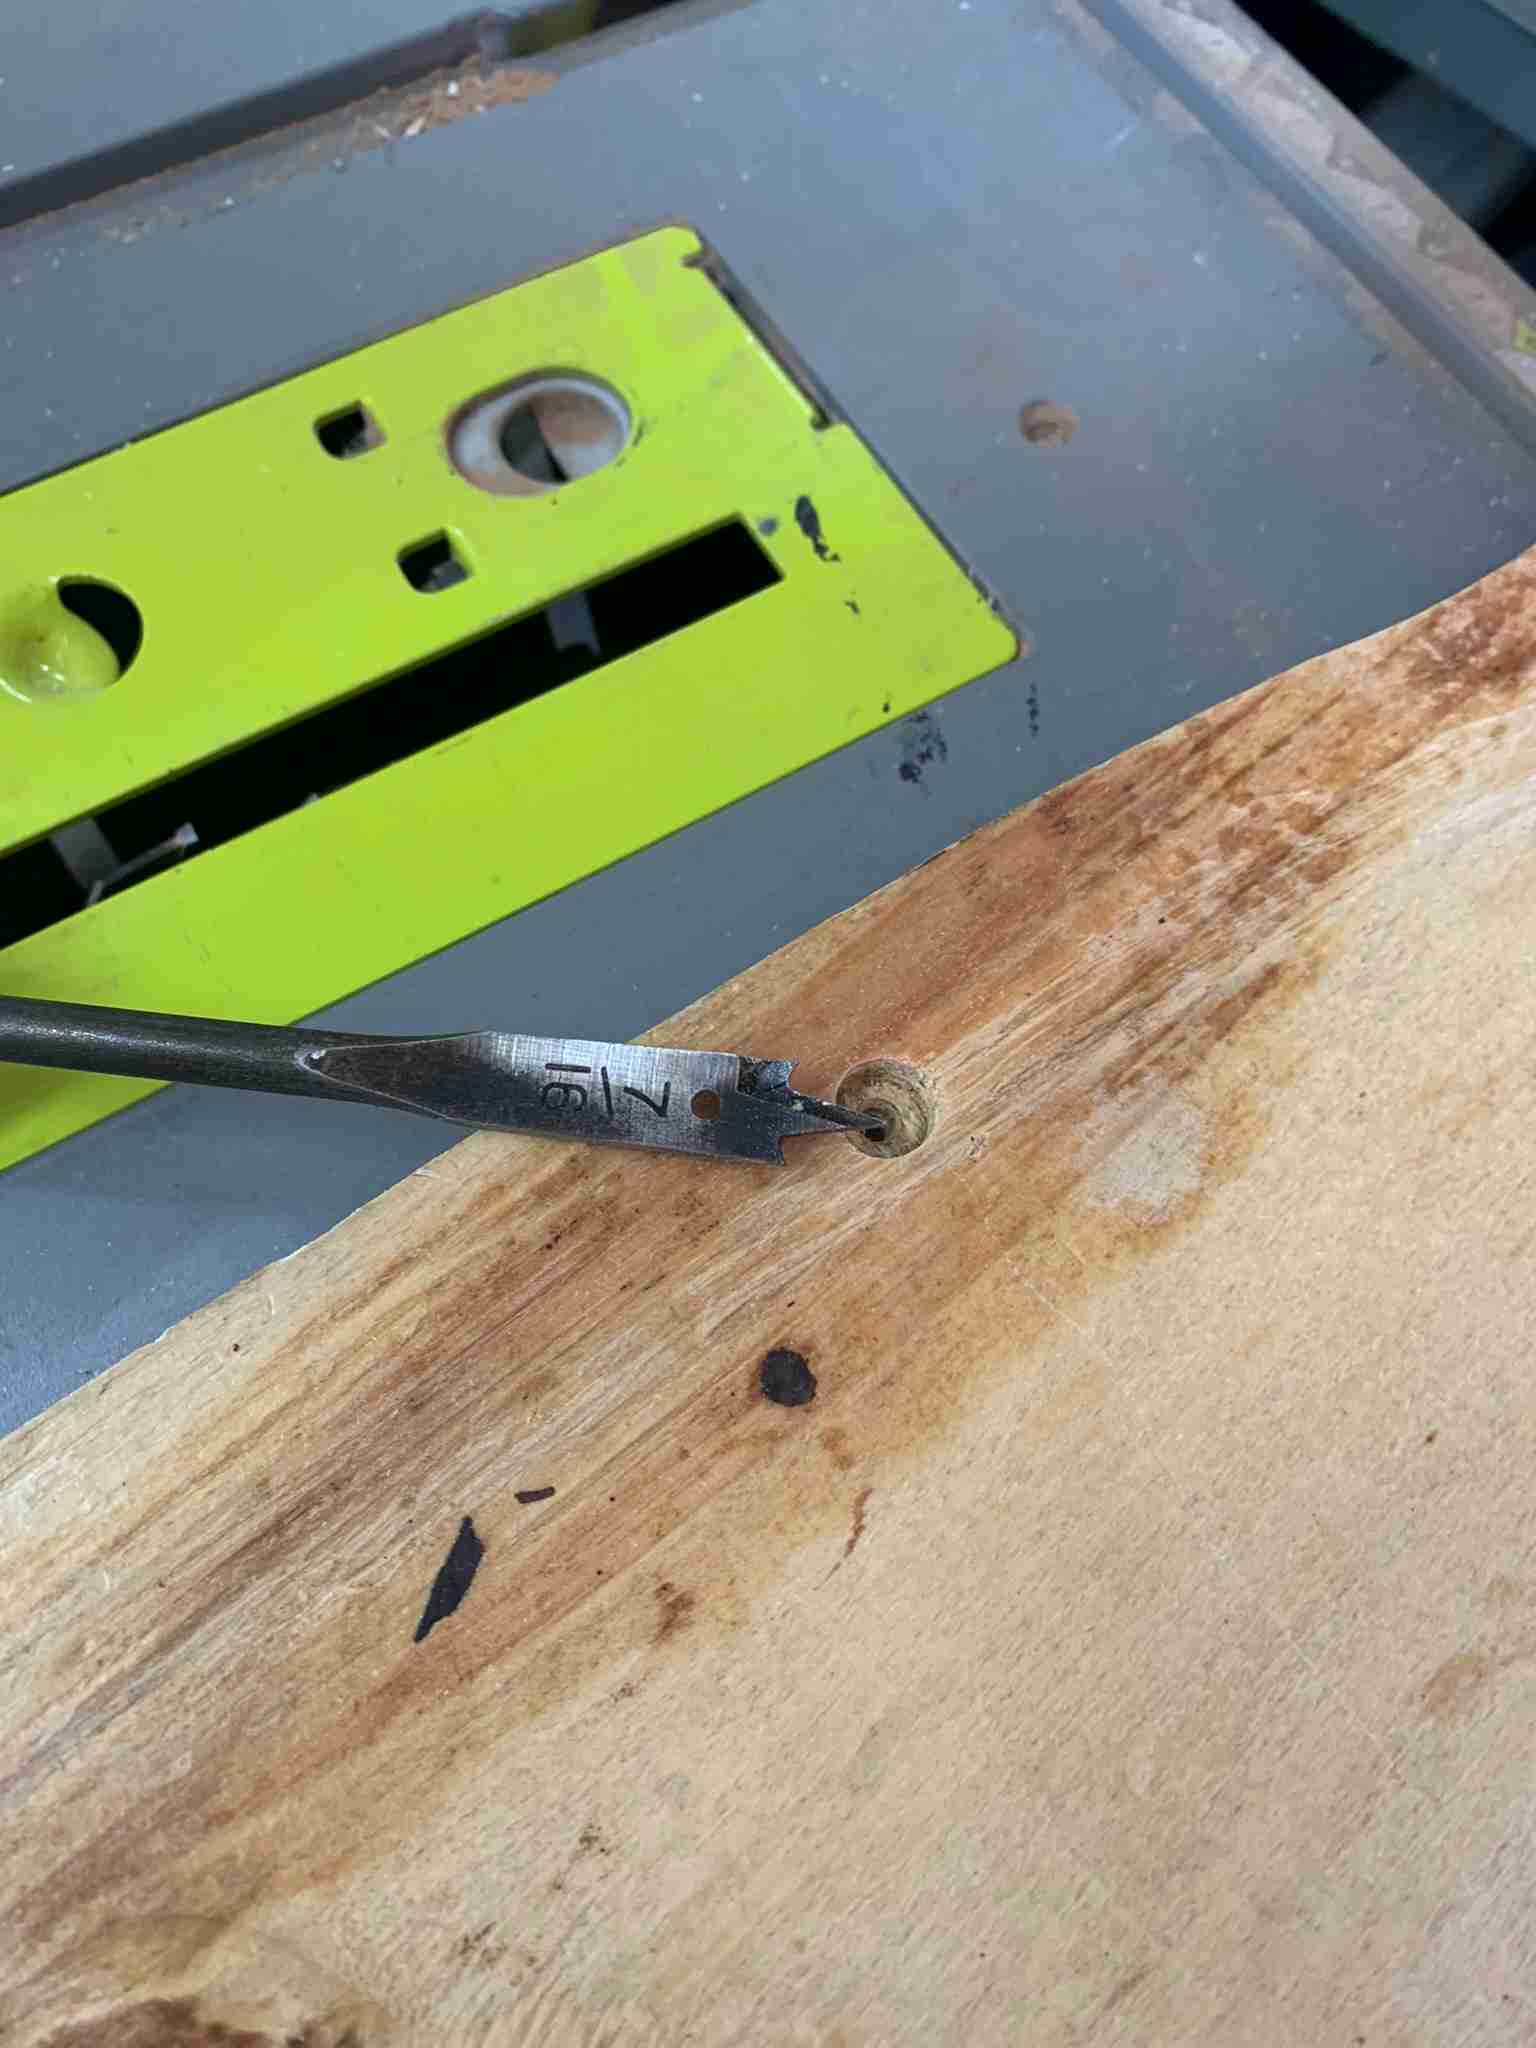
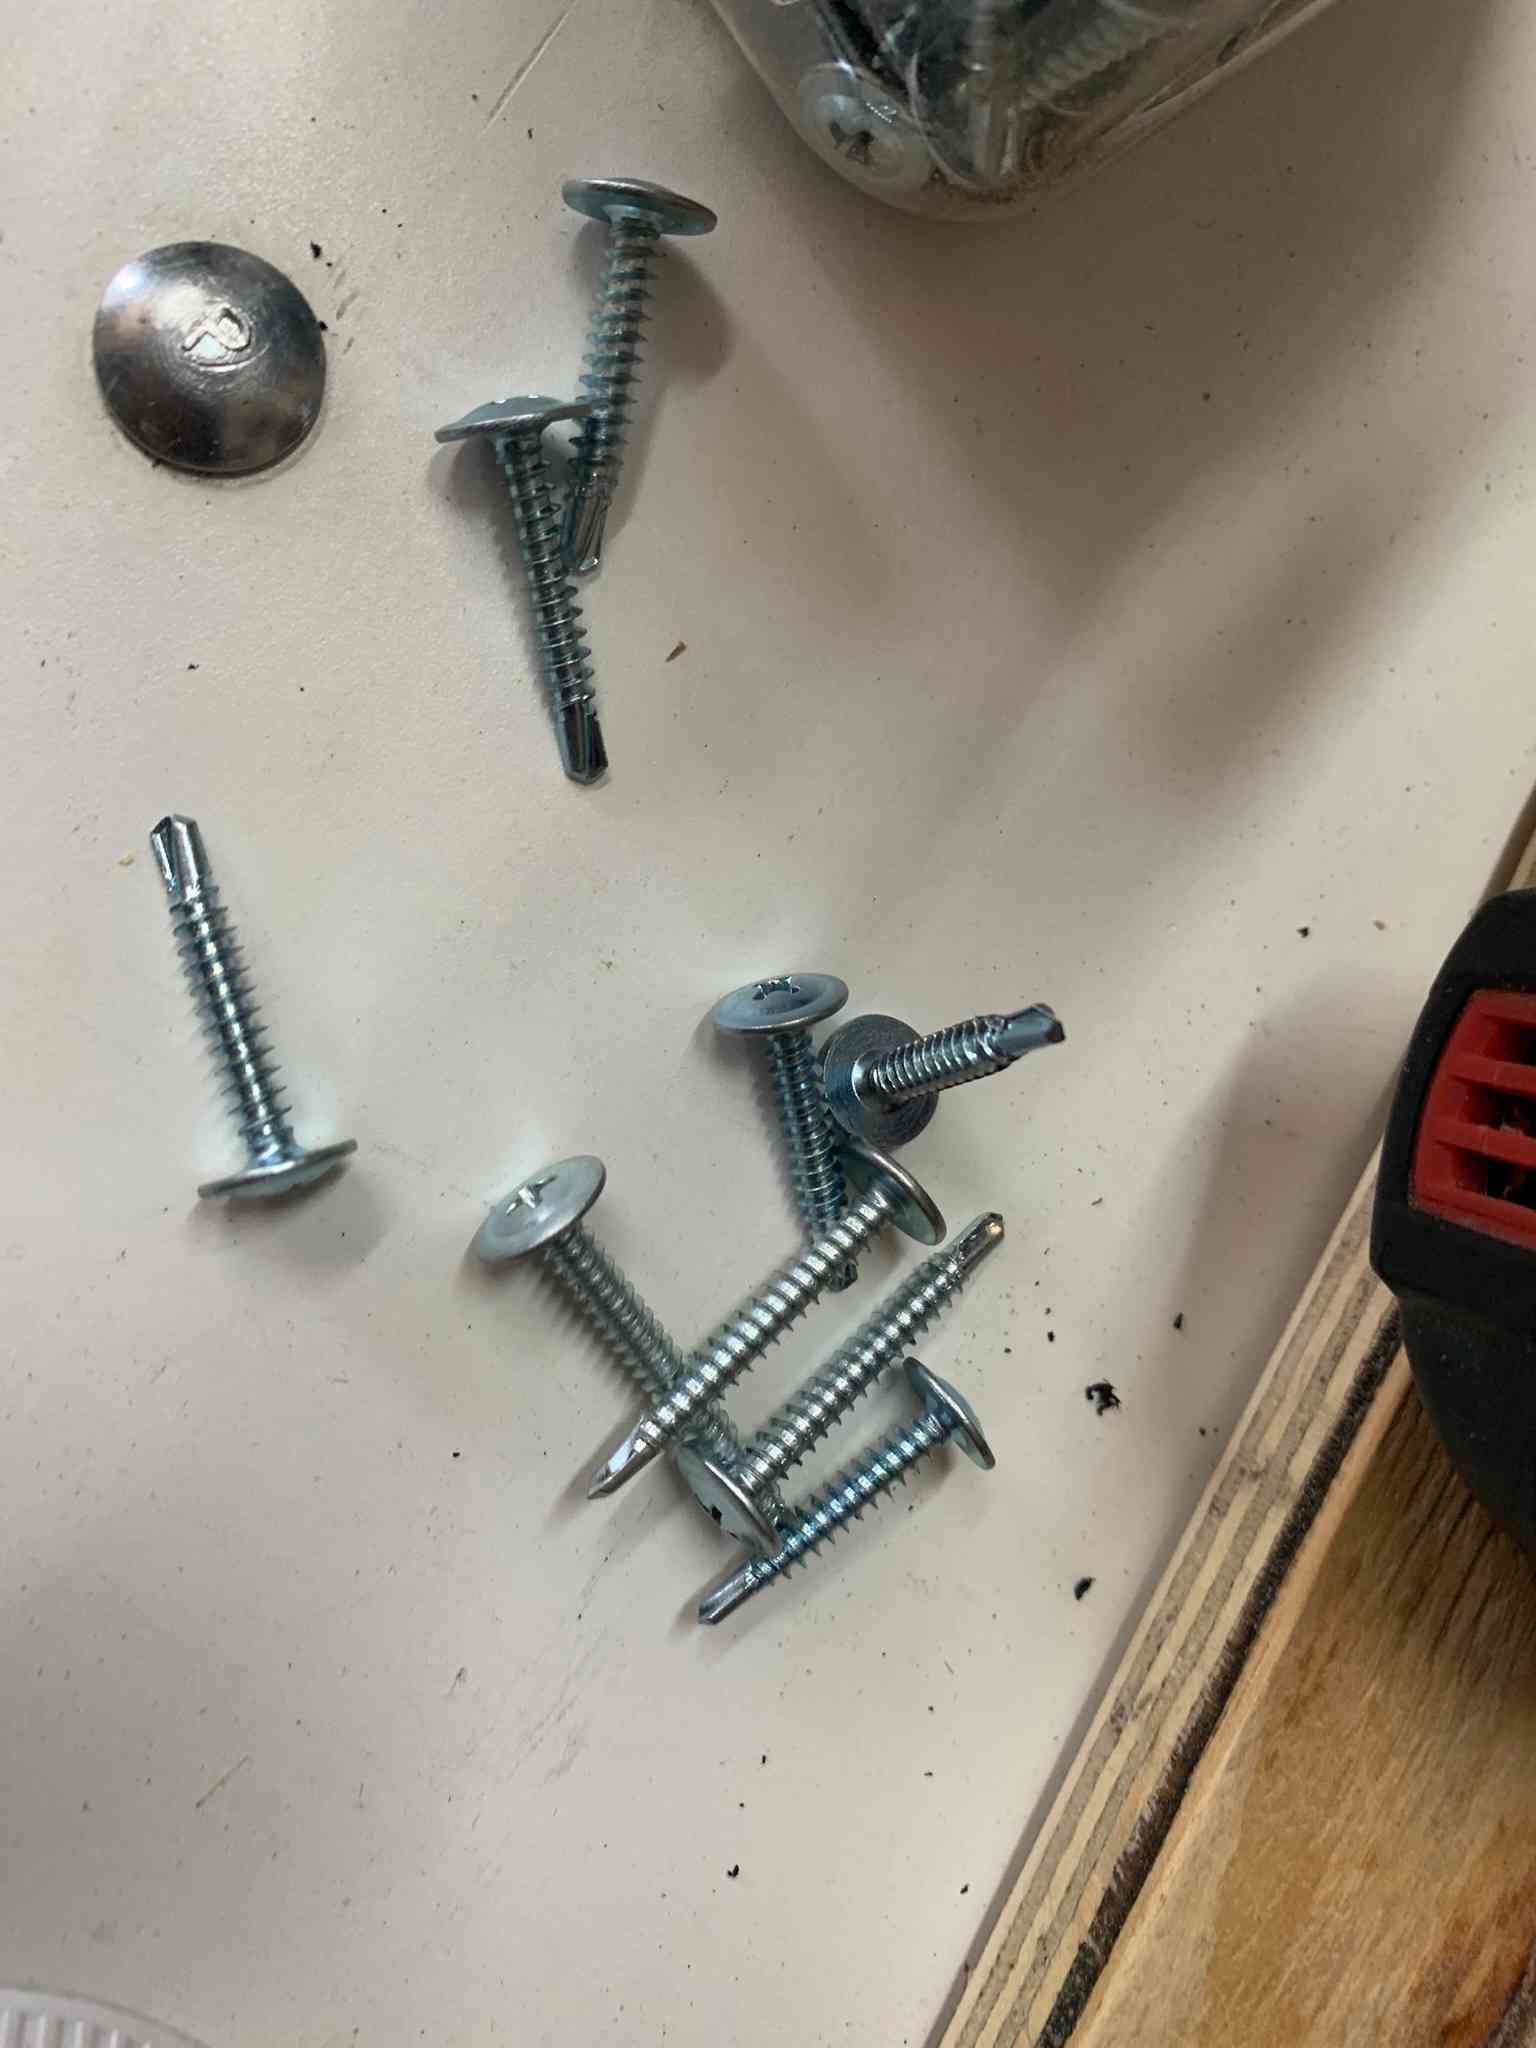
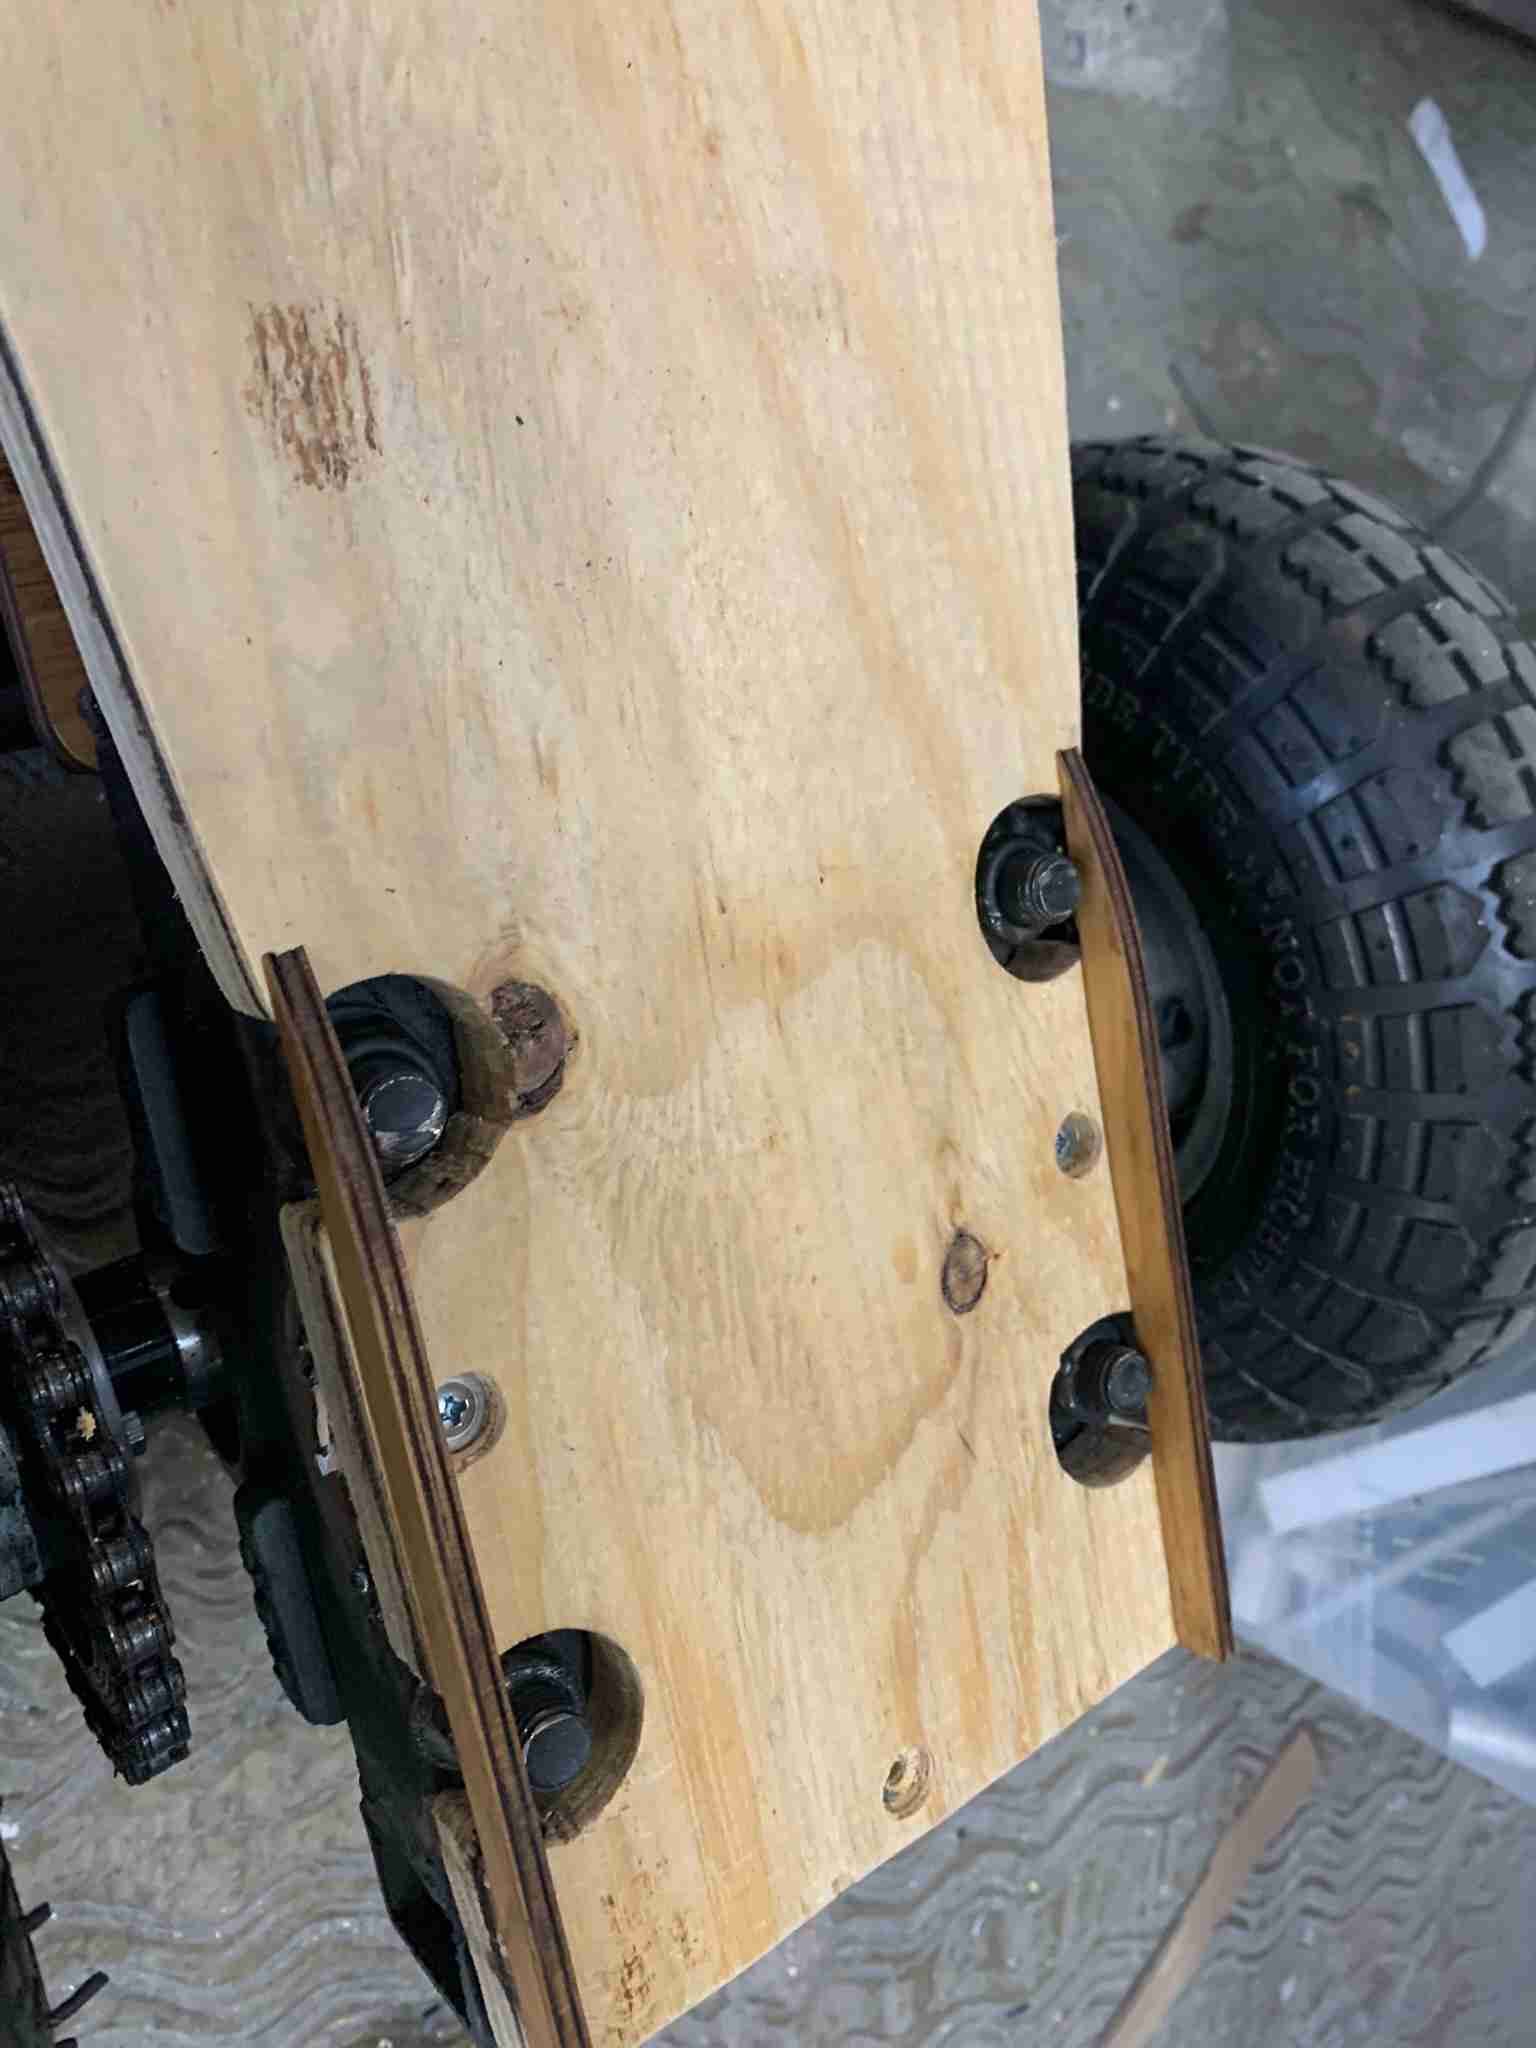
I then marked the mounting holes on the board, and using a flat drill bit made bigger shallow spaces in the holes to conceal the screws' heads. The board was mounted onto the metal frame using self tapping sheet metal screws.
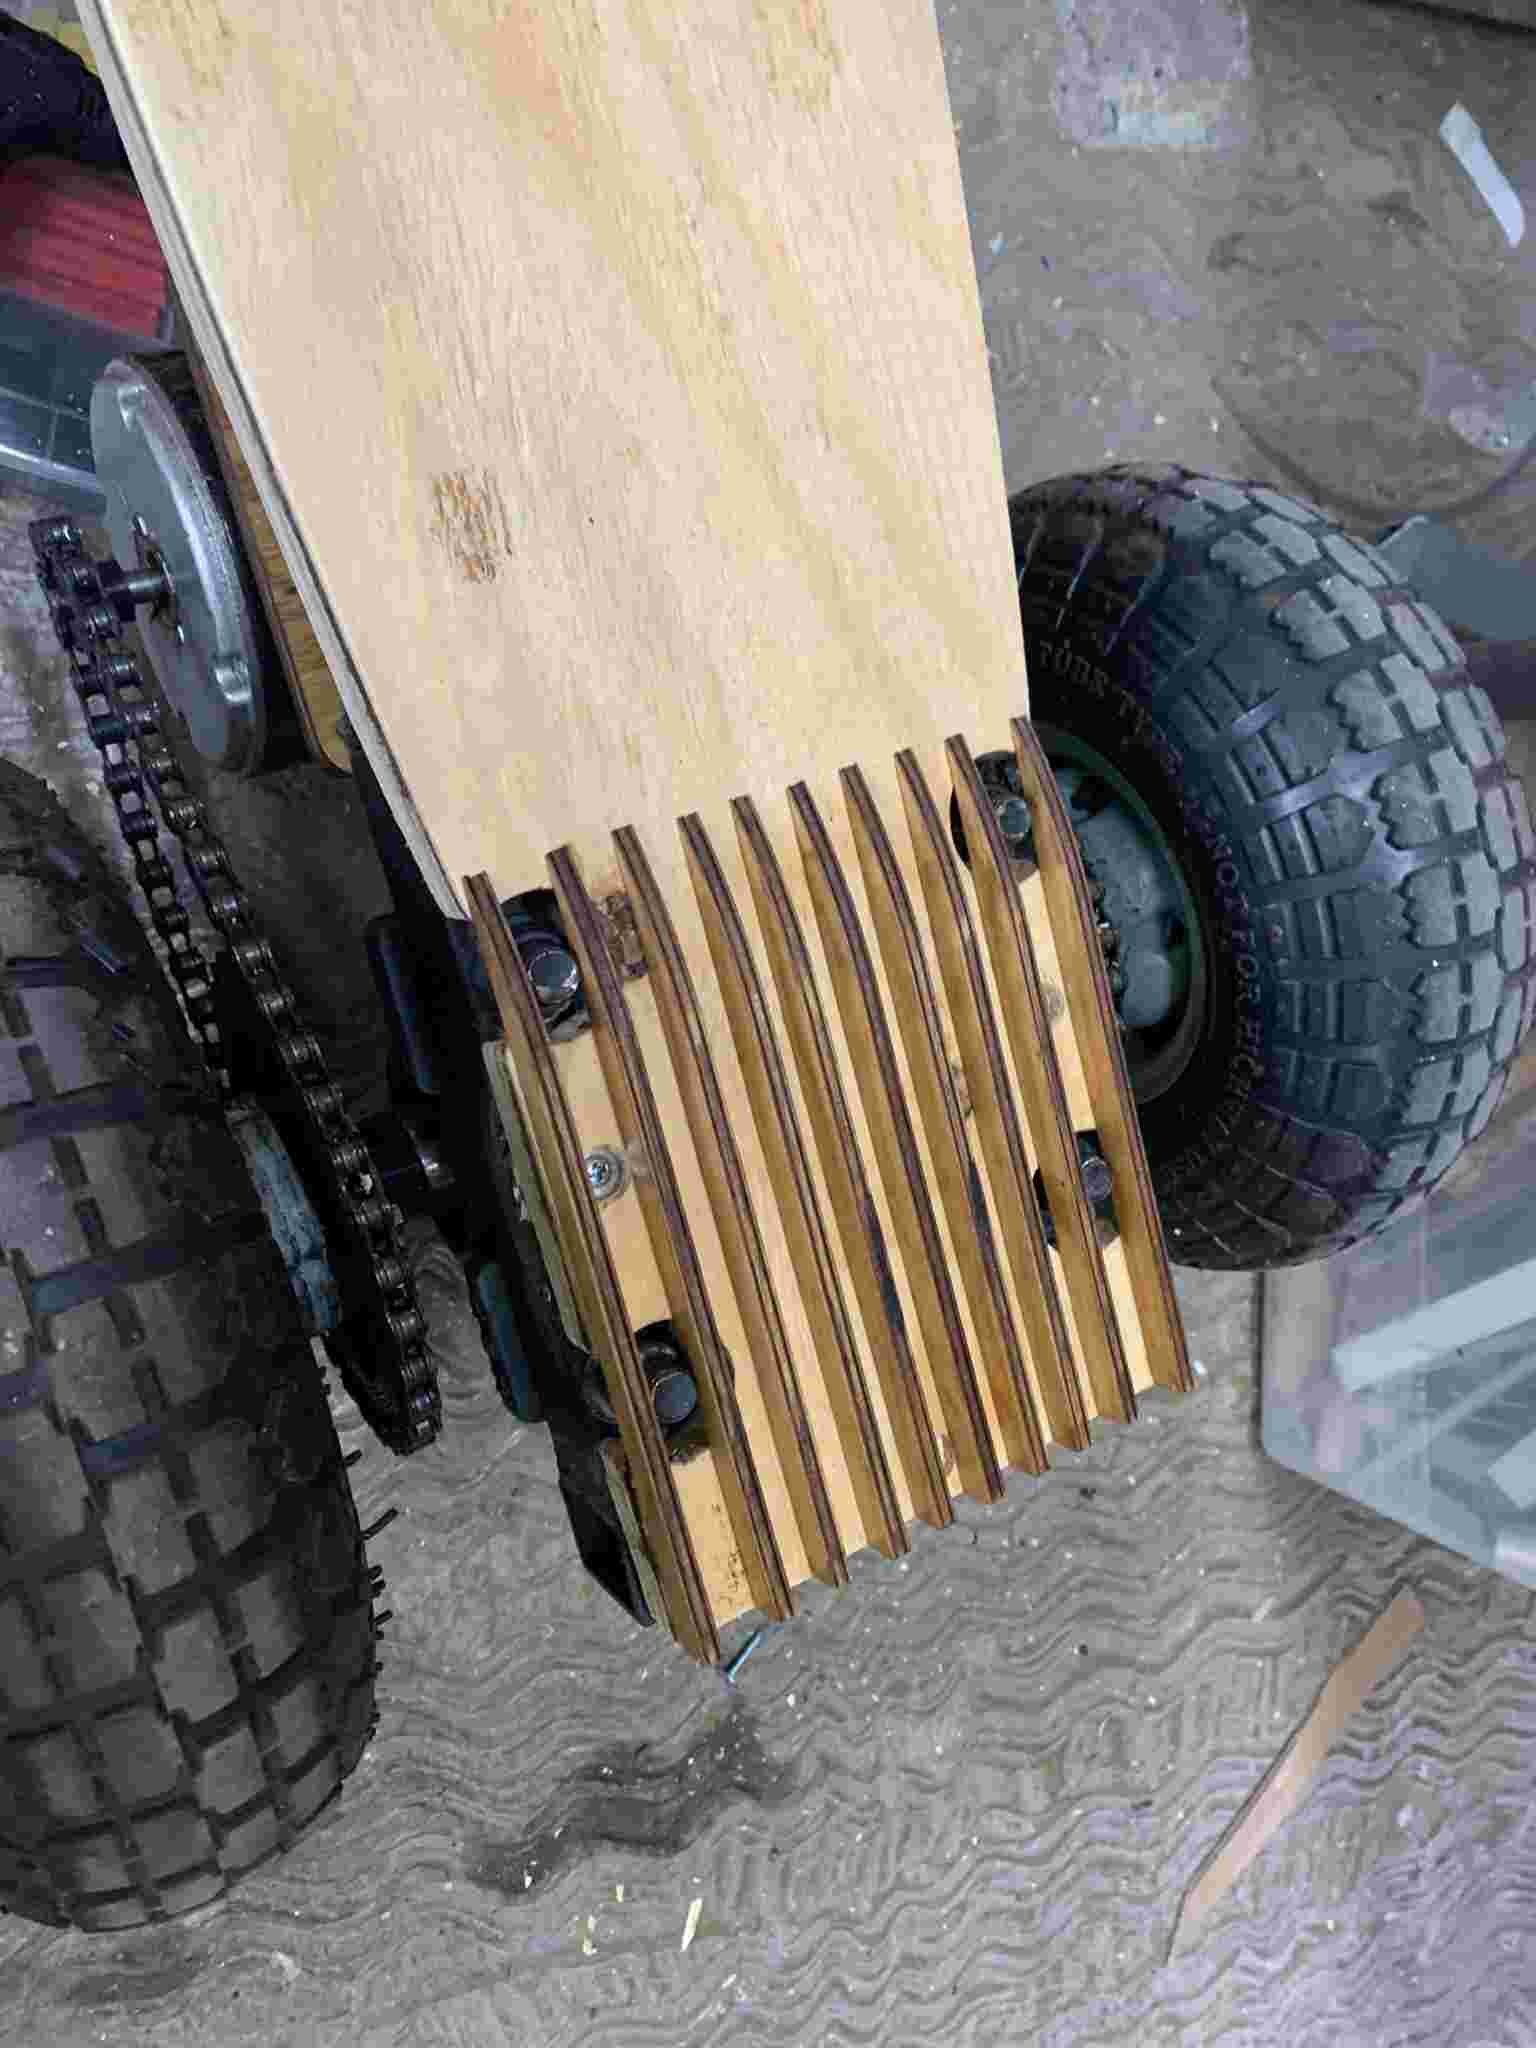
The M12 screws on the back, used to mount the powertrain's rowlocks, were sticking up a bit, which would interfere with the decorative deck cover, so I devised a series of laser-cutted wooden pieces to raise the future deck and give it a nice curve in the process.
I then painted the whole board black using some spray paint, and added double-sided tape to mount the decorative deck cover.
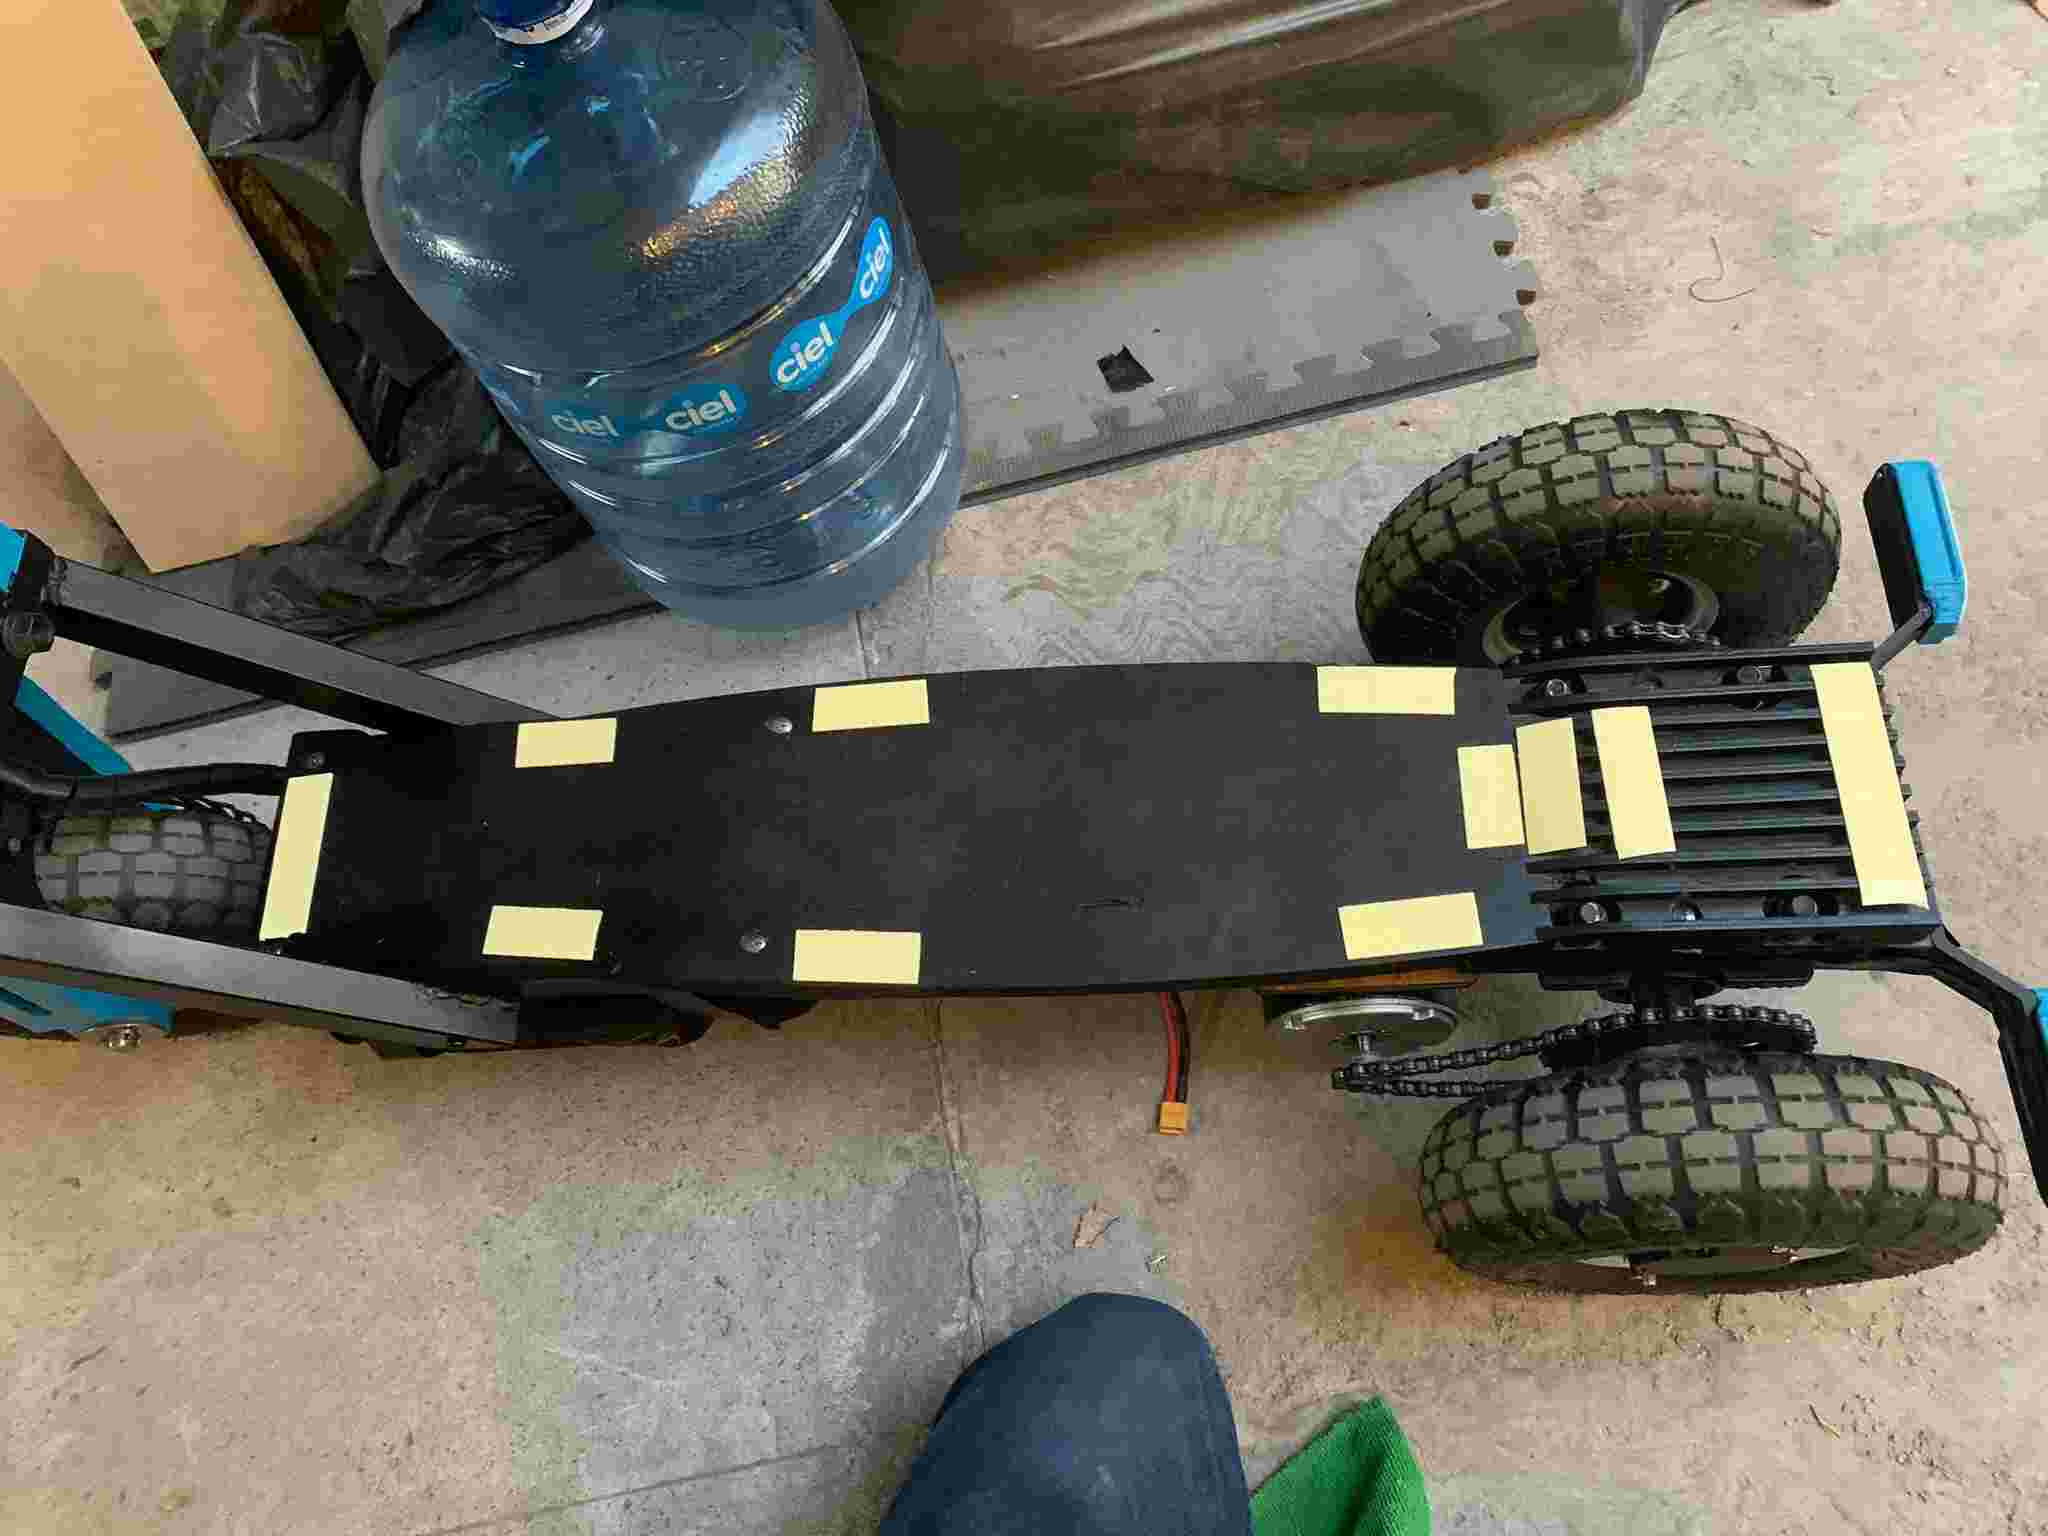
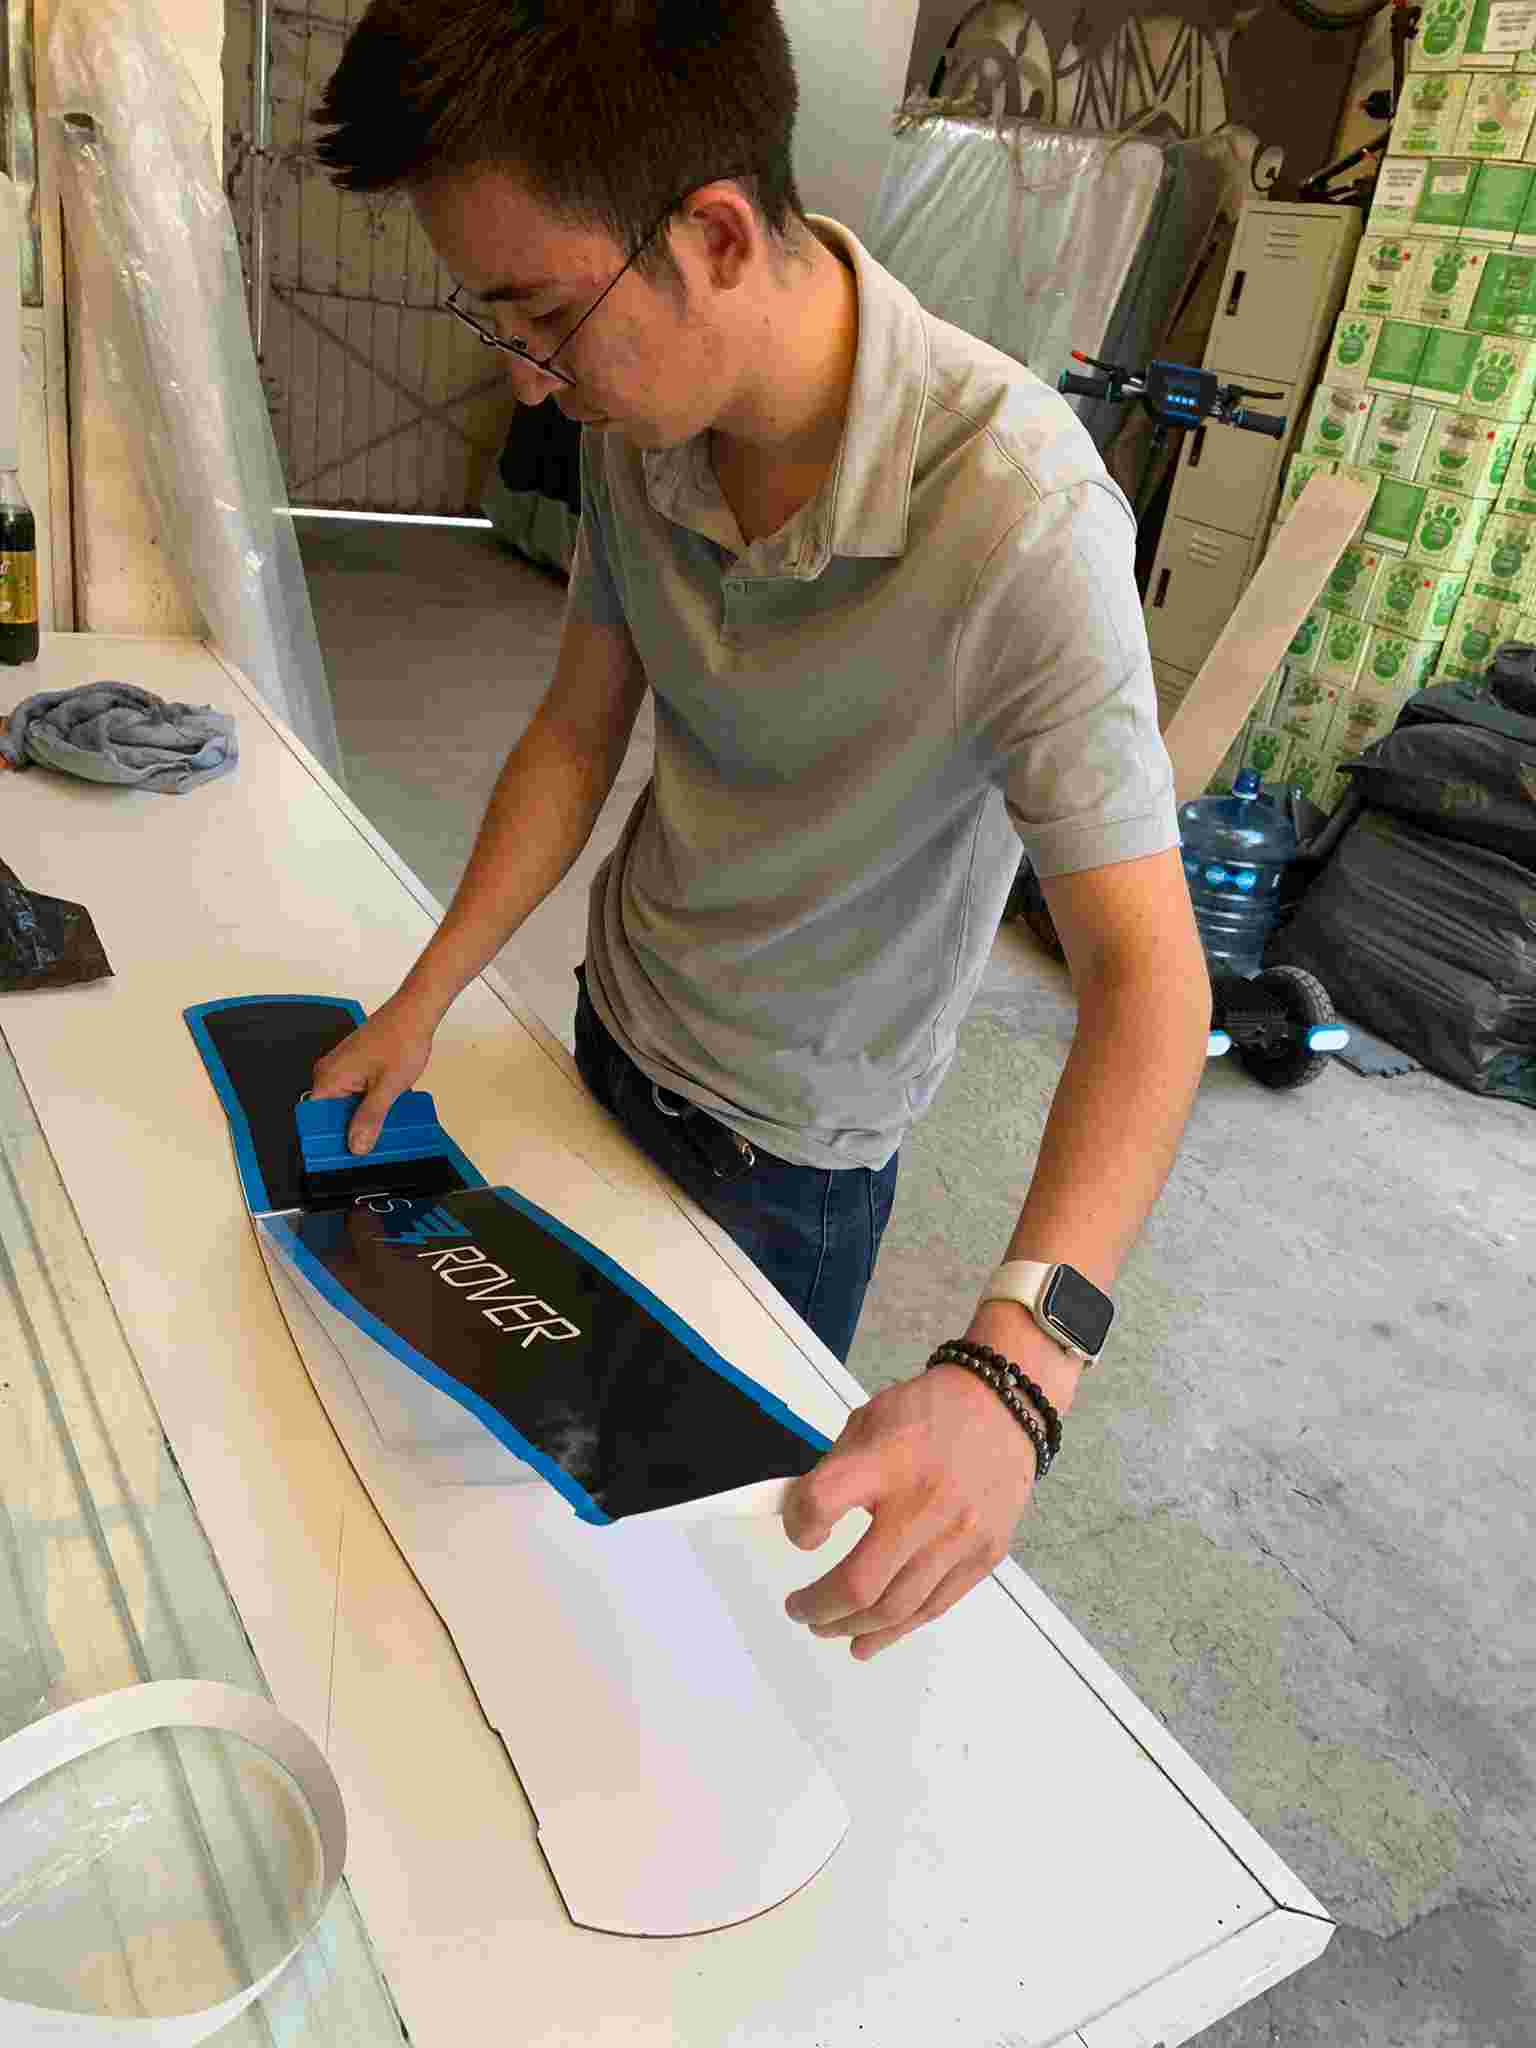
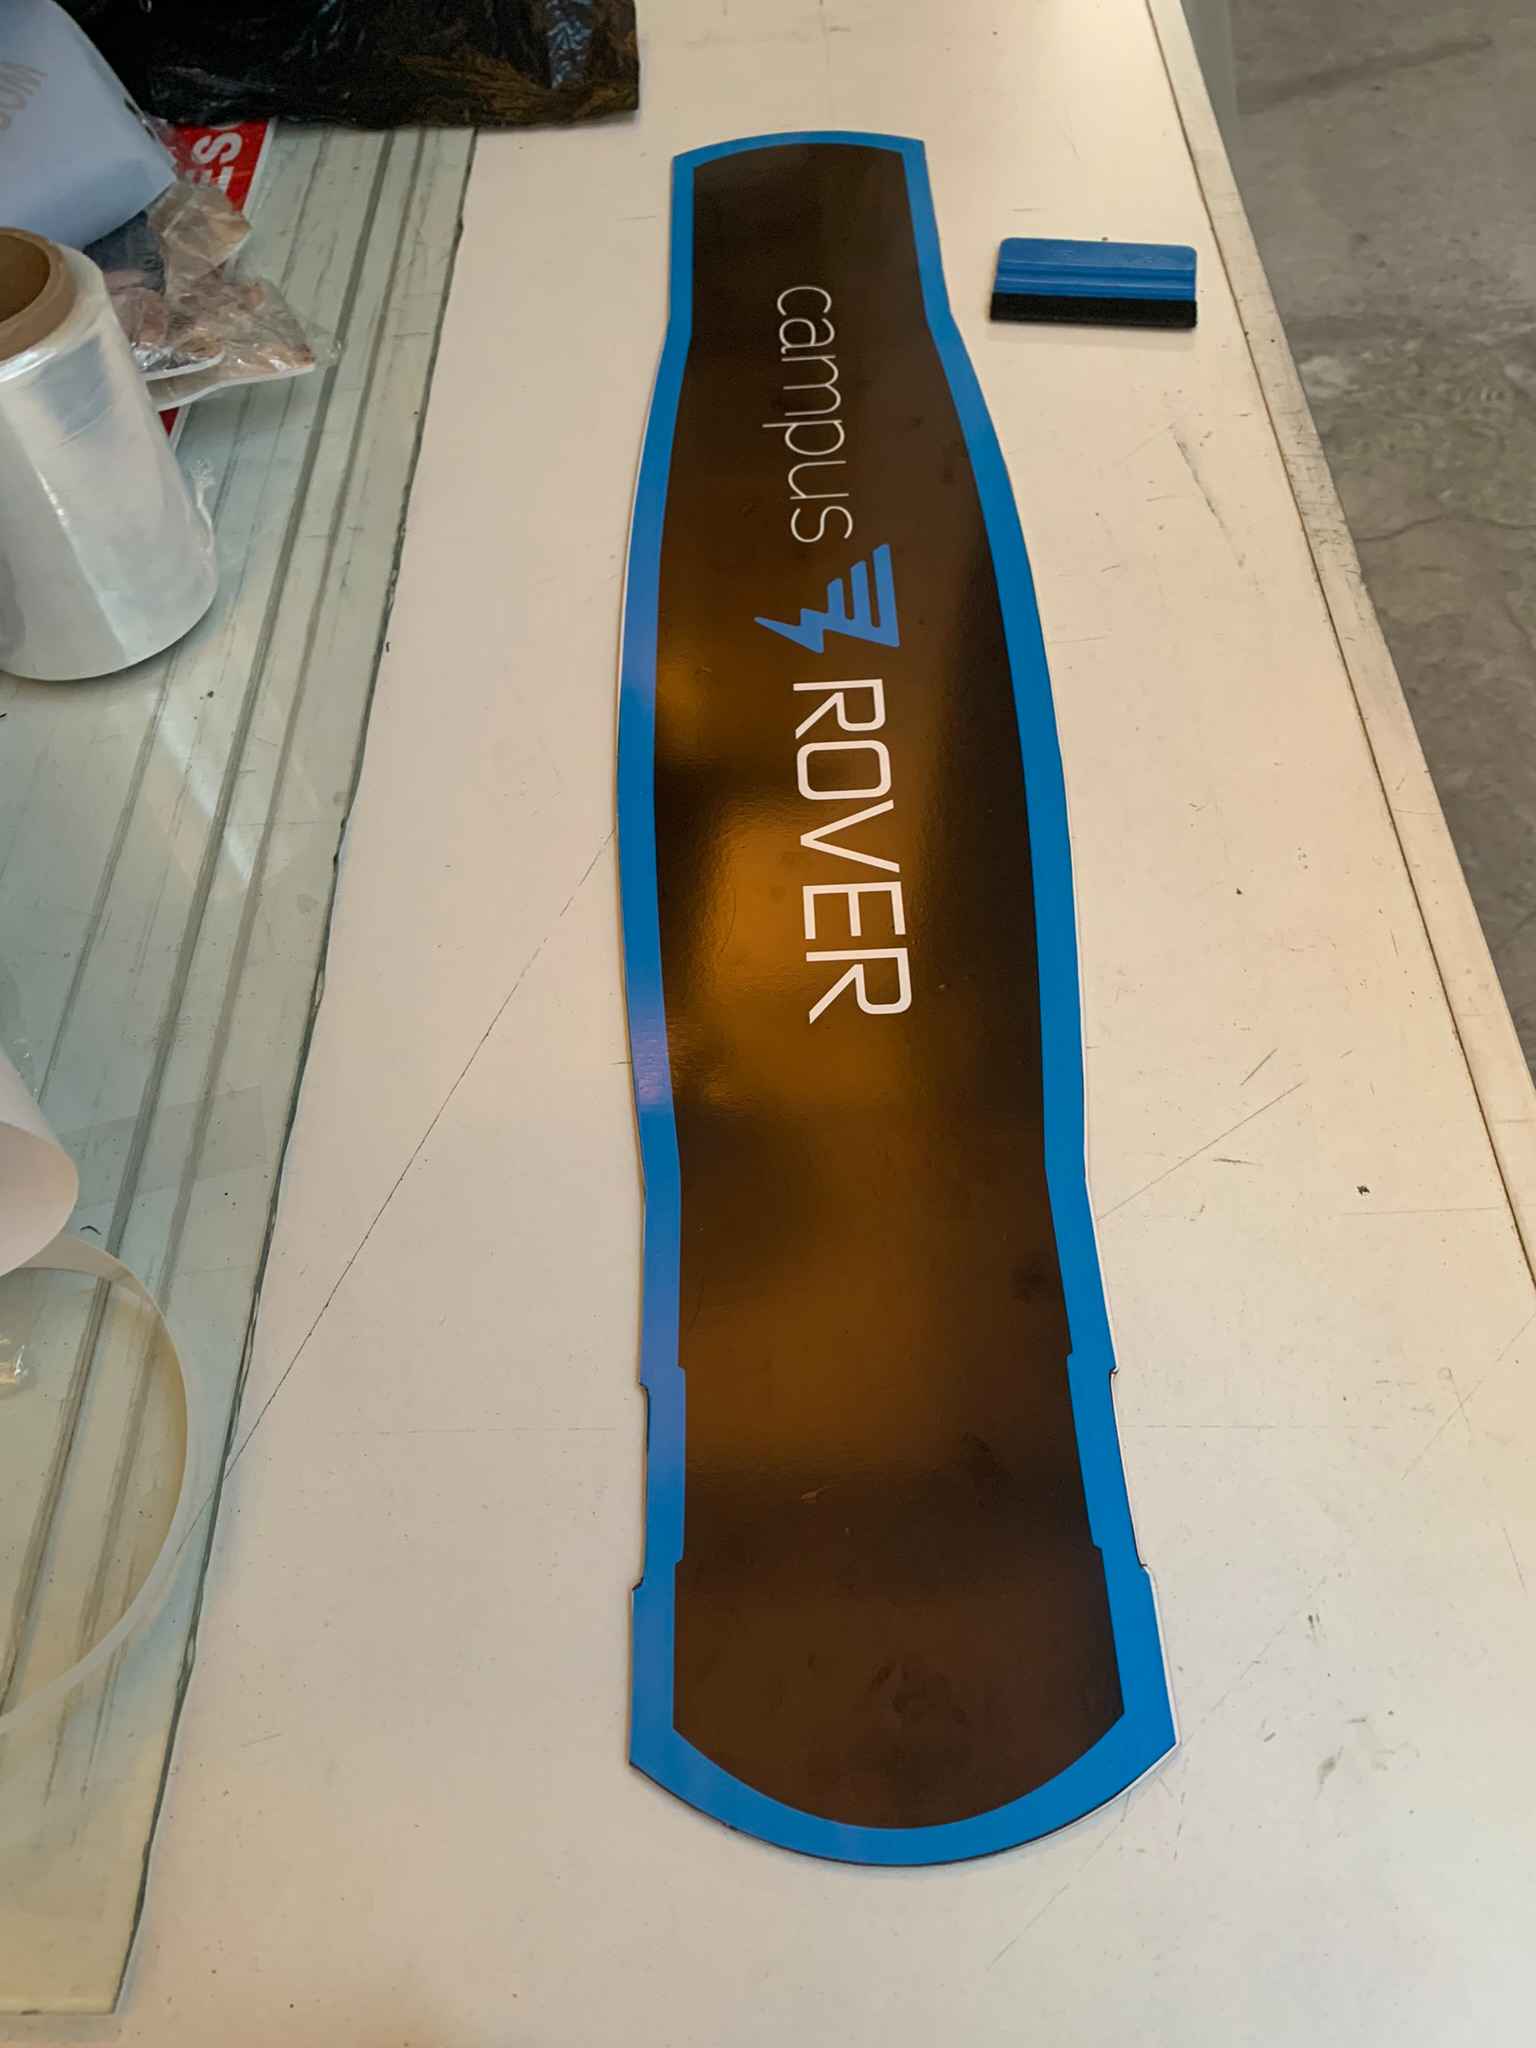
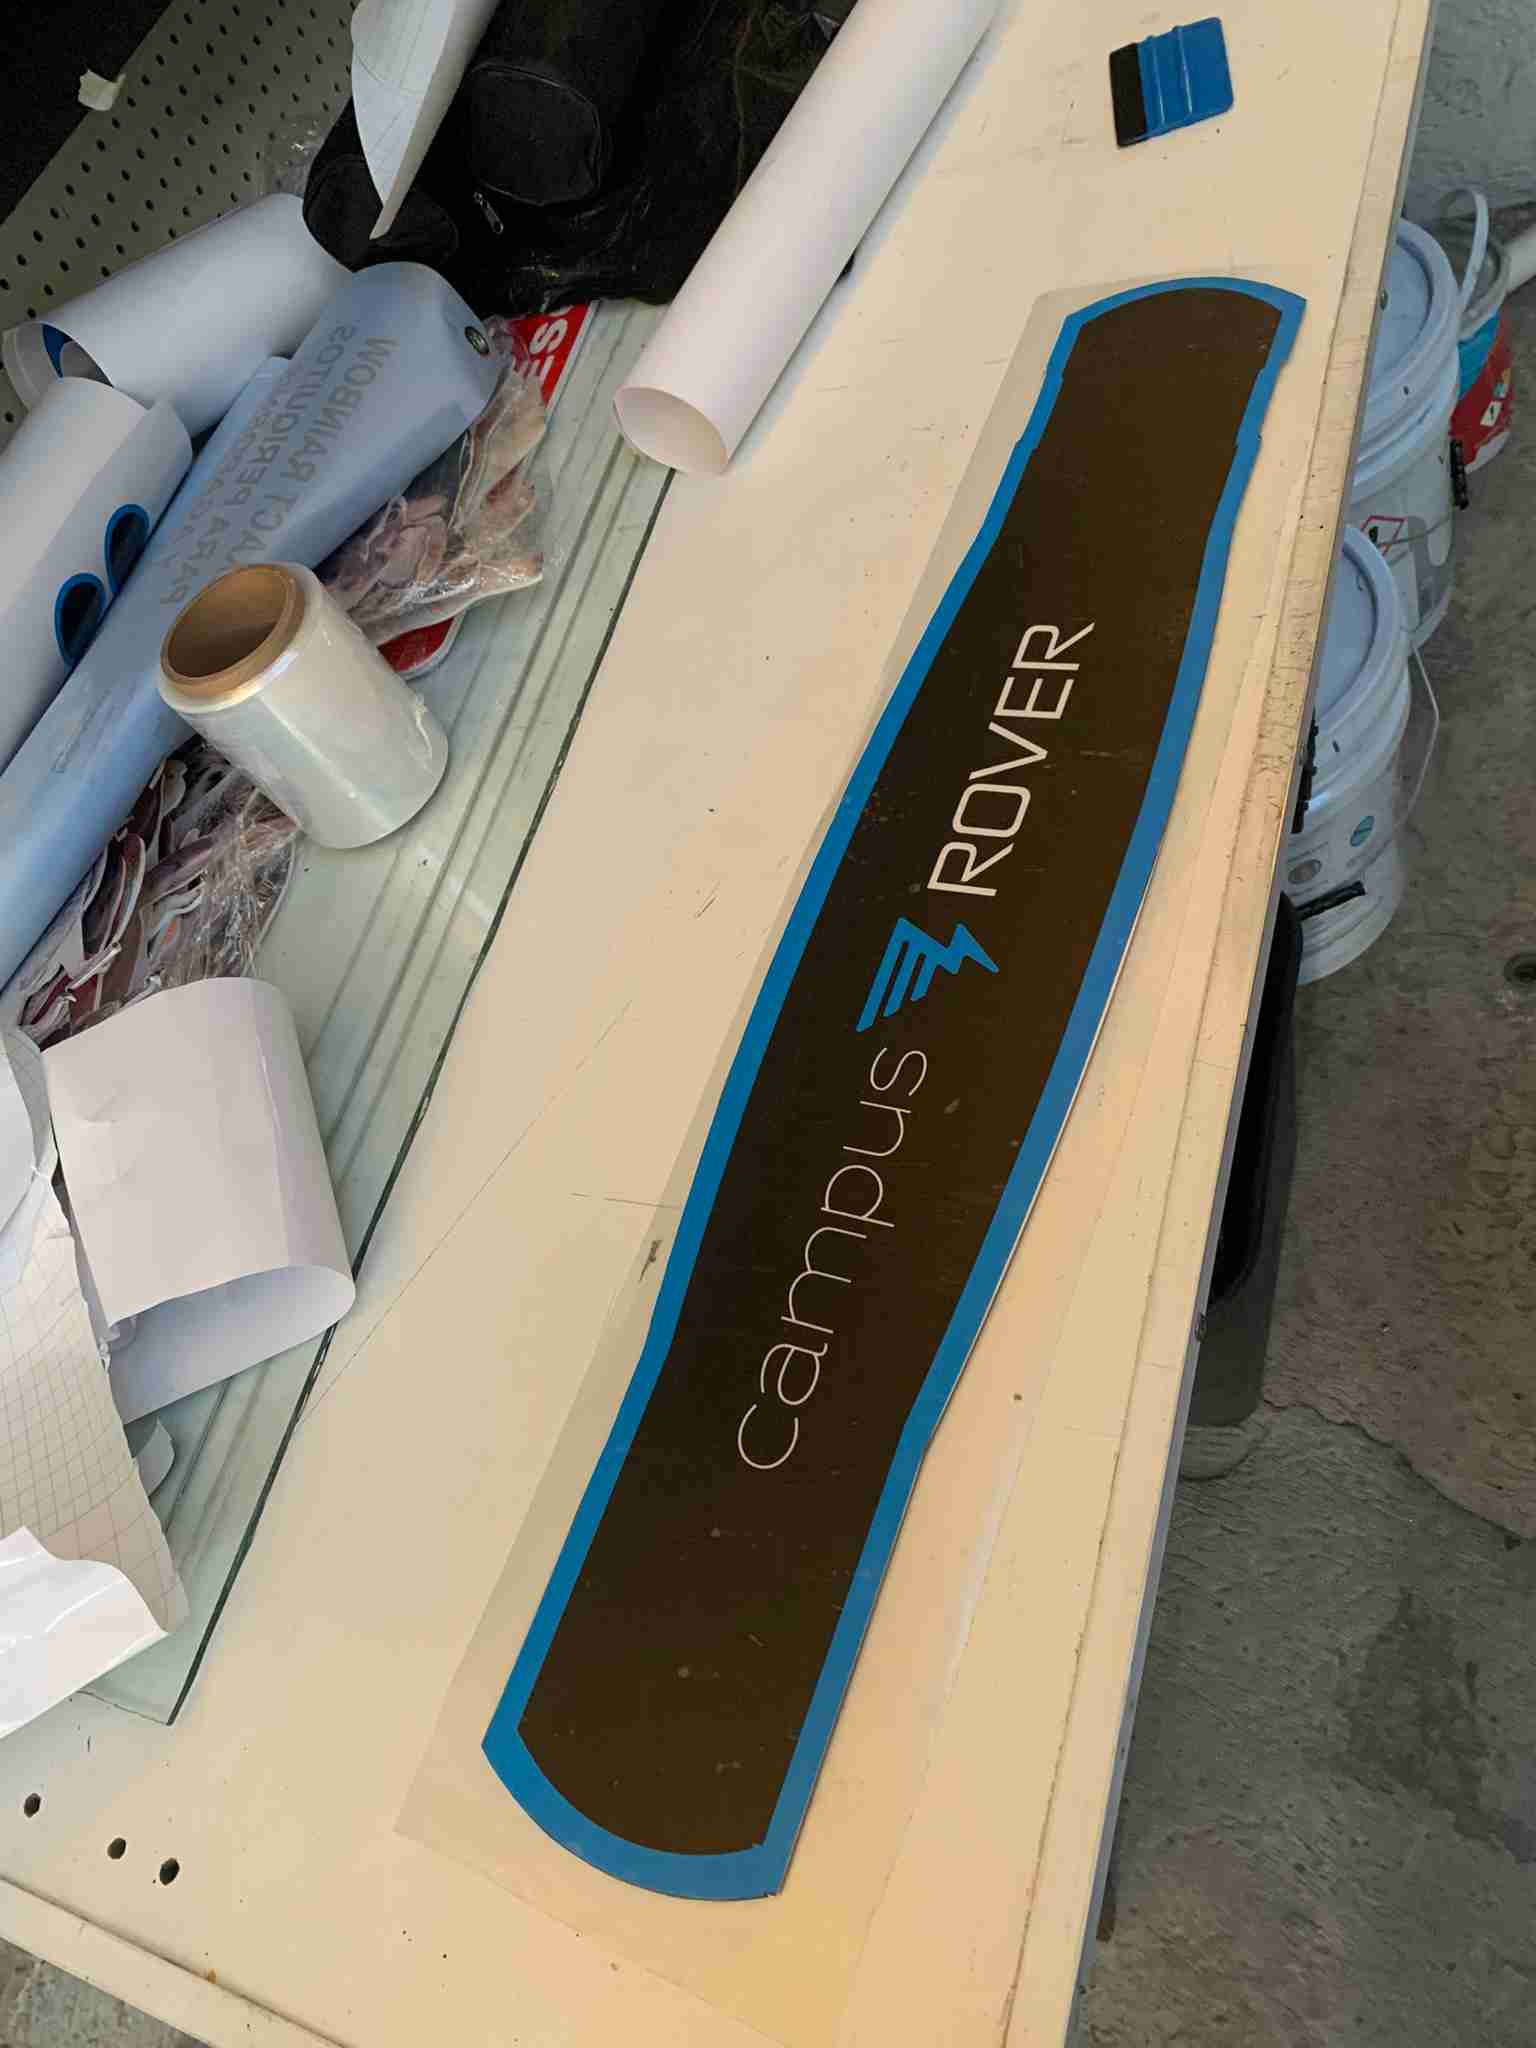
Then, I send out to printing on a local printing shop a design in adhesive vinyl for the floor deck. The design was then cutted and adhered to a hand cutted PVC sheet.
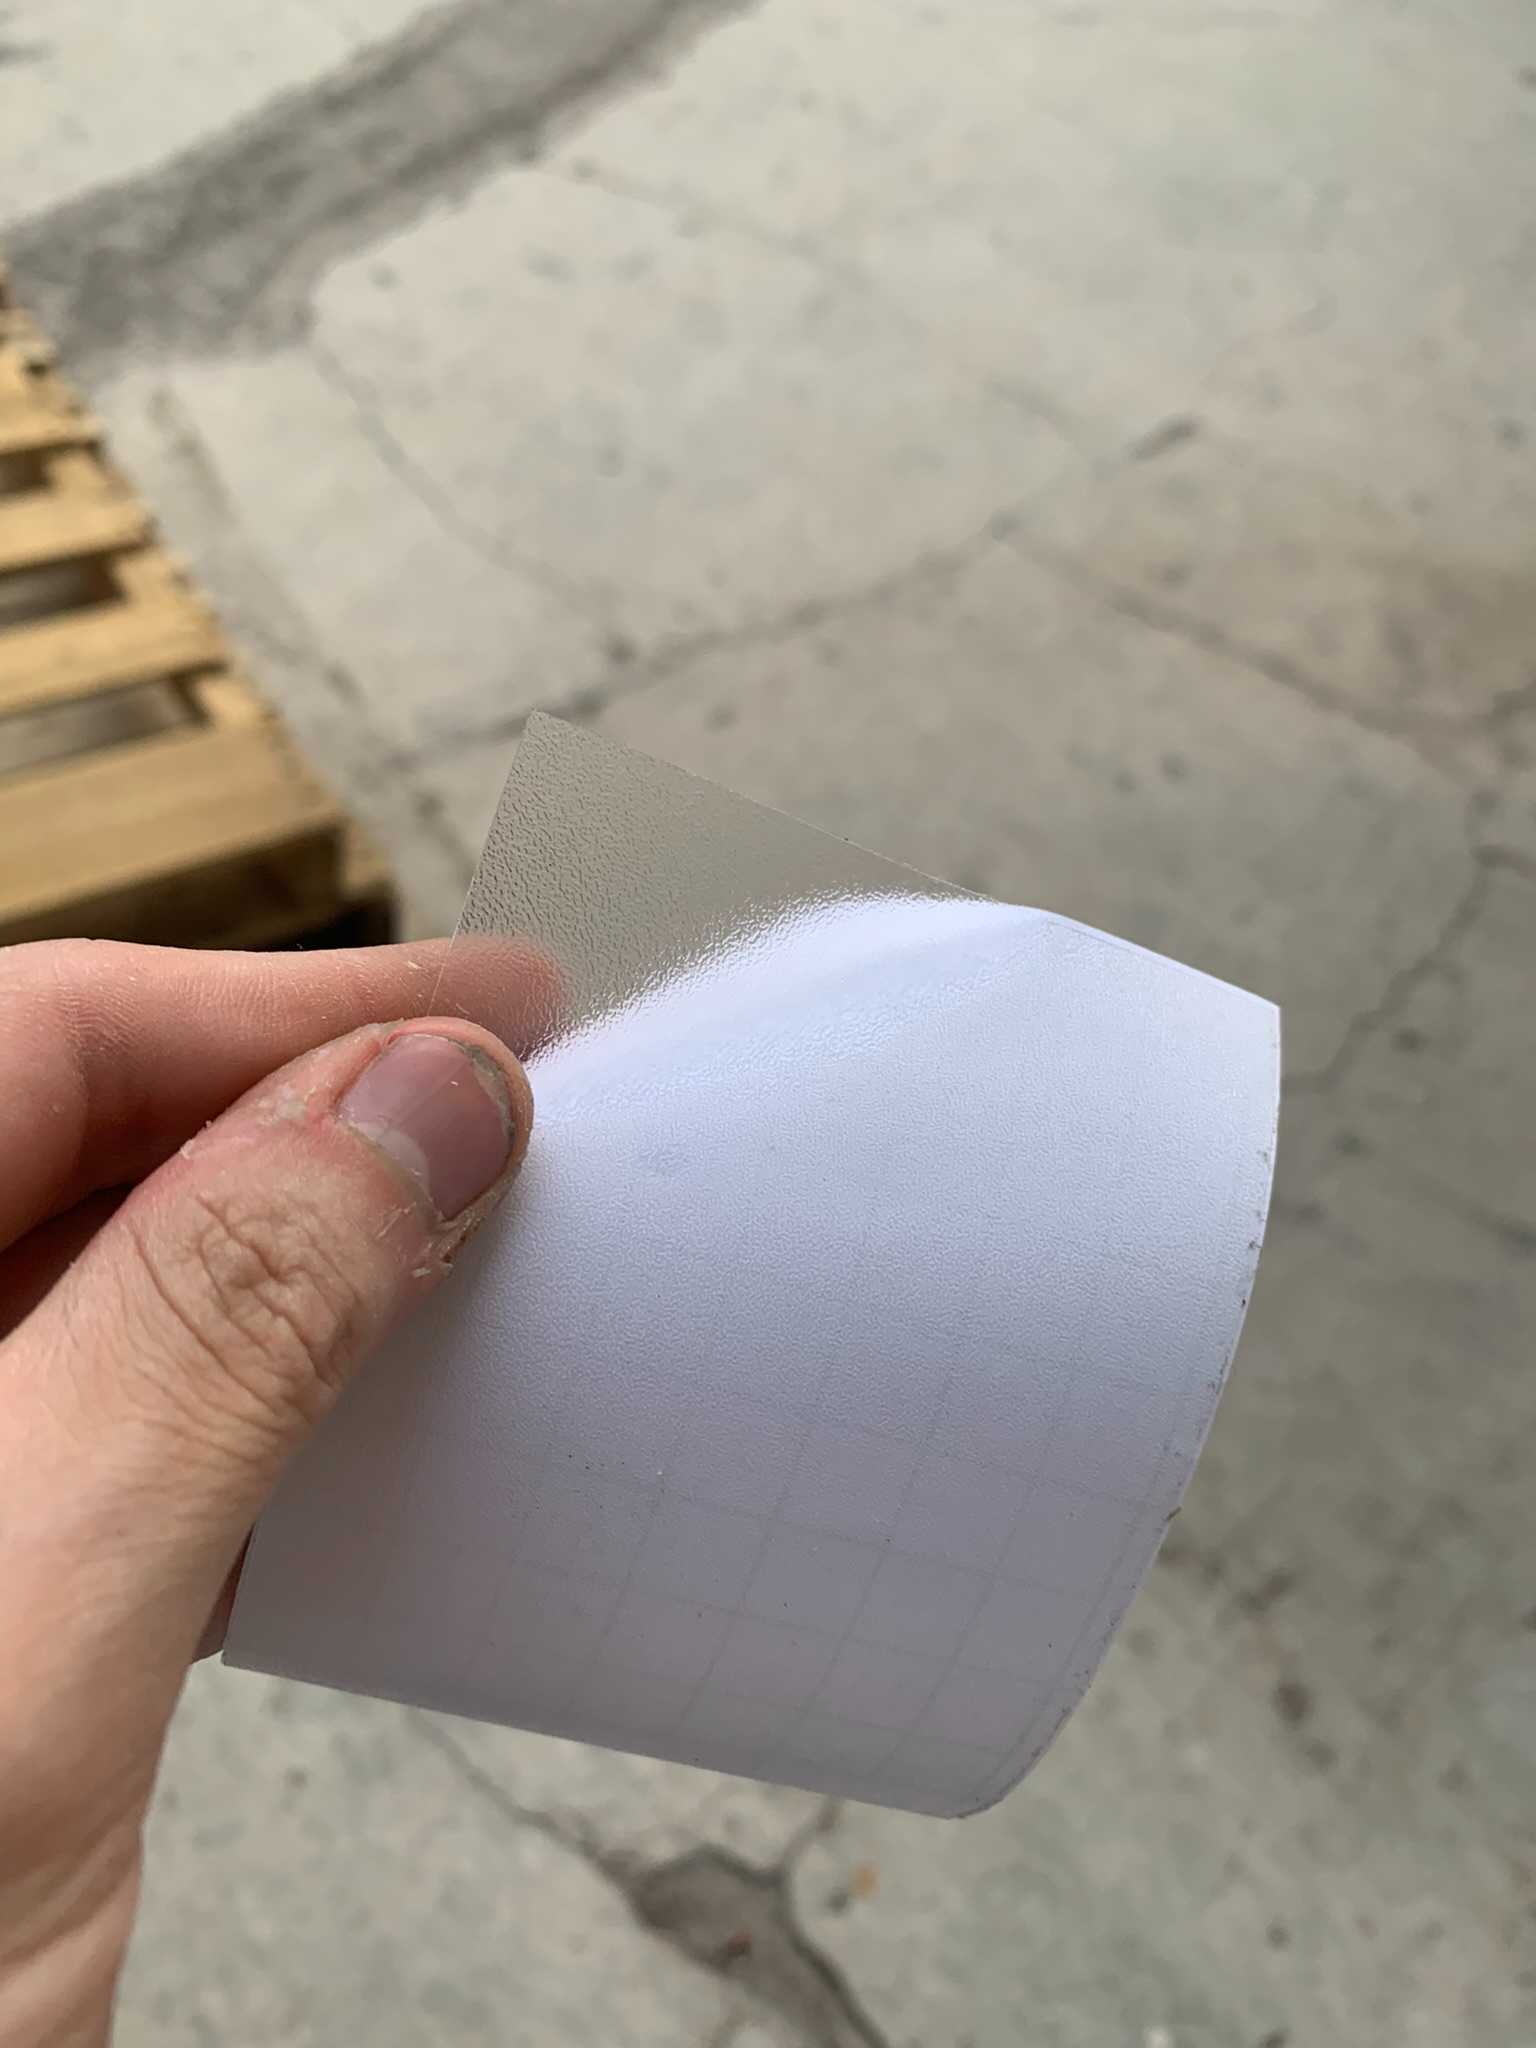
To protect the printed design from wearing out from use and constant stepping, I added a textured, thick plastic cover, which also adds anti-slip properties to the floor deck.
This is it for the Chassis section! Please check out the next page: Digital & Power Electronics!
Download all final proyect assets here!