14. Interface and Application Programming
During this week I had to do an interface and programm it to interact with an output or input device from a board I had already designed. I had a lot of fun thinking what was I gonna do and ended up making an interface that talks about one of my favorite books. For this week, I used Qt Designer to design the interface and Visual Studio Code to program it through python language.
Learning
Design in PyQt (Qt Designer)
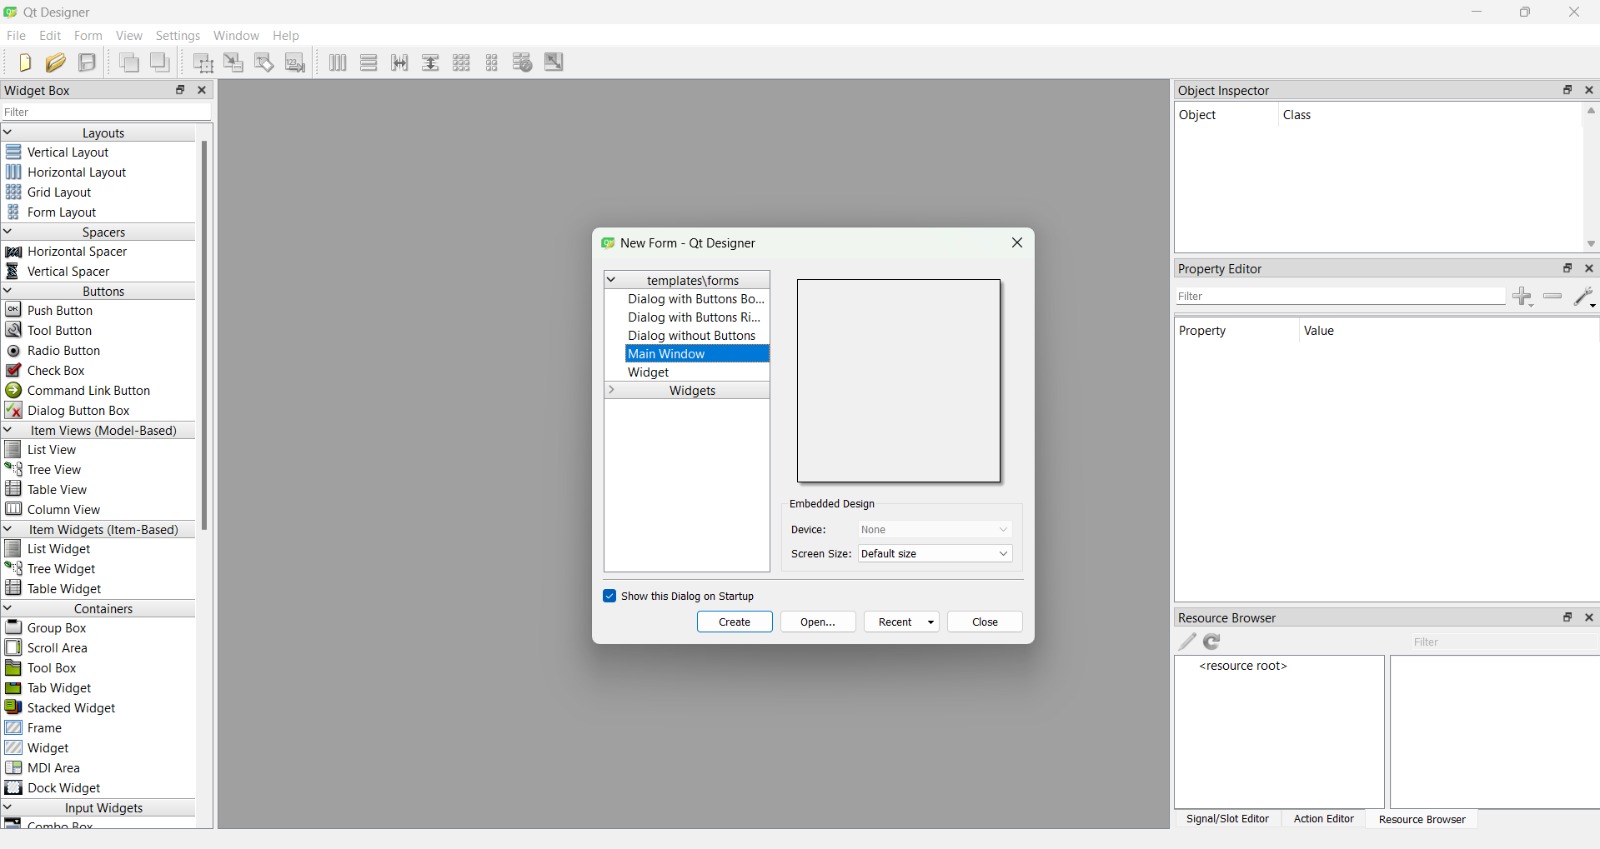
Qt Designer is a software that lets you create graphical interfaces easily. The local instructor gave us a class about how to use the Qt Designer, whose information is also in the group page. The way to design the interfaces is by only dragging and dropping the widgets inside the window. Once you open it, it looks as the next picture, where you can choose any of the templates offered there (I chose Main Window):
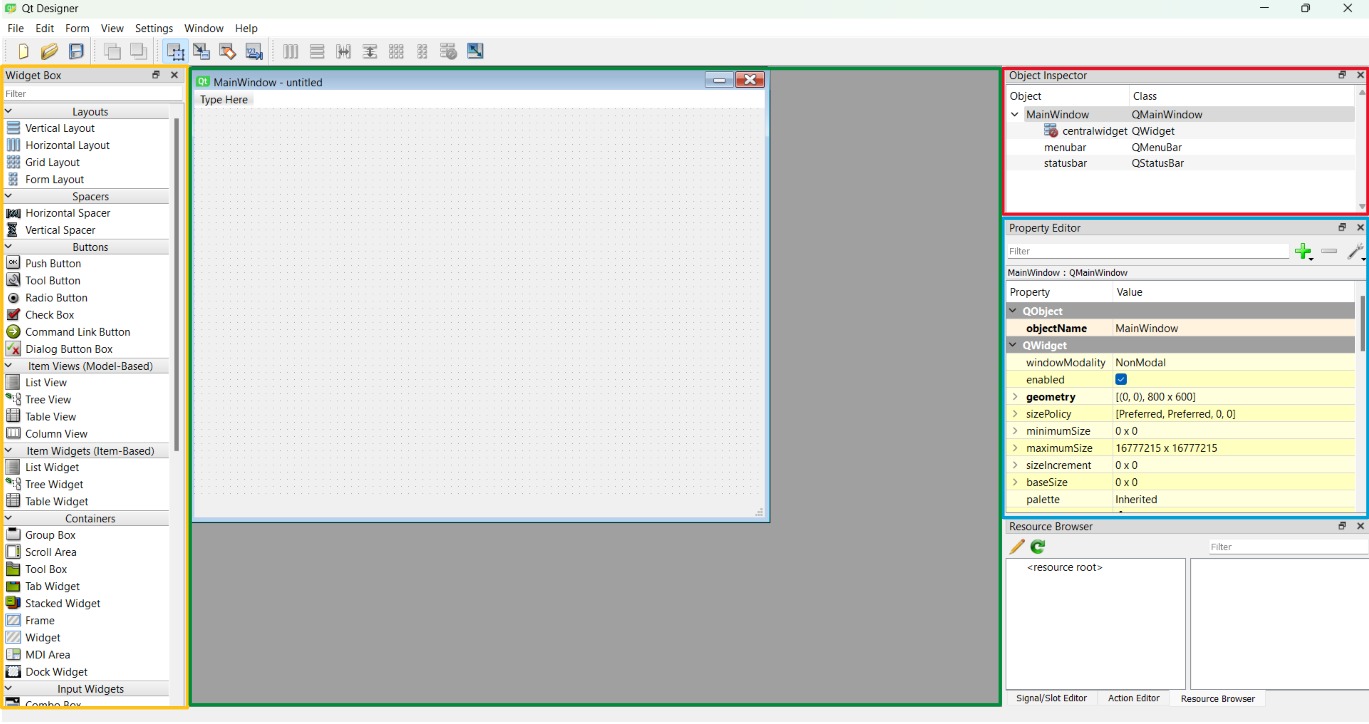
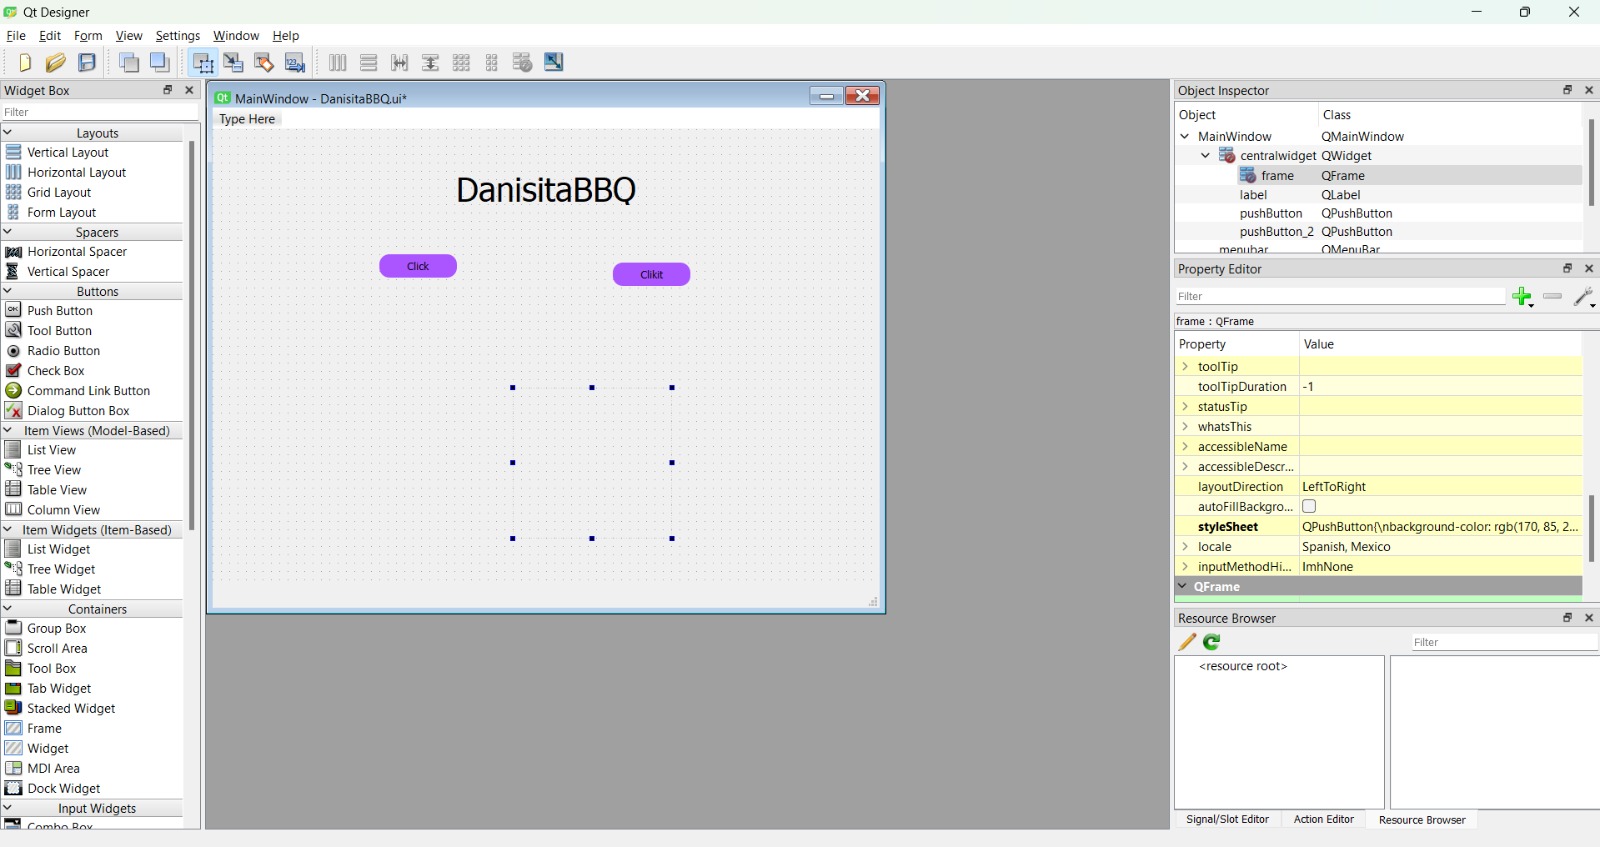
Then, it opened an empty main window with four remarkable areas: the widget box (yellow rectangle), where all the widgets are located; the object inspector (red rectangle), where are all the widgets that are placed in the main window; the property editor (blue rectangle), where appear the properties of a widget once you click on it; and the MainWindow (green rectangle), which is the window of the interface that is being designed.
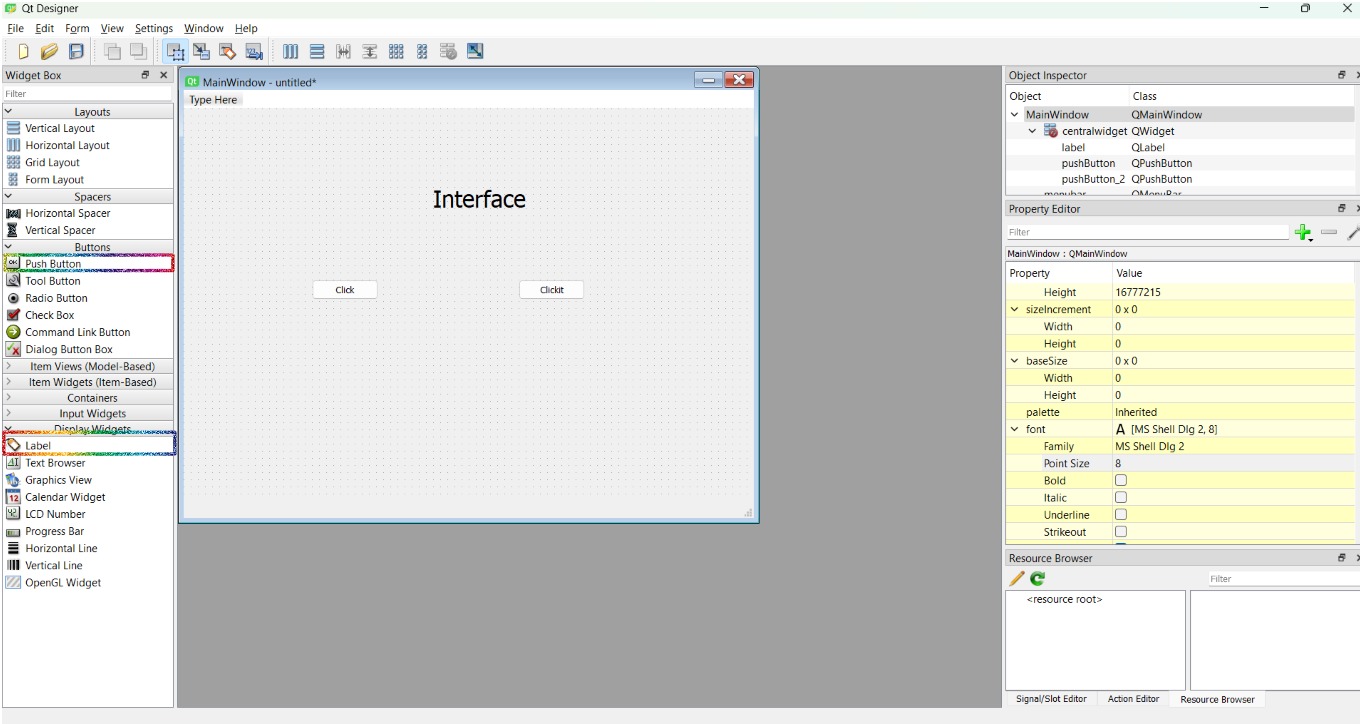
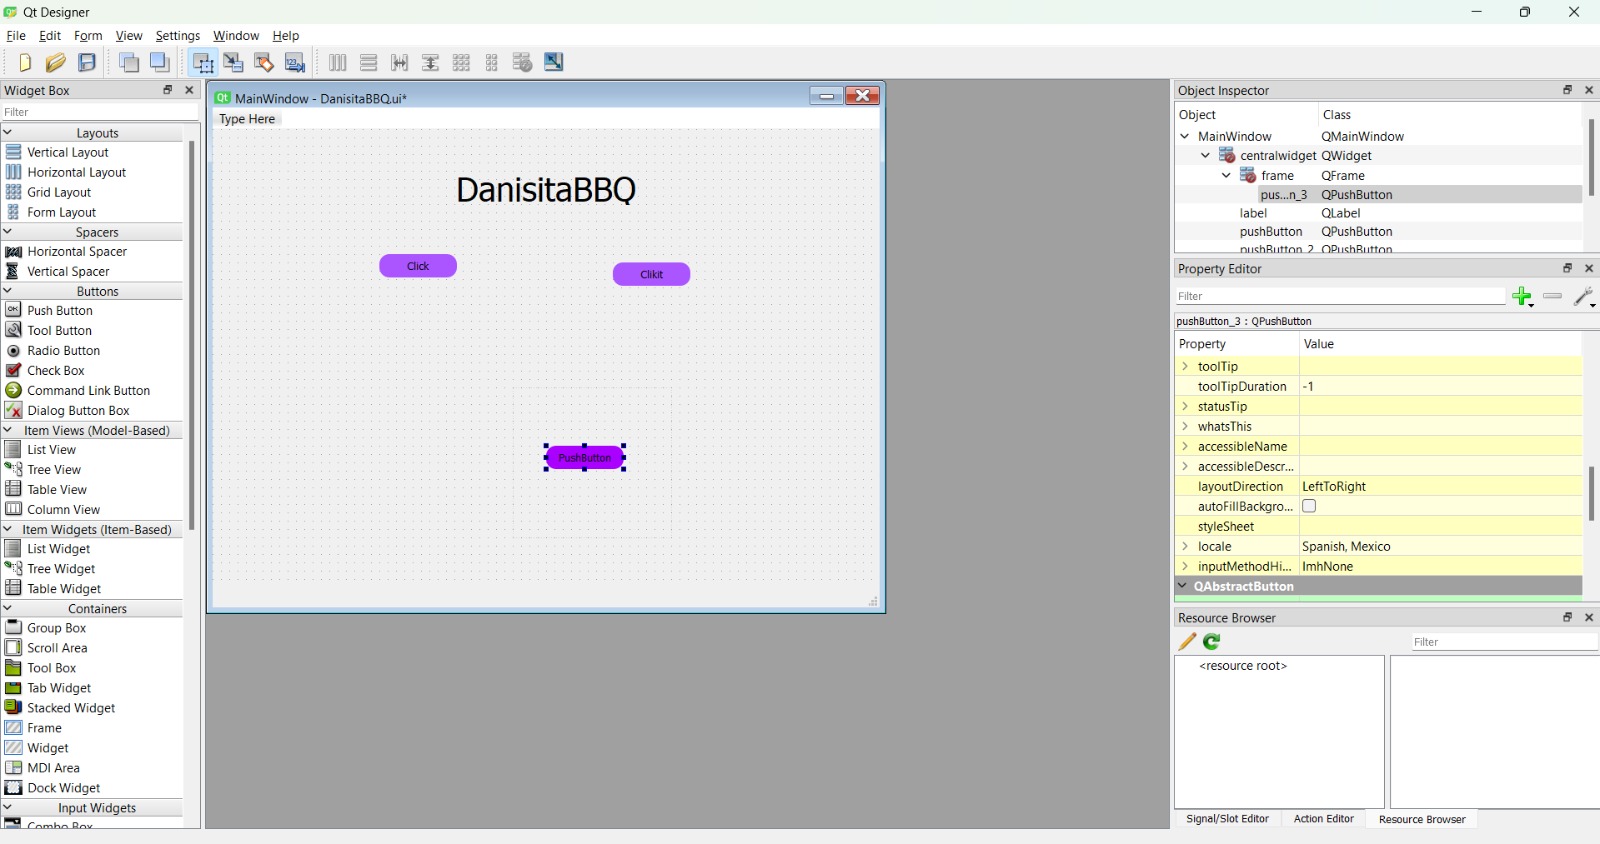
We began knowing about the most typical widgets (push button and label), whose characteristics can be changed in the property editor, while the text is changed by double clicking over it:
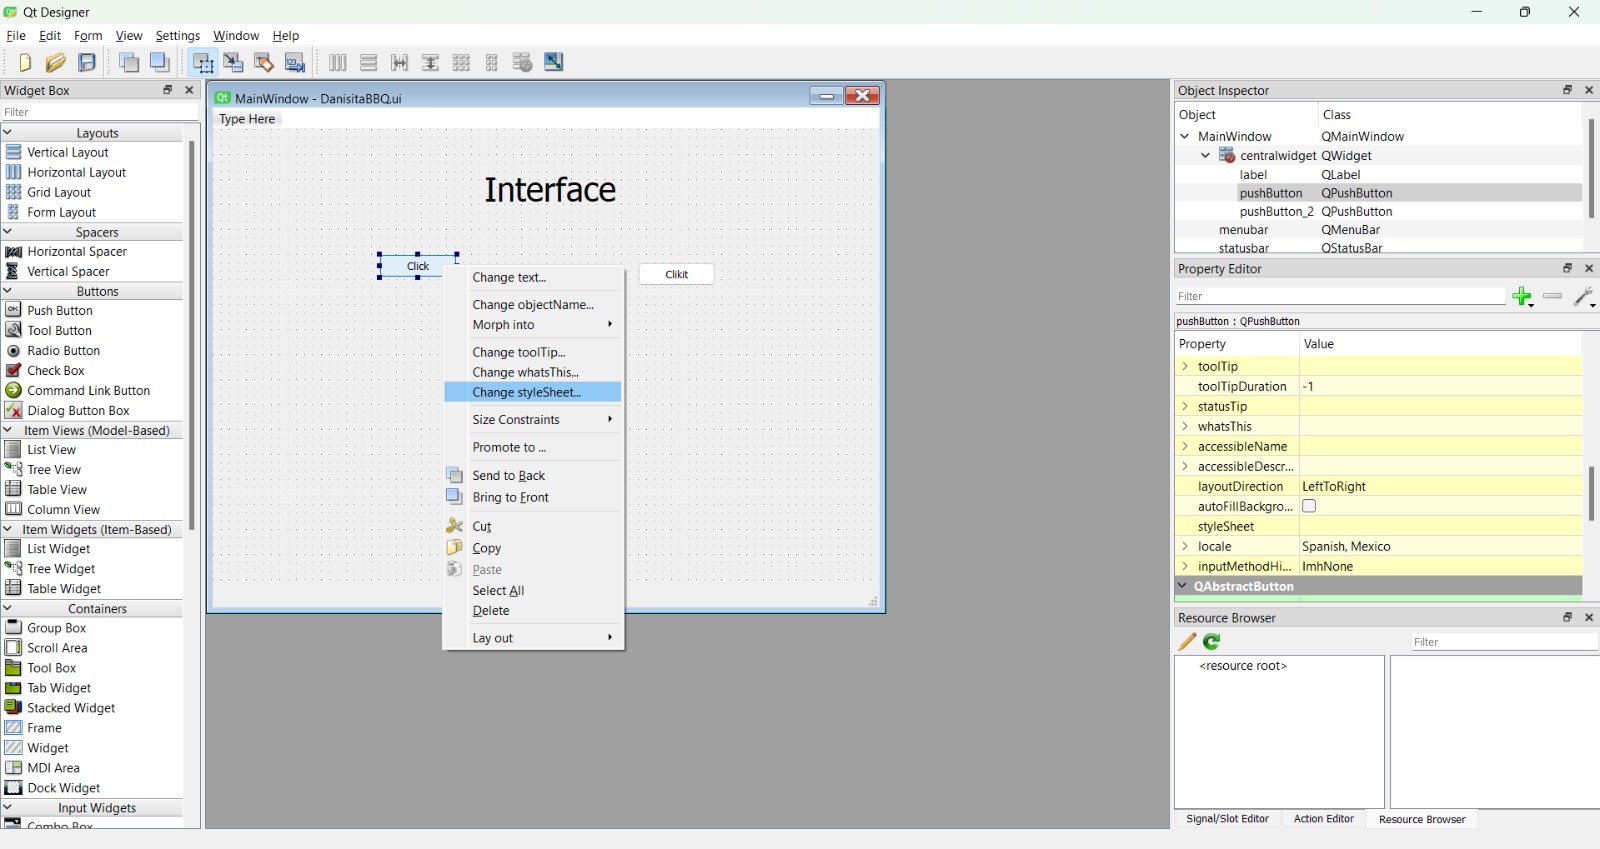
In order to personalize some other characteristics, it is also possible to open the styleSheet by right clicking over the widget and selecting change styleSheet:
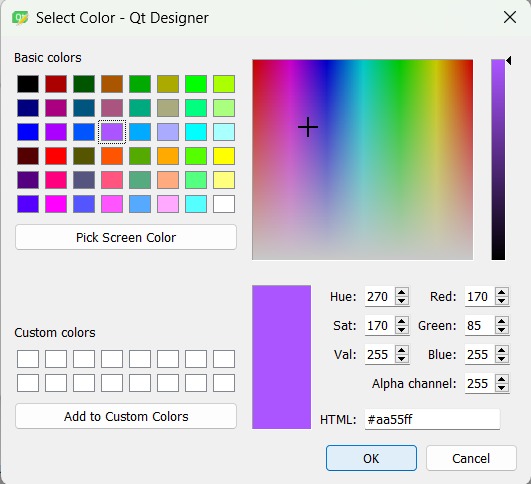
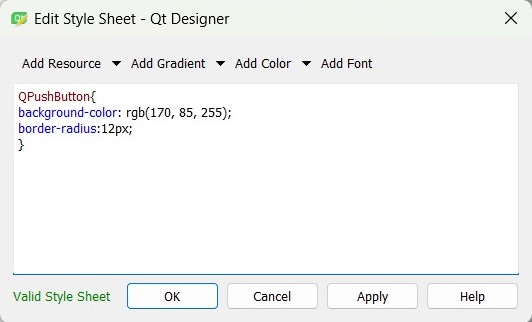
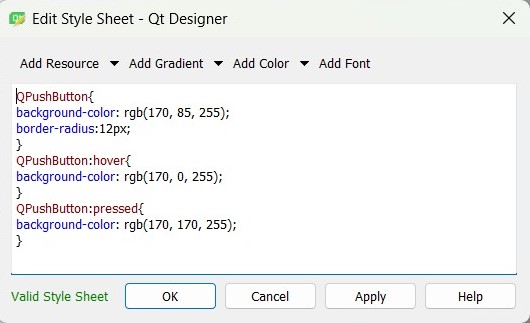
An example with the style sheet is changing the background color: click in Add Color > background-color (1st picture), then select the color and click ok (2nd picture). The code for it will appear automatically in the style sheet (3rd picture):


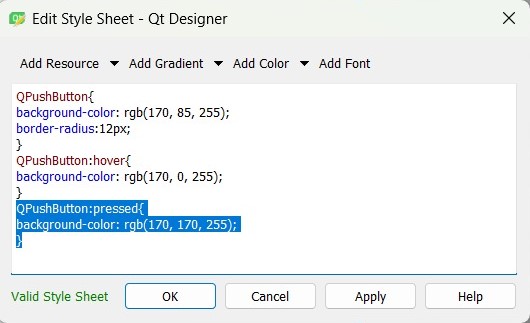
It is also possible to create an object (with its class name) and place all the desired characteristics inside it. In the case of the push button, the object should be named QPushButton, and we put the previous property (background-color) and the border-radious (1st picture). Then we added a class for when the cursor hovers over the button (2st picture), and another one for when it is clicked (3rd picture) to change properties for when any of those scenarios occured:

We learned about another widget: frame. This widget allows to order other widgets and to give the same characteristics to the same-class widgets inside it. Thie began by inserting a frame (1st picture) from the containers section, open its style sheet and copy-paste the style sheet from a push button (2nd picture). Then, when inserting a new push button, the button would acquire the same properties as the previous one (3rd picture):
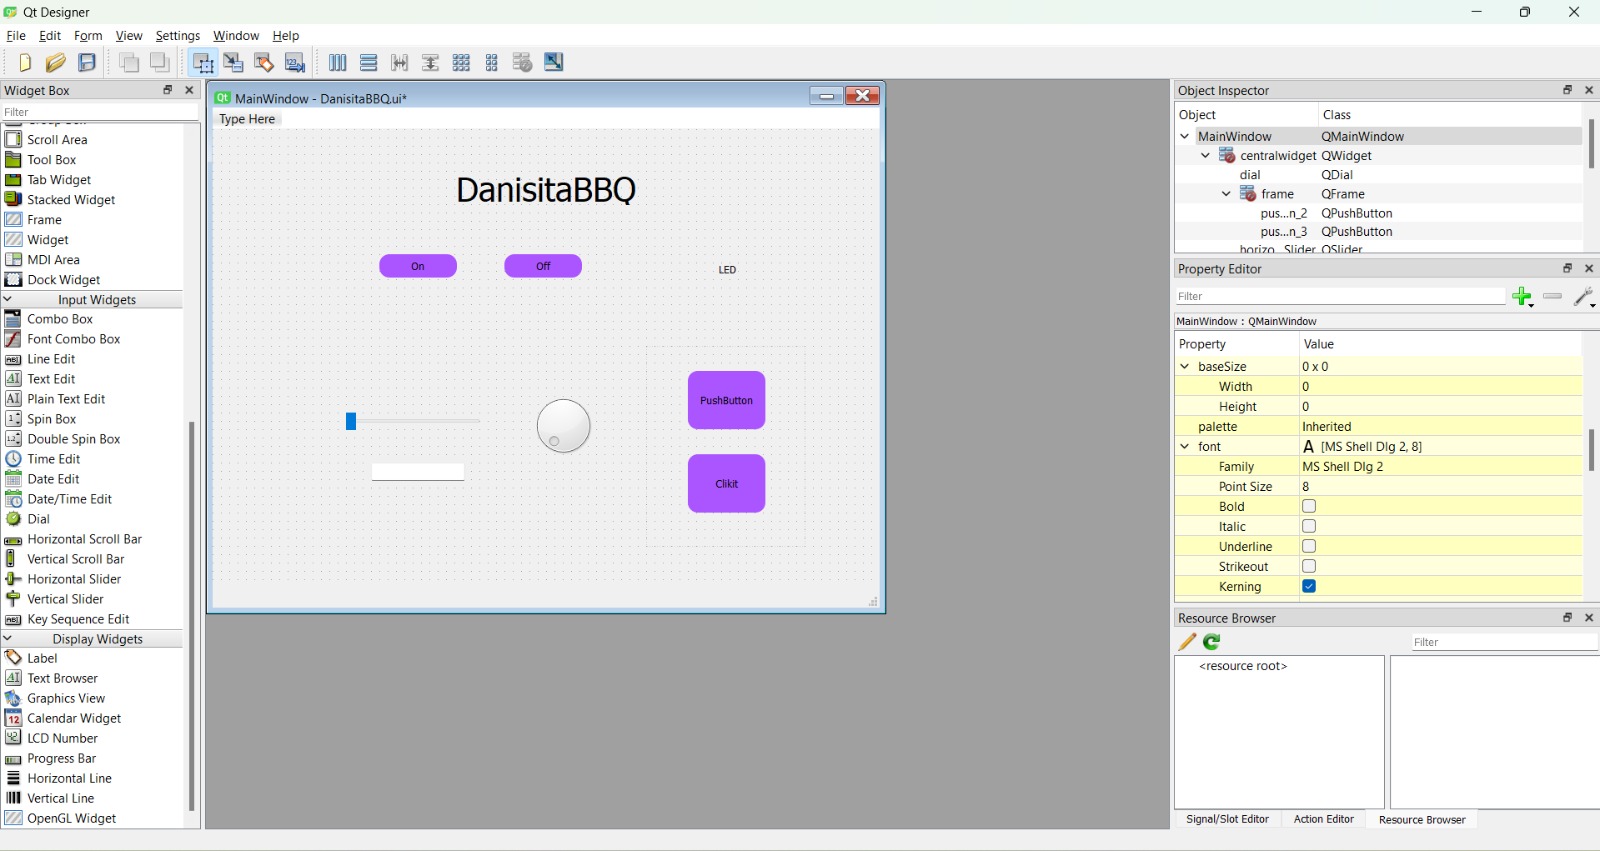
At the end, we just added other widgets to observe how they showed, such as a horizontal slider, a dial, and a line edit:
Program Interface in Visual Studio Code
The main process for this part is to create a python file of the ui file (the one given by PyQt) and then create another python file for the logic the interface will be following. For this, there are some steps to follow:
- Open the .ui file in Visual Studio Code.
- Install PyQt6 from the terminal of Visual Studio Code:

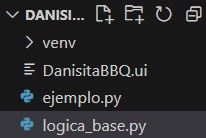
- Create a .py file from the .ui file by writing pyuic6 -x .\DanisitaBBQ.ui -o .\ejemplo.py, where the first
word is the command, -x means "execute", then the name of the file, -o means "output", and then the desired
name for the .py file. It is important to make this conversion, because the interface is programmed using python (hence
the python file), but the interface file is made in a .ui file. This command will create a python file with the name of
all the widgets, as well as its properties:

- Create a new file, which I named "logica_base.py" from Visual Studio Code:
- The local instructor gave us a layout code to begin, where the firt code line is the one importing all the widgets from
the interface:

- Install the serial library from the Visual Studio Code terminal, which is for communications writing pip install
serial in the terminal:

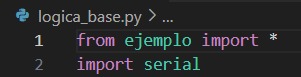
- Change the file name in the first line to import all the widgets from the new python file (use the name of the python file
just created), and import the serial library too:
- Then we learned some new things to code in it:

- Finally, to run the interface, we had to click in the icon in the top right corner:

Programming the Microcontroller
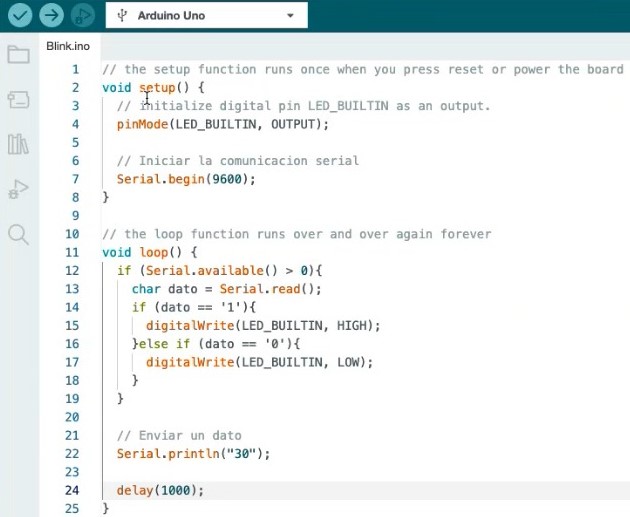
Programming the microcontroller wasn't that difficult, because we have already done that in previous weeks. The new thing was the serial communication between the microcontroller and the interface. Here, we were told to establish the same baud value in the microcontroller as in the interface. The new commands we learned were:
- Serial.available(): this asks if there is something in the serial communication.
- Serial.read: this reads the message from the interface.
- Serial.println: this sends a message to the interface.
It is very important to know that, in order for the serial communication between the microcontroller and the interface to function, none of the serial monitors should be opened. This would be marked as an error in Visual Studio Code as a port that isn't available or that it is not possible to connect to the port selected for the microcontroller.
Design of my Own Interface
Now that I learned about the Qt Designer, I was able to design the interface. I wanted my interface to be like passing slides in the next order:
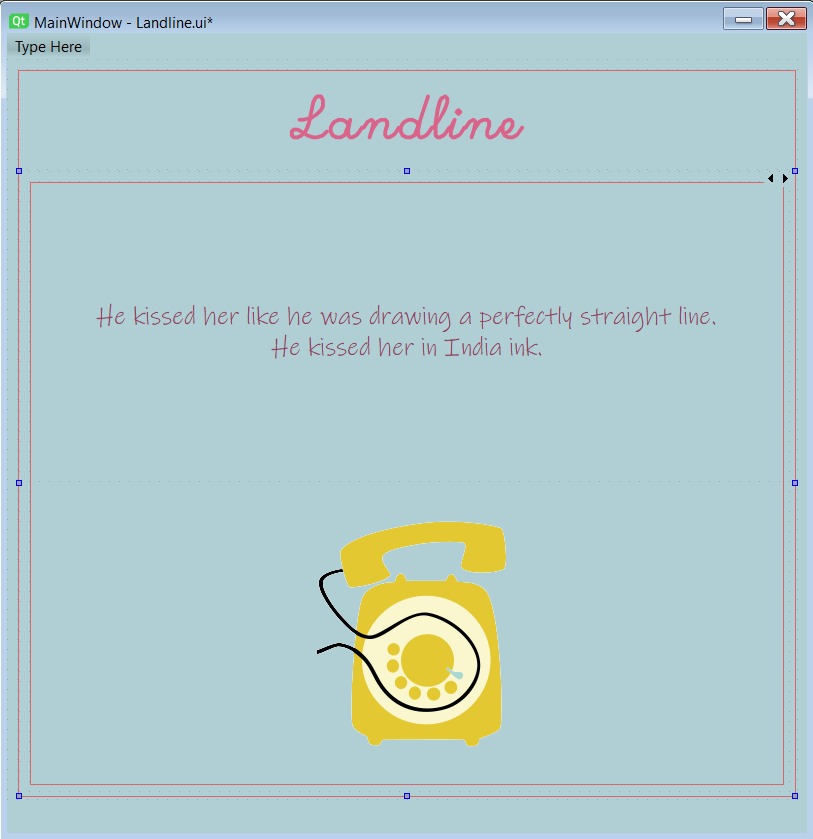
- Front page of the book: write title, author, the characteristic yellow landline of that book and what the interface is about.
- Summary: write title, write "Summary", the summary.
- From the 3rd to 7th page: passages or quotes from the book.
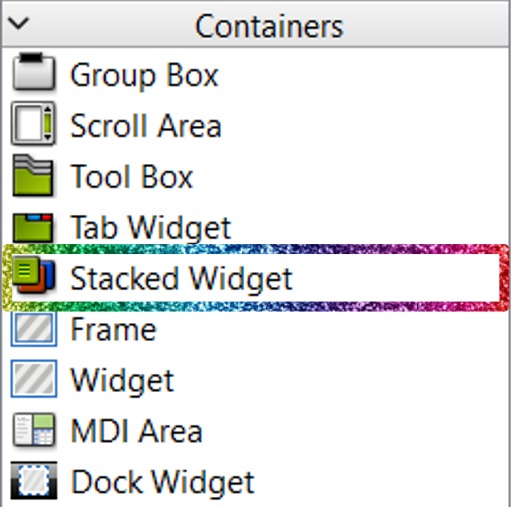
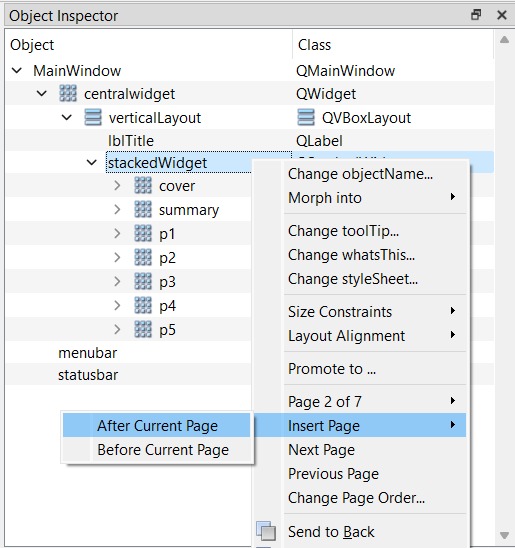
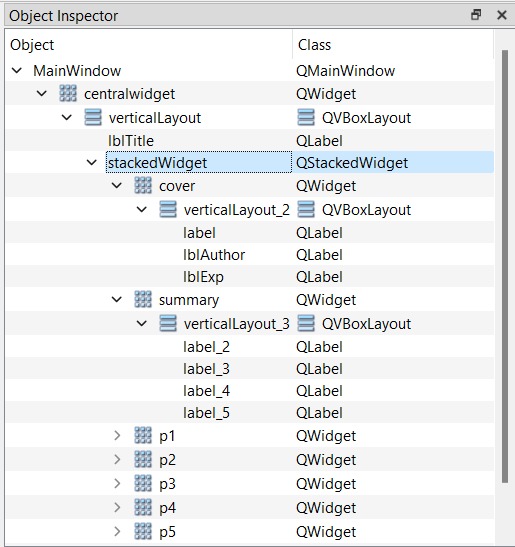
My local evaluator saw what I was doing and suggested me to use the stacked widget (1st picture). Then, to add pages, I right-clicked the widget in the object inspector (2nd picture) and then Insert Page > After Current Page. Finally, I added the widgets I wanted inside each page:
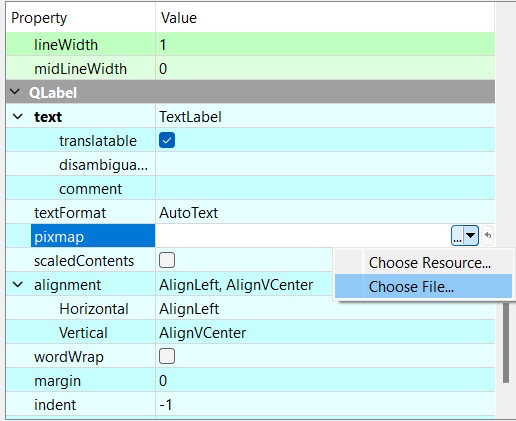
I surfed the internet for a yellow landline, but couldn't find any that convinced me. For this reason I had to draw one myself: I copy-pasted the first picture in Inkscape and drew the yellow landline as I wanted (2nd picture). Then, to insert the picture in the Qt Designer, I inserted a label widget and went to Object Inspector > QLabel > Text > pixmap > the down arrow > Choose file... and selected the picture I wanted (3rd picture)


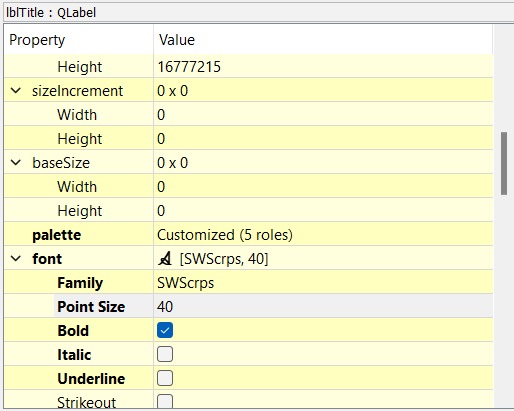
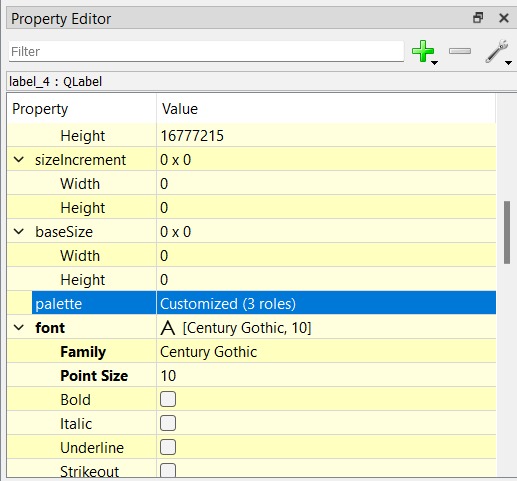
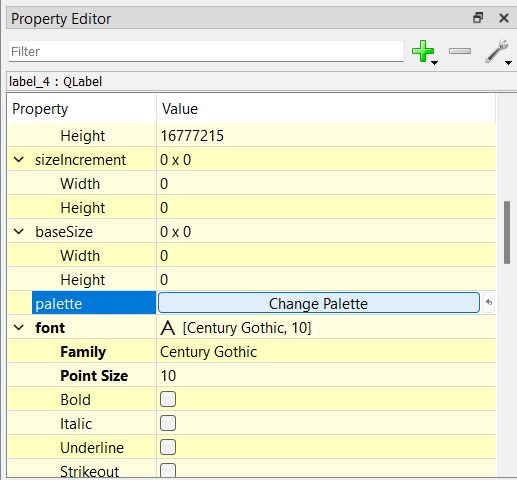
Finally, for it to look as I wanted I changed text font, size font, palette, and background color thorugh the property editor:
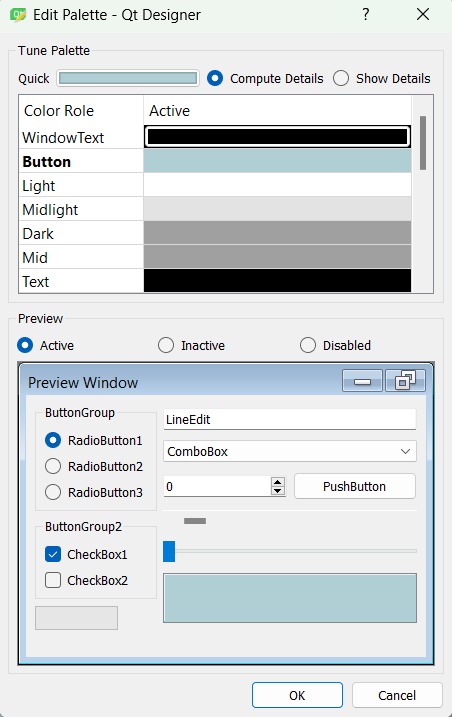
I changed the text color by going to Property Editor > click in the Palette characteristic > Change Palette > click over the color of the WindowText:
And the final result:
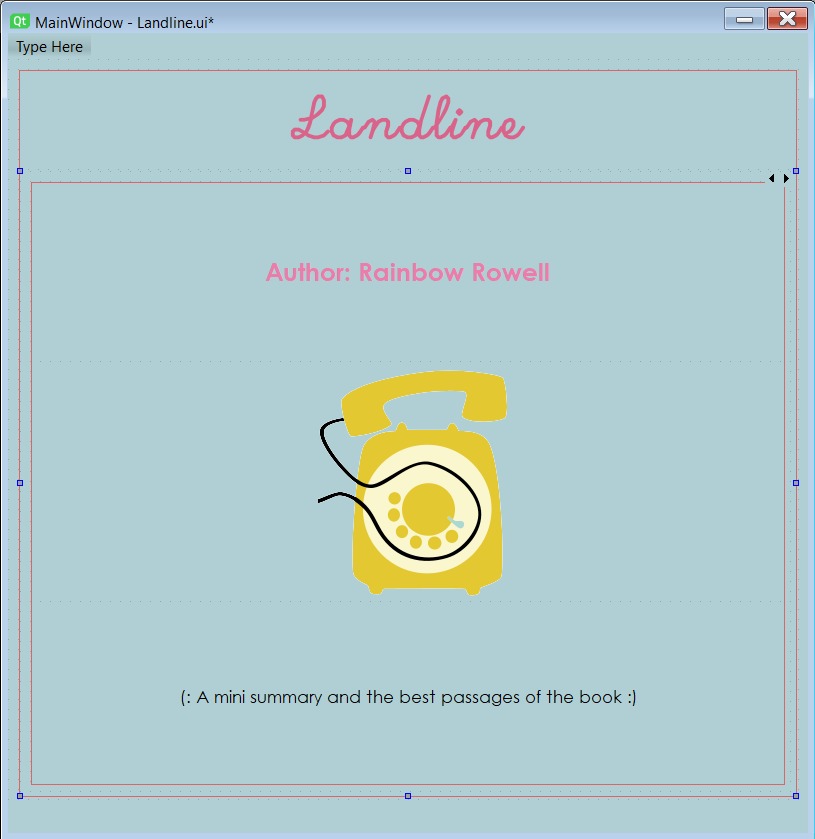
Cover Page
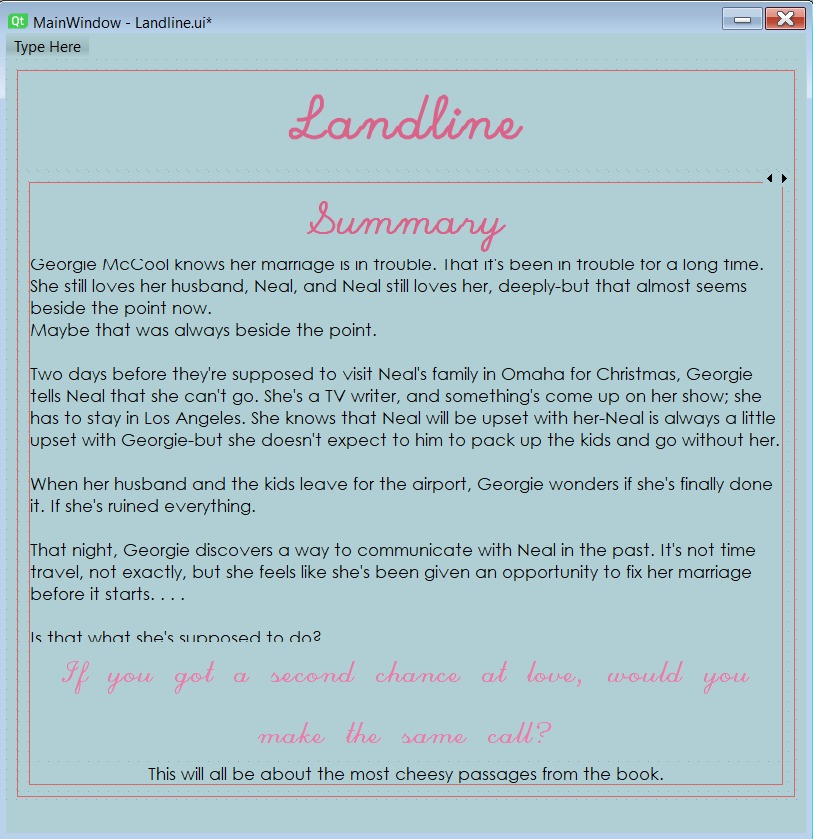
Book Summary
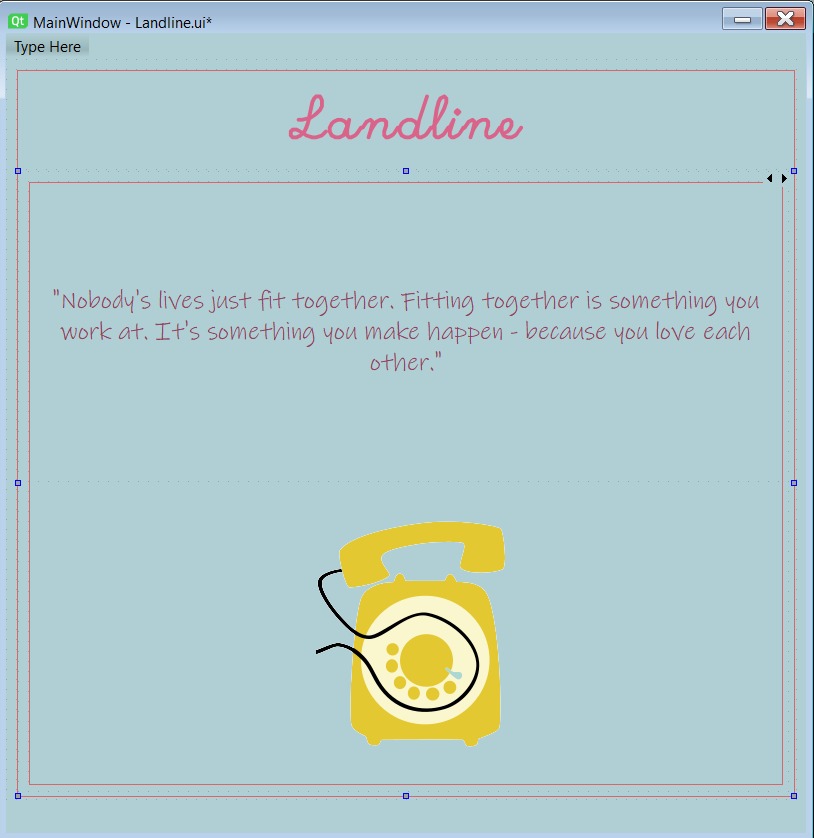
1st Quote
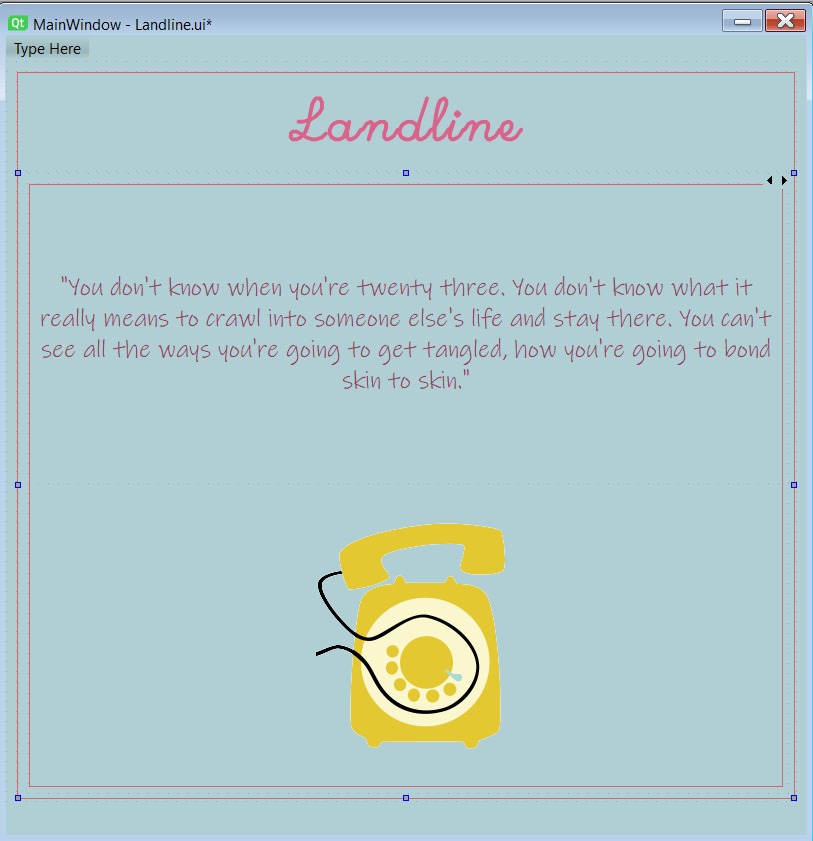
2nd Quote
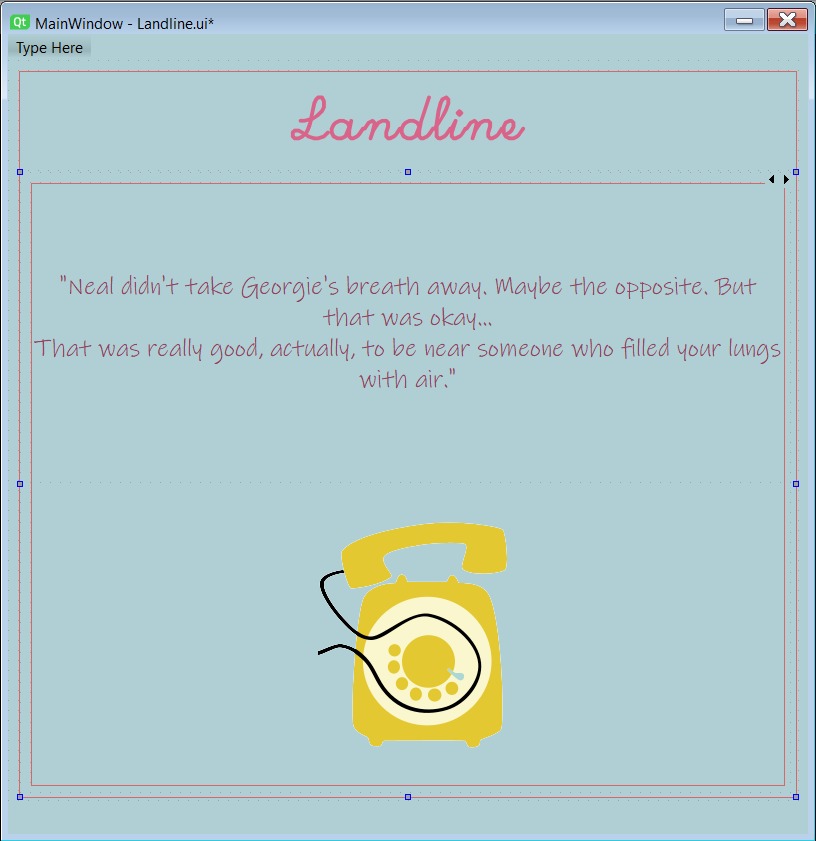
3rd Quote
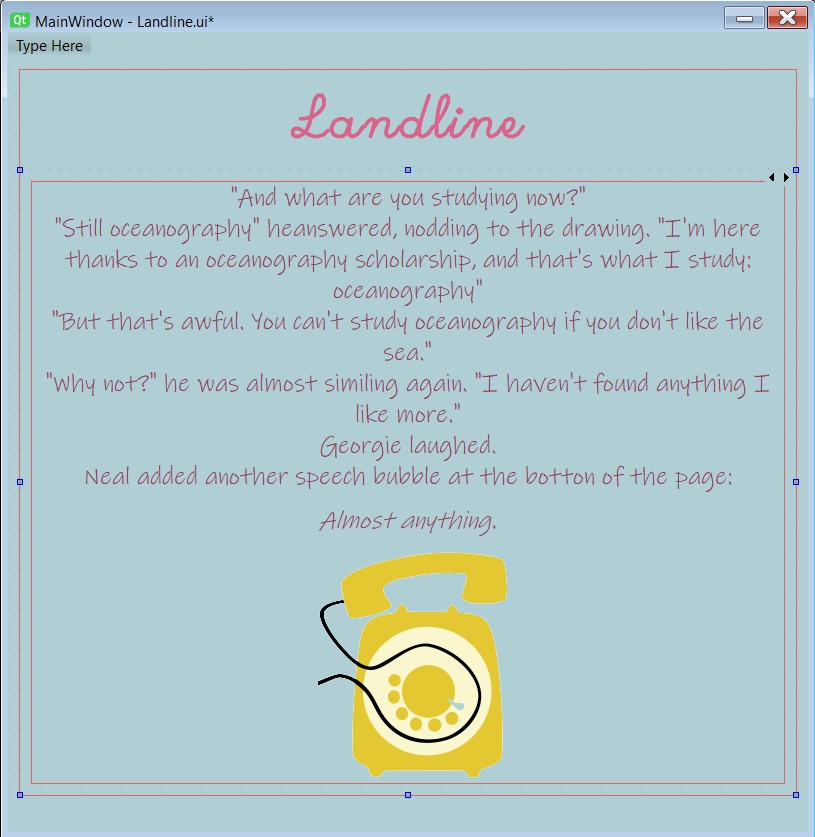
4th Quote
5th Quote
Program Interface
To program the interface I first followed the step from the "Program Interface in Visual Studio Code" section above to create the python file containing all the widgets used in the interface and to create the python file that will contain the logic behind the inteface. It is possible to program the interface logic in the same python file of the widgets, but will be overwritten when something is changed in PyQt and then retransformed as a python file with the pyuic command. So I created the python file from the ui file and a python logic file named "logic.py". Here is the code for the interface logic:
The code consists of different parts:
- Importations: first there is the importation of all the widgets from the landline.py file; the serial library to allow communication; and the PyQt5.QtCore is the core library of PyQt, but I only needed the timer.
- class MainWindow: here is everything that will be displayed in the window and is conformed by functions. __init__ is a method to initialize the properties of an object and has variables and set ups. Another function I have in the code is the one to read the buttons (read_sensor), which receives and reads the message from the microcontroller and sets the index for the stacked widget as the page number.
- if __name__ == "__main__" statement: runs the main program.
Program Microcontroller
The microcontroller I used was the same Xiao ESP32-C3 from week 11, but I only used the buttons and the OLED. Here I located the two buttons and the OLED to write the pin numbers in the code:
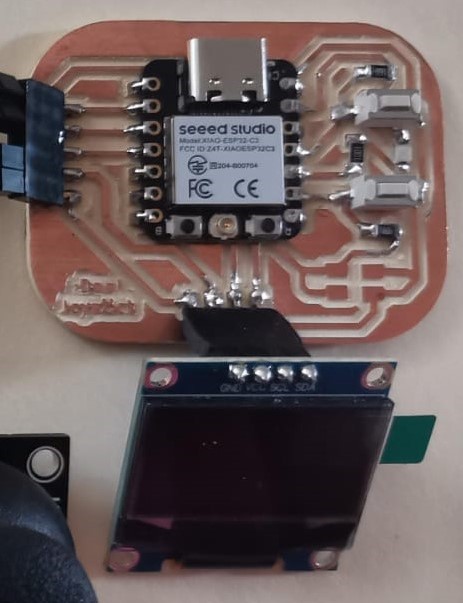
To program the microcontroller I used the Wire.h and U8g2lib.h library for the OLED. Then decalred the variables for the pin numbers of the buttons, the OLED, and for the page number. The objective of this code is to increase or decrease the page number depending on which buttons is being pressed; while the OLED would show the title "Landline" and the page the interface is showing.
Complete Result
Useful links
Files
Yellow Landline Files
Interface Files
- Layout for interface's logic (.py)
- Interface in Qt Designer (.ui)
- Interface in python (.py)
- Logic code behind the interface (.py)