10. Mechanical Design, Machine Design
The task of this week consisted on designing a CNC machine including the mechanism, actuation, automation, and its application. This task was the only one that had to be done as a team, with my team conformed by:
- Team Machine
- Luis Santiago Cuautle Ortiz
- Gala Ivanna Ocampo Sosa
- Ángel Fernando De Los Santos Hernández
- Andrea Robredo Cernicchiaro
- María José Rivas Arreola
- Jorge Limón Balderas
- José Miguel Aguirre Prieto
In the first meeting we had a brainstorm about what we could be doing to design the machine. There were several different options, such as: a pasta cutter, a sand board, a fluorescent board, and a bioprinter. The selected option was the bioprinter with extruding a hydroxyapatite based material, but this material has a very high density and is dificult to even extrude it from a syringe. For that reason we decided to use an alginate based material, which has a texture similar to jelly.
Alginate
Actually, I didn't do much in this part, because the main person (who knew the most about this material) was Santi. For that reason, he was the one who controlled and monitored everything that had to do with the material, and I was kind of a kitchen assistant. At first, the idea was to give the alginate material a lemon flavor, since the substance that solidified it was calcium chloride (a salt).
The process to create the extruder material is to mix alginate with water, then extrude it with a syringe, and then apply a mist of calcium chloride to solidify it. However, in order to make easier the process of giving the flavor, it is important to put the flavor to the water and then mix it with the alginate. The original materials were the following:
- 1 gr of Splenda
- 120 mL of water
- Lemon flavoring (a sprinkle)
- 5 gr of Alginate
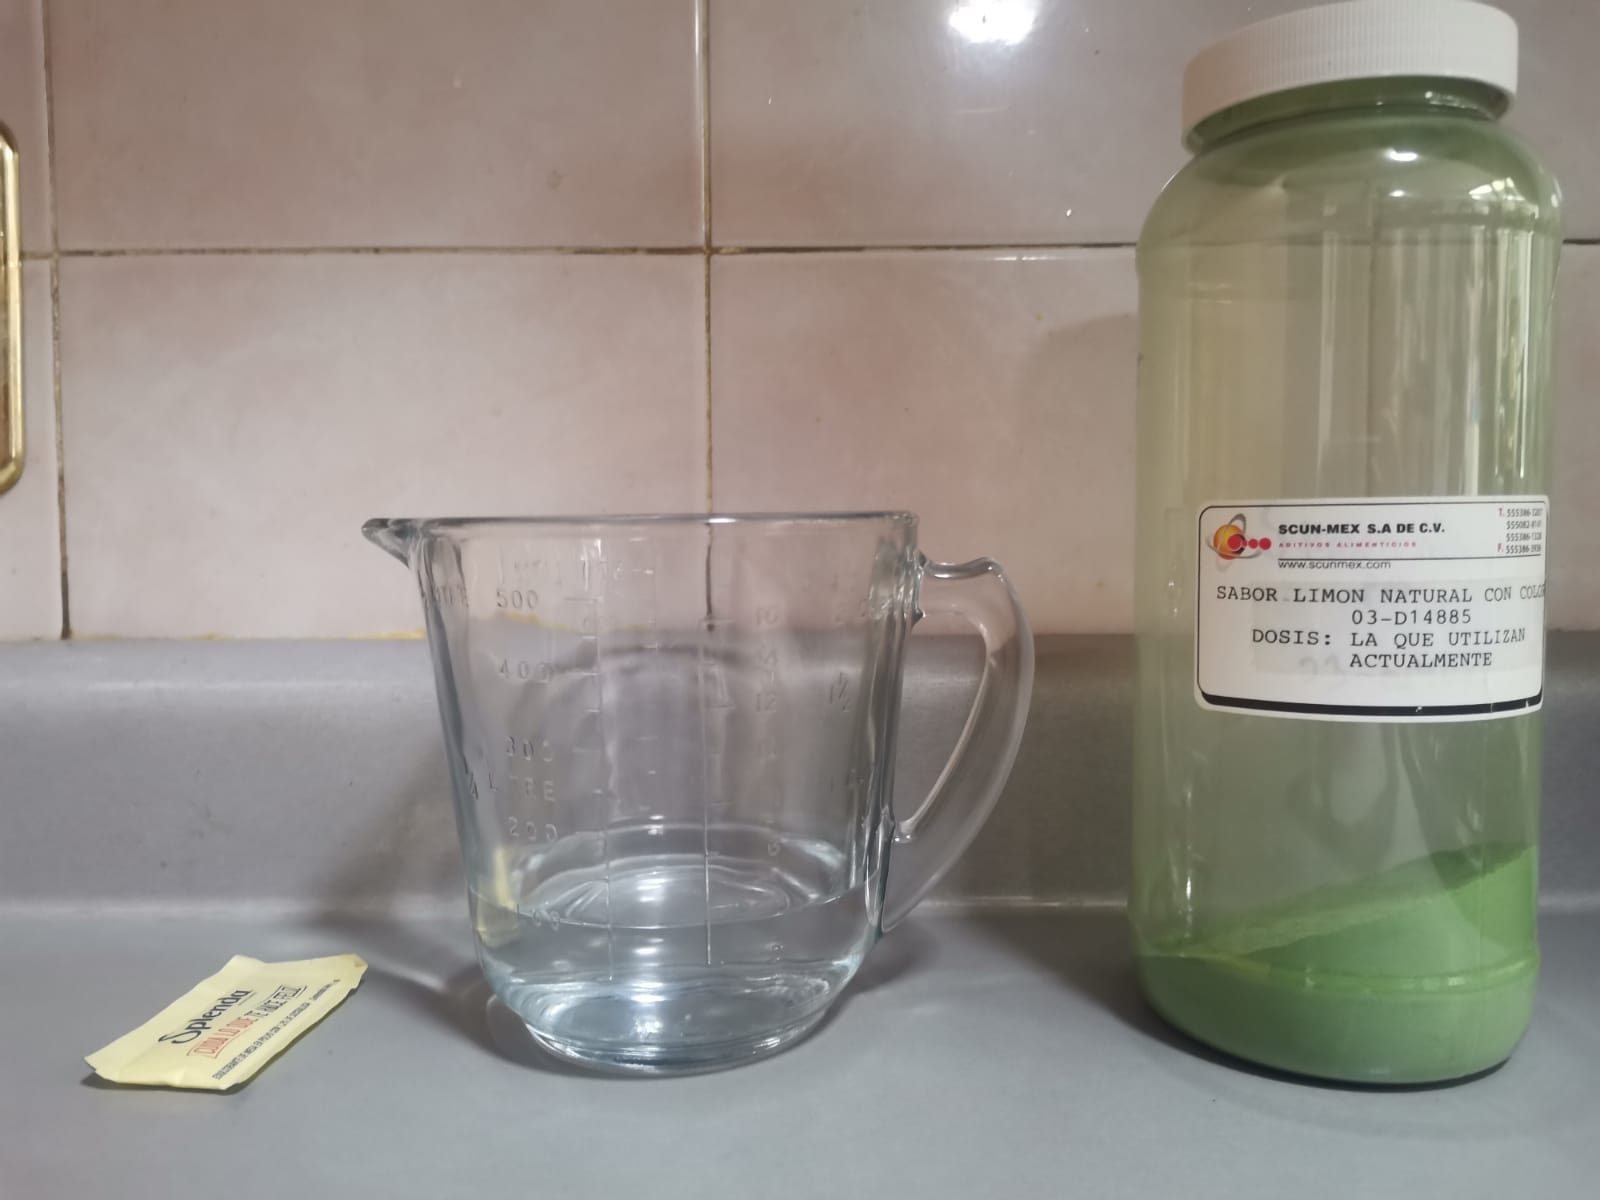
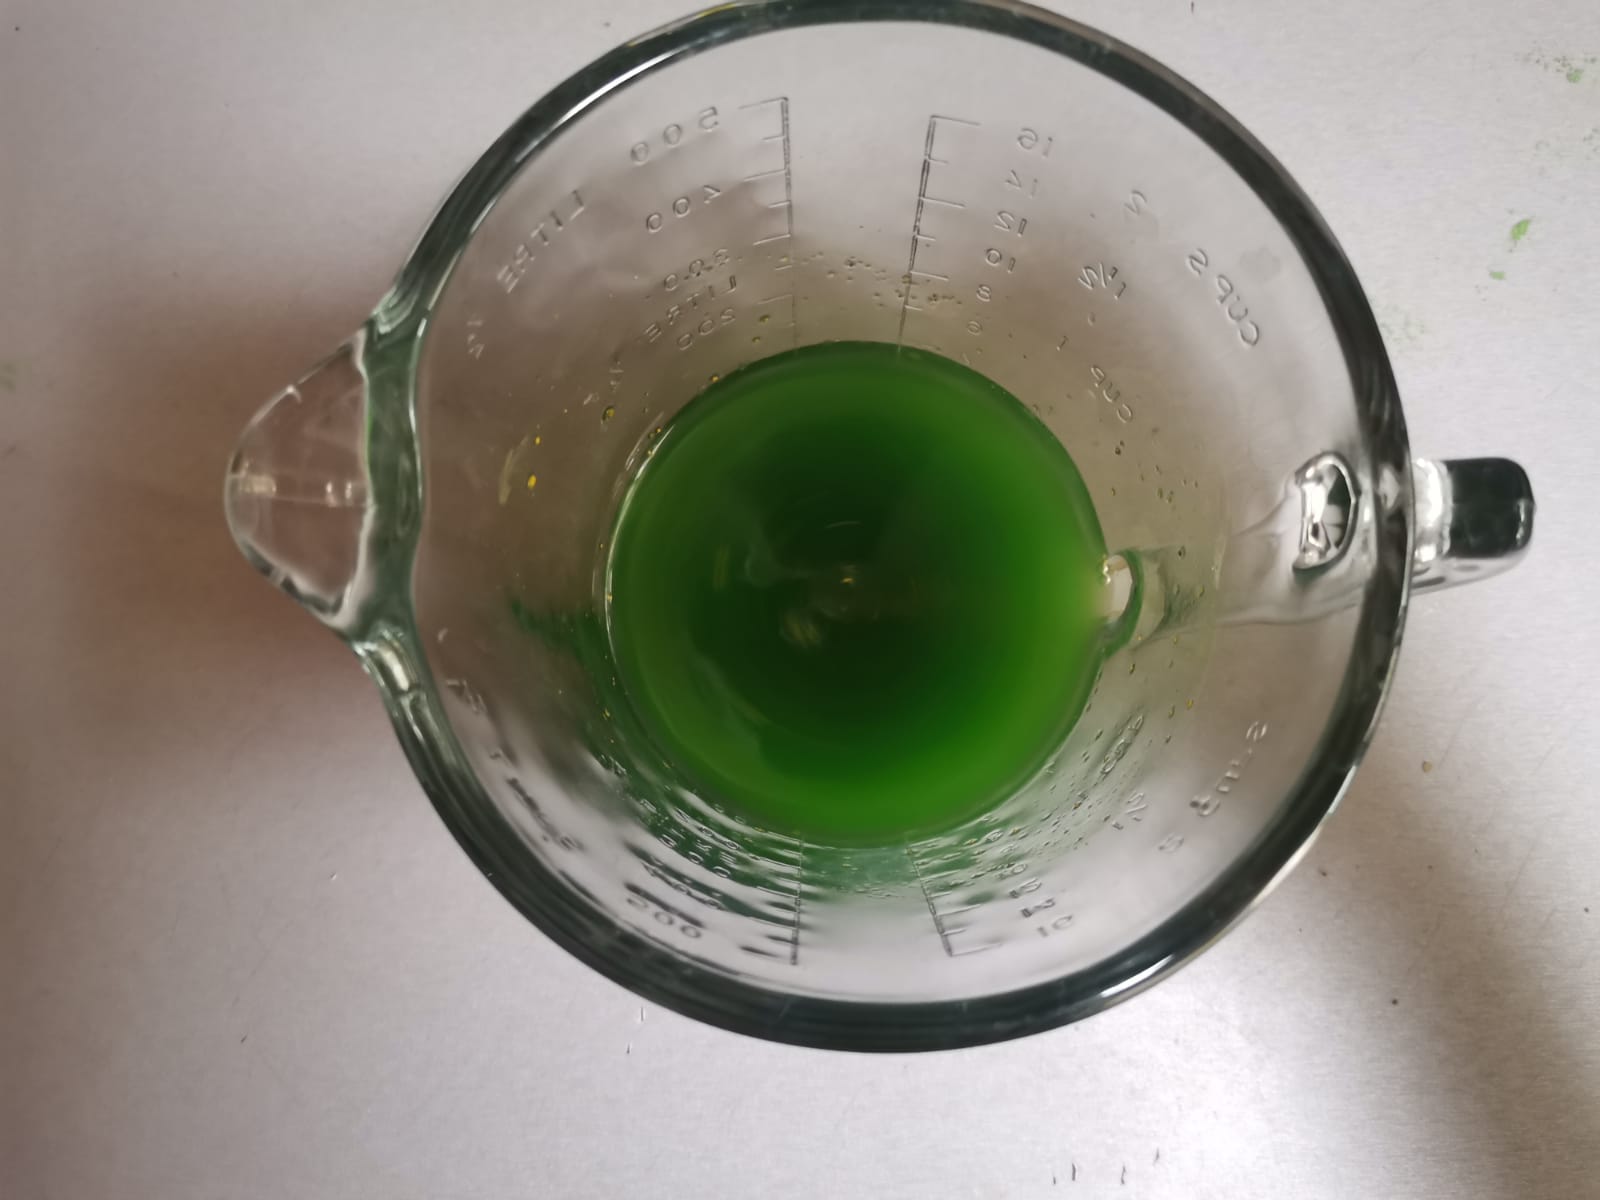
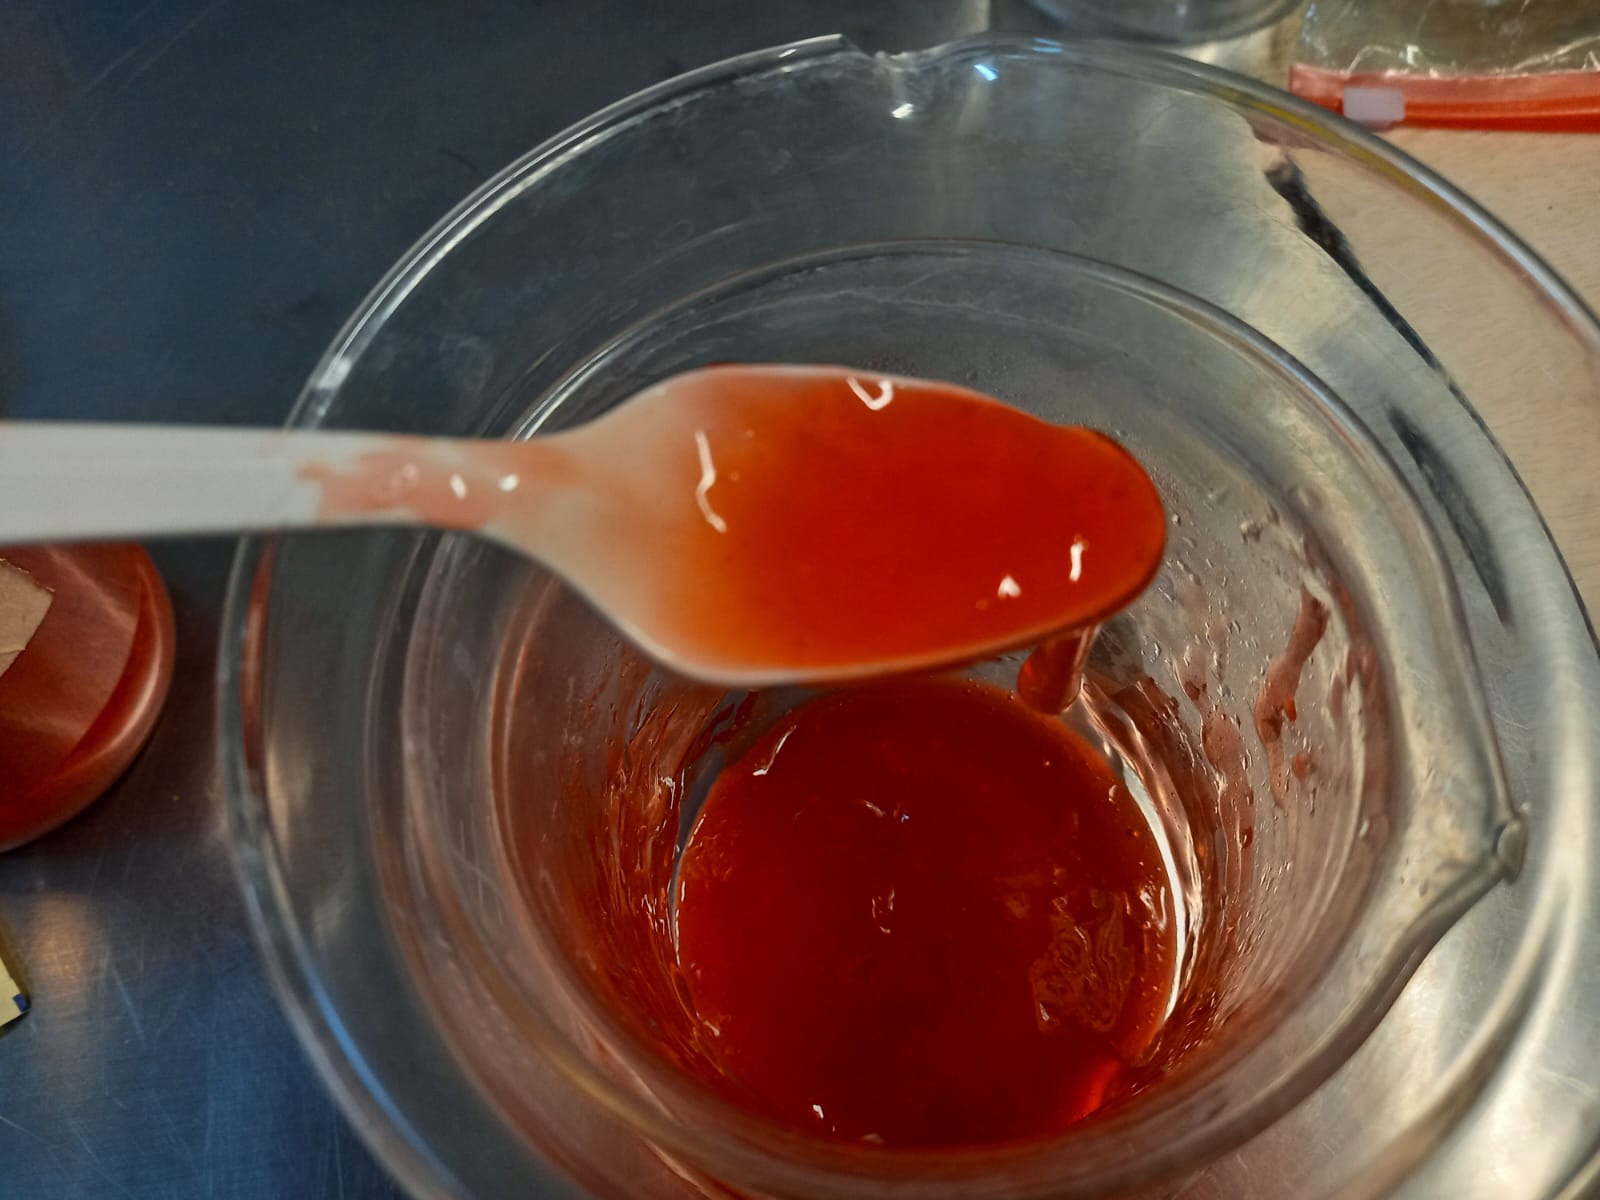
So, to begin with it, we added the Splenda and flavoring to the water. After we had mixed that, we added the alginate. Although, the alginate had flavor now (left picture), it didn't tasted well. That was the main reason why Santi wanted to imprive the flavor and ended making a tuti fruti flavored alginate (right picture).
Finally, the calcium chloride is a completely liquid solution that would be sprayed onto the material once it is extruded so that it maintains the formed shape. The calcium chloride-water ratio is a completely Santi-thing, so I'm not quite sure about the amount (but it is documented in Santi's page).
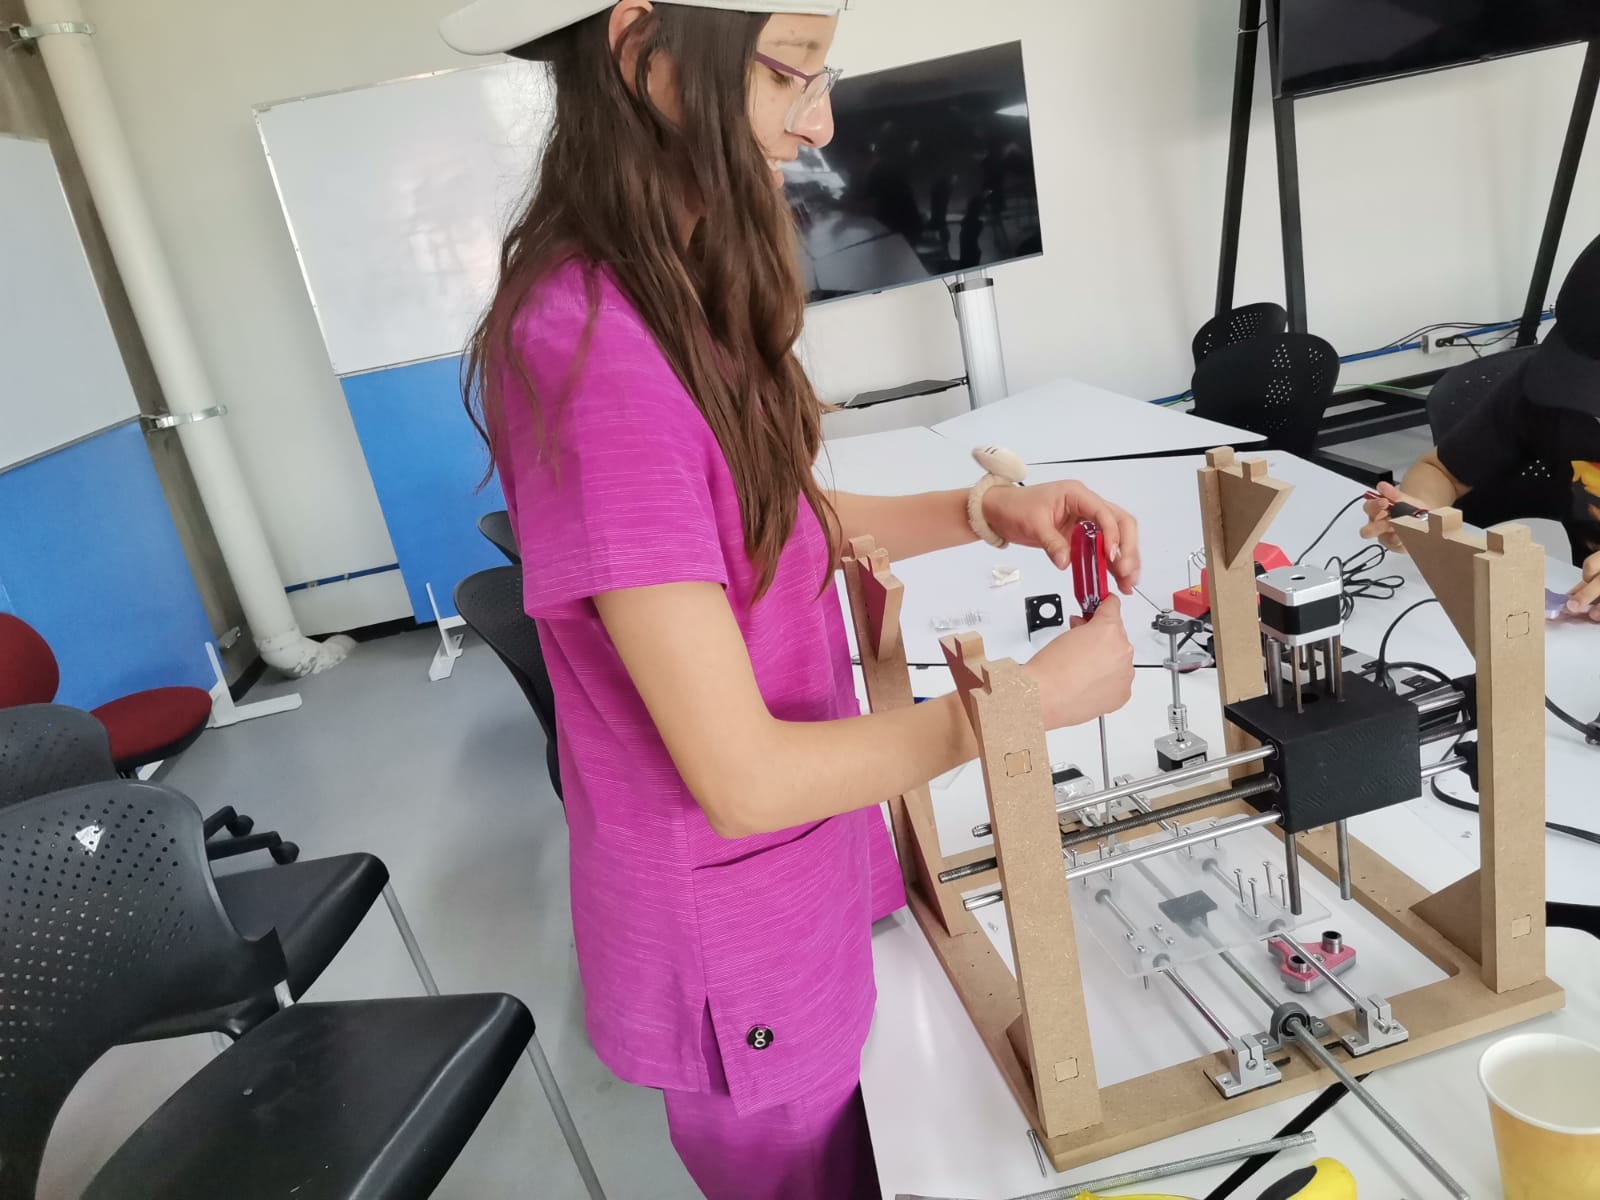
Structure Design and Building
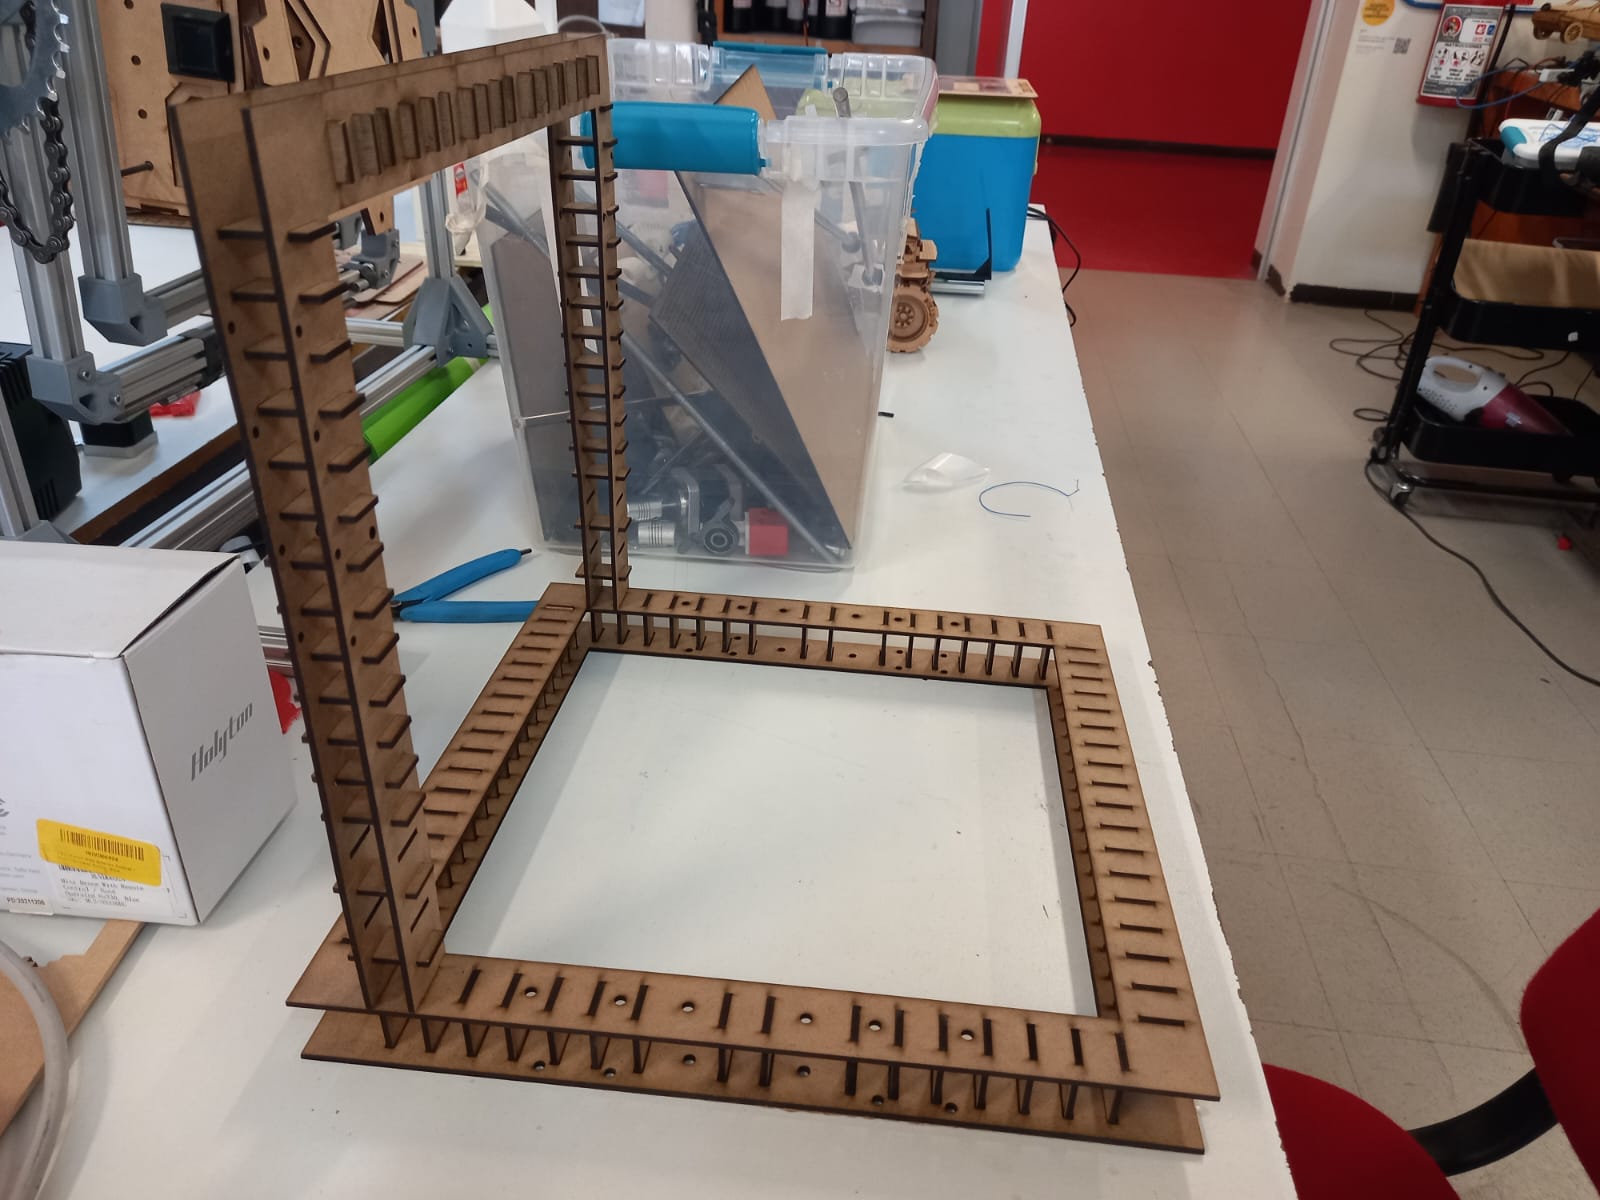
About the structure design, we had a first prototype (designed by Ivanna, Ivy for friends 😉) cut with laser in 3 mm MDF and I only helped assembling it. The first picture are the pieces cutted in laser, then the assembled structure, and finally the structure with the endless screw and the bottom axis:

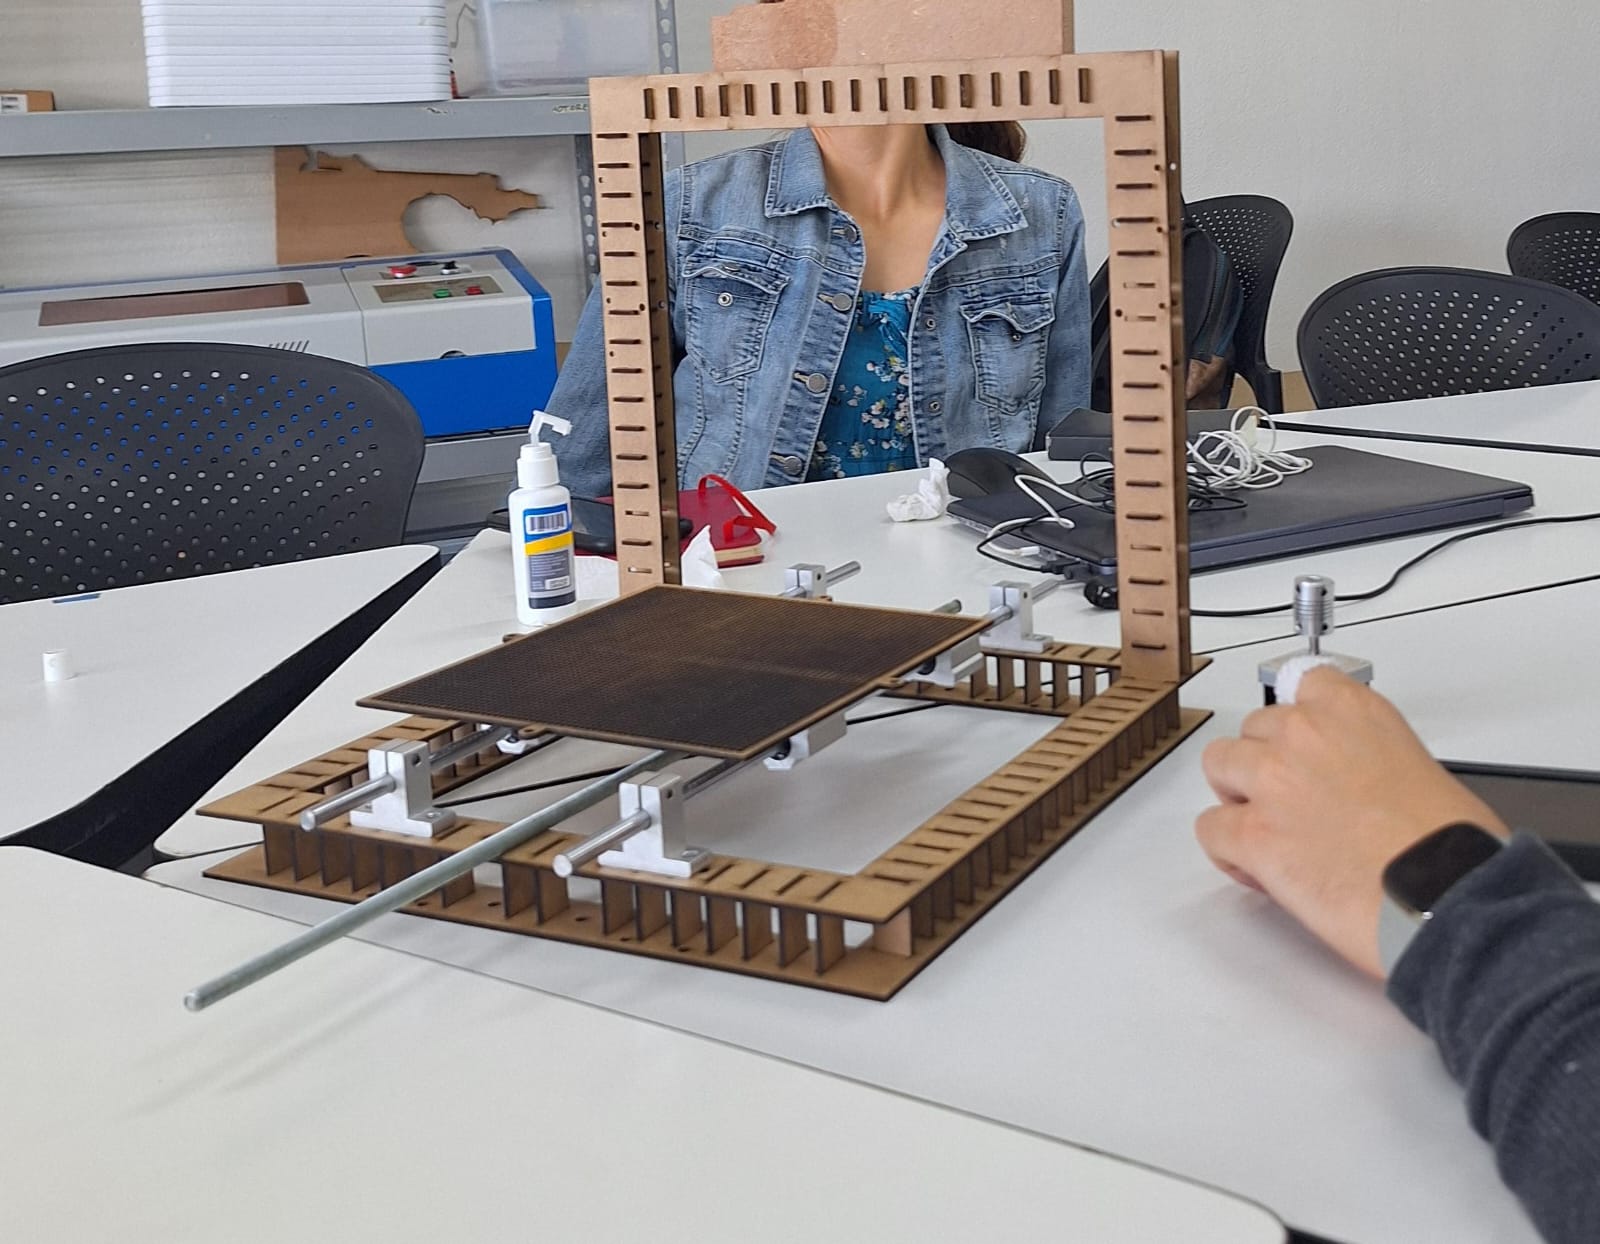
The main problem with this structure was the instability (it moved a lot for whatever reason). So we ended looking for solutions and finally decided to design a new one (designed by Santi for what I knew). Here I helped assembling the MDF parts, and screwing the printing bed, rowlocks, and the supports with the rest of the team.
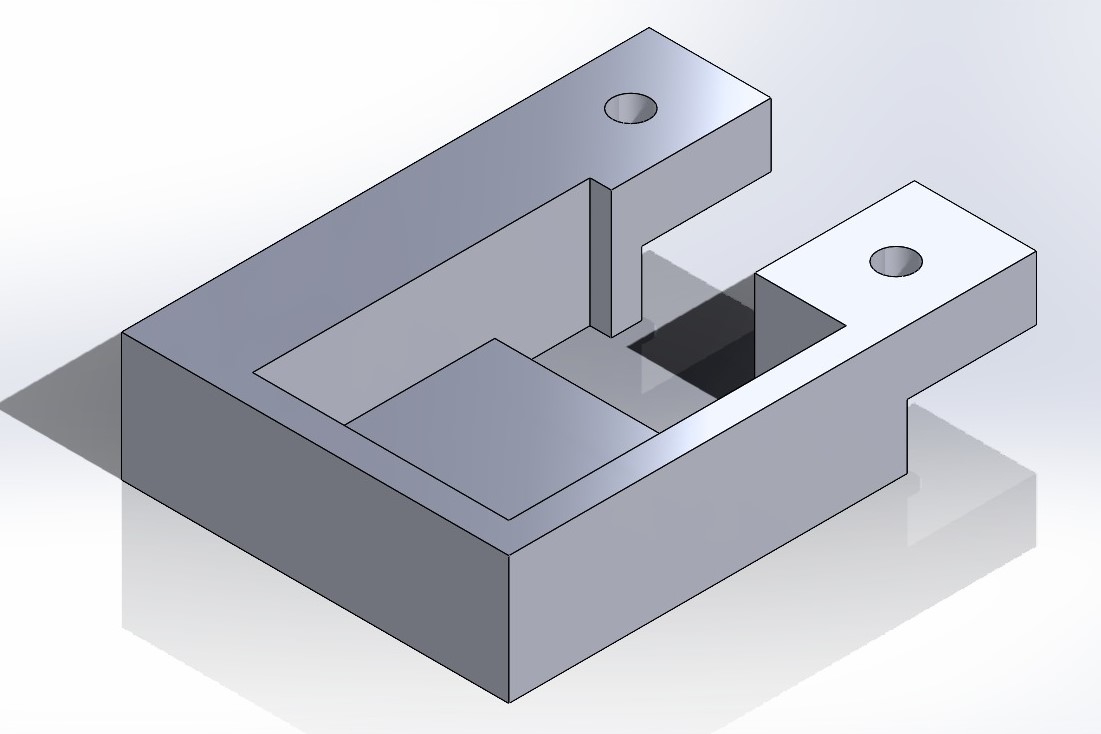
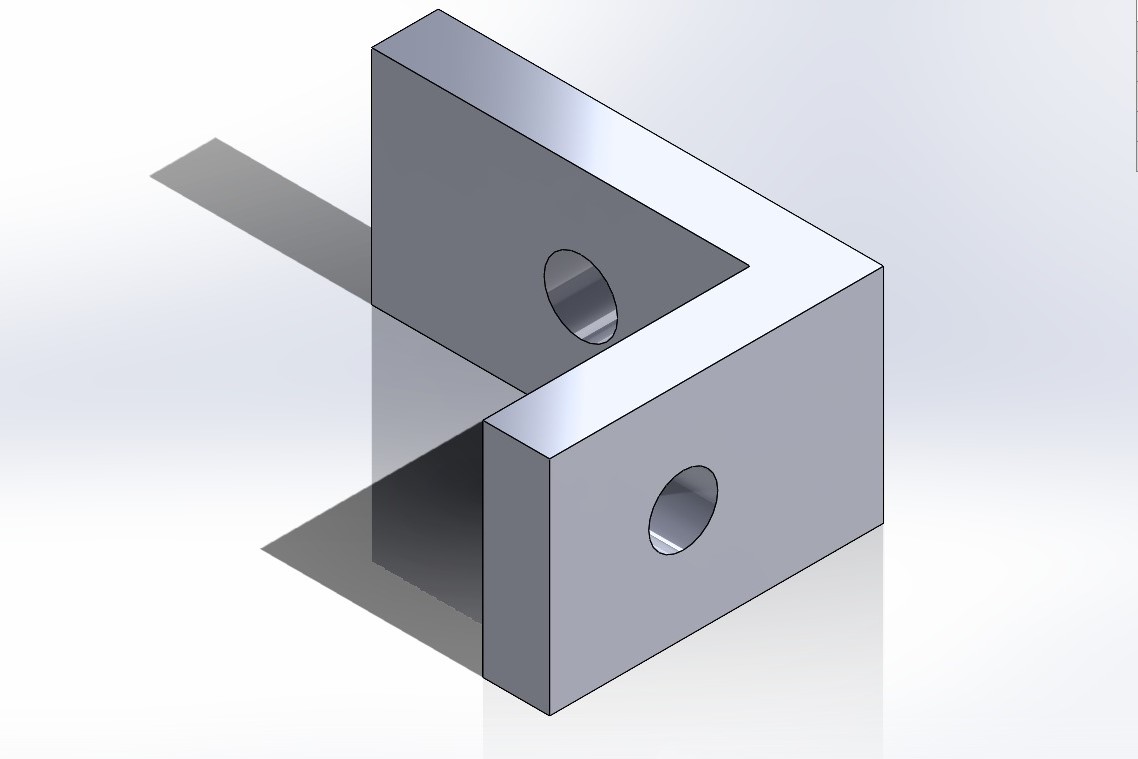
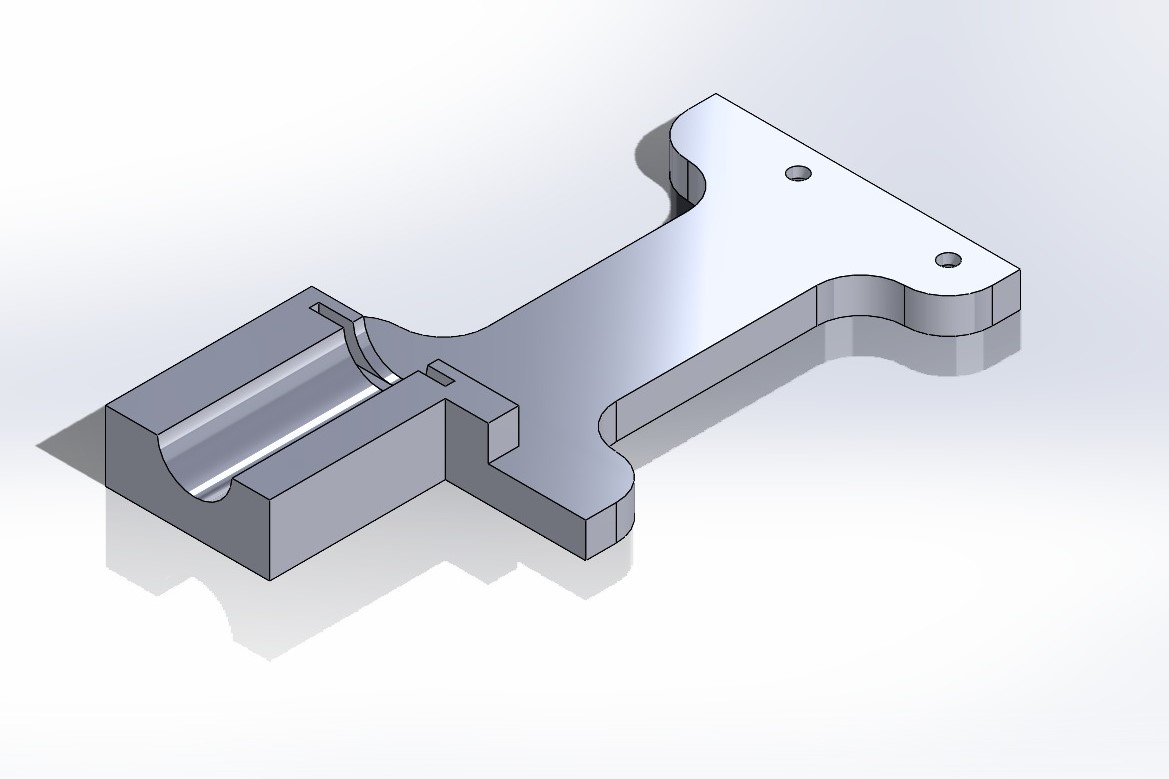
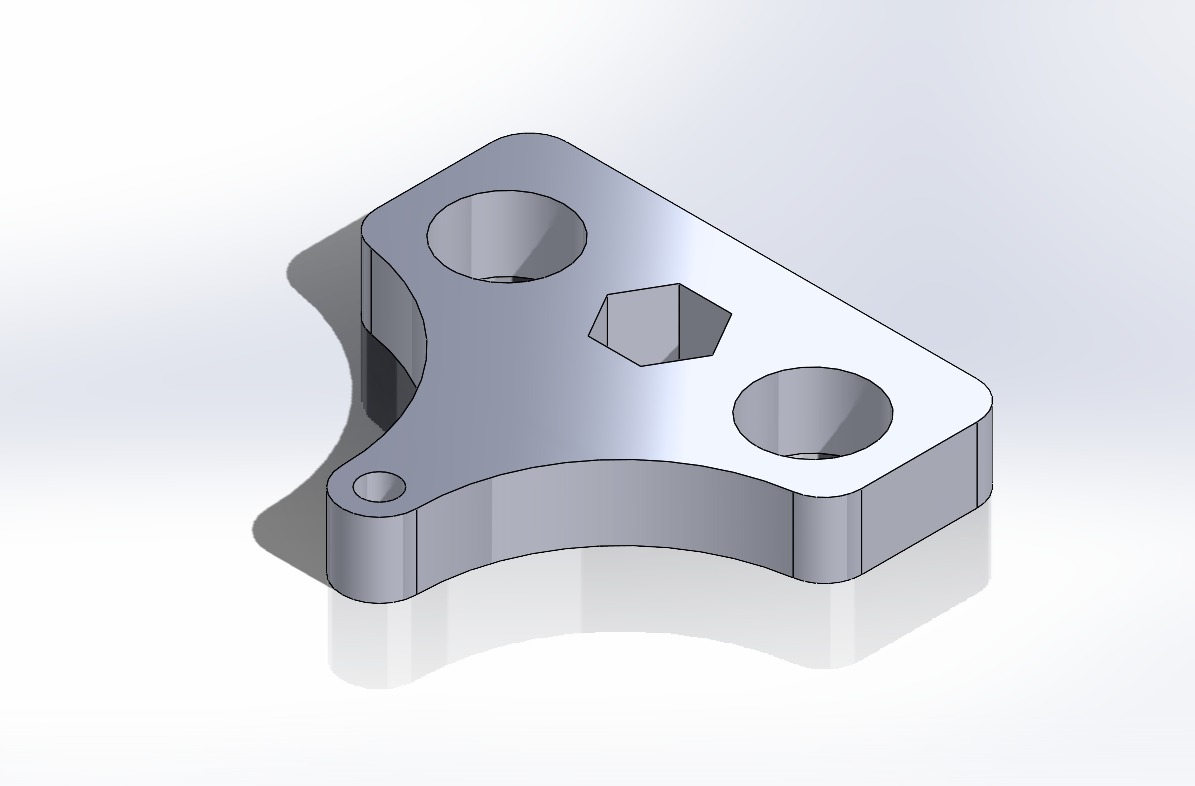
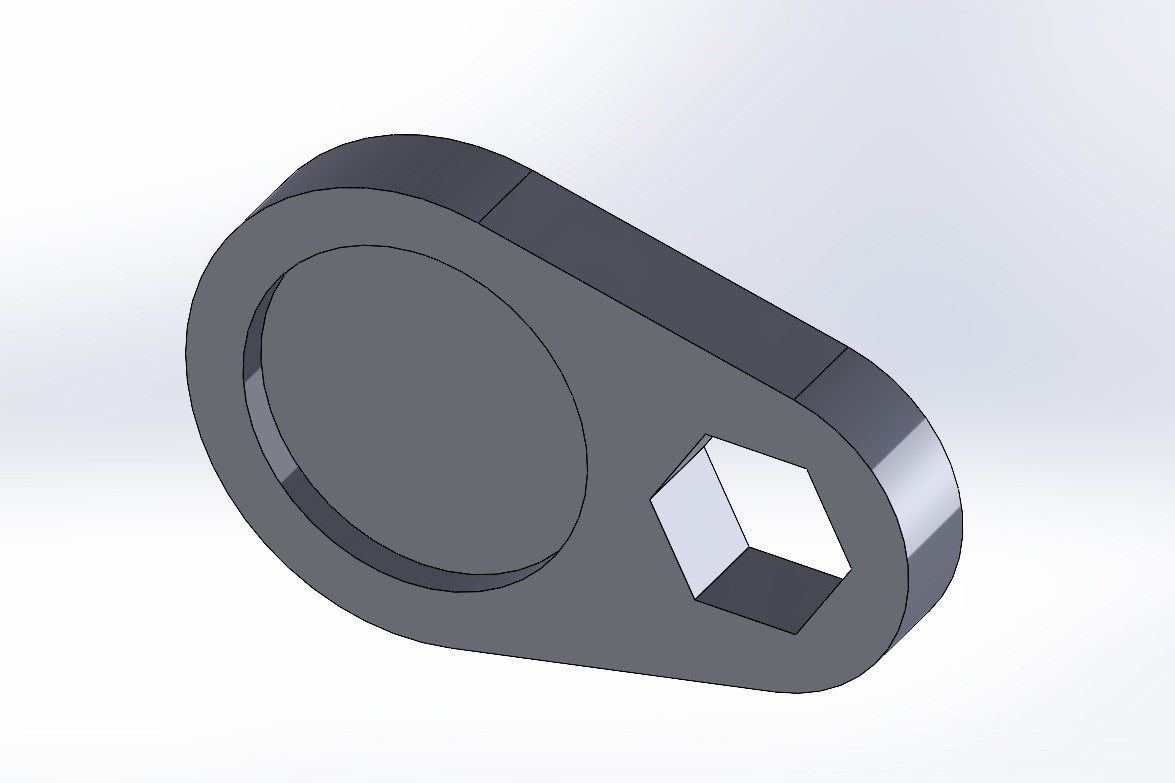
Here are the main parts I did, which have more to do with 3D printing (this files are at the end of this page) and were screwed to the structure. The first picture is the extruder (it moves along the Z axis, and is more explained in the Syringe Extruder section), the second picture is a motor support for the Y axis, and the third picture is the motor for the X axis, which has L shaped things to allow the motor to be screwed to the MDF.
First, I did the design in SolidWorks:
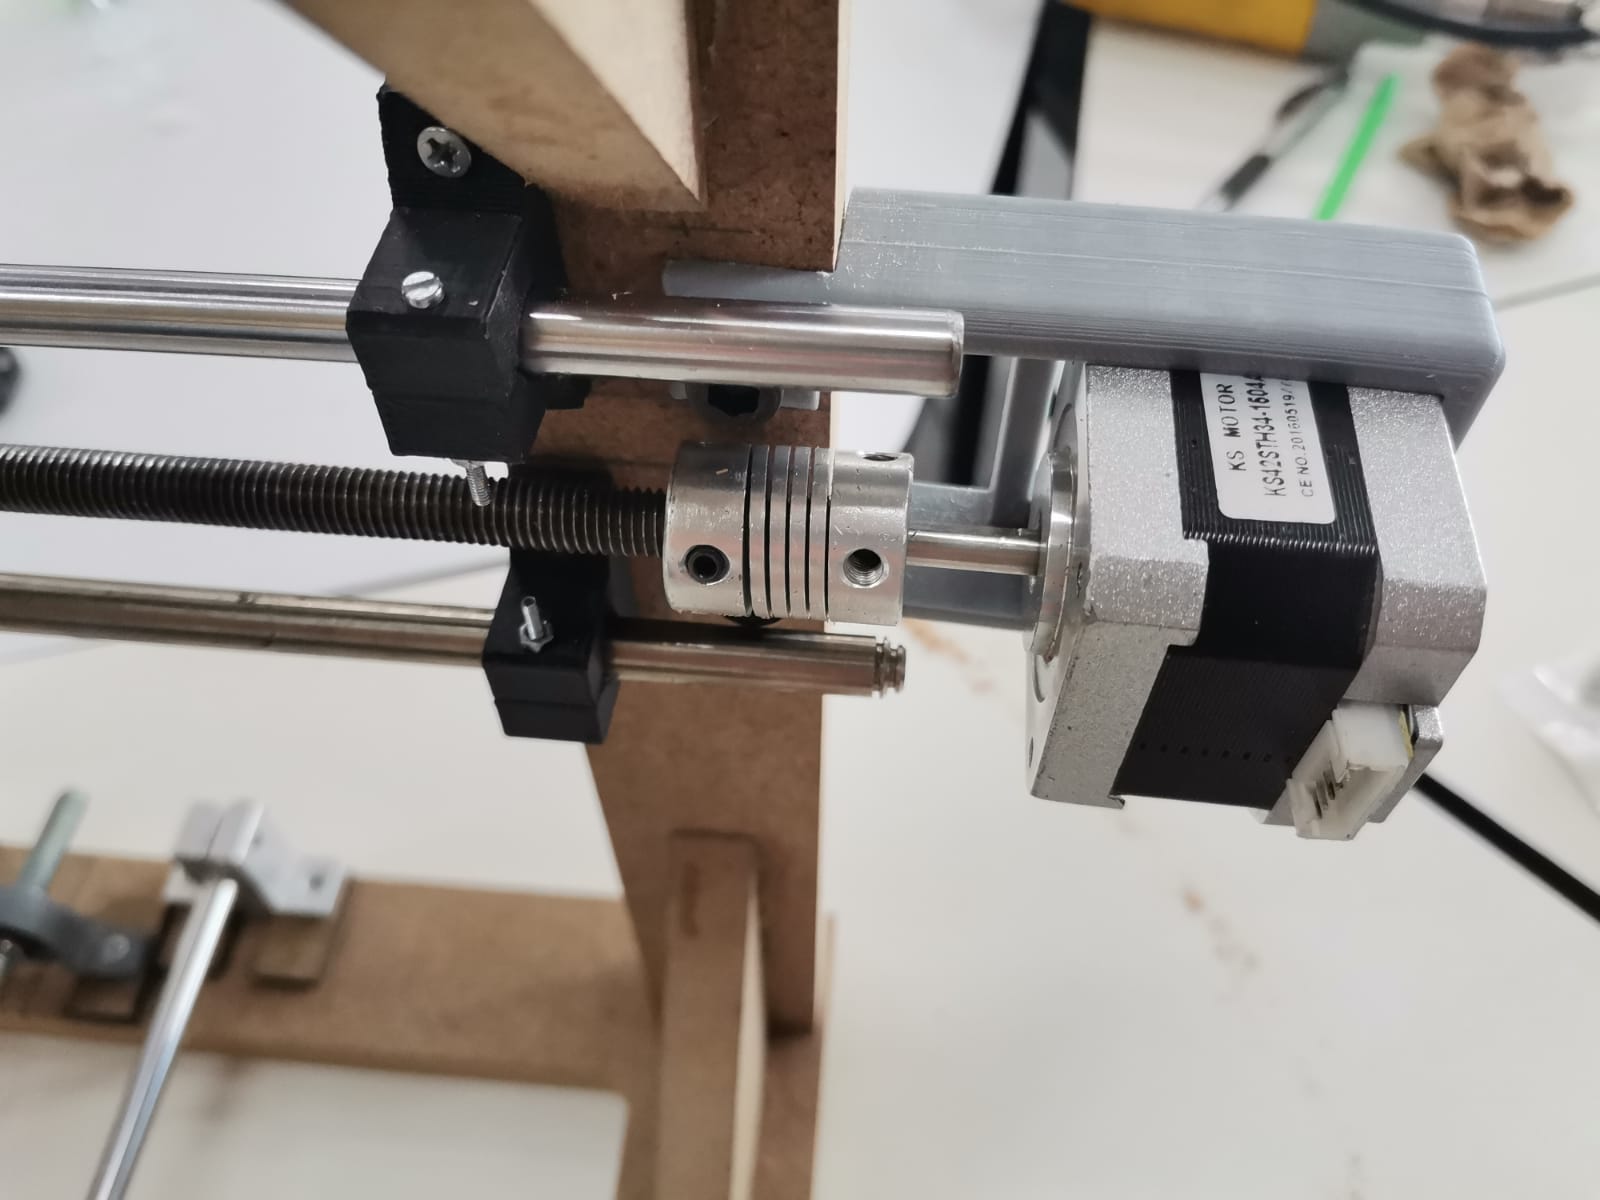
And then the printings had to be assembled into the MDF with the motors:
Syringe Extruder
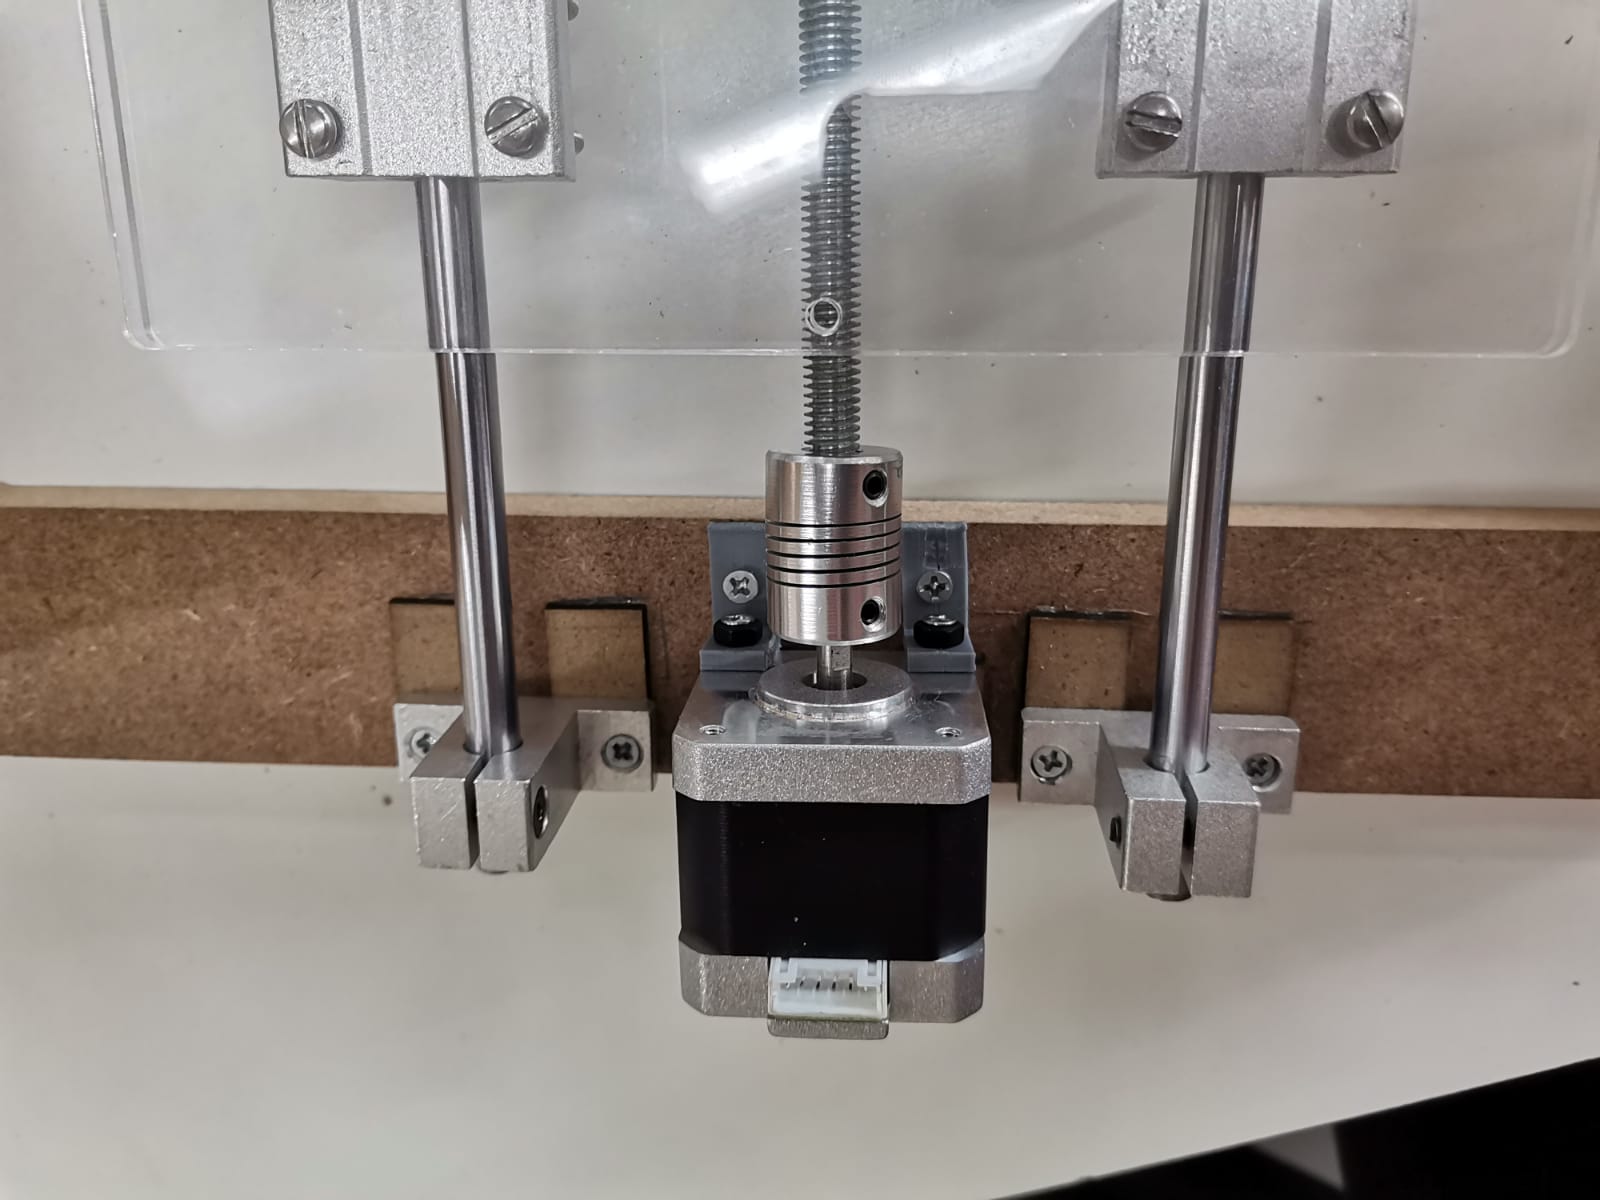
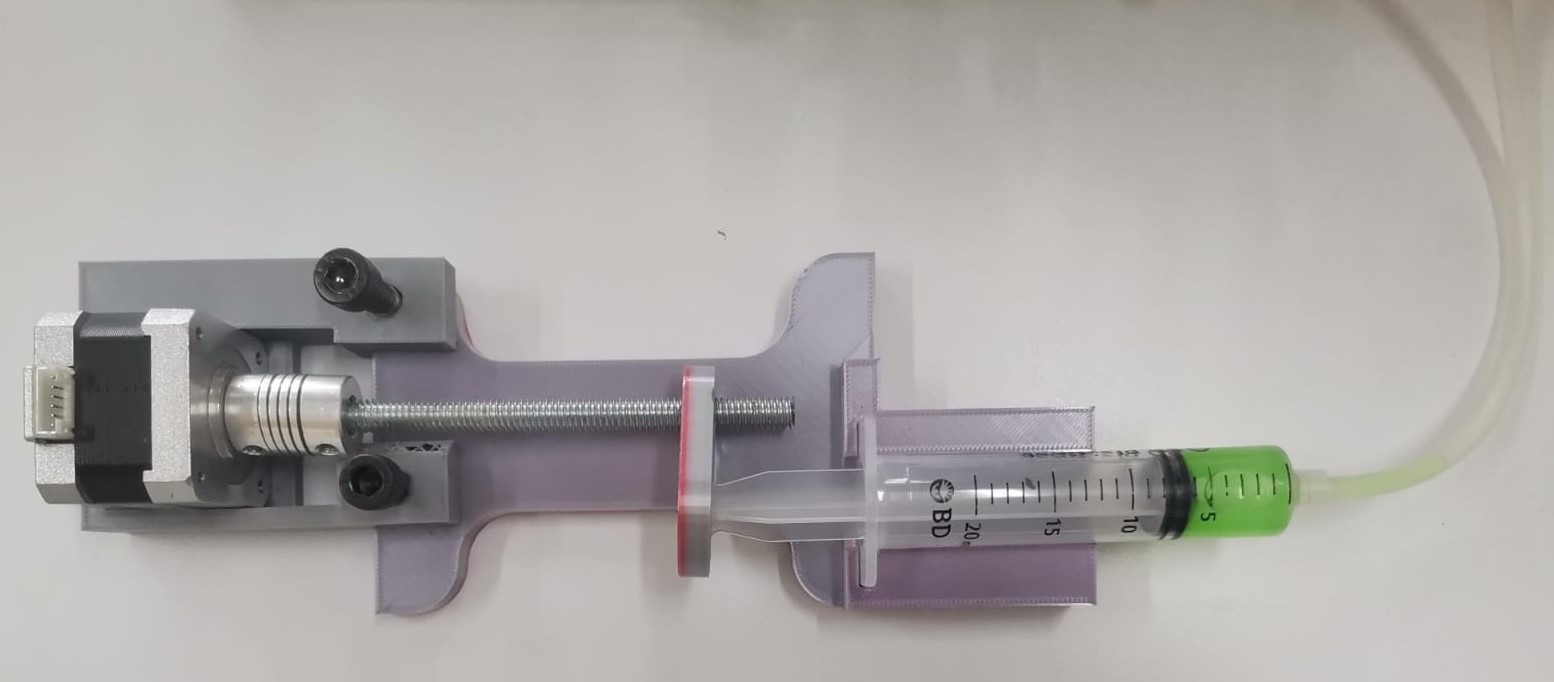
At first we had problems thinking how we were gonna extrude the material and wanted to have all the material on the Z axis, but there would bea lot of weight. Due to the weight, there had to be another solution in order to extrude the material without loading everything over the Z axis. The final solution was to use a little hose that traveled from the syringe to the nozzle on the Z axis. However, there was also the problem of how we were gonna push the material through the little hose. We spoked with an instructor and told us that we could use a motor to push the syringe plunger. From this talk I came with a design that used the motor and an endless screw to push the plunger. I first aligned the materials as I wanted them to be positioned in the end and took some measures to have an idea of how it had to be:
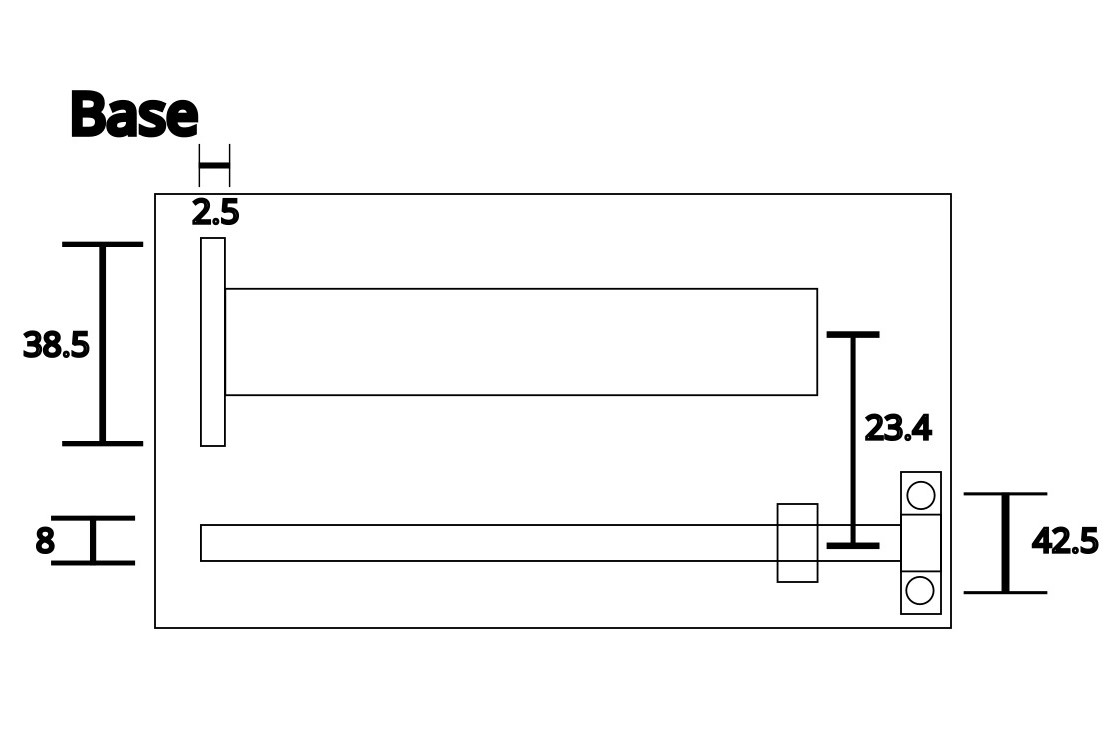
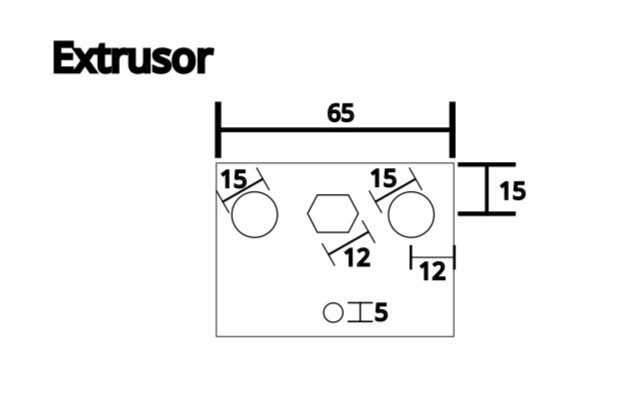
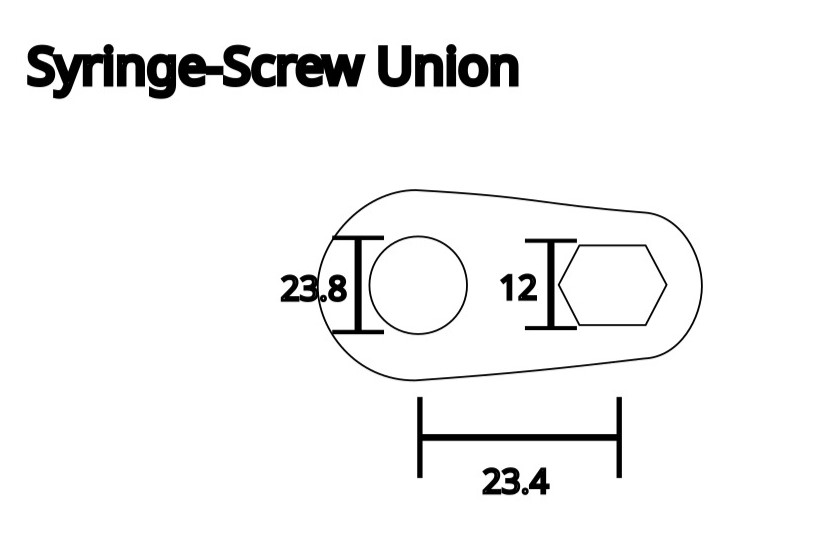
Finally, the sketches went as follows, with some differences from the original sketches (to improve printing and some aesthetic):
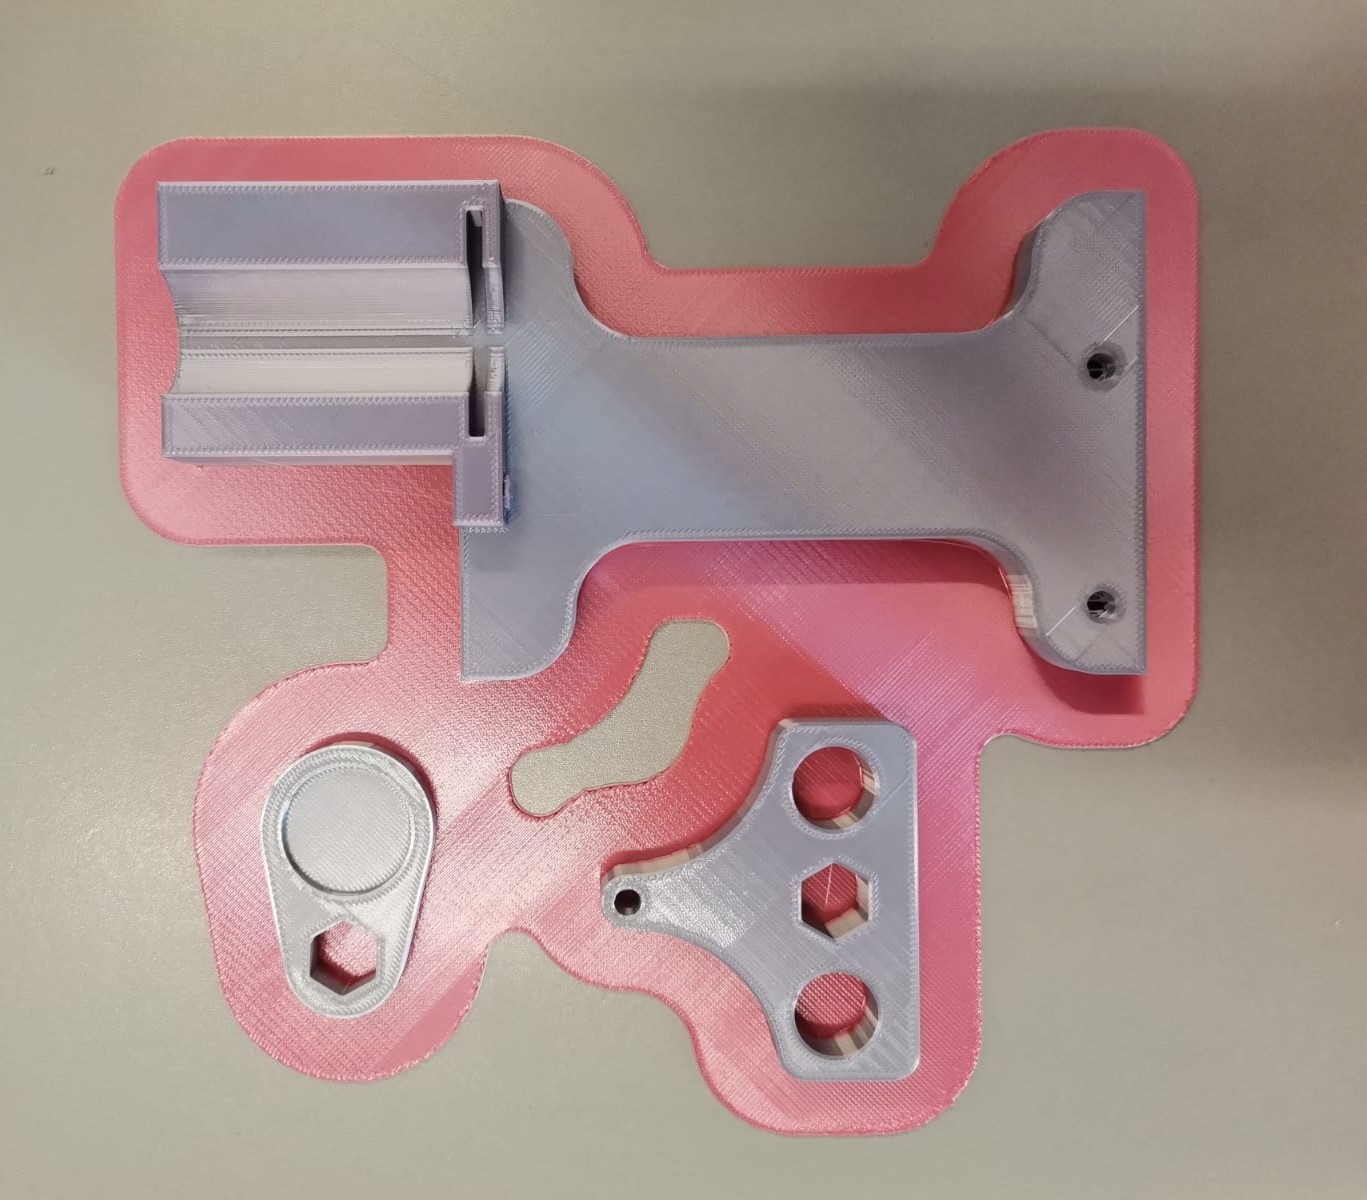
Finally, the printing:
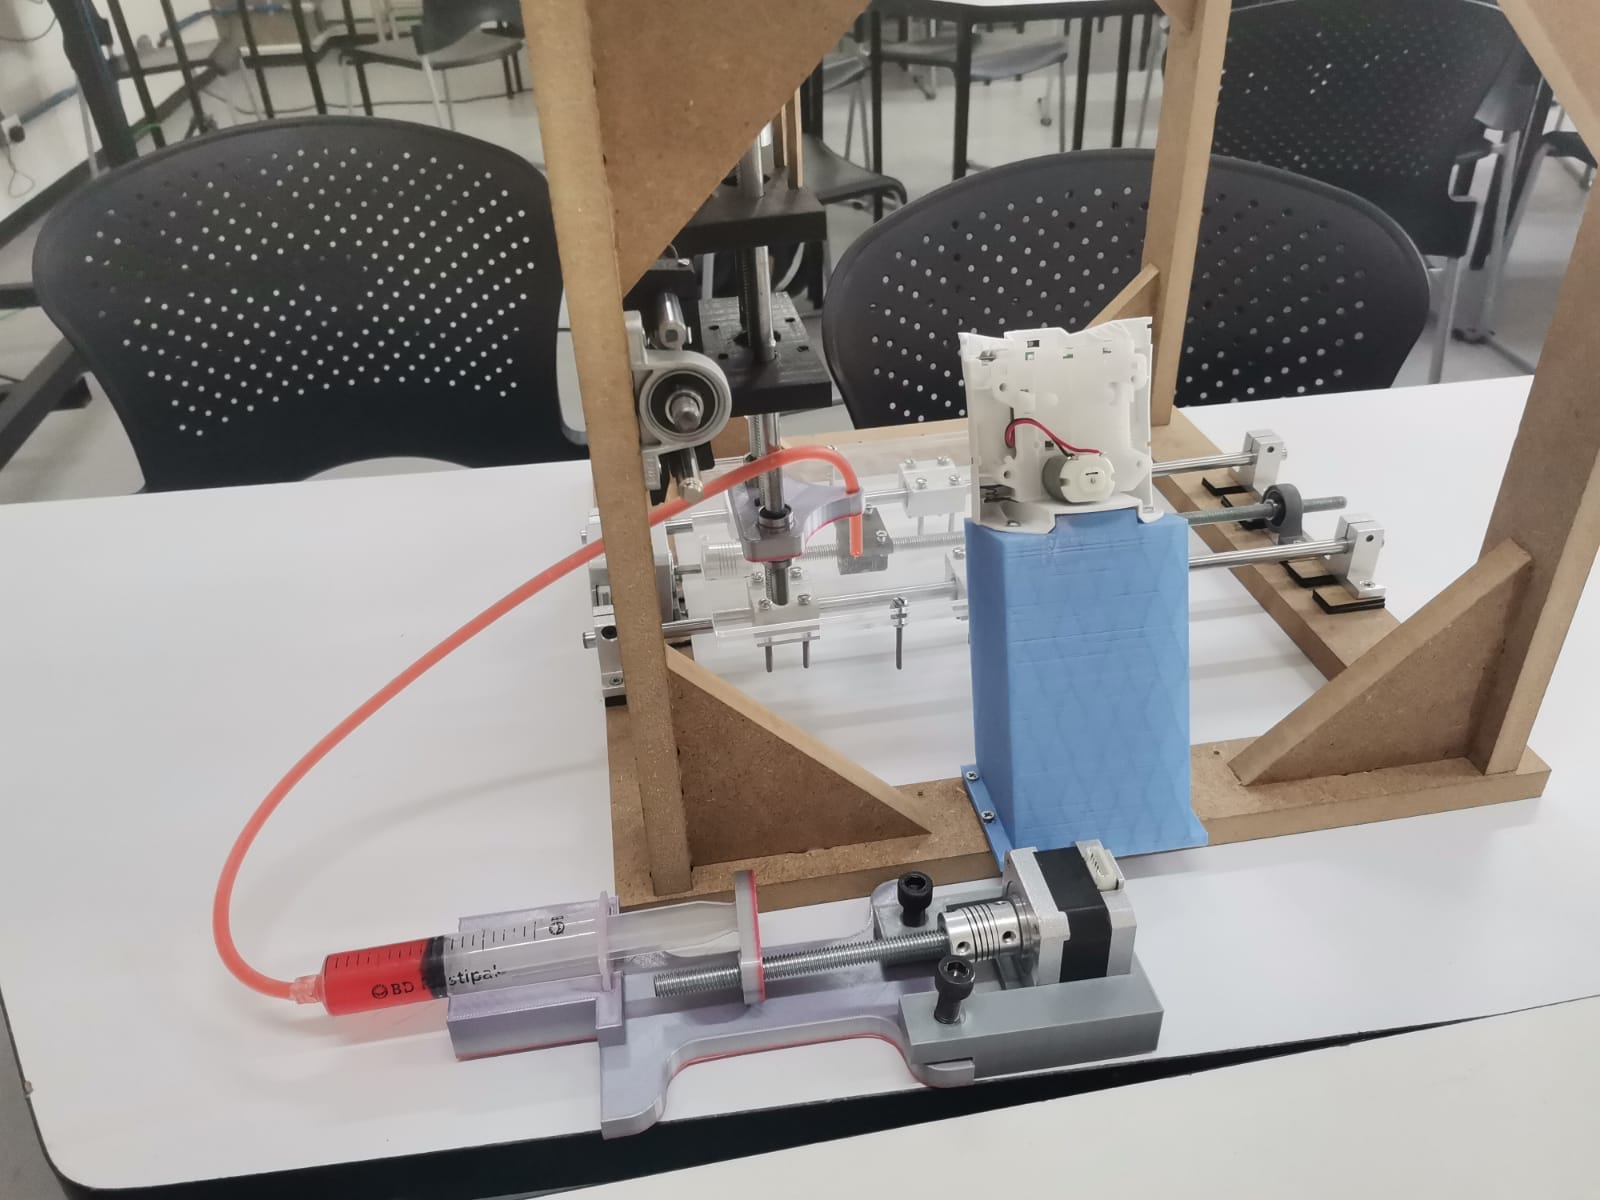
The assembly of the syringe used another support for the motor as in the Y axis:
And the assembly of the extrudor went as follows connecting the syringe and the nozzle with the little hose:
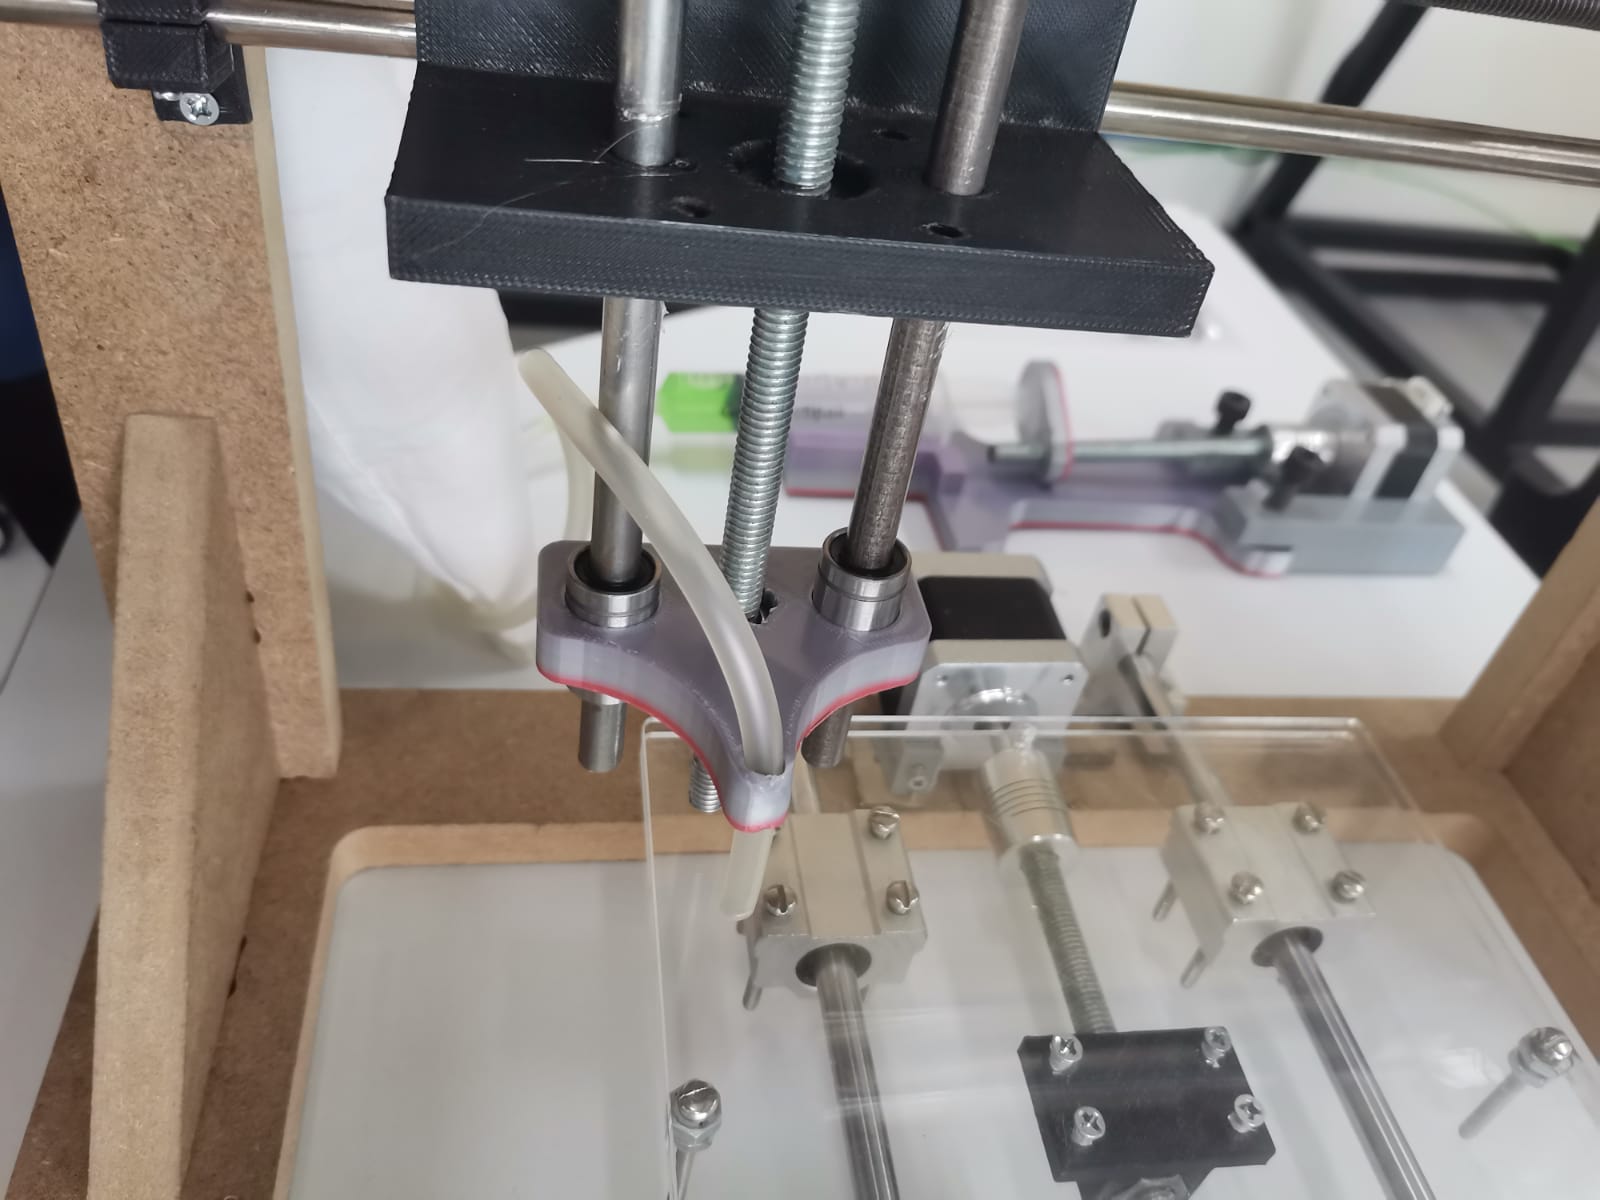
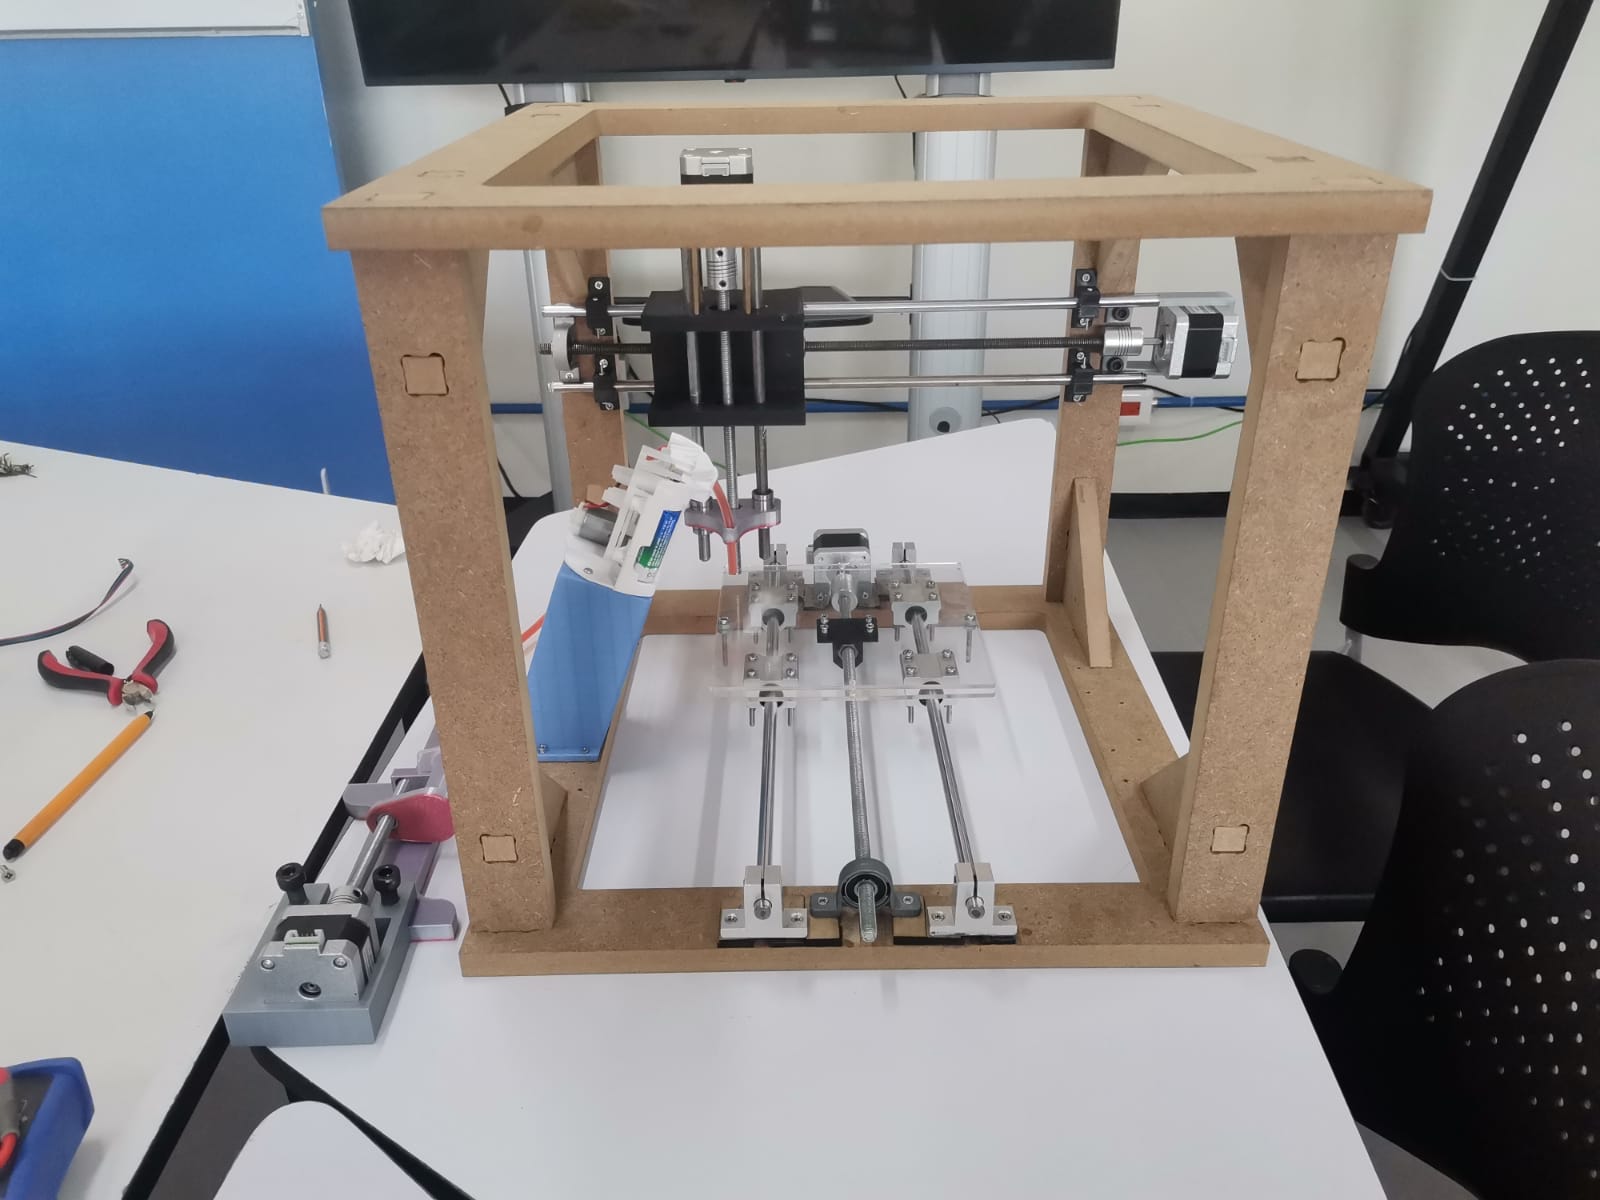
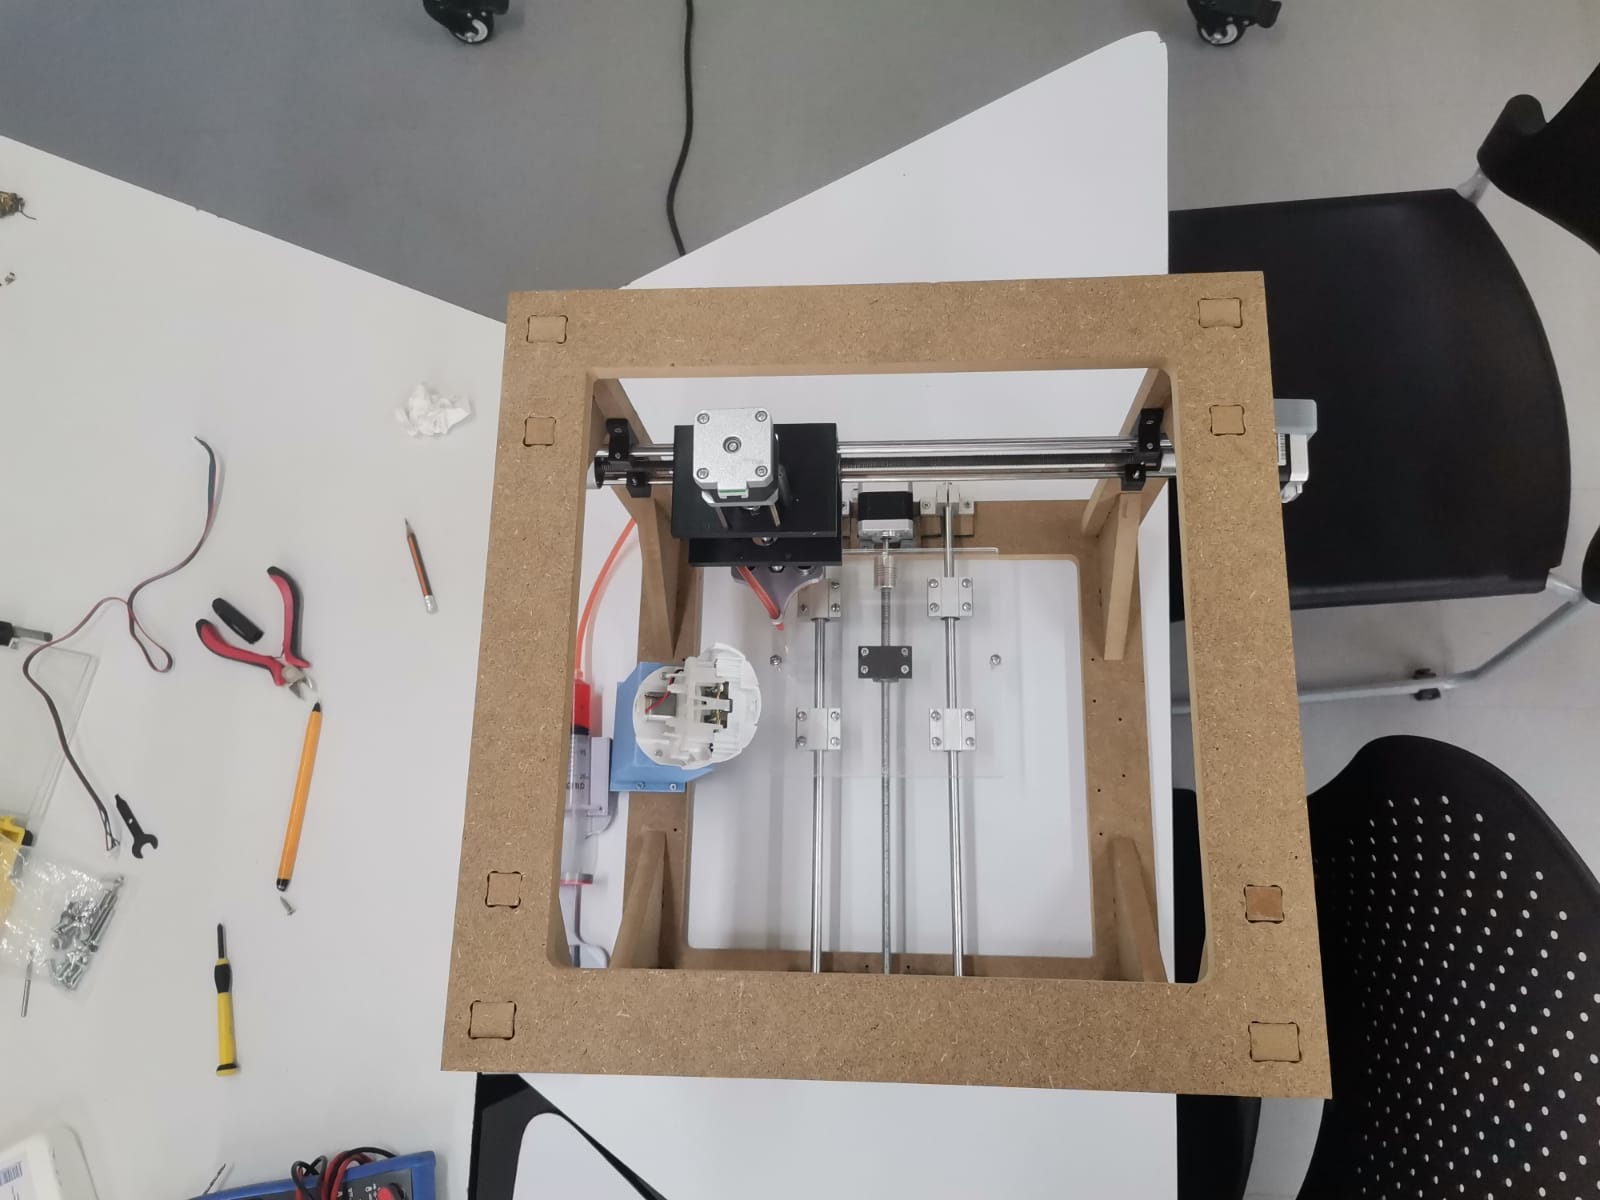
Aaaaand the final machine: