Interface and application programming
Linked to the group assigment page
During this week at Fab Academy, I focused on creating a graphical interface using PyQt5 and QtDesigner. Below, I detail the steps I followed to install the necessary tools and the process I used to design and develop the interface.
Steps to Create a Virtual Environment on Windows
- Open your terminal and navigate to a folder where you will create the project.
- Inside the folder, run the following command:
python -m venv venv - Then activate the virtual environment with this command:
call venv/Scripts/activate - Within the virtual environment, install the libraries you will use:
- Install PyQt5 with the following command:
pip install PyQt5 - Install PyQt5 Tools to use QtDesigner with the following command:
pip install pyqt5-tools - Use the command
pip listto verify that the libraries were installed. - As a best practice, use the command
pip freeze > requirements.txtin case you work in a collaborative environment in the future.
- Install PyQt5 with the following command:
- To use QtDesigner, open your file explorer and find the folder where you created the project.
- Enter the virtual environment folder named
venv. - Then follow these steps to find the
binfolder:venv->Lib->site-packages->Qt->bin
- Inside the folder, find the
designerapplication file. - To avoid having to repeat these steps, right-click and send it to the Desktop as a shortcut.
Creating the Interface with QtDesigner
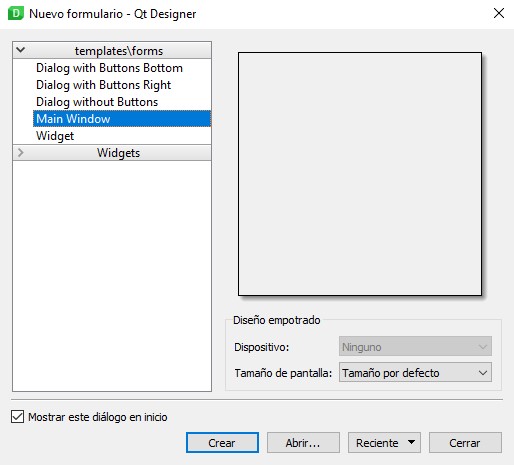
- Open QtDesigner.
- A window appears in the middle of the screen; select the Create option.
- Then you can access all the QtDesigner tools.
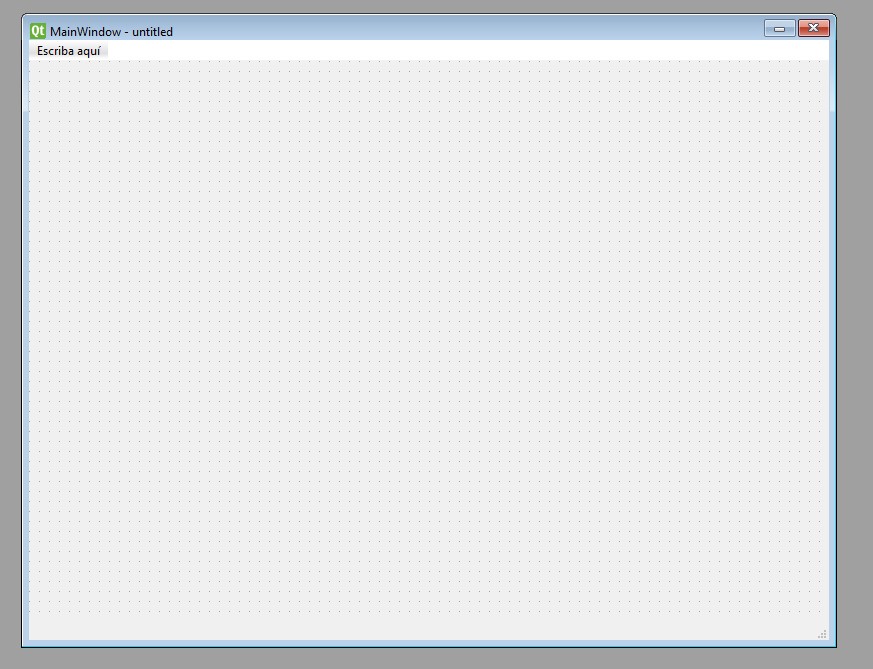
- Initially, a main window with a default size appears, but you can change it.
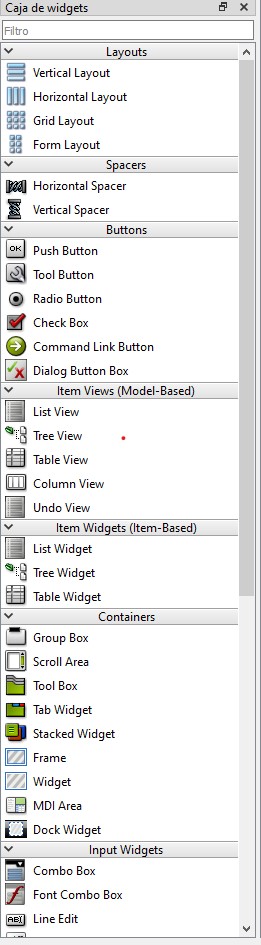
- On the left, we have the tools we will use to create the interface.
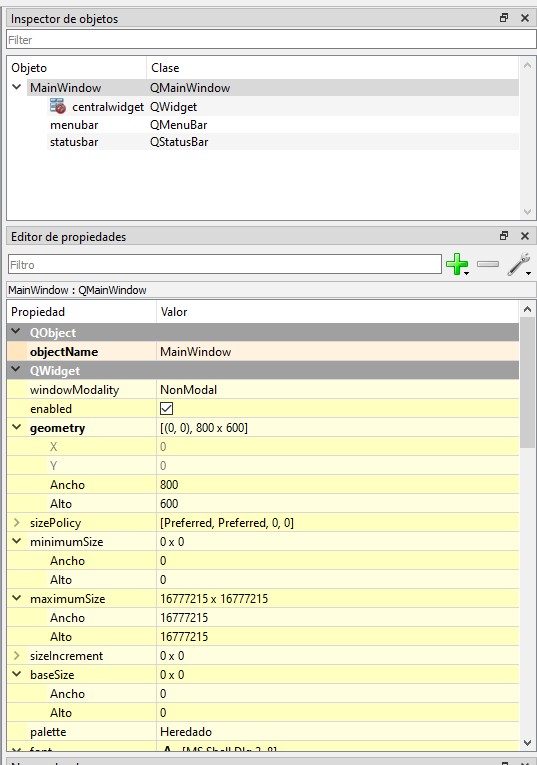
- On the right, we have the property editor to edit and modify different parameters of the tools we use.
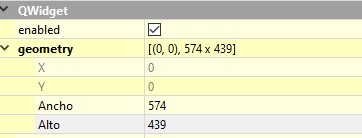
- Resize the main window, on the right side , width 574 and height 439.
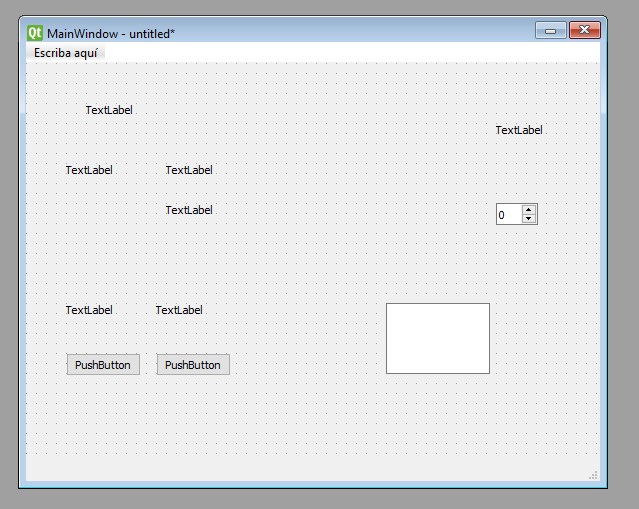
- To start with the interface, we will use the following elements :
- 2 PushButton
- 7 QLabel
- 1 Spin Box
- 1 Text Edit
- 1 Widget
- After adding all the objects to use, the next step was to arrange and name the objects.
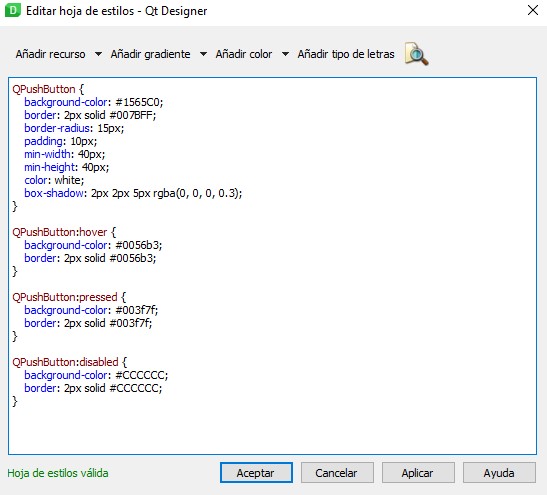
- This is done to later add styles to each element. The process is very similar to adding styles to a web page; they are CSS styles.
- To add styles, it is important to correctly name the object. For example, the style of a button looks like this .
- This is repeated with all objects.
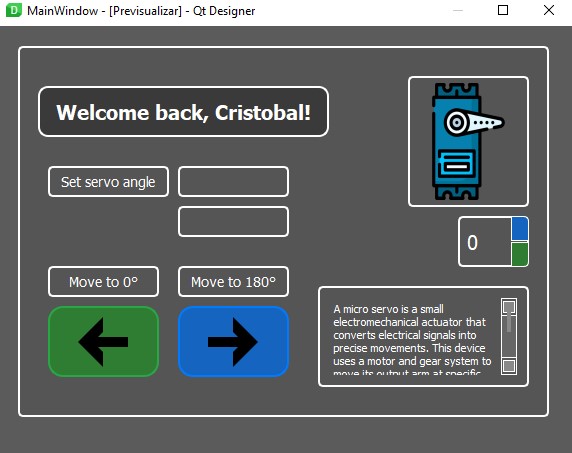
- After testing and trying different styles, the result looks like this .
- Then we save the project in the folder where we installed PyQt5 as
interfaz.ui. - In the command console, we run the following command to convert from
.uito.py:pyuic5 -x interfaz.ui -o interfaz.py. interfaz.pycontains the Python code for the interface. To avoid adding too much code to it, we create another file calledmain.py. Here, we will have all the logic. Additionally, if we want to modify the interface in QtDesigner, we will need to repeat step 15, and everything ininterfaz.pywill change. Therefore, it is important to separate the logic into another file.
Arduino Integration
Below is the Arduino code used to control a servo motor with the ESP32:
#include

                // Define the servo pin
                const int servoPin = D0; // Change this pin according to your setup

                // Create a servo object
                Servo myServo;
                int position = 90; // Initialize the angle in the center

                void setup() {
                  // Initialize serial communication
                  Serial.begin(115200);

                  // Attach the servo to the pin
                  myServo.attach(servoPin);

                  // Initialize the servo to the center position
                  myServo.write(position);

                  // Print instructions
                  Serial.println("Enter an angle between 0 and 180 degrees:");
                }

                void loop() {
                  // Check if data is available to read
                  if (Serial.available() > 0) {
                    // Read the incoming value
                    String input = Serial.readStringUntil('\n');
                    input.trim();  // Remove whitespace

                    if (input == "R") {
                      position = 180;
                    } else if (input == "L") {
                      position = 0;
                    } else {
                      int newPosition = input.toInt();
                      if (newPosition >= 0 && newPosition <= 180) {
                        position = newPosition;
                      }
                    }
                    myServo.write(position);
                    Serial.print("Servo moved to: ");
                    Serial.println(position);
                  }
                }
You can download the code by clicking here.
Library Installation
- Install the
pyseriallibrary in cmd with the commandpip install pyserial. - The
requirementsfile contains all the libraries. Use the commandpip install -r requirements.txtto download all the libraries.
With these steps, I managed to create and design a functional interface using PyQt5 and QtDesigner. The process was enriching and allowed me to delve deeper into using these tools for future projects at Fab Academy.