Computer-Controlled Machining
Linked to the group assigment page
personal learning
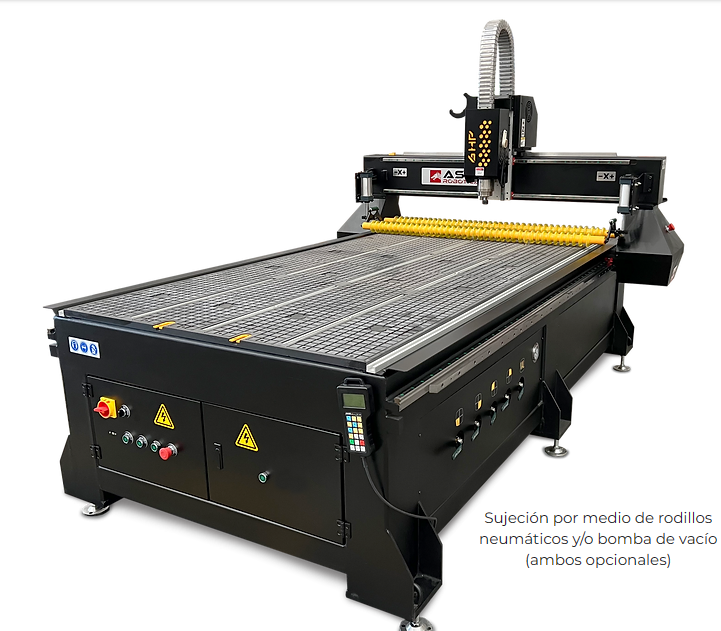
For this week, I used a CNC router machine, specifically the ASIA Robotic SHOP PRO 1325.
| Attribute | Details |
|---|---|
| URL | https://www.asiarobotica.com/router-cnc-shop-pro |
| Machine | Asia Robotica shop-1325 |
| Dimensions | 3x1.8x1.7mts |
| Motor Power | 4 HP at 24000 rpm's |
| Power Supply | 220v/2F/3.5KW |
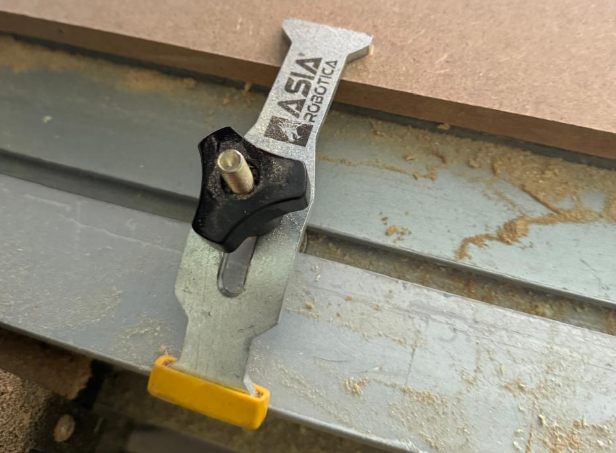
| Material Fixtures | Clamps |
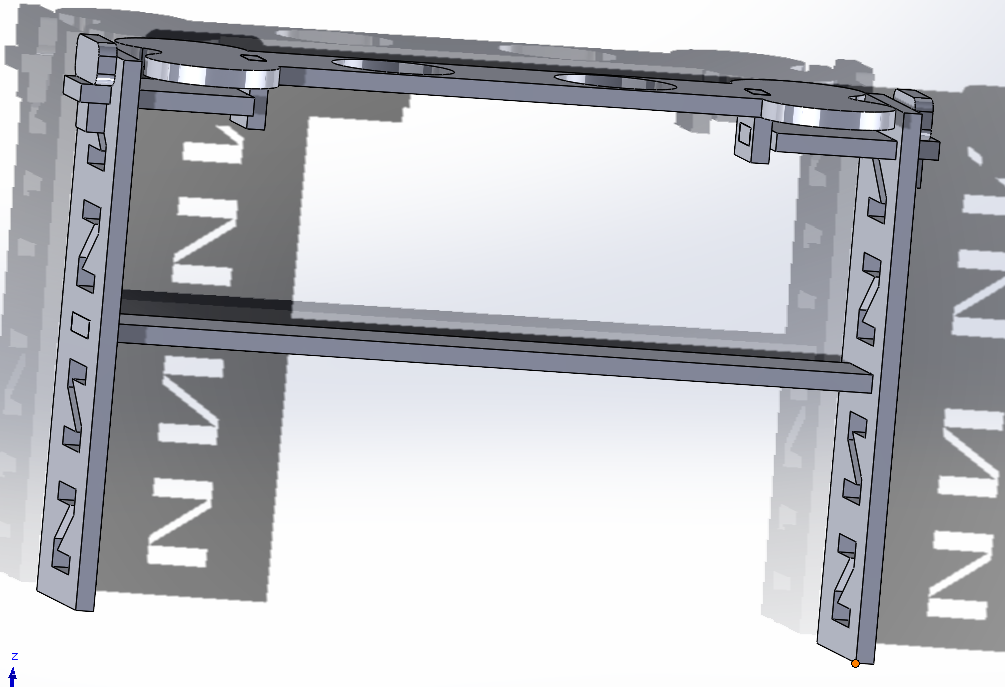
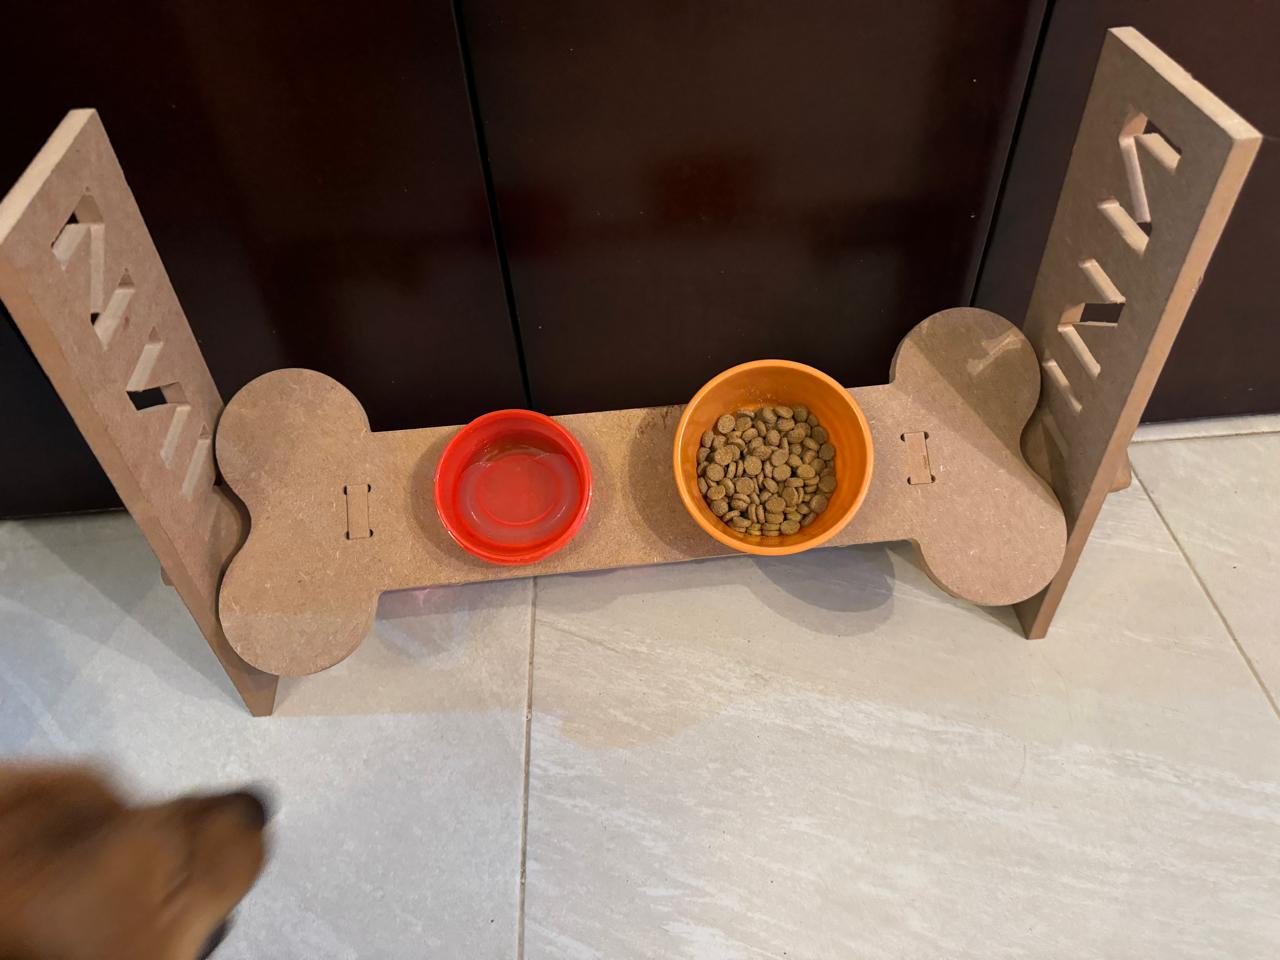
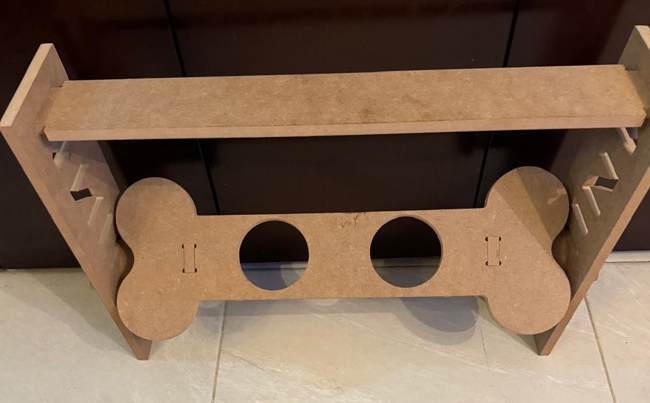
For this week, I took on the task of designing a feeder because dogs often hurt themselves while eating due to the need to bend down, causing strain on their necks. This feeder was inspired by the size of small dogs, but I also wanted it to be adjustable in inclination and height to accommodate dogs of any size.
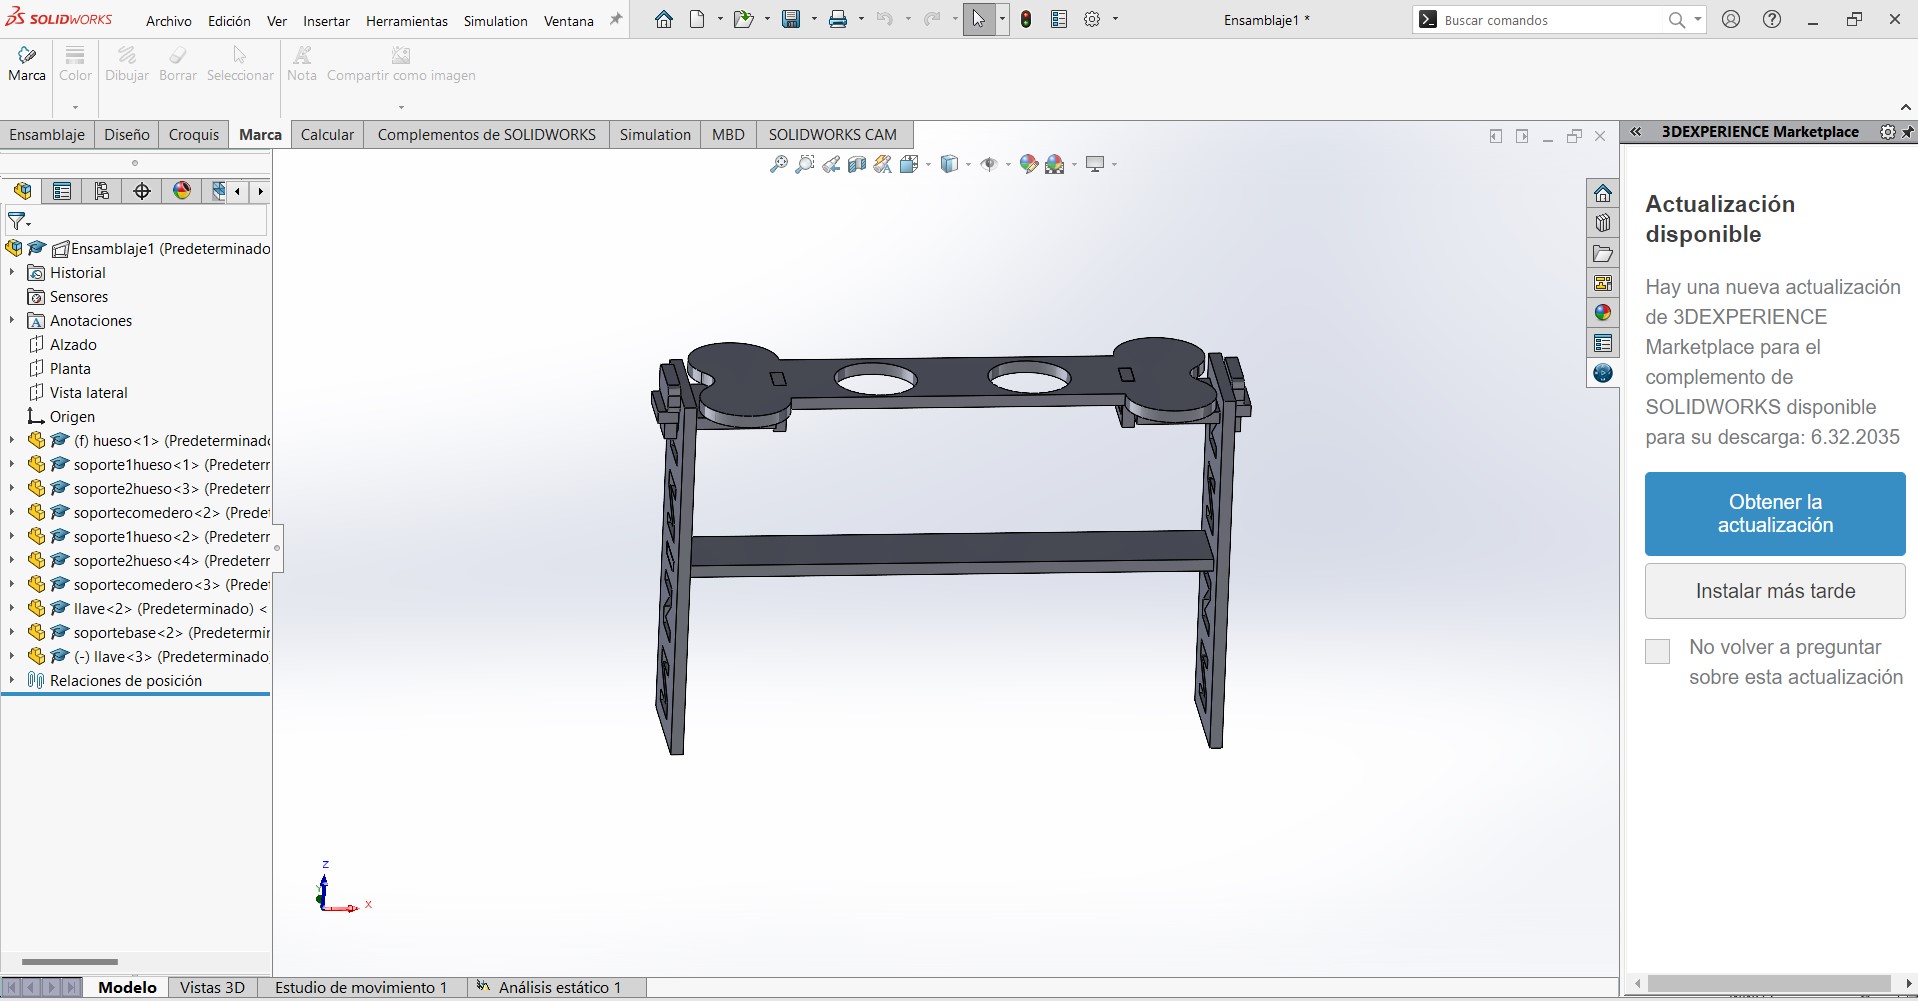
This is the final design and how it is done:
Download assembly in solid
Download cadpart in solid

Once each piece is made and assembled, they are saved individually in DXF format.
Feeder.dxfFor this activity I used solidworks for the design of this piece
Sofware Router
In the case of the Asia router, I used VCarve. software. Below, I will show step-by-step how it was used for proper machining.

Steps
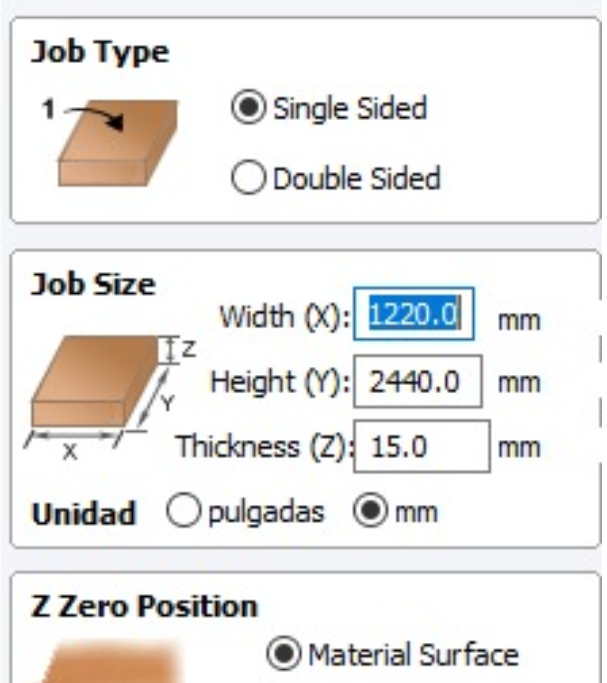
- Open VCarve.
- Adjust sheet dimensions to 1.20 x 2.44.
- Click on "Files".
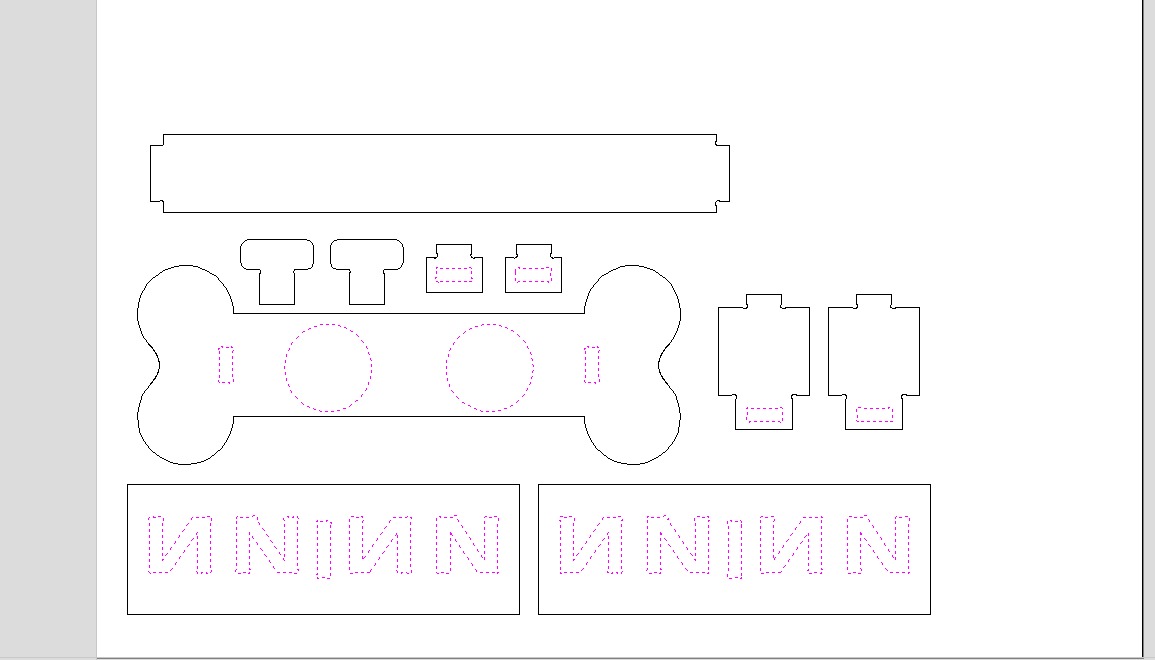
- Import vectors.
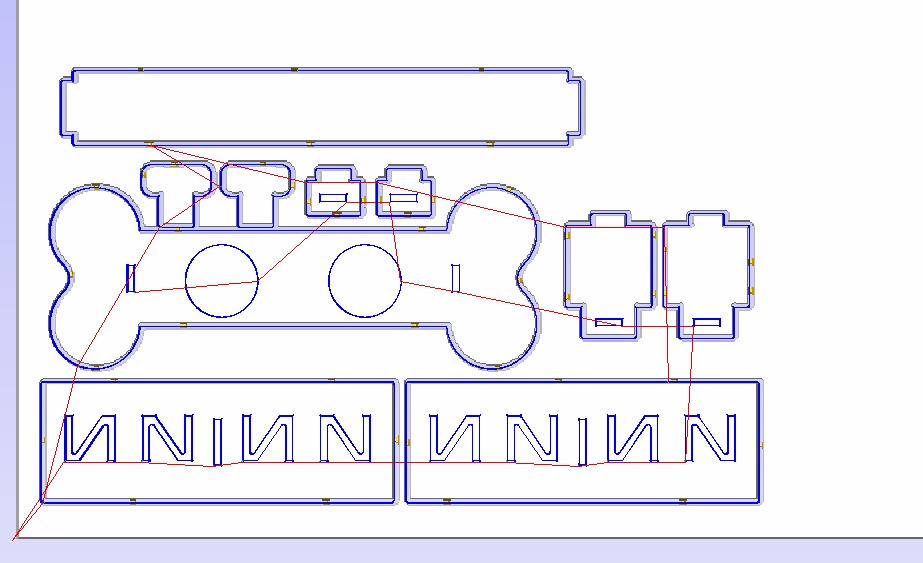
- Strategically arrange vectors to minimize material wastage.
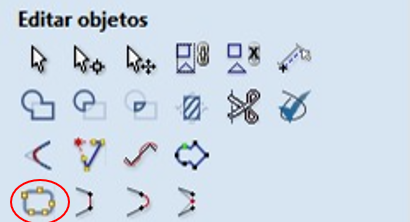
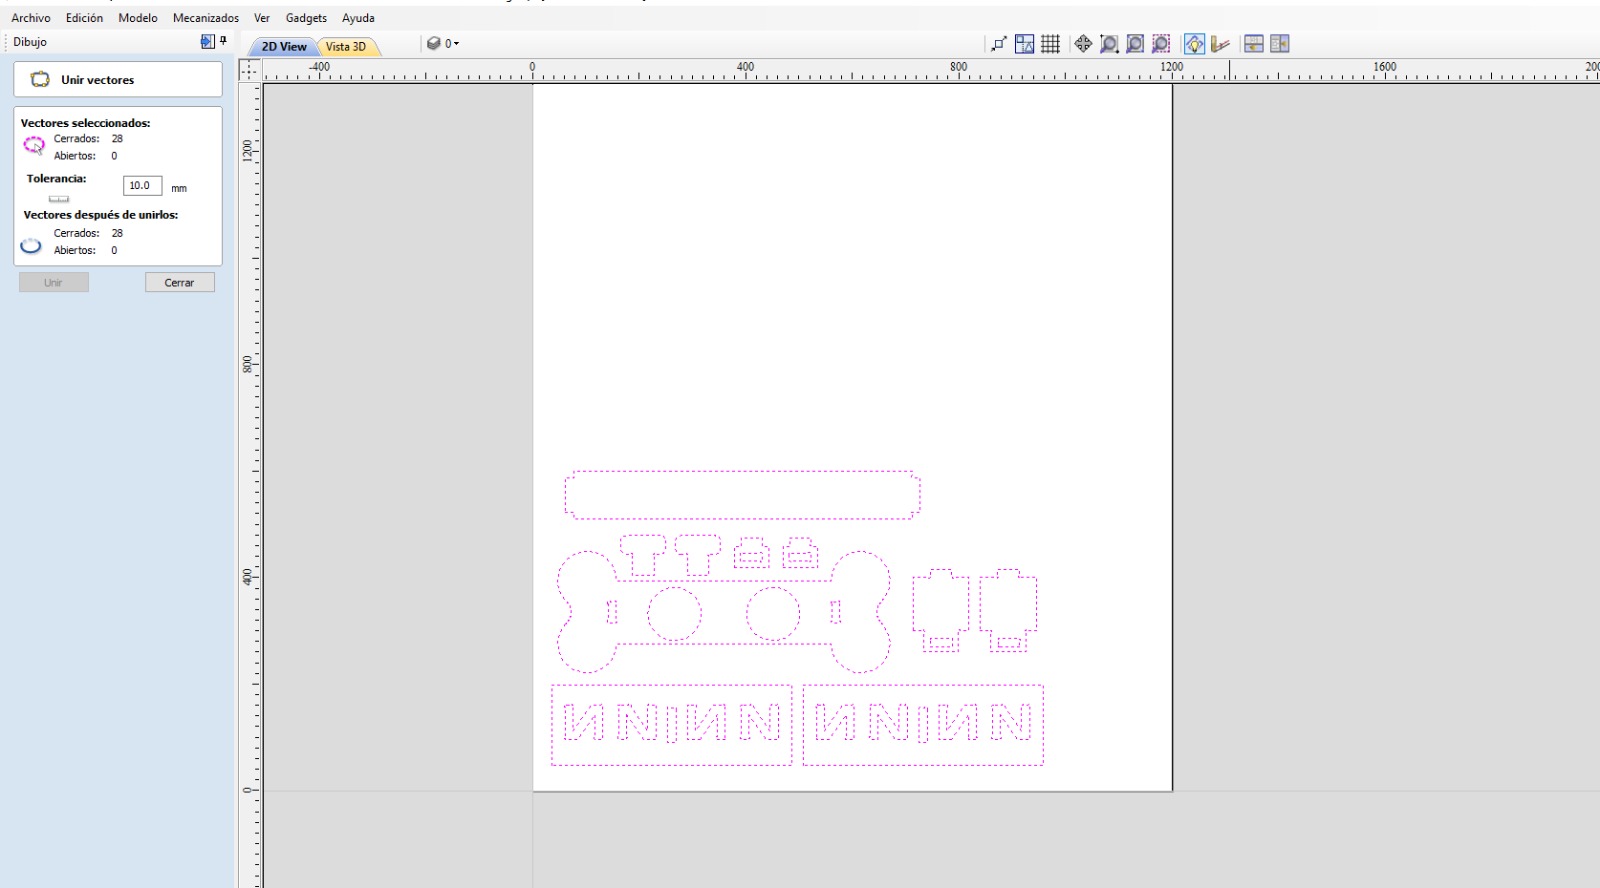
- Select all figures and join them to close any improperly exported vectors.
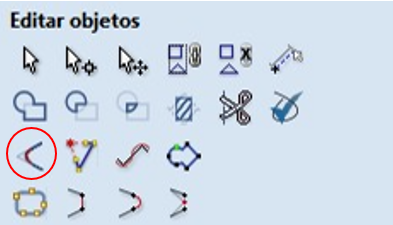
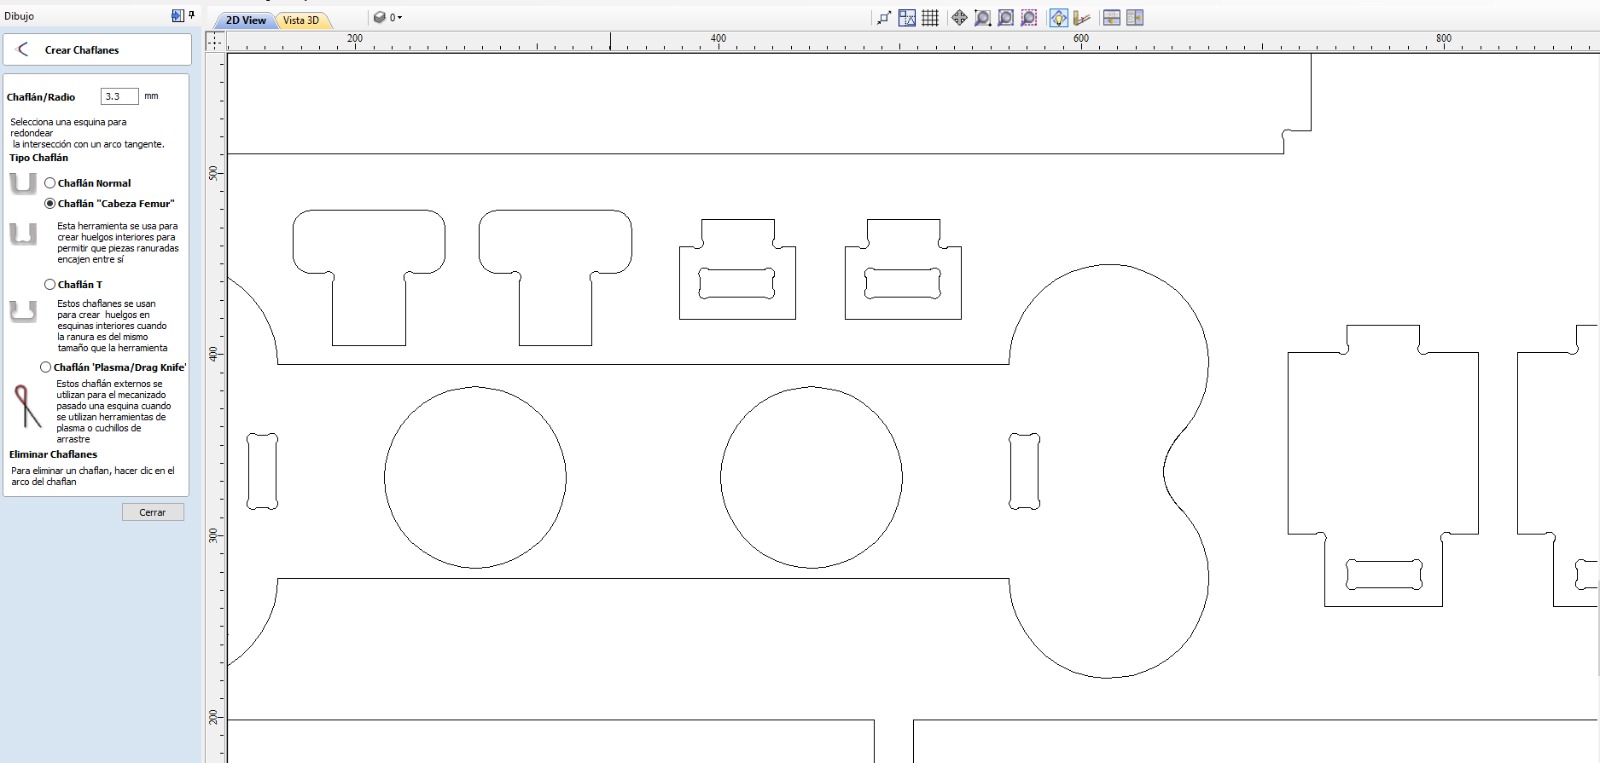
- Place dogbones at points where pieces will assemble.
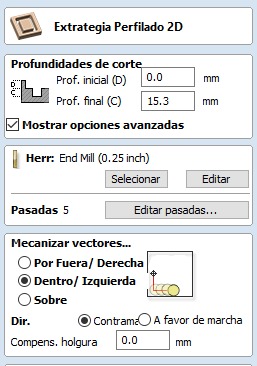
- Select inner vectors by pressing Alt + click.
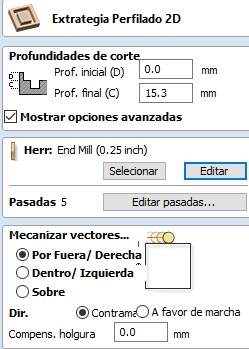
- Open profiling tool and modify parameters for both pieces and tool.
- Change cutting depth from 0 to 15.3.
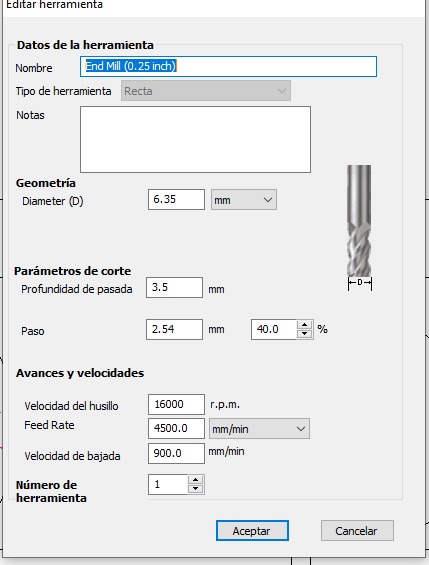
- Modify tool parameters with the following values: name End mill (0.25inch), straight tool, diameter 0.25 inches, depth per pass 0.2 inches, stepover 0.1 inches, spindle speed at 40% (16000 rpm), feed rate 3200 mm/min, plunge rate 900 mm/min, 5 passes.
- Machining inner vectors.
- Calculate toolpaths.
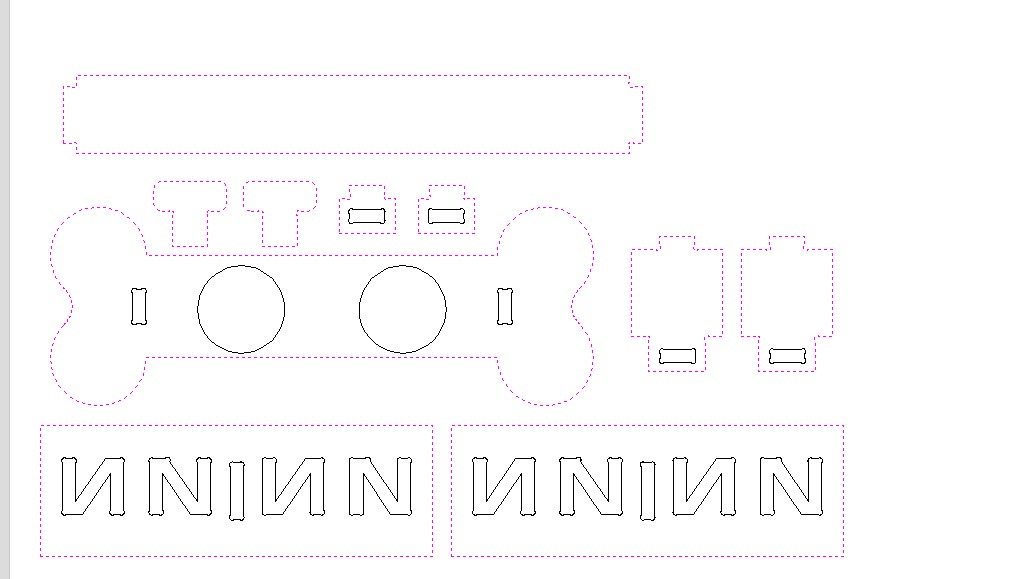
- Repeat previous steps for outer vectors.
- Change option to machine outer vectors.
- Add tabs to toolpath with 2 tabs per side to prevent pieces from flying off during cutting.
- Calculate toolpaths.
- Save all, declaring the machine to be used, in this case "Asiarobotica-NK105.3arcs".
1. Open VCarve and Adjust sheet dimensions to 1.20 x 2.44 ---------------------- Click on "Files" and Import vectors.

2. Select all figures and join them to close any improperly exported vectors
3. Place dogbones at points where pieces will assemble
4. Select inner vectors by pressing Alt + click and Open profiling tool and modify parameters for both pieces and tool
5.Repeat previous steps for outer vectors but now Change option to machine outer vectors and Add tabs to toolpath with 2 tabs per side to prevent pieces from flying off during cutting


6. Calculate toolpaths
7. Save all, declaring the machine to be used, in this case "Asiarobotica-NK105.3arcs"

Router Asiarobotica-NK105
Steps
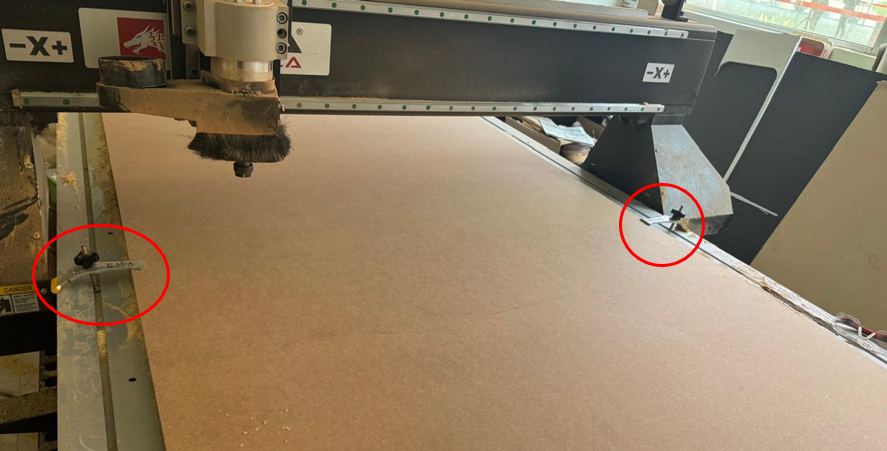
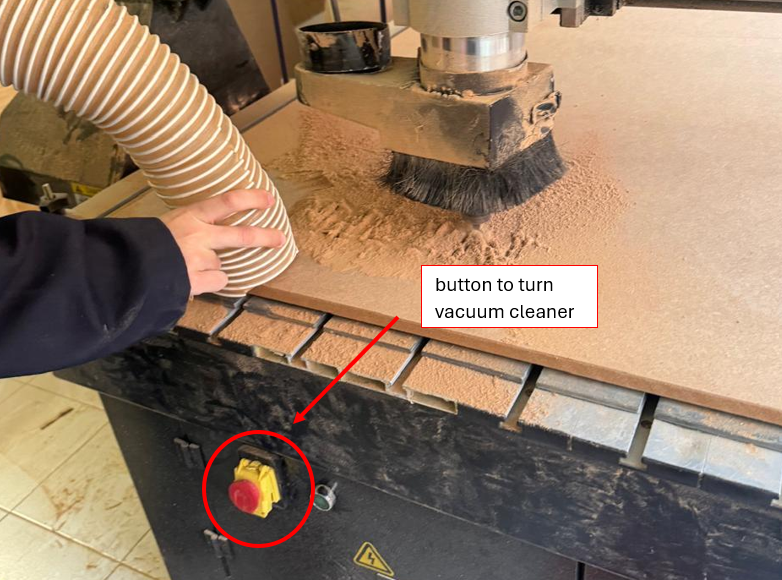
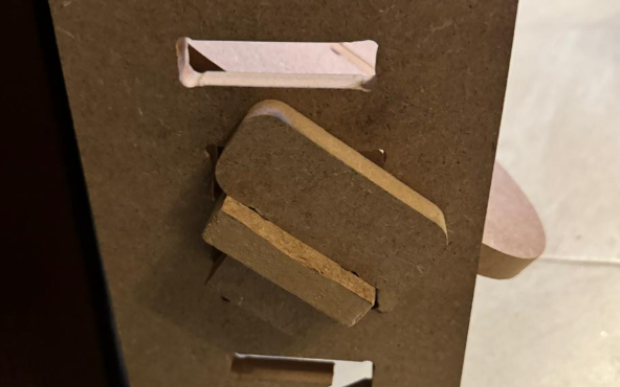
- Place our sheet on the machine bed and secure it with the clamps on the sides, there are 4 clamps, one in each corner.
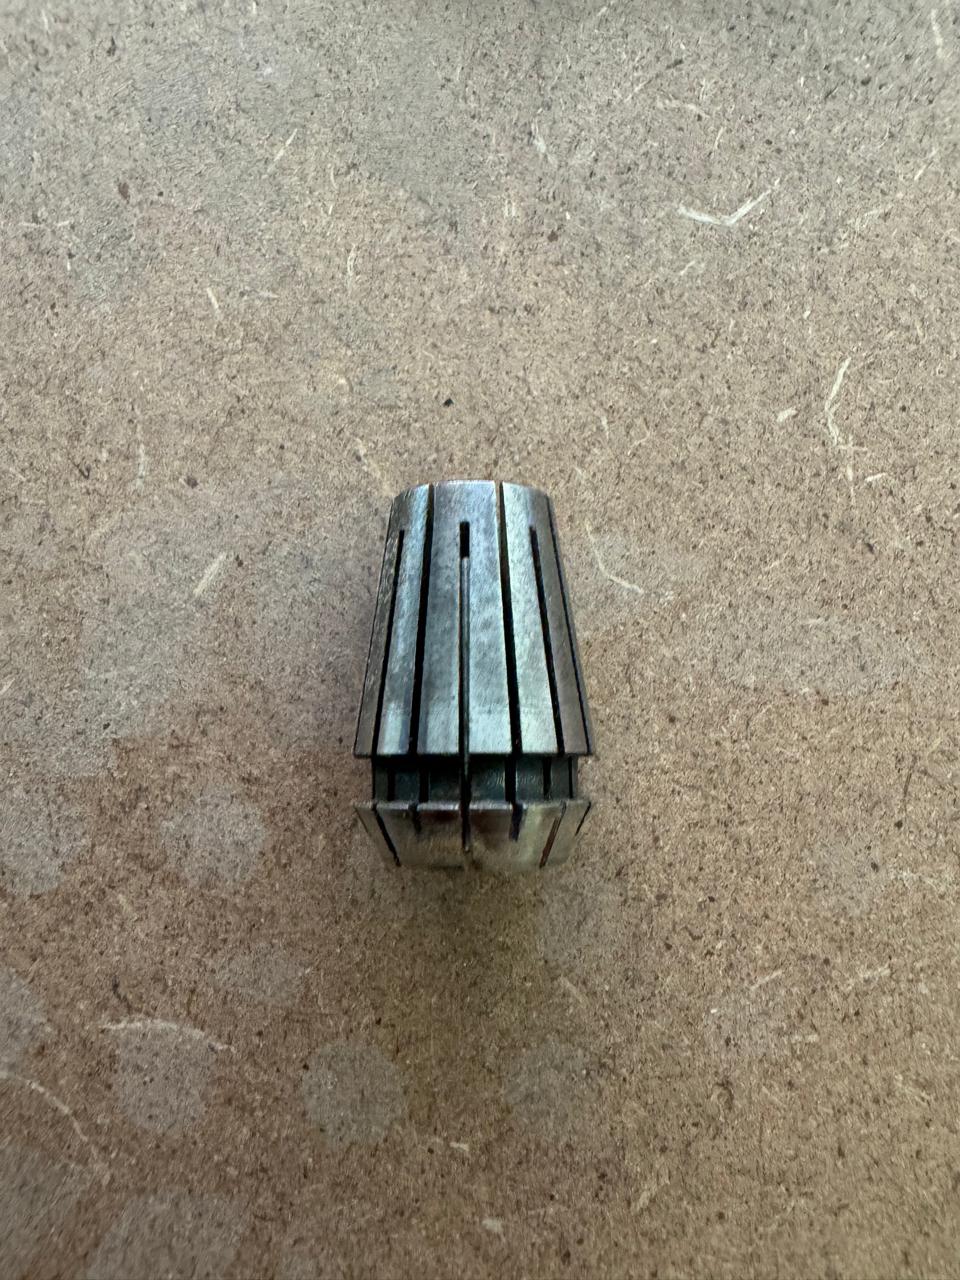
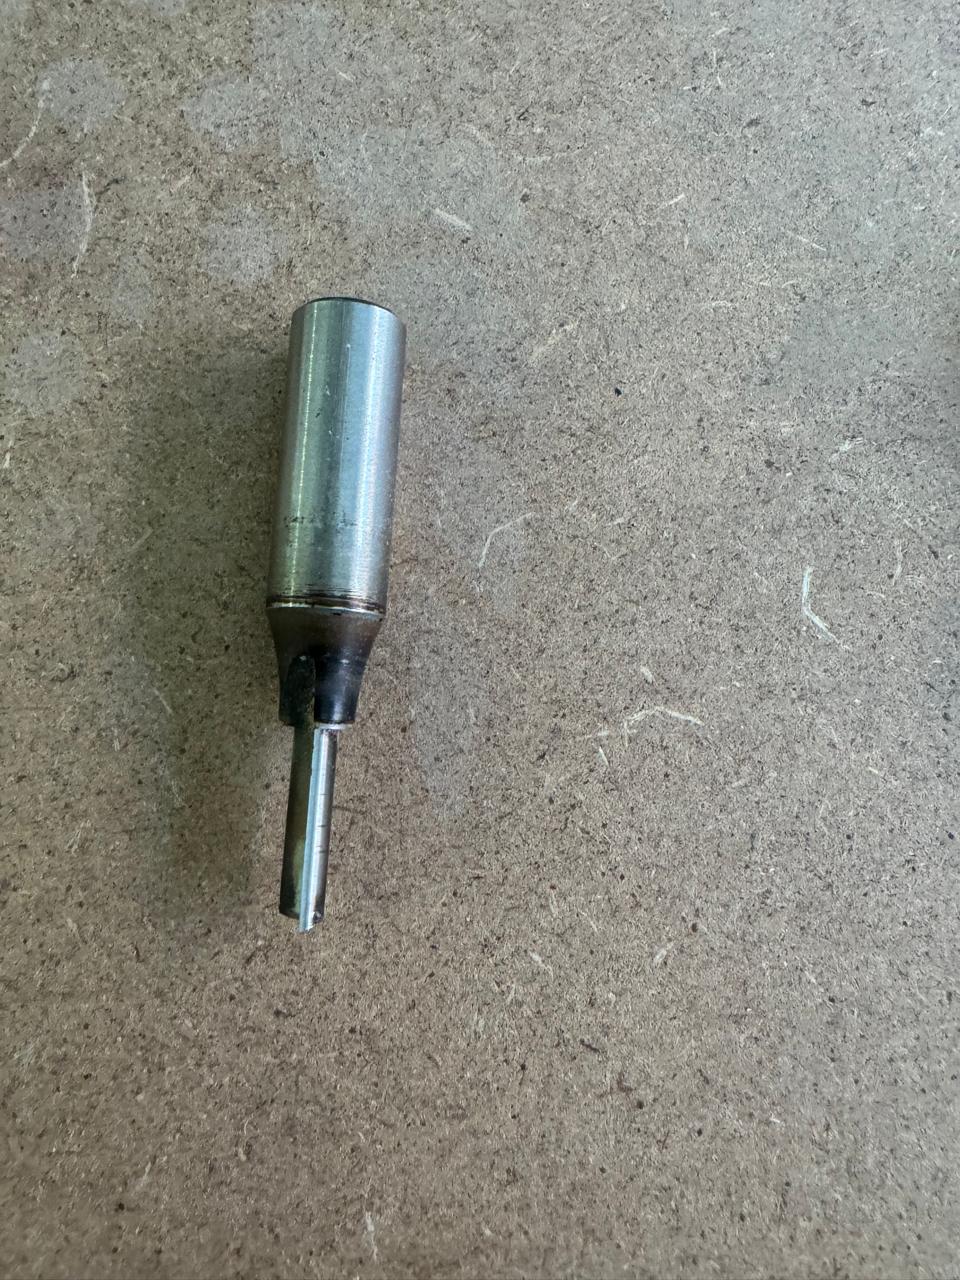
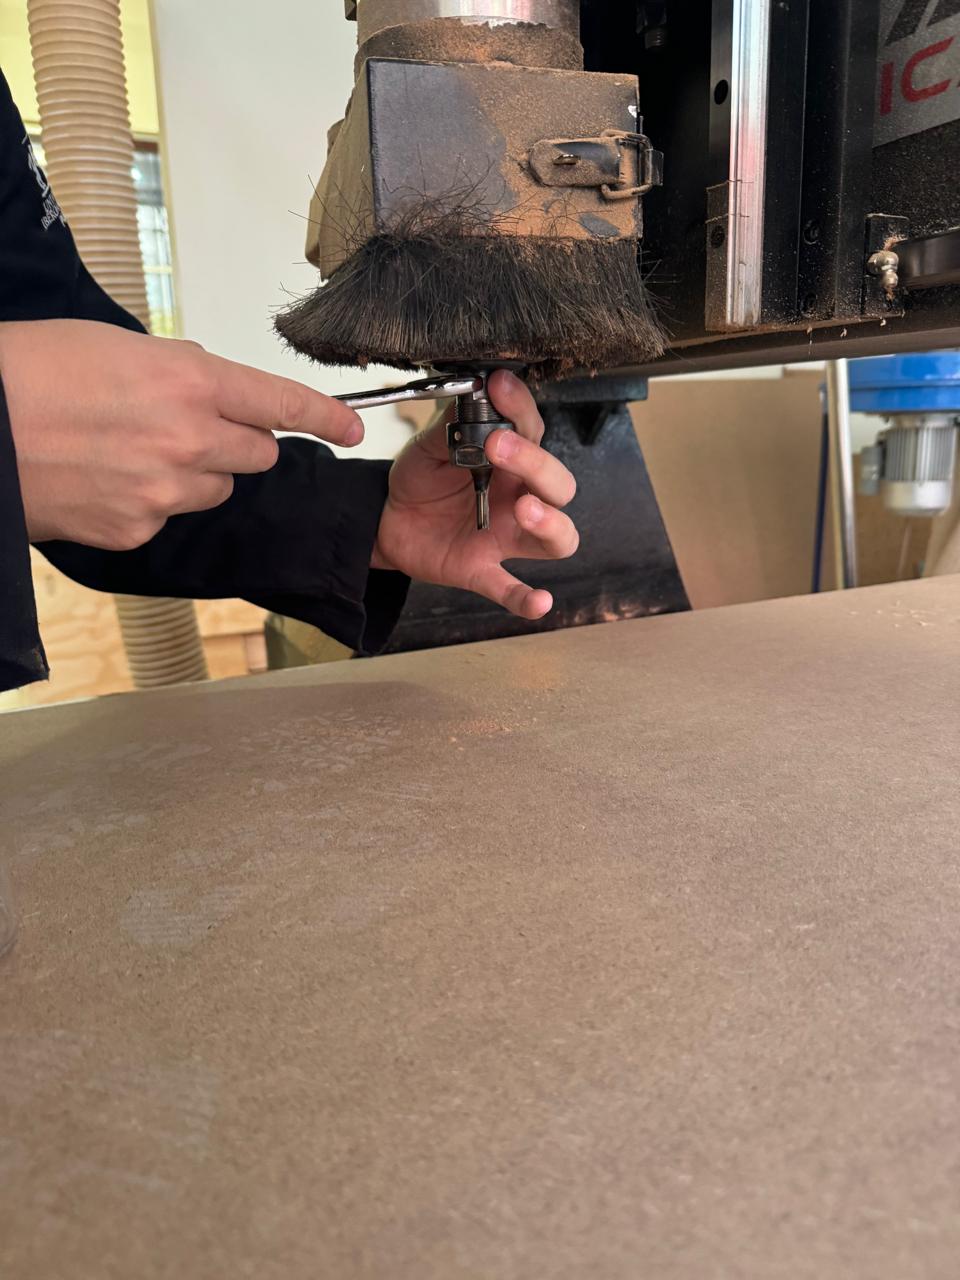
- Select the correct tool and install it in the machine.
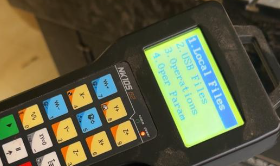
- Insert the USB memory into the machine with the files previously created in VCarve.
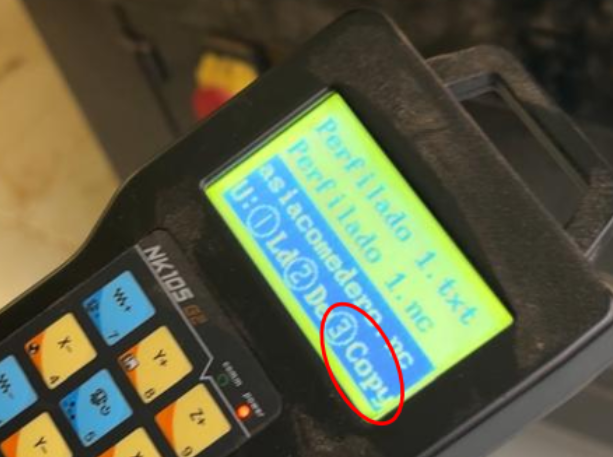
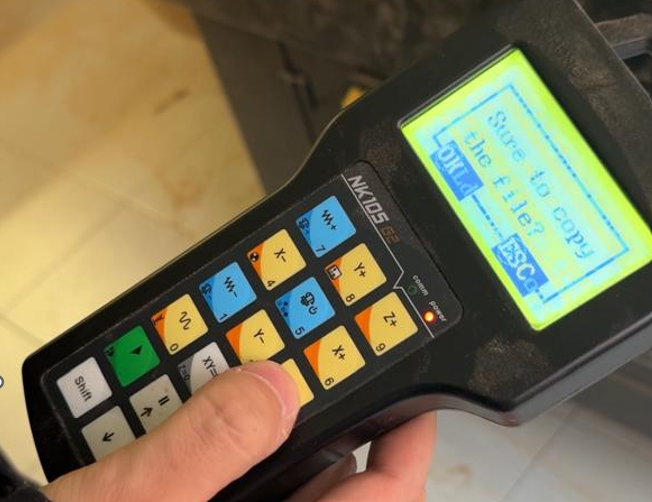
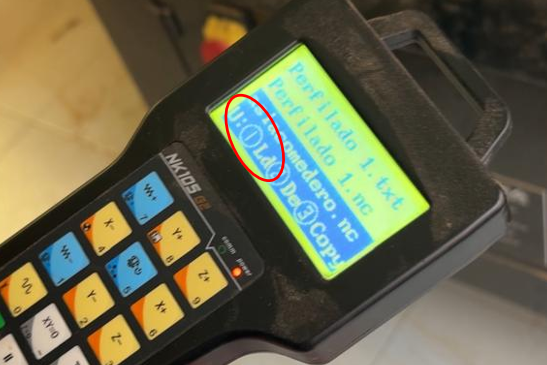
- Once the memory is inserted, locate our file and copy it to the machine.
- Once copied, select the file and load it.
- Calibrate our origin in y, x, and z using the control buttons.
- Once calibrated, start the program.
- Begin cutting while removing the waste material.
- Remove the pieces from the machine bed.
- Turn off the machine and remove the sheet.
- Remove the tool.
1. Place our sheet on the machine bed and secure it with the clamps on the sides, there are 4 clamps, one in each corner
2. Select the correct tool and install it in the machine

3. Once the memory is inserted, locate our file and copy it to the machine and Once copied, select the file and load it
4. Calibrate our origin in y, x, and z using the control buttons

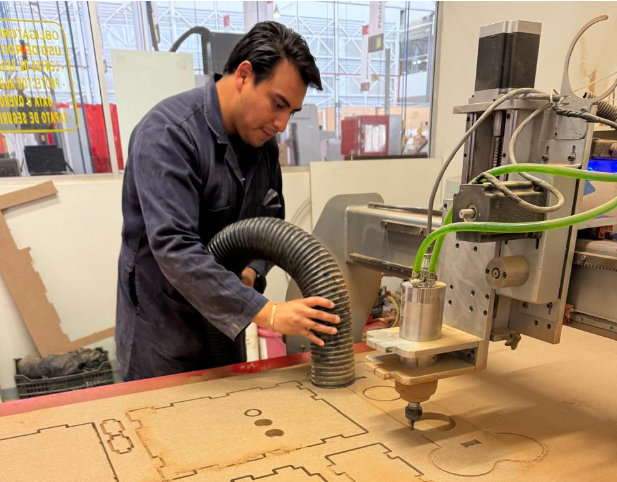
5. Machine working
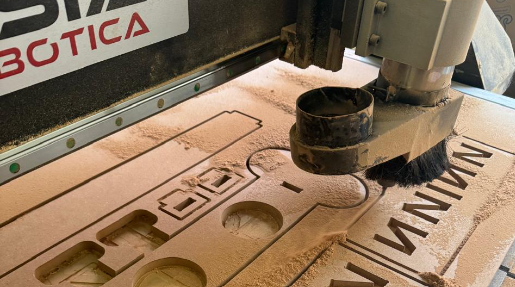
6. Begin cutting while removing the waste material
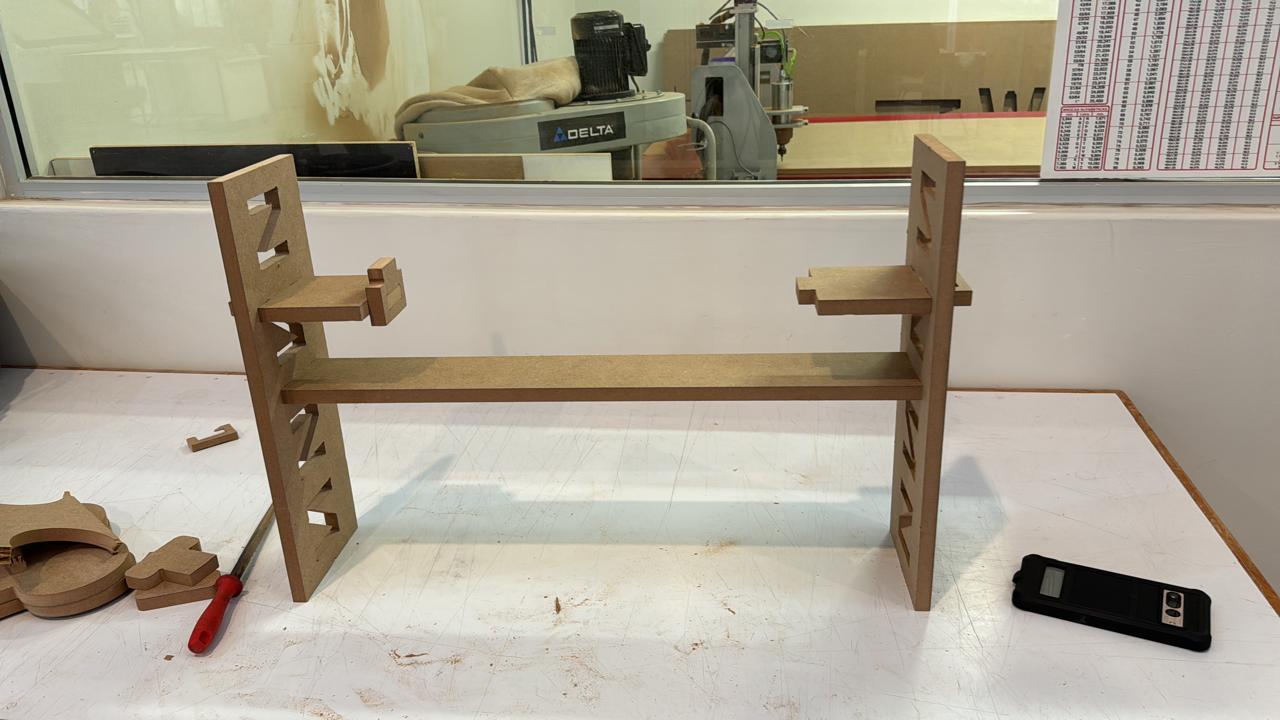
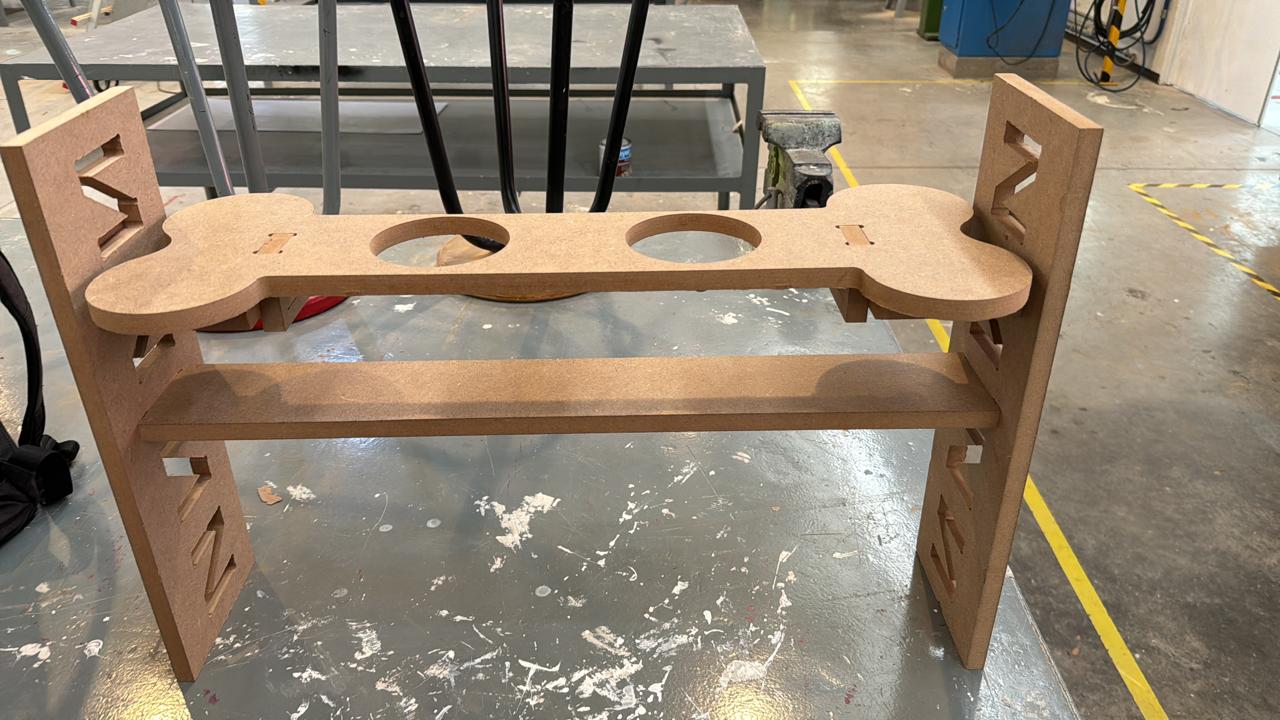
7.Result
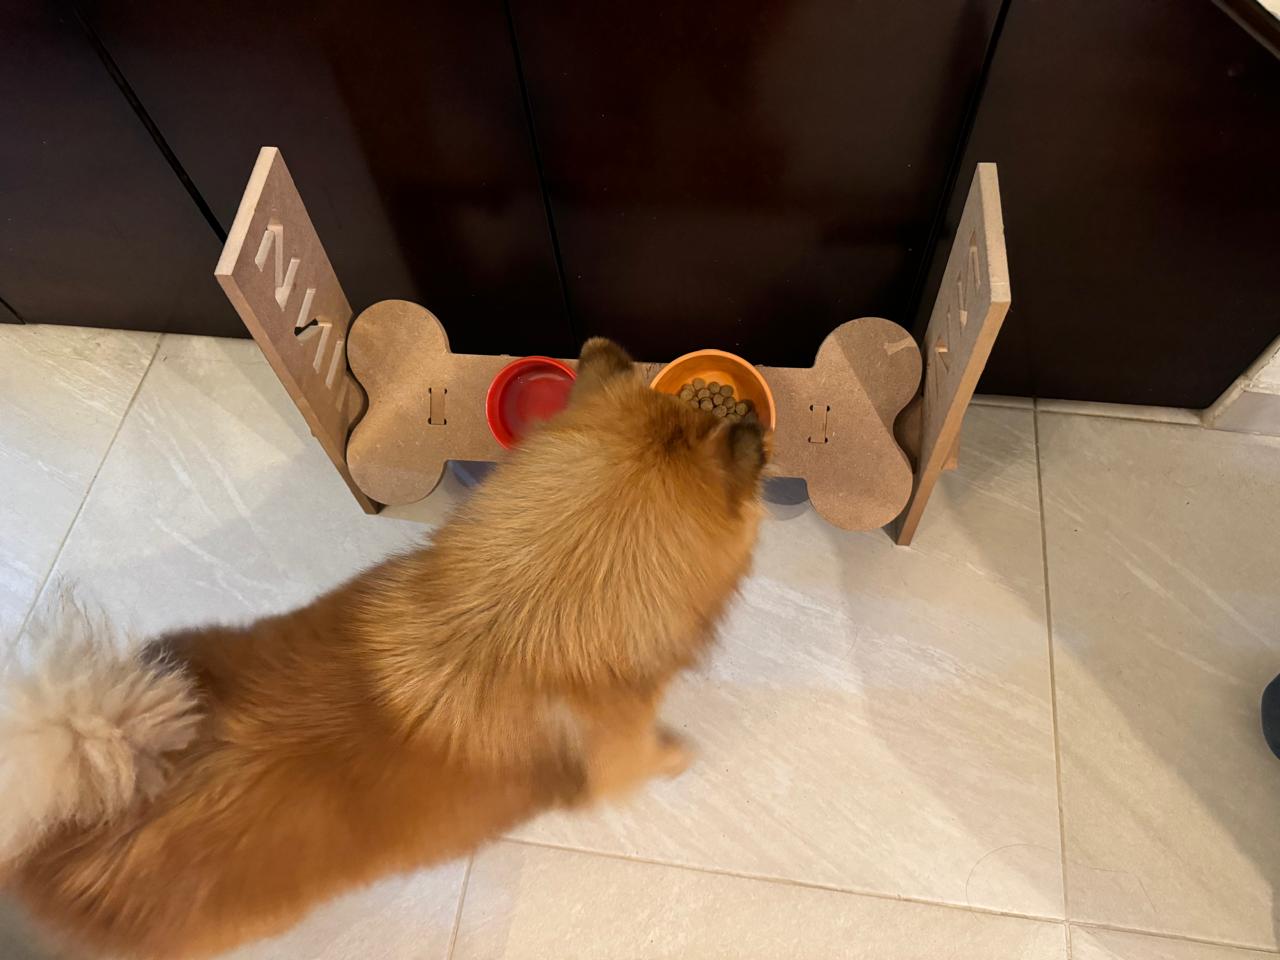
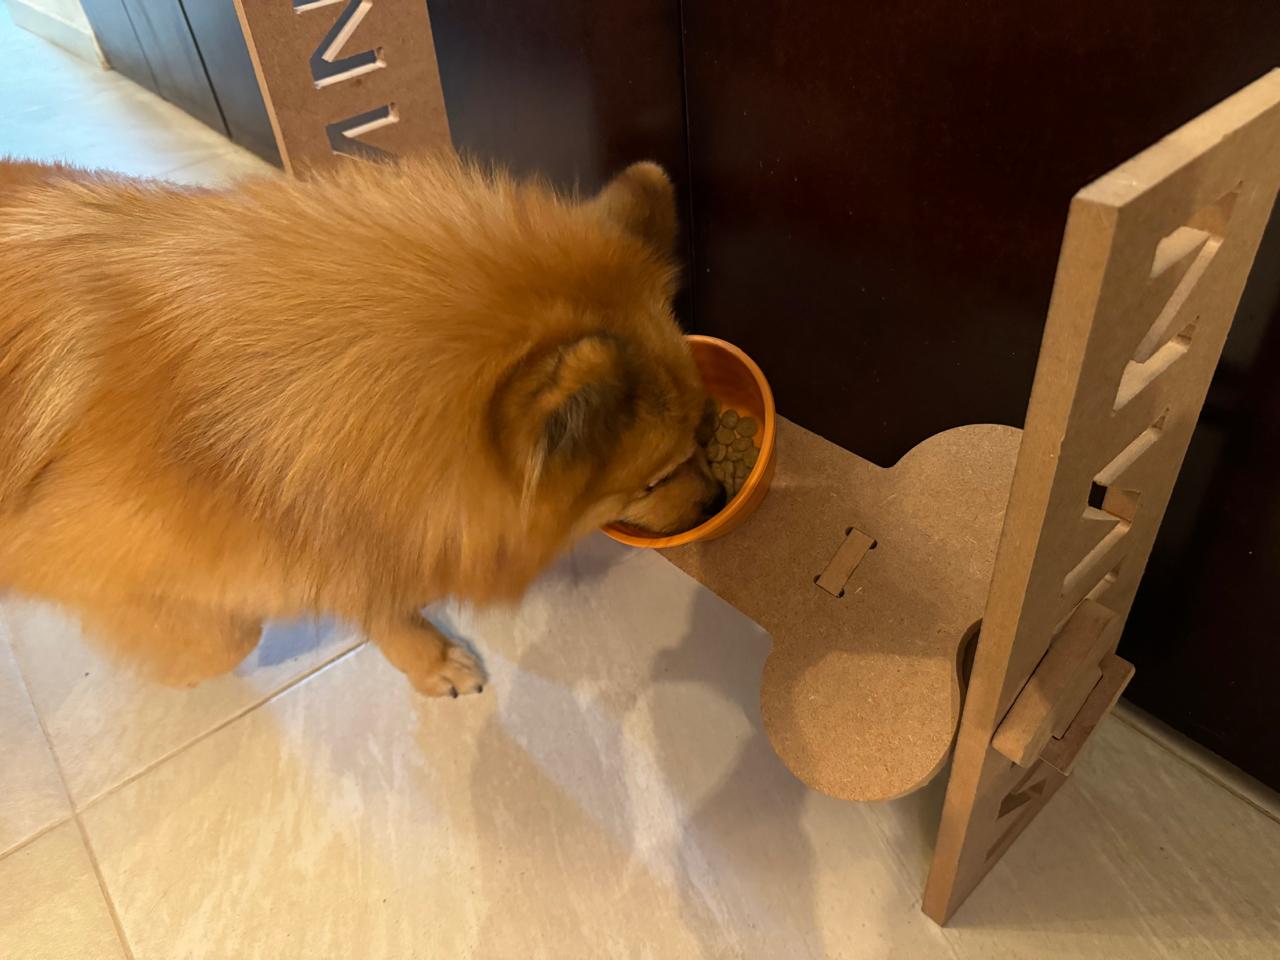
testing the product
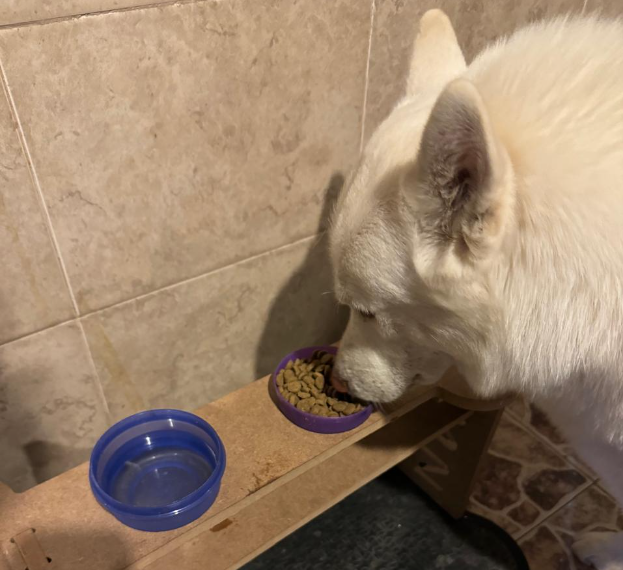
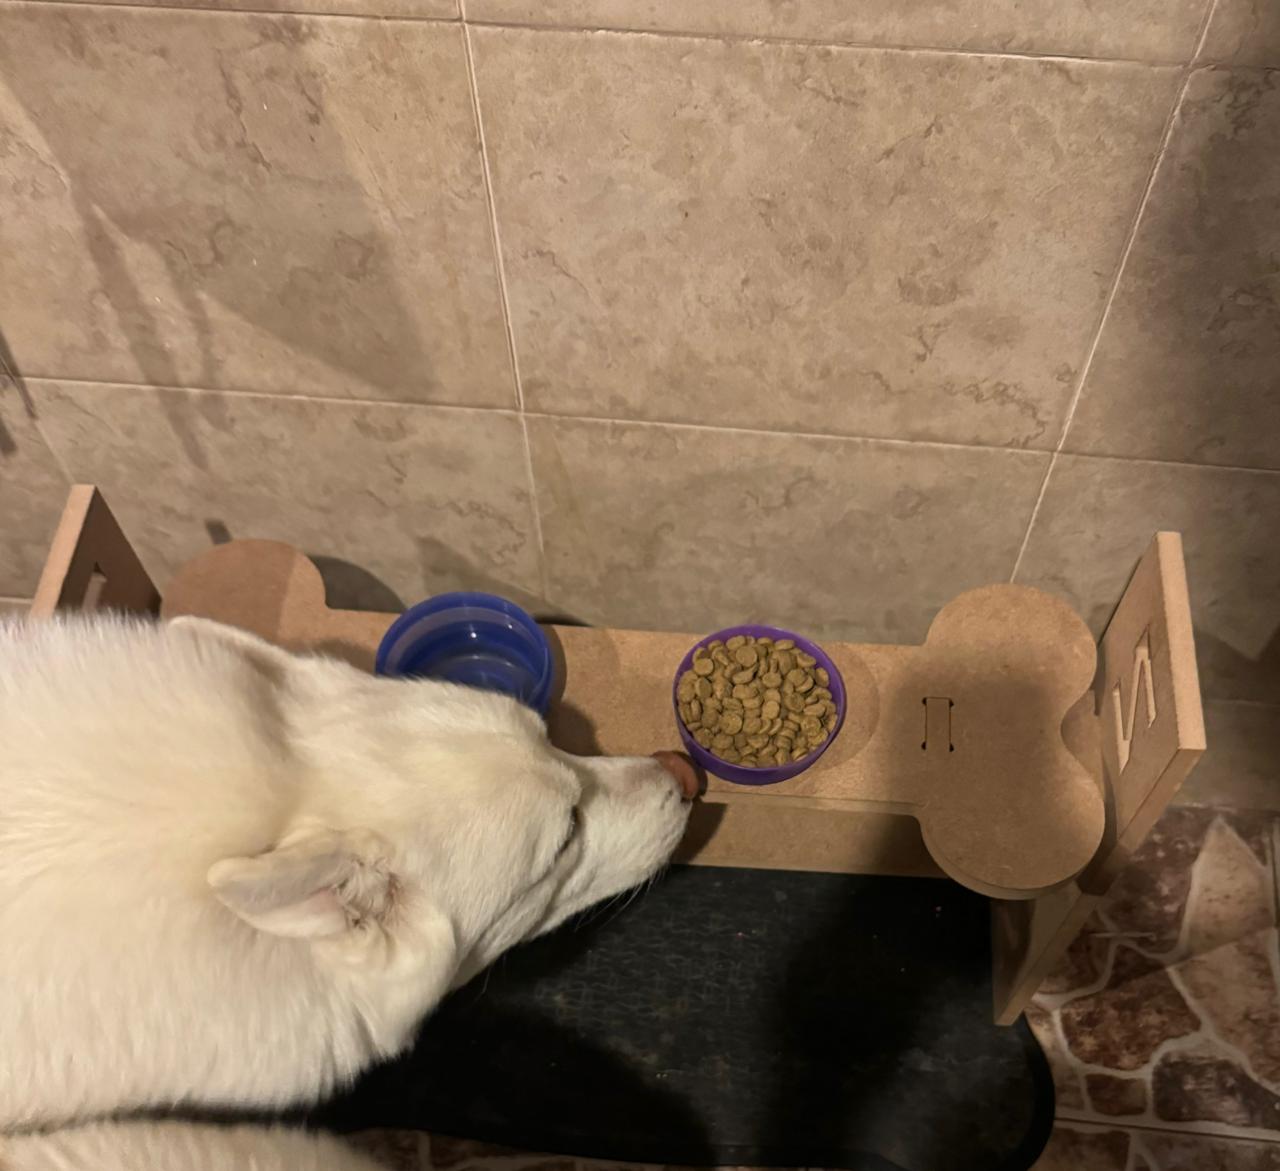
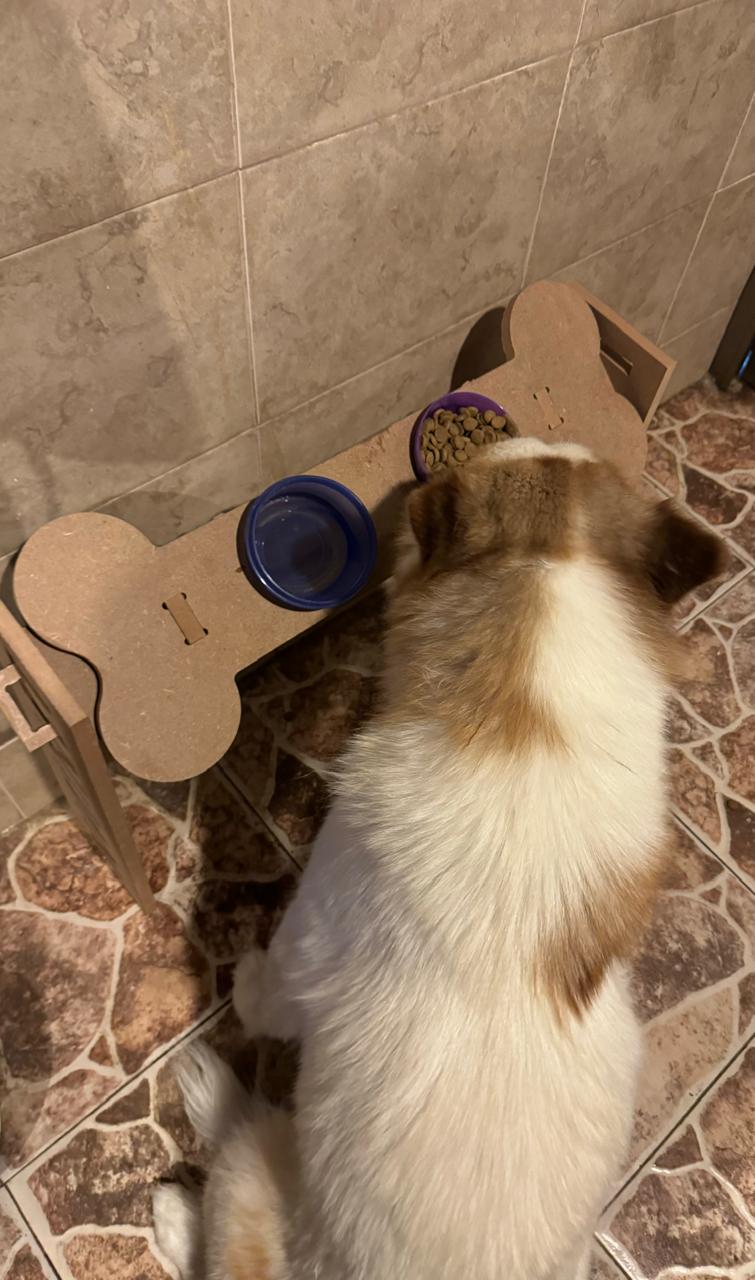
For this part, I tested the product with several dogs to assess the different heights and angles at which the product is designed. We can see that it fulfills its function perfectly. As a complication, I noticed comments suggesting that the bowls could have been larger to accommodate a bigger container. This is true if we consider a larger breed like a Mastiff or a very large dog. However, for a Husky, for example, their daily portion fits well, and their snout fits comfortably. Therefore, modification of the hole size may be necessary if your dog is very large.
Little Dog
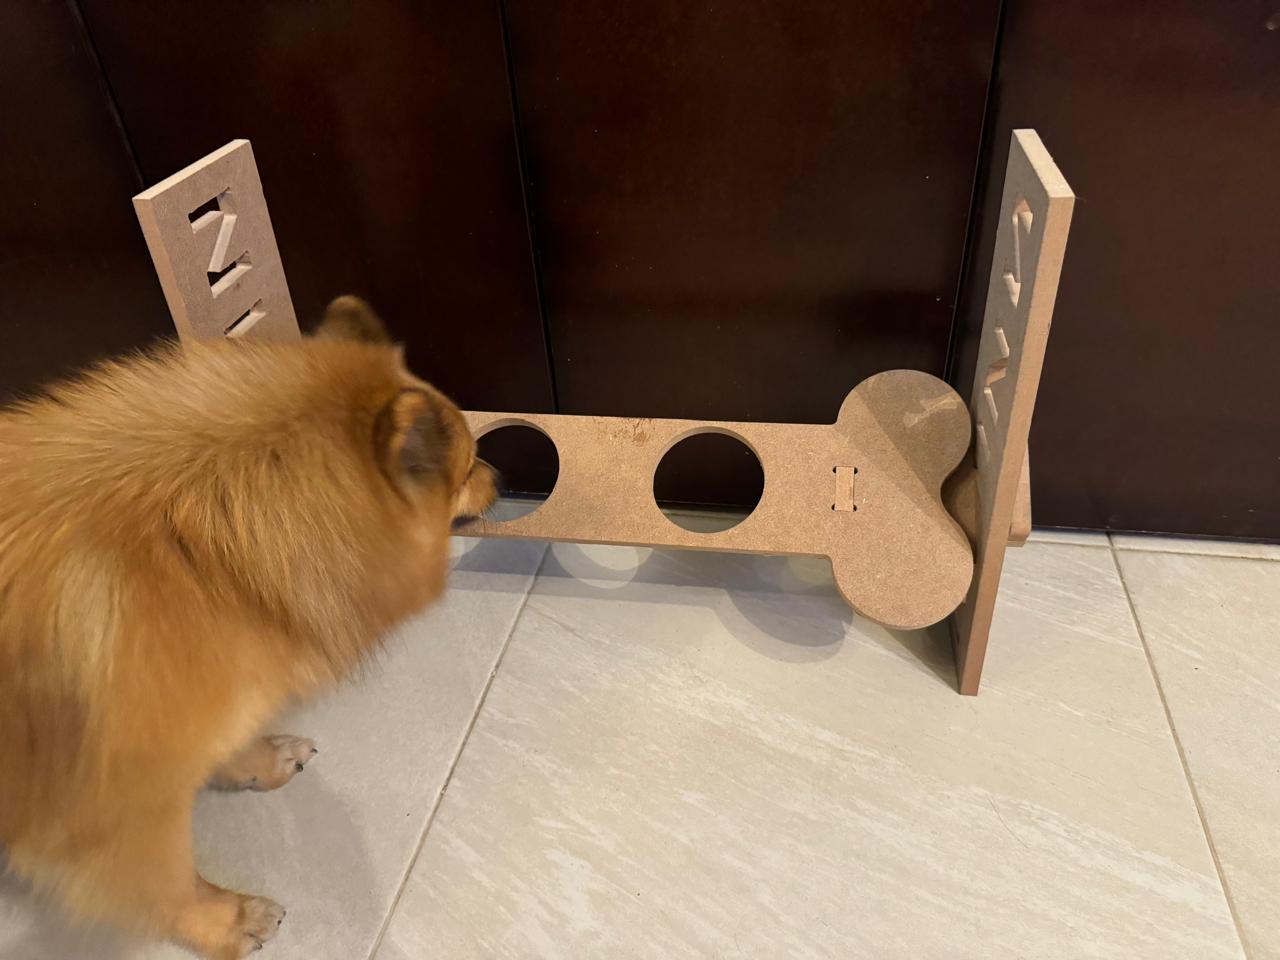
Big Dog
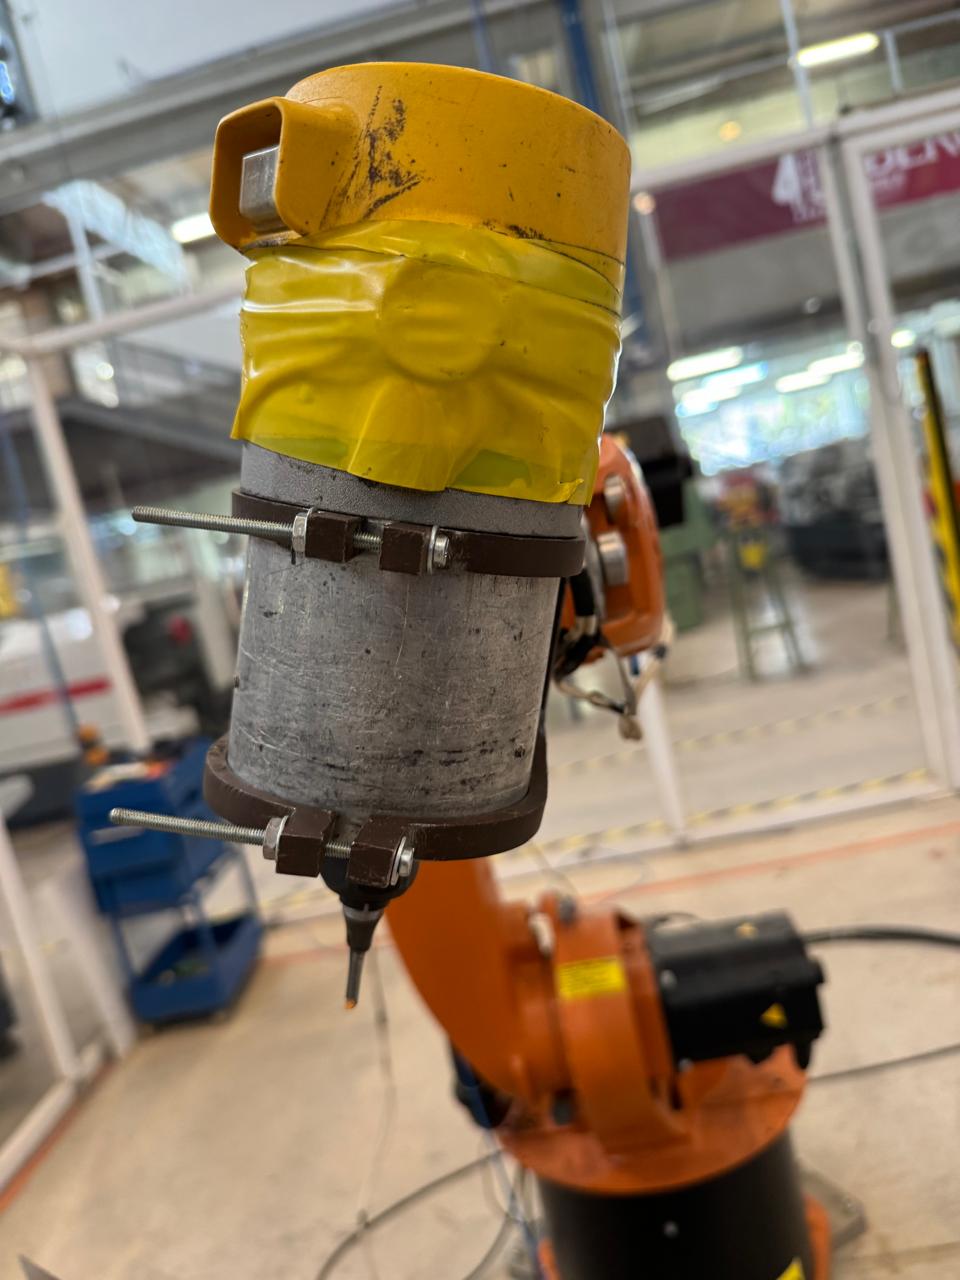
KUKA
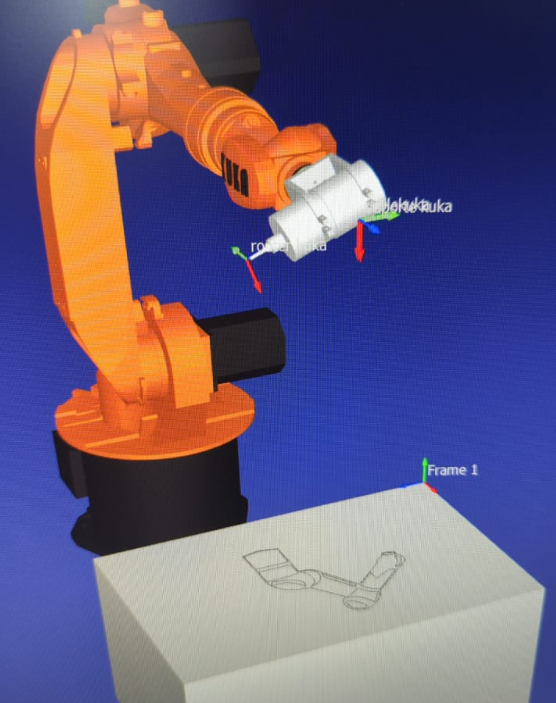
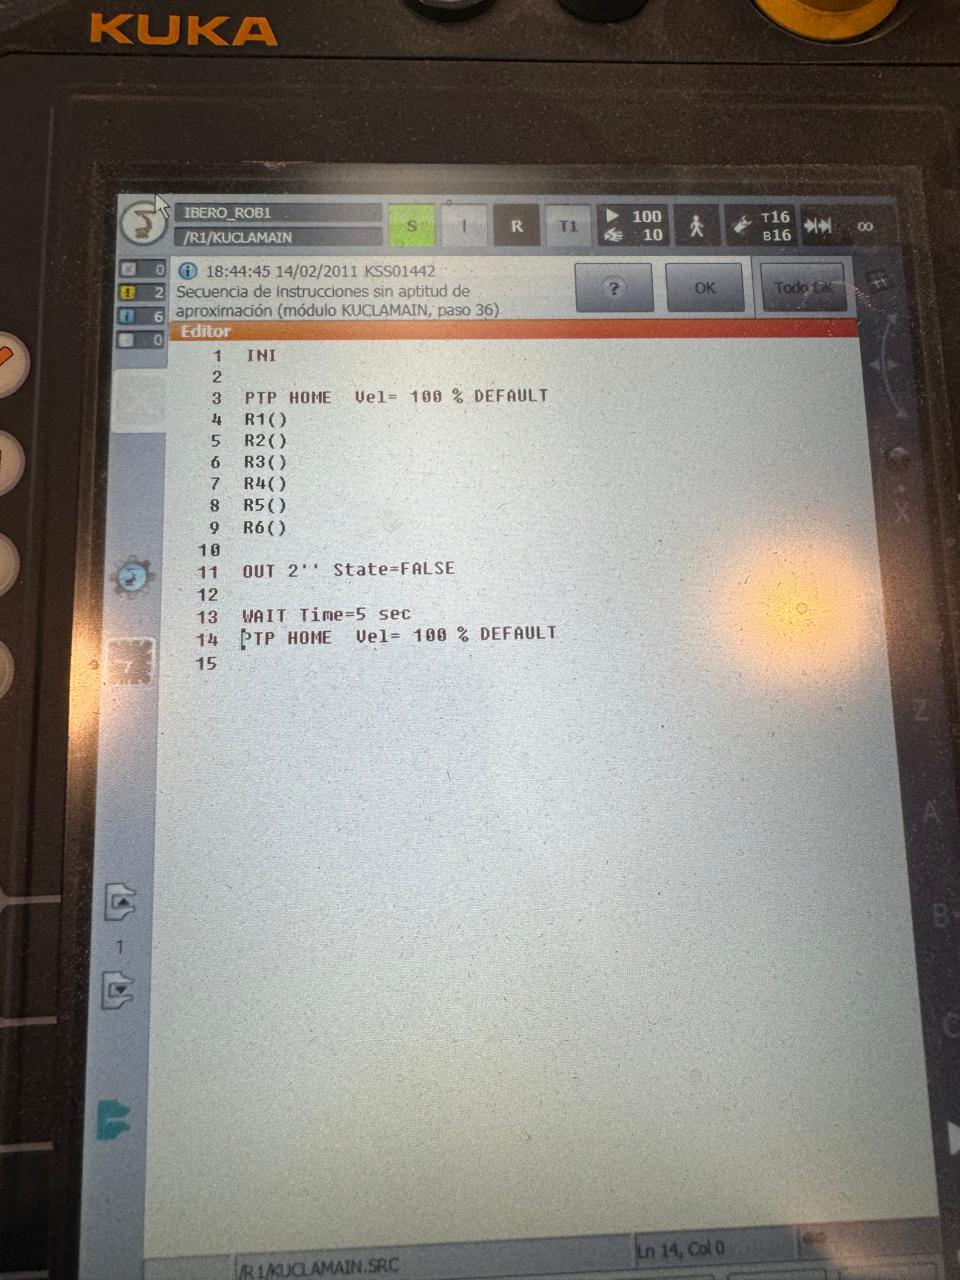
Utilizing a KUKA robot for engraving and cutting tasks is also achievable, employing the RoboDK simulator. Once the robot is chosen, a work plane is established, and the tool along with the DXF file are incorporated, a code can be generated using its post processor. This process allows for precise control and customization of the engraving and cutting operations. For milling tasks, a Dremel tool is commonly used due to its versatility and precision. This tool is connected to the engraving setup to perform detailed milling operations on various materials. Prior to commencing the machining process, it's crucial to calibrate both the KUKA robot and the MDF material. Proper calibration ensures accurate and consistent results throughout the machining process, ultimately leading to high-quality finished products
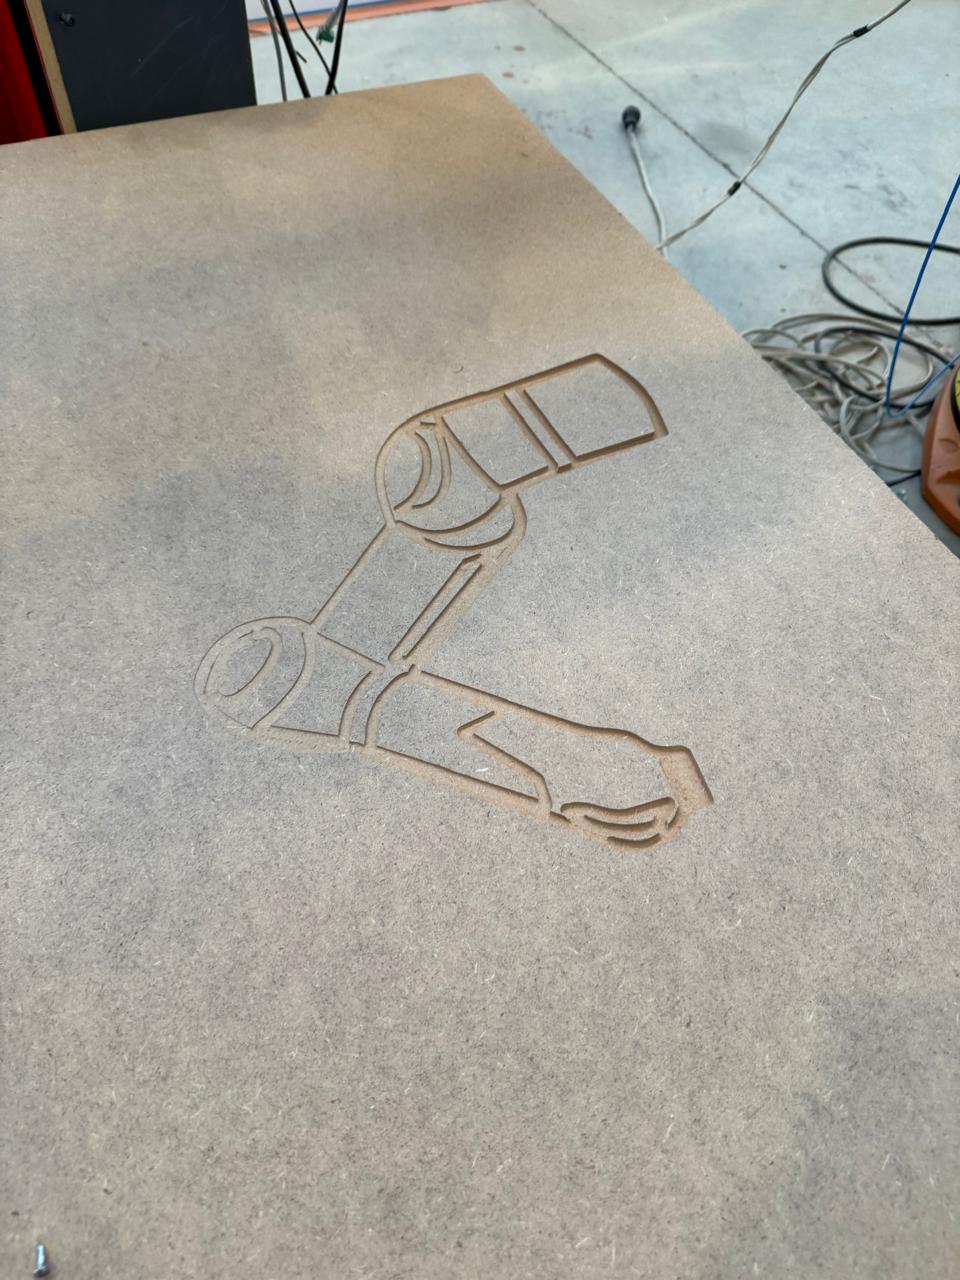
In this scenario, I opted for engraving; however, it's worth mentioning that it's capable of performing cuts similar to the previous CNC setup.