
11. Mechanical Design & Machine Design
Final Machine Website:
This week was different form the rest because it was a team effort and it was a big project. I was really intersted in making the cnc machine, but wasn't aware of how much more invested I would become with Fab Academy after this project. Specially 5 of us in the team spent a lot of time together and worked well together. After this I feel like the whole group felt more united and we started helping each other out more with our assignments. Overall it was a great experience and I'm glad this assignment was a team exercise.
Idea Brainstorming:
The first step was to decide what we wanted our CNC machine to do. We came up with a couple ideas but the one that seemed to have the most potential was the paintball machine. We decided to have a vote and the paintball machine won by a landslide. I believe what made it so clear was the fact that it was intersting, new, and implied an impressive machine, being both big and sturdy.
Team organization
Once we knew what we wanted our machine to do we broke down the process of building it into parts and divided the tasks evenly amongst ourselves based on our skills and experties. We made a design team, a programmign team and a build team. This division was intended to divide the resposibility and make everybody accountable but it doesn't mean anybody did just one thing, everybody had to help on every step.
As an industrial designer I was part of the design team along with Andrea. We started off by making some sketches to present to the team on our first meating.
Design Brainstorming:
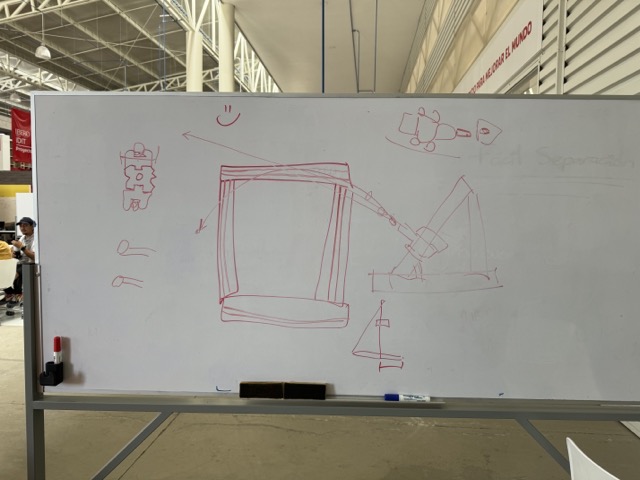
Once the concept was chosen and the teams assembled we all met to start brainstorming. Andrea and I presented our proposals which consisted of a couple drawings and models. The team asked us a couple questions and liked our initial proposal so we decided to move on to the specific implementation on that same meeting but pretty quickly we came to realize we had to figure out what equipment we could get our hands on before comitting to a design.
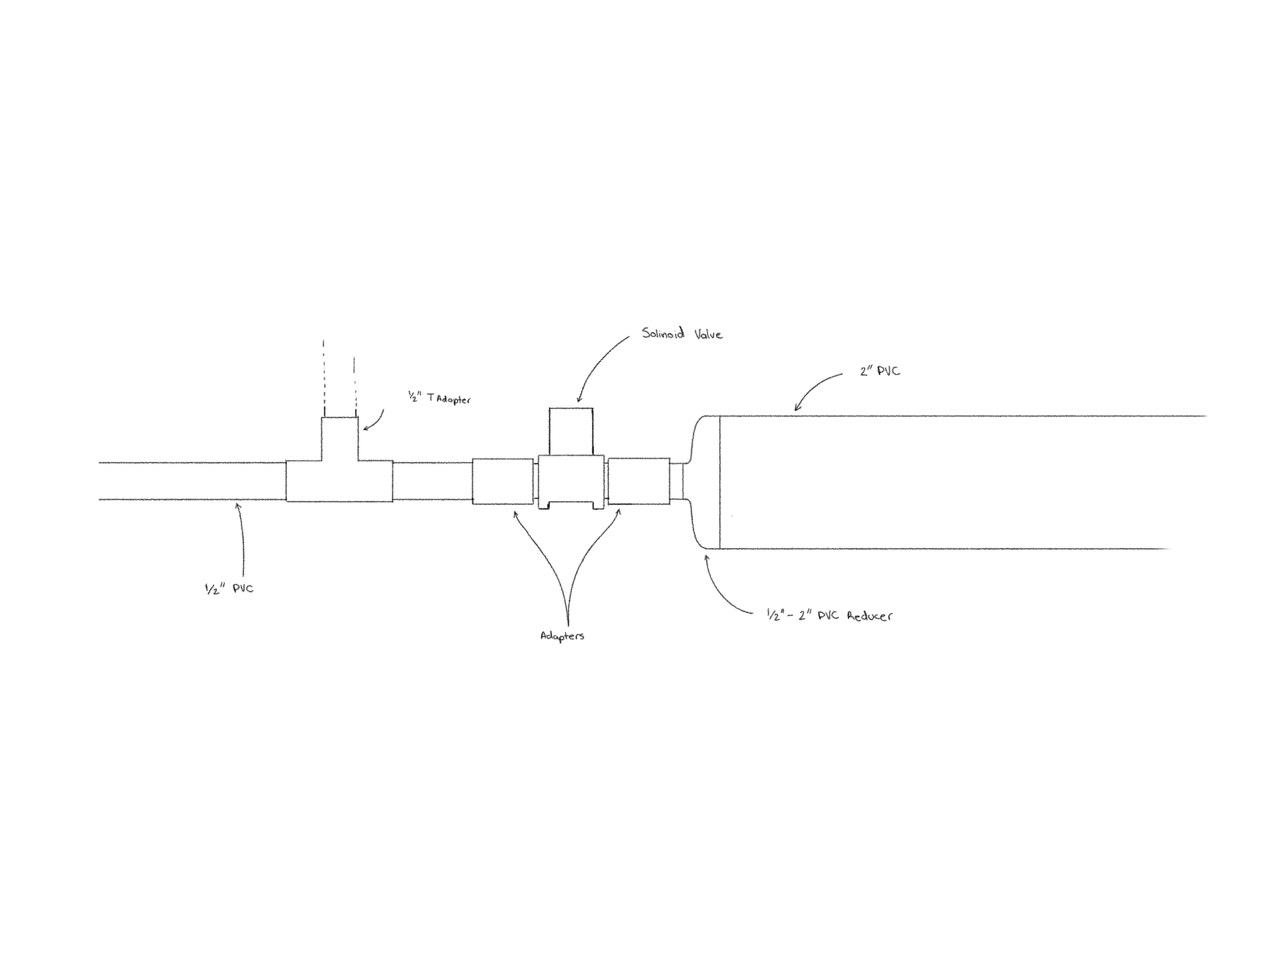
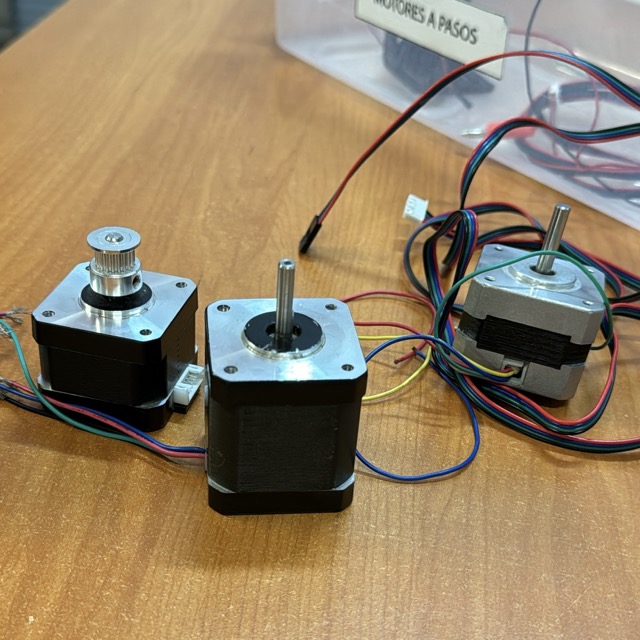
Picking parts
Most members of the team werent available to go look for materials for the build so Andrea and I went to the lab to see what was available. We had never build anything of this kind so we had very limited experience. Fortunatelly chat GPT was a good guide and helped us figure out what we needed. After this we made a bill of materials and let the team know what we had managed to find and what else needed to be bought or sourced from anywhere else.

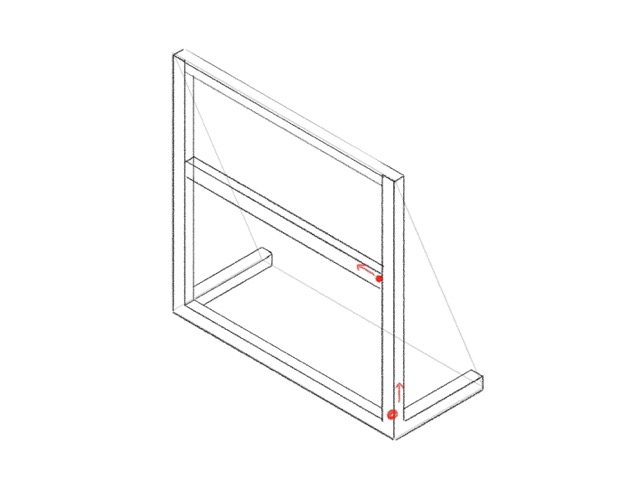
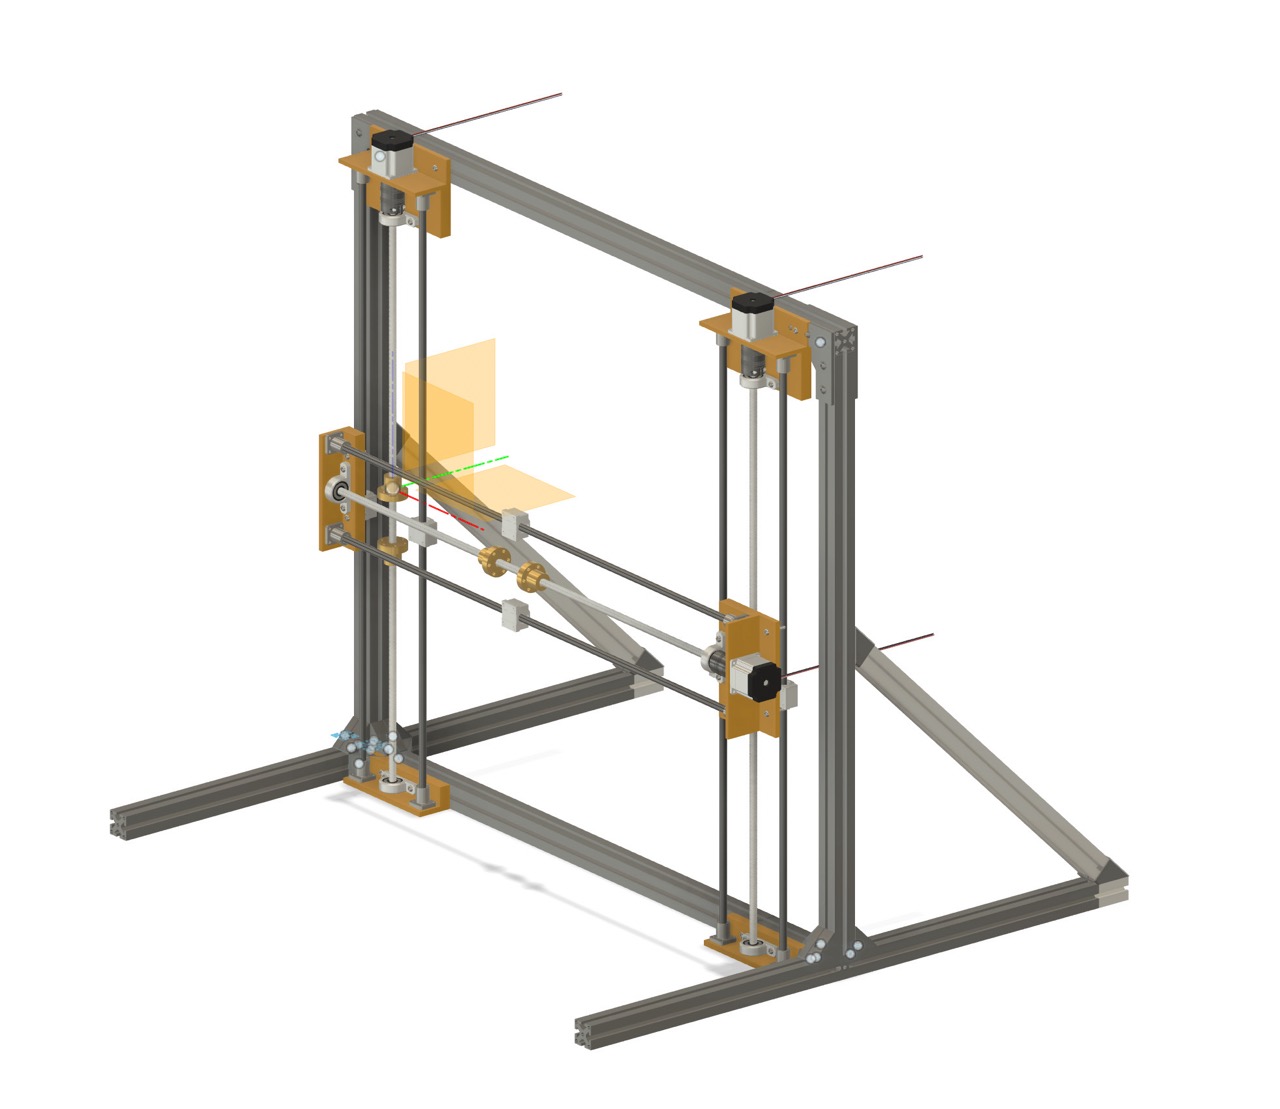
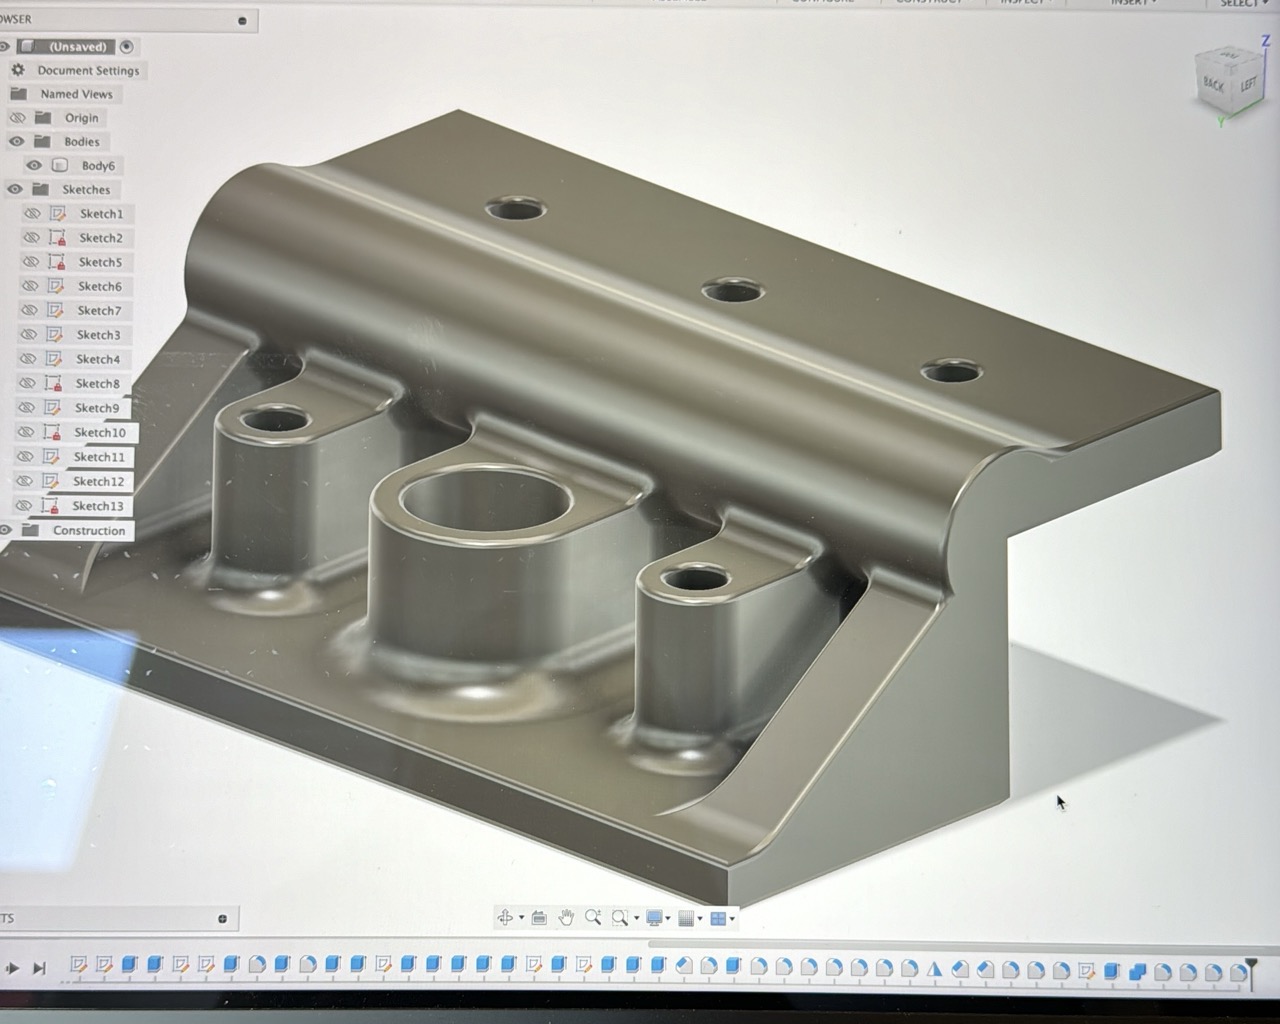
Modelling
Once we had the bill of materials I got to designing the machine in fusion 360. I used the McMaster car parts collection to import some of the pieces, modeled the aluminum extrussions and the parts that weren't available in fusion 360. We sent this design over to one of the members of the team who is a professor in IBERO Ciudad de México who offered to donate several meters of aluminum extrussions and unions. He checked it and made a few suggestions to make it more sturdy.
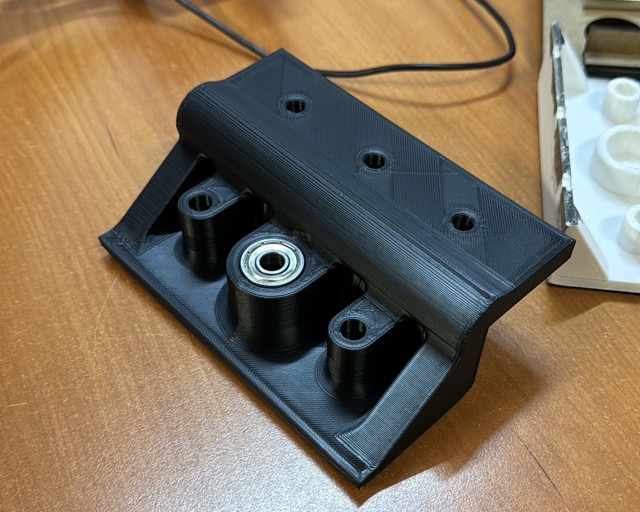
Custom Parts
Most of the pieces I used in the model were pretty much standard but it did require some custom parts which we made using 3D printing. Since it was only 2 of us in the design team and 5 or 6 in the construction team some mechanical engineers offered to design and print them.
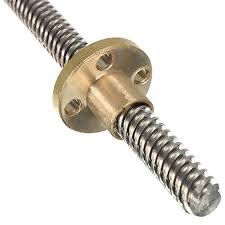
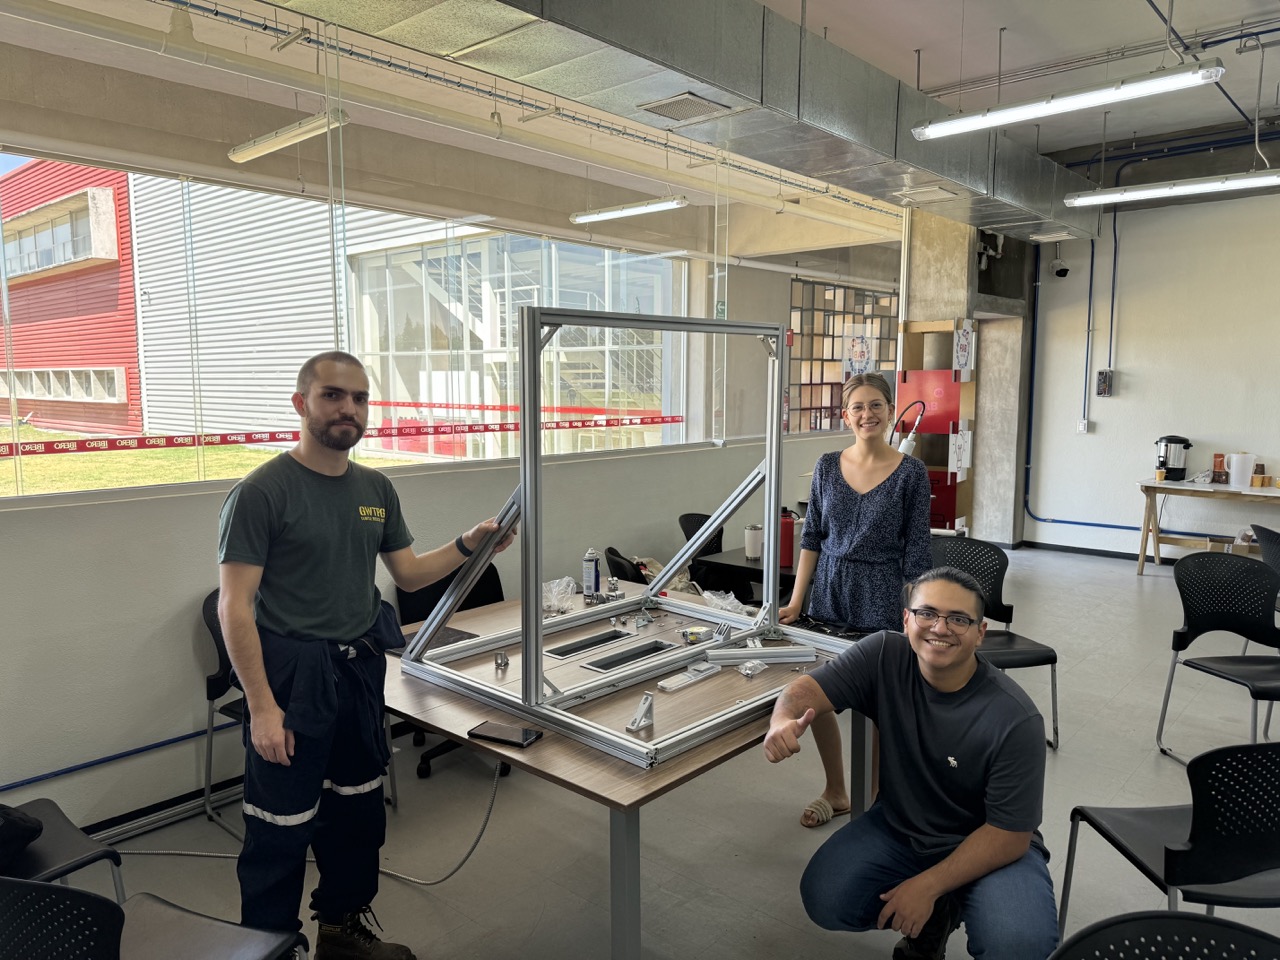
Assembly:
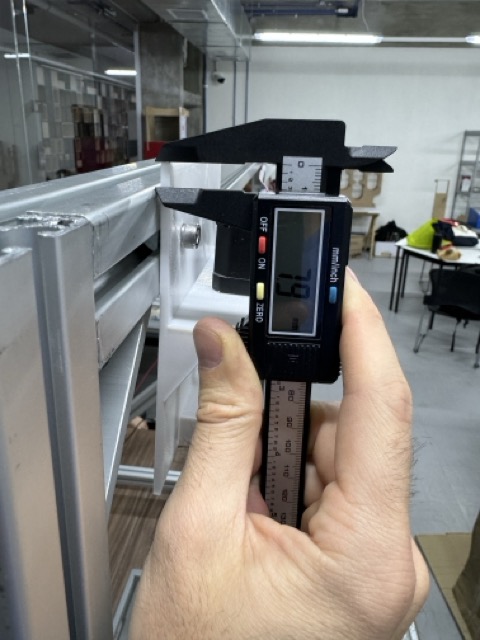
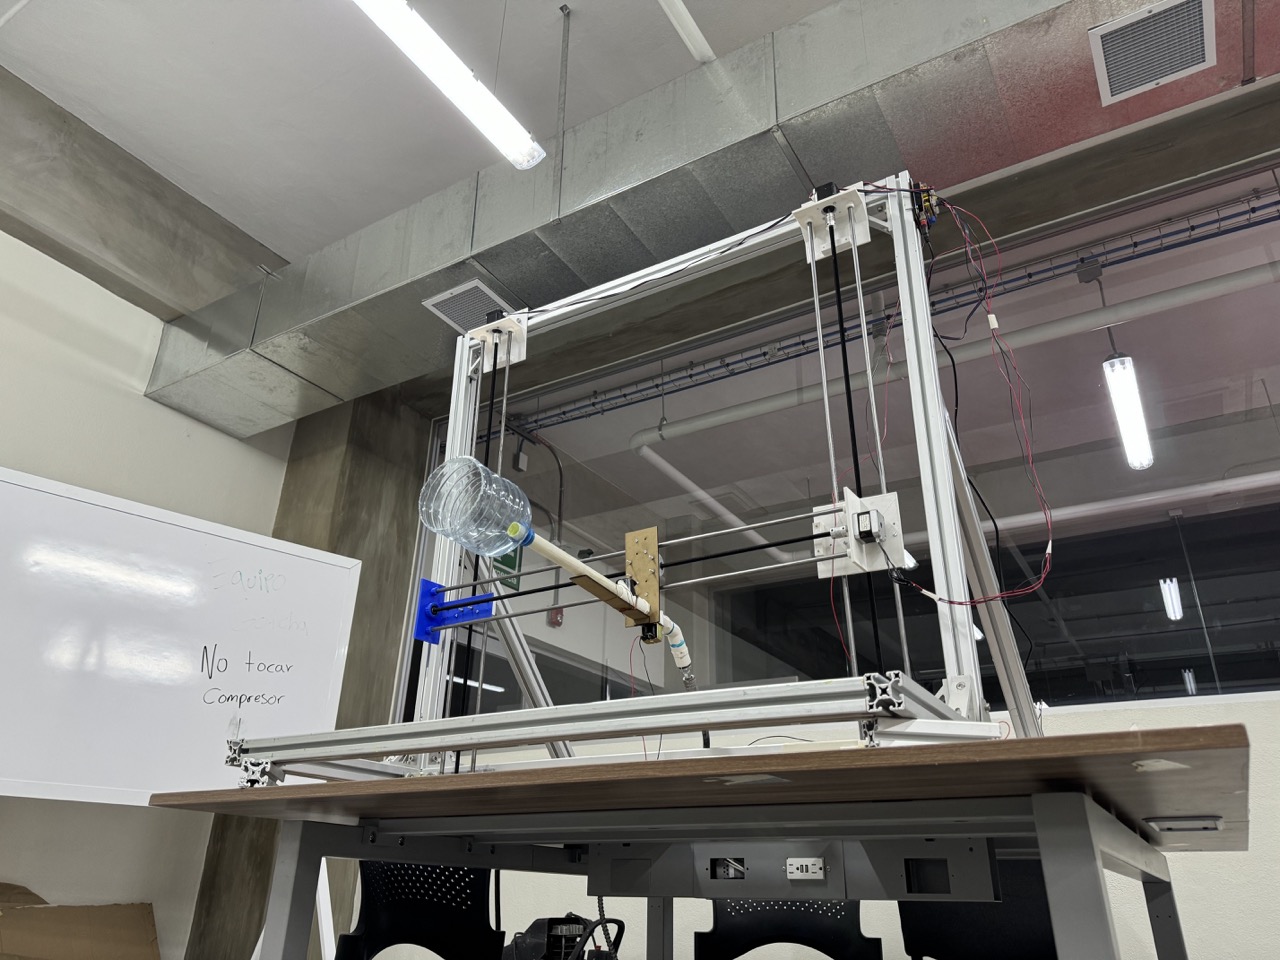
Once we had all the material in the university we started to assemble it as fast as possible since we were behind schedule because the aluminum extrusions were in IBERO Ciudad de México, fortunately Hector was nice enough to go pick them up so we could now start building. We started by cutting all the extrussions to length and assembled the main structure using the model as reference. Once this was done came the hard part, we manually cut the threaded and smooth rods down to length and started to assemble them. This was harder than expected since even the slightest variation in size could throw off the angle of the rods. To fix this we cut spacers out of thin cardboard and stacked them to level out the lengths of the rods. After this we secured all the 3D prints to the frames and began testing the machine.
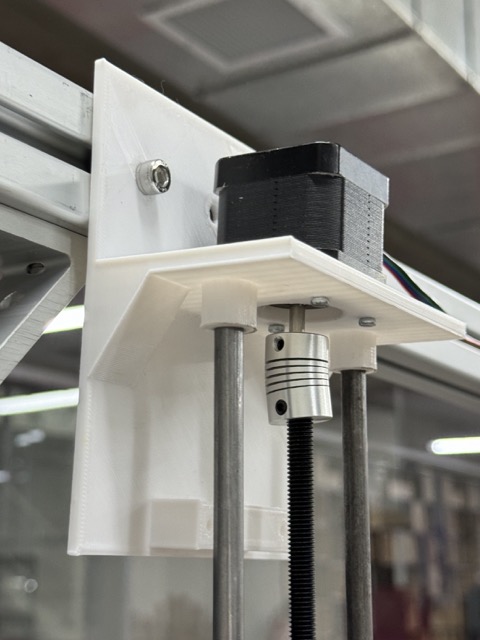
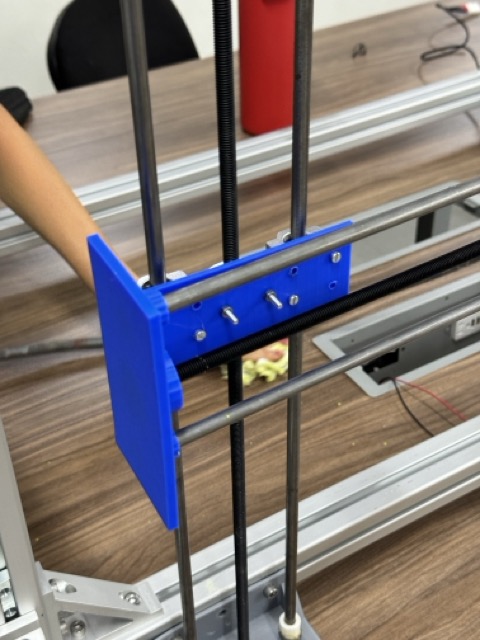
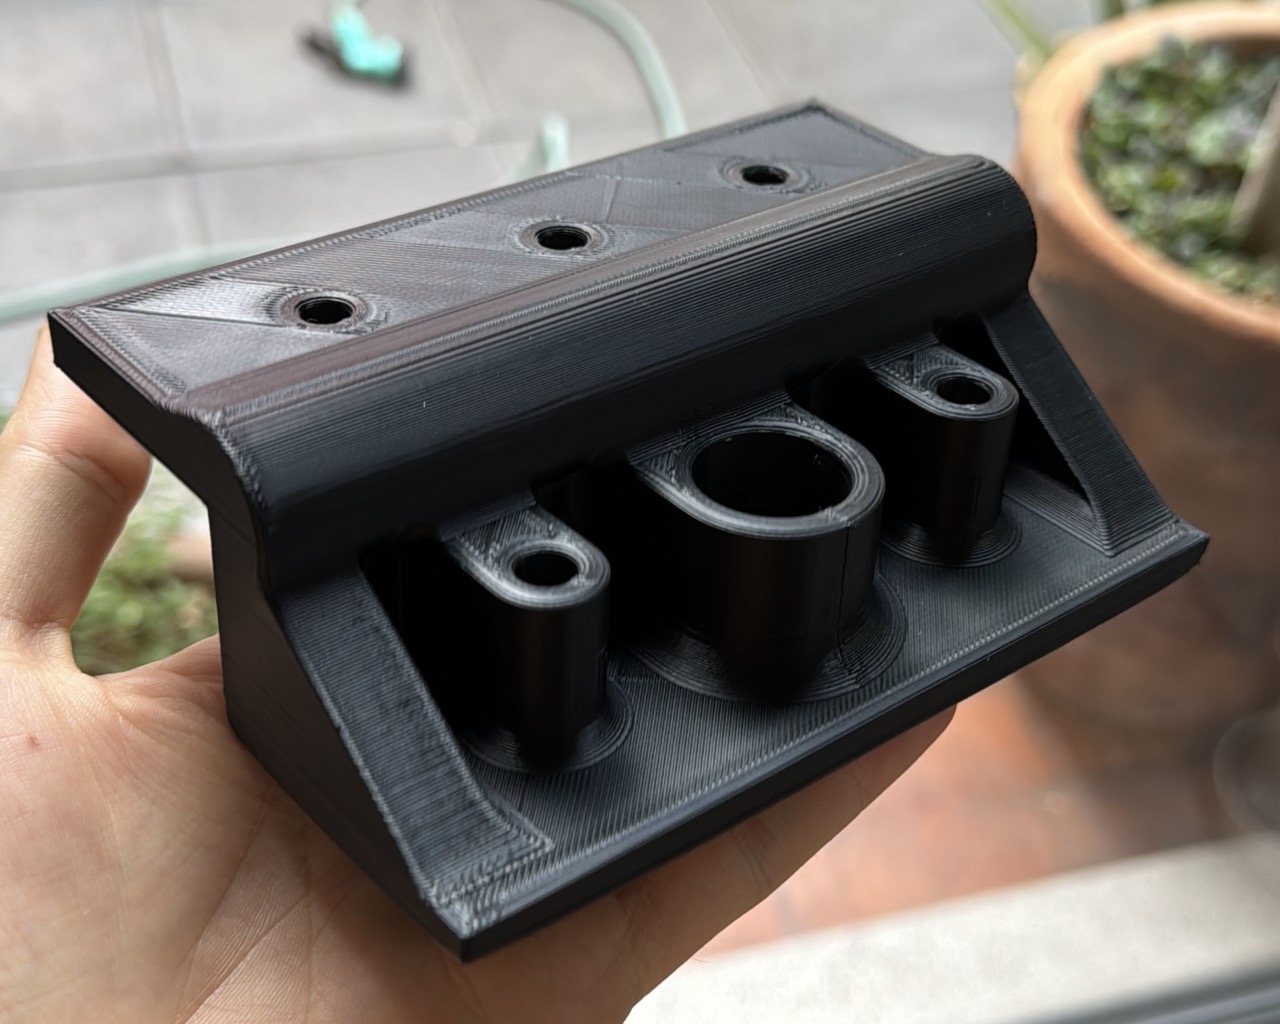
Testing and Redesign
After some tests we realized some of the 3d printed parts were missaligned and created tension in the rods causing the motors to start failing. Unfortunatelly after a couple tests these parts were also beginning to break and fall appart so I decided to redesign and print them with endurance in mind. For this I made sure to remove all right angles and curved all edges to mittigate the anisotropy of 3d prints and also added some strategic reinforcements to the parts. After the design was finalized Hector, Andrea and I reprinted them on our own printers, for this we decided to use a larger wall count and more infill. I figured it was better to use 20% more material and a bit more time than to risk having to reprint them in the future. These came out great and were seriously sturdy, we even printed a spare one by accident and tried to break it but we couldn't do it.
Our completed CNC paintball machine:
Files
I use the student version of Fusion 360 which is slightly limited in terms of export options and the links to some cloud files are sometimes unreliable so I will provide both the link and the Fusion 360 files exported in either .f3d for the models or .fez for the assembly.
For some reason I can't open these by double clicking on them and fusion isn't shown as one of the apps that can open them for some reason, so the way to open them is to open fusion and click open directly from the app and then select the file.
Here are the actual files
- Lower Support - Fusion 360
- Upper Support - Fusion 360
- Side Support - Fusion 360
- Full Assembly file was larger than 10mb and therefore too large to upload
- Paintball Dispenser file was larger than 10mb and therefore too large to upload
And here are the links for the online files:
- Lower Support - Link
- Upper Support - Link
- Side Support - Link
- Full Assembly - Link
- Paintball Dispenser - Link
Because I have the free version of fusion 360 I can't create a link through which you can donwload the files unfortunately but you can view the 3d models.