9. Output Devices
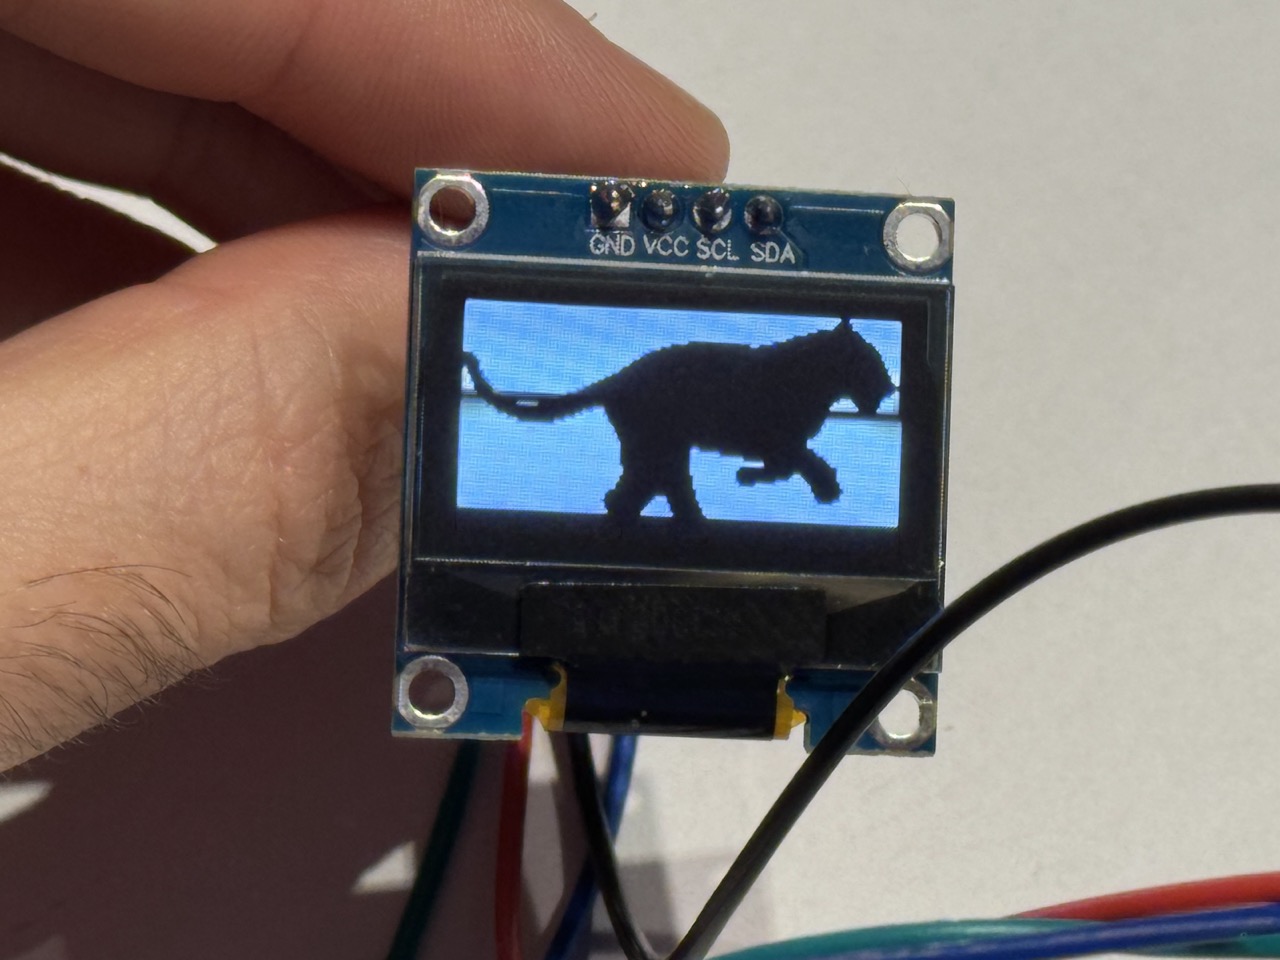
This week, I connected to a screen and got it to display text and an image of a lion by using only 4 cables and a simple online tool
Group assignment:
Group Assignment for week 9, Fab Puebla.
Choosing an output device:
I decided to use an OLED screen for this week's assignment. I chose it because I want to learn how to incorporate them into future prototypes. Incorporating LEDs and motors can be done without using controllers, simply by connecting batteries to those components, and I have done that in the past. However, incorporating screens and displaying text or logos could significantly enhance the quality of my prototypes.
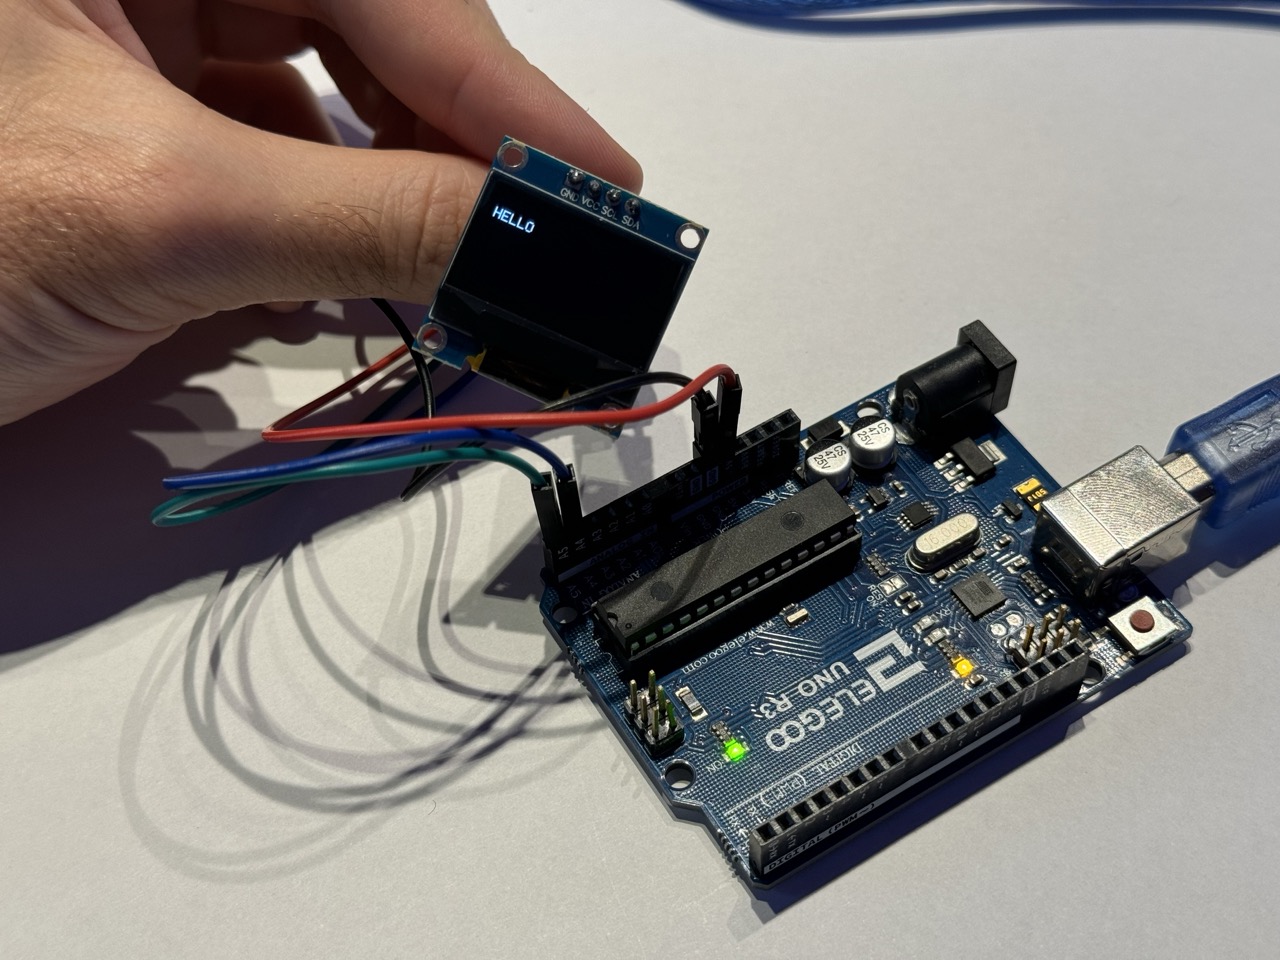
For this exercise, I followed a tutorial I found on YouTube. Here is the link in case you want to follow it too: Arduino OLED i2c tutorial. When I started this exercise, I didn't have access to my custom board, so I initially used an Arduino board, which coincidentally is what they use in the tutorial. The code should work on other controllers like the ATtiny I will be using this week. The only requirements are to have access to 4 ports on your controller: GND, VCC, SDA, and SCK.
Programming the OLED
The first step was to download all the necessary libraries for my output device in Arduino IDE, in this case, the OLED screen I chose. There were two libraries needed. I will link them below for you to copy them directly:
- Adafruit GFX: https://github.com/adafruit/Adafruit-GFX-Library
- Adafruit SSD1306: https://github.com/adafruit/Adafruit_SSD1306
Testing the OLED
To ensure the OLED was working correctly, I utilized an example from the Arduino IDE. You can find it under "Examples", then "Adafruit SSD1306", and finally "ssd1306_128x64_i2c". I believe this example will only apear if you have the previous libraries downloaded so make sure you do that even if you just want to look at the code.
To make the code work on my OLED, I had to change the SCREEN_ADDRESS, which is located just below void setup(), to 0x3C.
Experimenting with text
Once I confirmed the OLED was working correctly, I decided to experiment with displaying text to better understand how OLEDs operate. For this, I used the following code:
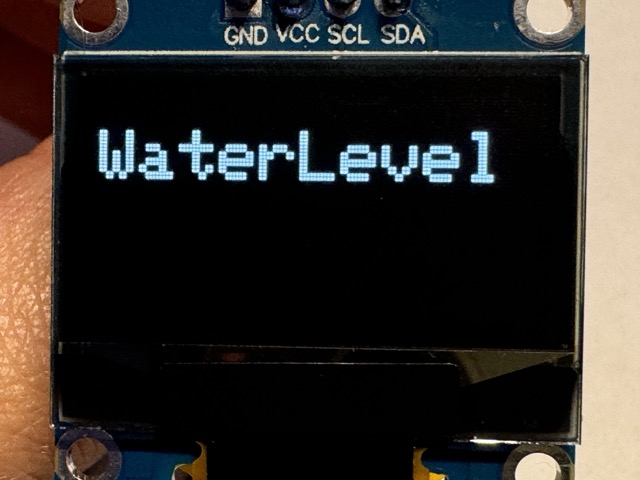
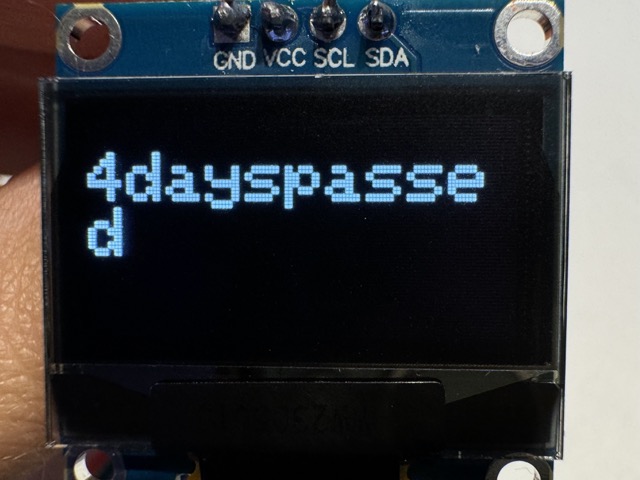
Since this code worked, I did some tests with different text that I plan to use in the final project.

Creating an image for the OLED
I wanted to experiment with creating my own image to display on the OLED. To do this, I followed these steps:
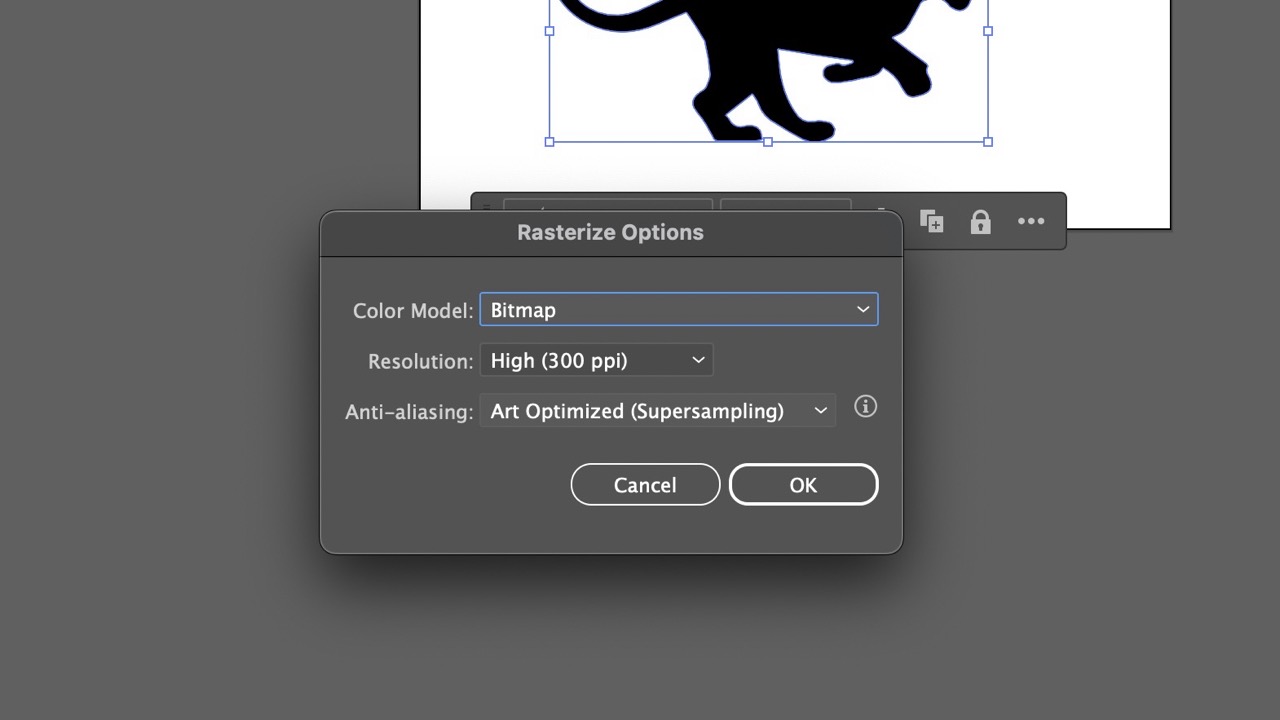
First, I created a new file in Illustrator with dimensions 128 x 64 px, just like the OLED. Then, I searched for an illustration in Freepik. I added the photo into Illustrator and in the principal menu selected "Object", "Image trace", "Make and expand".
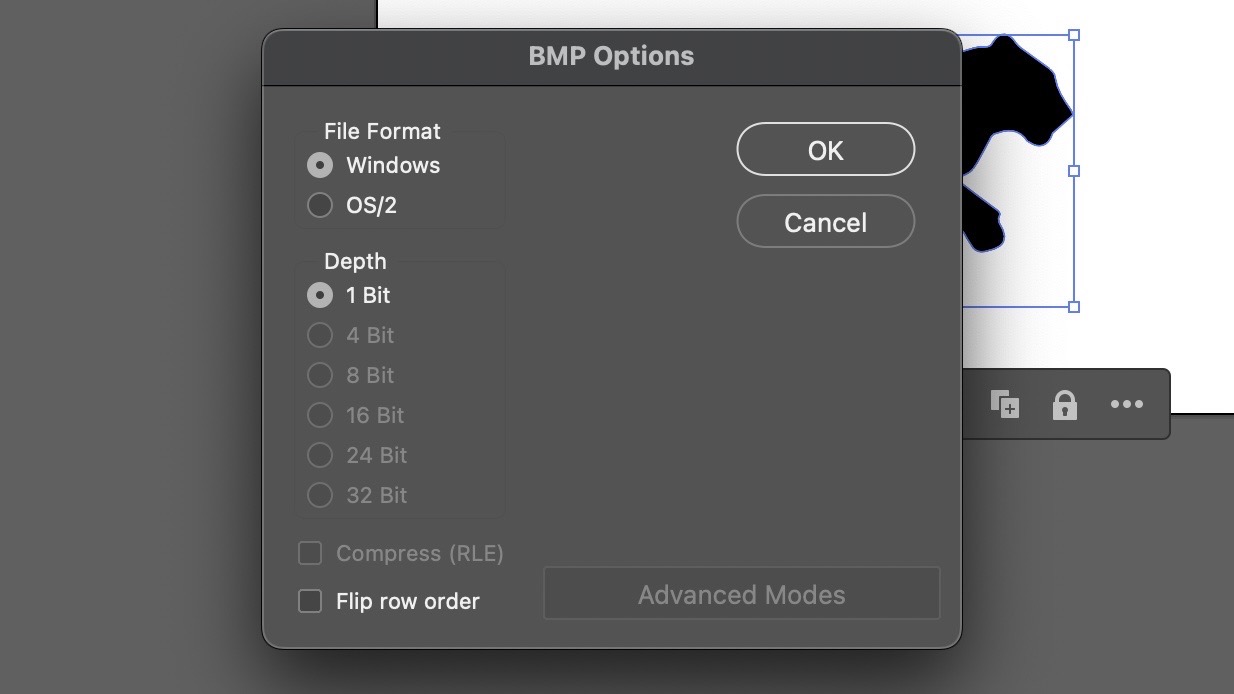
Next, I exported the image as a bitmap (BMP).

Then, I used a website to convert the bitmap into C code for the OLED. I imported the image and selected the following options:
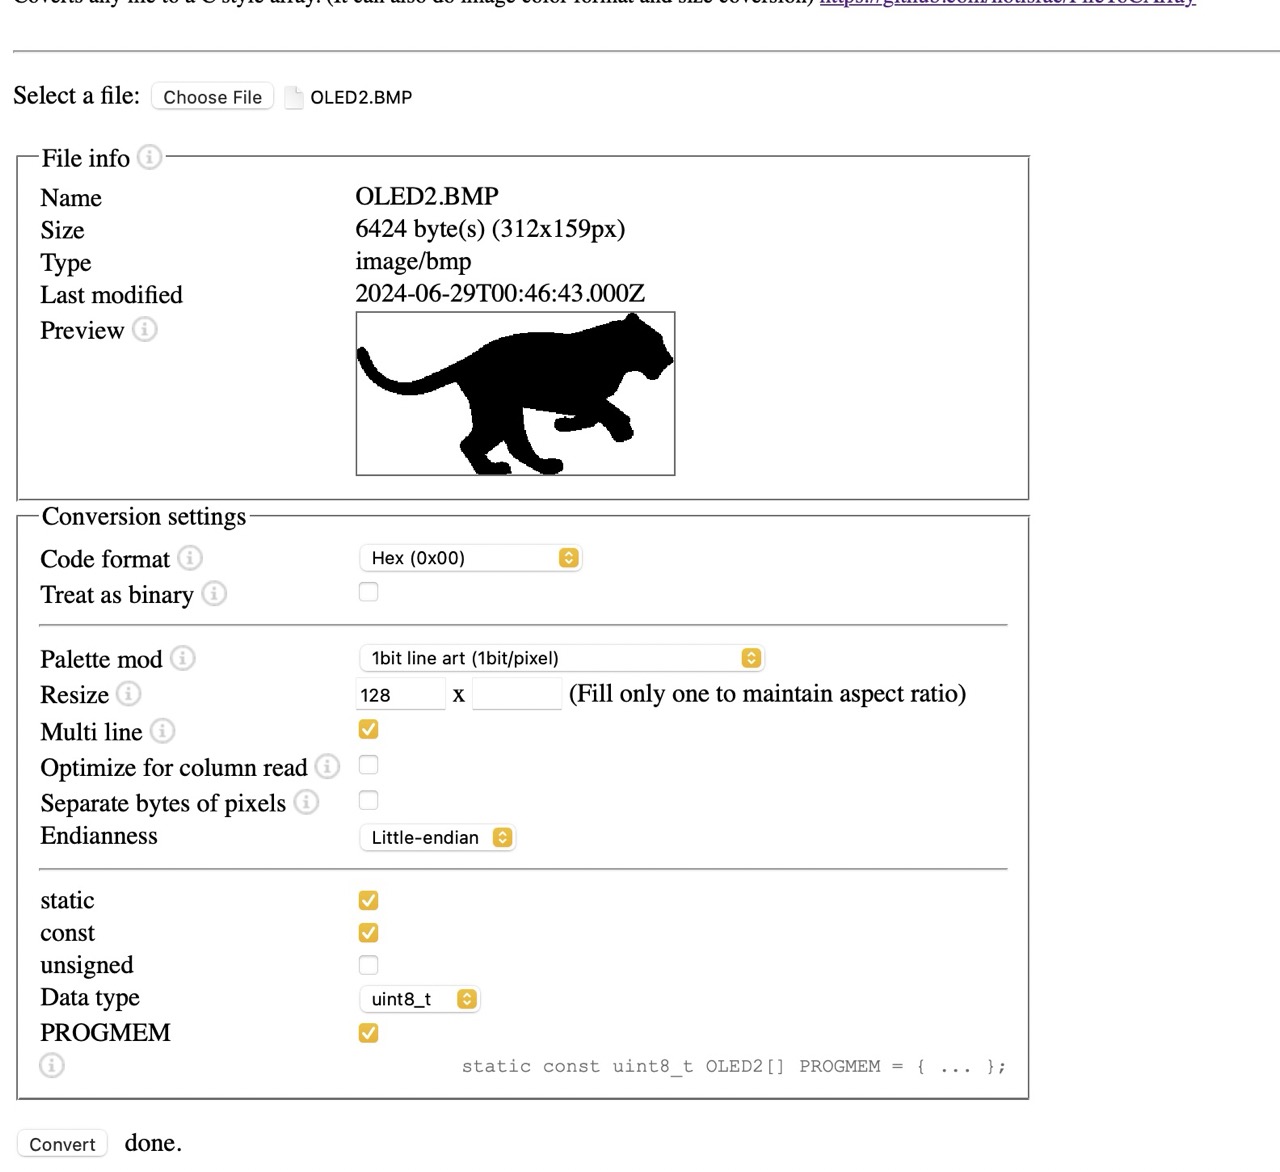
- Hex (0x00)
- 1 bit per pixel (line art)
- 128 px
- Little-endian
- Const Option Enabled
- Data Type uint8_t
Programming in Arduino IDE
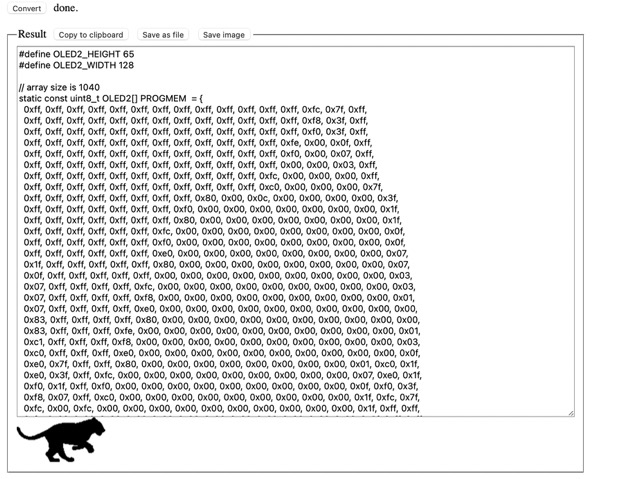
Once the website provided the C code, I created a new file in Arduino IDE and pasted the code into it. Finally, I uploaded the code to the OLED, and my custom image was displayed successfully.
Result