7.Computer controlled machining
Group assignment:
Initially, I investigated the factors to consider when designing parts for 3D printing. This was primarily compared to injection molding, which produces similar parts from identical materials but has significantly different design requirements.
Individual Assignment:
This week, we are required to design+mill+assemble something big. I decided to go wit a low table with wripples carved into it
I decided to try carving a 3d modeled texture on to my sheet of composit, i didn't want to use the CNC machine the same way we used the laser cutter, i wanted to take advantage of the control we have over the z axis, so i decided to carve a pattern. As you will see later on I didn't exactly achieve waht i was hoping for but i still got an interesting result and hope to have another go in the following weeks.
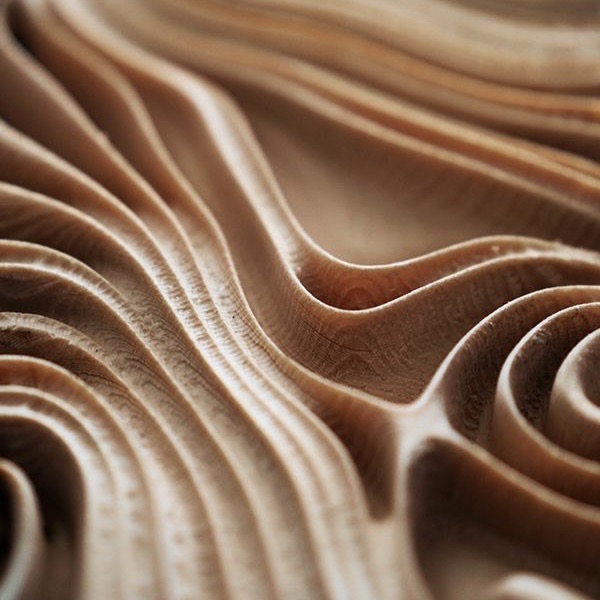
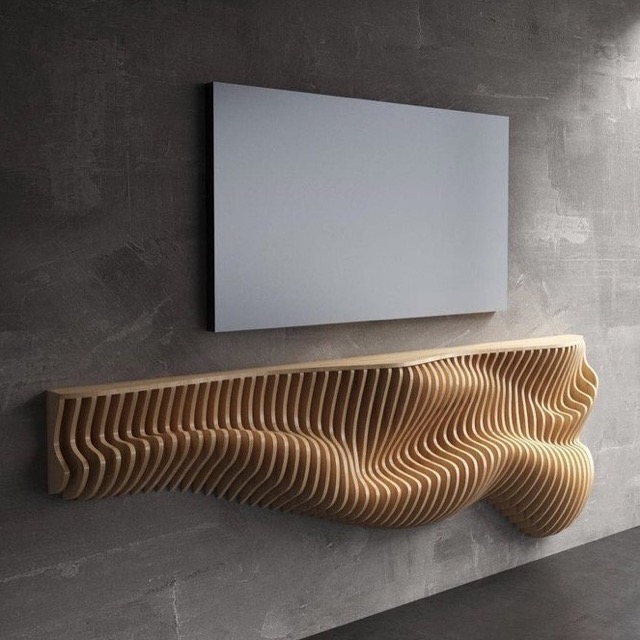
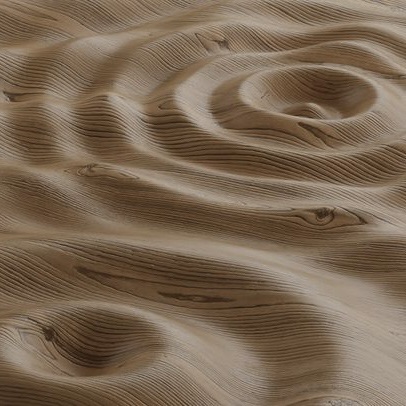
Using pinterest as a source of inspiration I decided to go for something three-dimensional with an organic yet geometric shape like these:
VCarve Pro:
 VCarve
Pro is a sophisticated CNC milling software specifically designed to facilitate the creation of
complex and intricate designs on various materials, such as MDF (Medium Density Fiberboard). This
software is crucial for anyone looking to carve unique or detailed shapes, as it enables the user
to import and create detailed 2D designs, generate efficient toolpaths, and manage the CNC machinery’s
precise movements. VCarve Pro stands out because of its user-friendly interface, which supports project
layout and simulation, allowing users to visualize the end product before actual carving. This
visualization is indispensable when working with intricate designs and ensures the final product
matches the user’s specifications.One of the reasons I chose to use VCarve Pro is its prevalence and
familiarity in my academic environment.
It is the primary software used at my university for CNC projects, and both my professors and classmates
are well-versed in its functionality. This common knowledge base makes it easier to seek help and share
insights, greatly enhancing the learning and project development process. I have personally used VCarve
Pro in past projects, which has allowed me to appreciate its robust feature set and reliability first-hand.
The ability to simulate toolpaths and see potential outcomes in advance has been invaluable, particularly
in projects requiring high precision and intricate details. This familiarity and the supportive user
community at my university have made VCarve Pro an indispensable tool in my studies and projects involving
CNC milling.
When preparing to carve an intricate shape onto MDF using VCarve Pro, there are several critical factors to consider. Understanding these will help in achieving the desired outcome with efficiency and precision. Below are the essential aspects to keep in mind:
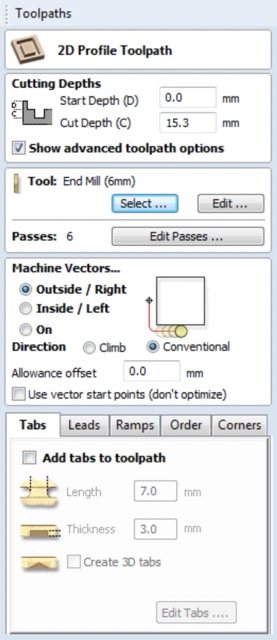
These factors are integral to successfully using VCarve Pro for CNC milling, particularly when working with complex shapes and materials like MDF. Proper consideration and adjustment of each can greatly influence the quality and efficiency of your project.
Modelling Piece
This piece emulates the waves created by a drop or rock falling into a puddle or pond. To model it I decided to draw a profile and then revolve it since this shape is naturally simetrical. Then I simply extruded a rectangle that's the shape of the table and kept the intersected part.
Here you can see the creation of a flat sheet of material and then the curve profile which I then extruded as a cut to leave behind the drop pattern:
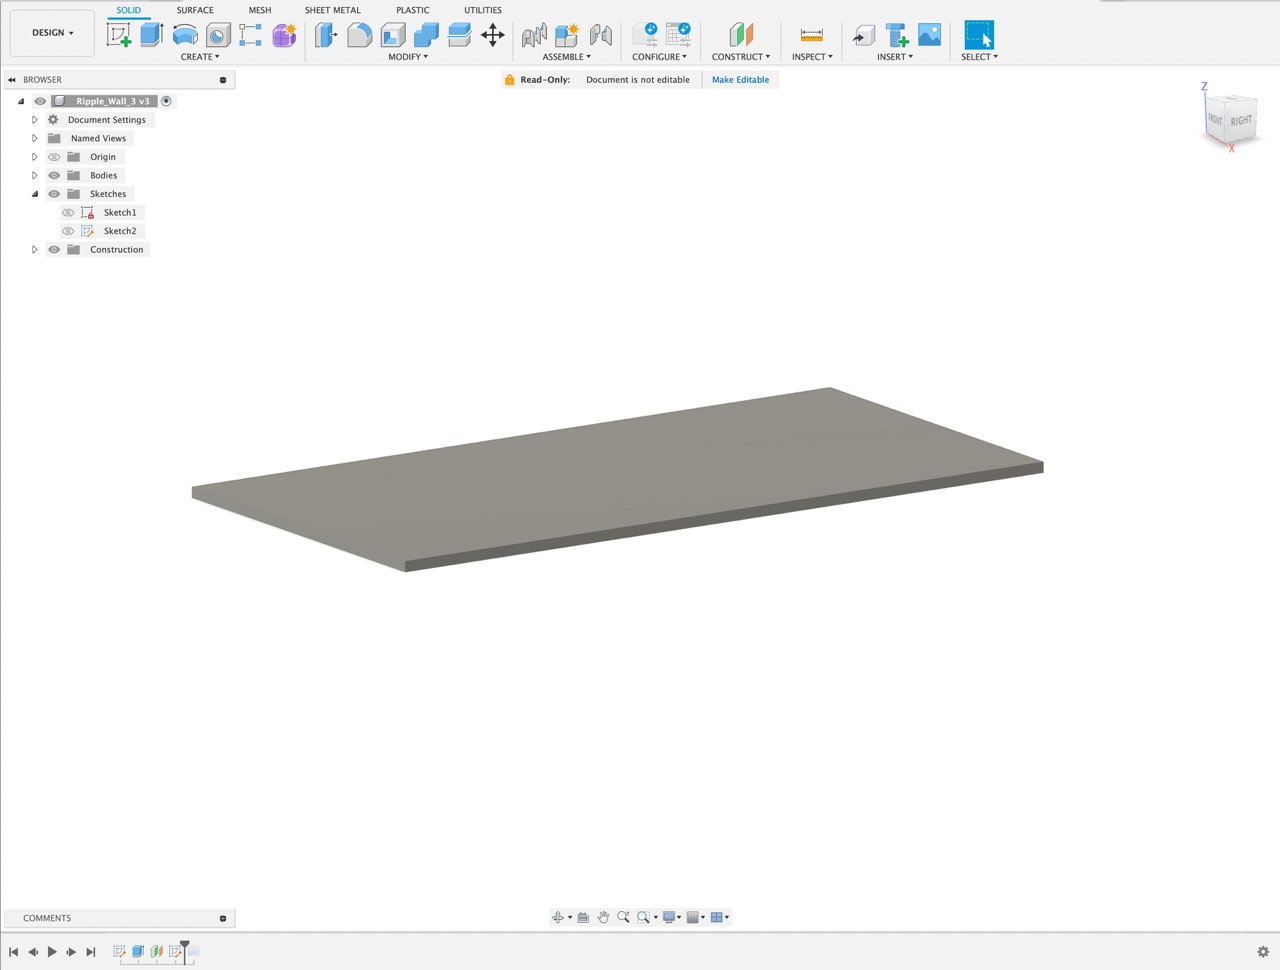
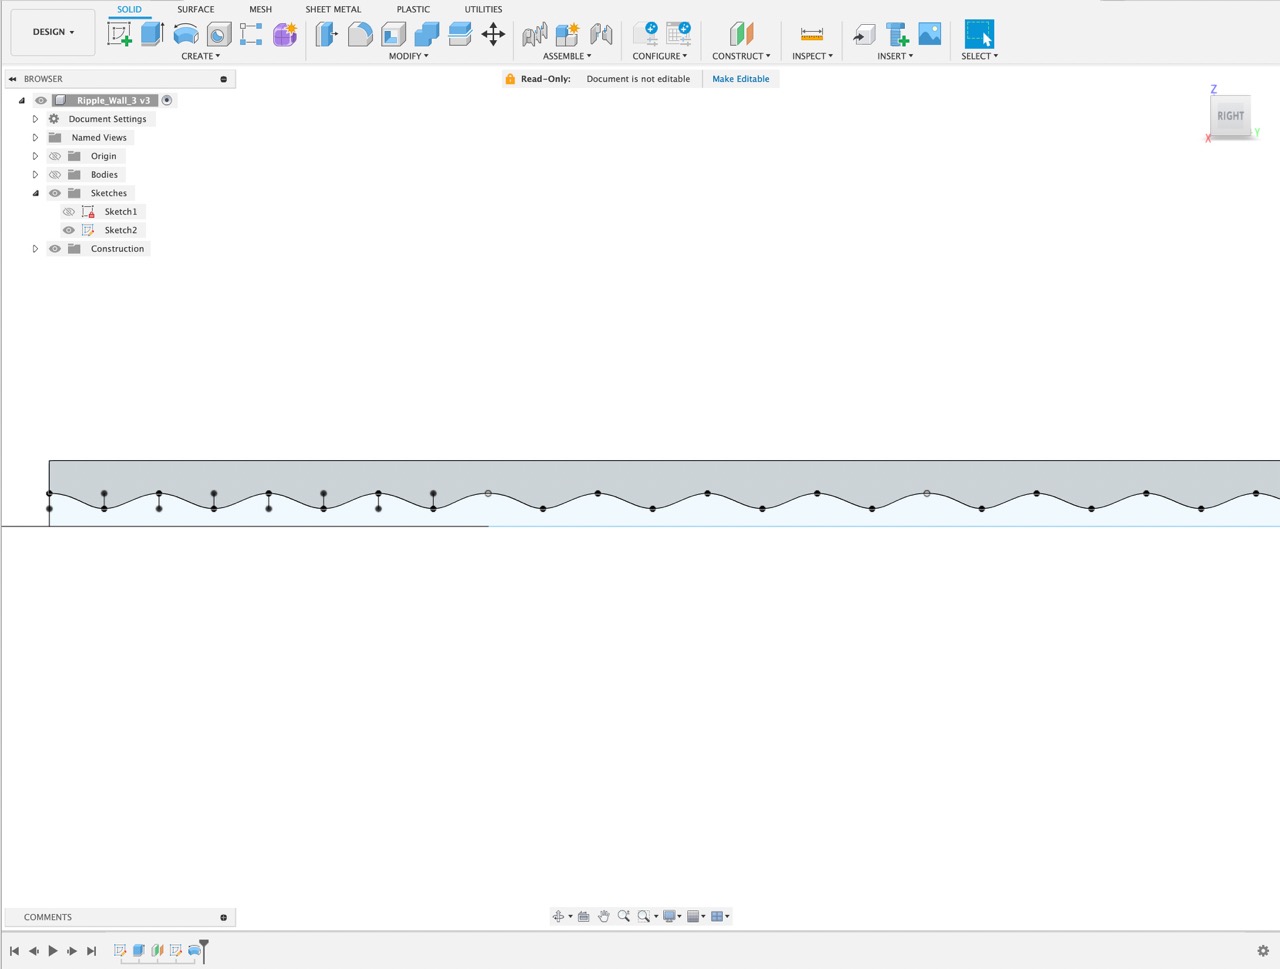
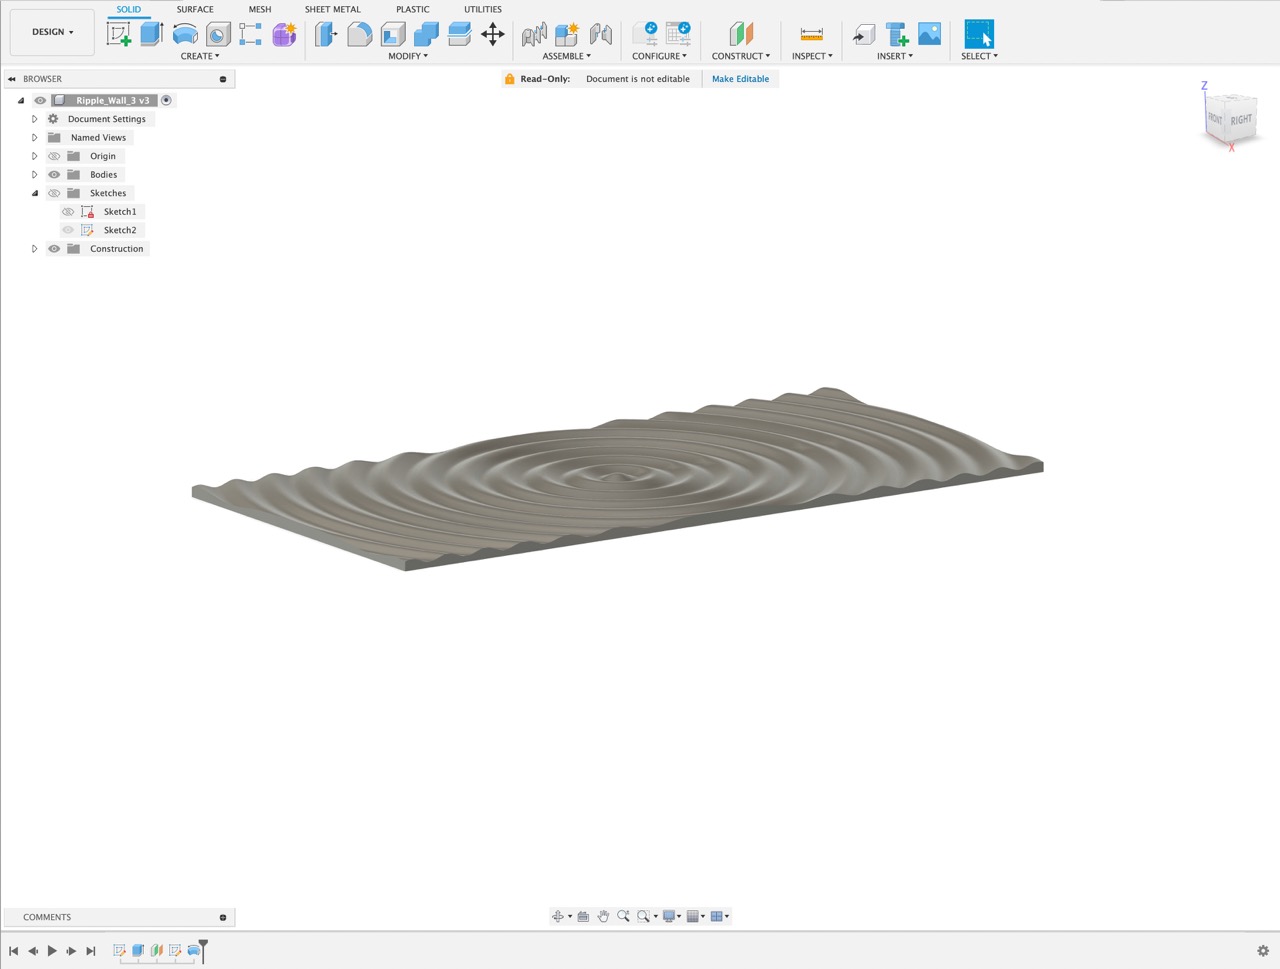
Then I simply extruded a frame around the sides to hold the glass and the legs:
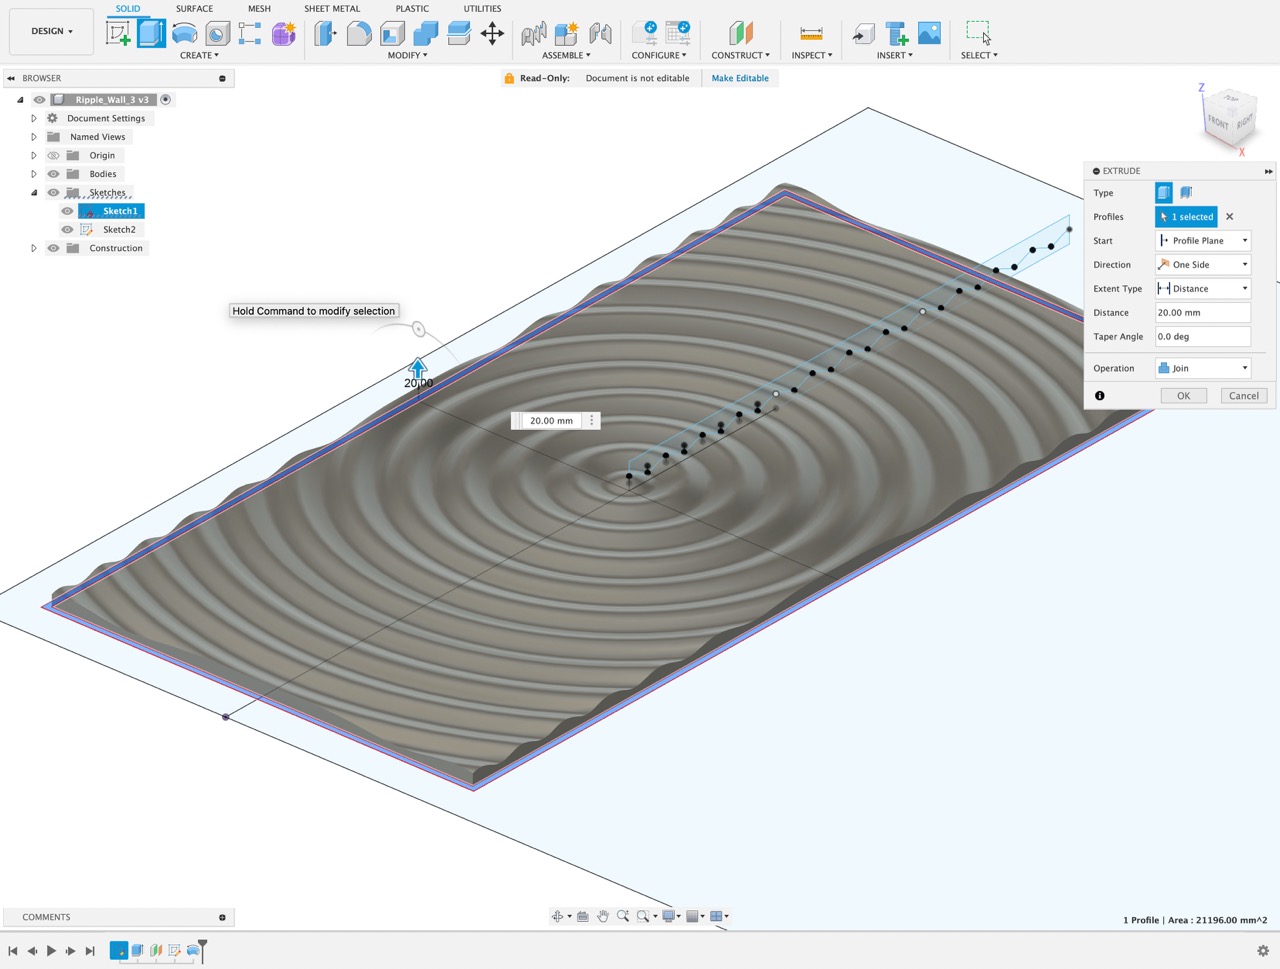
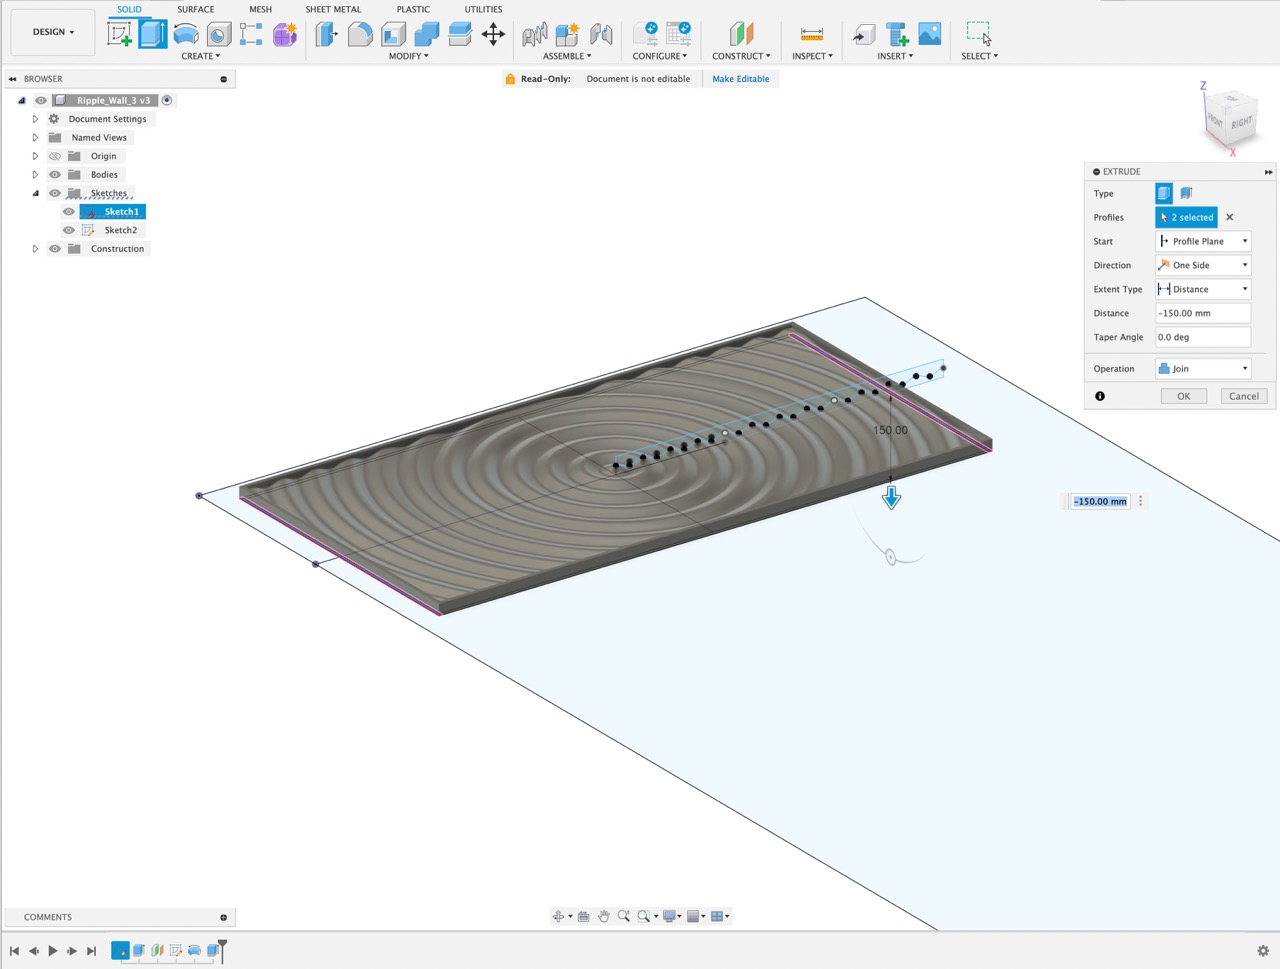
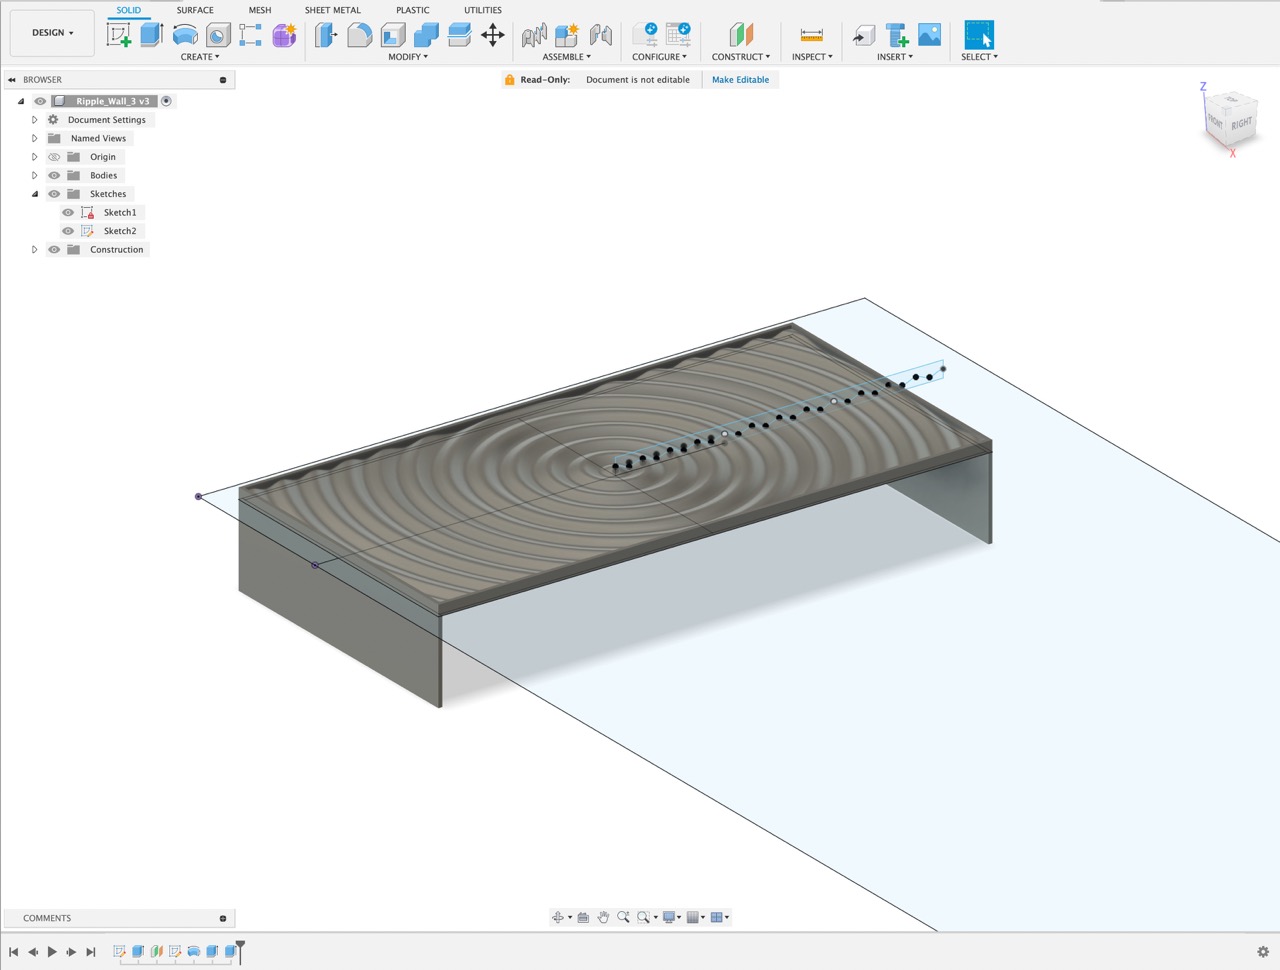
After this it was just a matter of touching up the model and creating the legs for the table.
Sanding and filing:
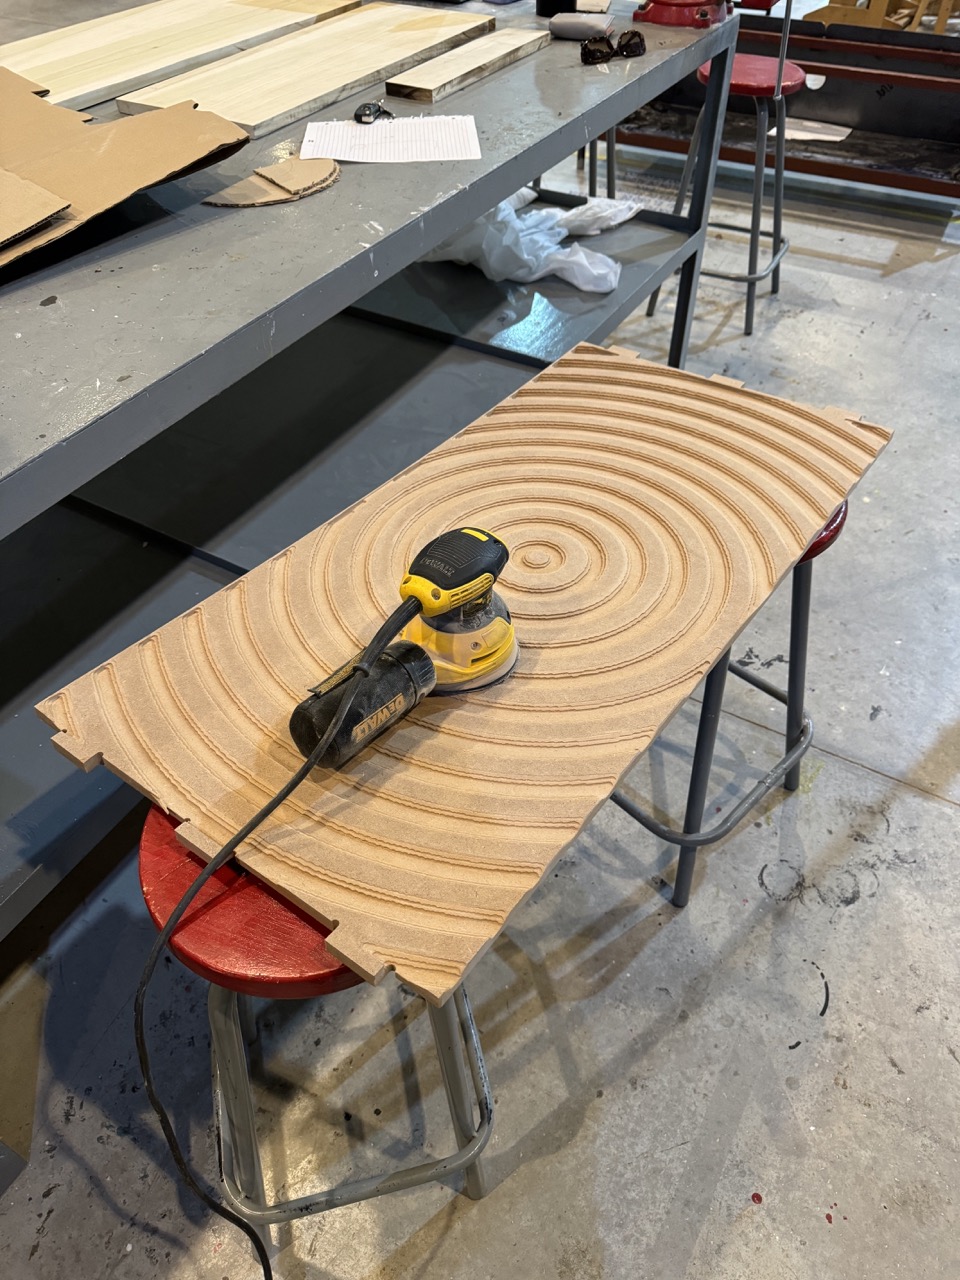
The cuts were suprisingly clean, but since I didn't have much cutting time I had to cut the curve with a relatively low resolution which led to a very stepped look so I resorted to sanding it down a little to make it look more curved. I used an orbiral sander to sand off the tabs, round the borders a little and exentuate the curve by following the contour of all the circles inside and out. I also sanded the legs and a few mistakes, the sacrificial board was in pretty rough shape and some parts werent even leading to a couple spots where the bit didn't cut all the way through and when I lifted the piece it snapped off but ended up chipping the edge so I sanded that to look clean again
The pieces fit but required a rubber mallet to fit them together, this wouldn't necessarily be a problem but I would like it to be easy to assemble and dissasemble without tools. To fix this I bought some sand paper and slightly sanded the edges and test fit it every time. I sanded very little every time to make sure the fit was just right, trying to avoid over sanding and ending up with lose parts.
Here at Ibero Puebla we are over 40 students and only have two CNC machines so I couldn't afford to take up a full day carving my piece since it would lead to other people not having enough time to cut their parts. But, in the next couple weeks I'll probably get more time with the cutter and hope to make a smaller version of the same shape and carve it with the ball cutter, taking my time to achieve a very clean and rounded edge. I'm particularly motivated to try by the material, I have cut plywood in the past but had a lot of chipping and imperfections in the board, composit cut suprisingly cleanly and I believe I can now use CNC cuttin to achieve result I could previously only achieve with a 3D printer, having to acomodate my projects to the restrictions of that technique, mainly size.
After sanding this was the final result:
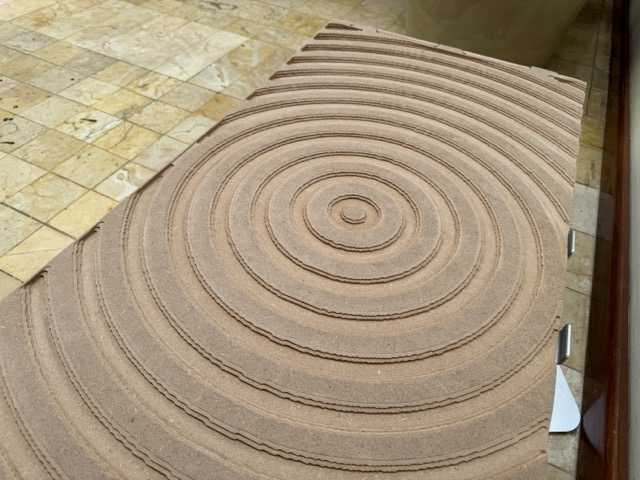
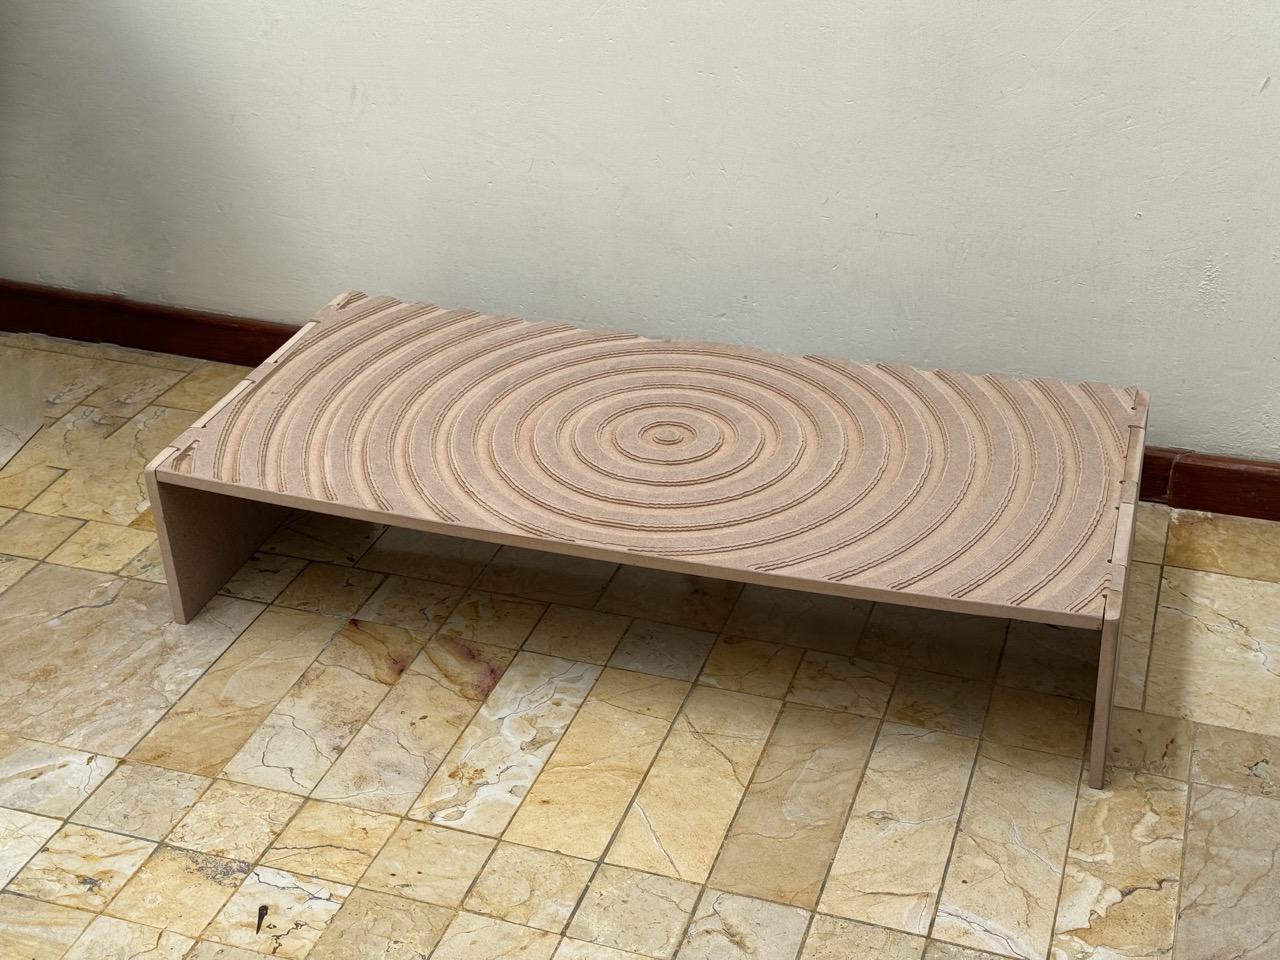
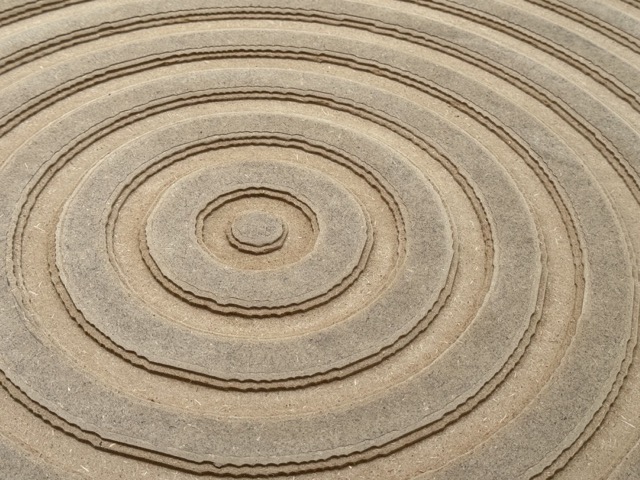
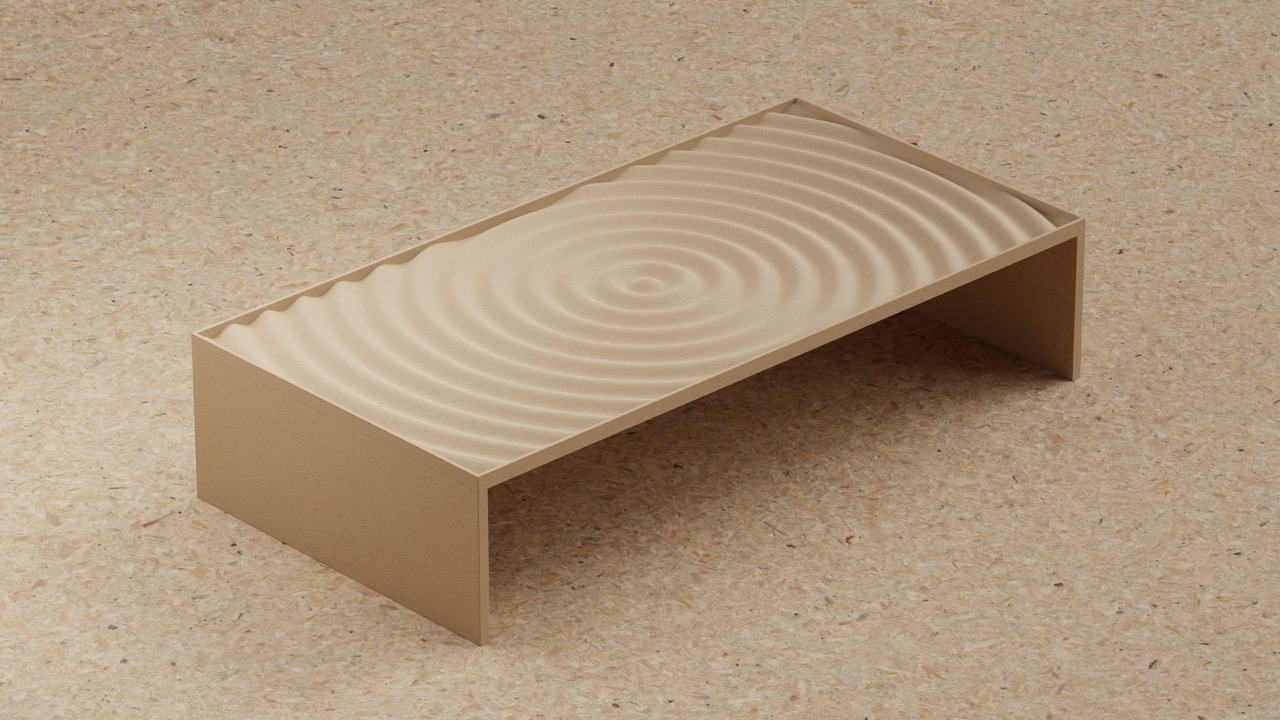
The sanded piece looked more finished and slightly more curved but nowhere near what I wanted to achieve, so I decided to use my 3D model to make a render of how it was suposed to come out, I used an aglomerate texture to make it look like the real product and used it for the surface on which the table was sitting but increased the scale of the texture to show it off in the render.
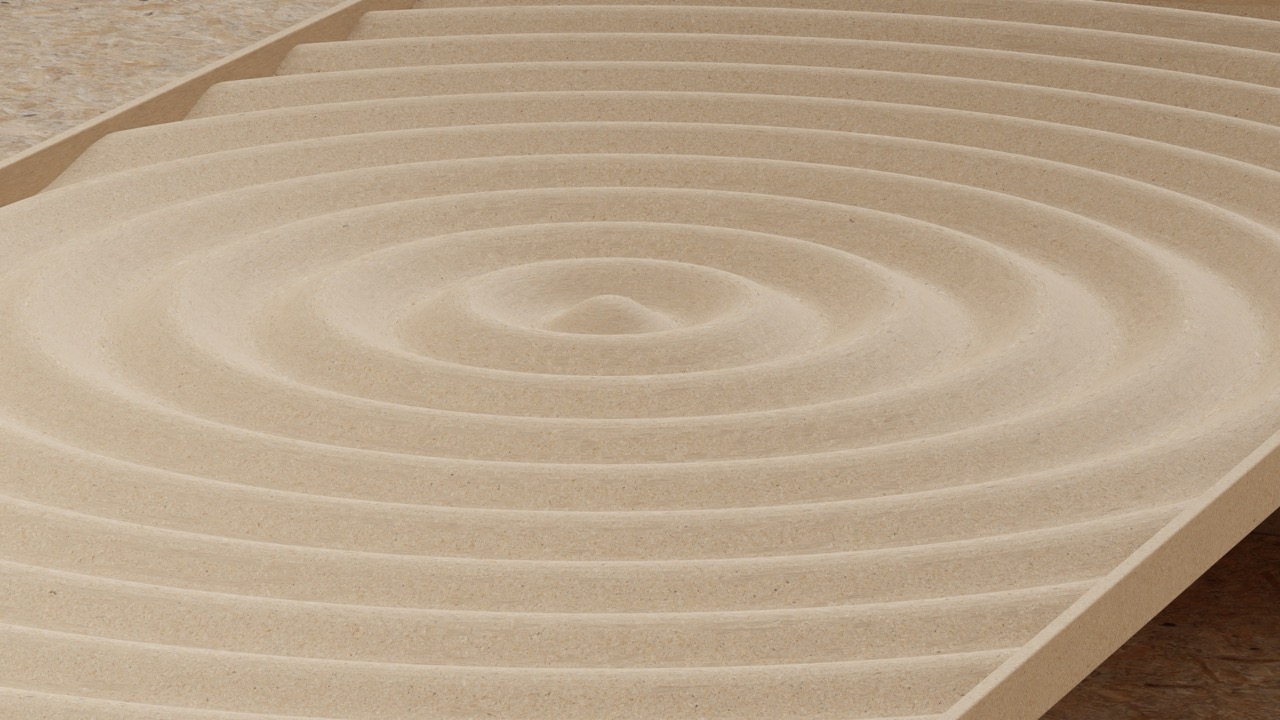
I tried adding a pane of glass to the top in the render but had issues with shaddows, the glass absorbed too much of the light and made it look like tinted glass, so I ditched the idea but will look into it in the future since I know I'll be needing glass for renders in the future.
Recomended youtube tutorials:
- Vcarve for absolute Beginners - Part 1
- Vcarve for absolute Beginners - Part 2
- How to use height maps to carve in Vcarve
