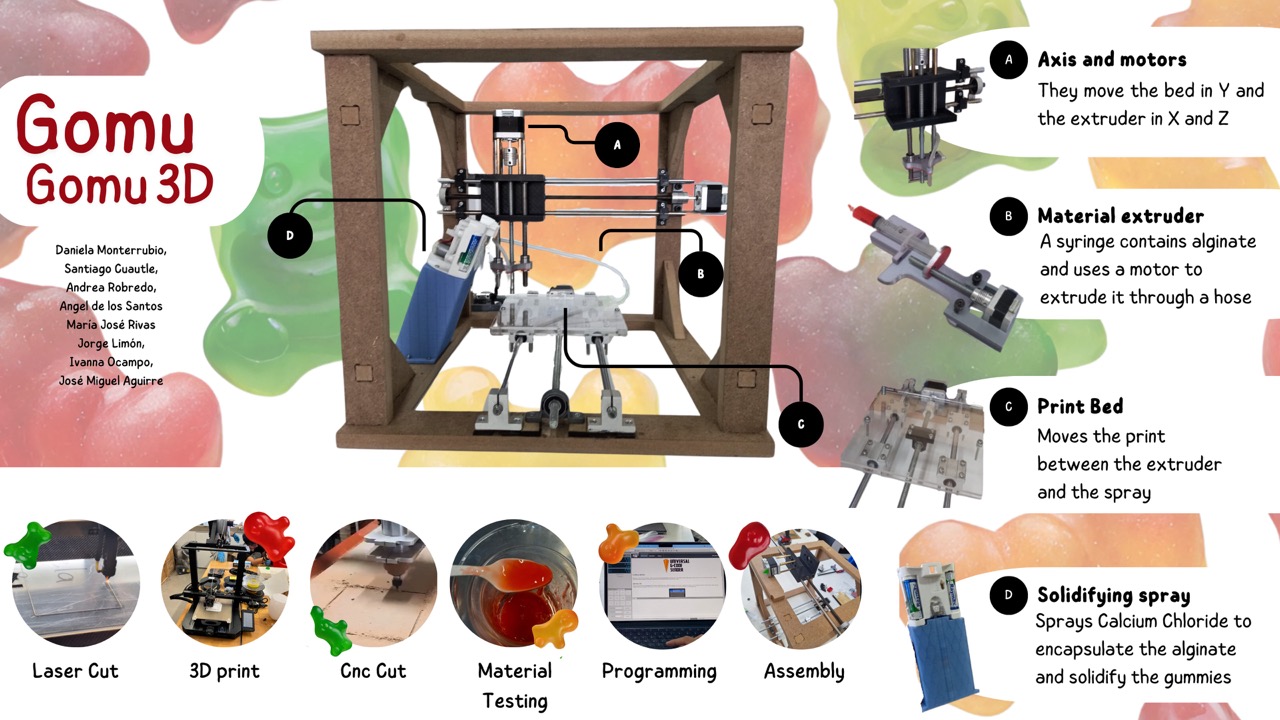
10. machine design
It's truly incredible to witness the possibility of creating a 3D printer from scratch. Each week, I'm continuously amazed by the endless possibilities and the actual realization of bringing ideas to life. Learning all of this has been an immensely exciting journey for me.
Gomu Gomu 3D
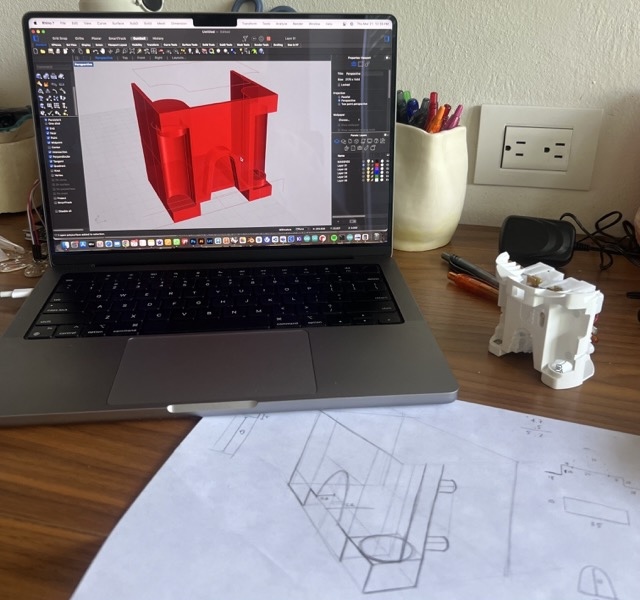
My team consisted of Daniela Monterrubio, Santiago Cuautle, Angel De los Santos, Ivanna Ocampo, María José Rivas Arreola, Jorge Limón Baldearas, and José Miguel Aguirre. Together, we decided on creating a gummy 3D printer. To achieve this, we required edible alginate that would be cured by sparing calcium chloride. In our group page you can find the detailed process needed to create our machine.
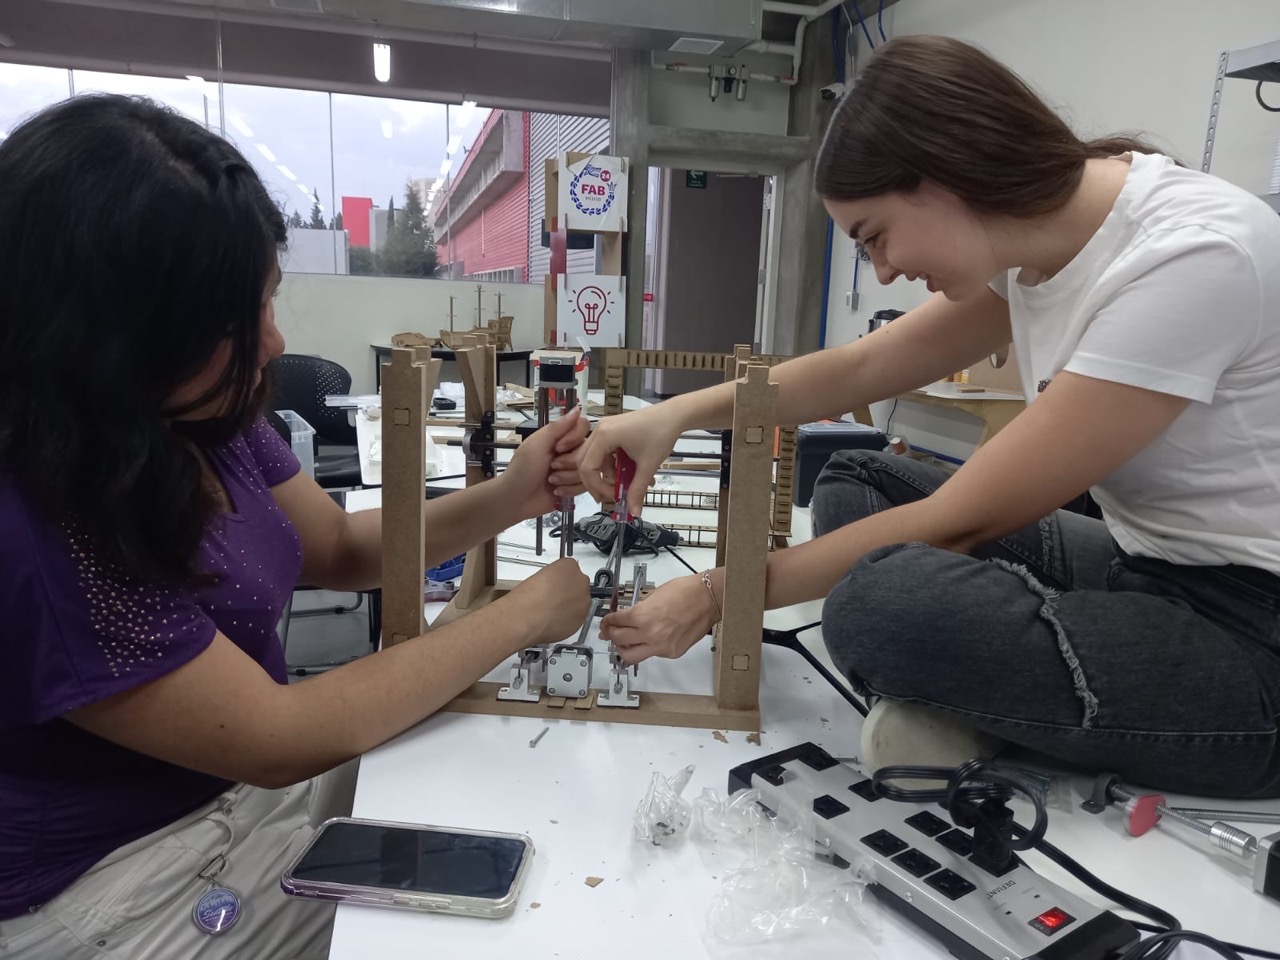
In order to execute this project successfully, we divided tasks based on each team member's skills. Each of us had a specific responsibility, and we held regular meetings to keep everyone updated on progress. Collaboratively, we made modifications and continued working on our respective tasks. Once all the components were manufactured, we began the assembly and programming phase of the printer.
Spray
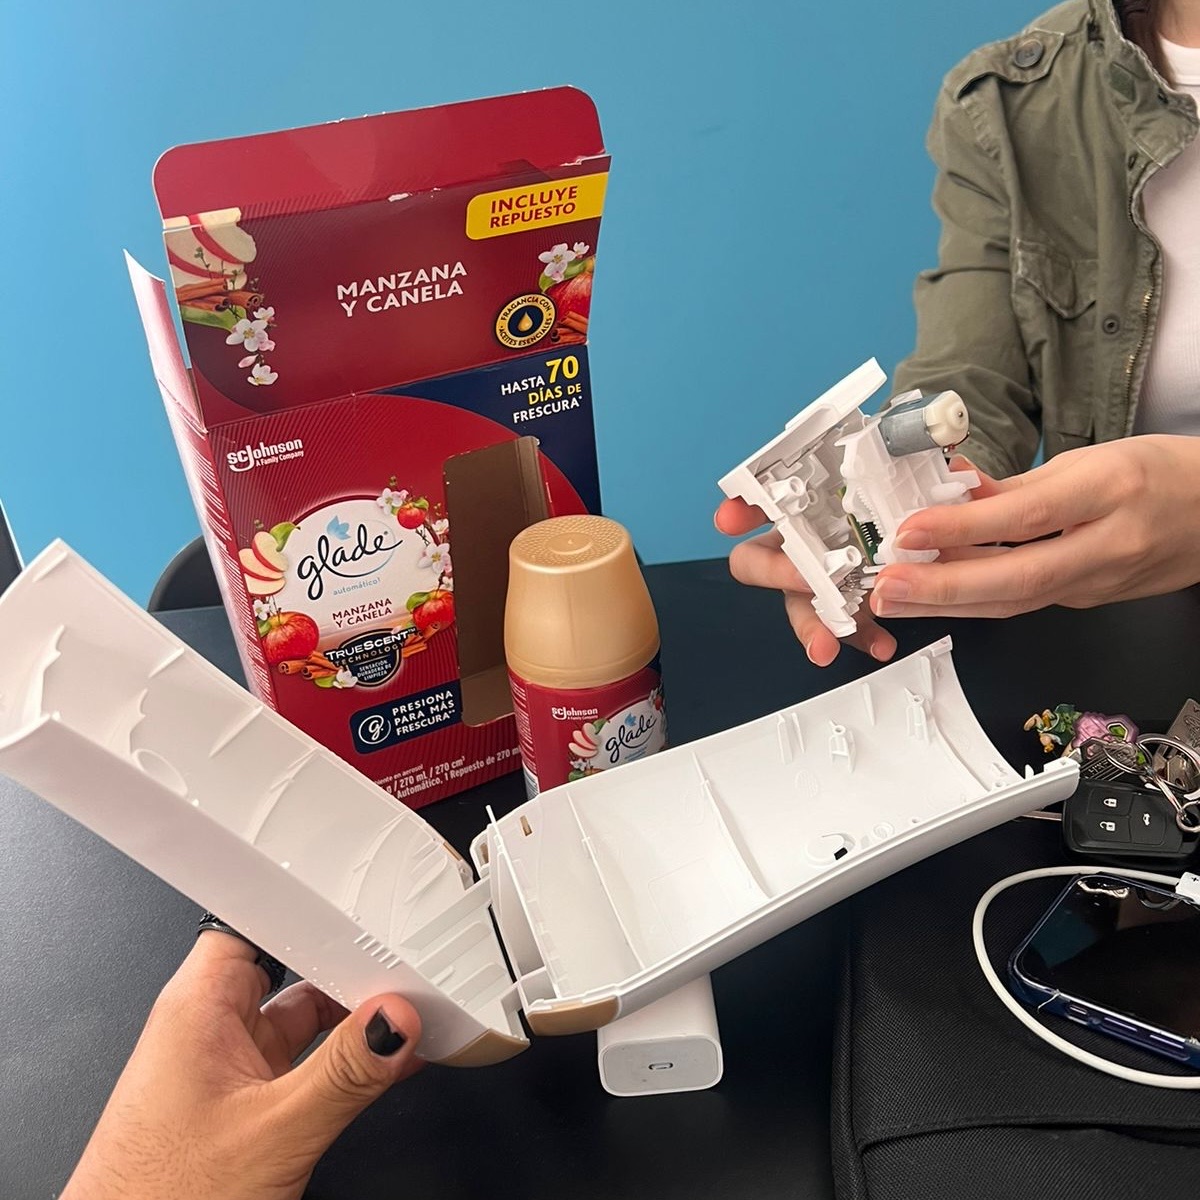
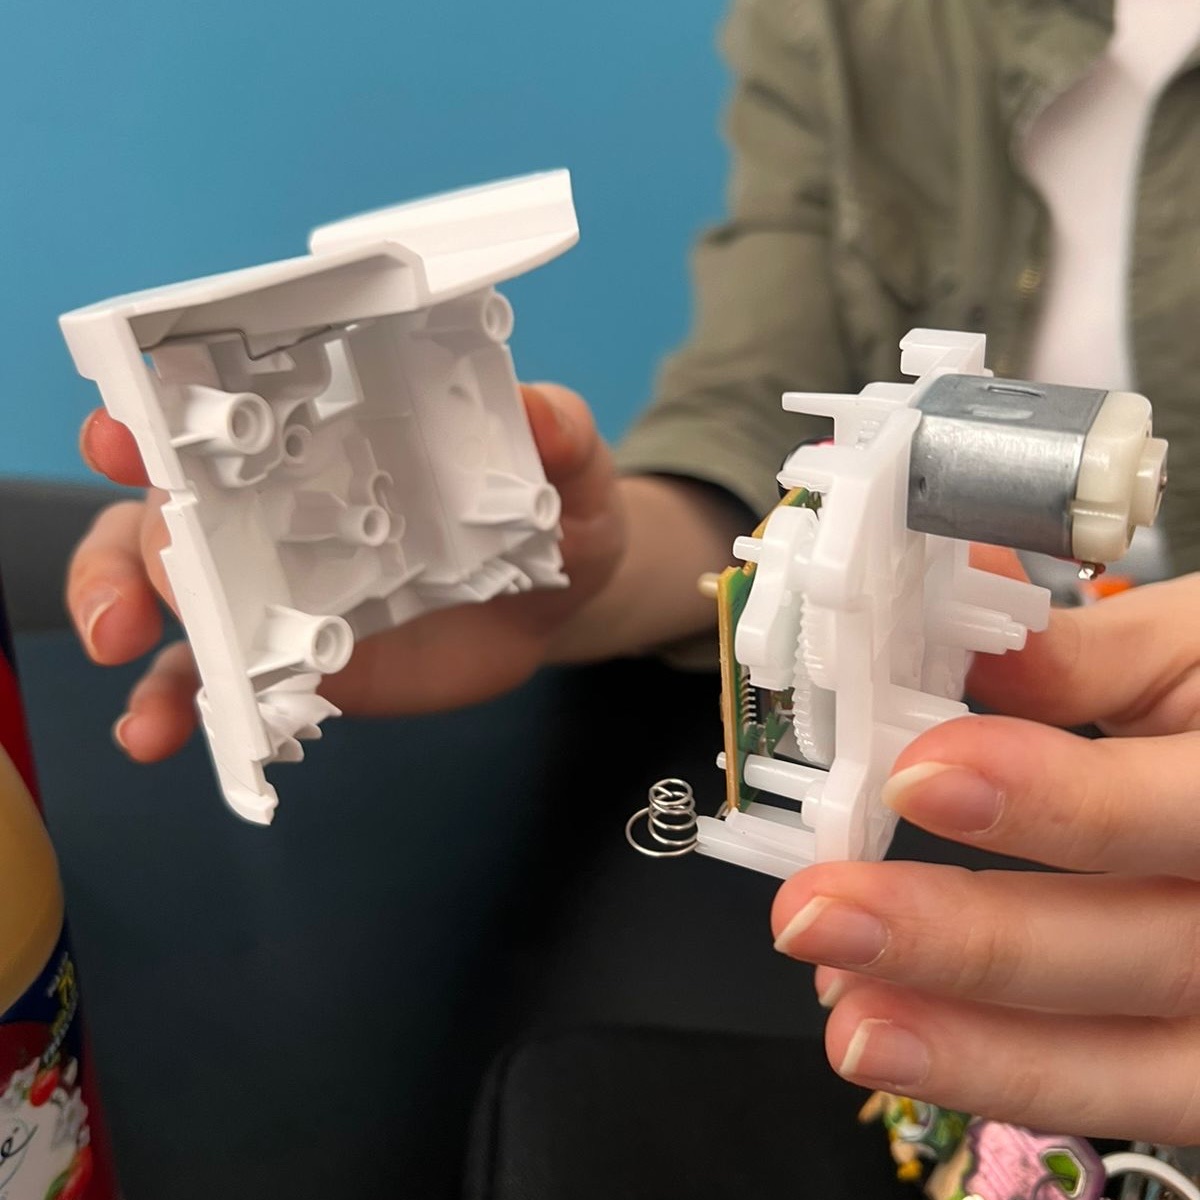
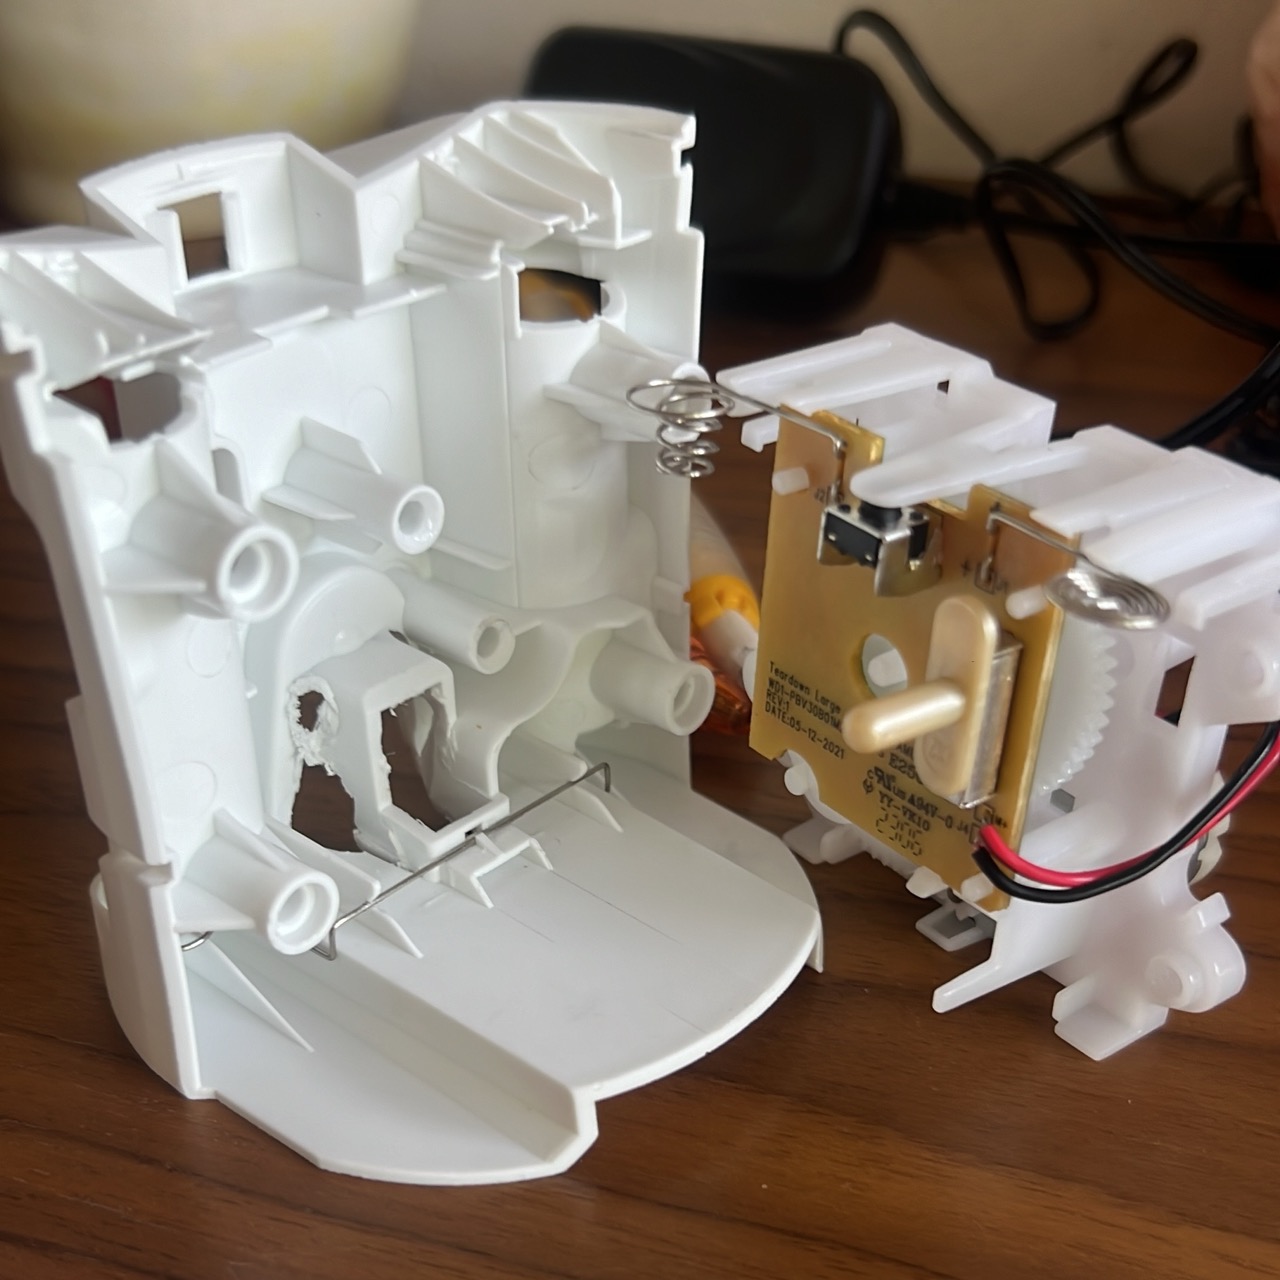
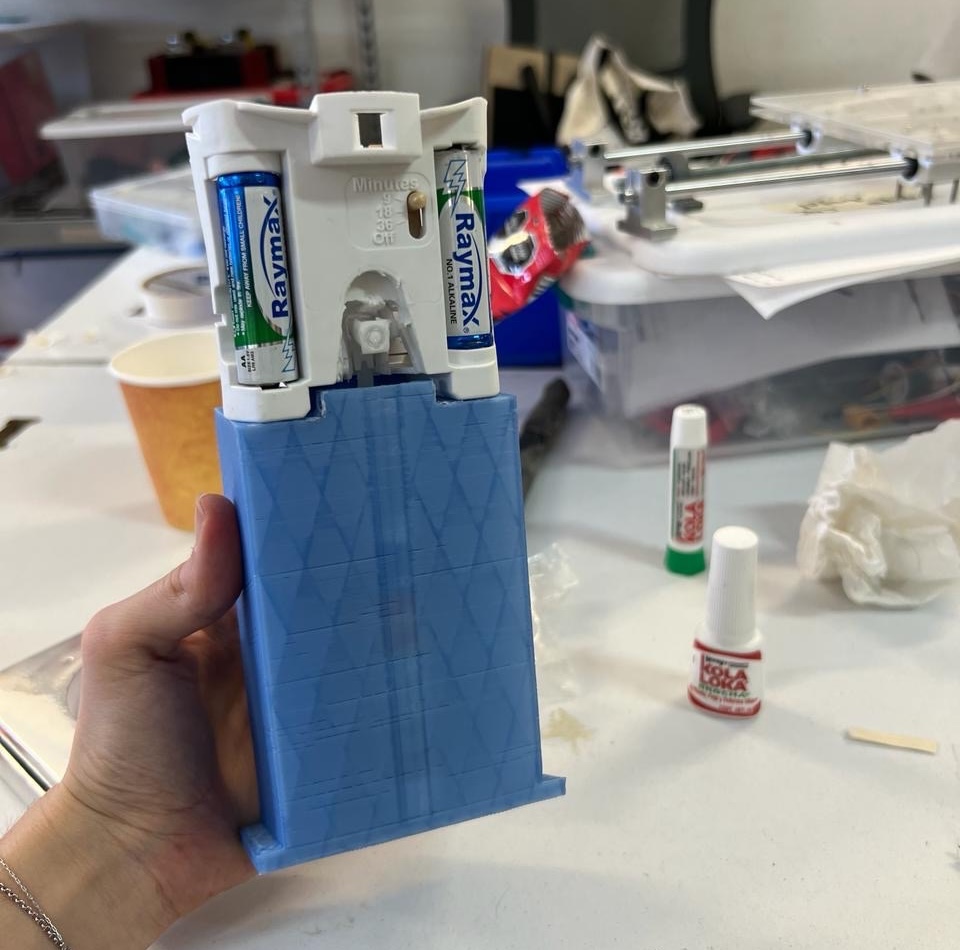
A very important part of this project is spraying calcium chloride into the extruded piece. To design the spraying mechanism we decided to take inspiration from an automatic air freshener and adapt it to our specific needs.
We bought one, and opened it up to identify how the mechanism worked and the modifications needed for it to work as expected.
Here you can see the spray mechanism working:
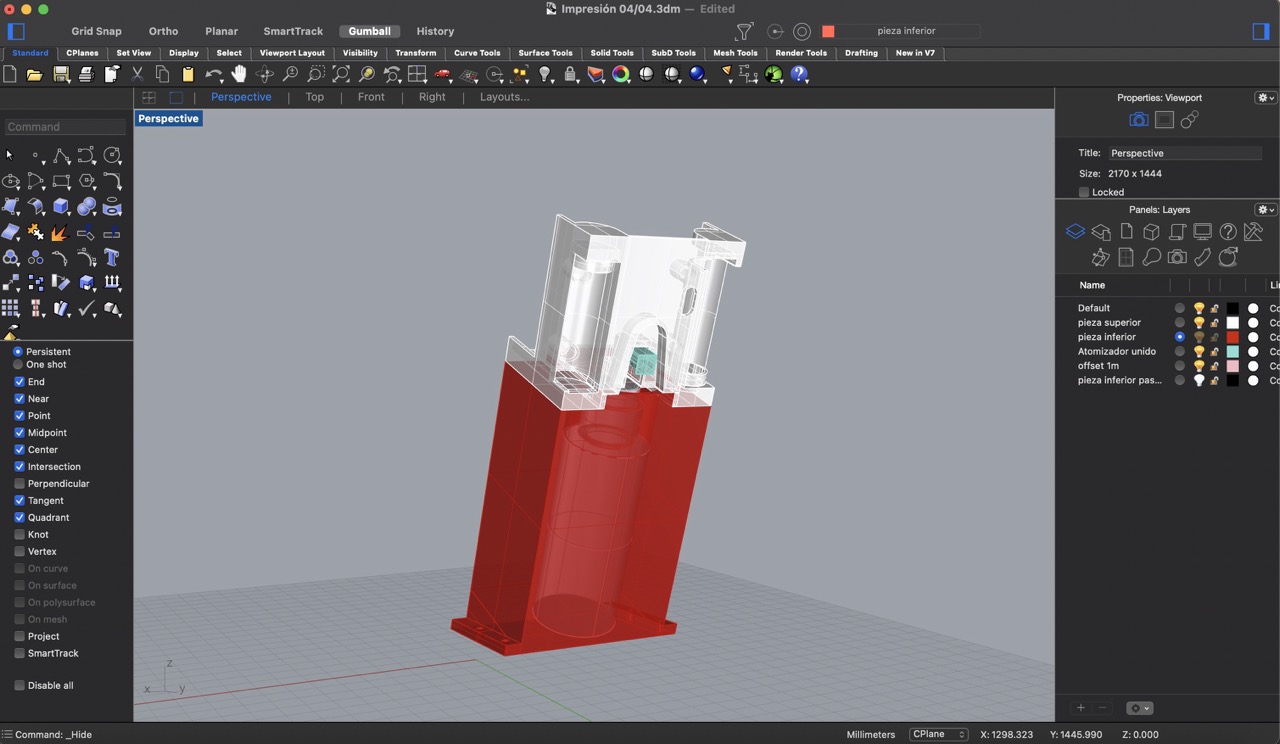
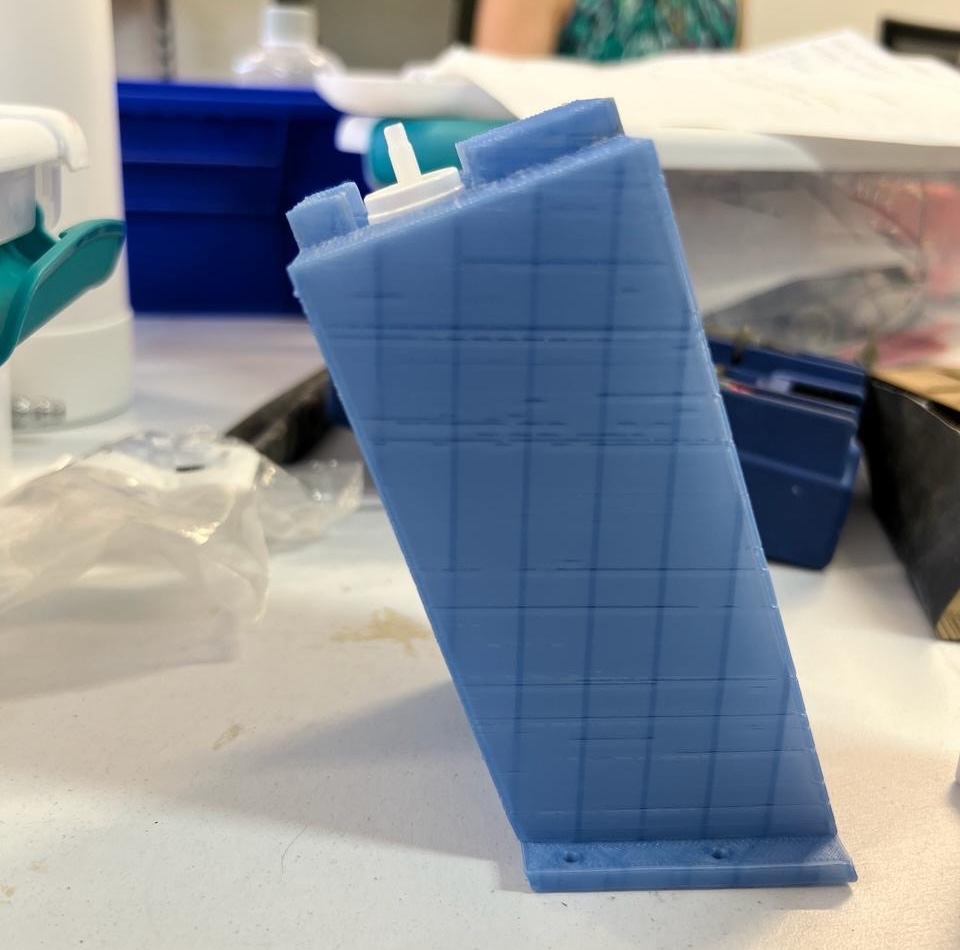
The bottle on the left will be the one used to spray our solution, we will need to adapt the spraying nozzle to fit the pushing mechanism. For this to work, we decided to design two 3D printed pieces in Rhinoceros to adapt the spray bottle and the mechanisms. To begin the dimensions of the spray bottle were taken with a vernier and 3D modeled.

Then, to replicate the piece used in the spray mechanism, we began by meticulously measuring each part and then modeling it in Rhino. Precision was crucial as the measurements needed to be extremely accurate for it to function properly. To be honest, re-designing this piece was a bit challenging.
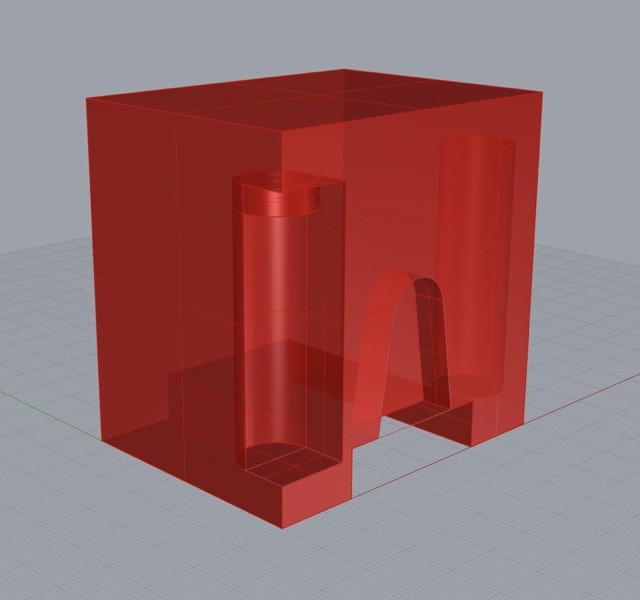
In the final step, the base piece was designed by incorporating a 25˚ angle. To achieve this, we applied a 'Boolean Difference' operation between the rectangular shape and the spray bottle, resulting in the desired outcome. Additionally, a 1mm offset was implemented on the spray bottle to accommodate any potential shrinkage during the 3D printing process, ensuring a proper fit for the bottle.

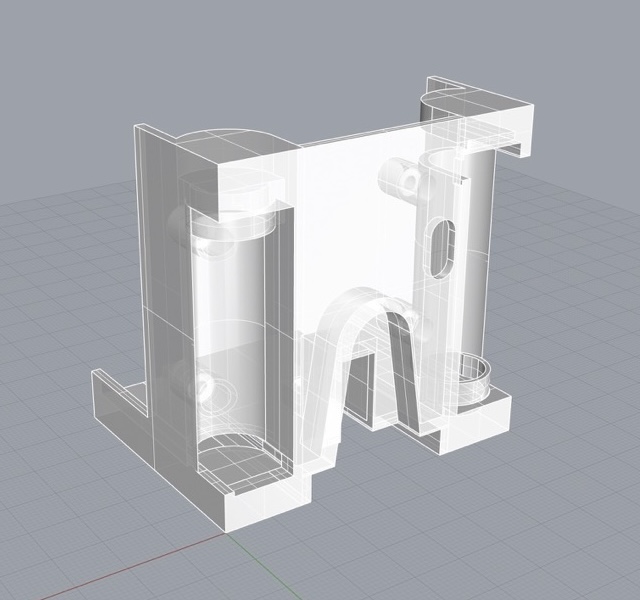
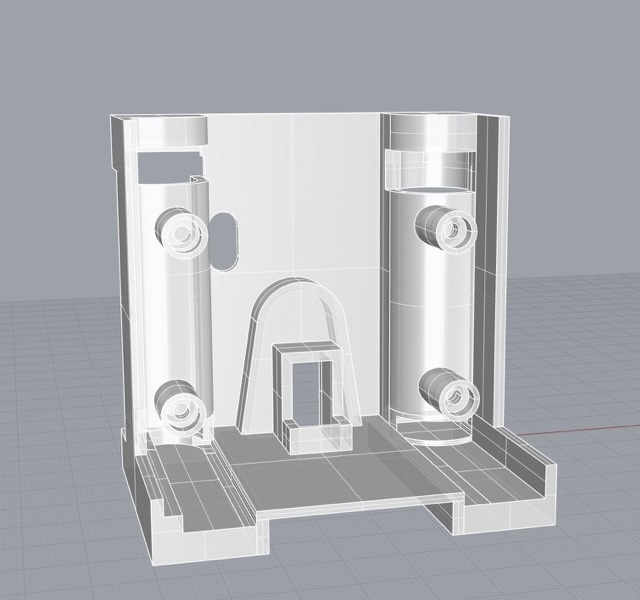
This was the final result of the 3D modeled pieces:
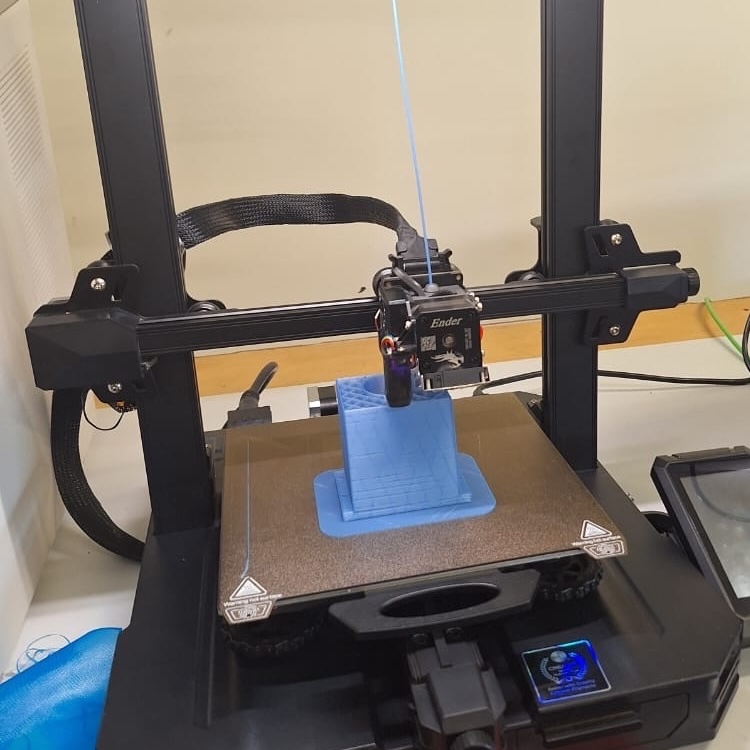
Both of these designs were exported to UltiMaker Cura to create the gcode and begin printing.
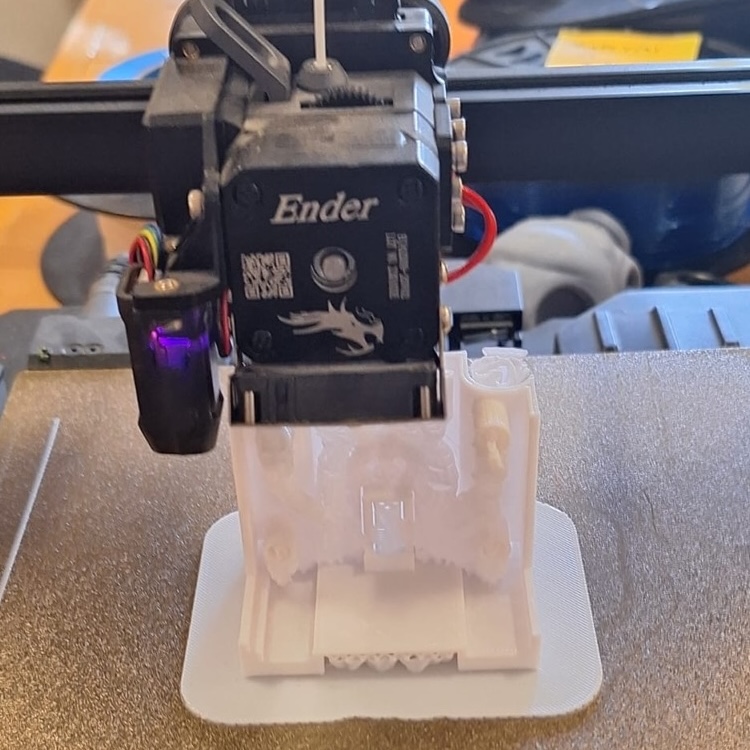
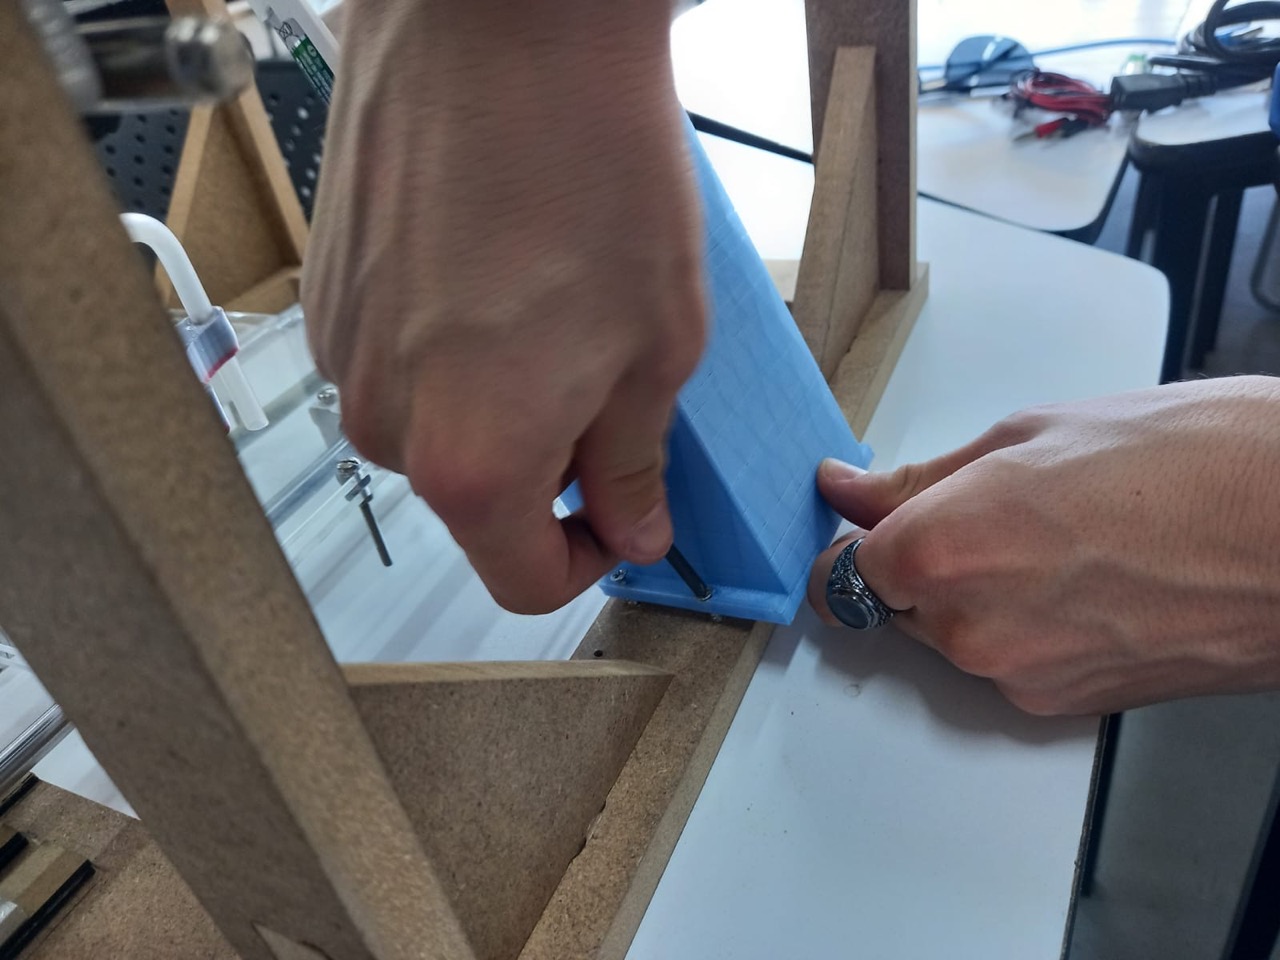
When these were finally done, we assembled the pieces of the spray mechanism.
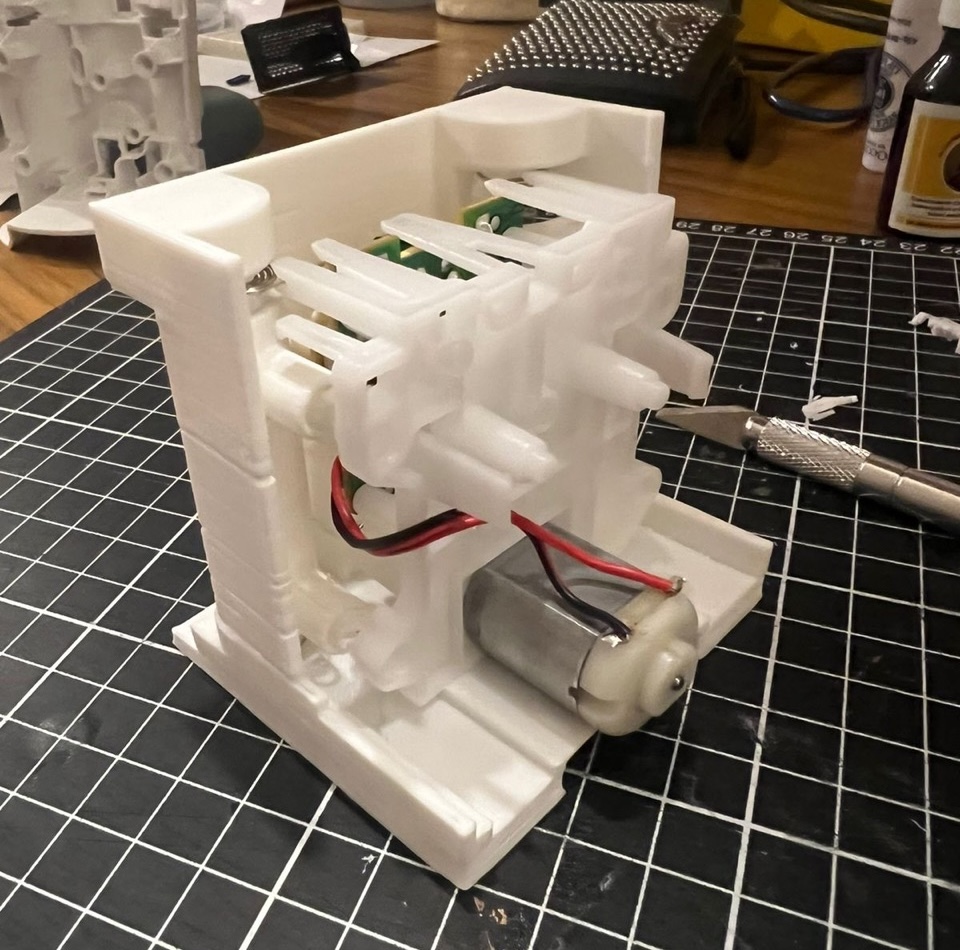
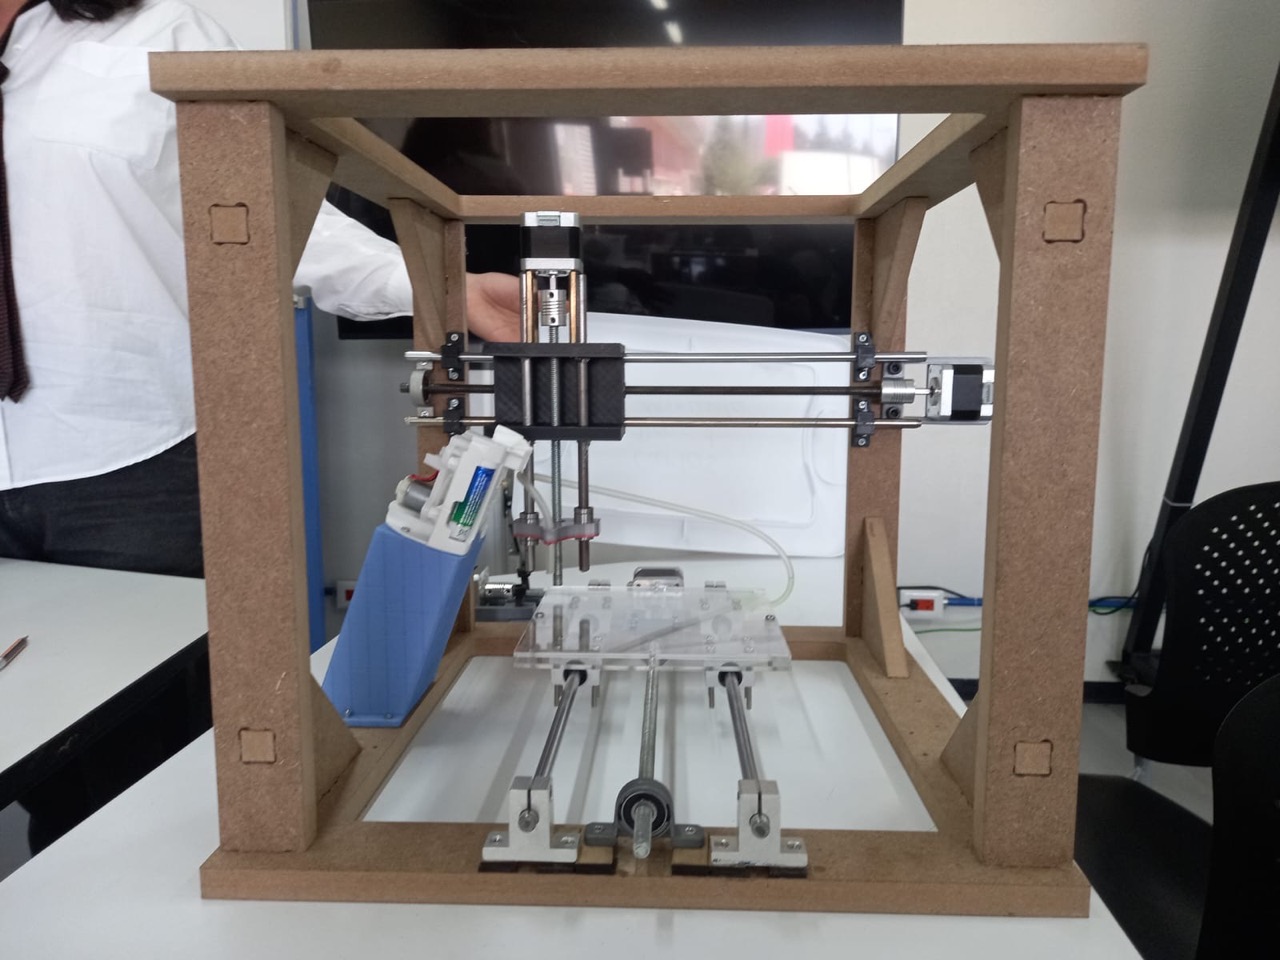
Once I finished my task, I assisted with assembling the structure of the printing machine, installing the motors, and setting up the printing bed.

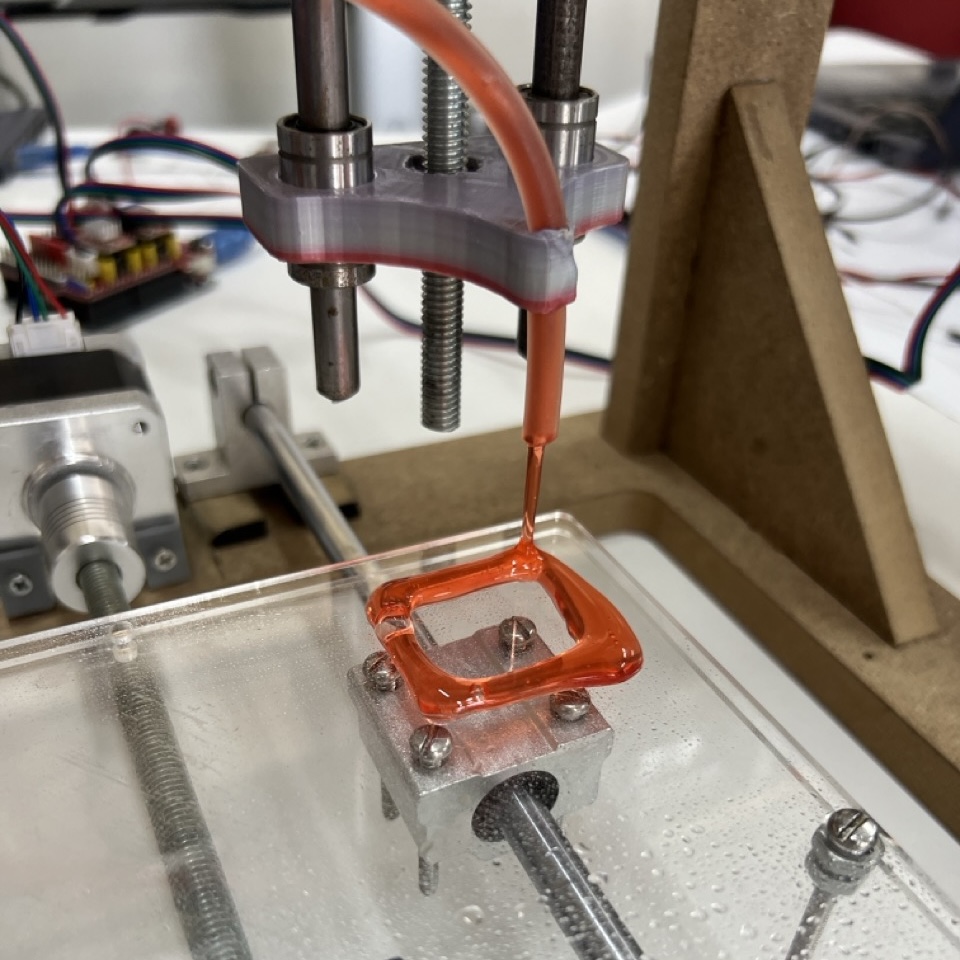
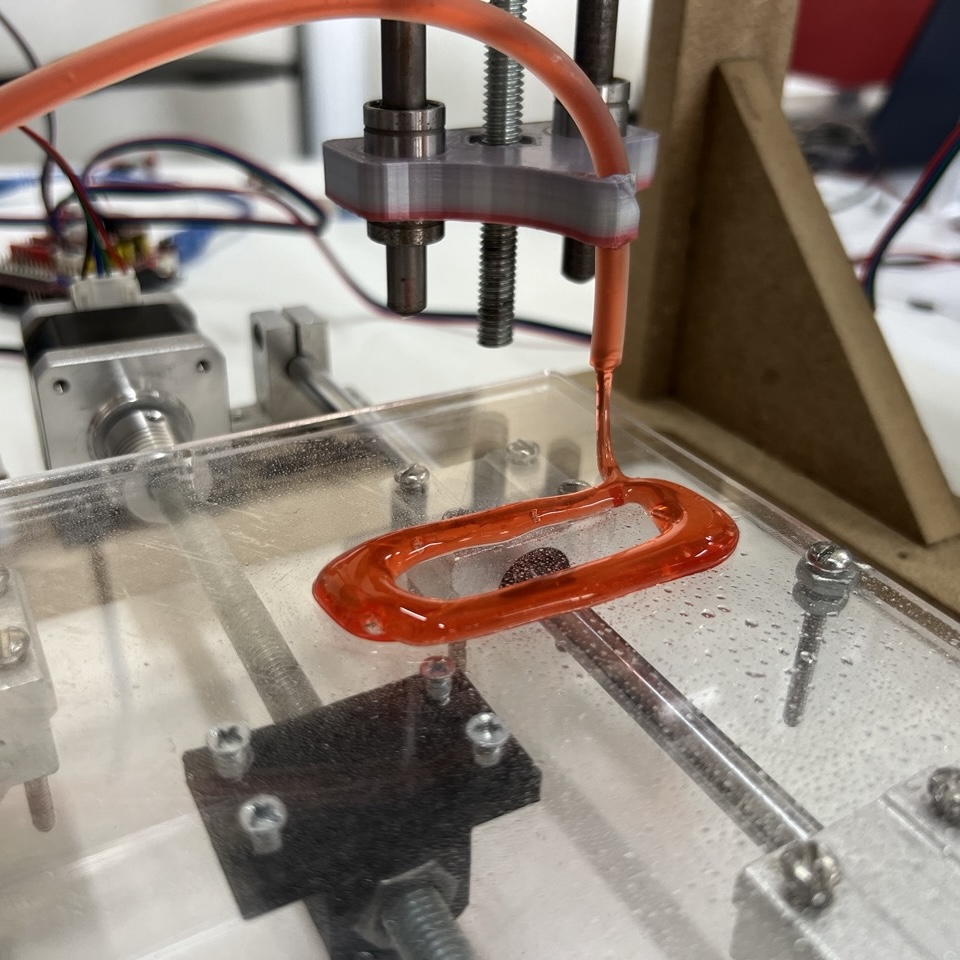
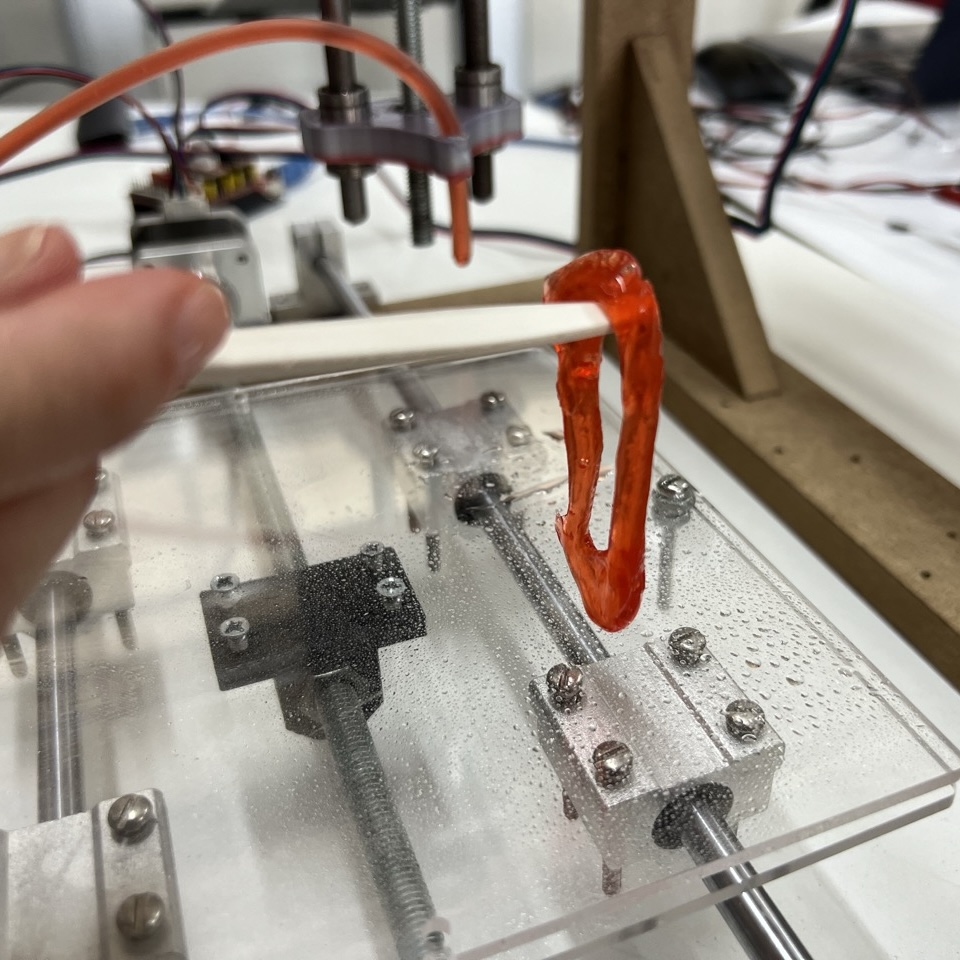
This was the final result of our 3D printer.
Here is a sped-up video of it in action.
Finally, Ivy and I recorded and edited the final video together.
Conclusion and improvements
It was great working with classmates from different majors. I learned a lot from each of them, and we worked well as a team, having fun while making this printer despite some complicated and frustrating moments.
Regarding improvements, I believe we could add a supporting structure for the extruder at the top of the frame to utilize the whole printing bed instead of just the upper part. Additionally, testing different thicknesses for the extruder hose could lead to more detailed printing outcomes.