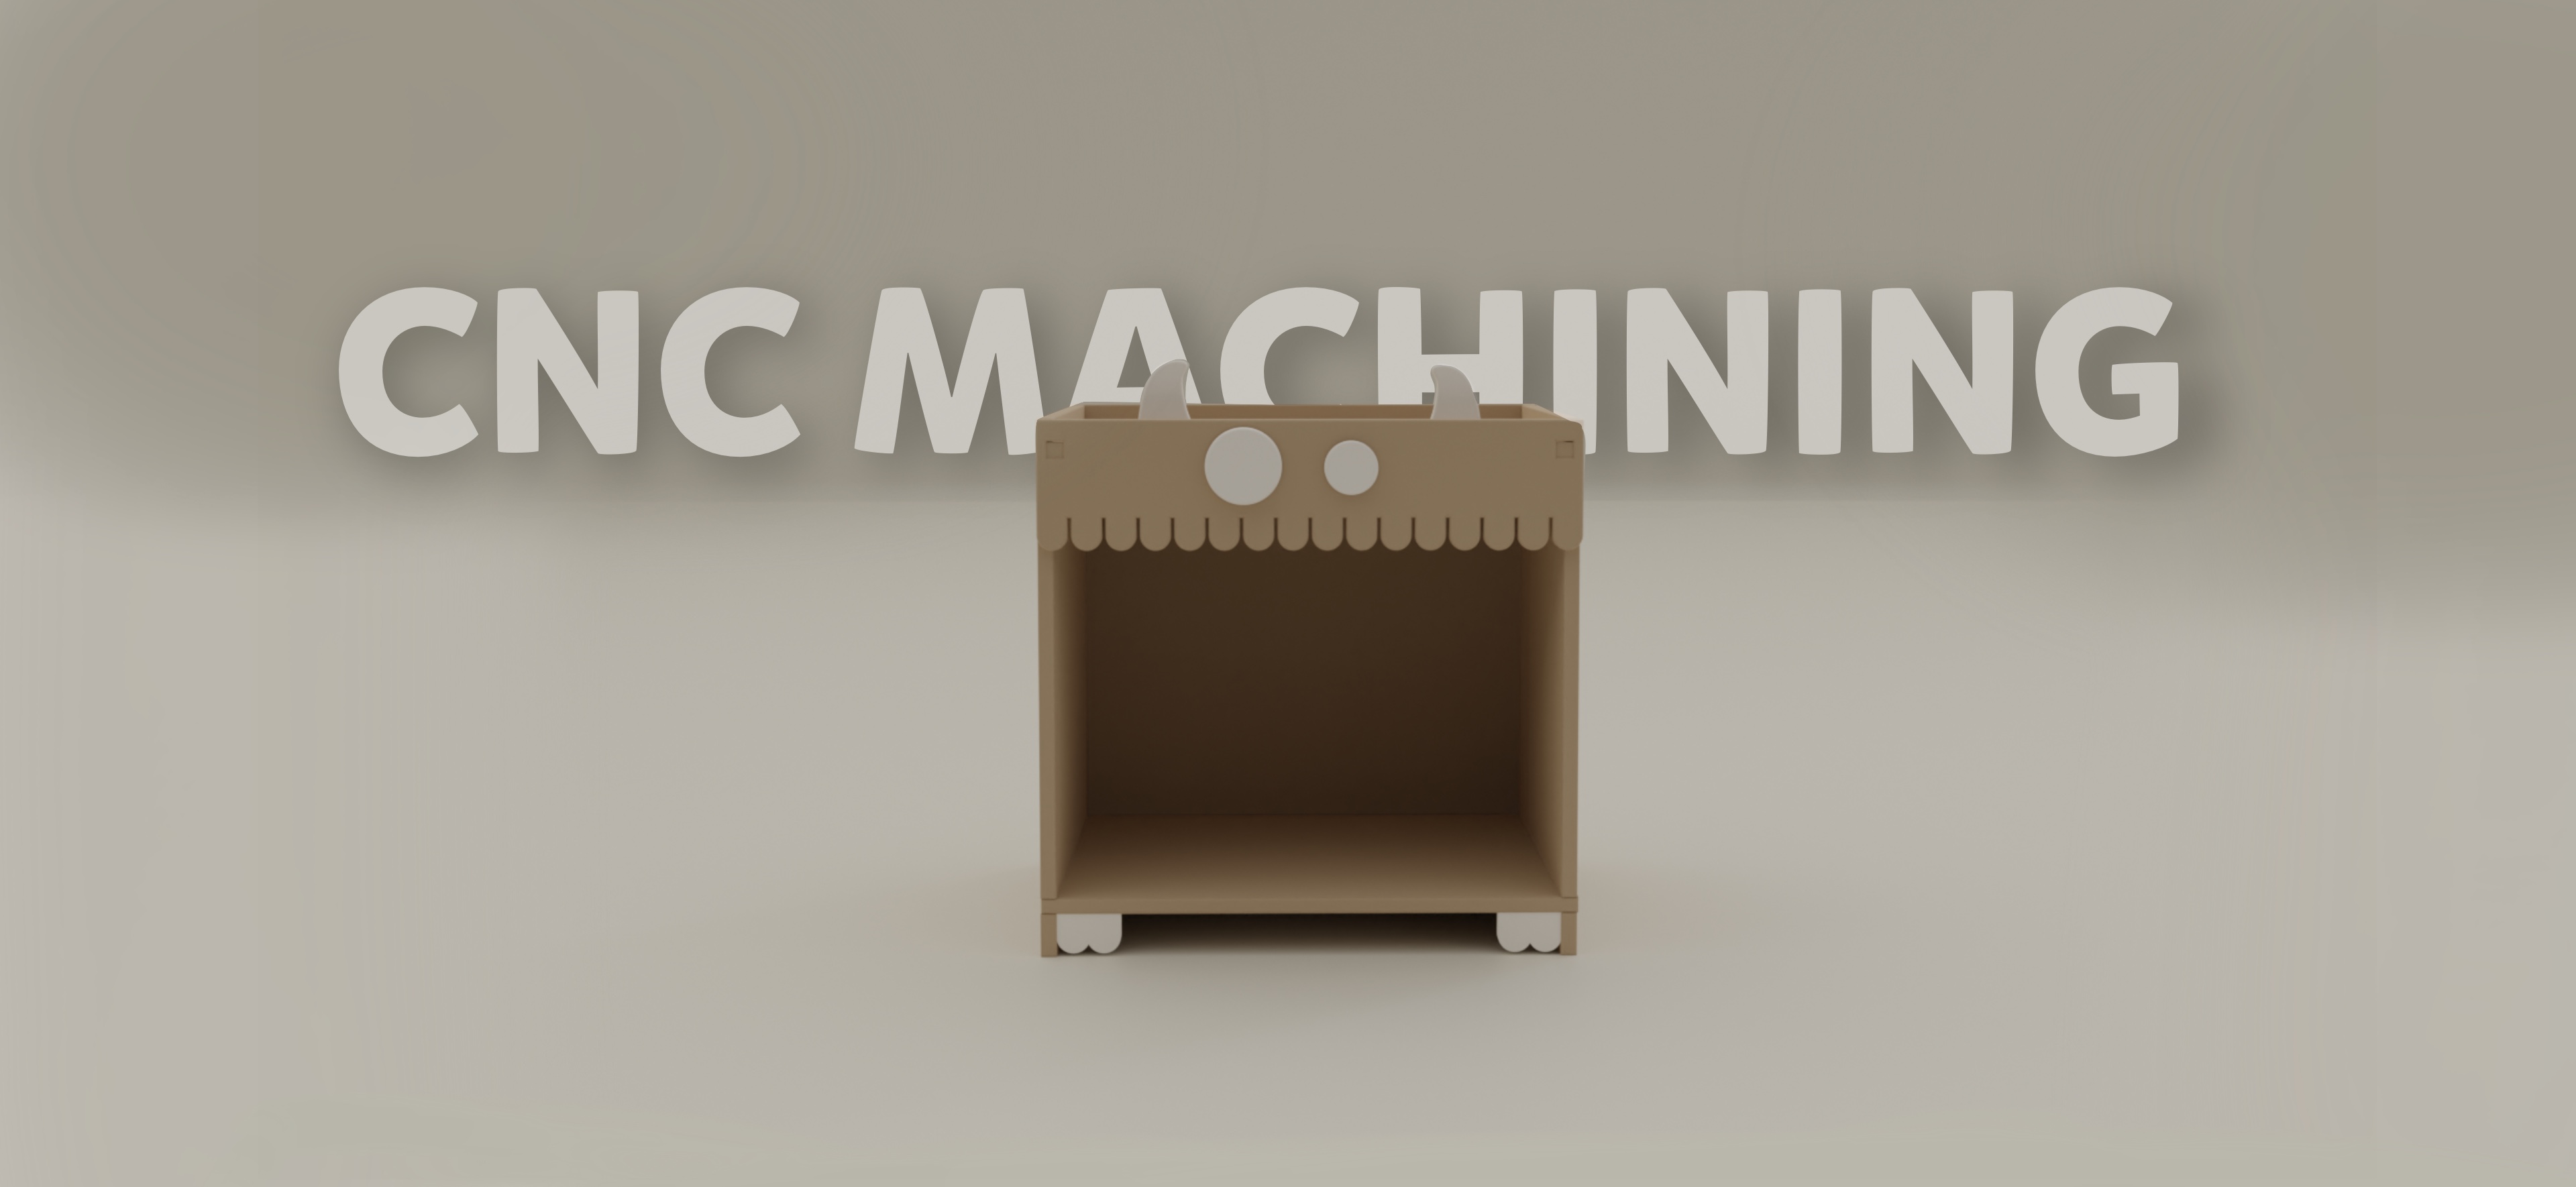
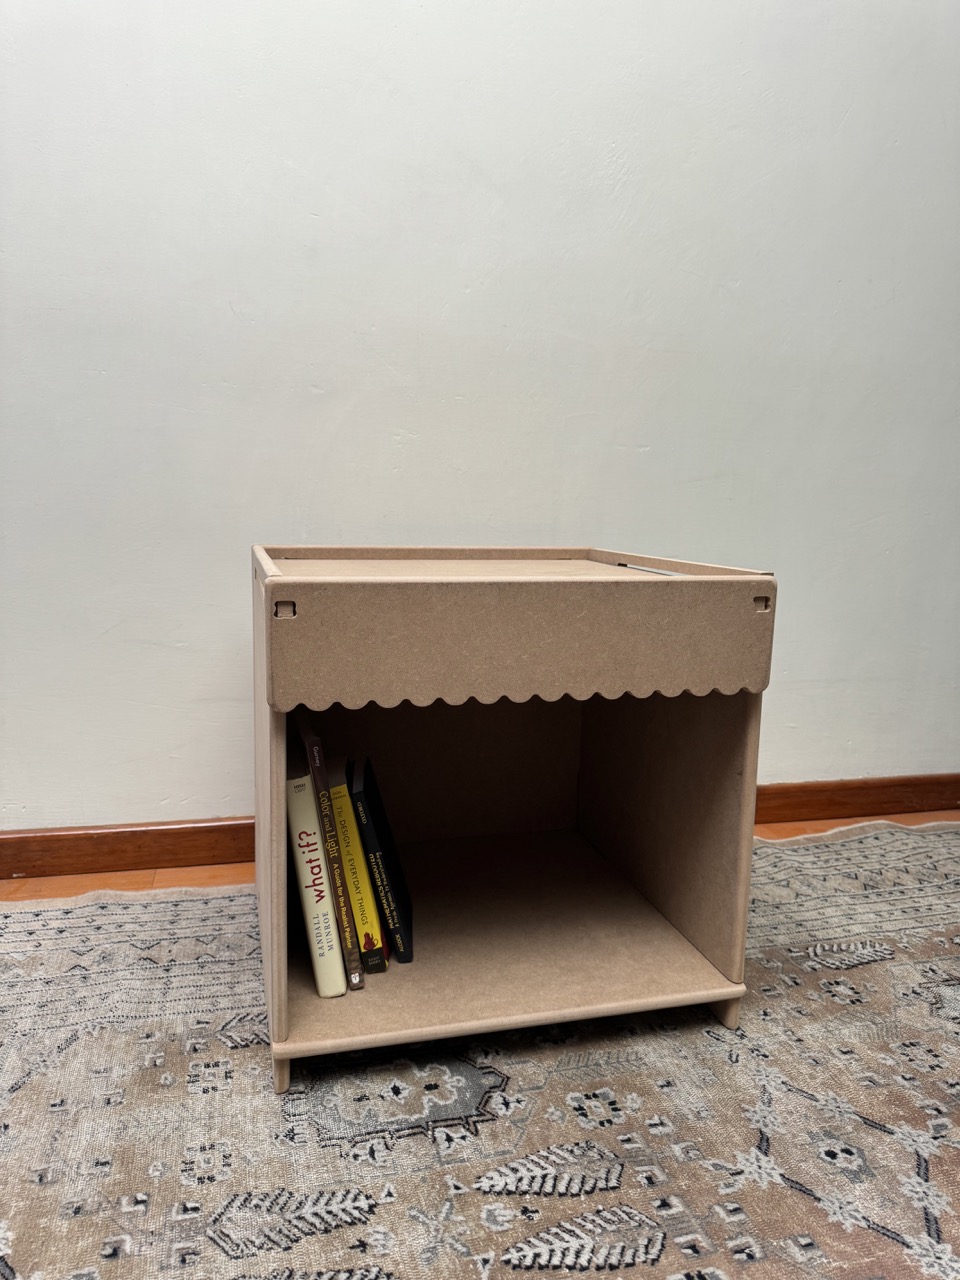
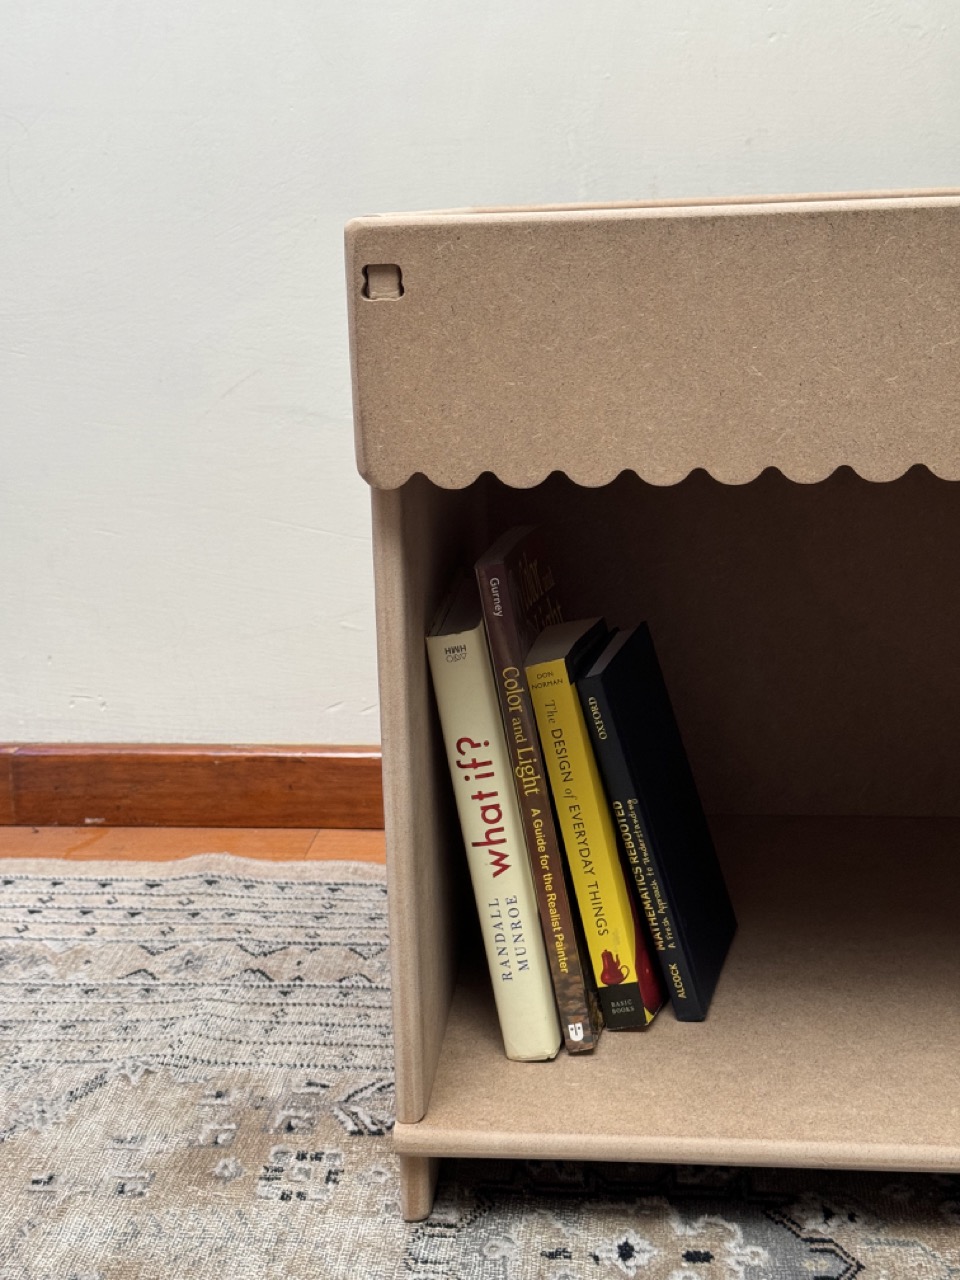
CNC Yeti book shelf!
For the Computer-Controlled Machining assigment I designed a Yeti book shelf for kids. Before beggining the whole group did the group assigment regarding learning the safety meassures in order to use the CNC machine. Likewise, our teacher taughts us the basics of a CNC machine and how to choose the best settings in V-Carve including using "Dog bone or T bone". Link to the group´s assigment
First of all, how does CNC cutting works?
Basically the Computer Numerical Control (CNC) is a computer system that controls the movement and operation of the cutting machine. The computer uses numerical data, through a CAD file, to guide the cutting tool along the desired path.
1
Sketching
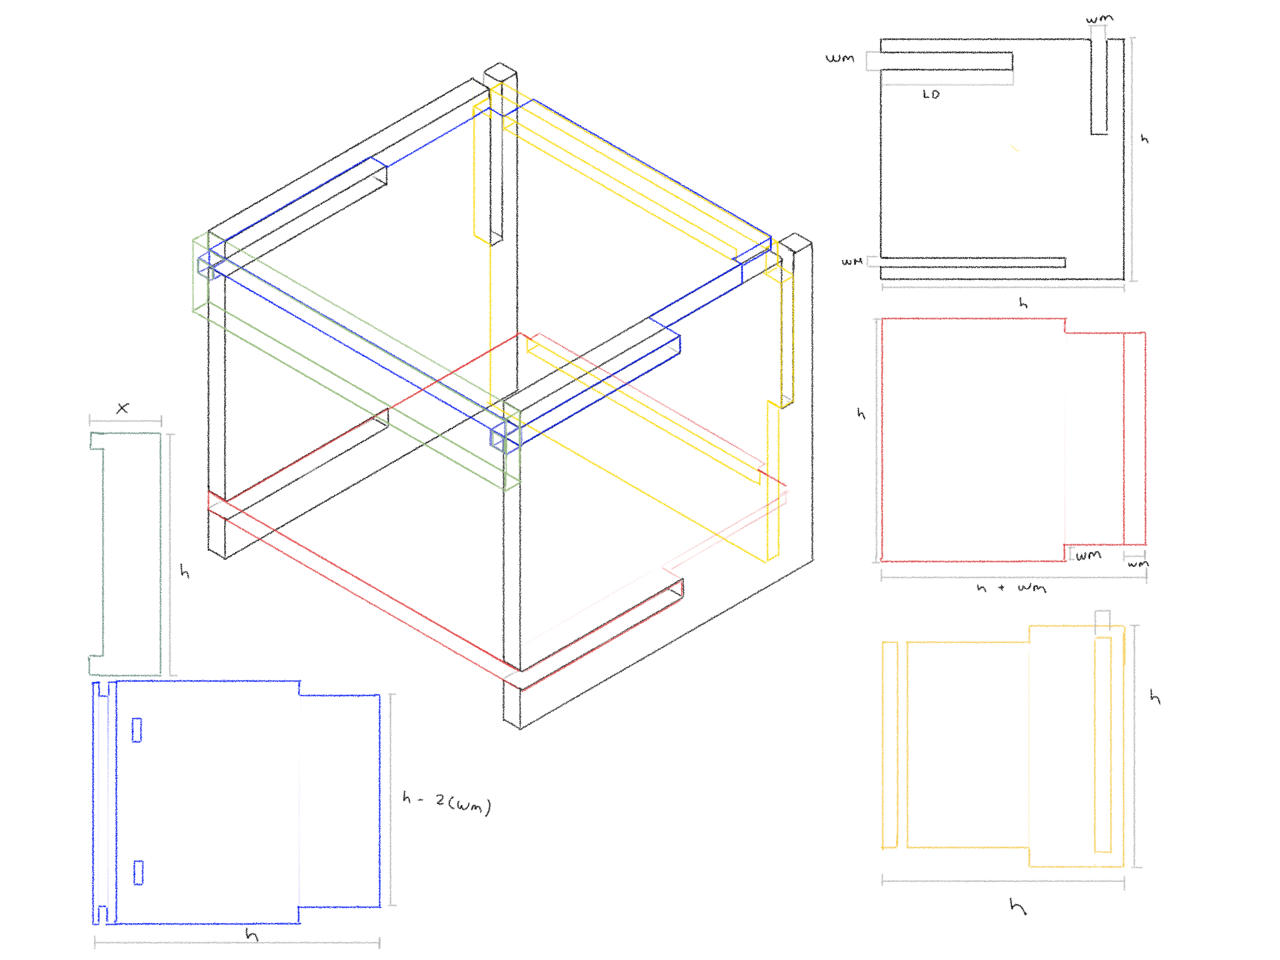 Before using a sketching and modeling software such as Fusion 360 I first needed to sketch my design and figure out how the different pieces were going to fit within each other. For this sketching step I used Procreate since it is a very easy app to use and I just love the different features that it includes.
I started by defining the shape of each piece and then drawing how they would look all together. Finally, I decided to sketch all the pieces in a 2d view so that I could use that in fusion, in addition to the 2d view I included measurements in the form of letters to indicate which parts were going to be the same size. Later on in Fusion the measurements were established.
Before using a sketching and modeling software such as Fusion 360 I first needed to sketch my design and figure out how the different pieces were going to fit within each other. For this sketching step I used Procreate since it is a very easy app to use and I just love the different features that it includes.
I started by defining the shape of each piece and then drawing how they would look all together. Finally, I decided to sketch all the pieces in a 2d view so that I could use that in fusion, in addition to the 2d view I included measurements in the form of letters to indicate which parts were going to be the same size. Later on in Fusion the measurements were established.
2
Fusion 360
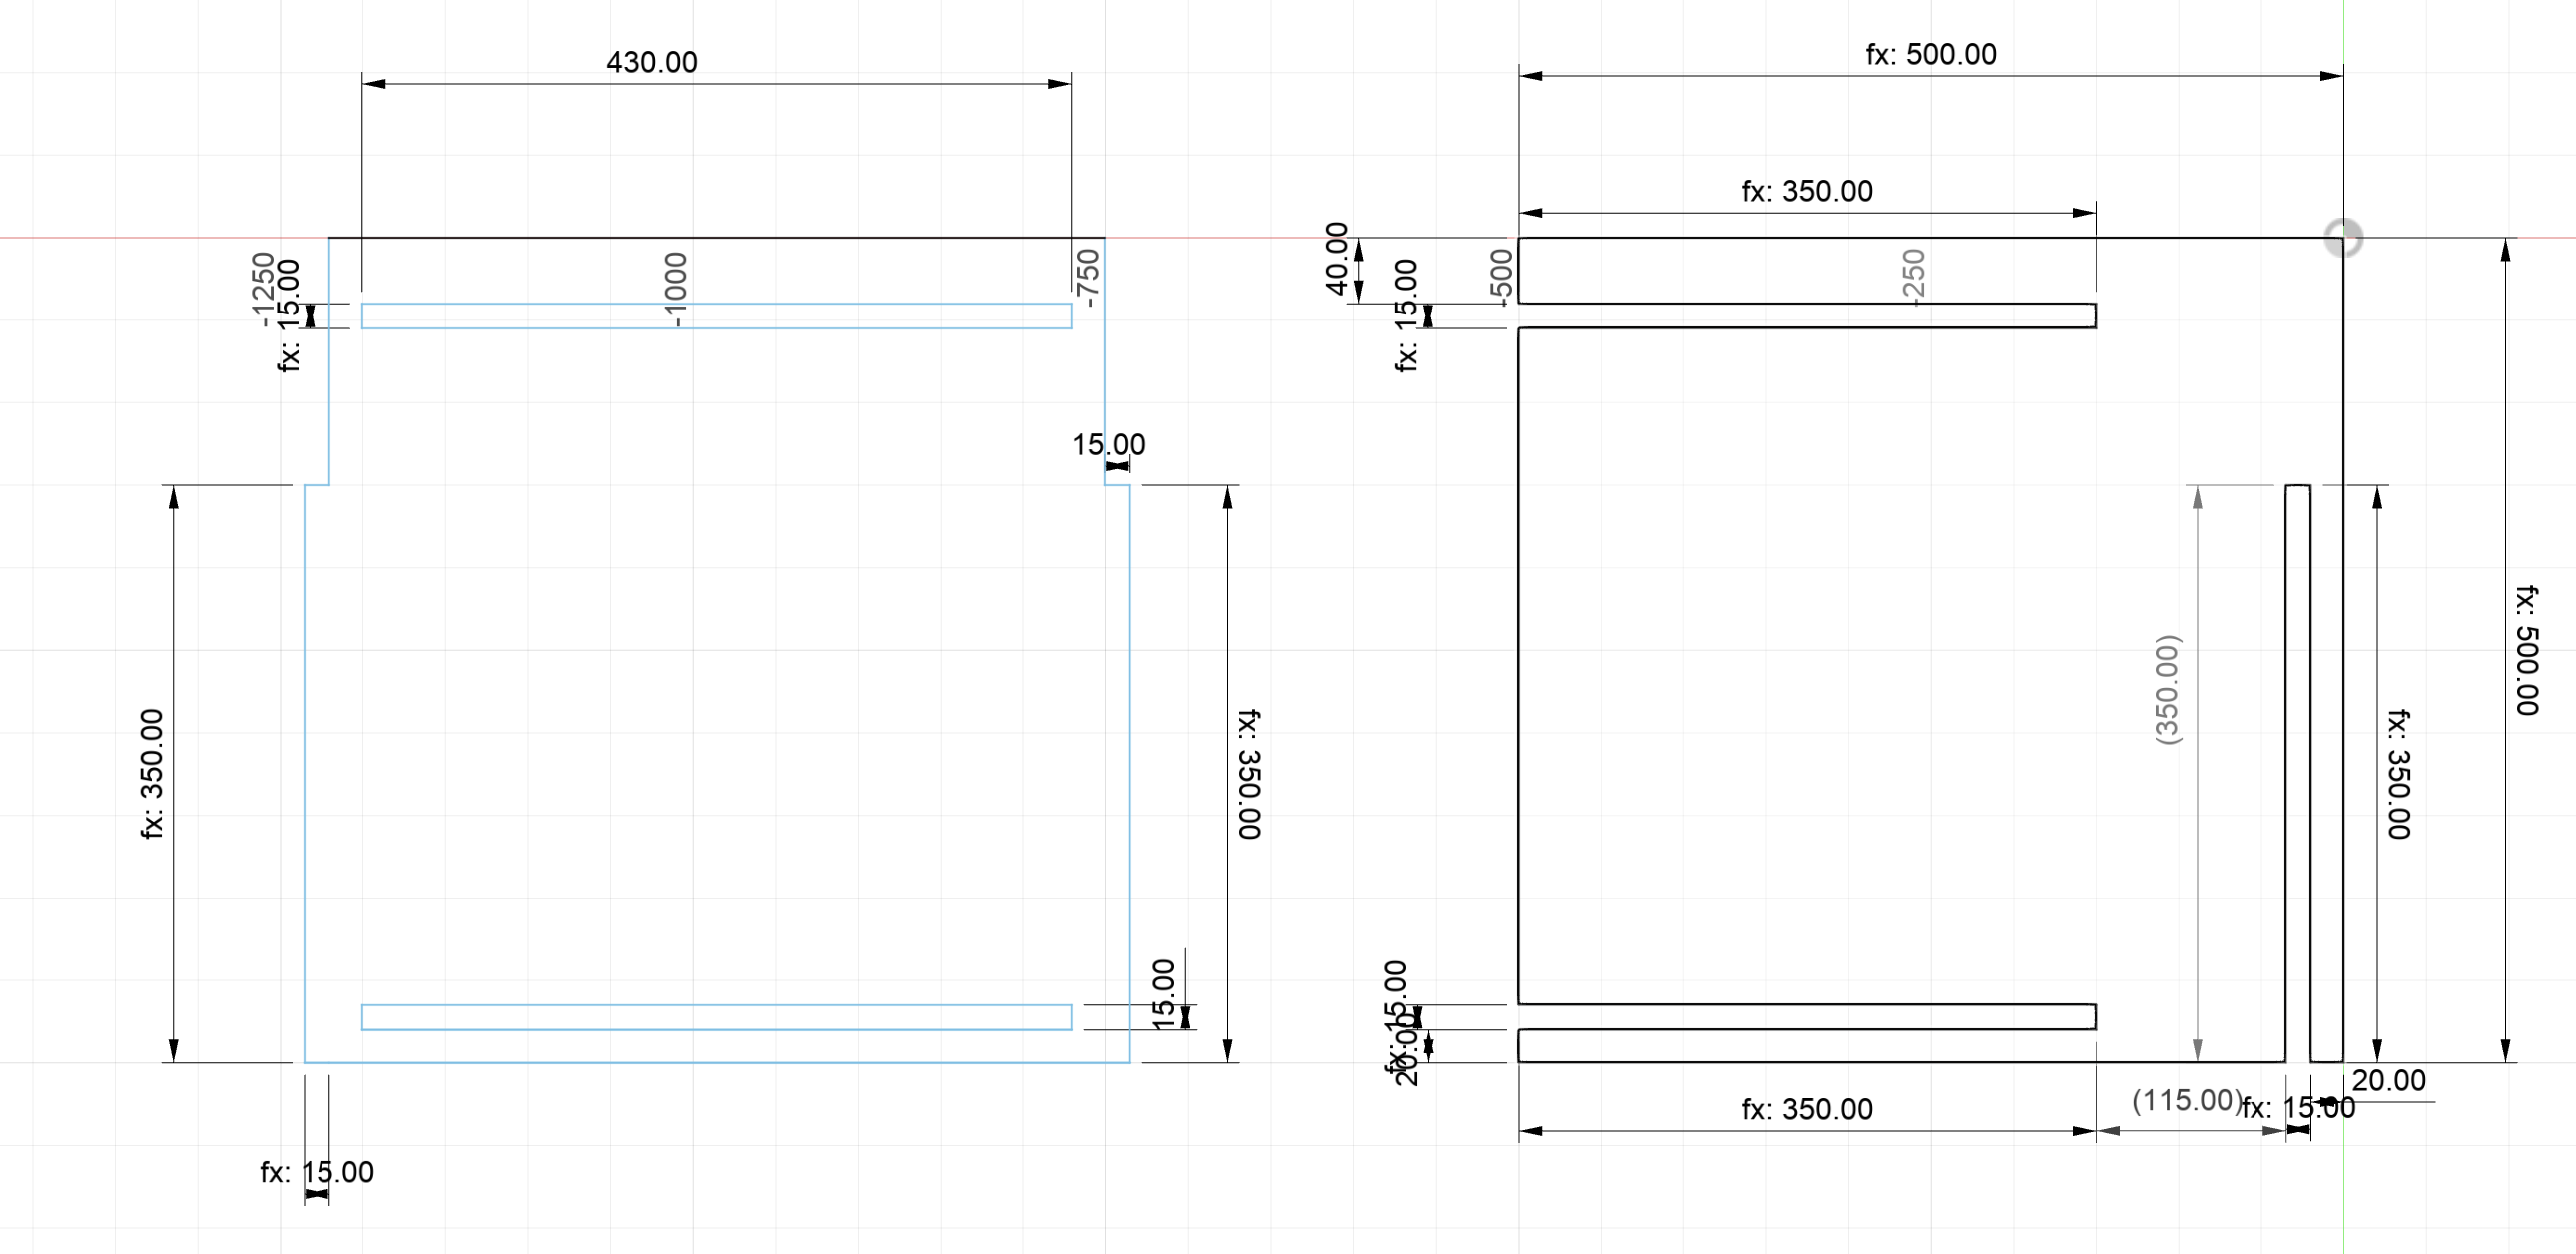
After sketching the main design I used Fusion 360 to re sketch everything with the right measurements. For this, I took advantage of the parametric features that it has to set some parameters to use throughout the sketching.
| Parameter | Value |
|---|---|
| h (height) | 500 mm |
| L (length) | 500 mm |
| hd (height divisions) | 20 mm |
| Ld (length division) | 350 mm |
| wm (width material) | 15 mm |
| hbl (height base length) | 40 mm |
| lfy (length face yeti) | 120 mm |
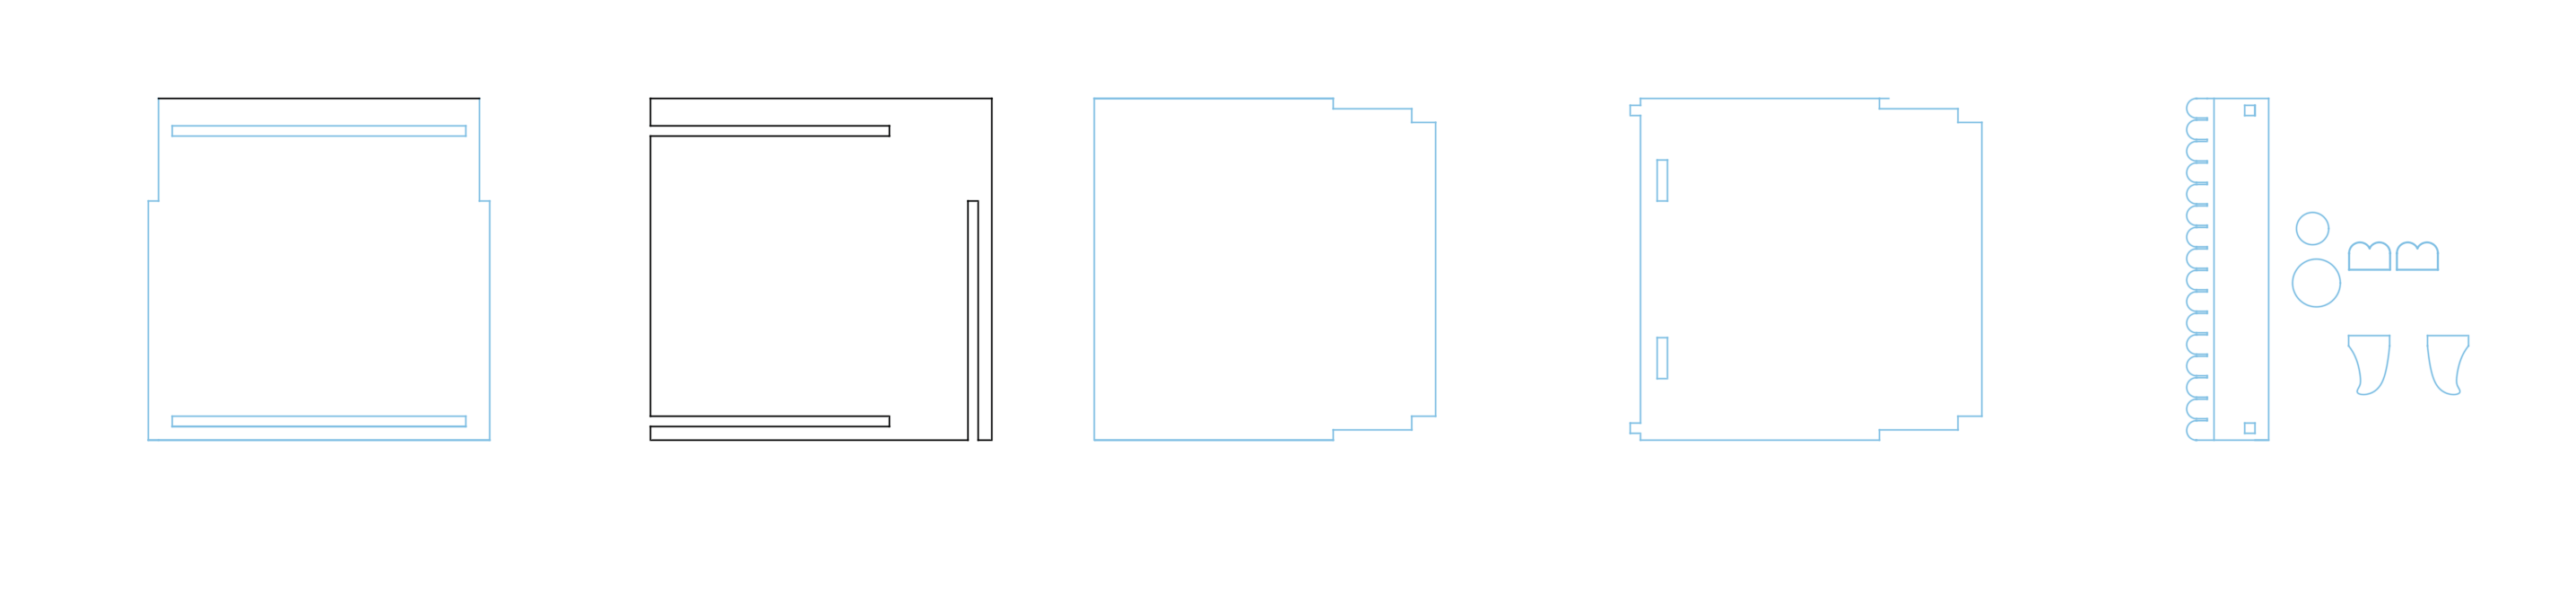
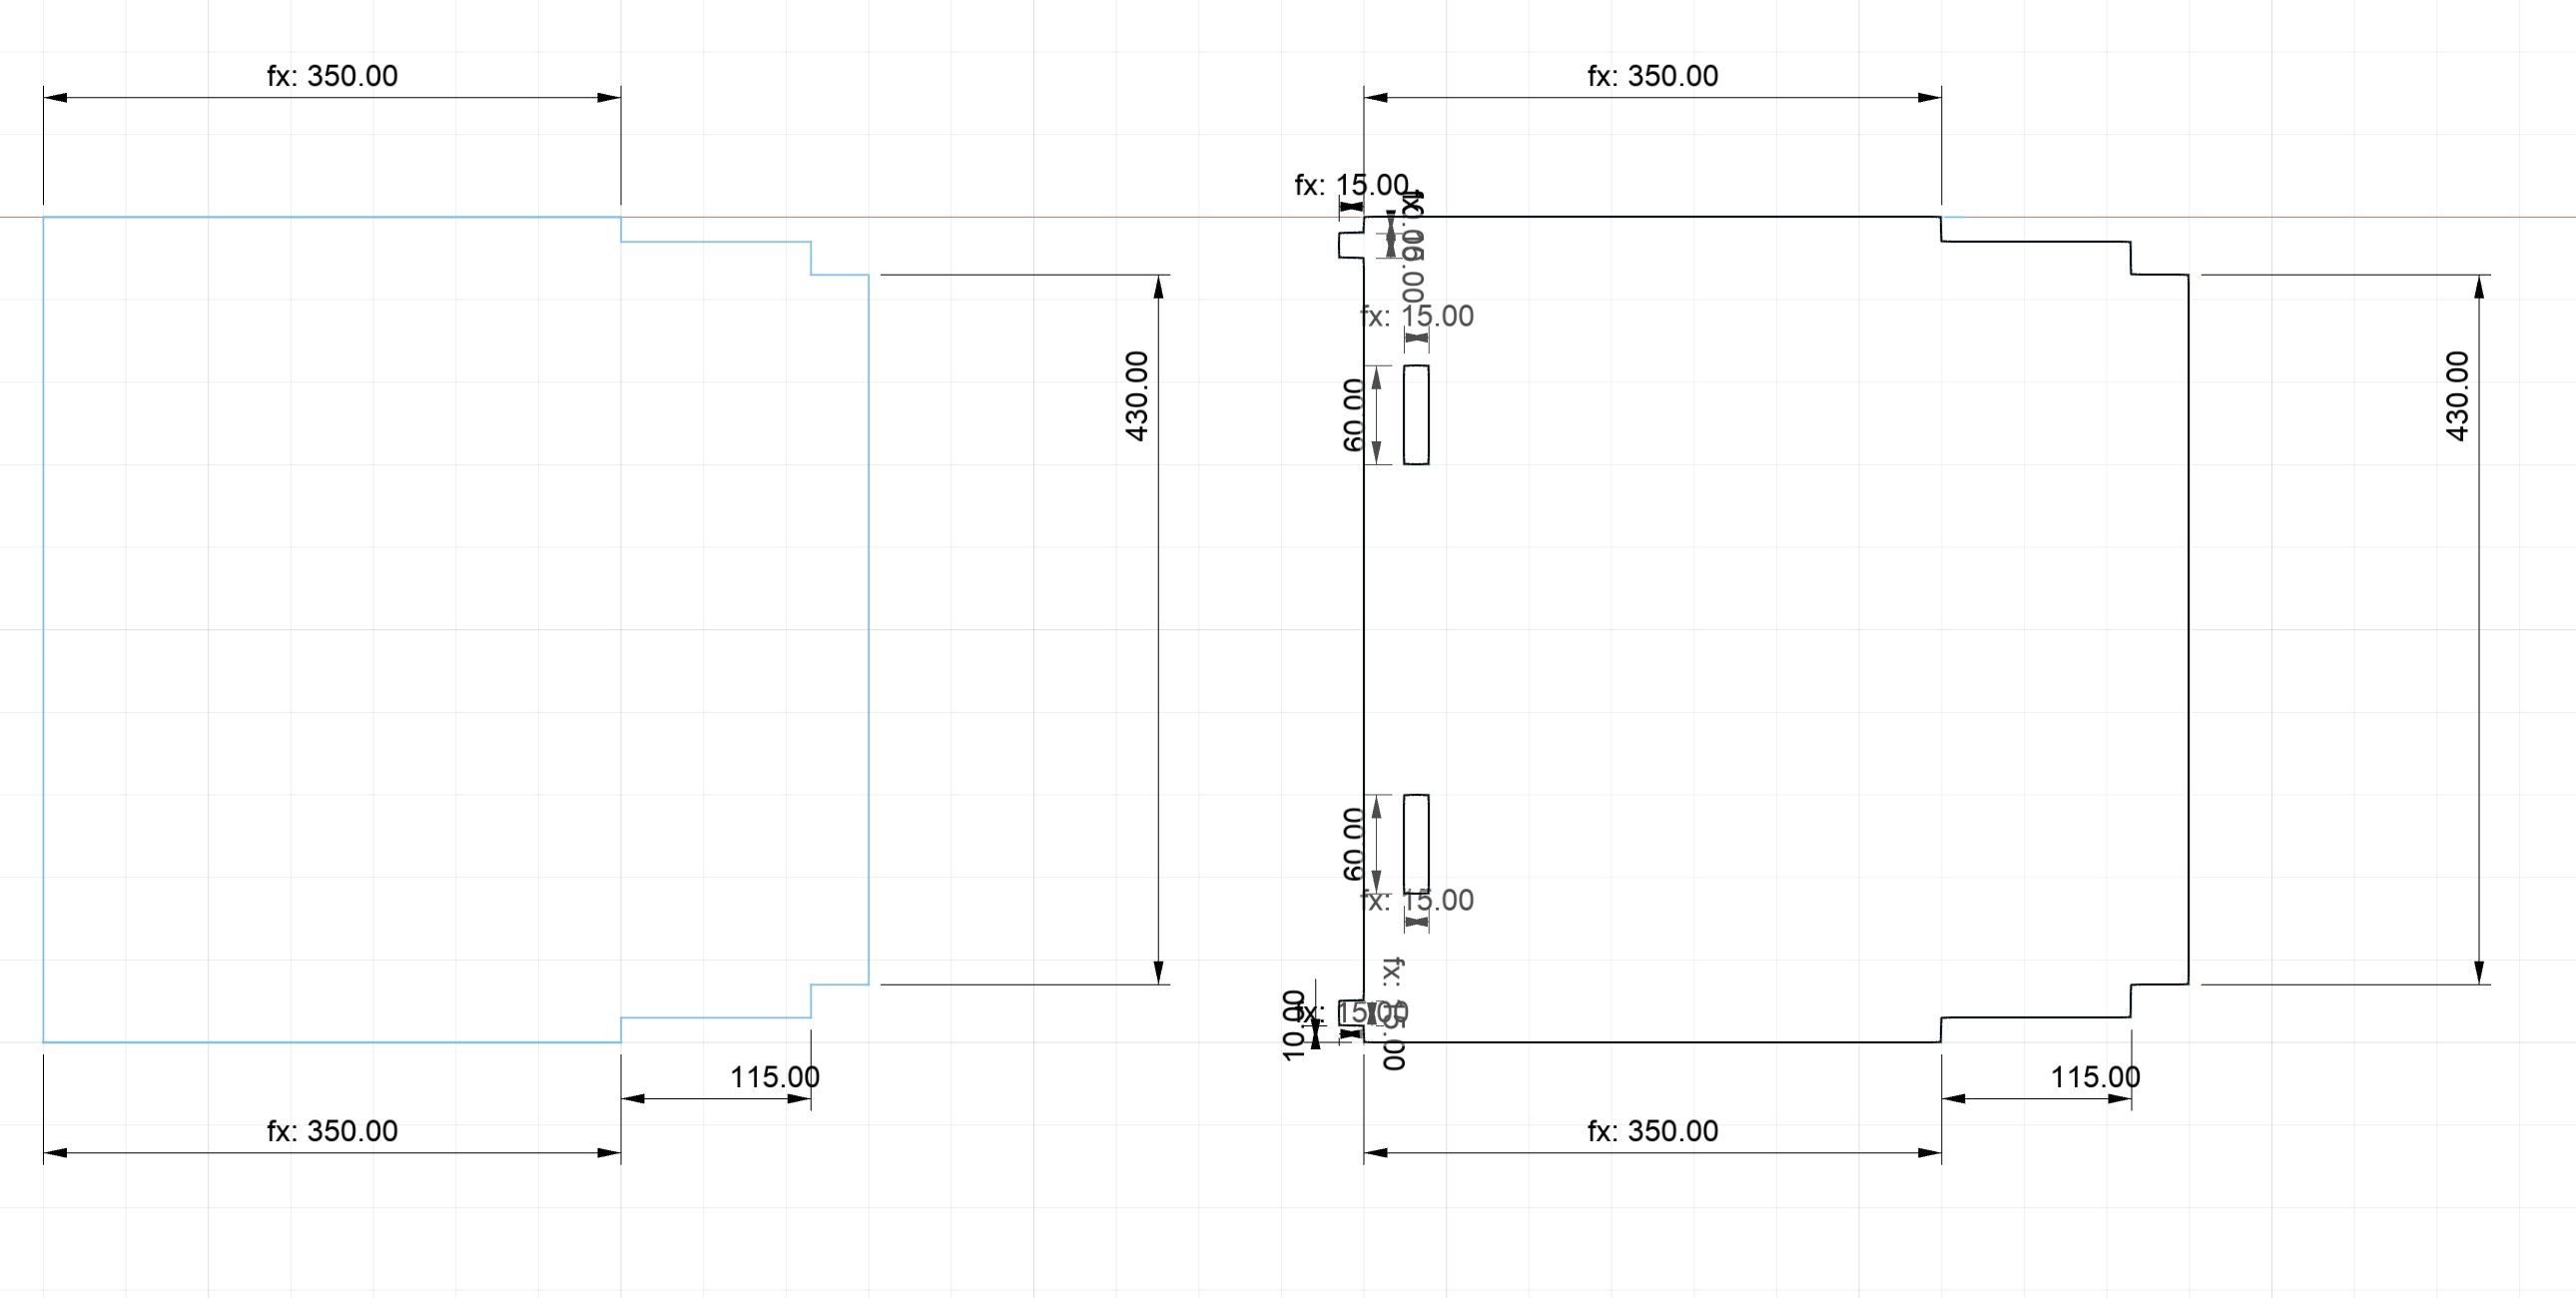
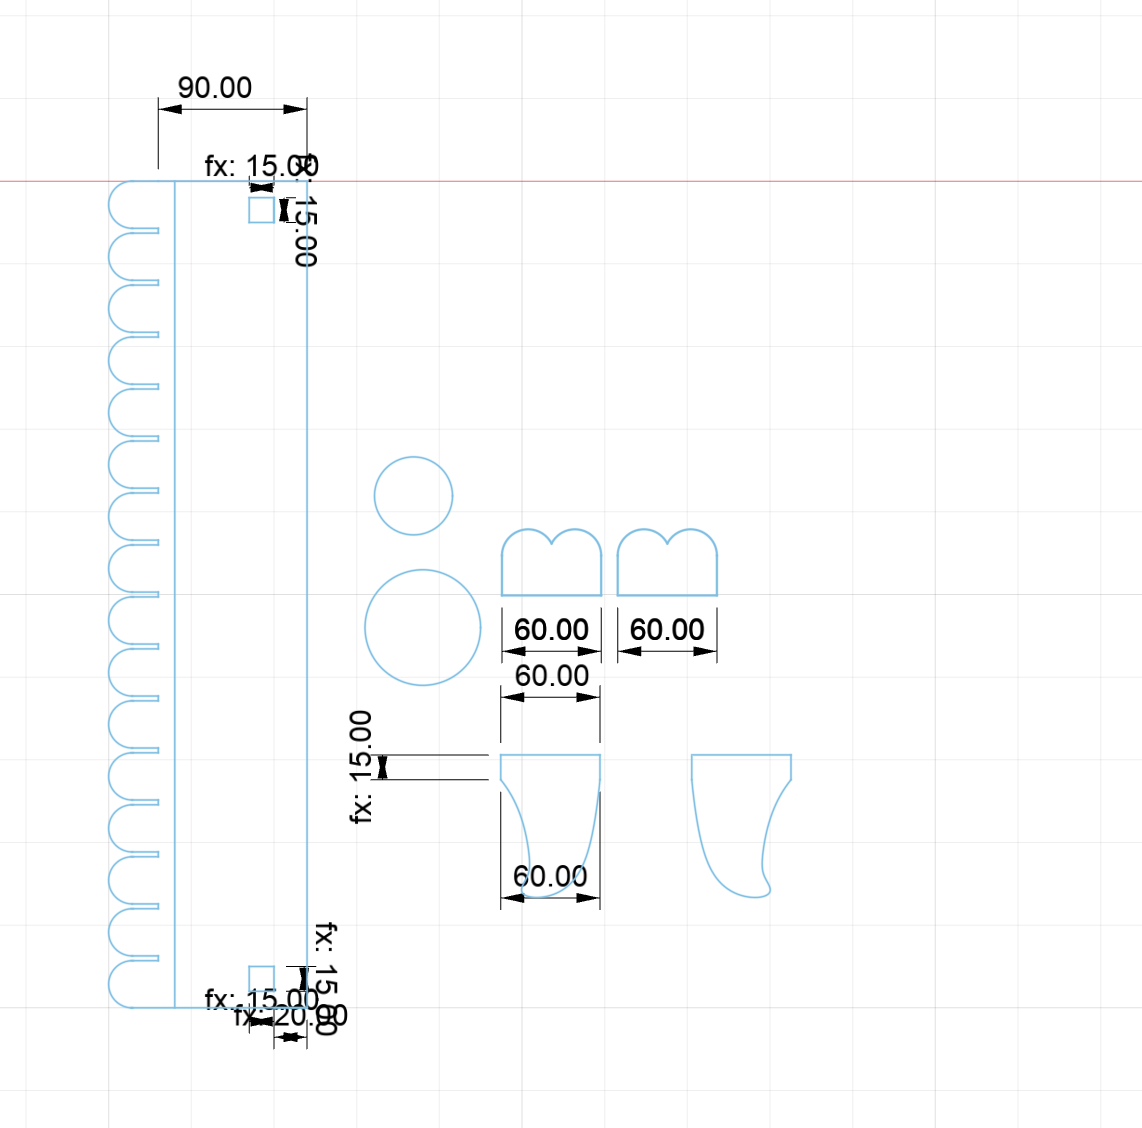
After setting the parameters I continued to sketch the design in Fusion. I´ll leave a photo of the different shapes and another photo with the parameters so that if wanted it can be used.
3
Rendering
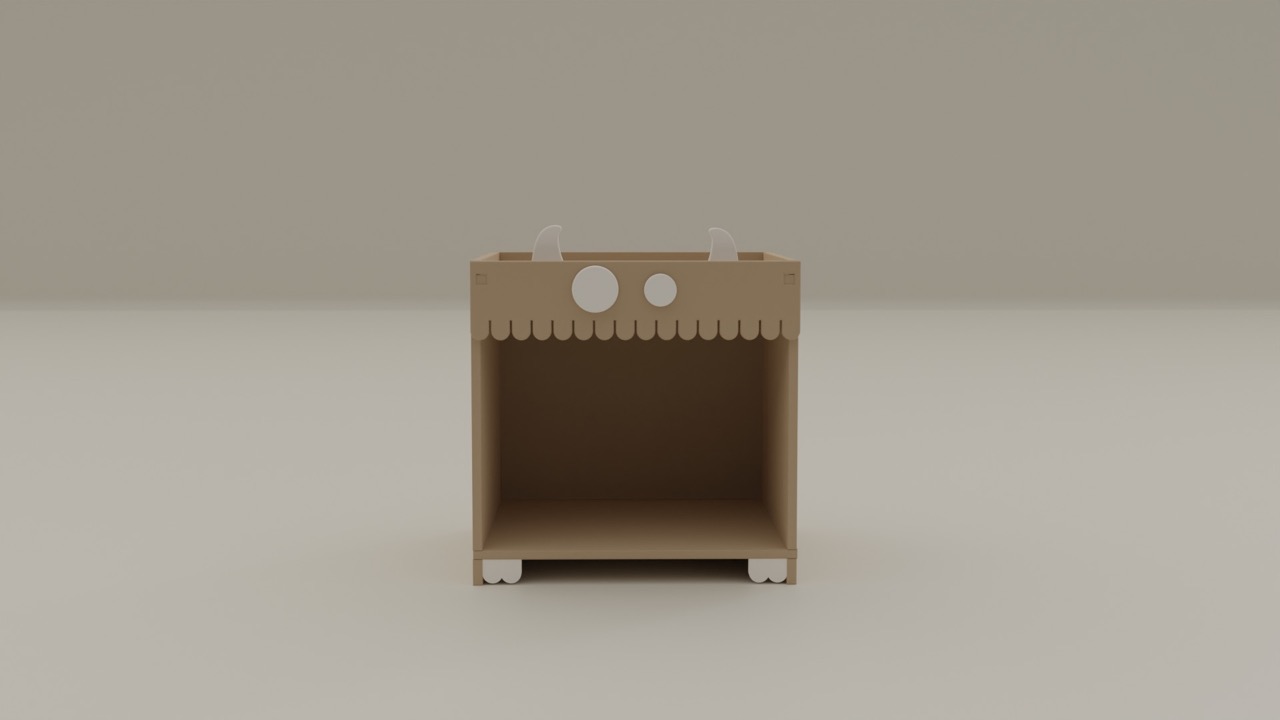
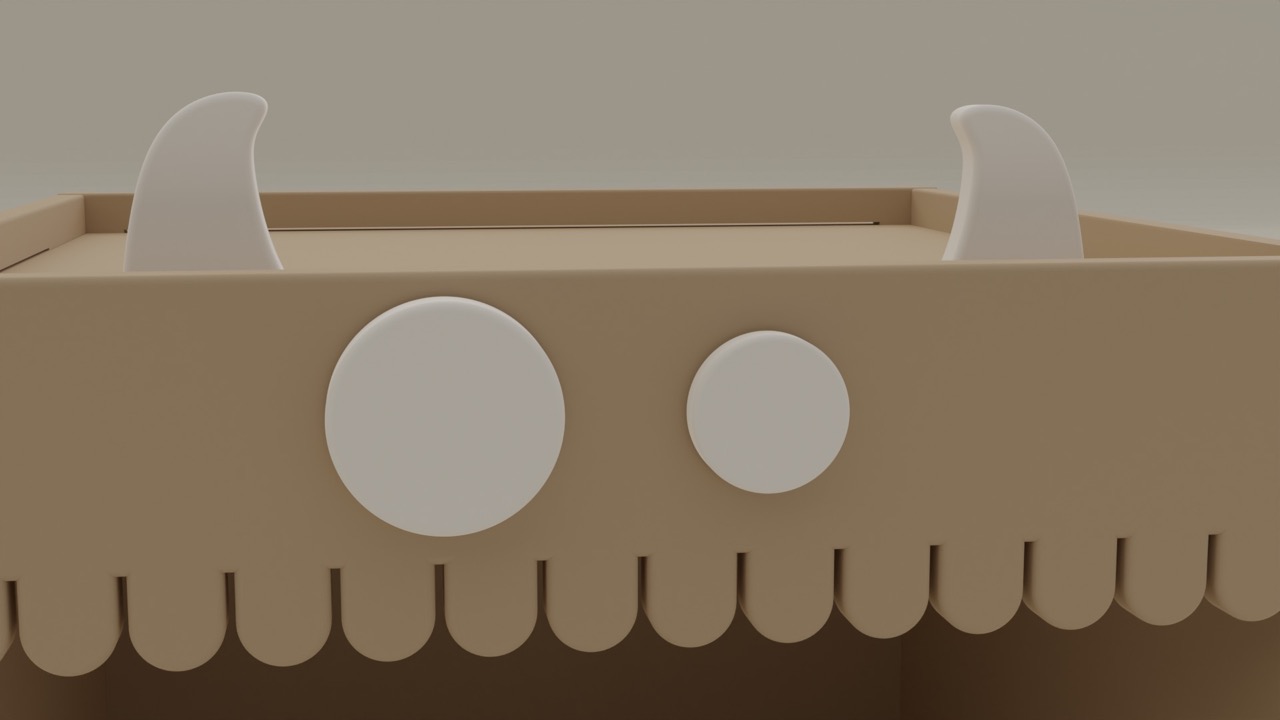
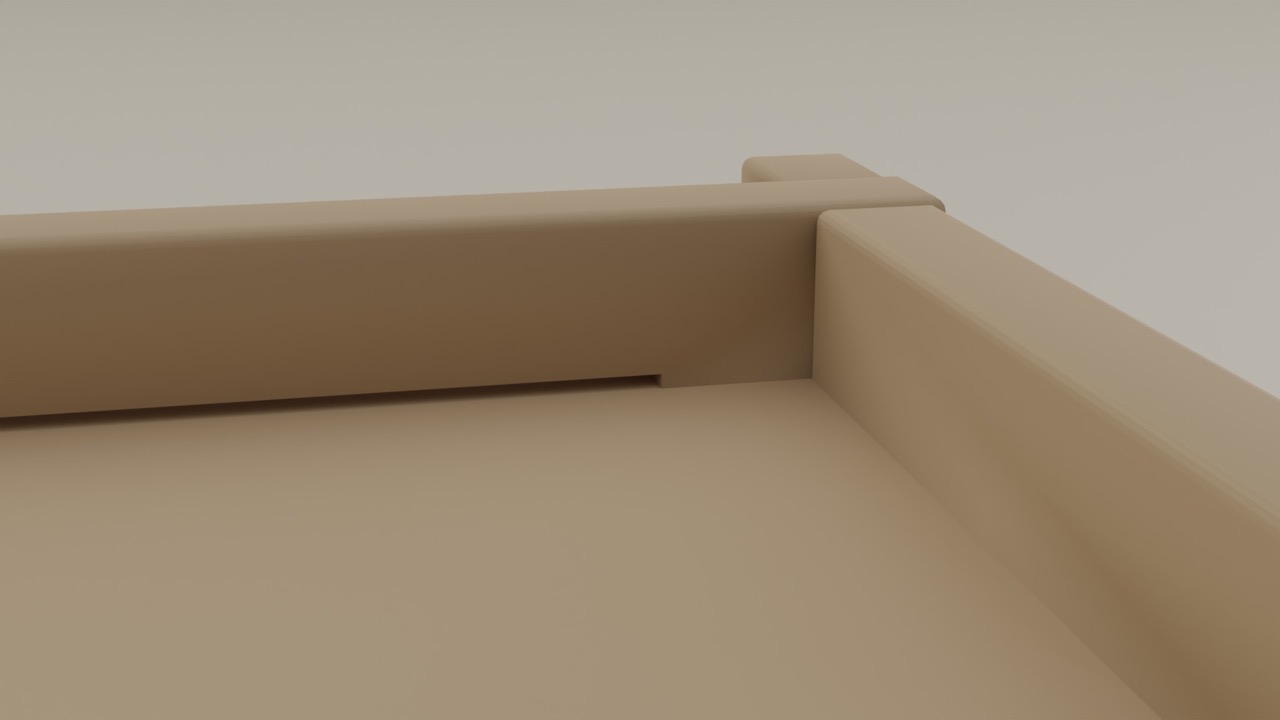
The rendering process I did it on Blender to get a look on how the final design would look like and get a beter idea if the measurements work or not.
After sketching on Fusion and extruding the different pieces to 15 mm (which is the width of the material) I exported the file as an OBJ. Then imported it to blender where I assigned the model a texture using the Control + T command to create a new one. Texture: I recently bought a pack of textures form Gray Scale Gorilla so I used the MDF texture.

Using Vcarve
| Step | Photo | Description |
|---|---|---|
| 1. | Open Vcarve | |
| 2. |  |
Choose “Open file” and added the dimensions of the material 1220 x 2440 mm and 15 mm of width. |
| 3. | 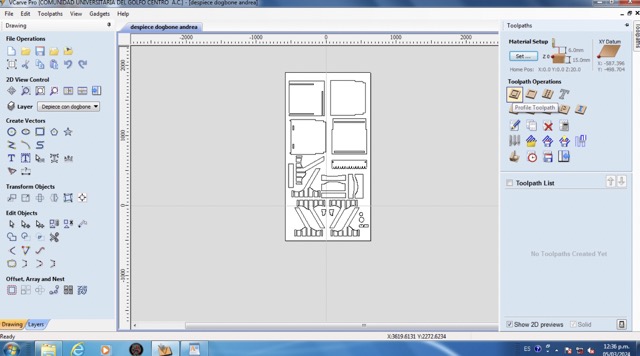 |
Click on “Toolpath” |
| 4. | 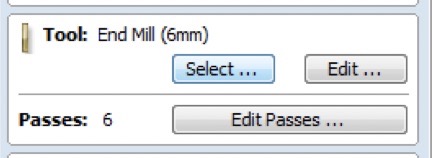 |
On the tool menu choose "select" |
| 5. | 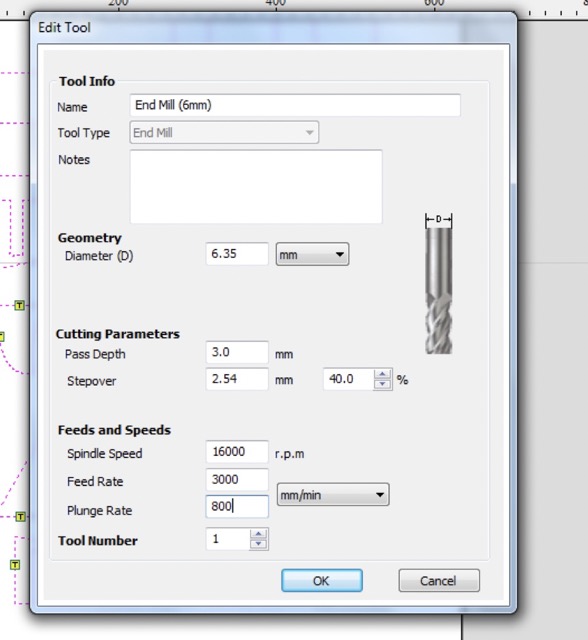 |
Here I selected the tool I was going to be using, so in this case it was an end mill 6mm with a sprindle speed of 1600 r.p.m, a feed rate of 3000 and a plunge rate of 800. I specified the cutting depth parameters to 0 mm and 'Cut Depth' to 15.3 mm adding an extra 0.2 mm for the cutting. |
| 6. | 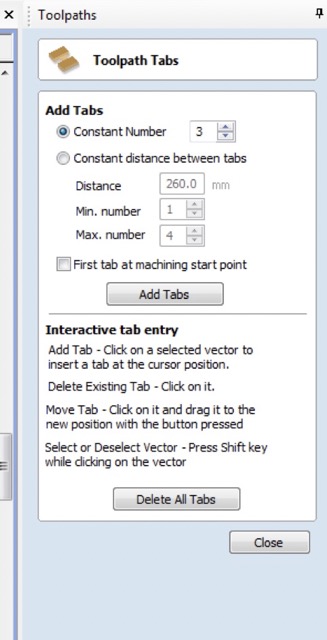 |
Then I created some tooltabs so that the pieces while being cut wouldn´t move |
| 7. |  |
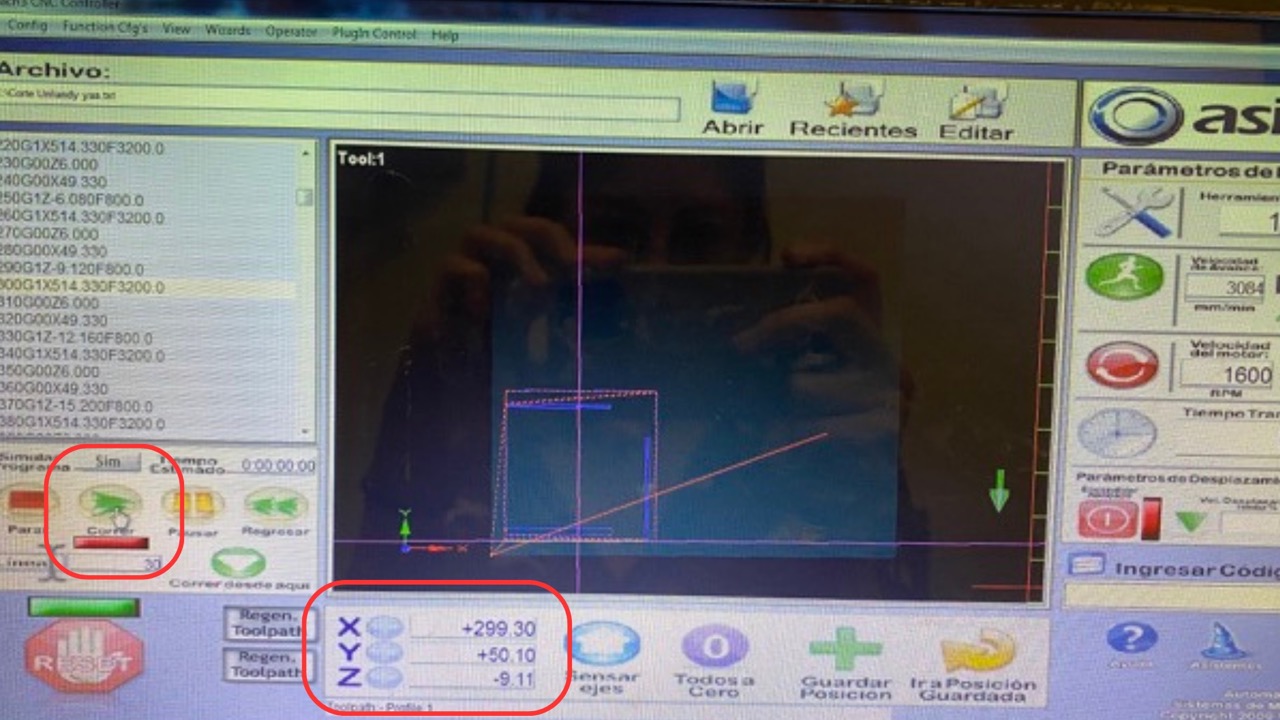
I selected 6 passes, for cutting and in ‘Machine Vectors’ choose 'Outside' cut to maintain the specified dimensions and finally, I prewieved the toolpath to make sure it was good and exported the file making sure the format matched the cnc cutting machine software |
Milling tool I chose the milling tool from the options available at the university. The choices included mills of half an inch, a quarter of an inch, and an eighth of an inch. Since I didn't need much detail, the eighth of an inch mill wasn't suitable. The half-inch mill wasted too much material, and since I had time, I opted for the quarter-inch mill with 3 flutes for a faster cut
Cutting in the CNC machine
- Turning on the machine
- Turning on the computer that controls the machine
- Opening "Mach3 CNC controller software"
- importing the desired file
- Nailing the material to the cutting bed
- Setting the y,x and z origin by using the arrows on the computer´s keyboard
- Once the nozzle is set into the desired origin you need to click on the X,Y,Z buttons and finally press start
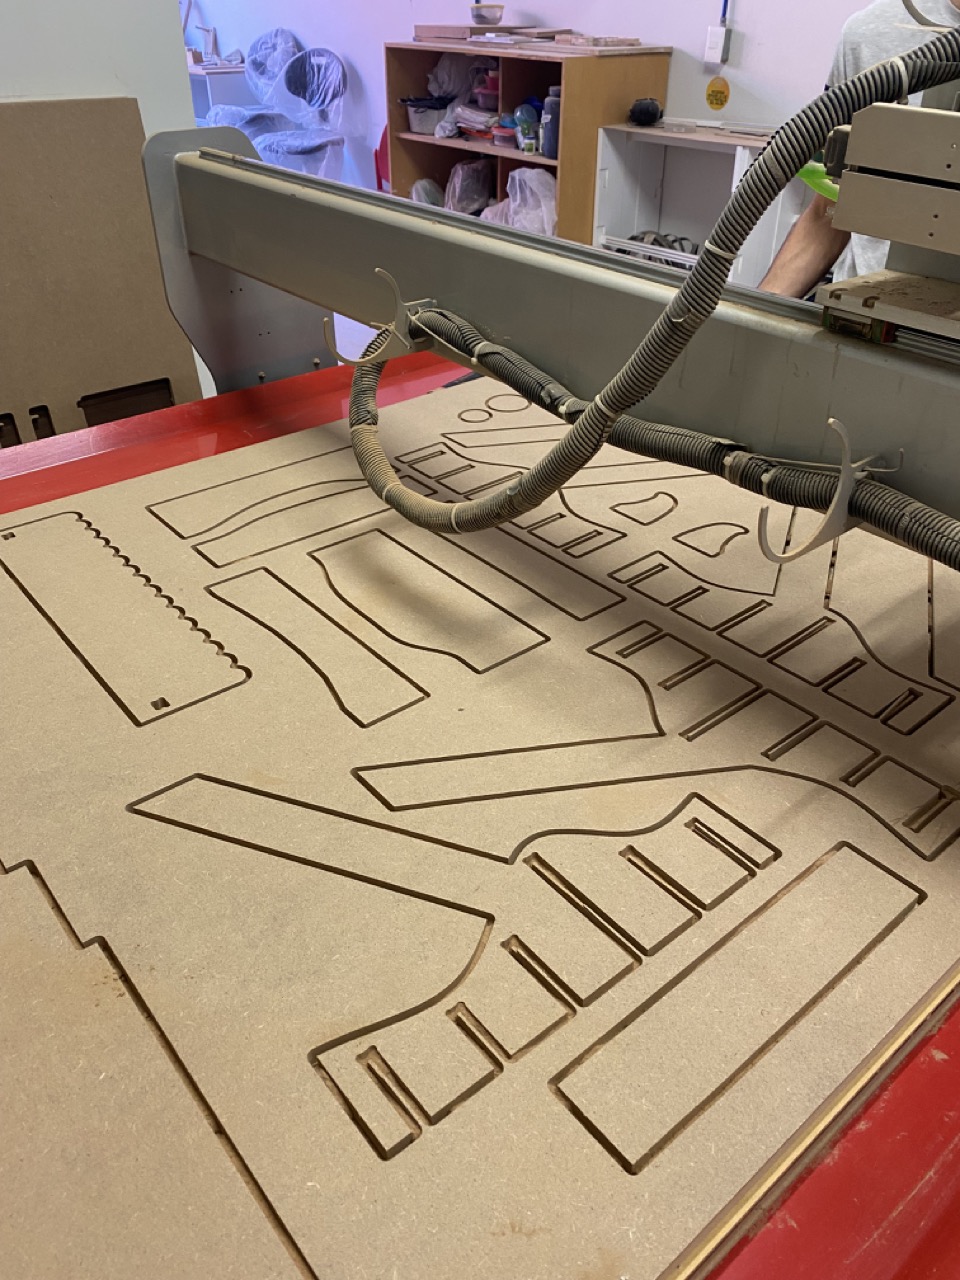
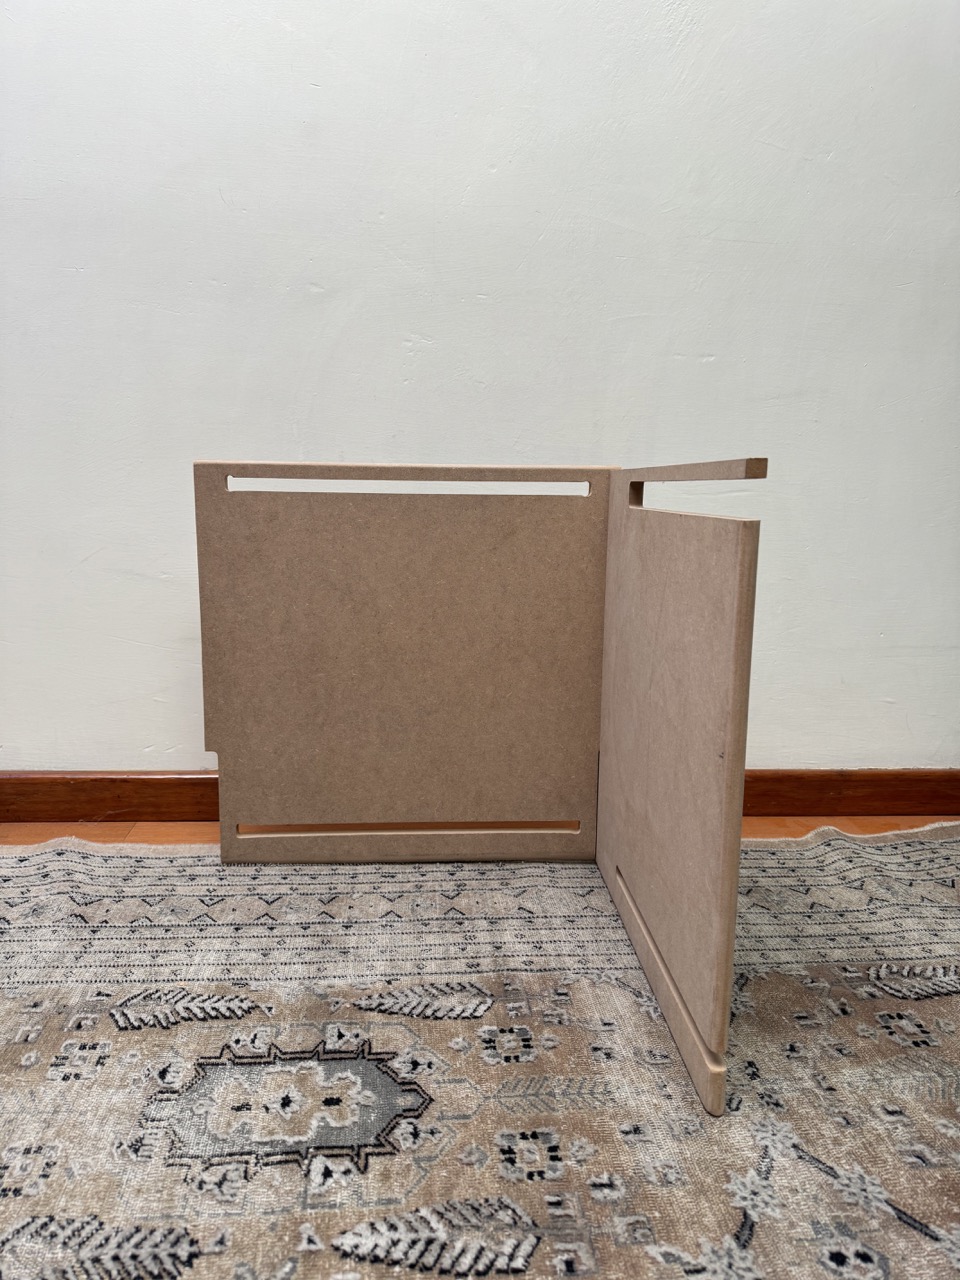
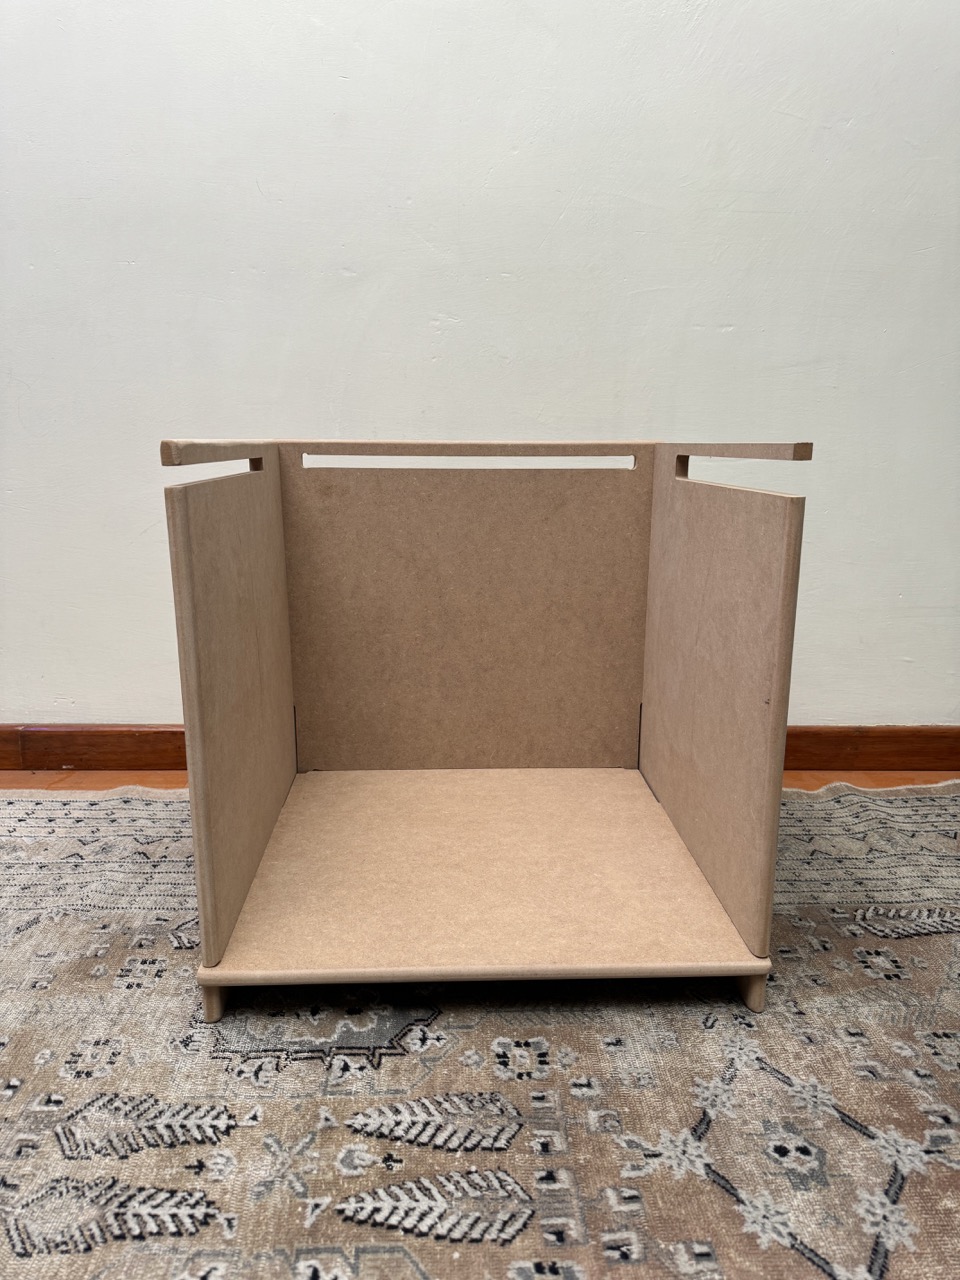
- When I first cut I totally forgot to copy and past the side piece since it is the same shape for both sides so I had to ask a friend to cut the missing piece in his document.
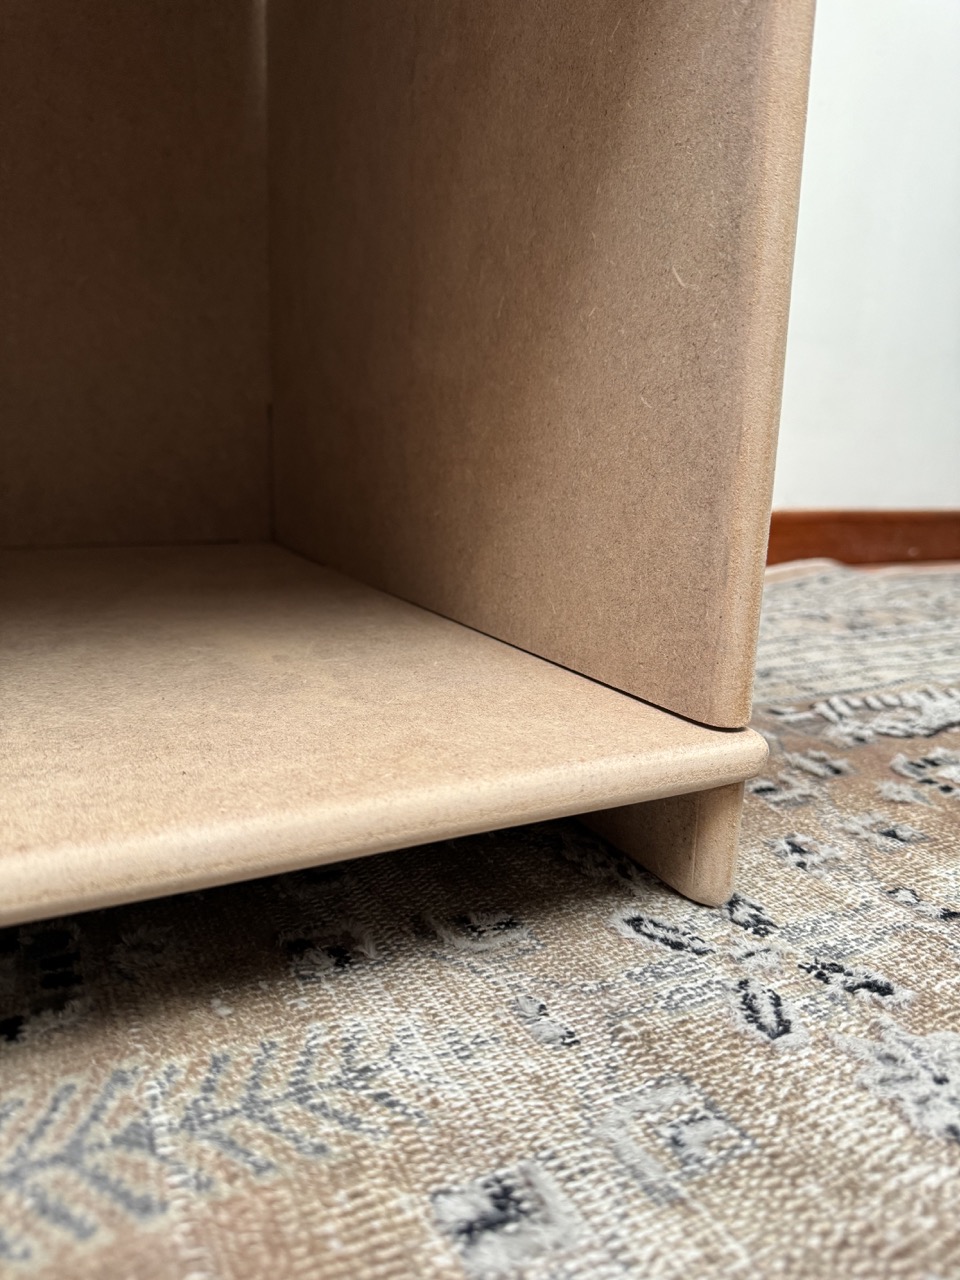
- I didn´t leave a margin for the joints so the space was narrow and I had to sand a little some parts so that the pieces would fit perfectly
- If I had to do it all over again I would leave a margin for the joints to make the assemble way easier and I woul´ve liked to paint the shelf to make it look better but I didn´t have time
2
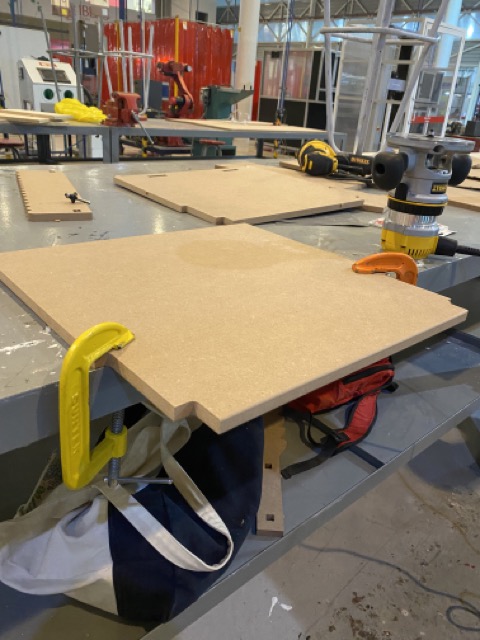
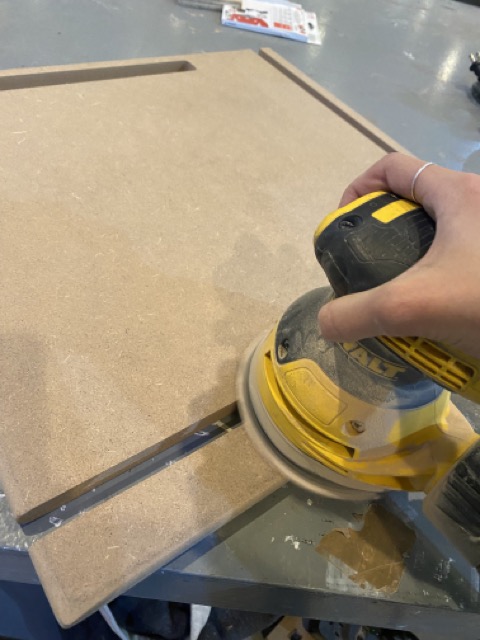
Sanding
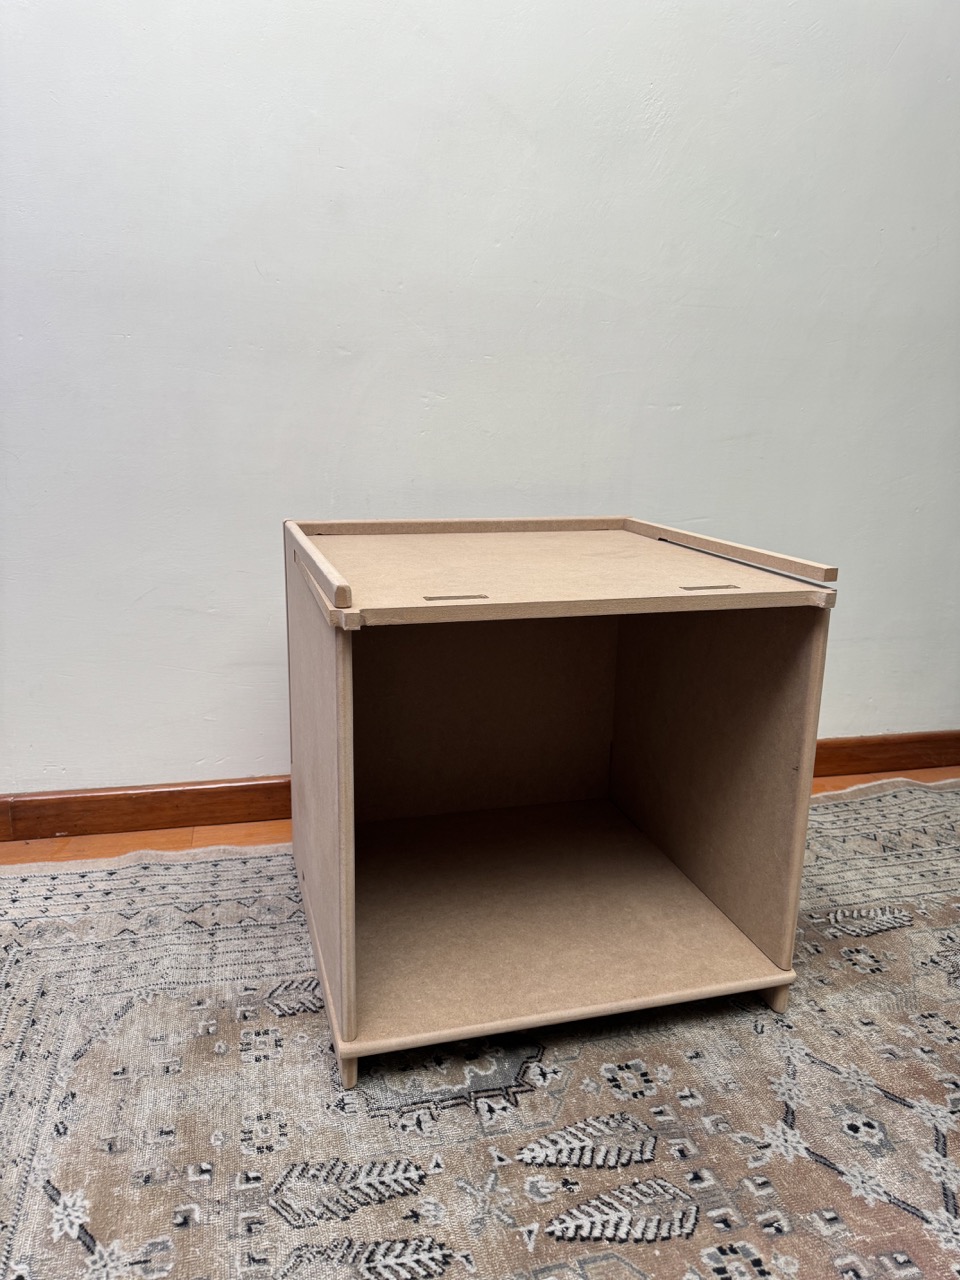
After cutting with the cnc router I decided to sand all the pieces to give them a smoother finished and also to round the edges for a more kid friendly design. For that I used a sander and a fixed-based wood router.
CNC Yeti book shelf!
Challenges and improvements
WHAT I LEARNED FROM THIS ASSIGMENT
Reflecting on this assignment, I found it a bit challenging to design something that has to fit perfectly together, especially with a material of such thickness. I never realized how much material the bit removes when cutting. I learned the importance of adding tabs, something I hadn't done before, but it ensures that the material doesn’t fly away during the process. I was pleased with the result of this assignment. Even though I don’t quite like the finish that a CNC machine leaves on the material, perhaps I just need to delve deeper into learning more about CNC cutting to improve the results.