Principles and practices
Project management
please don't spoil anything

Agreement PRACTICES AND PRINCIPLES Project Management Documentation tips
Assignment
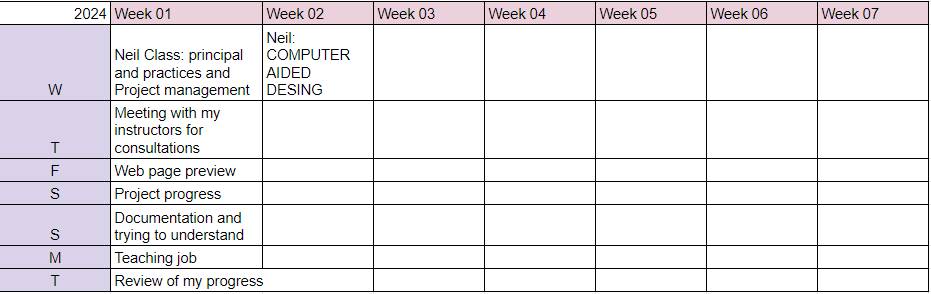
Practices and Principles (1/2): plan and sketch a potential final projectProject Management (2/2):
- Work through a git tutorial.
- Build a personal website describing you and your final project. Refer to the lecture material for examples.
- Upload parts 1 and 2, to the class archive.
- Sign and upload the Student Agreement
Practices and Principles (1/2)
thinking about my project, I have two ideas .
Idea one
 Copoazú (Theobroma grandiflorum) grows naturally in humid places near rivers and high forests in the Amazon.
It is based on the drying of the Copoazú seed in the jungle of Peru in Madre de Dios where not everyone has tools to measure the humidity and temperature of the cocoa or copoazú seeds. Large companies have equipment for cocoa but not They have tools to measure the humidity of the copoazú seed, which is one of the very popular fruits there in Madre de Dios, and what they usually do is use the same tool that they use for cocoa for the copoazú, which they do a little research and talk about. With the same people who work and research there is a difference in the result of the production to improve the seeds and drying, they tell me that there are variants when doing it directly in the sun and that they have to do the movements of the seeds manually, so it would be interesting if they could have a device that can measure the humidity and temperature of the cupoazú and so that they could be clearer about the quality of the cupoazú for sale.
Copoazú (Theobroma grandiflorum) grows naturally in humid places near rivers and high forests in the Amazon.
It is based on the drying of the Copoazú seed in the jungle of Peru in Madre de Dios where not everyone has tools to measure the humidity and temperature of the cocoa or copoazú seeds. Large companies have equipment for cocoa but not They have tools to measure the humidity of the copoazú seed, which is one of the very popular fruits there in Madre de Dios, and what they usually do is use the same tool that they use for cocoa for the copoazú, which they do a little research and talk about. With the same people who work and research there is a difference in the result of the production to improve the seeds and drying, they tell me that there are variants when doing it directly in the sun and that they have to do the movements of the seeds manually, so it would be interesting if they could have a device that can measure the humidity and temperature of the cupoazú and so that they could be clearer about the quality of the cupoazú for sale.
- Temperature sensor
- Heating plates
- Vibrator motor
- Fan
- Solar panel
- Peltier plate
Idea two
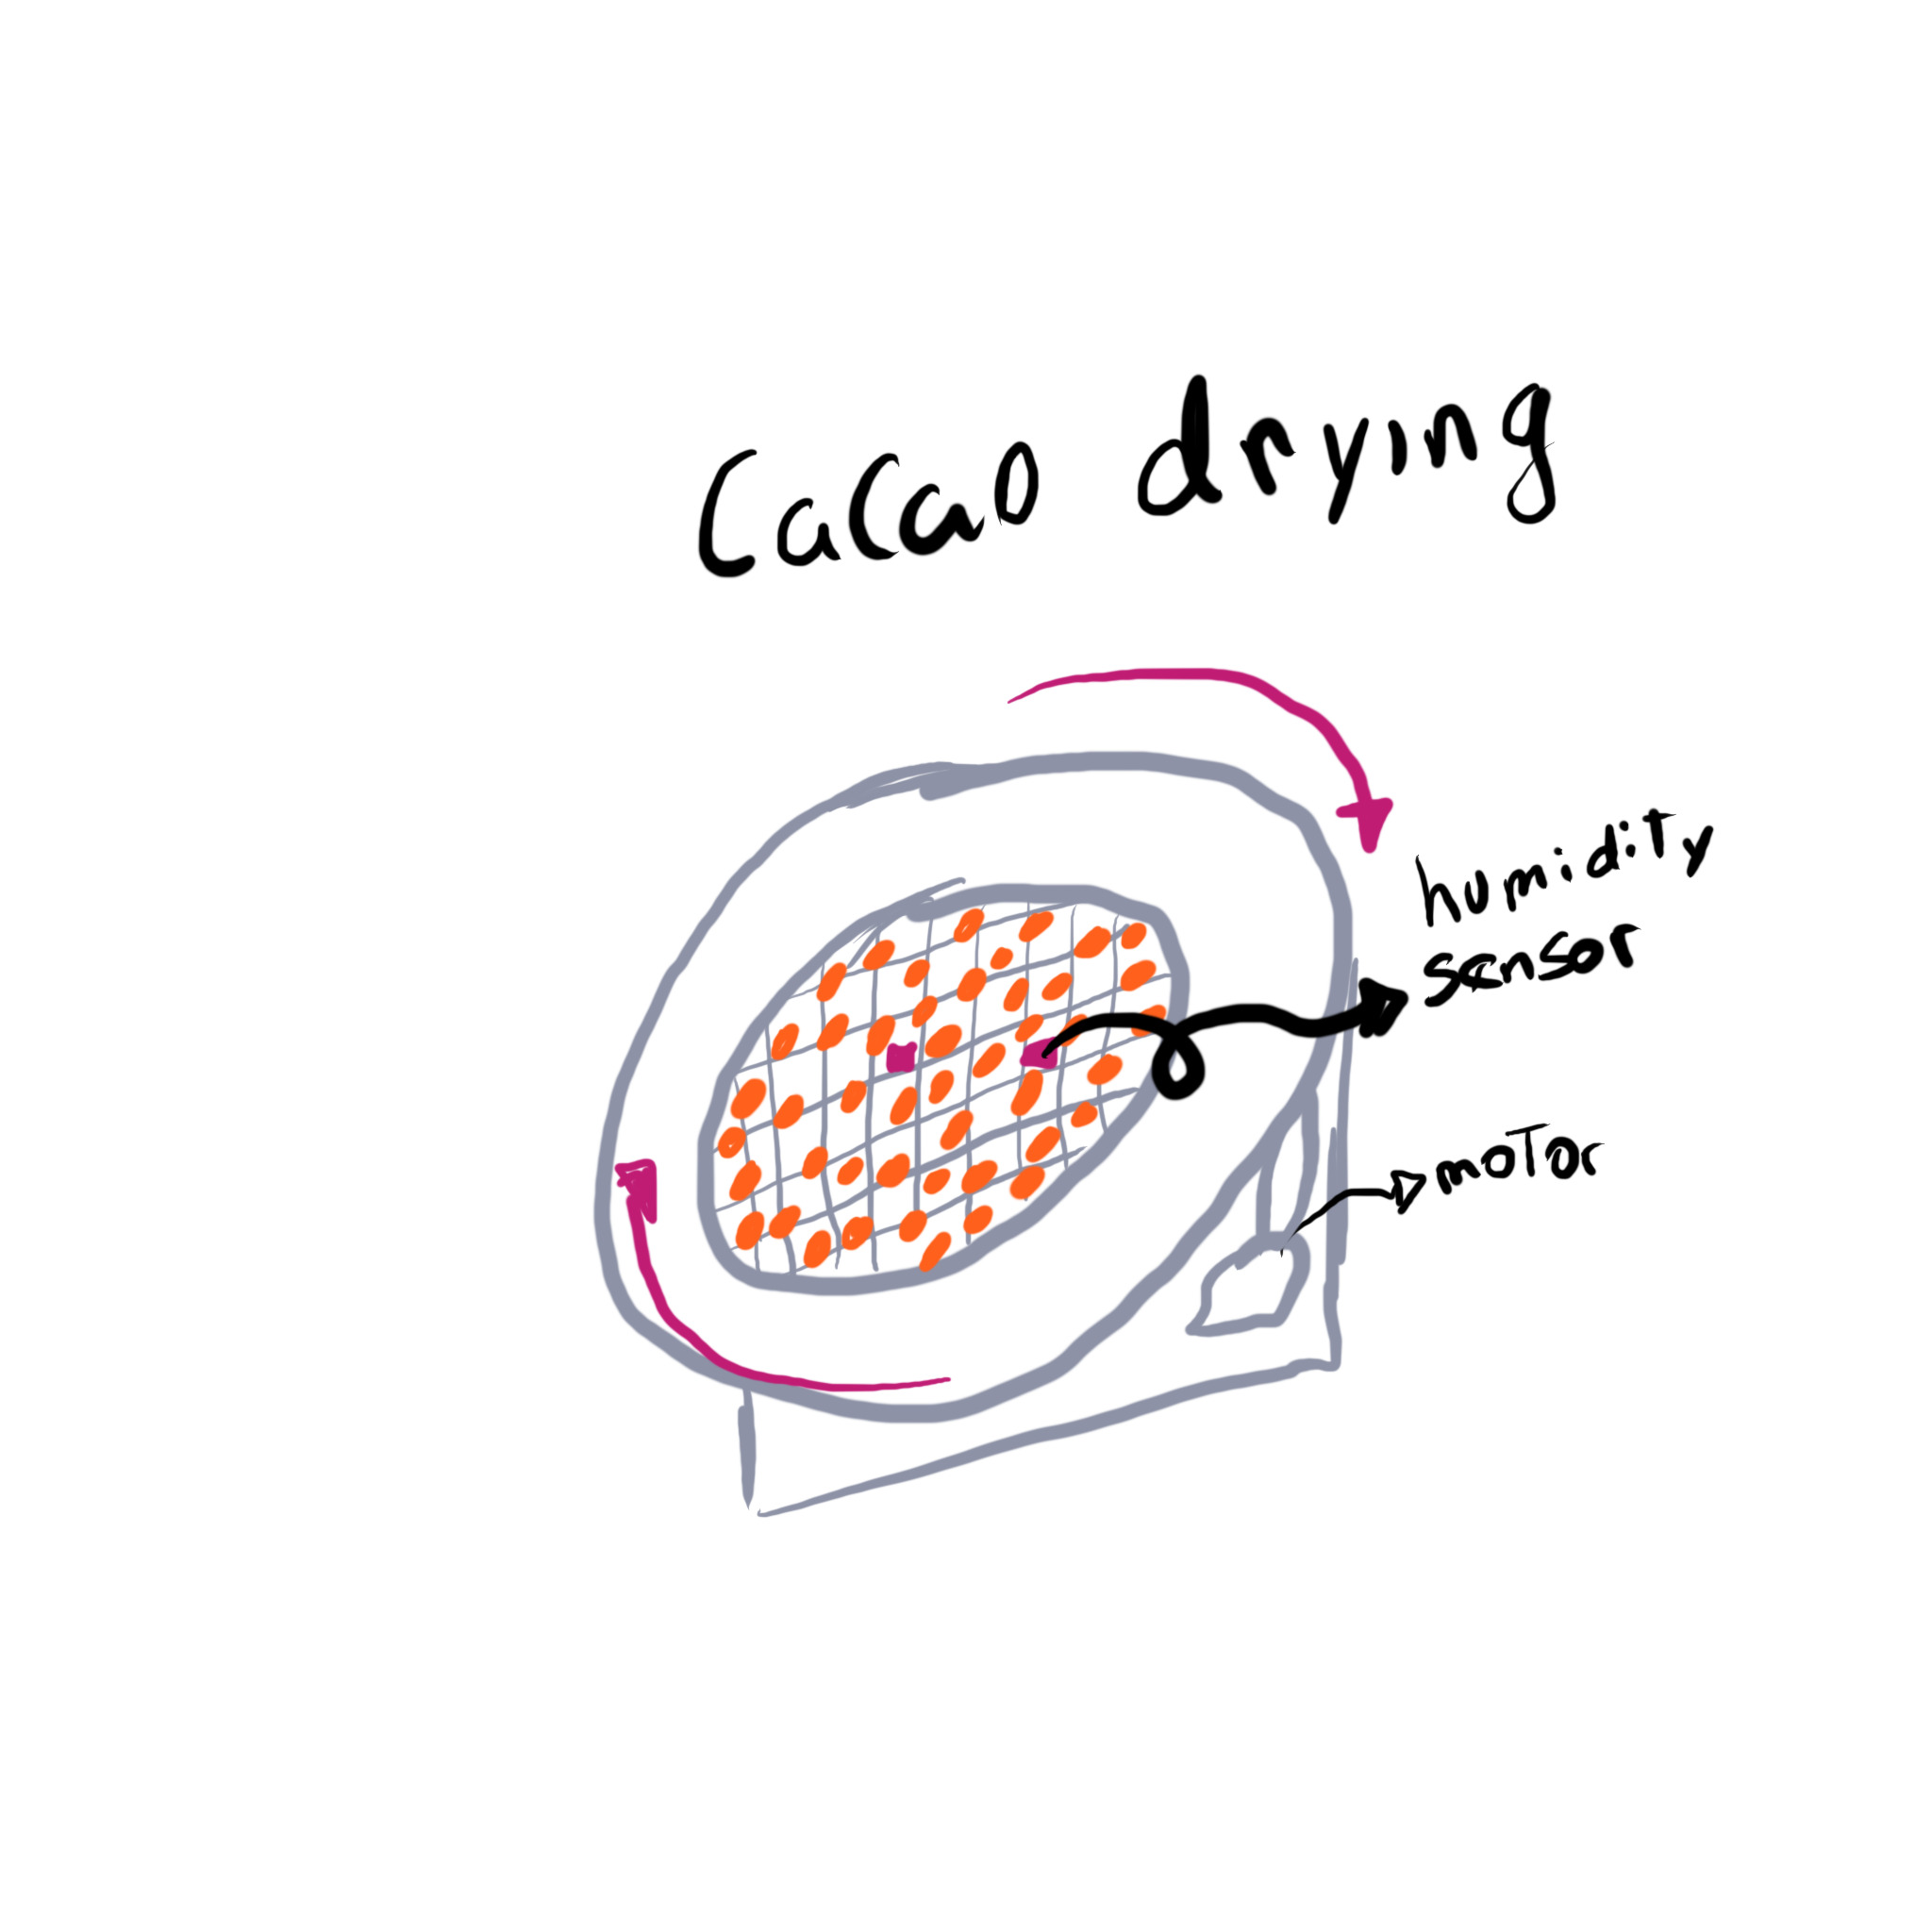 The farmers of Madre de Dios place the seeds on the ground and expose them to the sun at certain hours to dry them for 48 hours. The problem they have is the drying of the copoazú seeds or the pulp. They need it to be rotary or vibrating to so that all the seeds dry at the same time and then I was thinking of a module that rotates with a motor and also has a solar panel that powers the device to see the revolutions the rotation how long it can be depending on the light of the sun too, for example at 12 noon the sun is not the same as at 4pm or 10am so with a light sensor you can change the direction of the solar panel and the drawer or the entire seed table and it can be done the most optimal drying because that is one of the problems that I have also seen in that area, not in agroforestry, so it could be another interesting project, it is in process and I will continue with the investigations.
Project Management (2/2)

- You have to make a website and describe how you did it.
- Introduce yourself
- Document the steps for uploading files to archive
- Push the website to the class archive
- Sign and place the student agreement on your website
Setting up a Connection to Gitlab
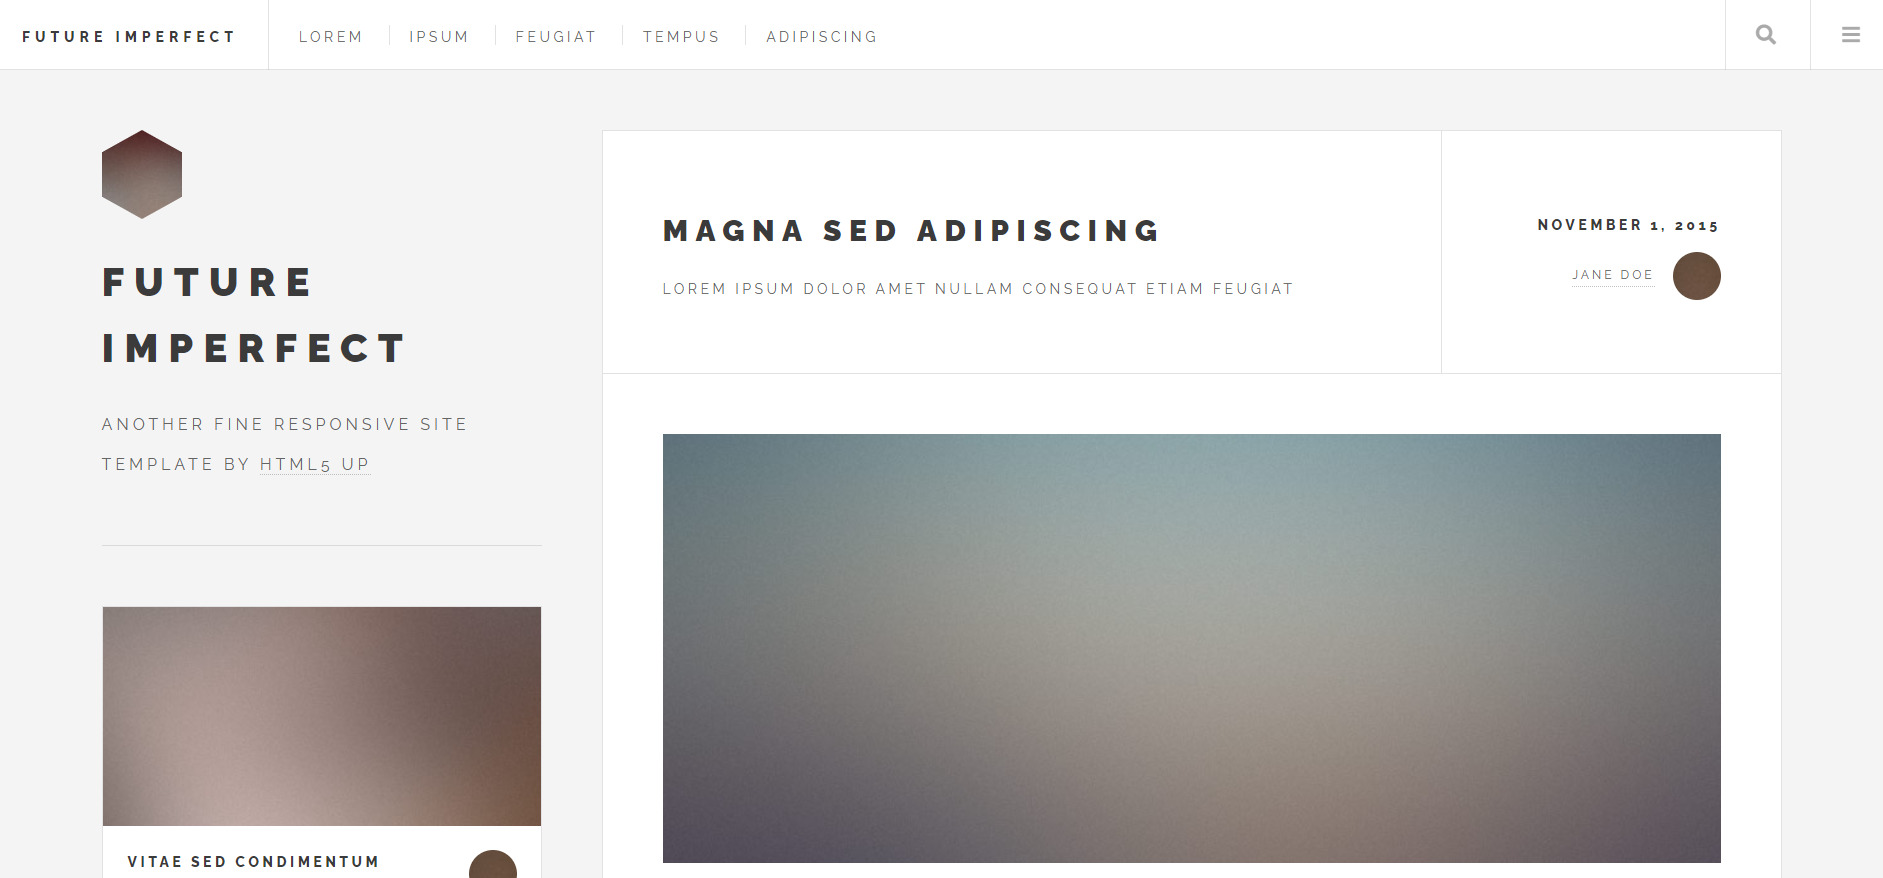
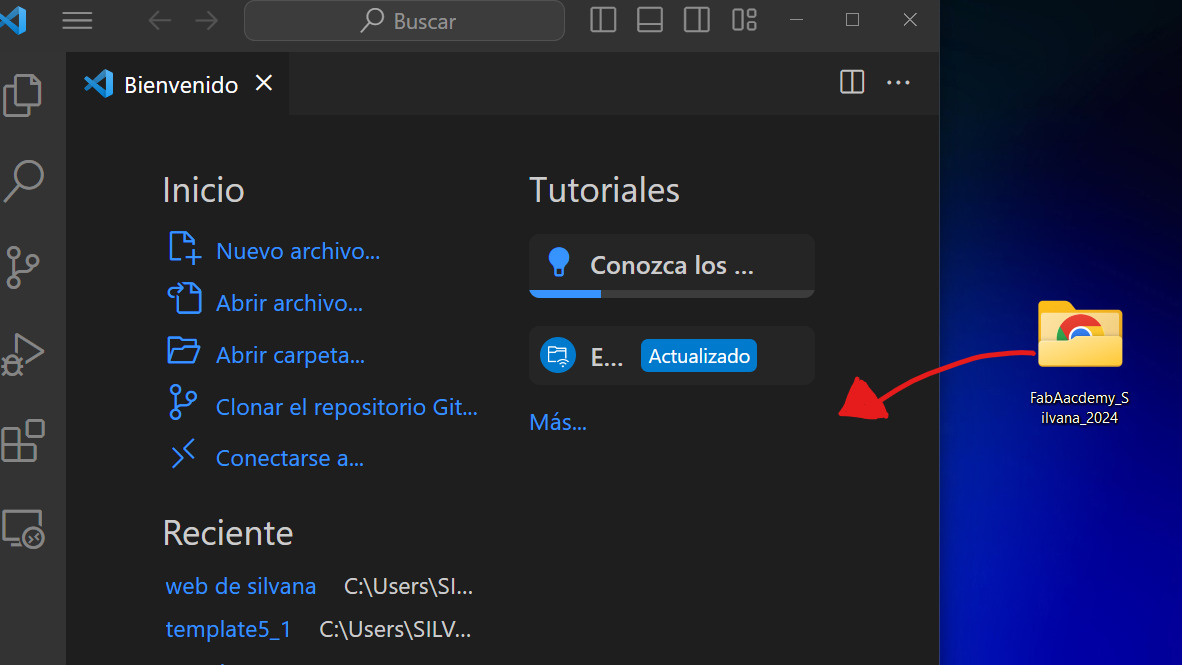
Here we start with the complicated part for me, but after having repeated the process twice, after supporting my colleagues so that they can do it too, I know how to do it without watching the video tutorial that Hayashi did to help us do it alone. The first thing I did, and the truth is I am very excited to start the Fab Academy was to look for a HTML5 based template that fits the course and that I like, after months of searching and seeing what template could work for me, I found this one, I liked it a lot and I started to study it and understand what elements and features it had to make it easier to edit to my liking. With the chosen template I started to study more GitLab, I knew it existed, I knew what it was for but I had not used it and now is my moment, in search of tutorials I found this one that could work for you to understand what it is,it is in Spanish , and this one is in English. now let's start with the steps to make your website be seen all over the world.
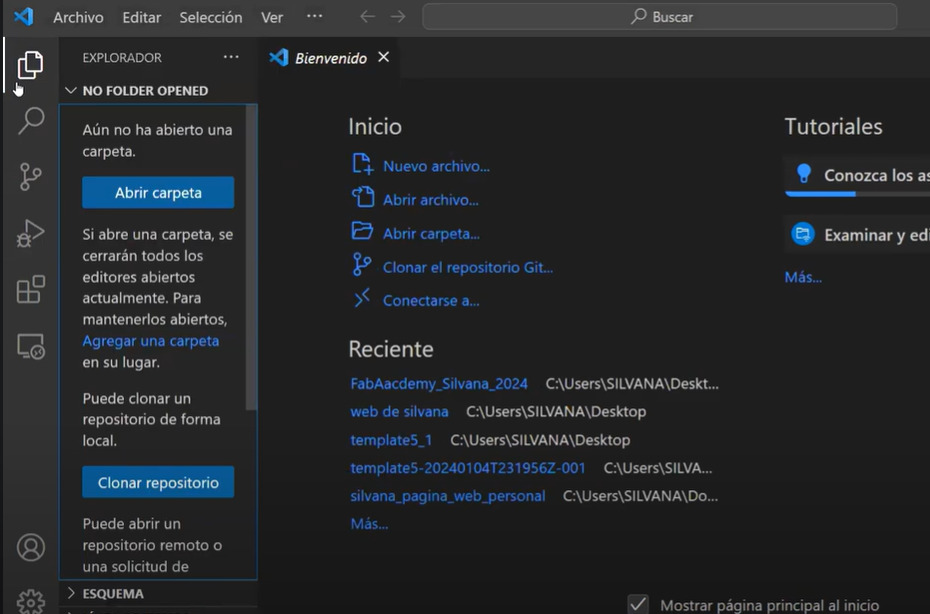
Clonar VISUAL GITLAB al PC
Getting started with Git Commands
Hayashi y Silvana Tutorial
First step
Having a Template ready will make things easier for you in the process of registering your activities.
Setting up a Connection to Gitlab
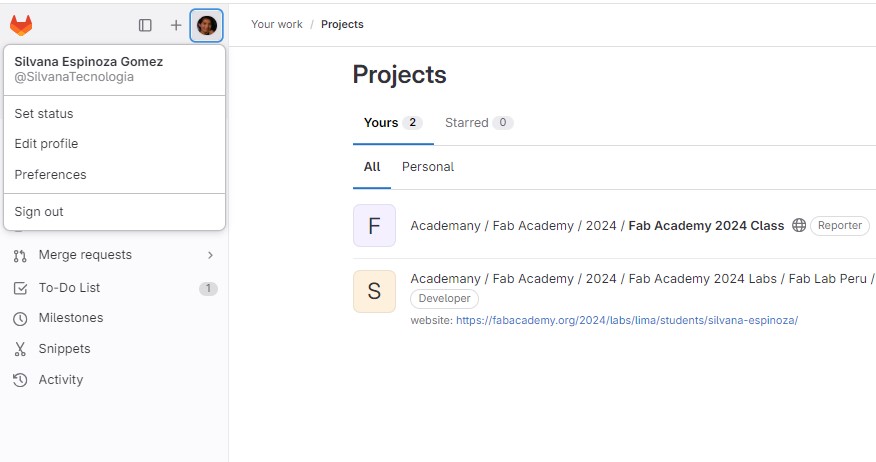
The Fab Academy provides each student with our own Project/Repository in GitLab in which they must document their entire process. Mine is this one here.  After connecting my visual studio with the git lab, everything seems easy, until now, apparently I can upload it as many times as necessary just by giving it a name each time I upload it, recommendations that they gave me and obviously I will apply.
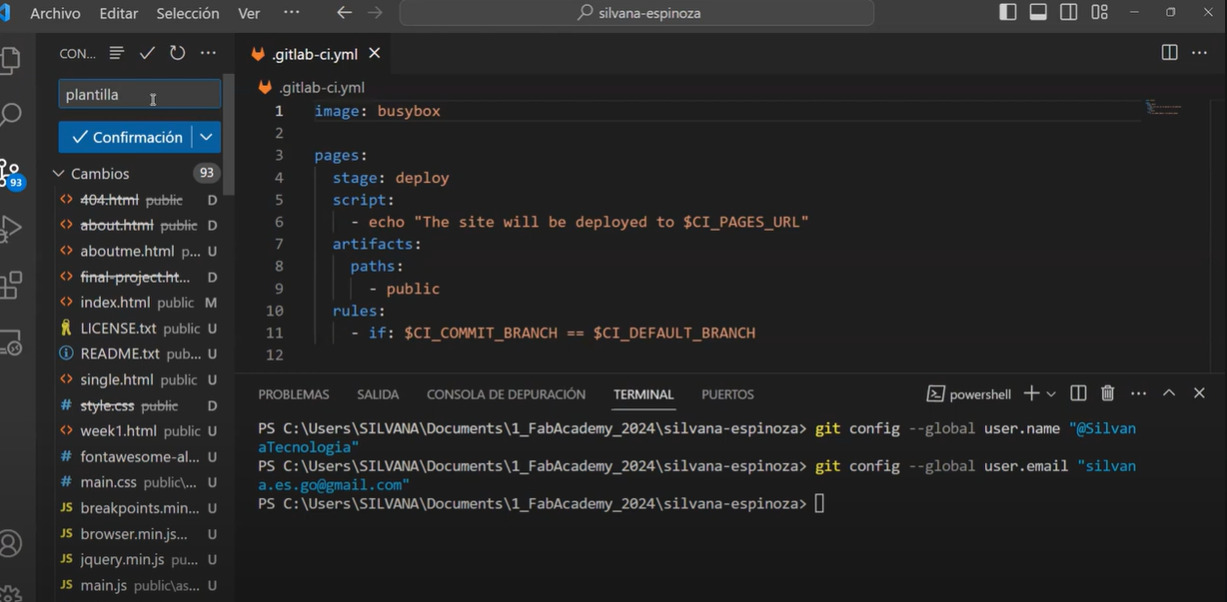
everything I saved and my first confirmation is saved locally on my laptop. In order to get these changes back into GitLab, I need to push them. On the left there are icons related to the connection and updates of folders that I am editing, such as the branch I am currently in (master), which is an important branch and if you delete it, everything I did is deleted,
I must have a lot careful. Now that I have it online and the ones I have locally I can continue. We're going to upload it again.
After connecting my visual studio with the git lab, everything seems easy, until now, apparently I can upload it as many times as necessary just by giving it a name each time I upload it, recommendations that they gave me and obviously I will apply.
everything I saved and my first confirmation is saved locally on my laptop. In order to get these changes back into GitLab, I need to push them. On the left there are icons related to the connection and updates of folders that I am editing, such as the branch I am currently in (master), which is an important branch and if you delete it, everything I did is deleted,
I must have a lot careful. Now that I have it online and the ones I have locally I can continue. We're going to upload it again.
Second step
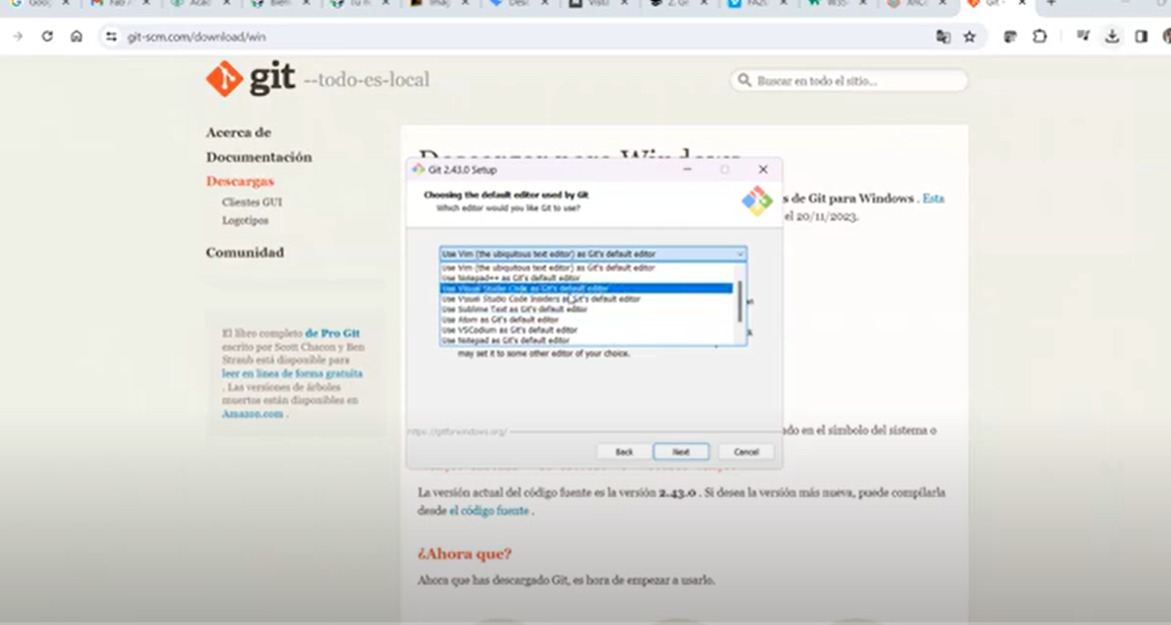
The second thing I do is download Git.
3 important things to keep in mind while we are downloading Gitbash
- Your GITLAB user
- You check your email that we have linked to GITLAB
- The location of your folder, where your web page will be located, in my case I used HTML.
We make the project clone. Using the route defined by your Project Manager.
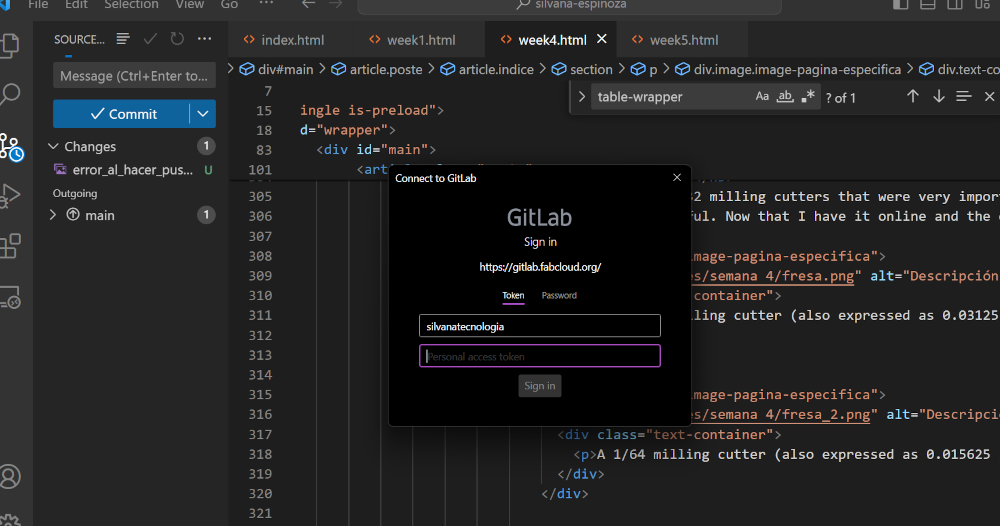
They will ask you for username and password. Remember with the email that you registered and the password, in my case I had to recover my password because I couldn't log in and I got an error, there I leave you an image of what I got, and when I recover my password and everything is correct with my user was able to make the connection.
They are the ones used in gitlab. In addition to the initial project configuration. These are all the Fab Academy folders and I replaced those with my folders. Ready! enjoy with our GitLab integration.Official git guide.
File Management Error: Saving my web page directly to the desktop was a mistake. It's crucial to store project files in more secure locations, such as the documents folder. This oversight posed a risk of potential data loss, as the desktop is more susceptible to accidental deletions or system failures.
Consider
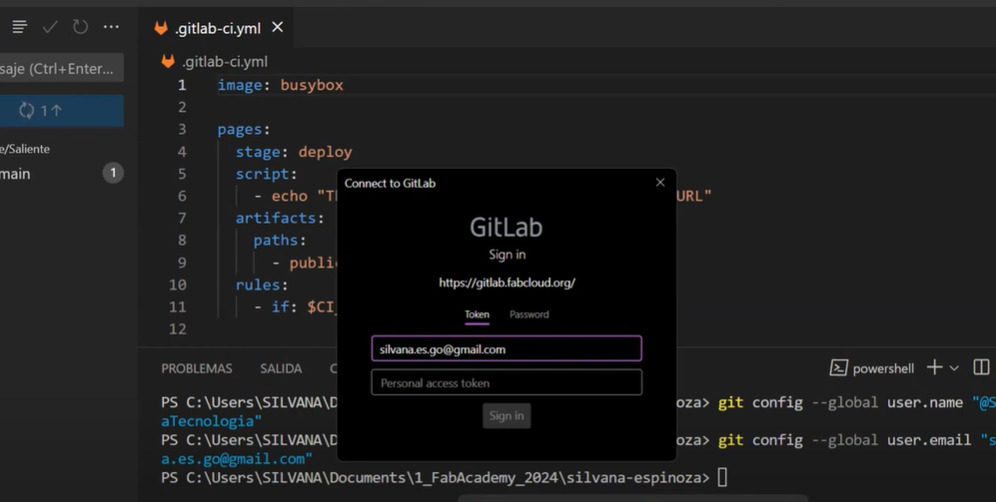
I had problems uploading my website to the Git lab, first I didn't remember my password, I wrote something wrong that didn't work, after recovering the account I was able to make the connection, take into account your username and then the email that was registered. Use token to enter my gitlab.
I recommend that you can place all your images in jpeg so that your web page does not weigh as you could go to the black list of the 10 web pages that weigh more than 10 MB in the first week.
Terminal
	git config --global user.name ""
	git config --global user.email ""
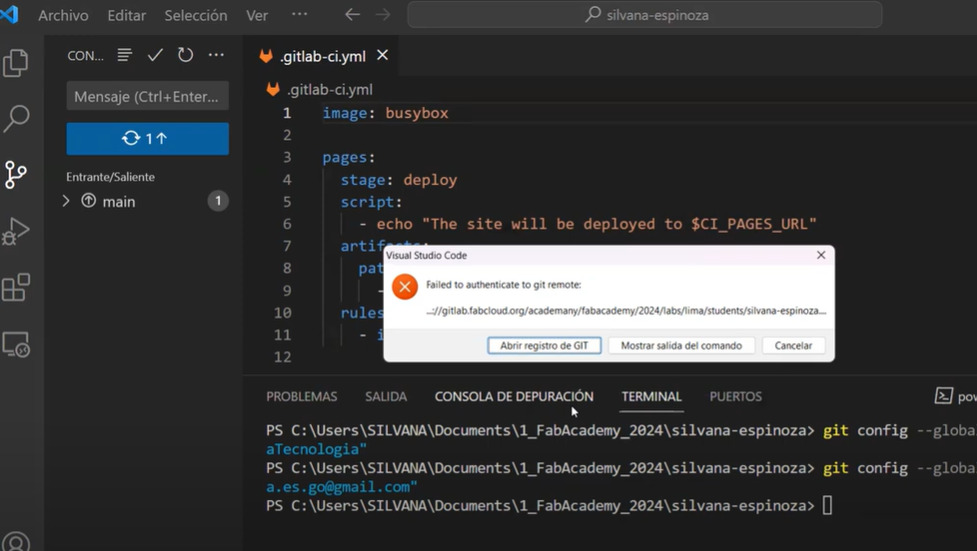
MORE problems

I was editing my website in visual studio, when I decided to upload everything to GitLab, I did comit and then push and I could not because it said that my account was not registered. I almost fainted.
There was a problem, I did not remember my password, the good thing is that you can recover it quickly, and that's it!
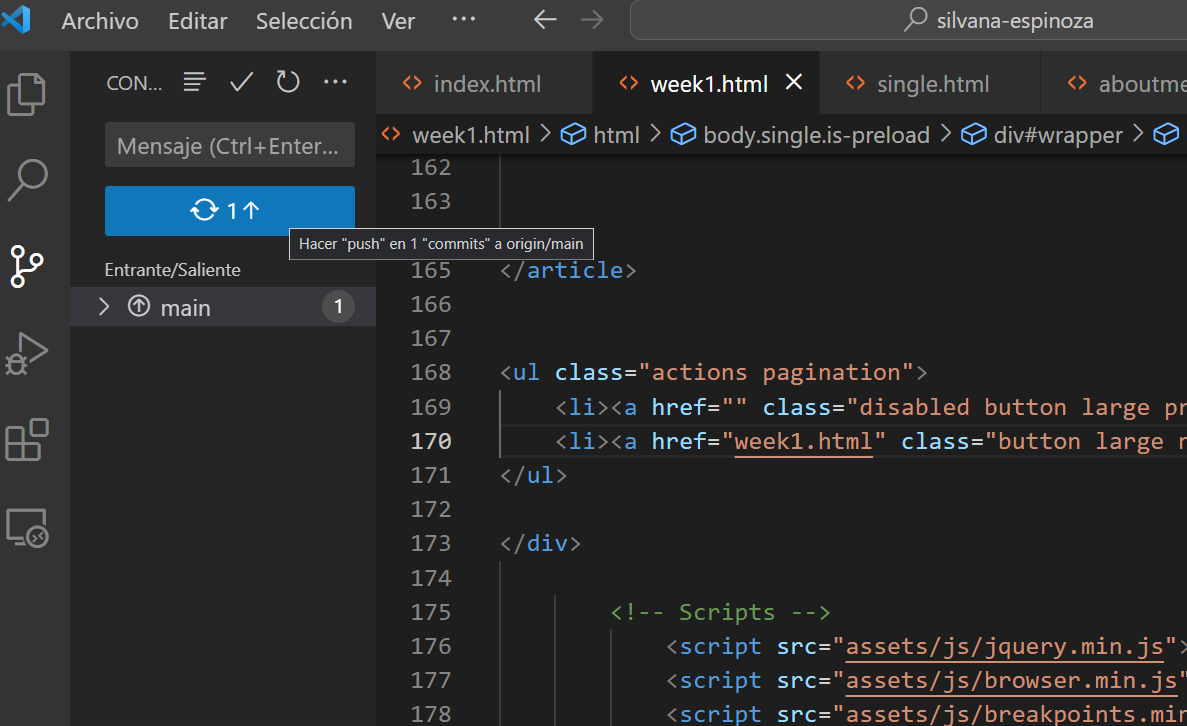
here we can see that I did push and everything okey
Ready now to edit my website and hope that everything goes well.
Let us begin!
In the first week, it's important to remember to compress your images for optimal website performance. Wishing you all the best moving forward!
Make sure your folder does not weigh more than 10 MB when uploading your page to Git Lab.
- Clear and consistent organization: Maintain a clear and consistent documentation structure so that you can easily find the information you need in the future. You can organize your documentation into sections such as placing initial buttons that direct you to each important section within your week.
- Be sure to record your weekly progress in detail. Describe what activities you did, what you learned, and how you progressed toward your goals. This will help you track your progress and identify areas where you may need more work.
- Images and videos are a great way to visualize your work and communicate your ideas effectively. Accompany your descriptions with photographs of your projects at different stages of development, as well as videos showing how they work.
- Spend time reflecting on your experiences, both the successes and challenges you faced during the process. What worked well? What would you change if you were to start over? These reflections will help you learn from your experiences and improve in the future.
- If you are using resources from others at Academy or from the Internet, such as tutorials, tools, or reference materials, be sure to include links to them in your documentation. This can be useful to you and others reviewing your work in the future.
- Don't be afraid to share your mistakes and failures as well as your accomplishments. Honesty and transparency in your documentation are important to demonstrate your learning and development process.
- Ask your peers, mentors or people in your network to review your documentation and provide you with feedback. This will help you identify areas for improvement and gain different perspectives on your work.
- As you progress with your project, be sure to keep your documentation up to date with the latest developments and learnings. This will ensure that you have an accurate and complete record of your work.
Reflections
What went wrong
- Challenges with Image Uploads: Encountered difficulties when uploading 1MB images due to their size. It's essential to consider the overall weight of our files and images to ensure smooth uploading processes.
- Time Management: Struggled with organizing time effectively to accomplish all tasks planned for the week. Found myself preoccupied with project ideation and neglected updating my website accordingly.
What went well
- Improved Understanding of HTML and CSS: Made significant progress in grasping the concepts of HTML and CSS languages, allowing for more efficient editing of website styles to align with personal preferences.
- Successful Document Uploads to Git: Successfully pushed and uploaded documents to Git lab.