Principles and Practices, Project Management

1. Principles and Practices:

2. Project Management

  • Work through a git tutorial.
  • Build a personal website describing you and your final project. Refer to the lecture material for examples.
  • Upload parts 1 and 2, to the class archive.Work through a git tutorial.
Texto Justificado

1. Principles and Practices

Within the framework of my participation in the prestigious Fabacademy directed by the scientific founder Neil Gershenfeld and expert professional instructors, I propose to address a critical problem that affects the district of Pillcomarca, located in the city of Huánuco. The central issue is the quality of the water supply, which presents notable impurities when collected from the tap and used in daily activities, especially when boiled for direct consumption.

The presence of impurities, identified by white particles and sediment in the pots, raises not only health concerns but also challenges in terms of quality of life for the residents of Pillcomarca - Huánuco. This often overlooked issue has a direct impact on community well-being.
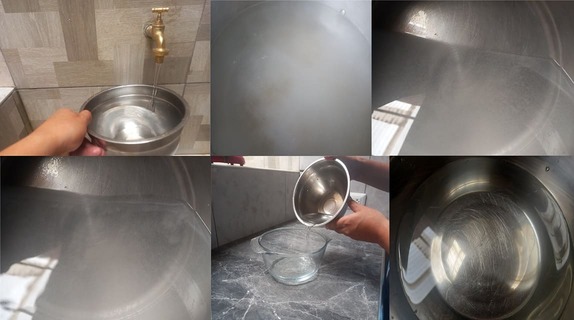
Imagen pic193
The lack of an adequate filtration system in the home contributes to the persistence of this problem. Consequently, I propose the development of a project that comprehensively addresses the improvement of water supply in homes. This project will seek to design, implement and test an accessible and effective filtration system that can be adopted by me and then transferred to the inhabitants of the city.
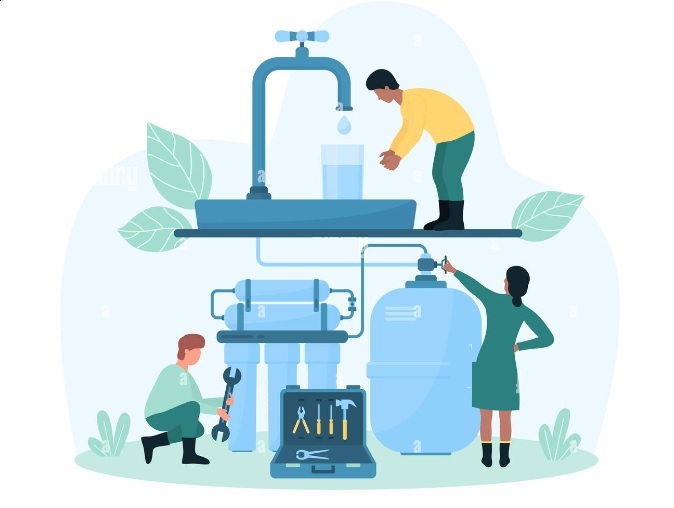

Imagen pic193


Imagen pic207

By facing this challenge, I not only aspire to improve water quality in Pillcomarcawater quality in Pillcomarca, but also to empower the community with a practical and sustainable solution. Participation in Fabacademy will provide the tools and knowledge necessary to carry out this project effectively, leveraging innovation and technology for the benefit of the community.

In summary, the problem that I will address is a challenge that I face with great joy and desire to contribute to my city. With this project I want to provide families with quality water free of impurities and my goal is to design and implement a domestic filtration system. that improves the quality of water and, therefore, the quality of life of the residents of this city, the process of which I mention below.

WATER TREATMENT PROJECT

The management of this process will be in charge of a level sensor that will automatically control the opening and closing of the tap, ensuring an effective sedimentation cycle. In addition, pH and water quality sensors will be integrated to evaluate the purity and chemical characteristics of the liquid.

Imagen pic193 Subsequently, through a pumping system, the treated water will be directed to a second tank, specifically intended for home consumption. This tank will also be equipped with a level sensor and a water quality sensor to ensure the safety and drinkability of the supply.


Imagen pic193


Imagen pic207
Real-time data collection will be possible thanks to a central electronic circuit, which will be connected via Wi-Fi. The data collected by the level, quality and pH sensors will be continuously transmitted to a mobile device, allowing constant monitoring and facilitating informed decision-making about water consumption at home.
This holistic approach will not only provide a reliable supply of clean water, but will also offer an intuitive and accessible user interface to monitor and control parameters in real time, providing a complete and technologically advanced solution for efficient water resource management in the domestic environment.


TASKS TO BE DONE


Project Management

GIT tutorial to upload the page to GITLAB

  • Plan and sketch a potential Tutorial.It is essential to carry out the following steps in order to clone your page and upload it from your local folder to GITLAB.

STEPS 1:

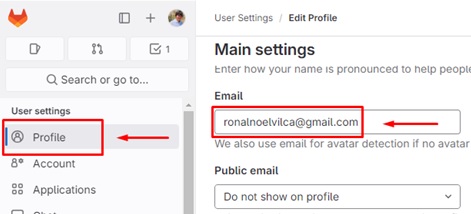
In your GitLab account, locate your username and email. Write them down in a notepad, notebook, or whatever medium you prefer, as you will need them to be able to clone your local folder with GitLab through Visual Studio Code. |

STEP 2:

Download the GITSCM software from the Google Chrome browser. This extension will be very useful to ensure correct execution of the cloning process.

To download the file, go to the 'Click here to Download' option and then click 'Download for Windows', as indicated in Figure 3.

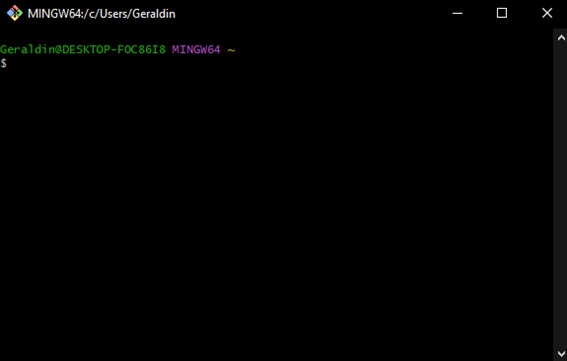
  • The next step is to installGit Bash. After the installation is complete, close any windows that have been run. If the installation was successful, a window will be displayed as shown in Figure 4.

STEP 3:

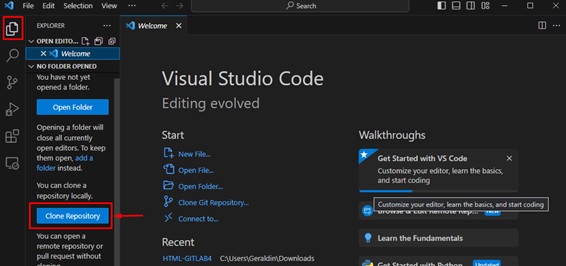
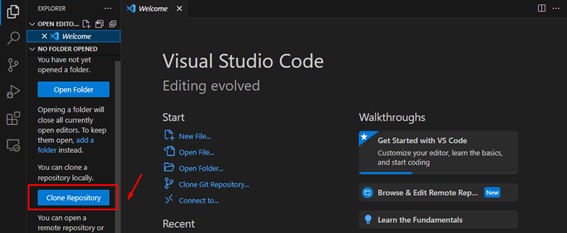
Once you have successfully installed the extension in step 2, open your Visual Studio Code. Go to the toolbar called 'EXPLORER'. If the installation was successful, you will see the 'Clone Repository' option, as shown in Figure 5. If it appears, click on 'Clone Repository'. This will take you to your local drive, where you can select the desired folder to clone your project from GitLab, making sure that you have already created a folder on your C or D drive. After selecting the folder, proceed as indicated in Figure 6.

STEP 4:

It is essential to clone your folder. To do this, access your GitLab and click on 'CODE', as shown in figure 7. A list will be displayed, as indicated in figure 8; copy the URL that appears under the 'Clone with HTTPS' option.

STEP 5:

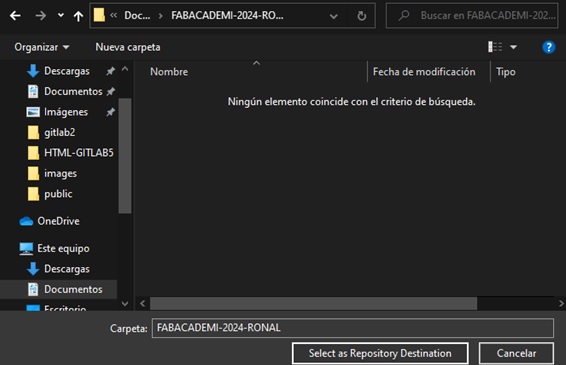
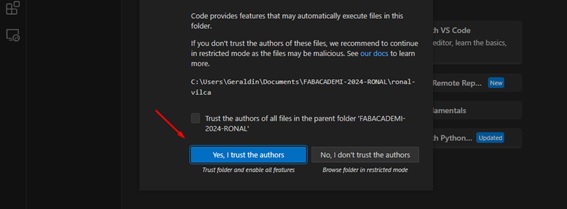
Once you have copied the URL, click 'Clone Repository' and paste the URL into the browser, as shown in Figures 9 and 10. Then, navigate to the local folder you created, as shown in Figure 11 Then a message will appear, as shown in Figure 12, indicating that cloning has been completed. After that, a window will open; click on 'OPEN', according to figure 13, and then on 'YES...', according to figure 14.


STEP 6:

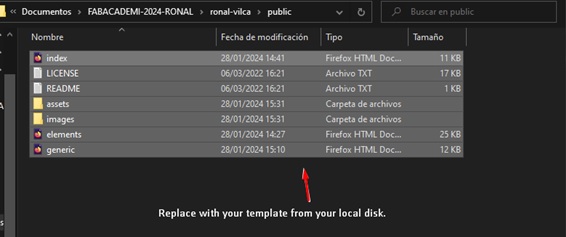
This step is very important: delete all the files in the cloned folder and then paste the template on which you worked your web page into your local folder, as shown in Figure 15.

STEP 7:

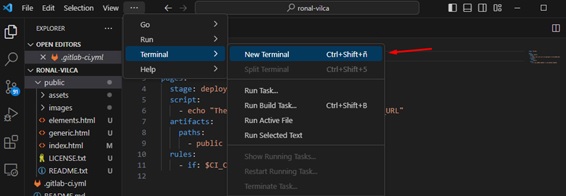
Go back to Visual Studio Code and go to the top toolbar. Click on the three dots located on the left side and choose the "Terminal" - "New Terminal" option.

While in the terminal, enter the following commands. Remember you copied your GitLab account username and email? These must be placed in the commands presented below:
git config - -global user.name “…”
git config - -global user.email “…”

Next, access the folder from the toolbar on the left side and choose 'Source Control'. Next, enter the name you prefer for your 'commit', as shown in figure 18, and select 'COMMIT'. This moment is crucial, since you will be asked to enter your GitLab account email and password. Make sure you have this essential information on hand.
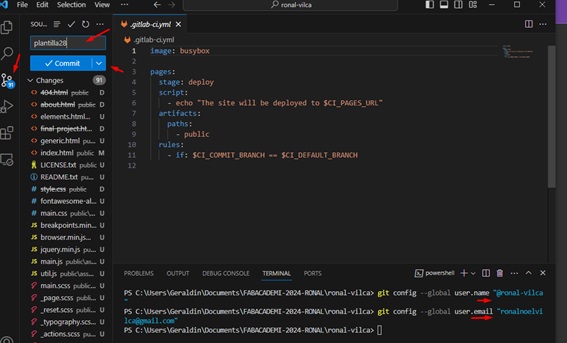
To finish, simply click on 'Sync Changes'. Everything will be ready and you will be able to view your page as you configured it in your local folder.

Create my website

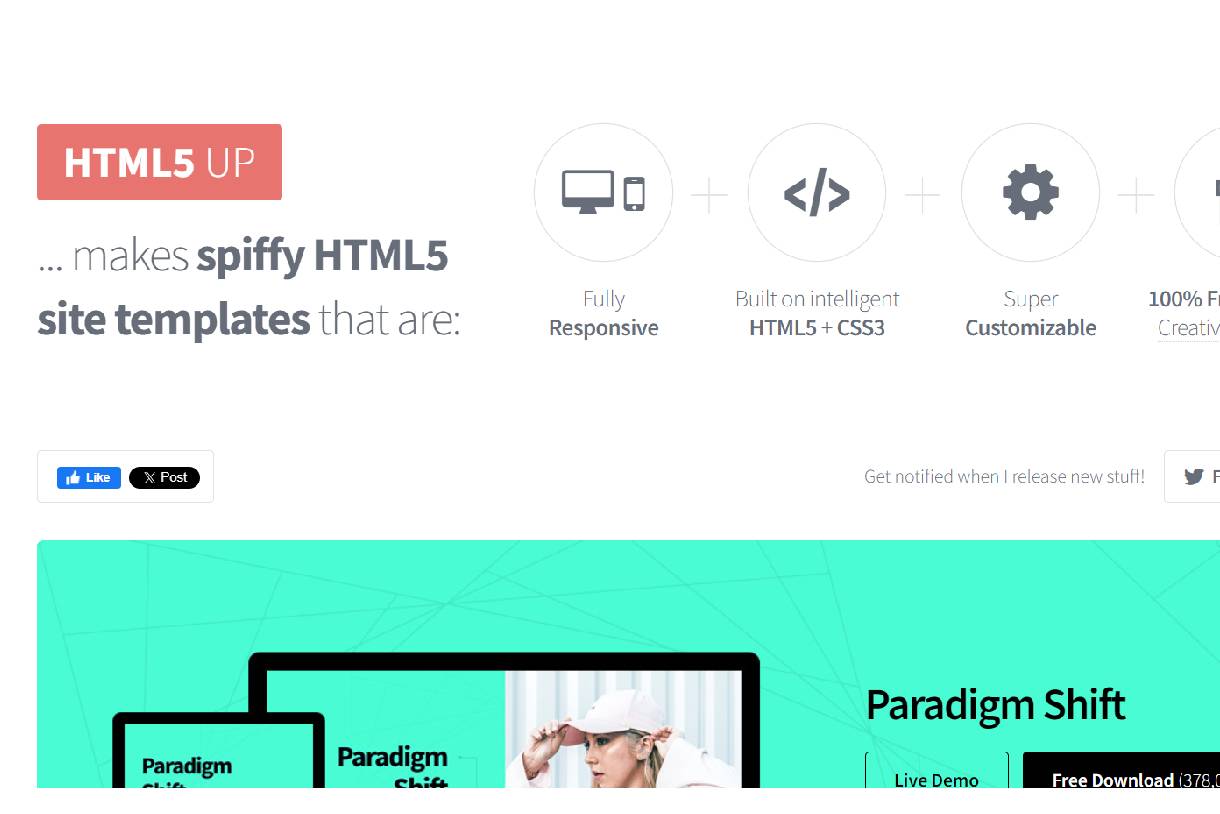
  • I have created my personal website using HTML5, using a template I downloaded from the following page:HTML Templates

I have opted for this particular template as it fits well with what I want to display on my personal website. After my participation in the Fab Academy, I will consider trying other templates to improve even more. For the moment, this template meets my needs and expectations.
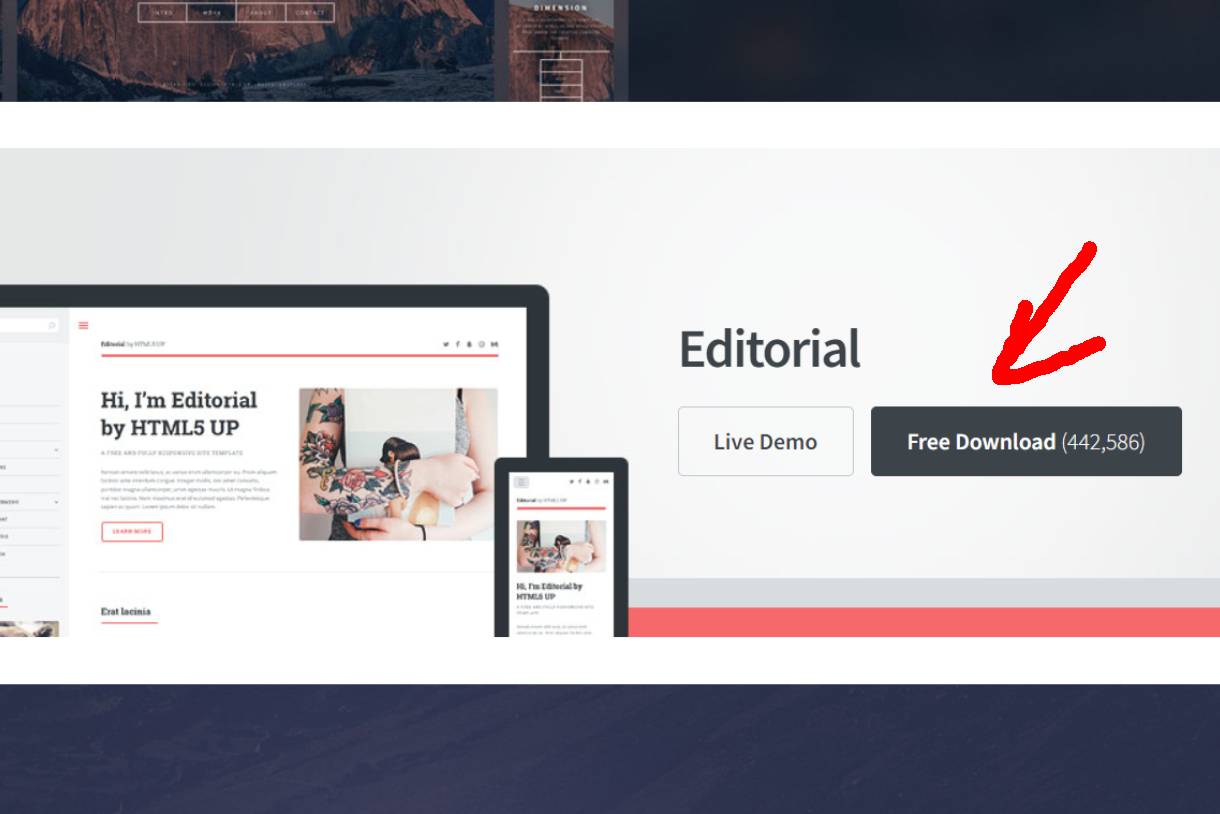

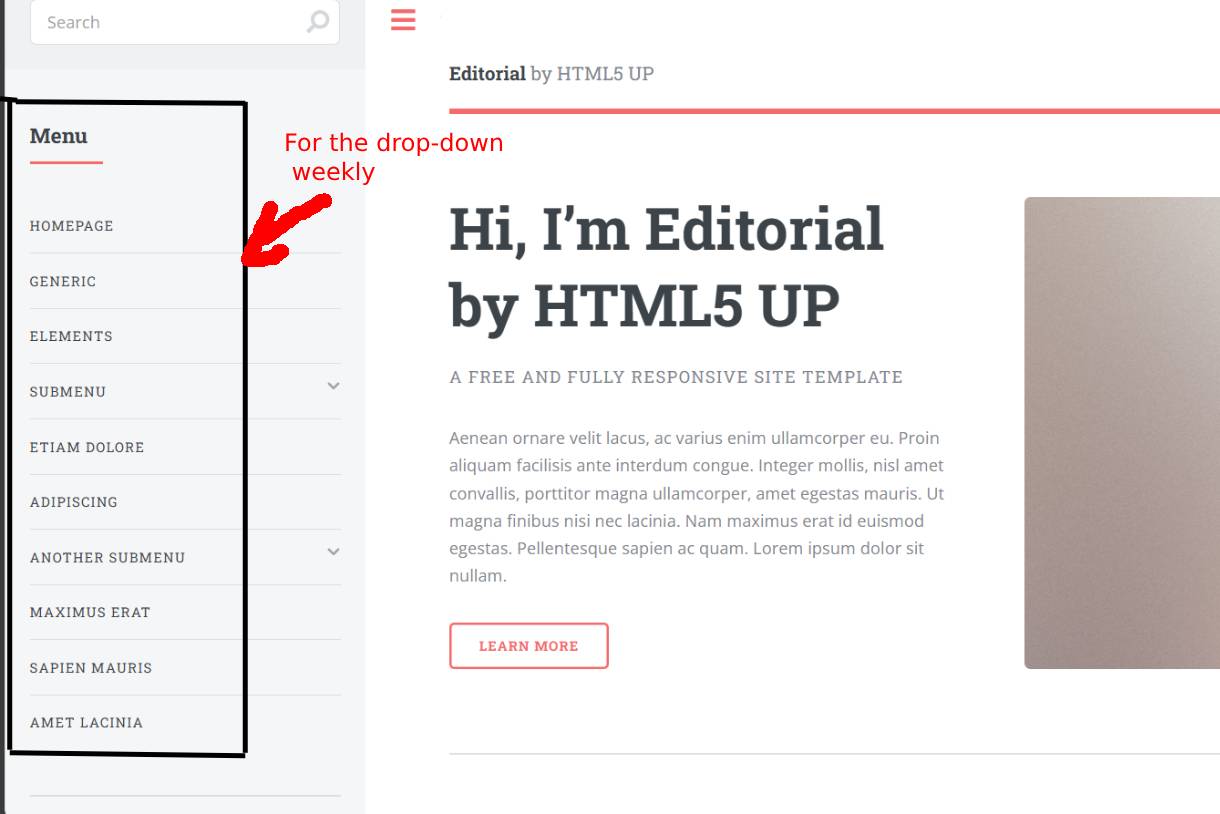
After downloading the template, I ran it to see what the page would look like so I could work on it while adjusting my requirements. In my case, the weekly jobs would be displayed in a single column on the left side of the page.

Downloading Visual Studio Code

Visual Studio Code.

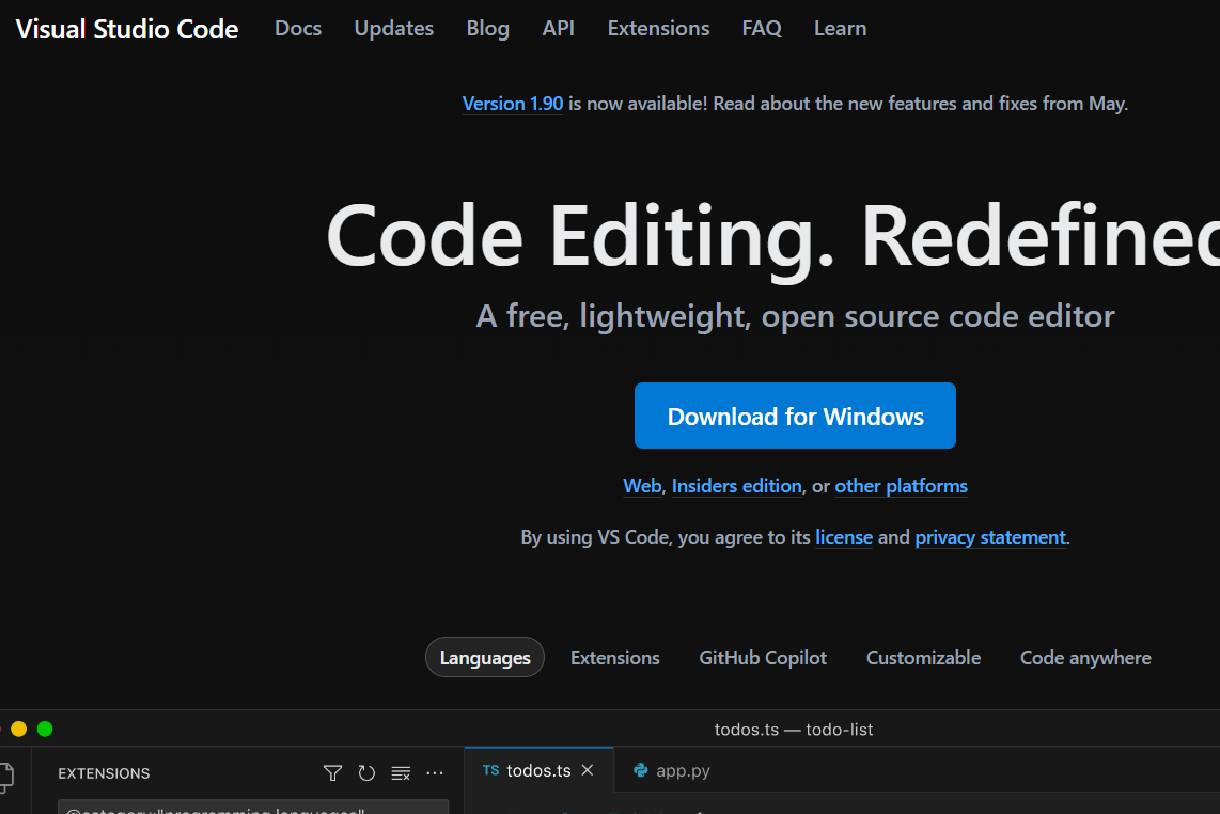
  • The next step involves editing the downloaded template, in my case using Visual Studio Code, a tool I already had installed on my desktop computer. If this is your first time using it, you can download it from the following link: Visual Studio Code

Imagen pic193


Imagen pic207


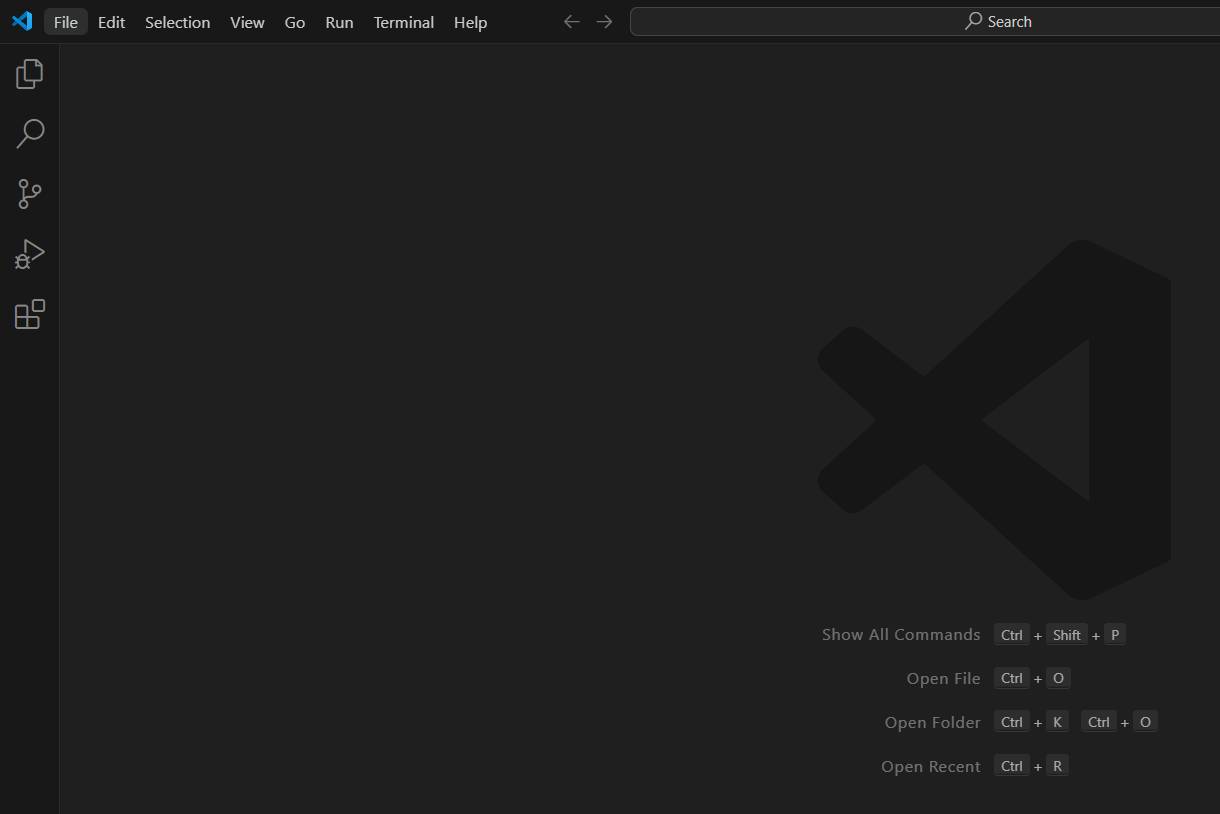
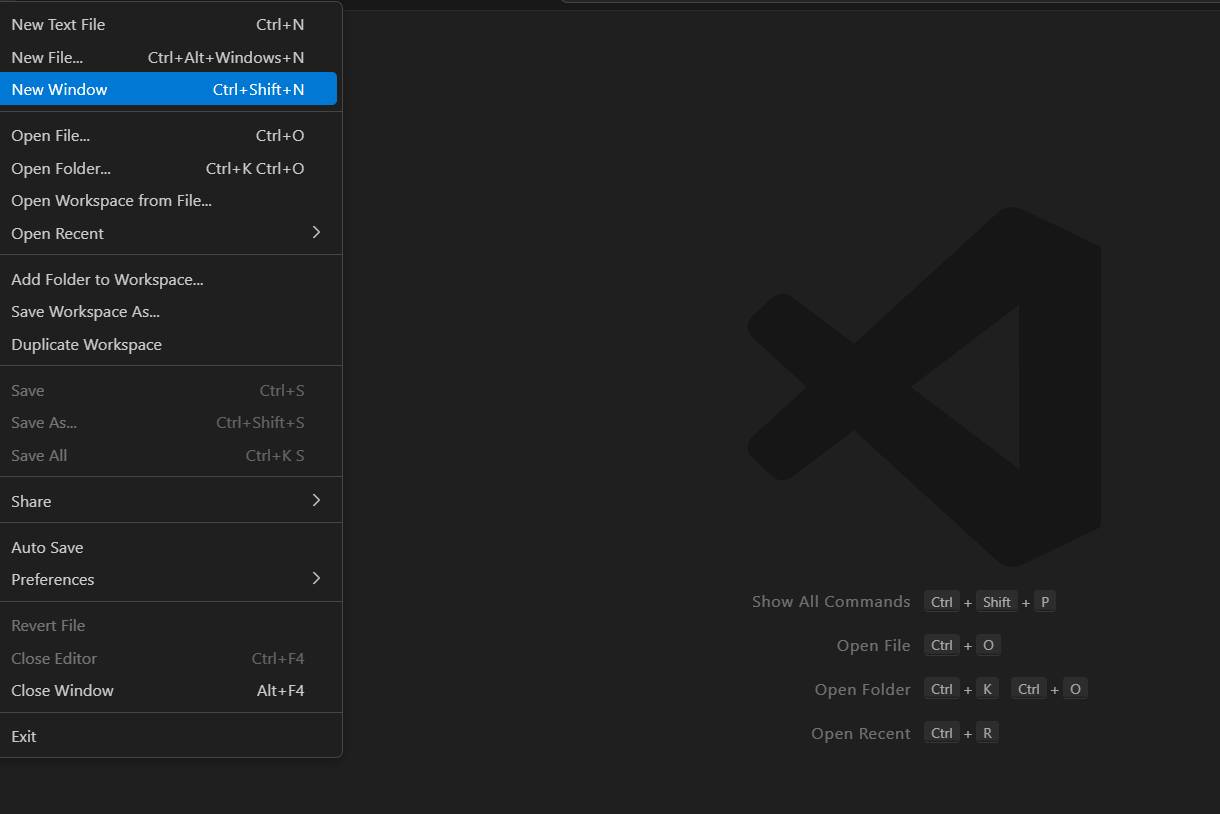
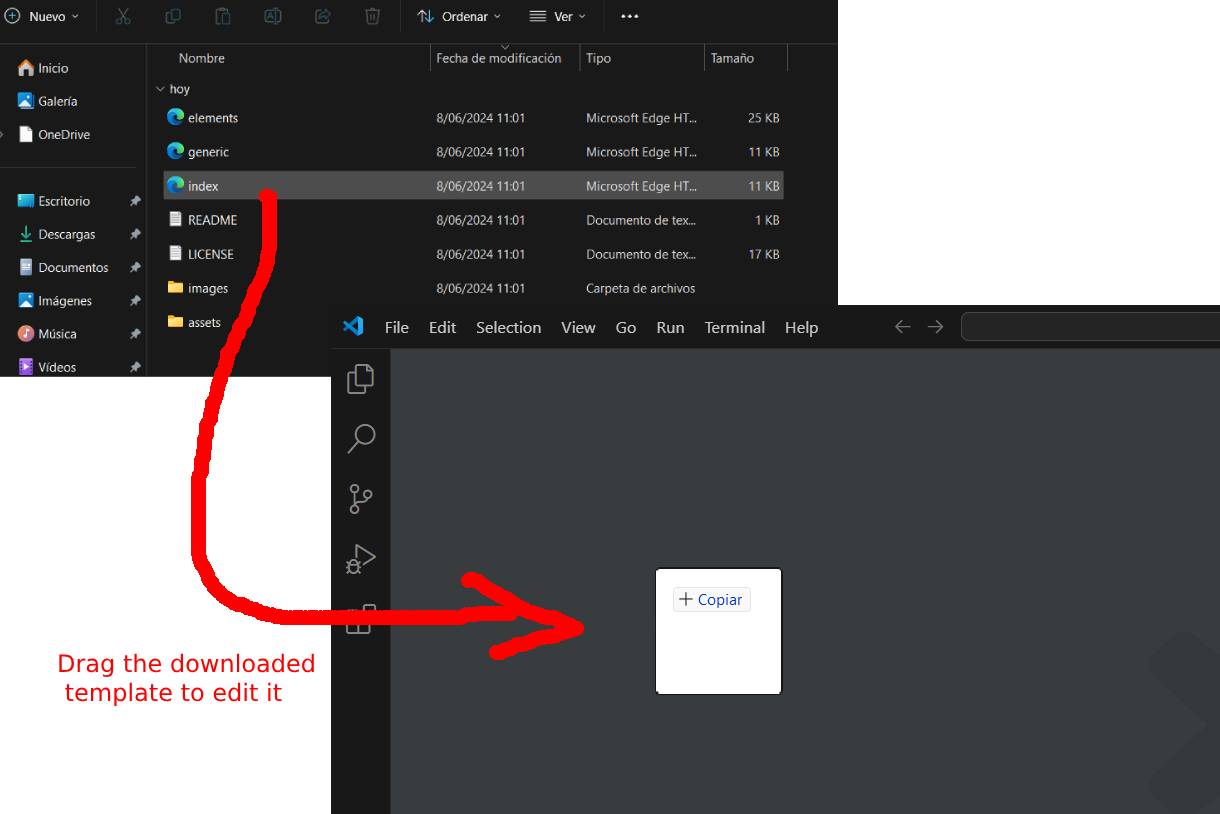
In my case, as I mentioned above, I already had Visual Studio Code installed. If you have it installed too, simply open a new window and drag the template you downloaded from the link provided above. From there, you can edit it according to your specific needs without complications.
Imagen


Imagen


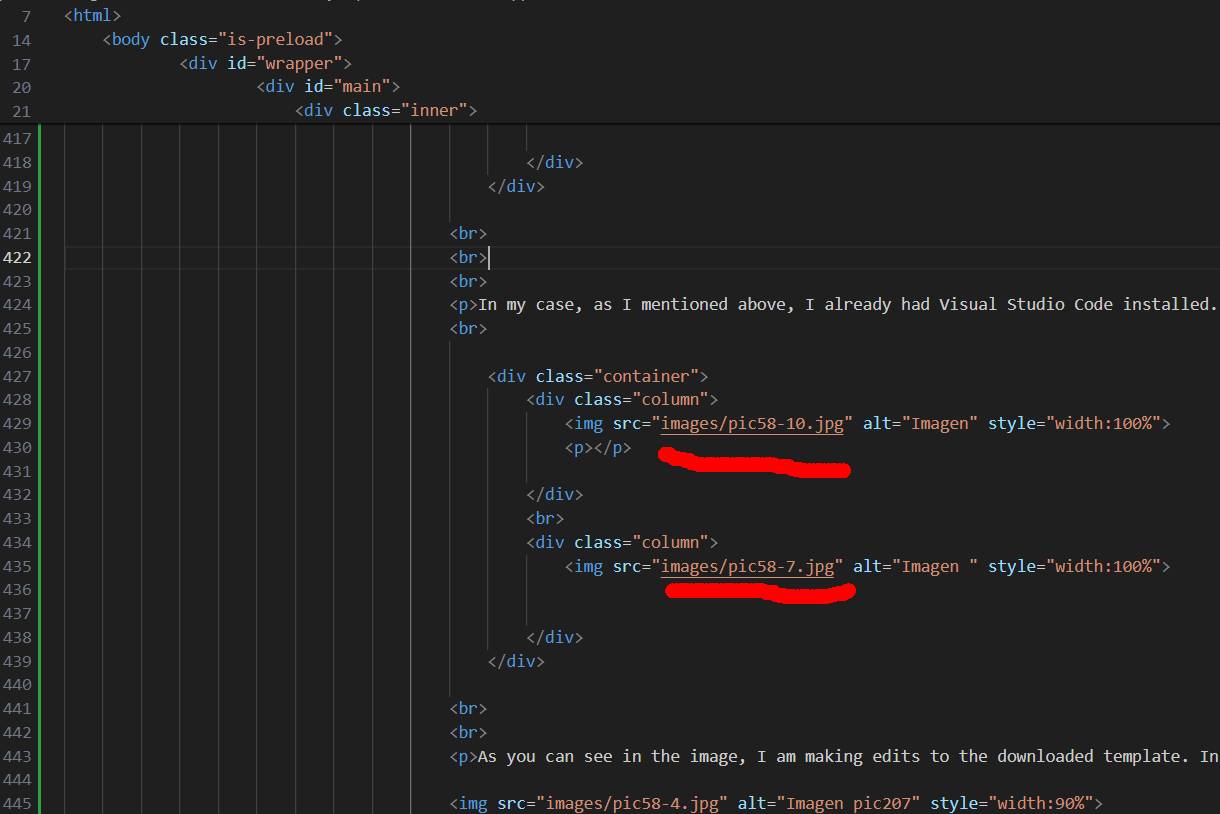
As you can see in the image, I am making edits to the downloaded template. In my case, I am editing the weeks to be displayed on the left side, while the main content will be on the right side. This includes all details related to the corresponding weeks or deliverables.
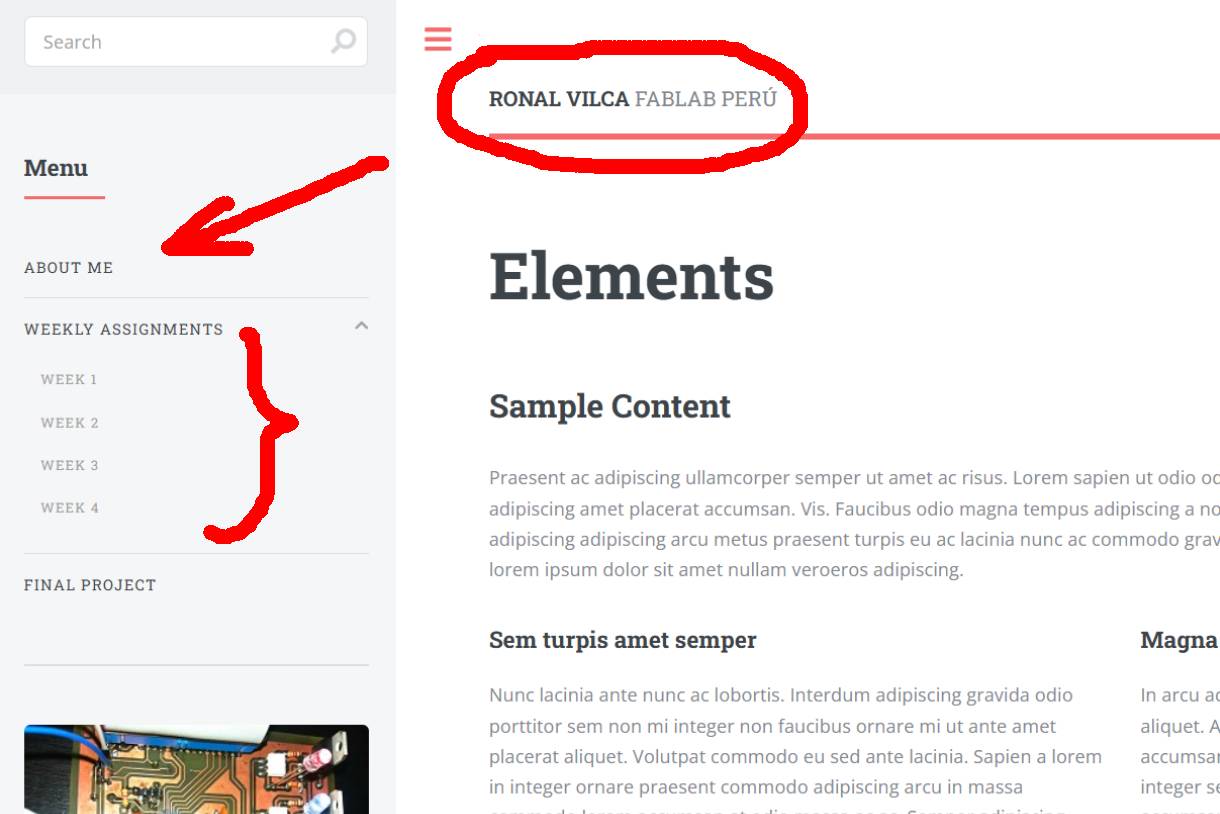
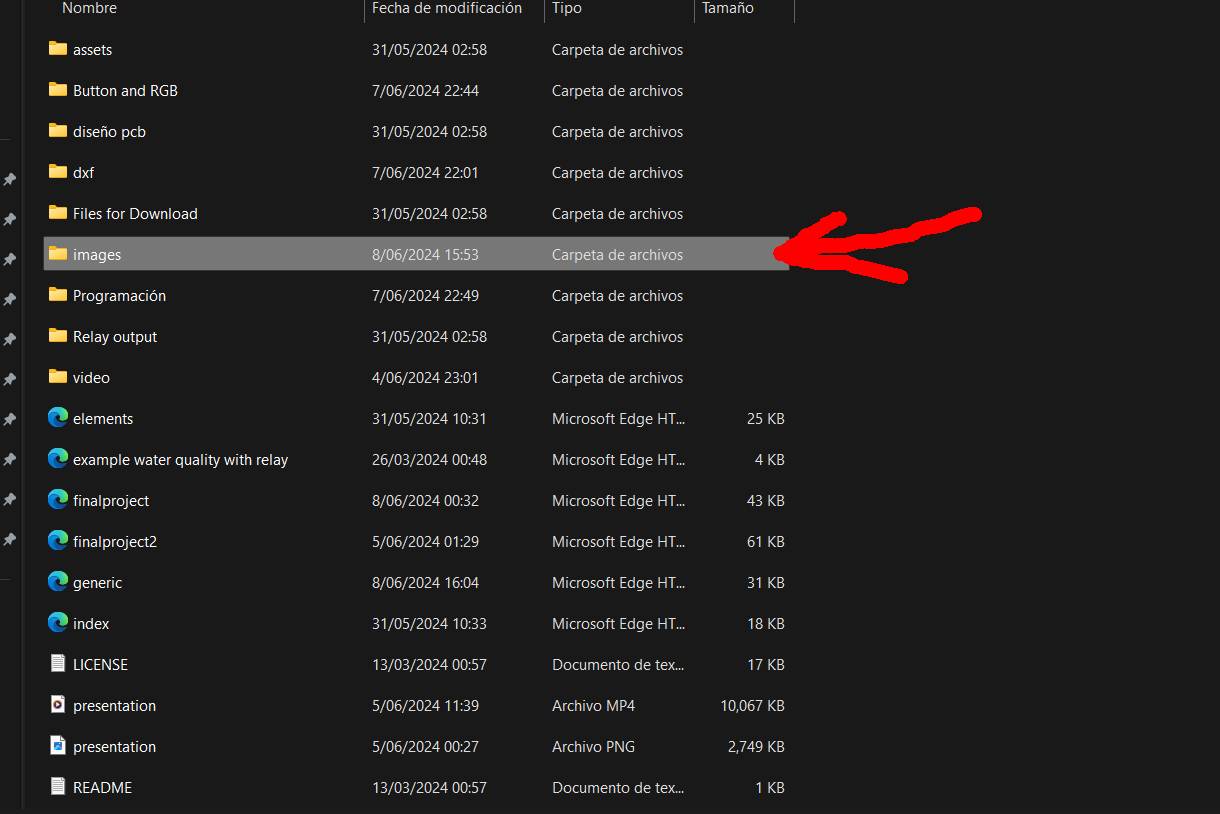
Imagen pic207


  • Save the image to the specified folder in your project, for example, the "image" folder.
  • Then, in your HTML code, you can use the tag to display the image. You must provide the image path in the src attribute. If the image is in the same folder as your HTML file, you only need the image name. If it is in a different folder, you must provide the relative path from the HTML file location.
Imagen


Imagen

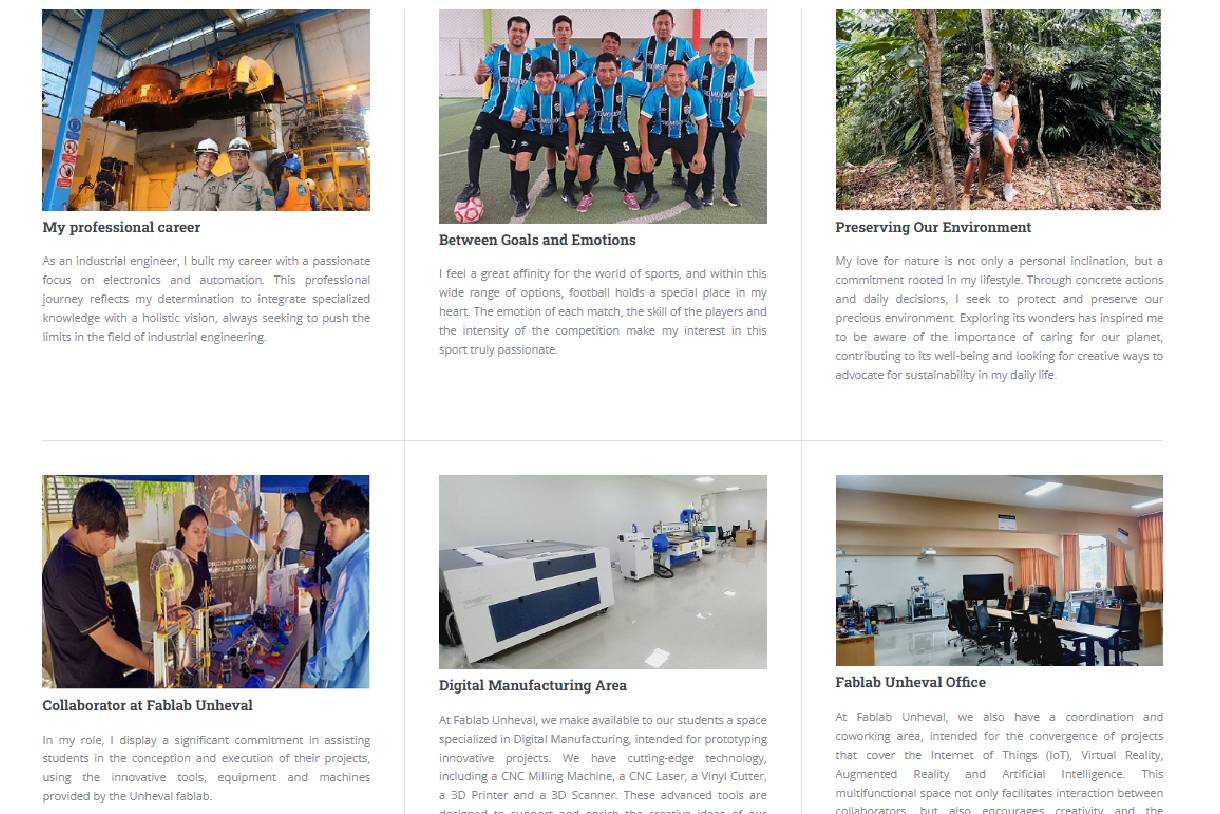
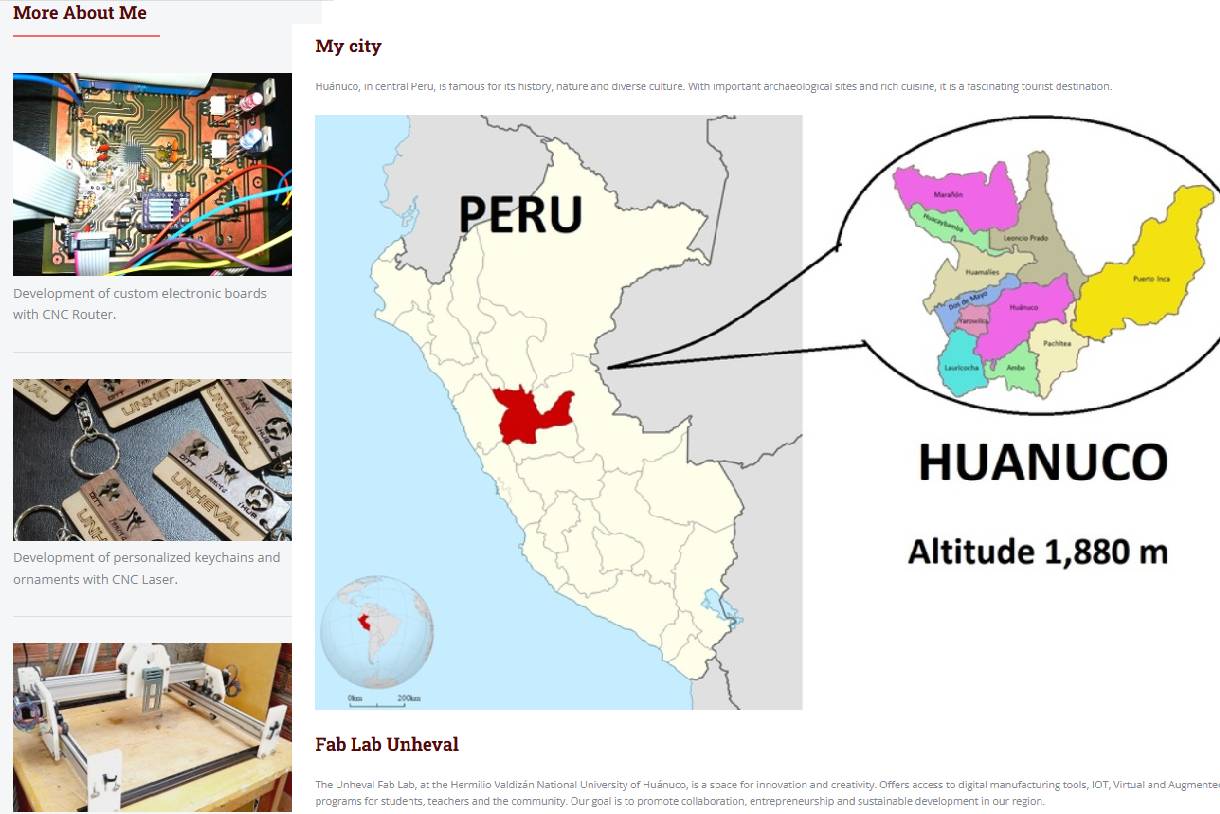
In the following images, you can see that at the top of my personal website I am adding information about the activities that complement me, that is, everything about me. You can also see in the following image the place where I live, in my case, Huánuco, Peru.
Imagen


Imagen

View of my page

After completing the setup and cloning of the visual repository with GitLab, the resulting page is presented as illustrated in the following image.