.png)
.png)
.png)
.png)
.png)
.png)
.png)
.png)

.png)
.png)
.png)
.png)
.png)
Now that I have completed the designing and testing, next step is the machining procedure.
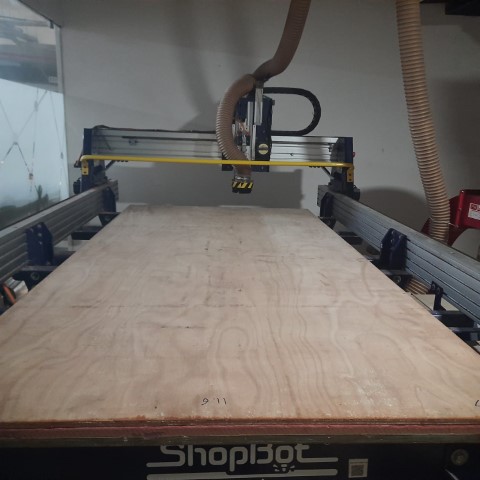
ShopBot PRSalpha
The ShopBot PRSalpha is a top-tier 3-axis CNC machine renowned for its precision and reliability in woodworking. Its robust construction ensures stability and accuracy, even when handling intricate designs. Equipped with a range of high-performance spindle options, it effortlessly tackles various materials, from wood to non-ferrous metals. Intuitive software facilitates easy project design and programming, making it accessible to users of all skill levels. With its versatility and unmatched performance, the PRSalpha is the go-to choice for hobbyists, small businesses, and large-scale manufacturers alike, elevating woodworking projects to new heights with its exceptional precision and efficiency.

Safety Measures
Safety is paramount when operating your ShopBot CNC machine. In case of an emergency, the SPACEBAR on your computer keyboard functions as an immediate Panic/Stop/Halt button, halting the tool's movement instantly. Additionally, your ShopBot is equipped with a physical STOP Button, conveniently placed on the tool, which stops movement and, on a PRSalpha ShopBot or Buddy, cuts power to the spindle/router.
- Read the manual thoroughly to familiarize yourself with the tool and its operation. Also, review manuals for the router/spindle mounted on your ShopBot.
- Practice operating the ShopBot using the computer and ShopBot Control Software before engaging the router/spindle.
- Prior to loading, positioning a workpiece, or adjusting the tool's position, always turn off the router or power tool. Avoid changing router bits or cutters without unplugging the power tool or ensuring it won't accidentally activate.
- Secure the workpiece firmly to the work surface before cutting and maintain a safe distance from the tool during operation to avoid injuries from flying debris or broken cutters.
- Never operate the tool when fatigued to maintain alertness and prevent accidents.
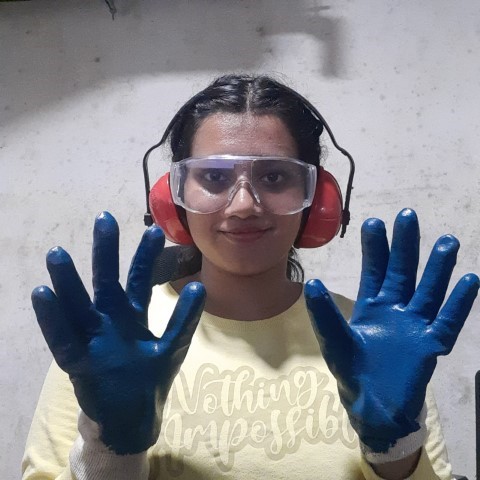
- Wear eye and ear protection at all times when operating the ShopBot to safeguard against potential hazards.
- Never leave the tool unattended while it's running to prevent unexpected cutting errors or workpiece slippage. Always maintain supervision during operation for maximum safety.
Machine Specifications
- XY Move Speed (with full cutting force): Variable, max. 18.2m/min.
- Z Move Speed (with full cutting force): Variable, max. 9.14m/min.
- XY Positioning Speed: Variable, max. 45.7m/min.
- Z Positioning Speed: Variable, max. 22.86m/min.
- Step Resolution: 0.010mm
- Linear Cutting Force: Approximately 68 Kg
- X and Y Axis Drive System: Rack and Pinion
- Z Axis Drive System: Rack and Pinion
- Input Voltage: 220v single-phase, 230v 3-phase and 380/460V 3-phase power options are available, depending on tool and configuration.
- The PRSalpha requires a fused disconnect installed by a licensed electrician. Spindle may require 3-phase.
Cutting
Dogbone
So before exporting the DXF file, one important thing is note is the addition of dogbones. It is a type of fillet added to the internal corners to get a complete clearance of the material by the milling cutter. End mills are round, so they cannot create perfect sharp internal corners. Without dogbones, the parts may not fit together properly due to the radius left by the tool. I downloaded the Fusion plugin Nifty Dogbone for this purpose.
.png)
.png)
.png)
Then, I projected the sketch face and saved the sketch in .dxf file format.
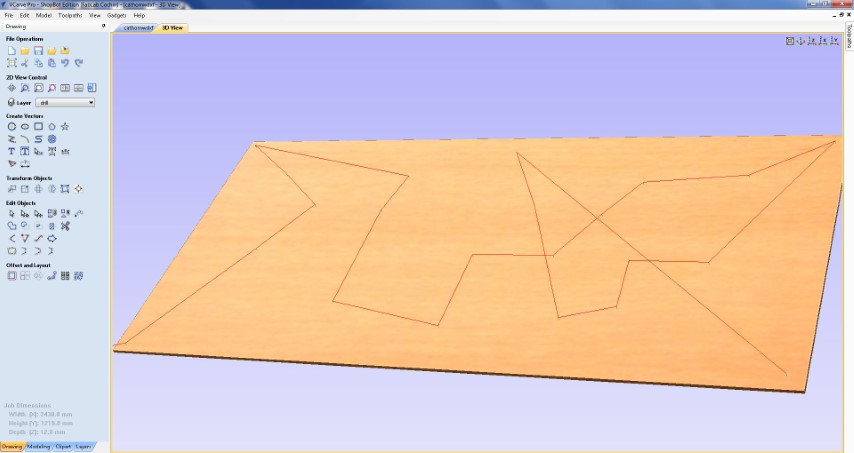
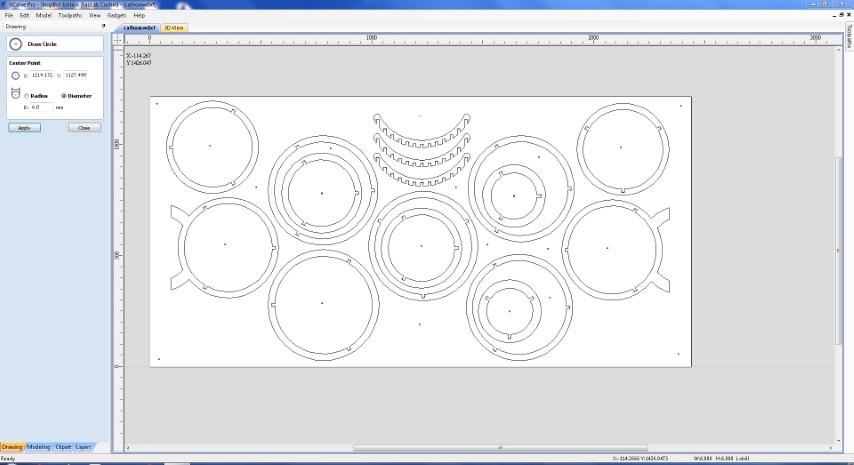
VCarve
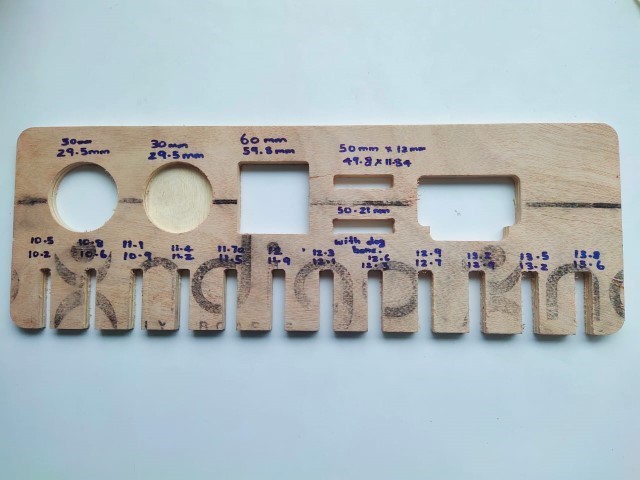
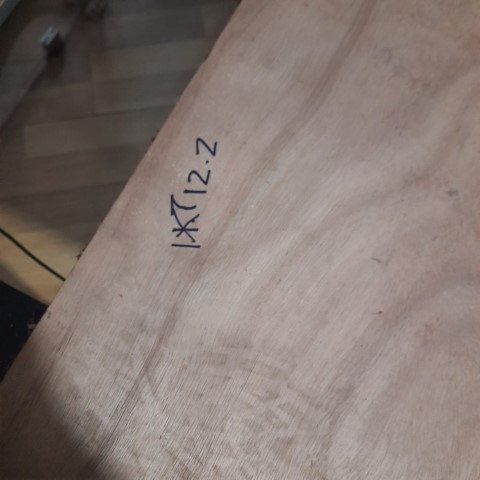
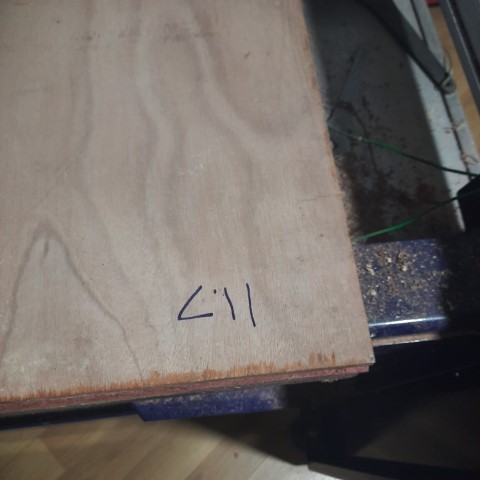
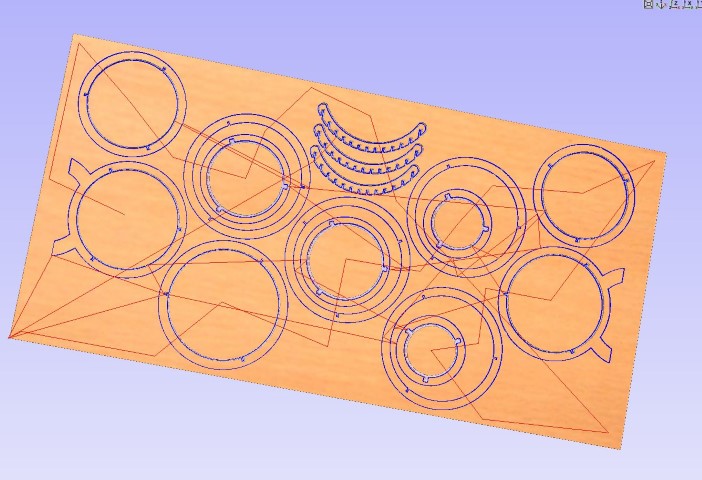
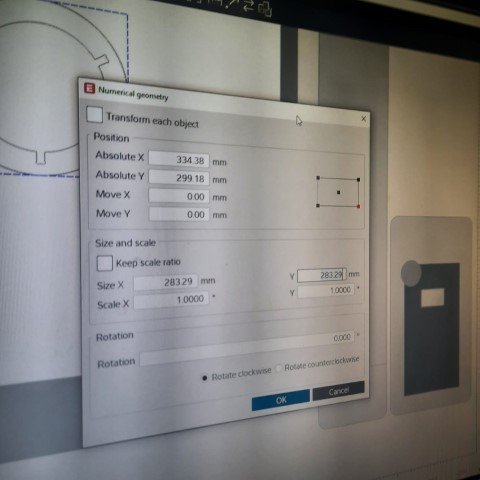
The CAM for the toolpath can be done on Fusion itself. But as suggested by our instructor, Mufeed, we chose VCarve. VCarve is a CAM software for CNC milling and engraving. I imported my .dxf file in VCarve and gave the basic parameter values such as job size, origin, and material thickness. Before assigning the thickness value, I used vernier calliper to measure the thickness of the exact plywood I'll be using, and from the measurement it was clear that the thickness was varying between 11.7mm to 12.2mm.
Mill Bit: Single flute 6mm End Mill

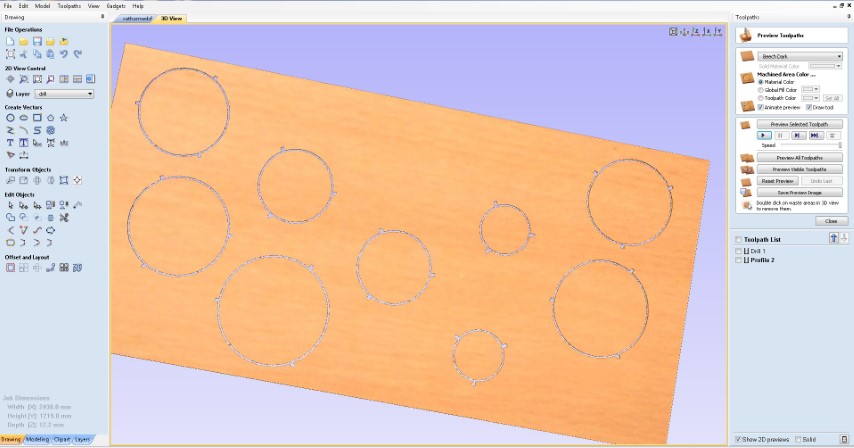
It is important to clamp the plywood before cutting so that it doesn't move while cutting. So we use screws on the edges and parts were the material will not be cutting. It is better to give a separate toolpath for the positions than calculating the positions manually. So I provided the toolpath positions for pre-drill where the screws will be used.
I divided the milling in 4 parts: Drill (Pre-drill), Inner Cut, and Outer Cut.
Here is outer cut example
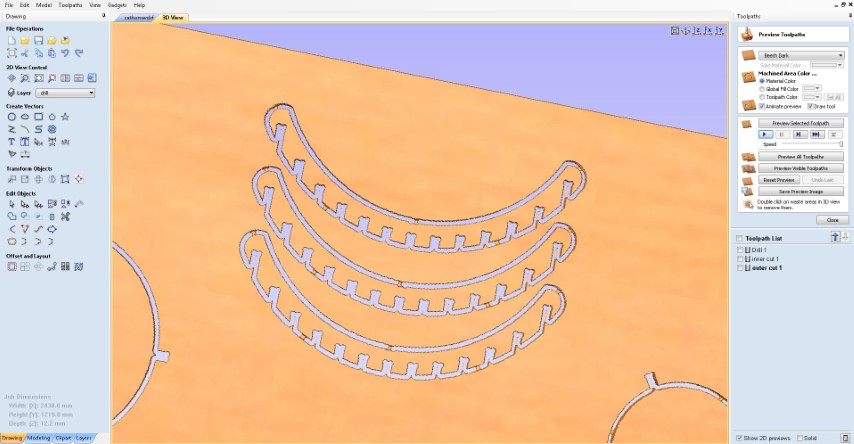
Here is inner cut example
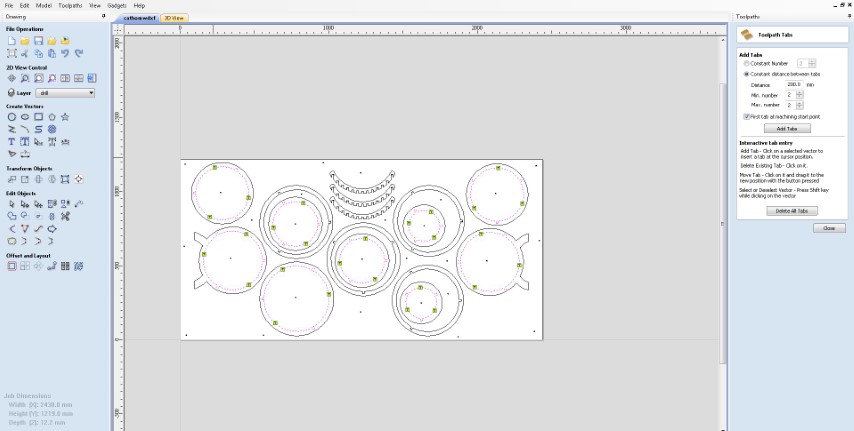
Lastly I added tabs
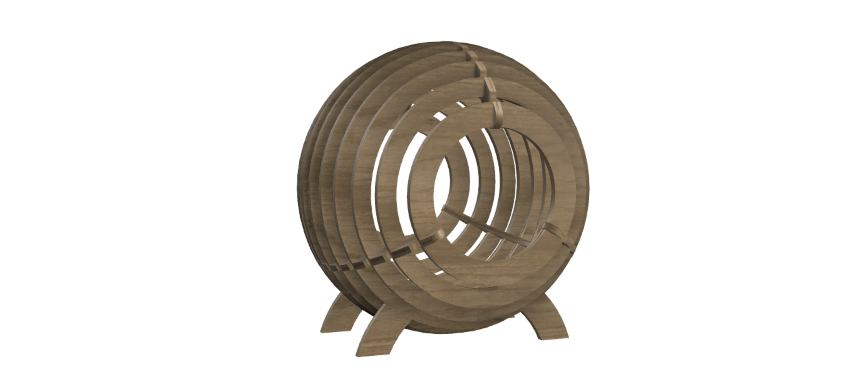
Expected output
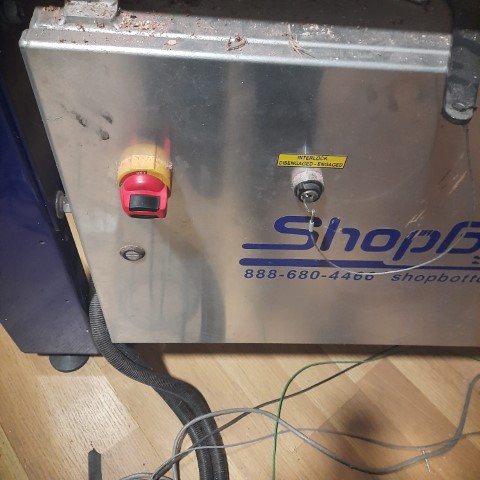
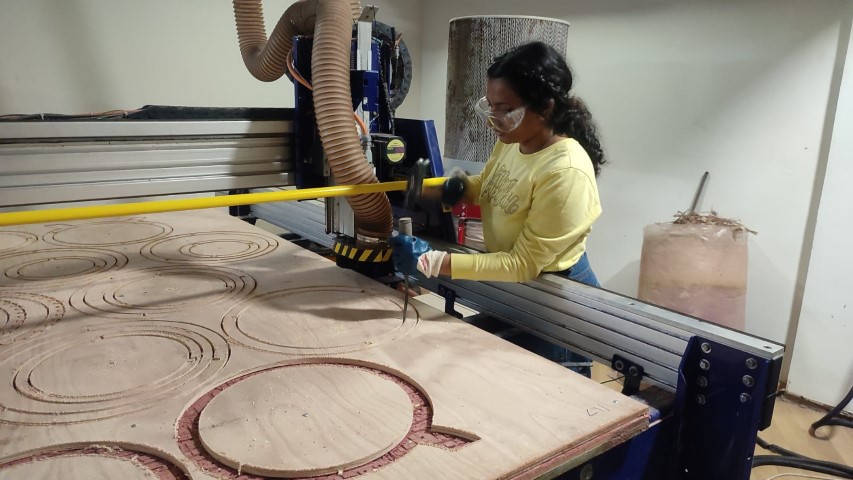
Switch on the ShopBot by turning on the main switch and turning the knob on the side panel of ShopBot.
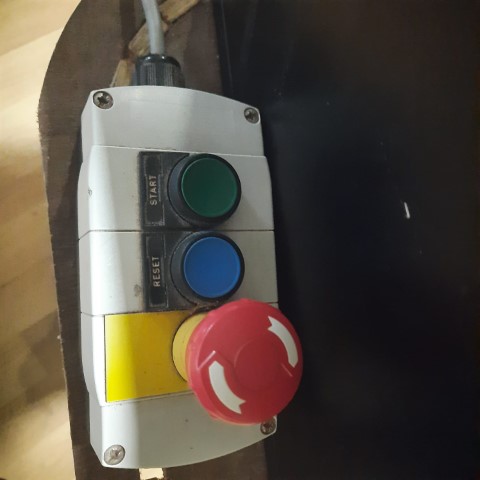
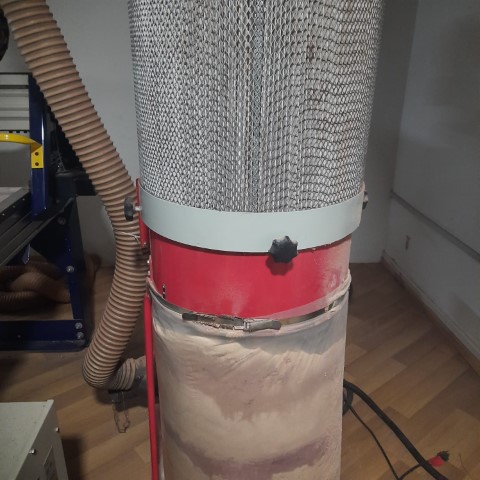
When running a CNC tool, dust collection is an important consideration. It keeps both the air and the cutting area clean of dust and debris. We also have a remote for start, stop and emergency stop button.
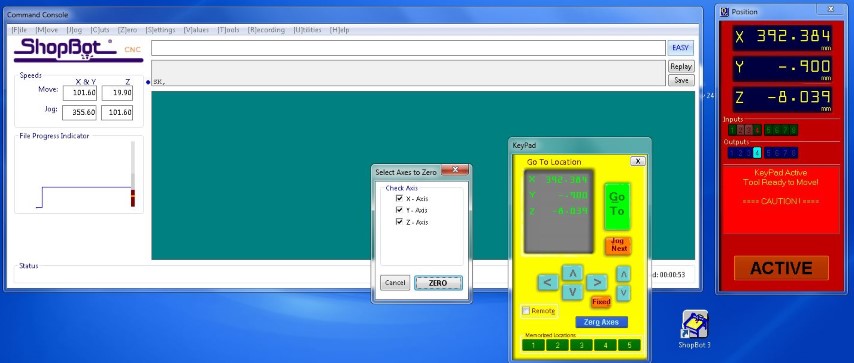
Next step is to set the origin . For that, the module can be jogged along the X and Y axis to set the zero position. For Z axis, the machine comes with a plate and an alligator clip. The machine detects the position when the clip and the metal plate comes in contact and then automatically sets the Z axis's zero position.
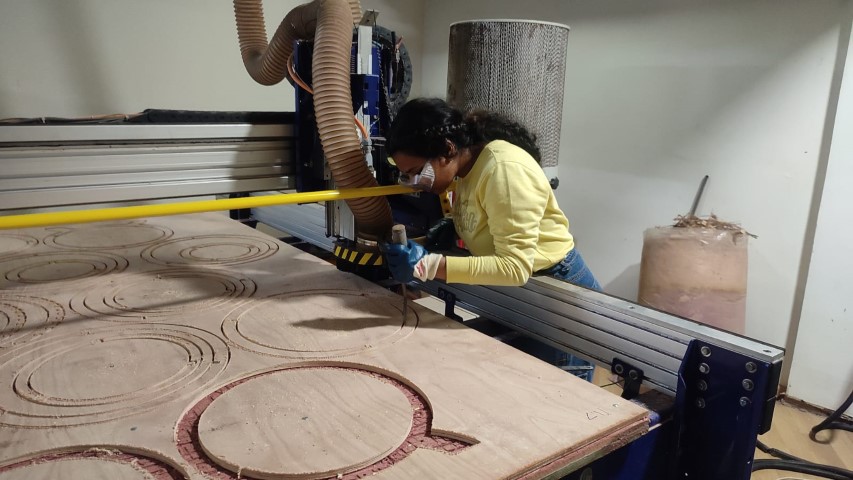
When all the three axes are zeroed, then click on Cut Part to upload the file. Click on Start and then a pop-up box appears requesting to switch on the spindle. For that, turn the key provided at the side panel of the machine once.
Now press Start button on the remote and once the spindle starts spinning, click OK on the dialogue box. Likewise, three of my files were uploaded and the design was milled.
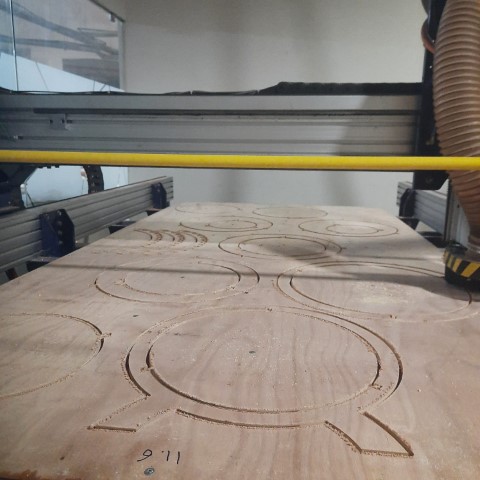
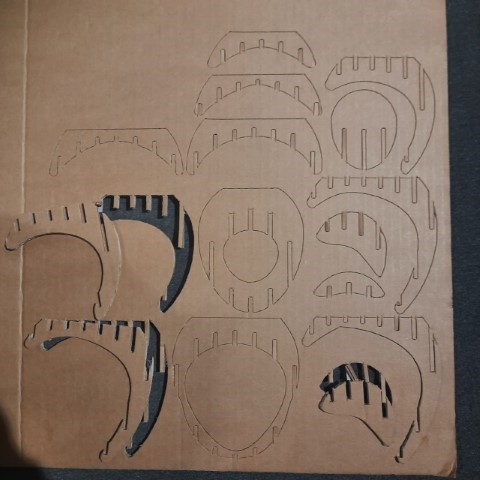
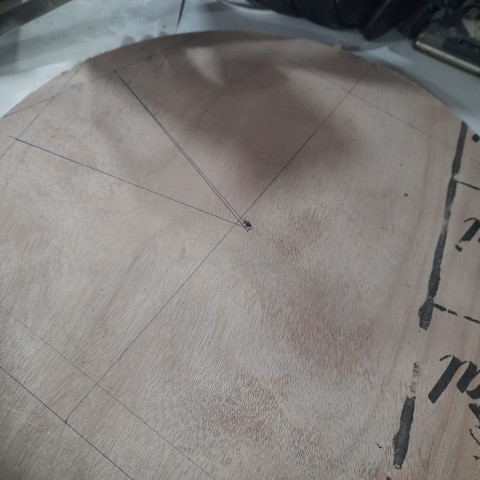
Next step is to get all the pieces out.
Problem
Unfortunately, 2 of the pieces were broken and additionally 2 other pieces were cut outside instead of inside. Therefore I had to recut 4 pieces.

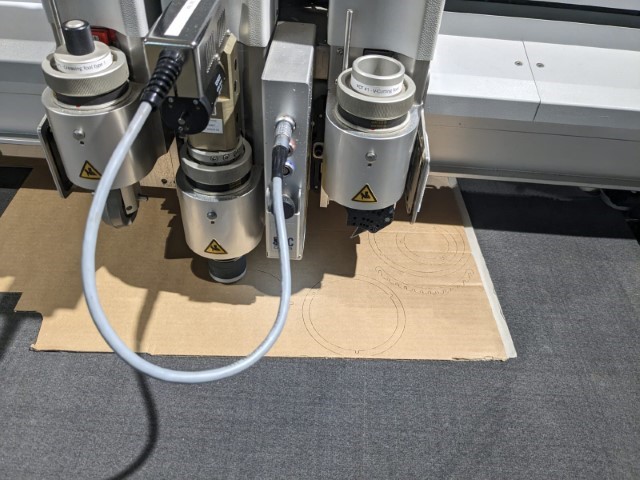
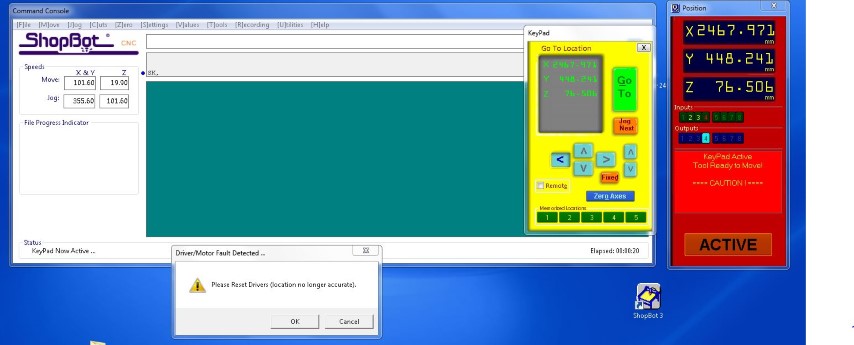
Bigger Problem & SOLUTION
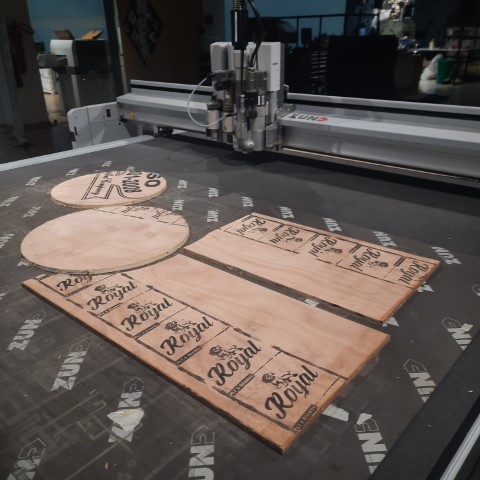
So the machine stopped while cutting the pieces. To my horror the driver of our machine was faulty and it would take a few days to fix it. Nevertheless, the pieces were cut in the mighty ZUND.

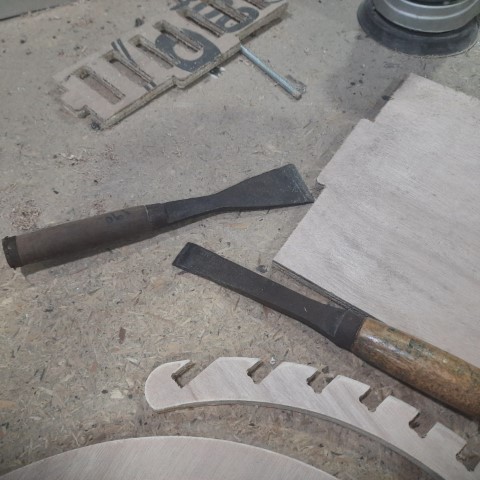
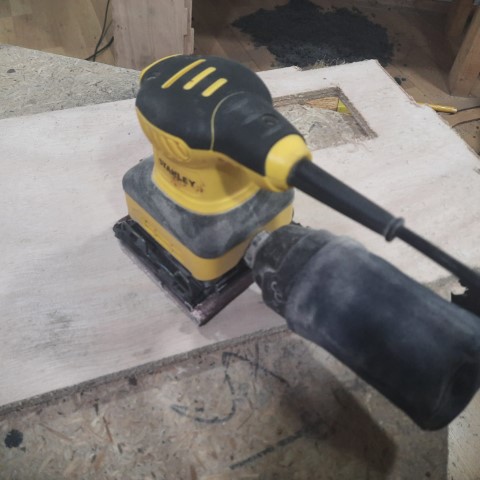
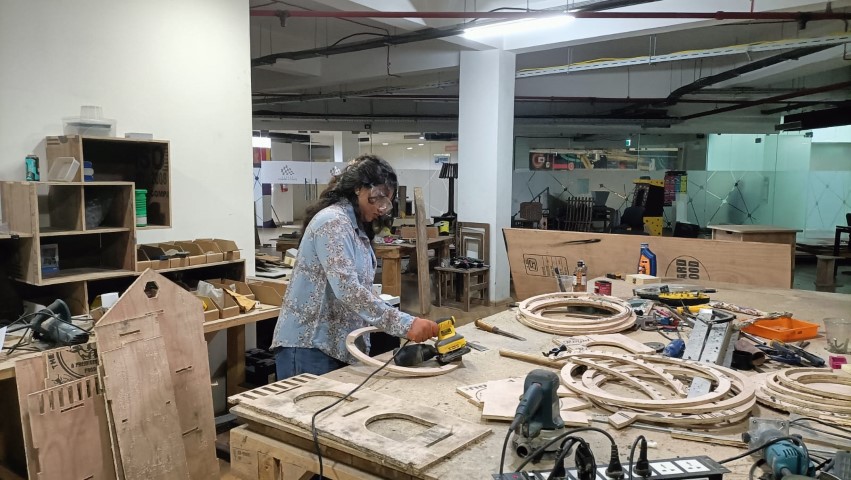
Post-processing
With all the pieces cut its time for post-processing which is sanding the pieces for a smooth finish.
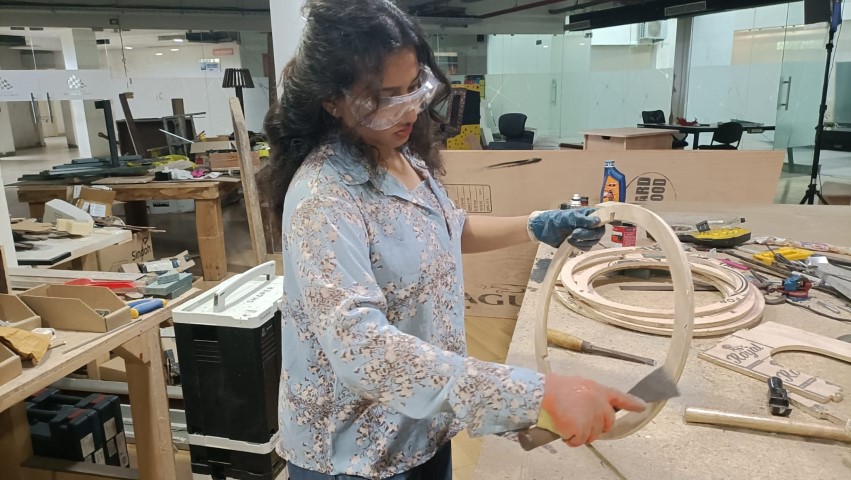
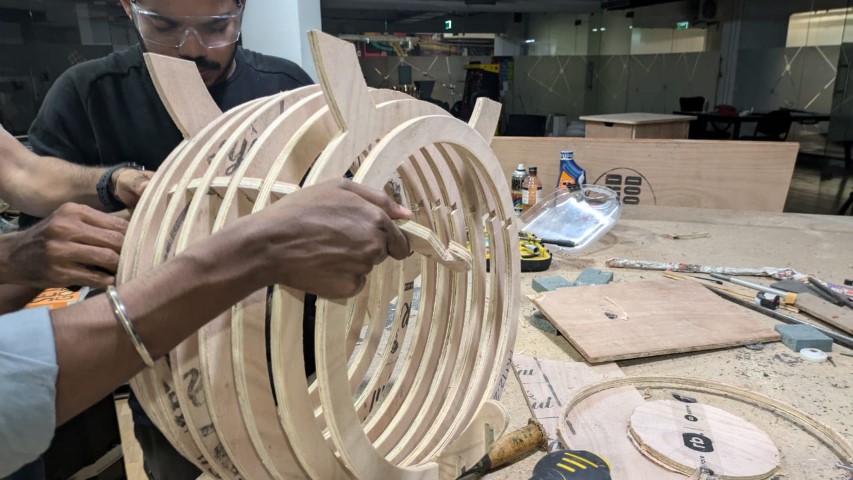
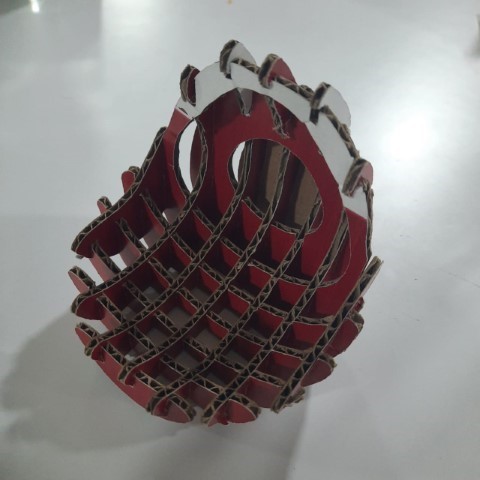
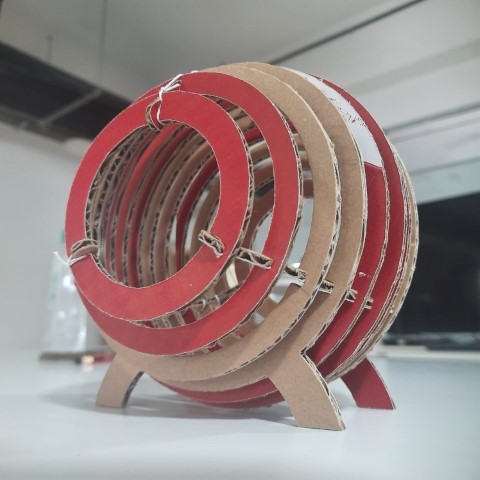
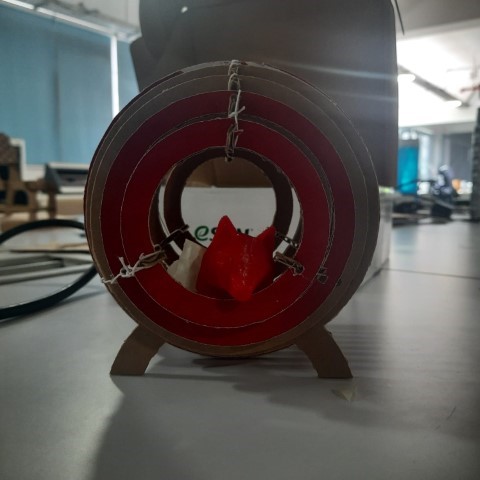
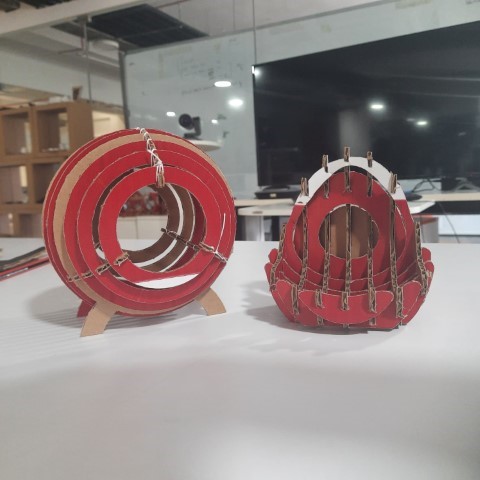
Assembly
Assembling was a the hardest part. I faced the same problem I had with the cardboard cut pieces. Although all the pieces and cuts were correct, assembling more than one joint was nearly impossible. While assembling the second joint the first joint got misplaced and this problem repeated.
One joint even broke during the assembly and I had to cut it again.
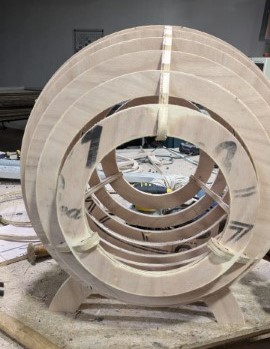
Finally with the help of Midhun, Revi and Mufeed, my catpod was assembled.