Week 12: Molding and Casting
Week 12 assignment is to review saftety data sheets for different casting materials and then make and compare test cast with each of them

Materials in the lab
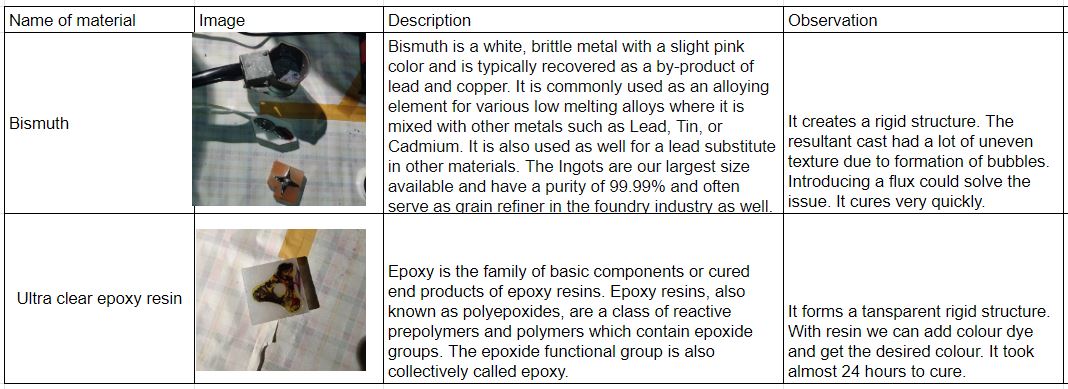
Epoxy Resin
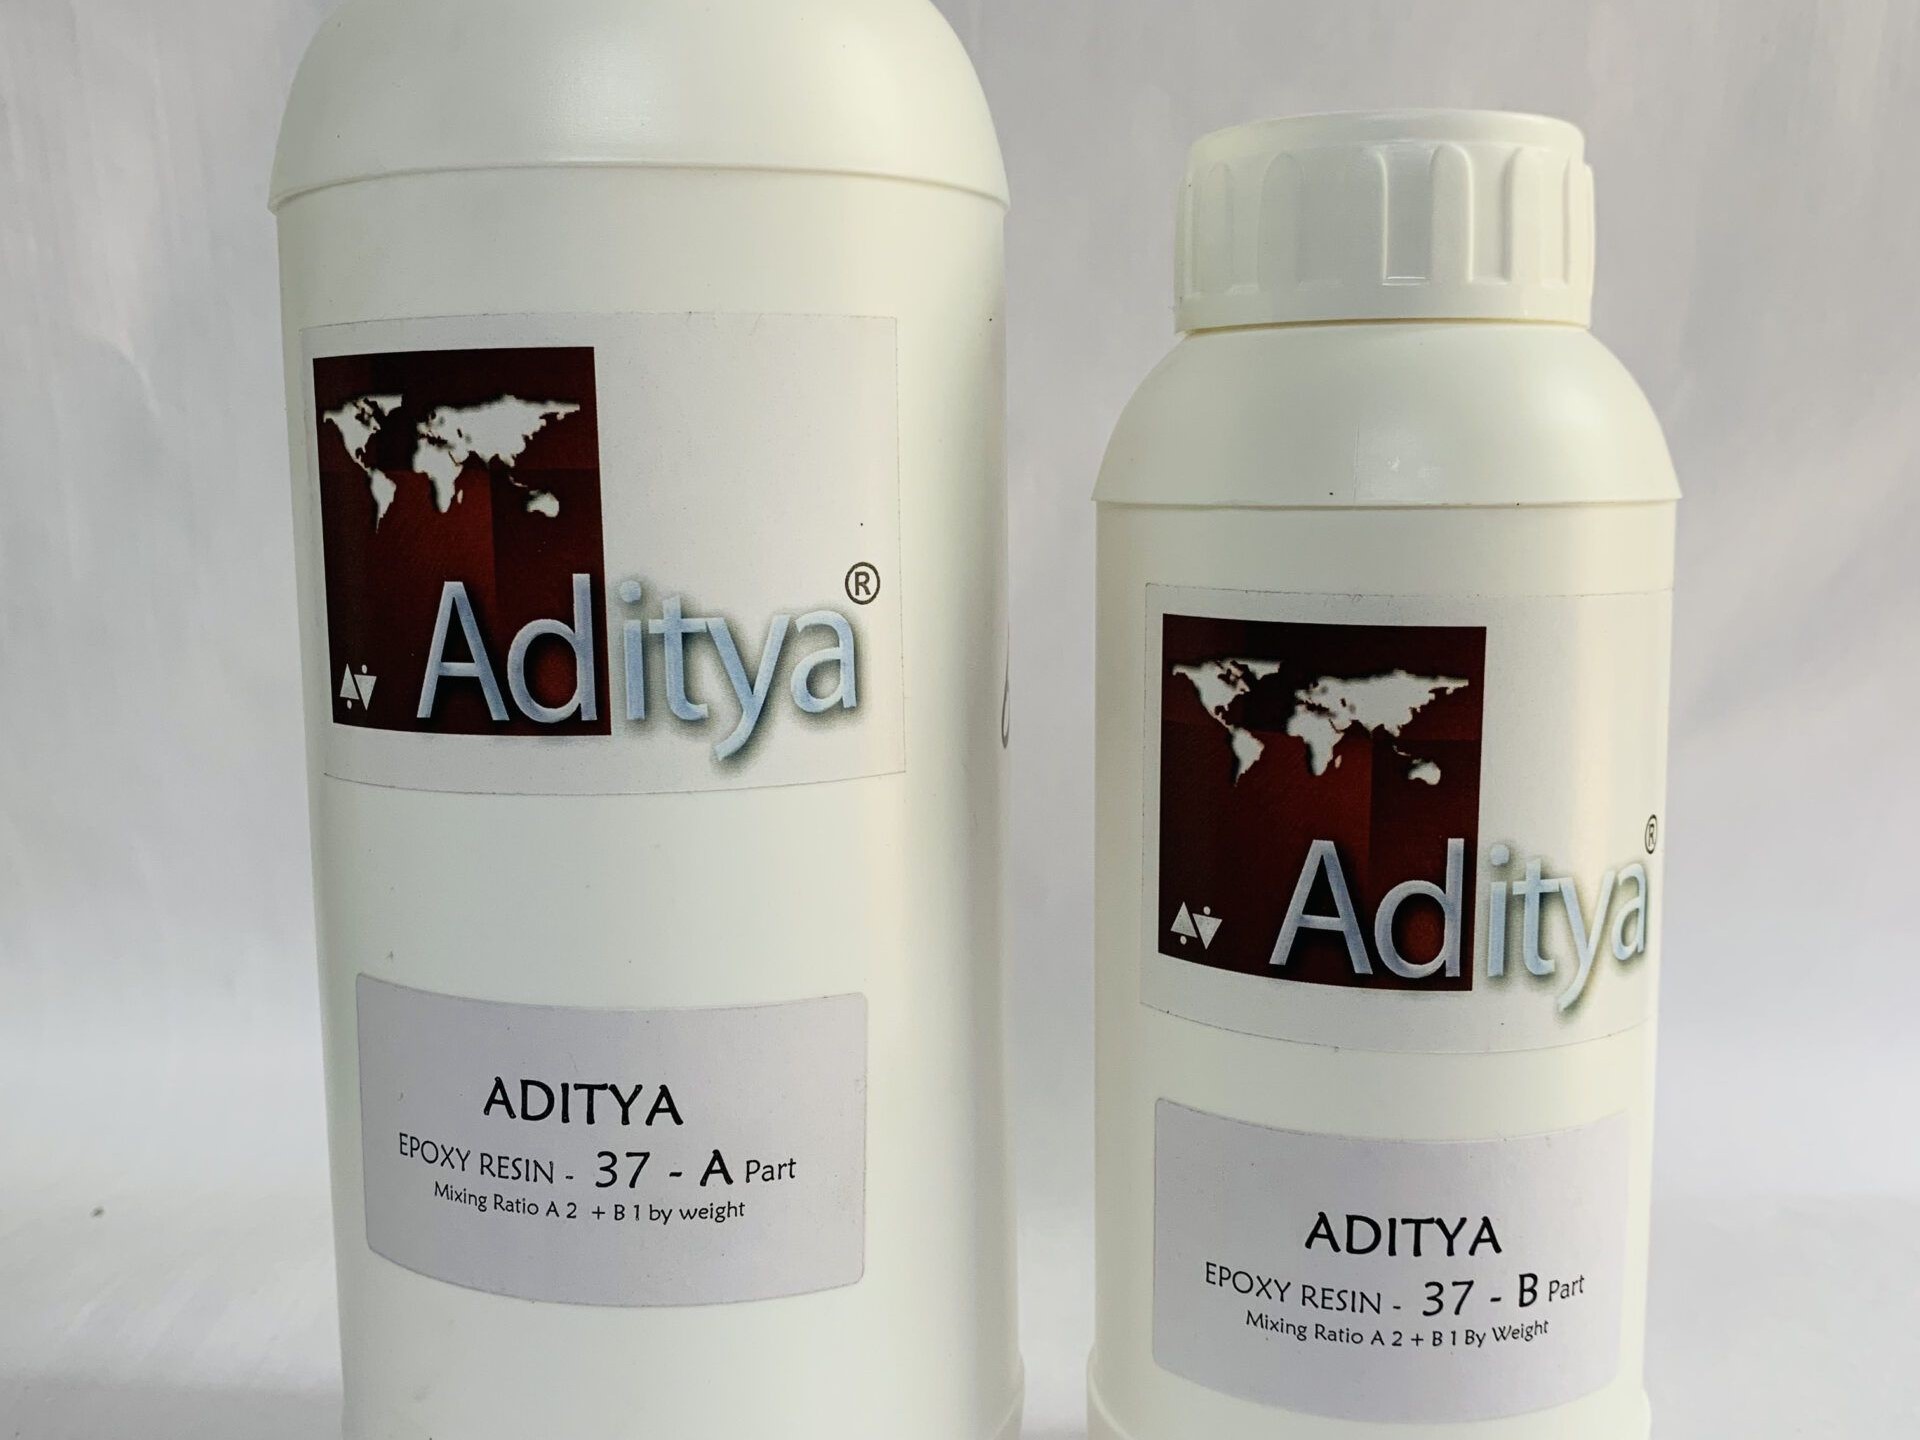
The resin we used was Adithya Ultraclear epoxy
Silicone rubber

The resin we used was Adithya Silicone rubber RTV
Bismuth
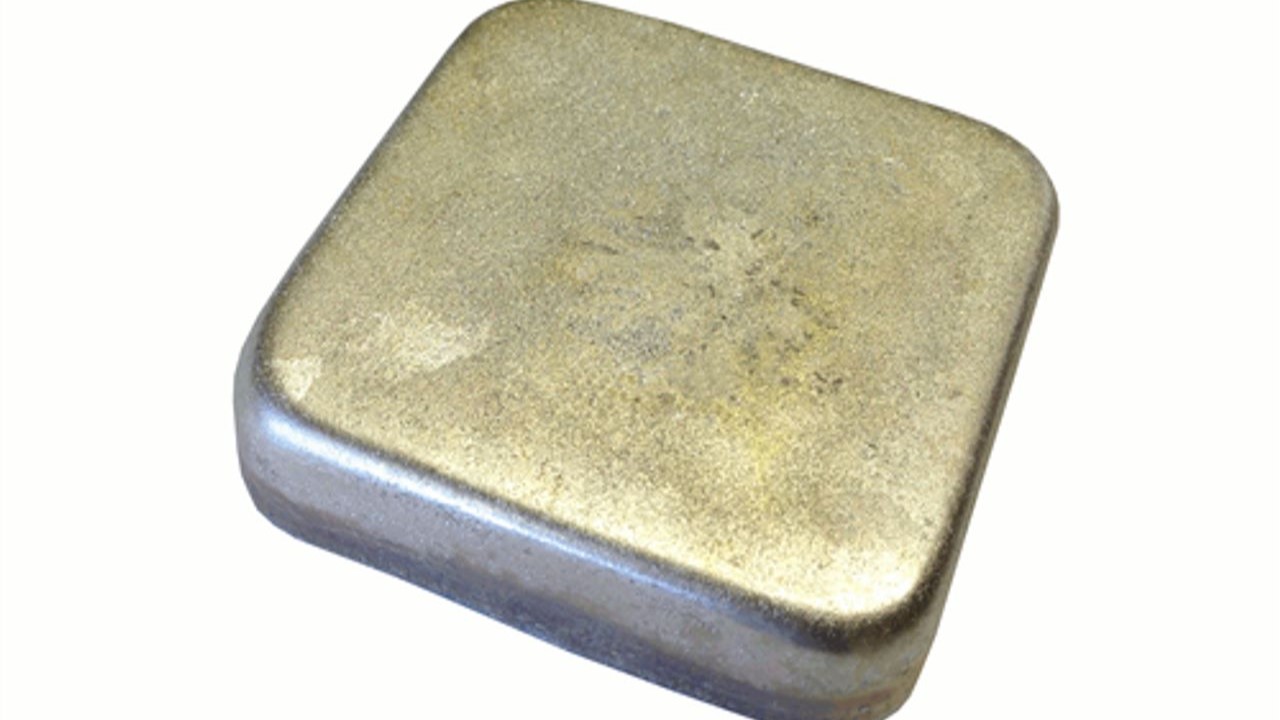 The material we used is Bismuth
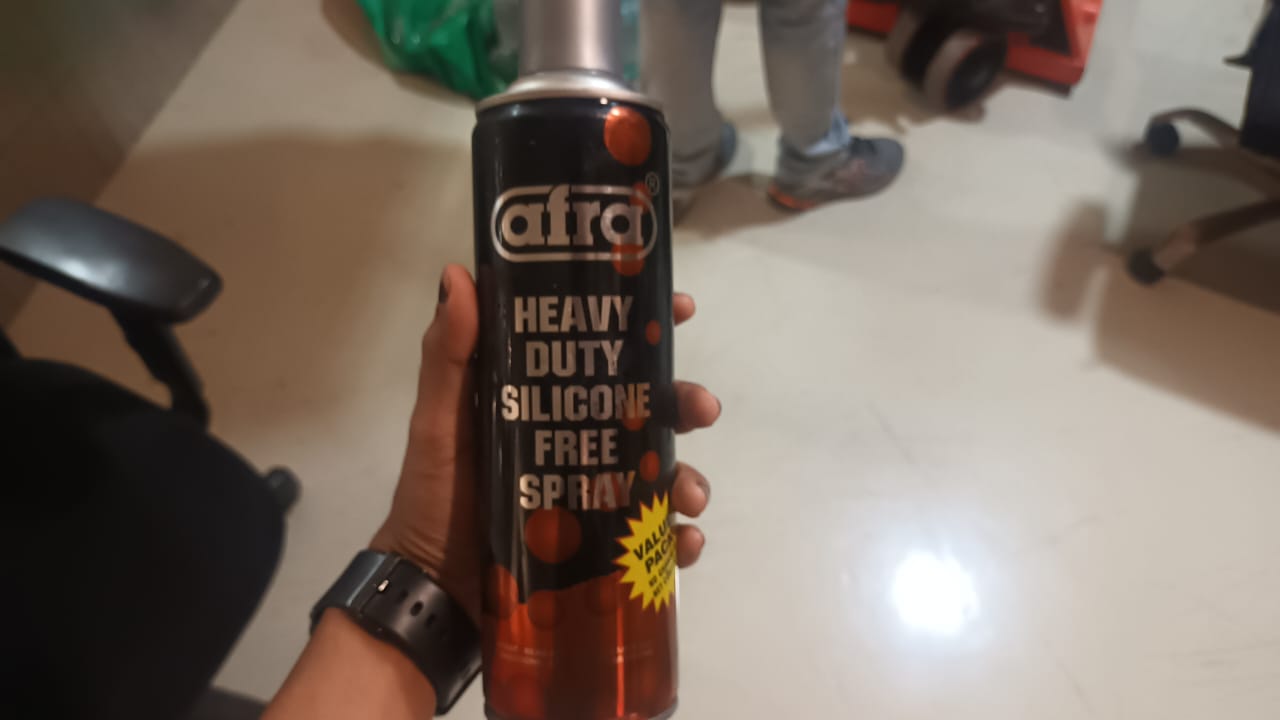
Removing spray
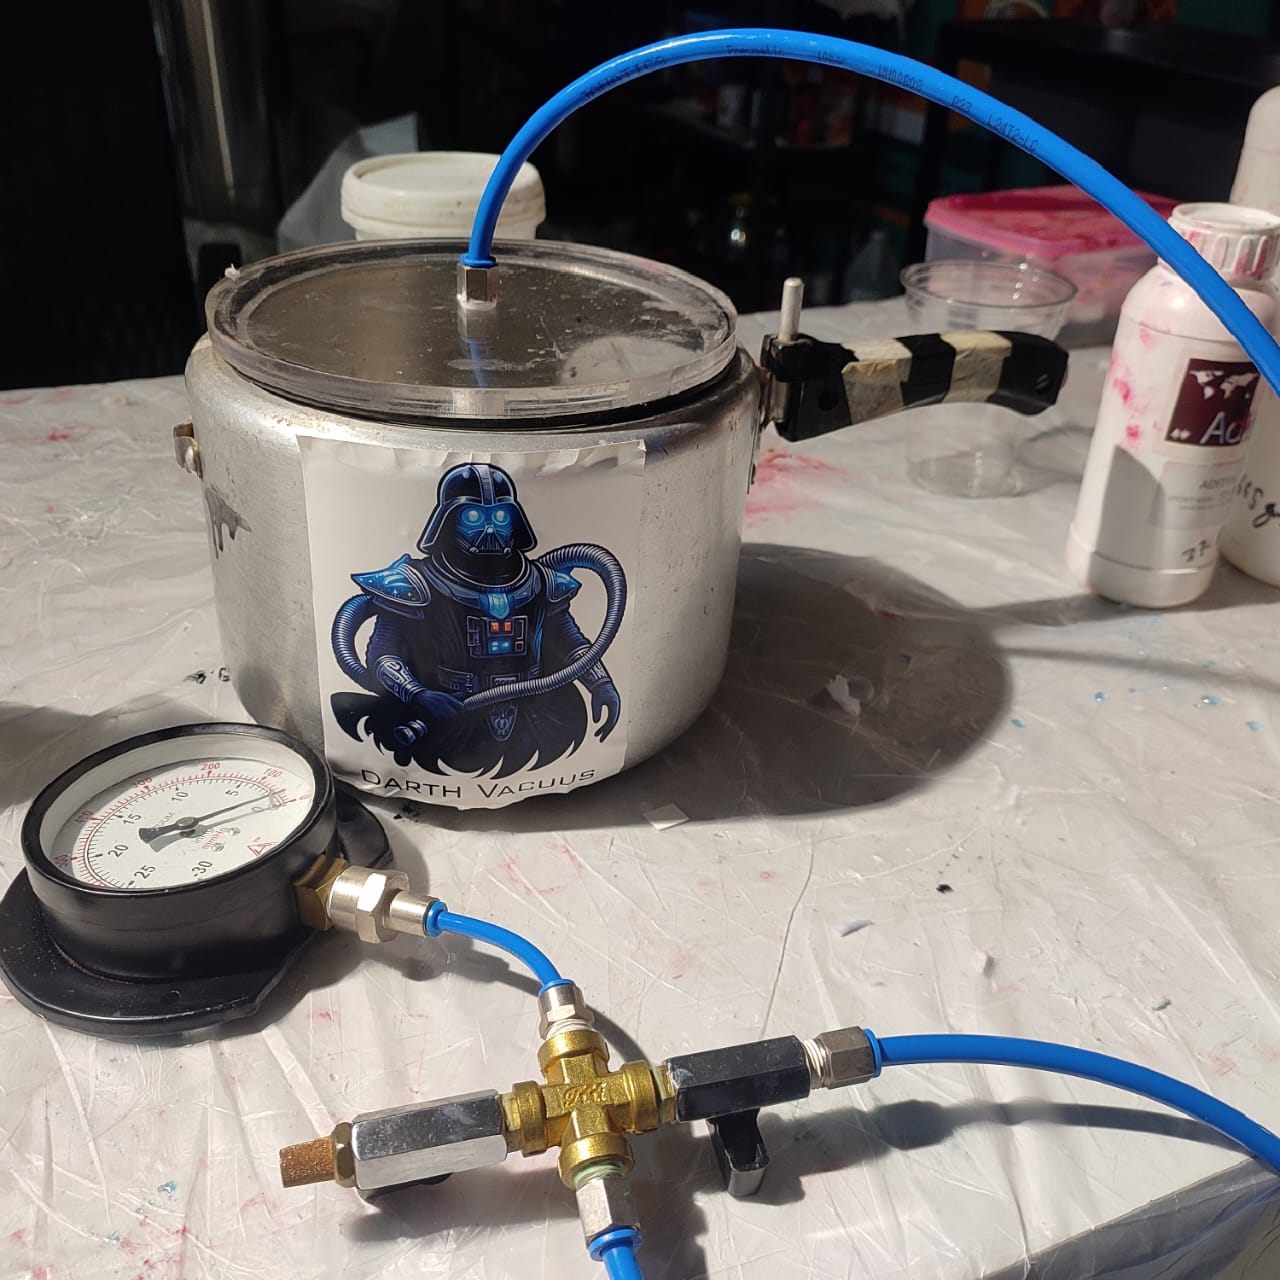
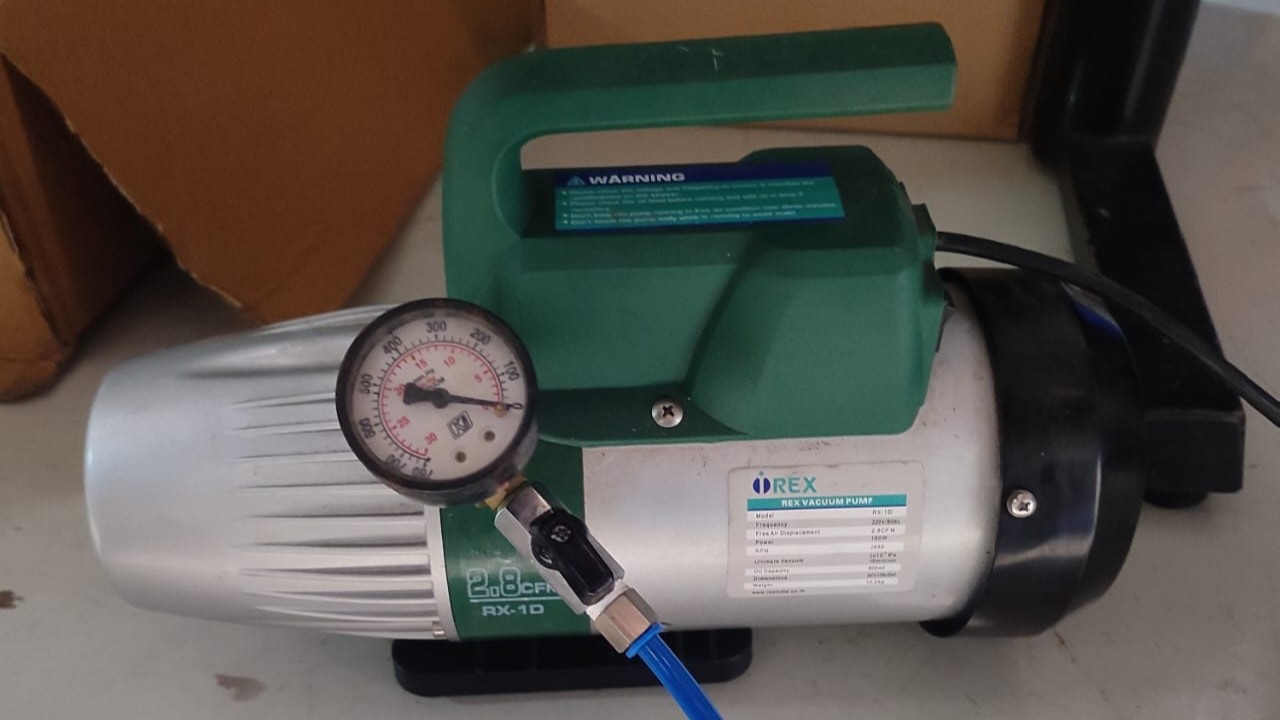
De-Gasing

Degassing resin before casting is a crucial step in ensuring the quality and integrity of the final casted product, especially in processes like resin casting or epoxy resin casting.
Degassing Chamber: Transfer the mixed resin into a degassing chamber or vacuum chamber. This chamber should be able to withstand vacuum pressure and should be equipped with a vacuum pump.
Apply Vacuum: Seal the degassing chamber and start the vacuum pump to create a vacuum environment inside the chamber. The vacuum will cause air bubbles and gases trapped in the resin mixture to rise to the surface. Observe Degassing: As the vacuum is applied, you will observe bubbles rising to the surface of the resin mixture. These are the trapped gases and air bubbles being removed from the resin.
Hold Vacuum and Release: Maintain the vacuum for a sufficient amount of time to allow most of the bubbles to escape. The duration of degassing depends on factors like resin type, viscosity, and volume. After degassing, release the vacuum slowly to prevent rapid expansion of the resin.
Pour or Cast: Once degassing is complete and most of the bubbles have been removed, pour or cast the resin into the mold. The degassed resin will have fewer air voids, resulting in a smoother, more uniform casting.
Degassing resin before casting helps minimize defects such as bubbles, voids, or surface imperfections in the final casted product. It improves the strength, clarity, and overall quality of the resin casting.
Comparison table
Compare printing Vs machining molds
We created a master mold using FDM printer and one using DPM RX2 Vertical Milling Machine
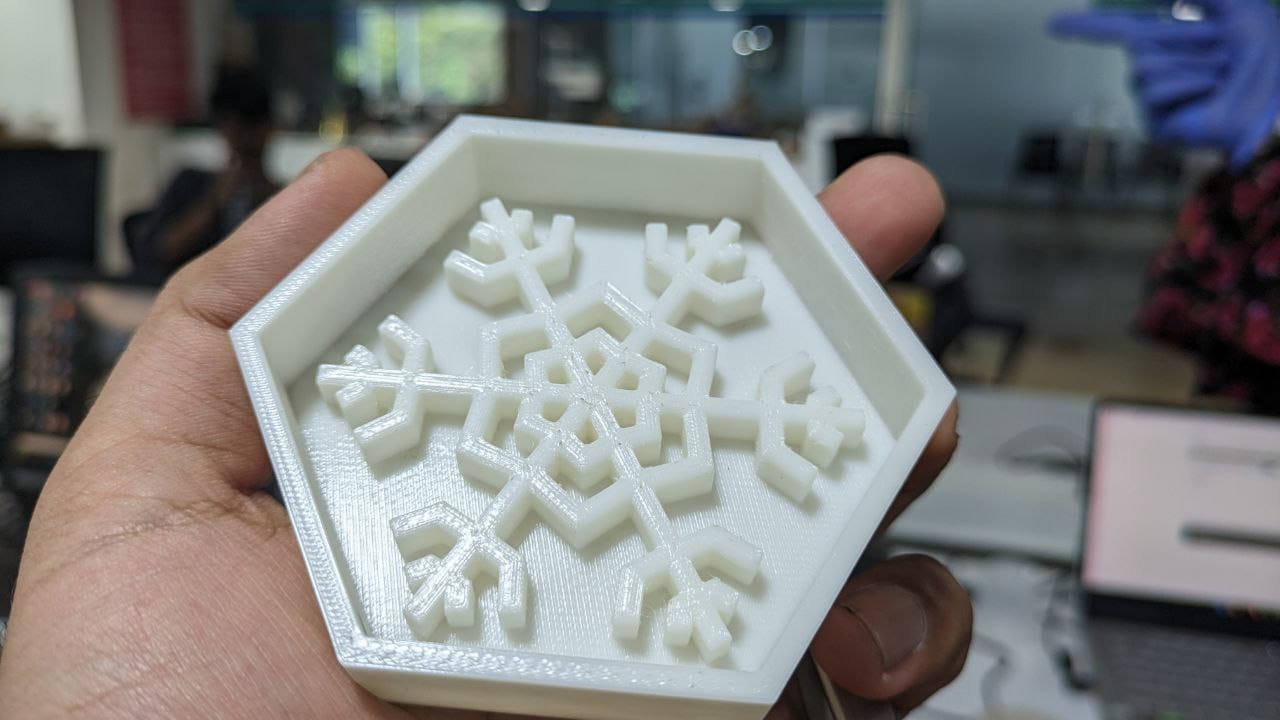 With printer we were able to get thinner lines with defined edges. The process was much easier in the printer as it doesn’t require much machine operation or tool setups
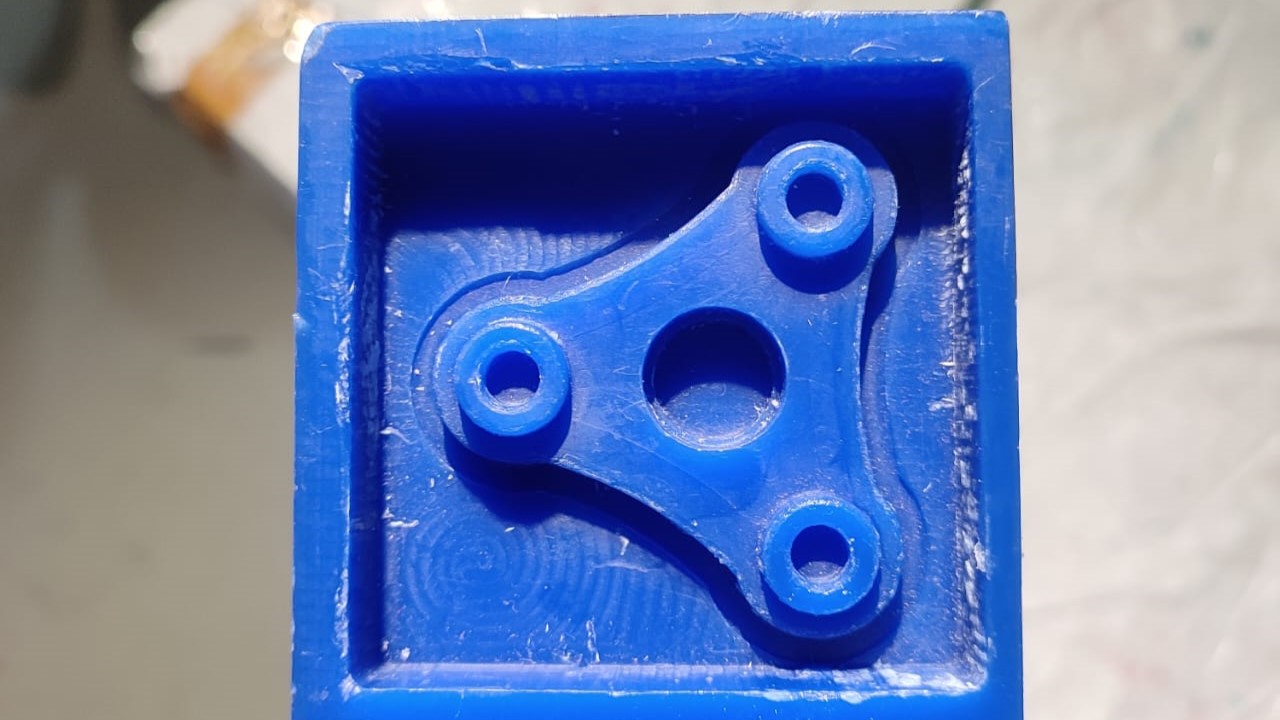 with Milling we had to restrict the smallest possible gaps to 3mm since that is the minimum bit size available. With milling the tool setup was consuming a considerable amount of time particularlt when there’s more number of tool strategy involved.