12 - Molding & Casting
Designing Molds and Casting with Different Materials
I had done a lot of molding and casting but I had never really properly learned how to design molds and cast things. Also my knowledge is limited to 3D printing molds with quite a bad surface finish and the casting material Ecoflex 00-30. Therefore, I am really keen on learning about molding and casting this week. In detail, the tasks for this week's assignment were:
- Group Assignment
- Review the safety data sheets for each of your molding and casting materials
- Make and compare test casts with each of the materials
- Compare printing vs machining molds
- Individual Assignment
- Design a mold around the process you'll be using
- Produce it with a smooth surface finish
- Use it to cast parts
- For extra credit, use more then two mold parts
Group Assignment
We started our group assignment for this week with reviewing the data sheets for the casting materials, namely for a silicone called ProtoSil RTV 245 and a polyurethane called NEUKADUR ProtoCast 105. Their data sheets are available here and here, respectively. Below, I have summarized the most important aspects of the materials.
| Properties | Information | ProtoSil RTV 245 | NEUKADUR ProtoCast 105 |
|---|---|---|---|
| Pot Life | Time for usage after first contact of components | 80 min | 5 min |
| Demolding Time | Time needed for curing | 12 h | 60 min |
| Mixing Ratio (A:B) | Mixing ratio between both components | 10:1 | 1:2 |
| Viscosity after Mixing | How runny is it and how fast it can fill the mold | 35 000 mPa s | 325 mPa s |
In addition, it is important to note that the polyurethane can be hazardous and therefore care must be taken when working with this material.
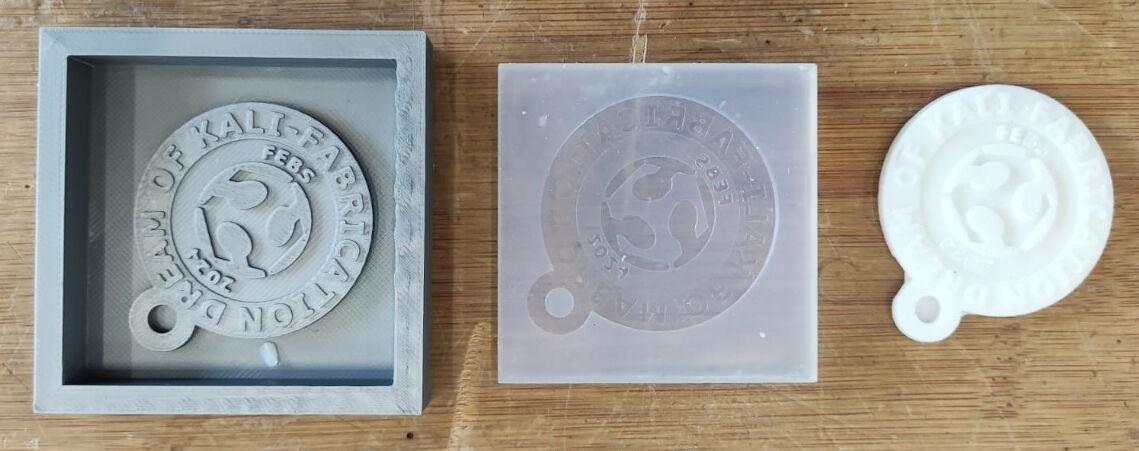
Next, we 3D printed a mold using a BambuLab X1 carbon and the high quality profile with the smallest layer height available for the 0.4 mm nozzle, namely of 0.08 mm. FDM printing in this case yields a very good surface finish as the design is more or less a 2D design or rather no 3D curvatures are present.
With this mold, we cast the negative from the silicone and consecutively from this the positive using the polyurethane material. The results are shown in the image below.
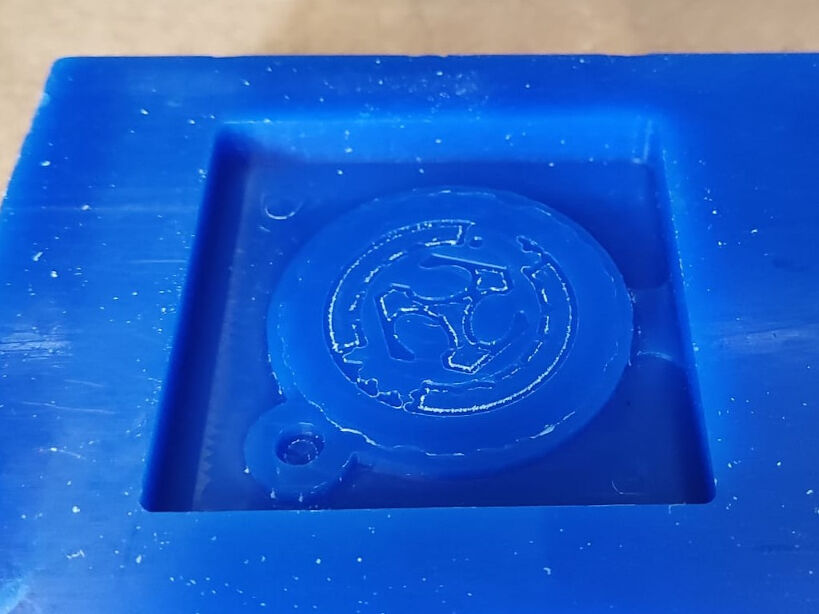
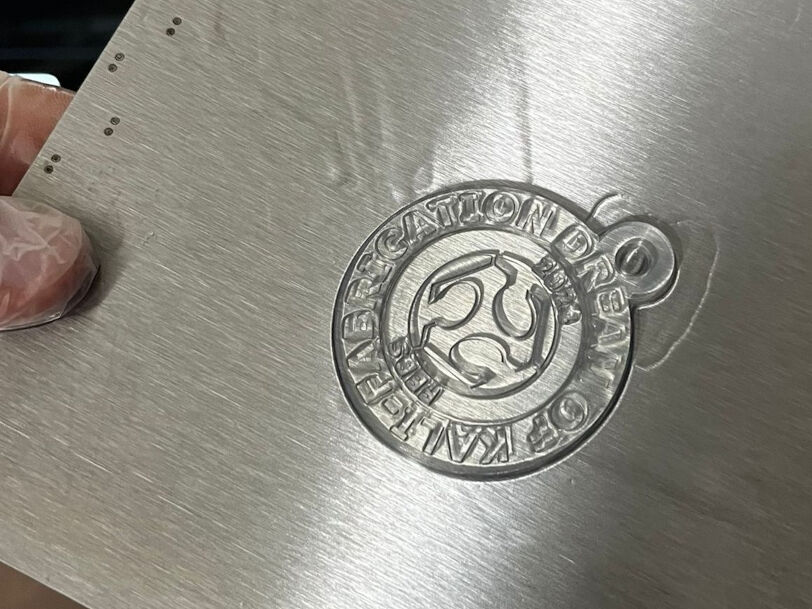
In addition, we fabricated the same mold from machinable wax using the Roland MDX-40 and only the positive with a resin printer, namely the Form 3+ SLA printer. Compared to the FDM printed mold, the milled mold does not pick up the details of the text. Time-wise both are comparably fast however, the milling does take a lot more effort do generate the milling paths. Due to this and the few details, milling this mold is not recommended.
Comparing the FDM printed and SLA printed molds, does not illuminate any obvious differences. The surface finish on the side of the extruded profiles might be slightly better for the SLA printed object than for the FDM printed one. Nevertheless, in this case where no 3D curvatures are present, both prints are about equally good. However, it must be mentioned that the material for the SLA printer is very costly and printing only the positive amounts to about 10 €. The FDM print therefore is a lot cheaper and for this design probably the go-to fabrication process.
Individual Assignment
As a first aspect for this week's assignment, I had to think about what I want to cast and with this what I had to model. Here, I wanted to challenge myself a little and design something in Blender. To stay within the theme of frogs which had developed over the first few assignments, I decided on casting a frog's arm and hand.
To achieve this goal I firstly designing the positive mold parts and manufactured them with a high resolution FDM 3D printer. Then, I cast the negative molds from a hard silicone and lastly the positive from polyurethane.
Computer-Aided-Design of the Positive Mold
Blenderis a really great CAD-software for creating organic and thus realistic shapes. However, a more engineered design with parameters and rectangular shapes with certain sizes is - at least for me - still too advanced in Blender. Therefore, I firstly designed the positive in Blender which I then imported into Fusion 360 to design the positive mold parts.
Designing the Positive in Blender
As a first step for designing the positive in Blender, I opened the software which initially shows a default project. In there, I firstly selected everything by pressing "A" and then deleted the selected objects to have a blank page.
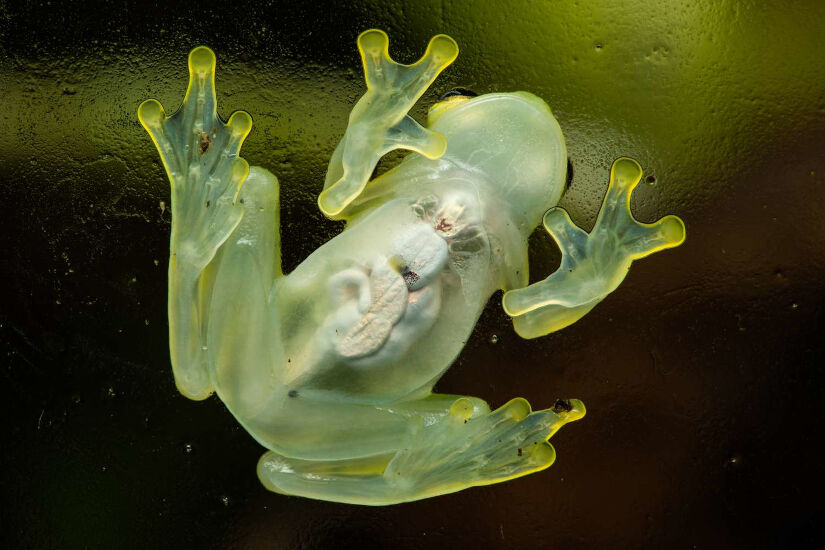
For designing, I started with using a reference image that I found by simply googling. I was looking for a
hand of a frog from the bottom, i.e. trough glass, and I was happy with an image I found on
this website. In order to input it to Blender,
I pressed Shift + A in object mode. This opened a dropdown at the position of my mouse where I
selected Image > Reference.
After it was placed in Blender, I adjusted the position by clicking on it and setting all rotation values to zero.
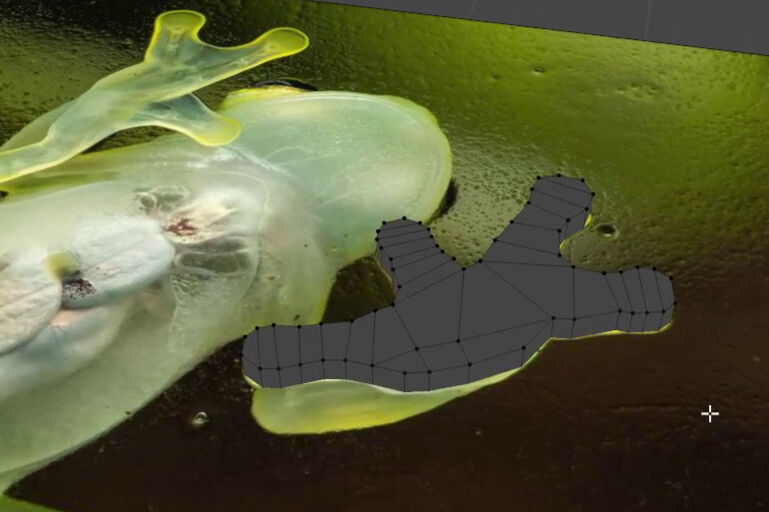
Then, I started modelling by switching to the "Edit Mode" in the top left. In there, I fixed the view onto
the XY plane in which the image was positioned by pressing on the "Z" in the top right corner.
Then, I added a cube by pressing the key A and selecting Mesh > Cube. To move all nodes of the cube,
I switched the visual style to a wireframe model by pressing the key Z and selecting "Wireframe" in
the pop-up.
Then, I selected all nodes of the cube and pressed the key G to move them. As I locked my view onto
the XY plane, this only moved the cube in that plane. Also pressing either X, Y or
Z moves the selected part only along that axis. With these techniques, I moved the cube into one finger.
For this, I also had to scale the cube down by pressing S.
Furthermore, I moved the points on one side slightly furthermore out to right. Then, I added more nodes between
the moved an non-moved nodes by making a loop cut. This can be done by pressing Ctrl + R, clicking to
specify the edges to split and clicking again for the exact location.
Then, I applied more loop cuts to the cuboid for a higher resolution and adding more features.
To elaborate the current design, I had to create the fingers. For this, I selected two adjacent pair of nodes
and pressed the key E. This allowed be to extrude the nodes. I repeated this for the second finger.
For the finger on the right, I also rotated the extruded front by pressing the key R.
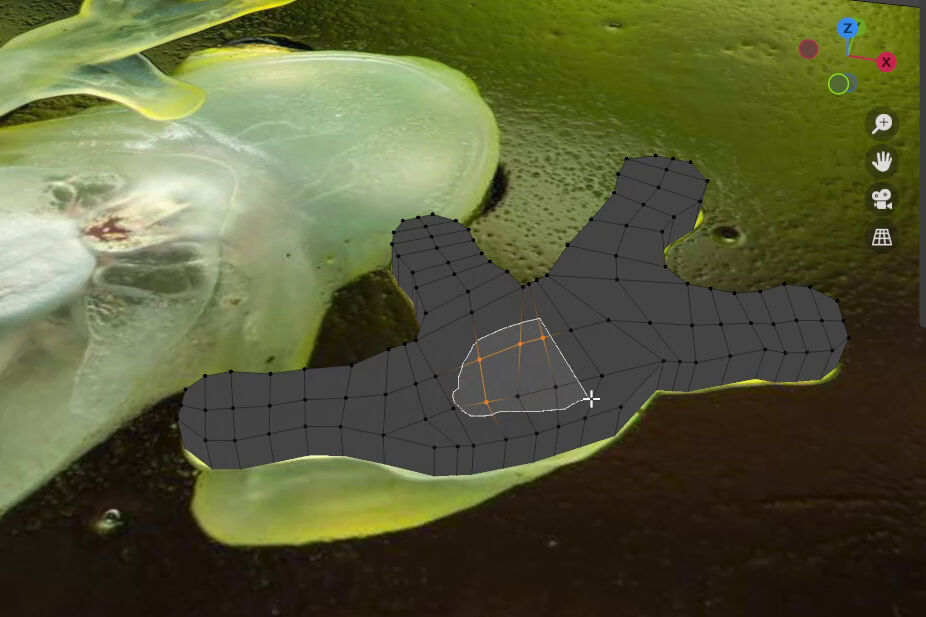
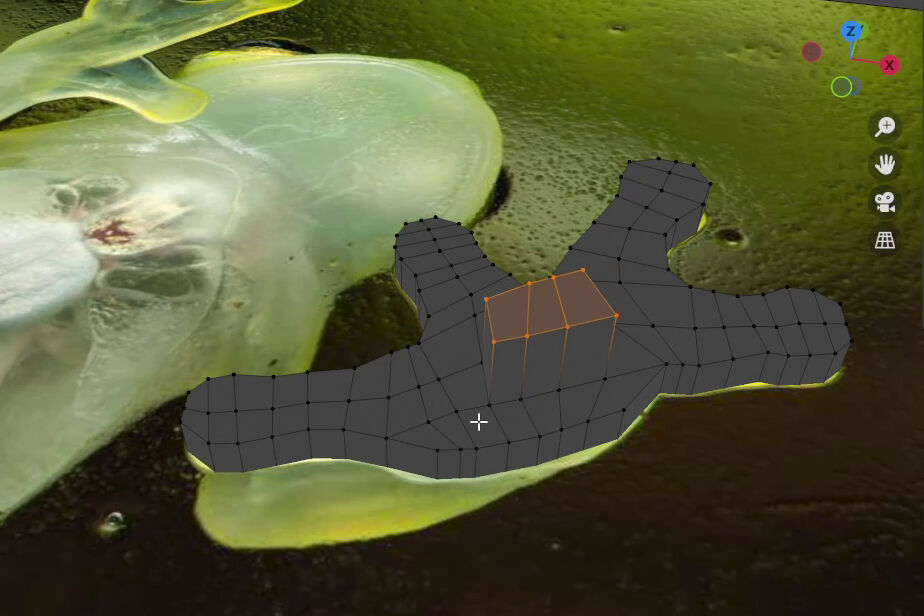
To elaborate this design even more, I added more loop cuts for all various edges and moved the created nodes to form the shape of the hand.
By going back to the visual style "Solid" and changing the view, I had created a 3D structure consisting of transformed cubes.
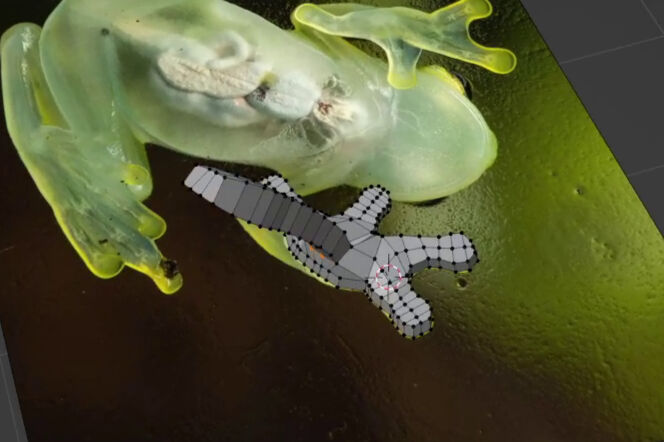
Next, I wanted to attach an arm to the rough sketch of a hand. For this, I selected several nodes on the top of the
model with a lasso selection by pressing Ctrl and using the right mouse button. Then, I extruded
the selection to create the attachment of the arm.
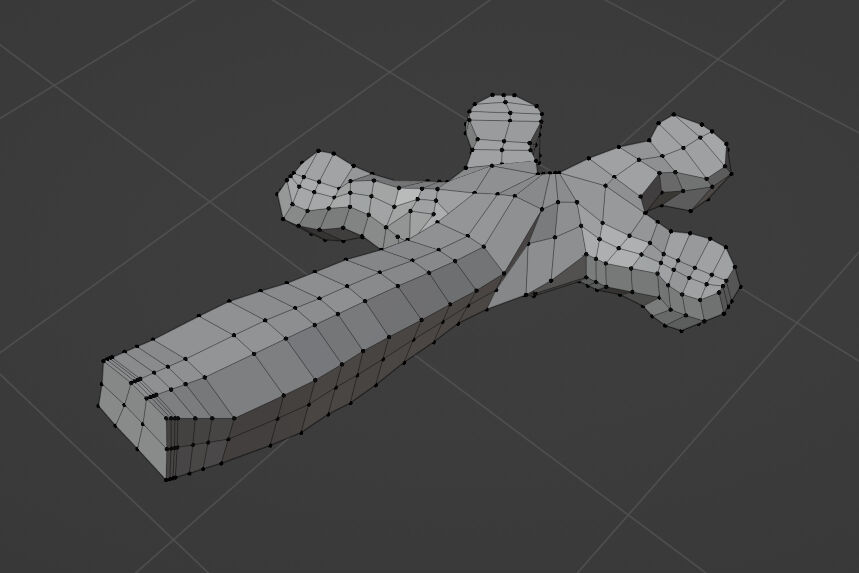
I extruded the arm even further and added some circumferential loop cuts. To give it a better shape, I also rotated the arm, moved it to the desired position and dragged nodes for a more organic shape.
Lastly, I added some loop cuts at the open end of the arm to give this part a higher resolution. The exact reason for this will get obvious in the next step.
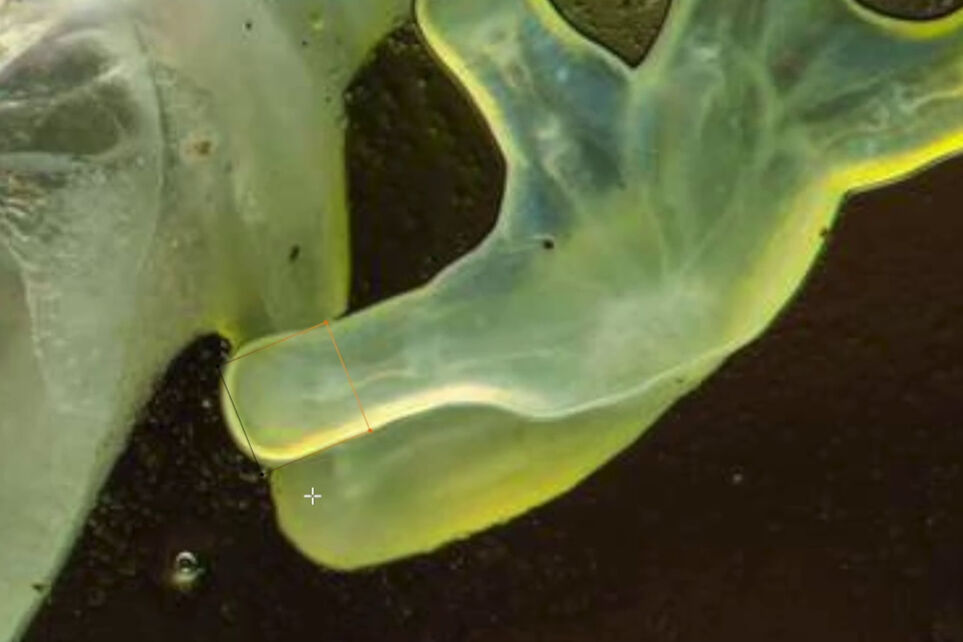
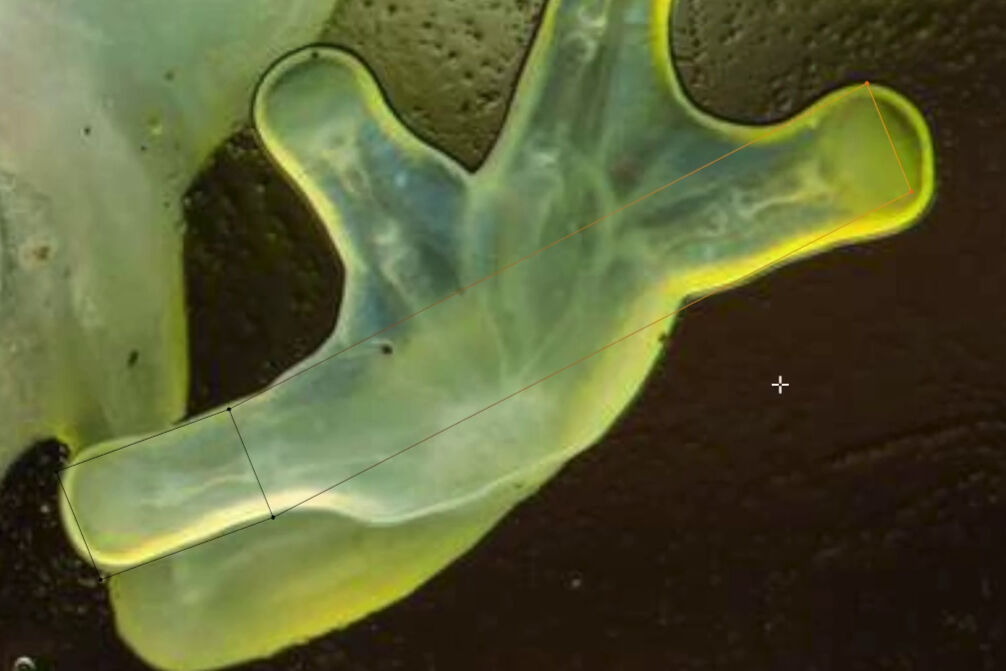
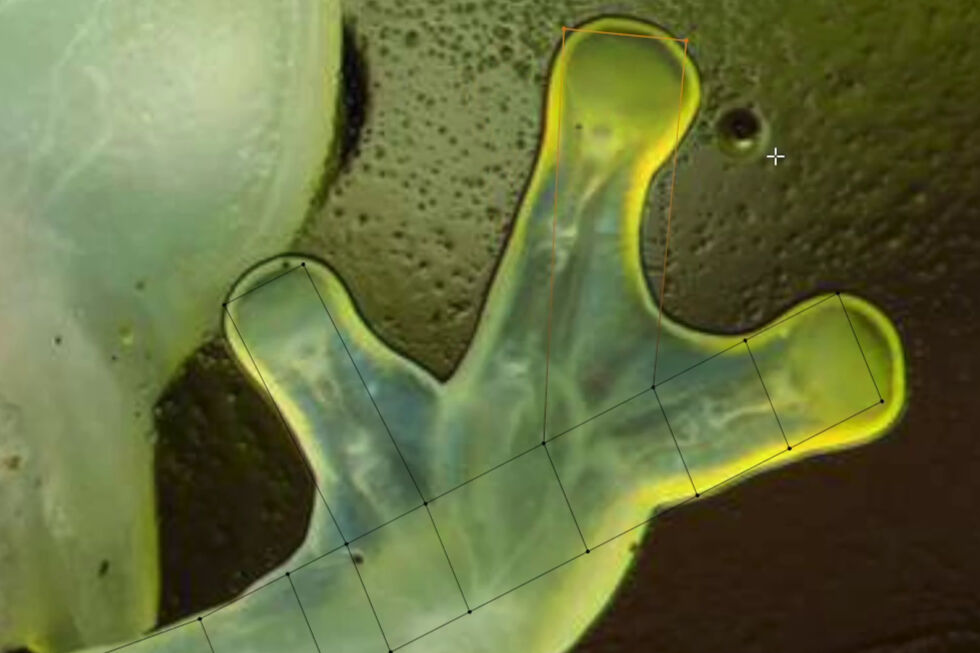
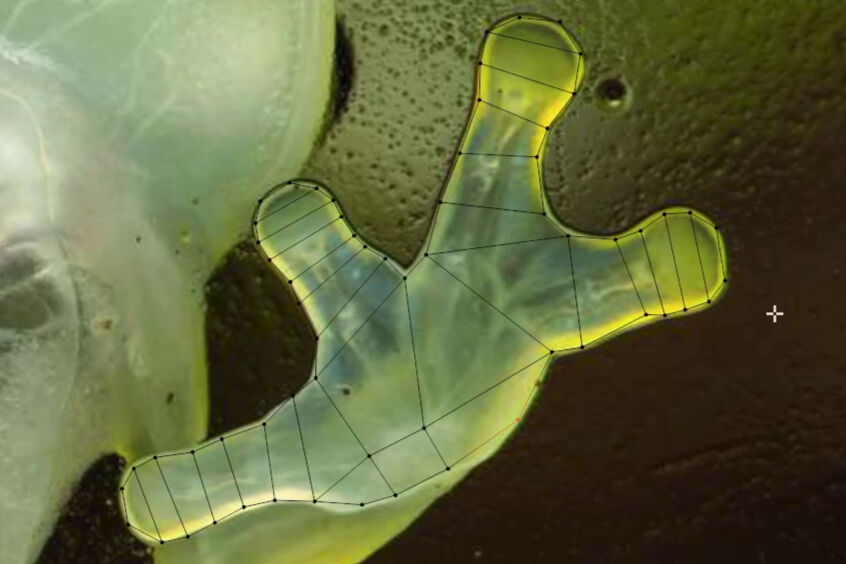
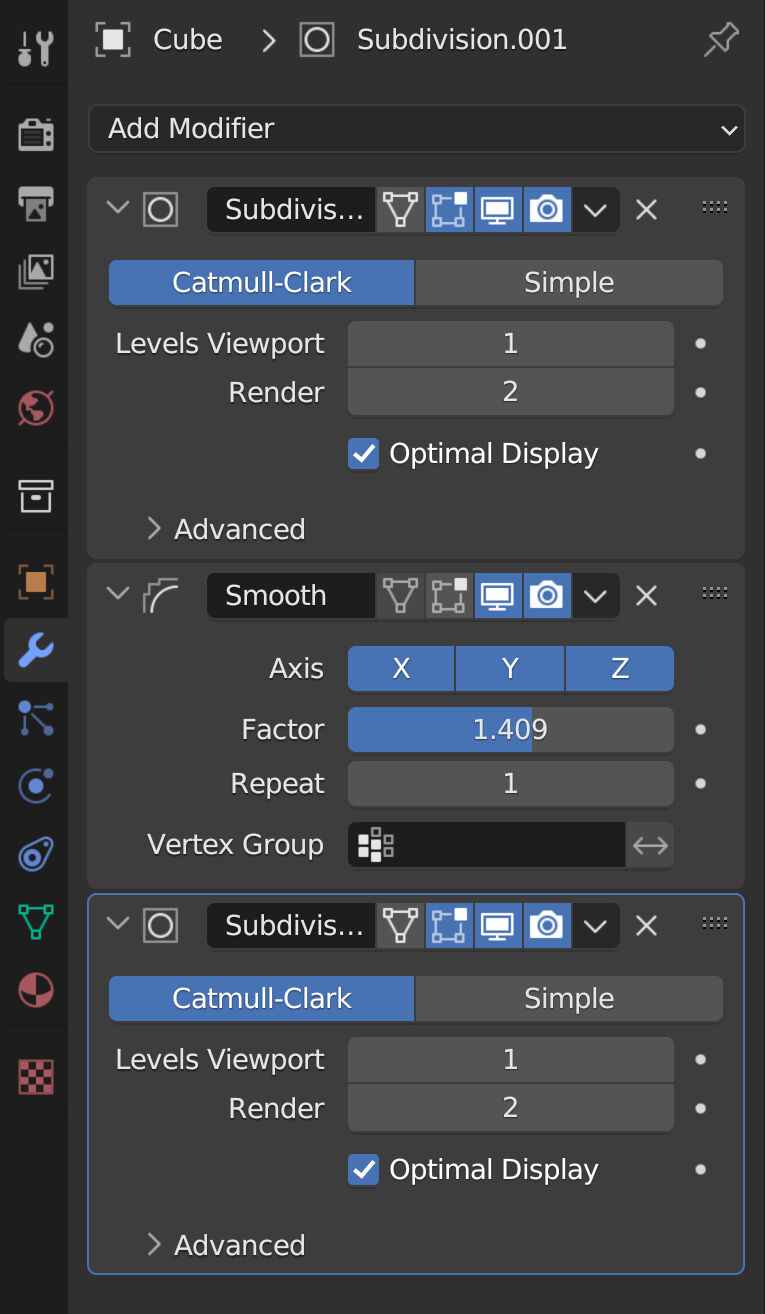
In the very end, I applied a subdivision modifier for a higher resolution, a smooth modifier for a smoother surface and another subdivision modifier, again for a higher resolution. The according settings are shown in the image.
With the modifiers applied to the model, the part got from a very rough and preliminary shape to a very organic and smooth shape.
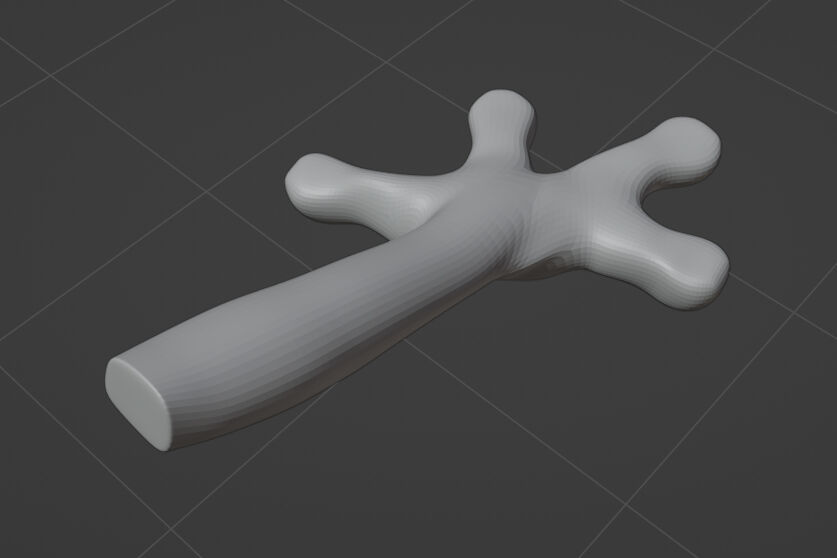
Finished Model in Blender
From Blender, I exported the mesh by clicking on File > Export > Wavefront (.obj).
Designing the Positive Mold in Fusion
To design a mold, I used another 3D CAD software namely Fusion 360. Firstly, I imported the mesh I designed in Blender by going to the "Mesh" tab and clicking on "Insert Mesh". This opened a dialog, where I specified the file and pressed "OK".
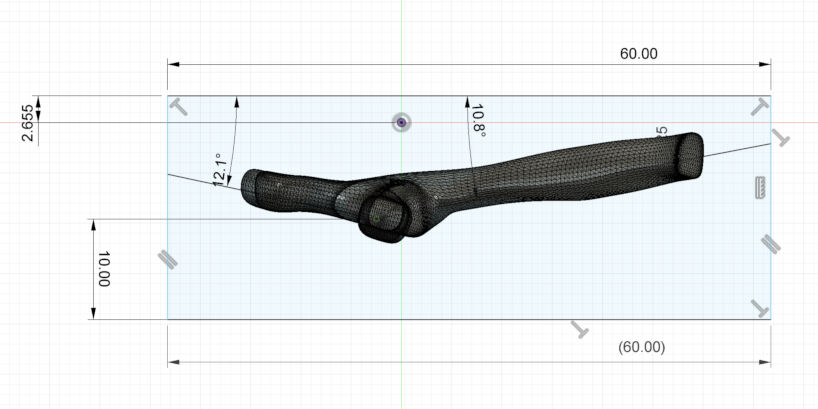
As I did not care about the scale in Blender, it was now time to bring the model to the desired size. This can be done in the same tab under Modify > Scale. Next, I rotated the model such that the first and last finger were aligned along the x-axis. The reason for this step will get obvious in a later step. In short, this allowed me to split the model in two parts by simply drawing on the YZ-plane without generating too many undercuts. The last mesh editing was done by converting it to a solid. For this, I pressed Modify > Convert Mesh.
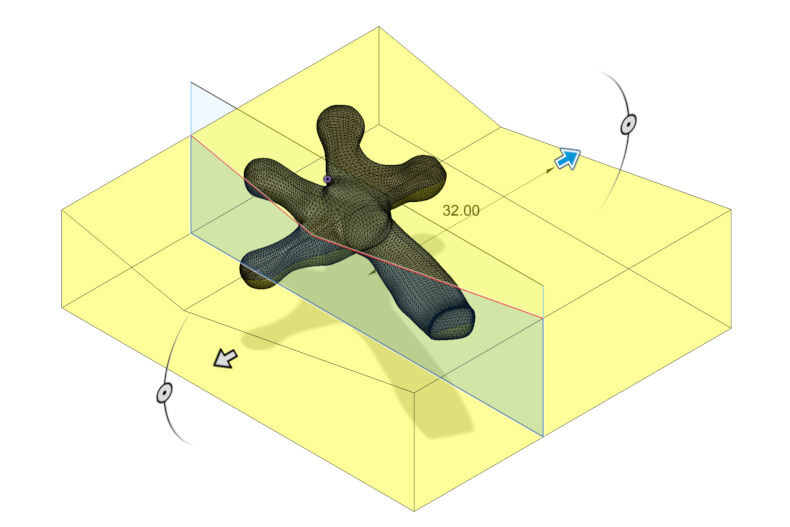
After that, I started with drawing a sketch on the YZ-plane. This is basically a rectangle around the model which is split in half by two angled lines which meet on the previously aligned first and last finger. The dimensions shown guarantee the positioning of this point where the two lines meet. Additionally, I used this to specify the length of the mold as you can see later.
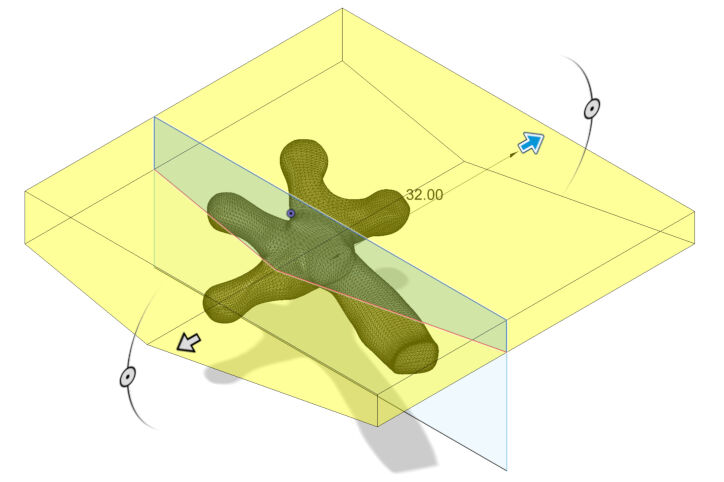
Next, I copied the model of the frog's hand without moving it. With this, I could apply two boolean operators on both copies to split the part in two halves. For this, I used the extrusion tool with the "Intersect" operation. Here, the initial model was first cut with the profile of the upper half of the rectangle of the previously made sketch to cut away the bottom. Then, the profile of the lower half of the rectangle was used to cut away the top half of the 3D model. The result is not really visible in the images but it should get clear in the next few steps.
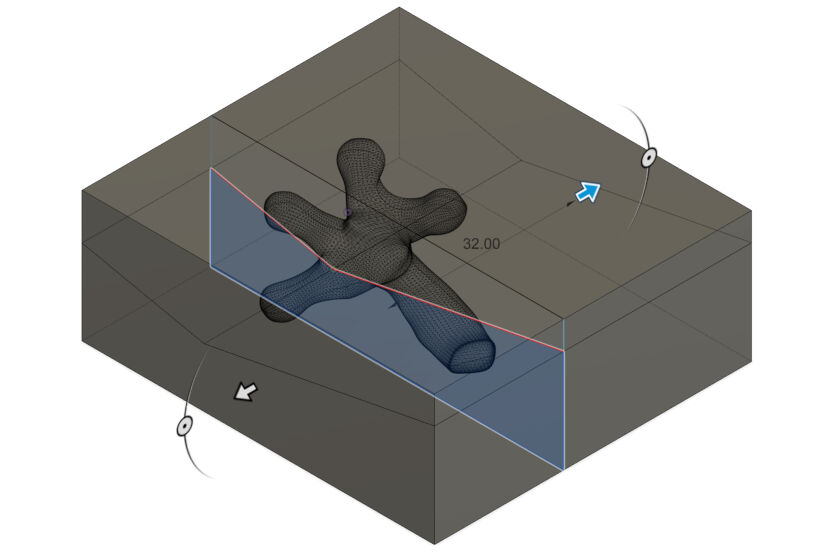
After this, I created the two halves of the mold on which the parts will be placed simply by extruding the two profiles of the rectangle of the initial sketch with the "New Body" operation. Here, the profiles were extruded by 22 mm and 32 mm to the two sides, respectively.
With the previous steps, I created four bodies in total. The two halves of the model and the two halves 3of the extruded rectangle. Next, I merged one half of the model with one half of the extruded model with the Modify > Combine Tool. Here, I used the non-intersecting but touching parts.
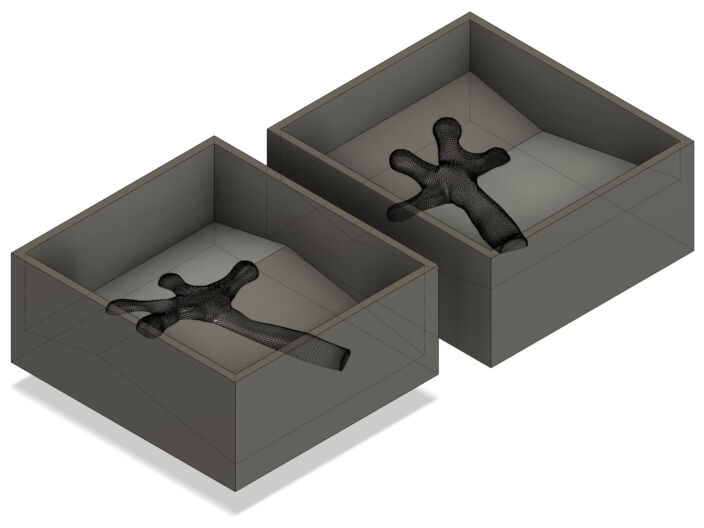
Lastly, the two parts were moved apart and one was rotated to further modify the two halves of the mold.
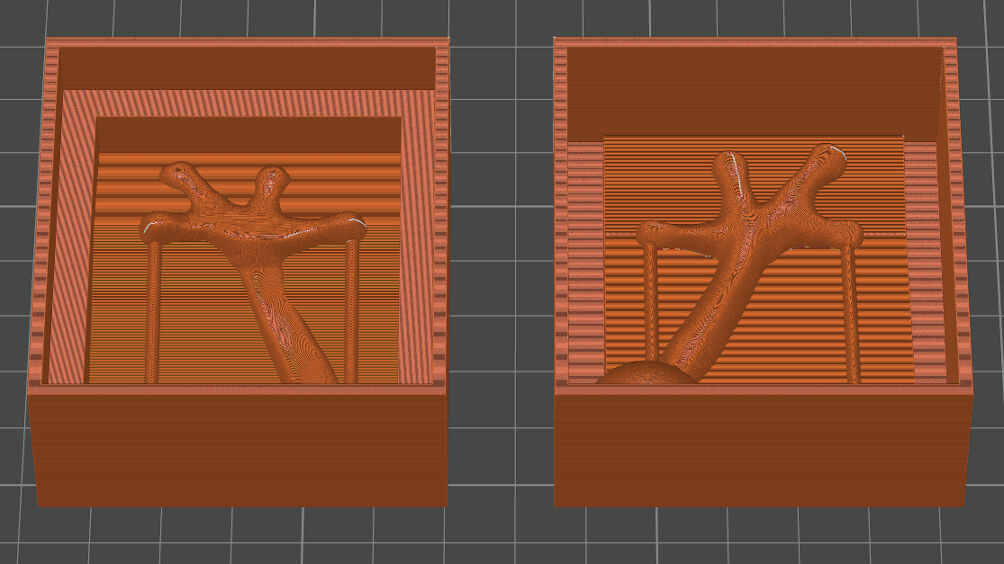
After that, I added some walls around the mold to shape a container for the casting material. To align the two parts of the mold, I also added a registration frame. It consists of a rectangular extruded ring at the walls of the mold parts which is positively extruded on one part and negatively on the other.
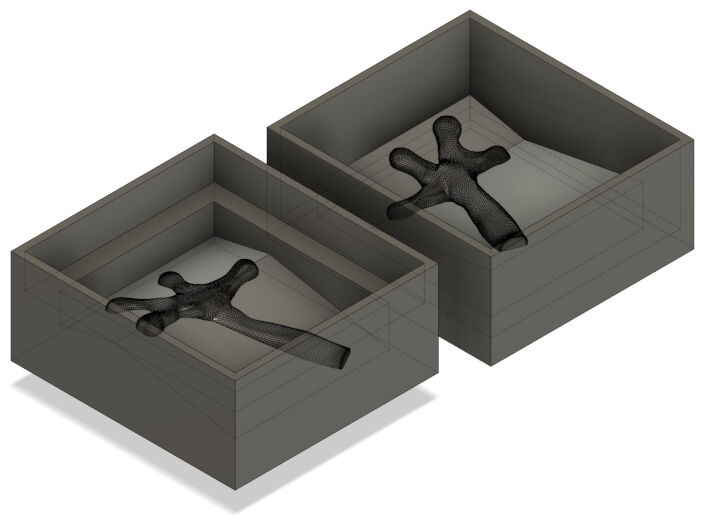
As air will get trapped in the first and last finger when the part is cast, some vents or air shafts are needed. To create these, drew a sketch on the longer slopes of both mold parts. Both sketches consist of two rectangles with a width of 2 mm starting on the edge that will be the top of the mold down to the respective finger. The distances to the side are fixed and match the dimension of the rectangle on the other part. The rectangles are split in half length wise such that a 360° revolution of the half of the profile results in semicircular profile on top of the slope.
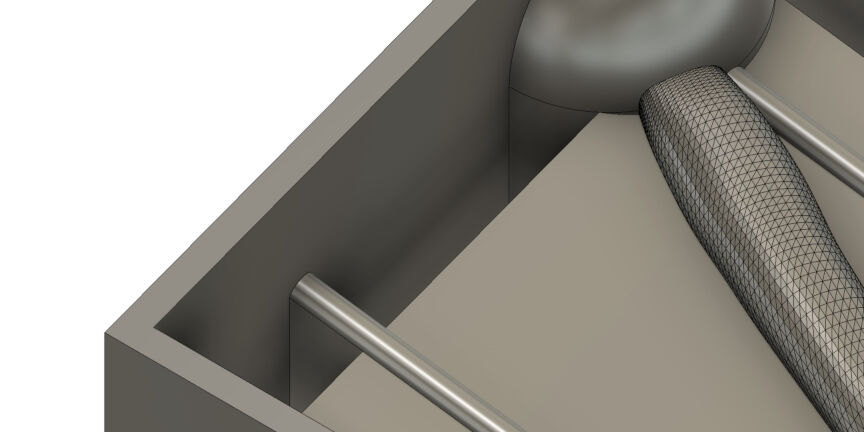
Next, I added a pouring basin by revolving a semicircle along the axis parallel to the shafts. Here, the diameter was 20 mm. Instead of using a sprue, I placed the sphere of the pouring basin in such a way that the arm of the model can act as the sprue.
Lastly, to be able to de-mold the casts, I had to add some "supports" below the floating vents and pouring basin. For this, I simply extruded their projected profiles between the bottom of the registration frame and the respective feature of the model.
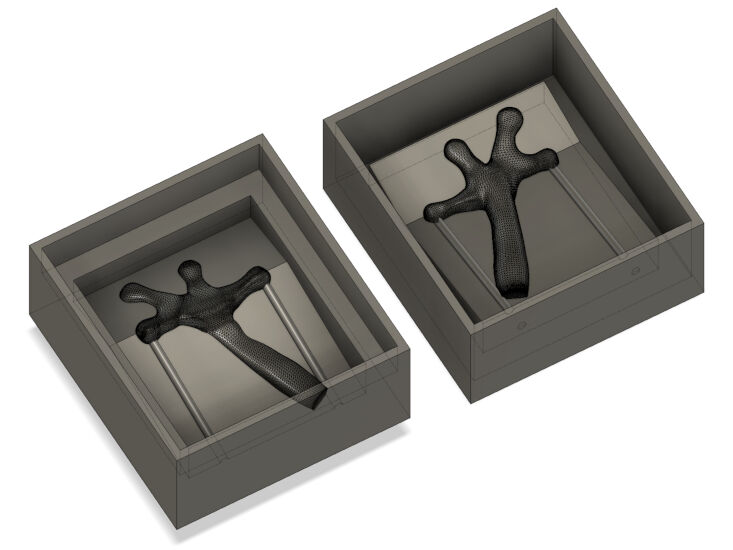
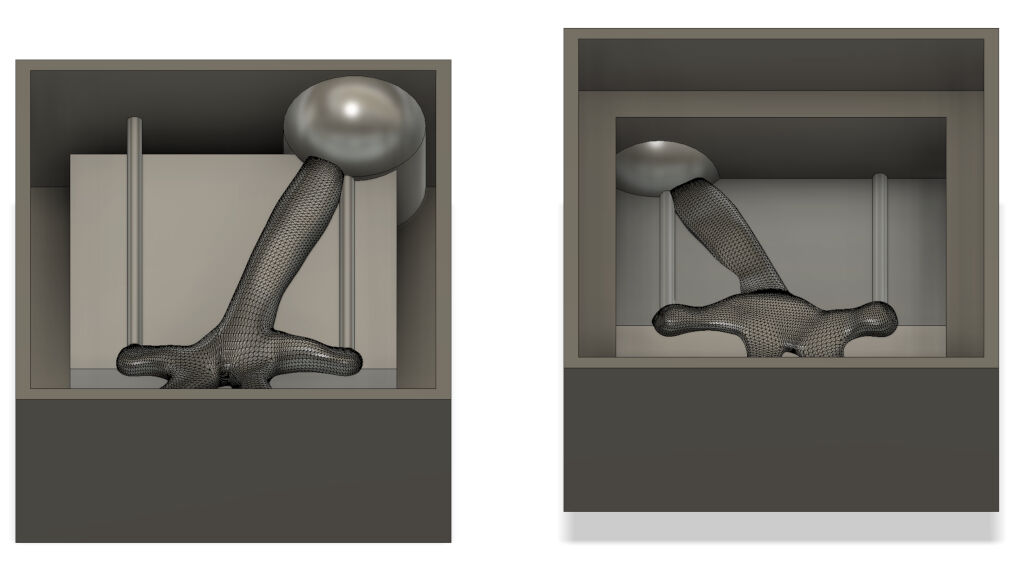
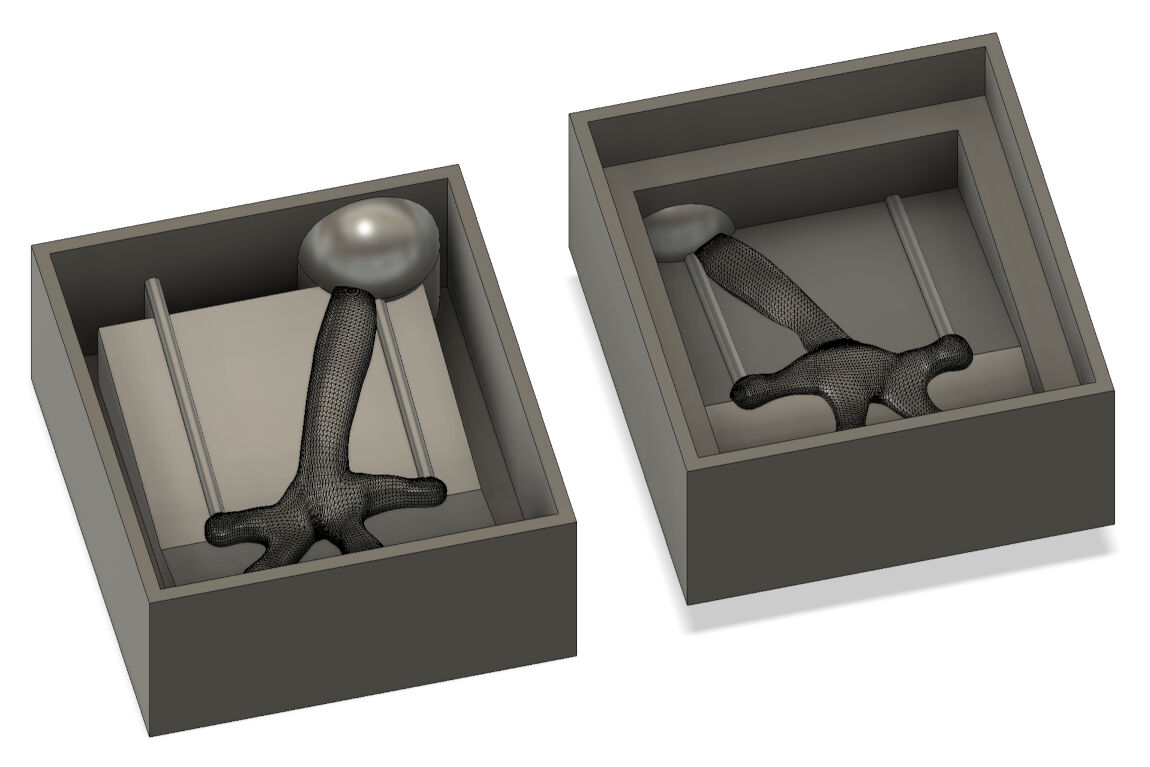
With this, I was done with the mold. Its parts are shown below.
From Fusion 360, I exported the design as a .step file by clicking on File > Export.
3D Printing of the Positive Mold
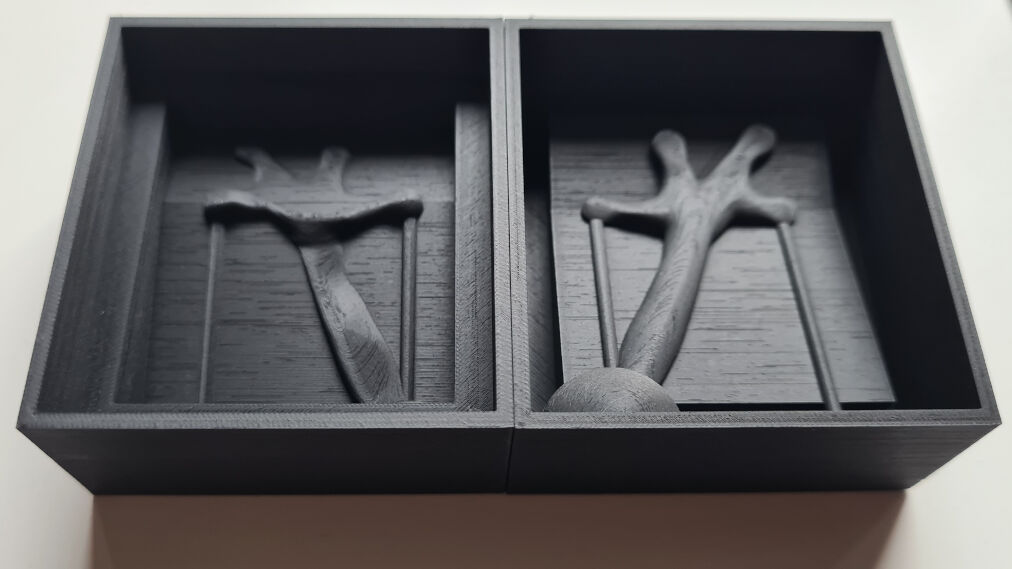
The mold was 3D printed on a BambuLab X1 Carbon with a 0.2 mm nozzle. Here, I opened the slicer software Bambu Studio and drag and dropped the .step file of the design into the window. Next, I selected the right printer and nozzle as well as the build plate, namely the "Smooth PEI Plate / High Temperature Plate". As a profile I selected "0.06mm High Quality @BBL X1C 0.2 nozzle" with its default settings except for the layer height which I decreased to the minimum possible with the nozzle, namely 0.04 mm. For more information on 3D printing, please refer to the according assignment.
To even further increase the quality of the surface finish, I used BambuLab's PLA matte filament in black for the print. Then, I sliced the plate and started the print via network.
With this smaller nozzle, 3D printing took substantially longer, i.e. 18.5 hours. After it was done, I simply removed the prints from the build plate. I was really surprised by the quality as the surface finish of the mold parts is almost perfect and the layers are barely visible.
Casting the Negative Mold
Once, the 3D printing had finished, I proceeded with casting the negative mold parts from the two positive ones. Here, I used the silicone ProtoSil RTV 245. Before using molding materials, it is necessary to look into their data sheets. In this case, the data sheet is available here which we reviewed in our group assignment. This material is especially useful for negative molds as it is relatively stiff but flexible enough to demold the cast.
Mixing the Components
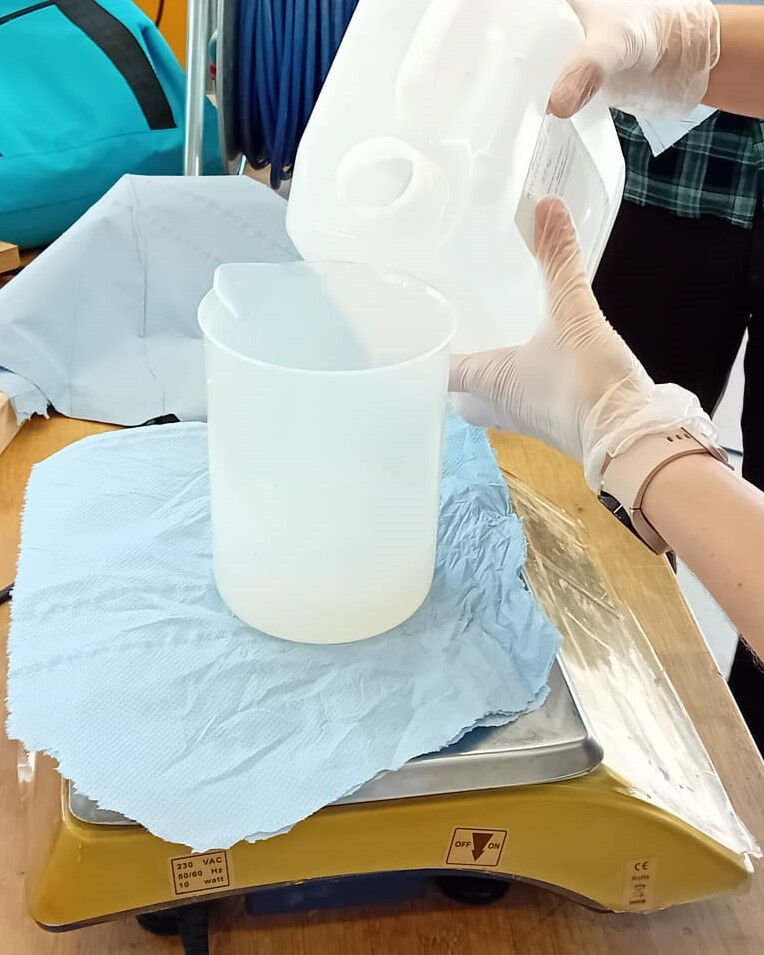
Even though the casting material might not be a health risk but at least for cleanliness it is always recommended to wear gloves and maybe even safety glasses throughout the mixing process. Furthermore disposable paper towels should be used whenever possible between the containers and other objects like the table or the scale.
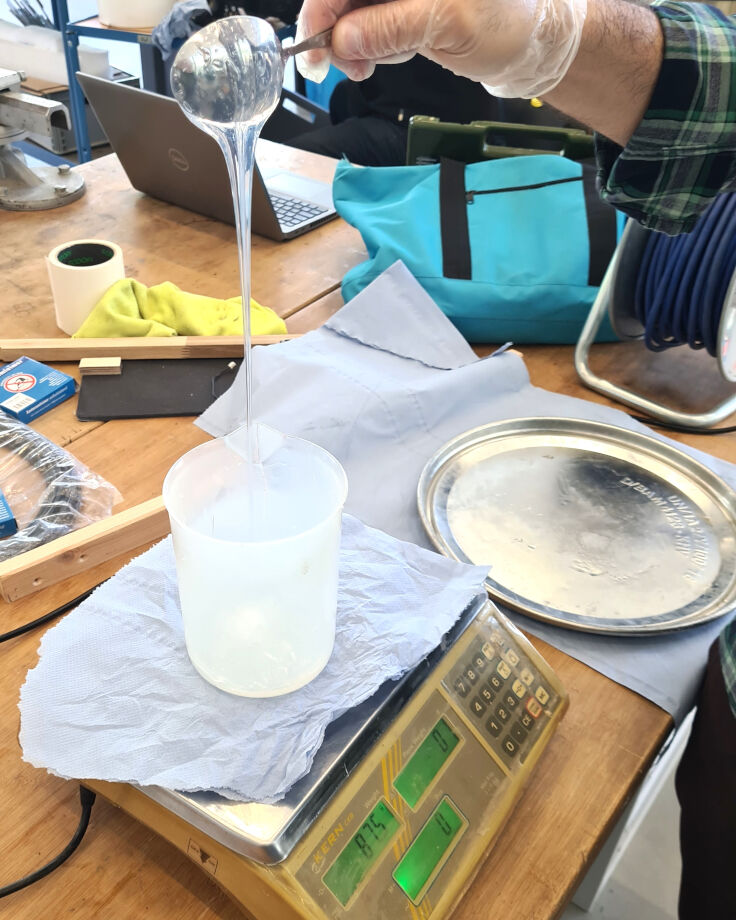
Once, this was prepared, I started with mixing the two components, A and B1.To match the ratios (per mass) of 100:10 or 10:1 (A:B1), I used a scale. Even though it is recommended to first measure component corresponding to the smaller portion as it is harder to measure smaller portions precisely, I firstly put component A on the scale. This is due to its high viscosity which makes it even harder to get the right amount. For weighting, I used special and clean plastic containers which do not react with either components.
Once, both components were in two different containers with the right amount, component B1 was poured on top of component A. Then, I mixed it carefully with a clean stainless steel spoon by shearing and not by folding for approximately one minute. However, this process did not yet mix both components completely and introduced a lot of air. Therefore, a vacuum chamber is necessary.
Using the Vacuum Chamber
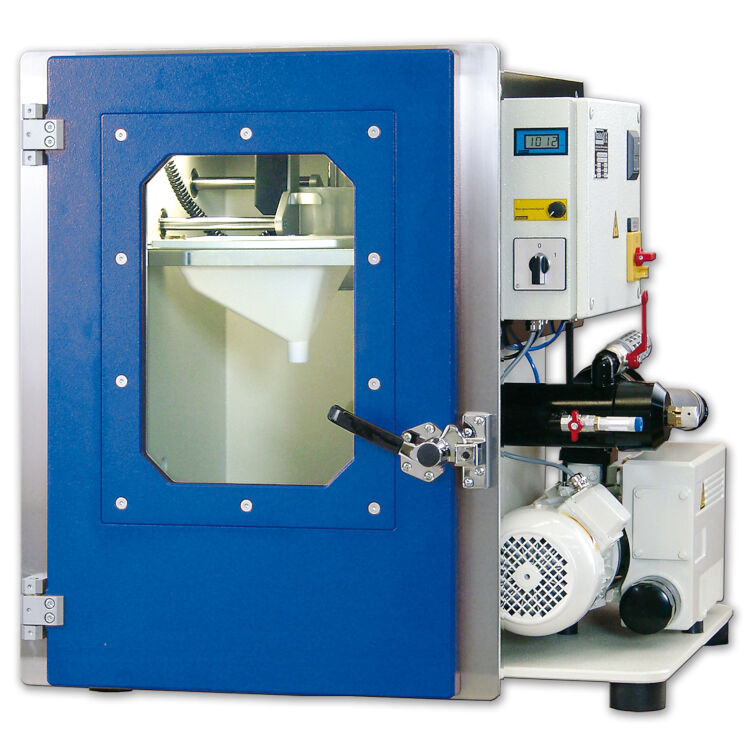
The vacuum chamber in the lab, the Schüchl UHG-500 Easy, is quite advanced compared to other vacuum chambers that I have used so far as it can mix the components while applying a vacuum. Firstly, the machine is turned on with the red round switch on the right side. Then, the container is placed in the chamber along with a stirrer and the door is closed.
Consecutively, the red valve on the side must to be closed before the vacuum is applied by turning the switch in the front from zero to one. Next, I waited for the vacuum to drop to only few hectopascals which is indicated with the display on the right of the door in the top. After the vacuum was reached, the stirring can be activated with the yellow turning knob just below the display.
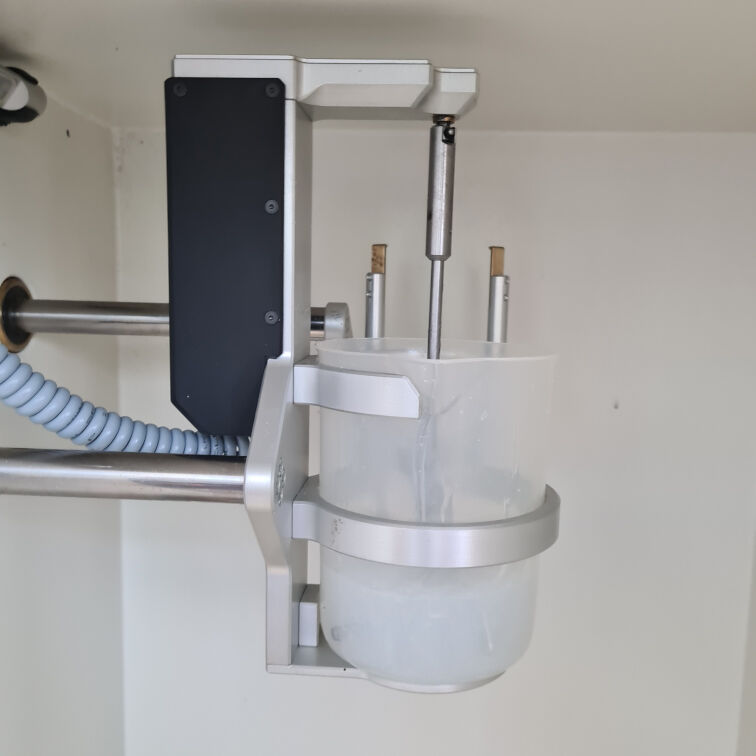
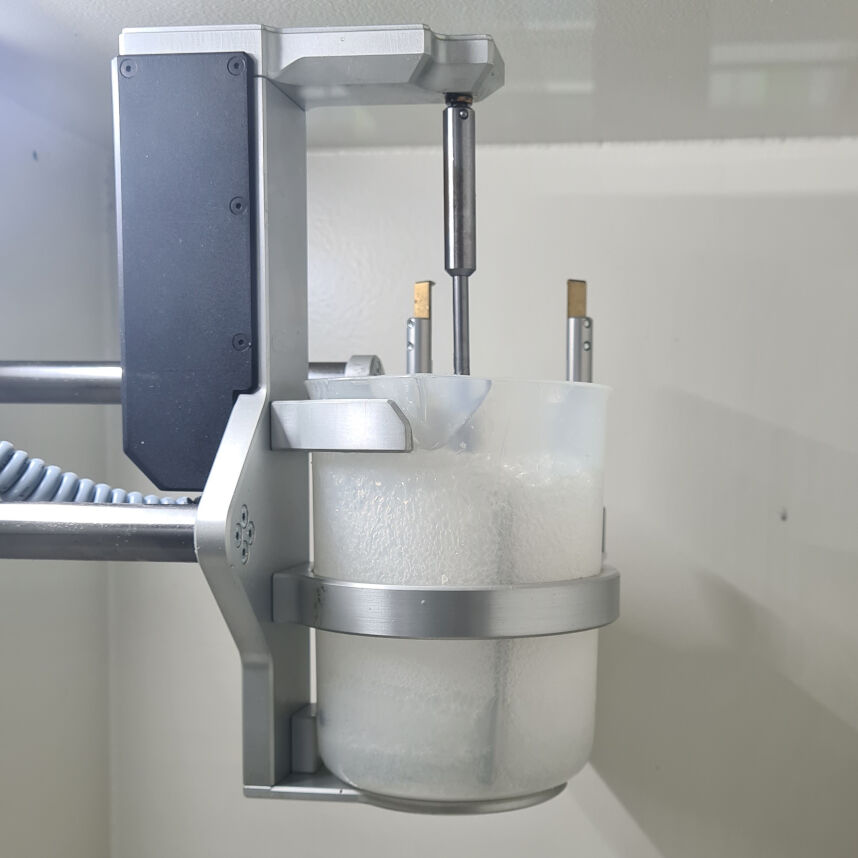
During the vacuuming process it is important to note, that the material can expand. Especially with air bubbles trapped in it, the silicone I was using appears to boil while expanding to about three times the initial volume as shown in the pictures below. This information should also be a part of the data sheet for the respective material.
During the vacuuming, the stirring was turned on and off to limit the expansion to an adequate level. In total, the material stayed in the vacuum for about five to ten minutes. Even though it appears that not all bubbles are extracted, I slowly released the pressure which resulted in a drastic shrinkage of the remaining bubbles. After this, the silicone was completely smooth and no bubbles were visible anymore. It was also completely mixed such that it could be poured into the mold parts.
Please not the pot life of the material you are using for the cast. In some cases, the pot life is only a few minutes which requires a quick mixing and casting process.
Pouring the Silicone
Pouring the casting material into the mold is not as trivial as I thought. Even though it is relatively easy in theory, executing it is a lot harder as it requires a good hand-eye coordination.
Theoretically, the material should be poured with a really small bead as traps the least amount of air and by this flows well into the details of the mold. A small bead can be obtained by pouring from a relatively high position. However, the first drop will always be relatively large which therefore has to be placed on parts of the mold where there are not a lot of details.
Next, I tend to hold the container with the casting material at quite a small angle to reduce the amount of material flowing out. However, this also results in less and less material flowing out. To compensate this and increase the flow rate, the bucked must be held more horizontally which can also result in a sudden big drop of material.
In total, it took me some time but I managed with a lot of patience as I rather did this more slowly but controlled.
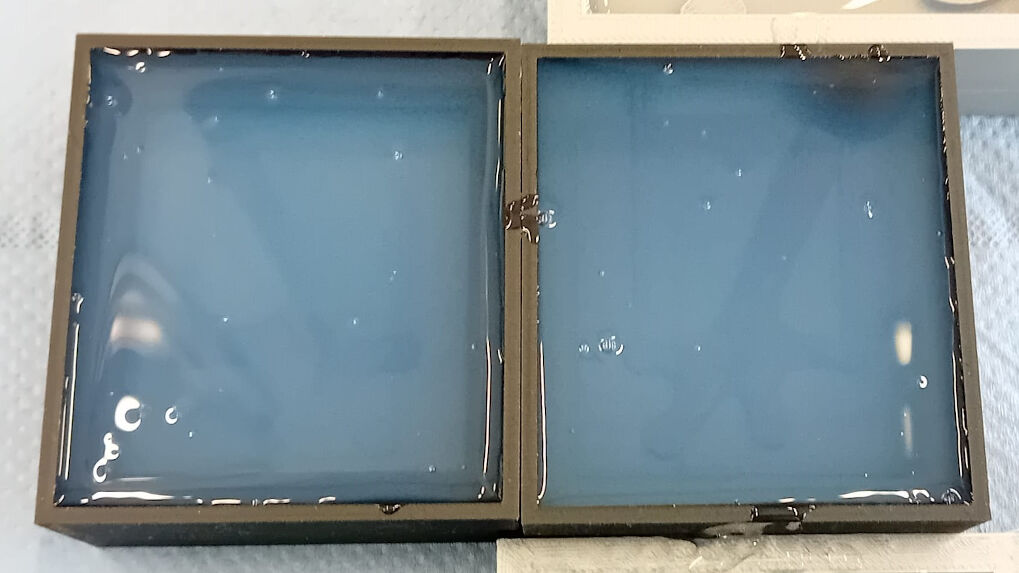
Right after pouring the silicone in it, some air bubbles were still present. However, they slowly rise to the top as long as the silicone is not cured or the pot life is not over. Therefore, this was not a problem in this case, as I had about one hour of the total 80 min from pot life left.
The Negative Mold Parts
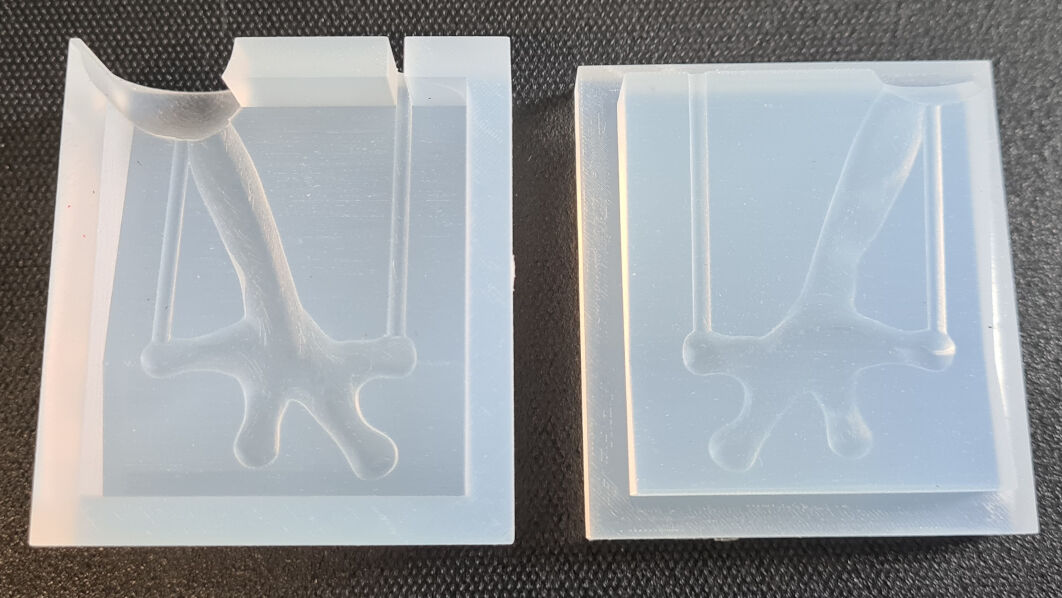
After already four hours, the silicone was cured at the outside. However, according to the data sheet, the material can be demolded after twelve hours. To be on the save side, I waited overnight before taking it out. Demolding was not problematic even though it took some force and patience to pull the cast out starting at the sides and proceeding to the inside. I was really happy with how the two parts of the mold turned out. Even here, you can barely see the layers from the 3D printed ones.
Casting the Positive
For casting the frog's arm from the negative mold parts made out of silicone, I used a material that is not silicone, namely a polyurethane called NEUKADUR ProtoCast 105. Its data sheet is available here. Most important about this material is that it can be hazardous and therefore gloves are a must. Furthermore, the pot life is only about five minutes but therefore the material is quite liquid and the time until fully cured only amounts to 60 min. The reaction of both components is furthermore exothermic and therefore no plastic containers should be used.
Before mixing both components and casting the object, the mold has to be prepared.
Preparing the Mold
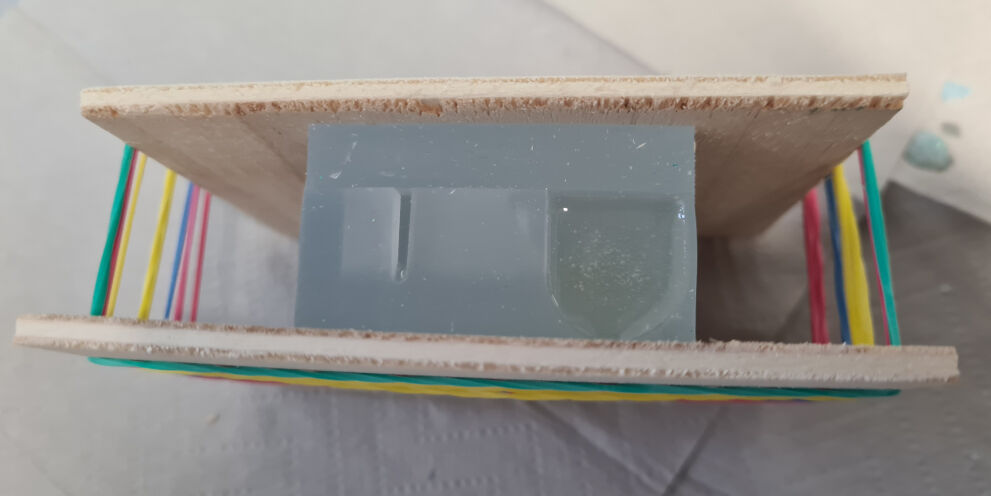
Preparing the mold in this case means assembling the two parts and fixing their position. The first step is relatively simple as it consist of only placing one half on the other in the correct position. However, next this position must be fixed. Ideally, clamps are used which however will squish the flexible parts too much.
To evenly apply a pressure, I cut two rectangles out of plywood and placed them on both sides of the mold. Then, eight rubber bands were used to keep the mold from falling apart and applying pressure evenly. Everything is carefully placed such that the mold stands stably on the ground in an upright position.
Mixing the Components
After the mold was prepared, the two components of the polyurethane are measured by weight with a ratio of 1:2 (A:B) in paper cups. As the pot life of this material is so limited, the mixed components are not placed in a vacuum chamber but only component A for about one minute.
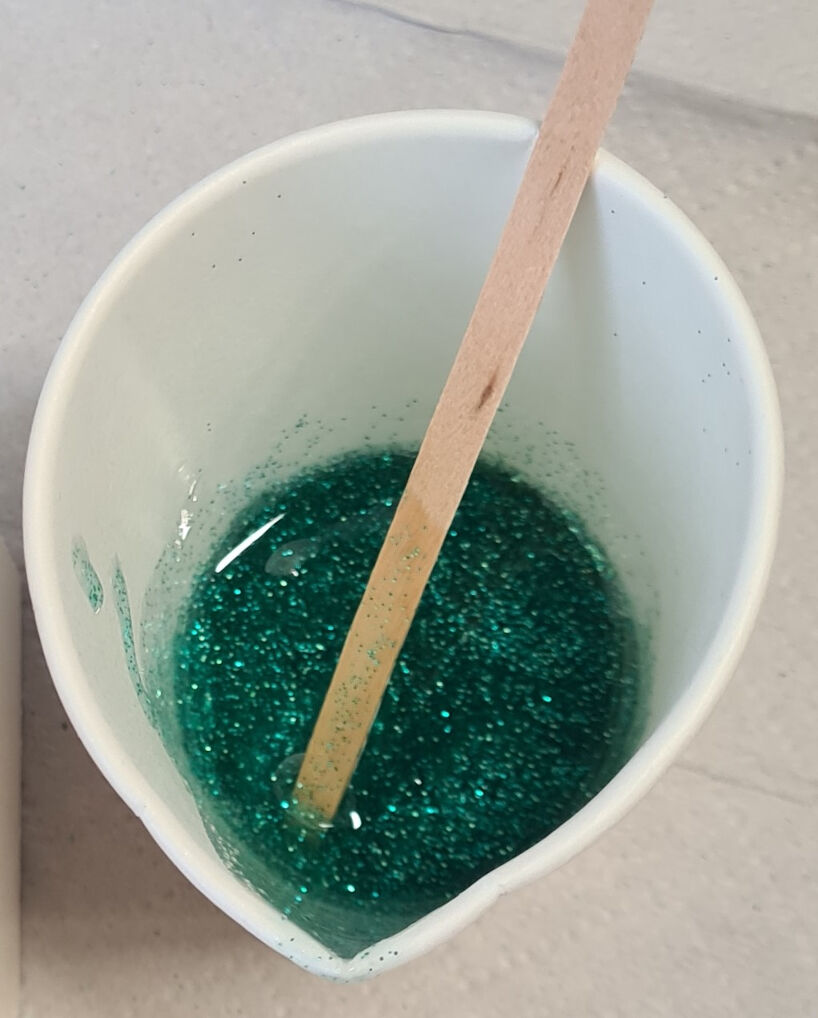
Then, component B was poured onto component A. To make the material slightly more fancy a small amount of glitter was introduces as well. Then, everything was mixed for about one minute with a wooden popsicle.
Pouring the Material
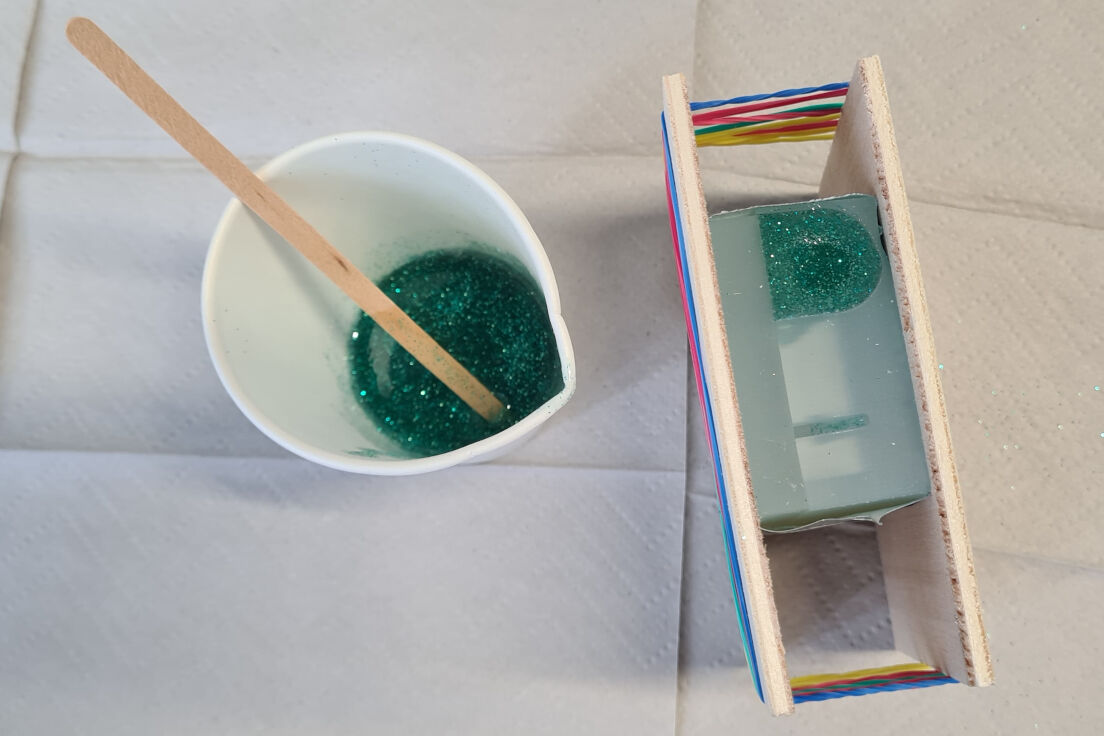
Fortunately, the casting material is relatively liquid and therefore is able to quickly flow into all parts of the mold. After making a kink in the paper cut for an easier pouring, I poured the material slowly into the pouring basin of the mold. Once the material did not flow anymore into the mold I only had to wait for about 30 seconds until the material came out of the vents.
The Cast Frog Arm
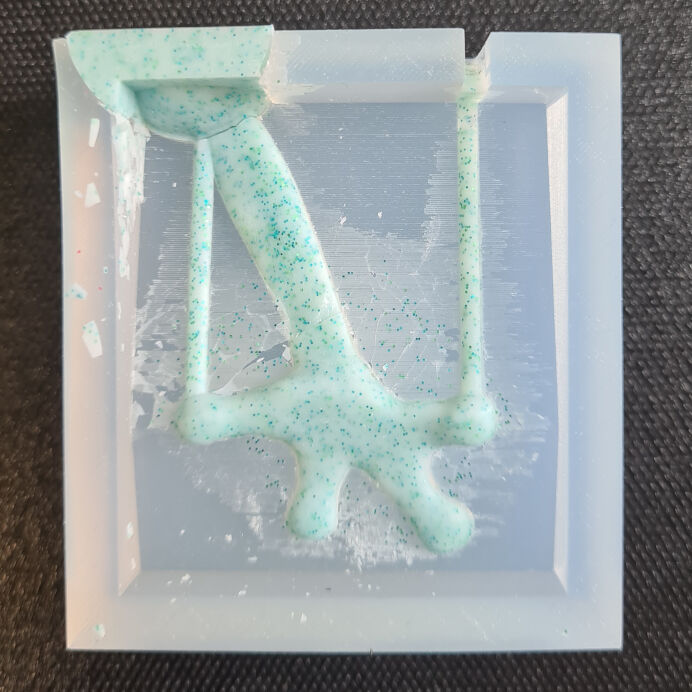
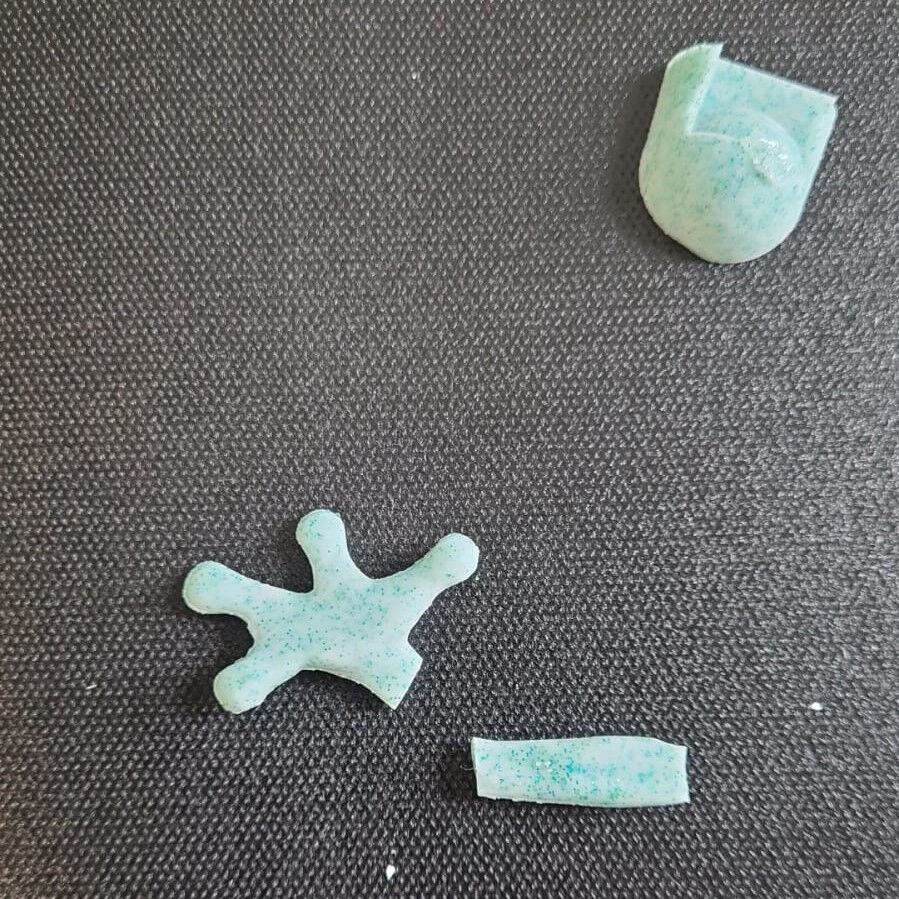
After waiting for one hour, I took the mold apart. After taking one part off, I carefully tried to take out the cast. However, the materials was very brittle and therefore it broke while taking it apart.
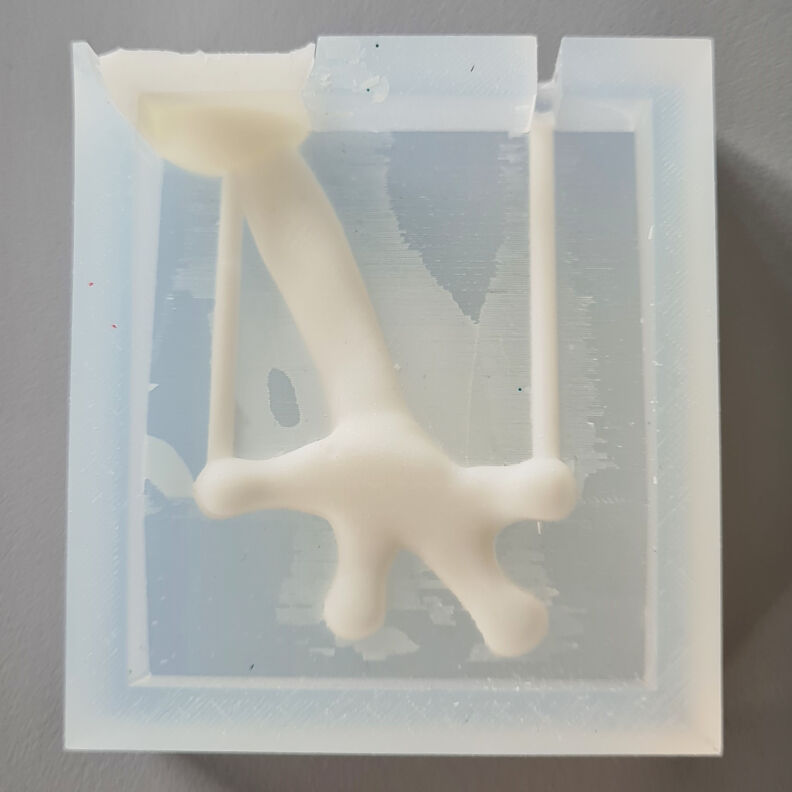
After cleaning the mold by scraping with a wet paper towel, rinsing it and drying it, I repeated the whole process but decided against glitter as it may have impaired the integrity of the material. After it had cured, I took the mold apart even more carefully. And finally, I was able to demold it without breaking the frog arm.
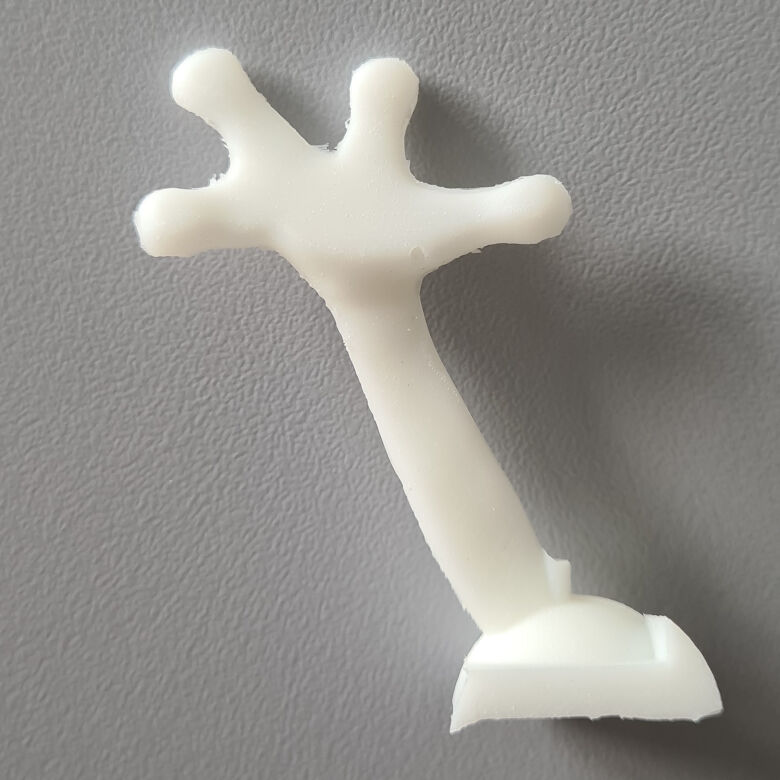
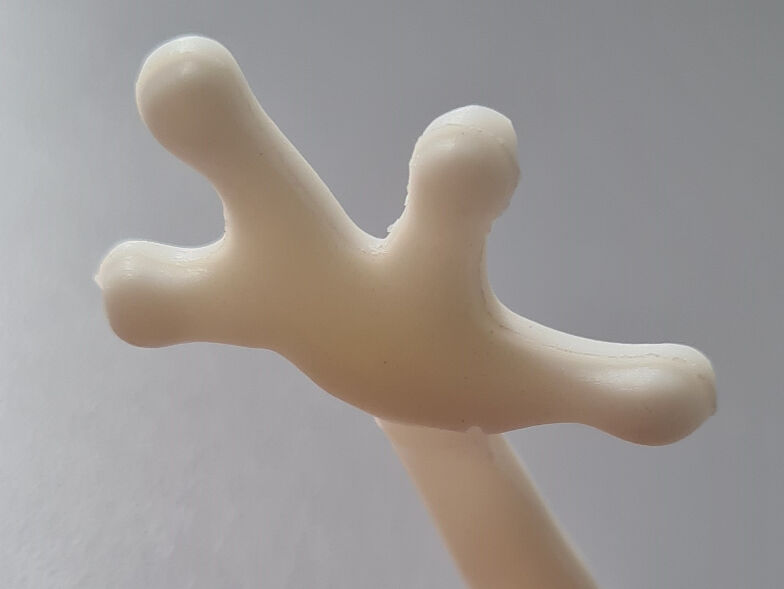
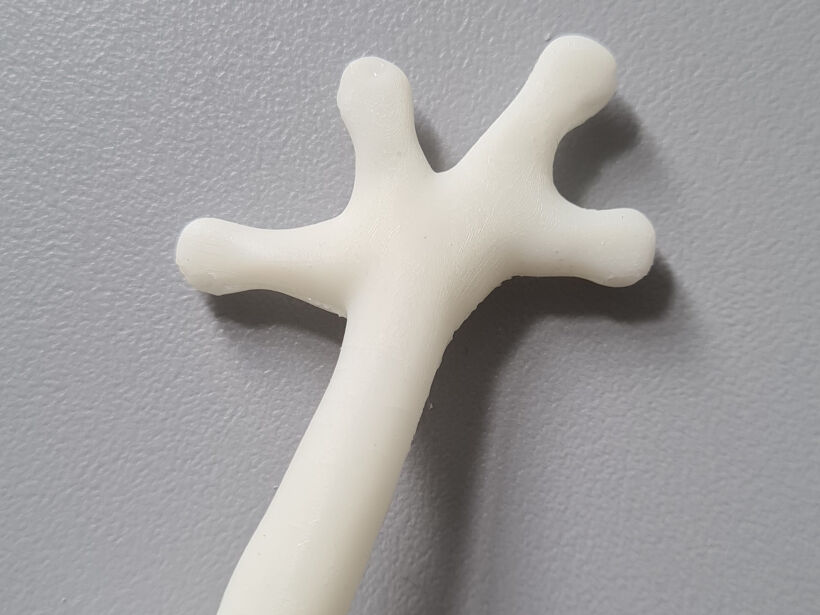
I am really happy with how the arm turned out. After demolding it, I broke away the remaining unwanted parts, i.e. the pouring basin, and cleaned the edge where the two halves meet with a finger and paper towel. There was only one small air bubble trapped in the cast which is present in the bottom of the palm.
In total, the result of this casting and molding process is really good. The registration frame worked quite flawless as the edge where the two parts meet is only slightly visible. Additionally, the layers from the 3D printed positive mold cannot really be seen anymore. Only if you look out for them, you might be able to see them. And even then, it is an impressive surface finish with 3D printed molds as the complete arm is only about 5 cm long.
Design Files for Download
- Mold Parts (.zip): Contains the design of the two mold parts in Fusion 360 as .step file format
