Networking and Communications
This week I tried using the Seeed XiaoESP32 to connect to the internet, retrieve weather data, and then control LEDs.
1.1 Assignments of the Week
- Group assignment:
1.Send a message between two projects
2.Document your work to the group work page and reflect on your individual page what you learned
- Individual assignment:
1.design, build and connect wired or wireless node(s) with network or bus addresses and a local interface
1.2 Group Work
1.3 Individual Work
This week's network communication is a continuation of Week 6. Last time, I used the computer to communicate with the XIAO RP2040 via serial (continuous text output via serial, text box input for serial output). This time, I want to attempt advanced communication between boards (wired).
When I wanted to connect with another board, I found that the Seeed Xiao RP2040 has only one physical TX (transmit) and RX (receive) pin for serial communication, and the interface is connected to the computer's USB port. This means I cannot directly use UART communication. So, I decided to use I2C! (Later, I found out it's not the case, and UART can be used. Please see the group assignment for the process and reasons!)
However! I sadly discovered that the PCB I milled using CNC last time does not support the pins I need to use! So, I tried connecting it to another Arduino Uno on a breadboard.
| Protocol | Description |
|---|---|
| I2C | I2C is a bidirectional, half-duplex serial communication protocol developed by Philips (now NXP). It requires only two lines: SDA (data line) and SCL (clock line). I2C supports Multi-Mastering mode, meaning any device capable of sending and receiving can become a master, controlling data transmission and clock frequency. I2C is more suitable for low-speed, multi-master, and simple connection scenarios. |
| SPI | SPI is a synchronous serial communication protocol supporting point-to-point and multi-point communication. It typically uses four lines: SCLK (clock), MOSI (Master Out Slave In), MISO (Master In Slave Out), and SS (Slave Select). Some implementations, however, use only three lines. SPI is generally more suitable for high-speed, point-to-point, or multi-point communication scenarios. |
Next is my I2C journey:Open Arduino IDE—Select Seeed XIAO RP2040 board(Arduino UNO)—File—Examples—Wire—TalkingToMyself, I obtained a sample code from Arduino IDE, which helped me gain a better understanding of I2C.
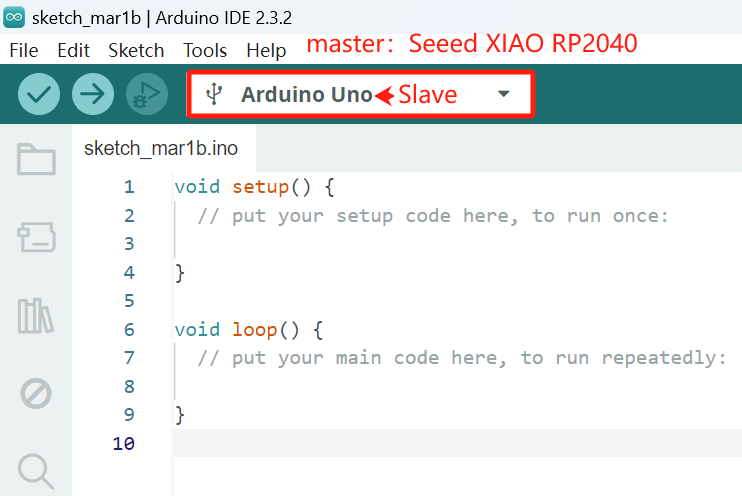

Coding-Wire Sample code:
Here, I'm Master, my friend is Slave. We use the Wire library for I2C communication with a slave address of 8. The slave device waits for commands from the master device. The master device sends various commands to the slave device through I2C, including inquiries about the number of characters, reading available data, and sending data after reading.
Coding-I2C Master:
Coding-I2C Slave:
After verifying the code, unloading, and then connecting, both sides couldn't receive each other's messages. After thoroughly checking the code, no issues were found. Later, it was discovered that the problem was due to the lack of a GND connection.
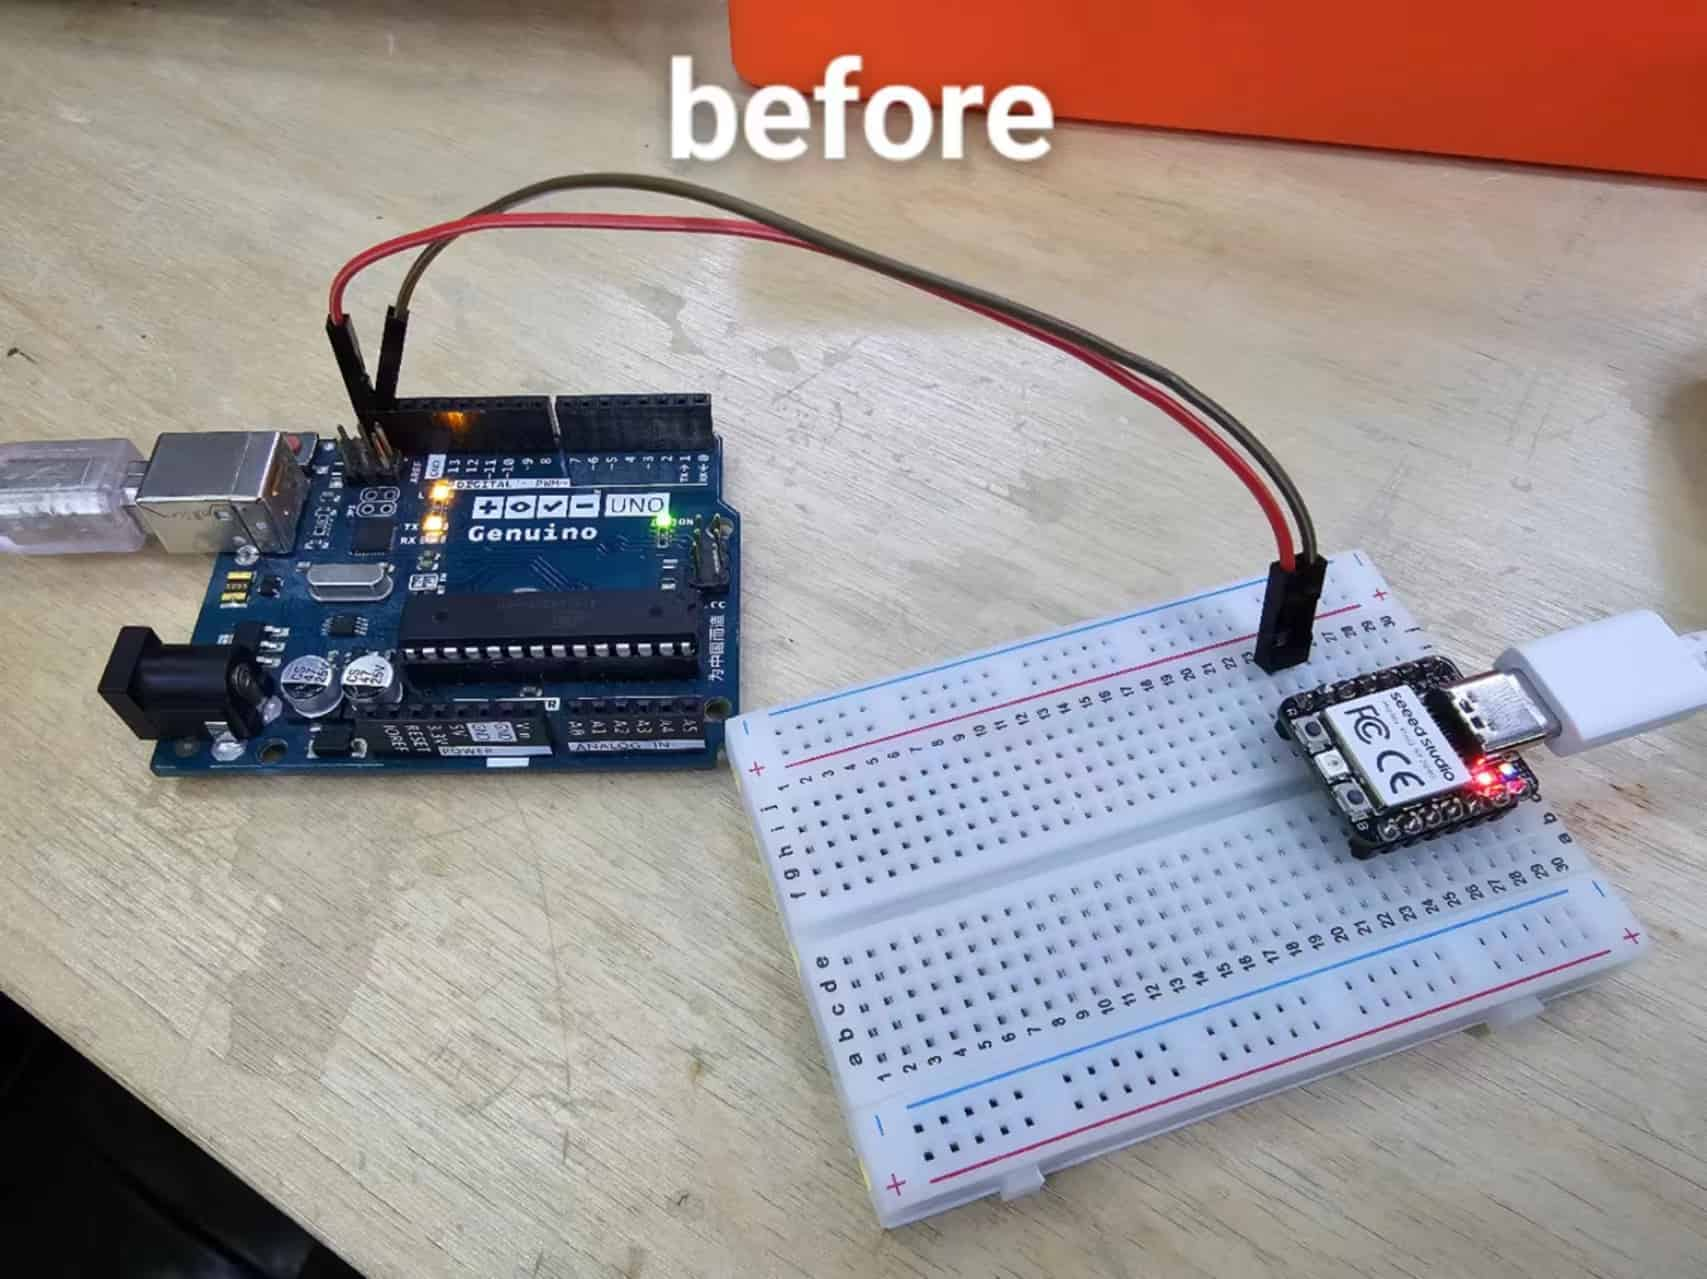
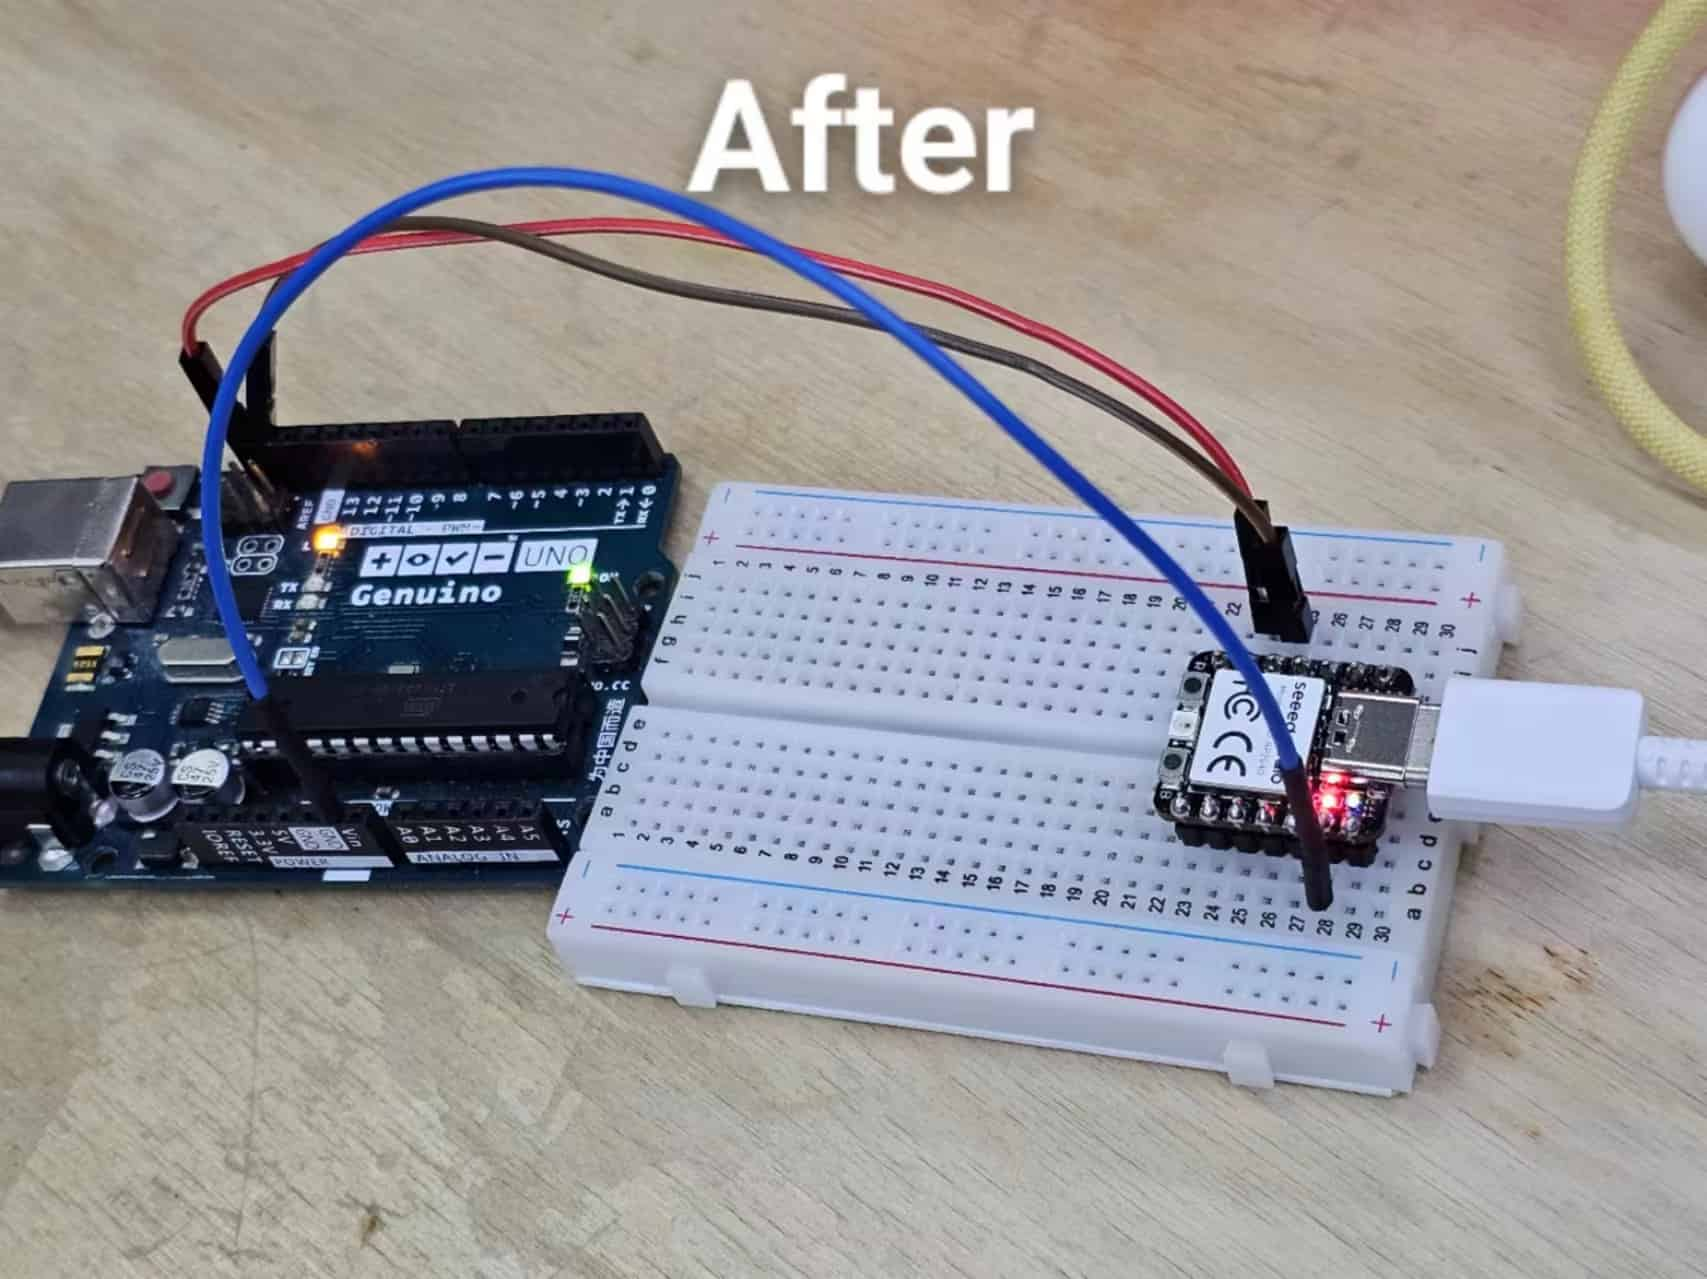
Details of the wiring diagram.
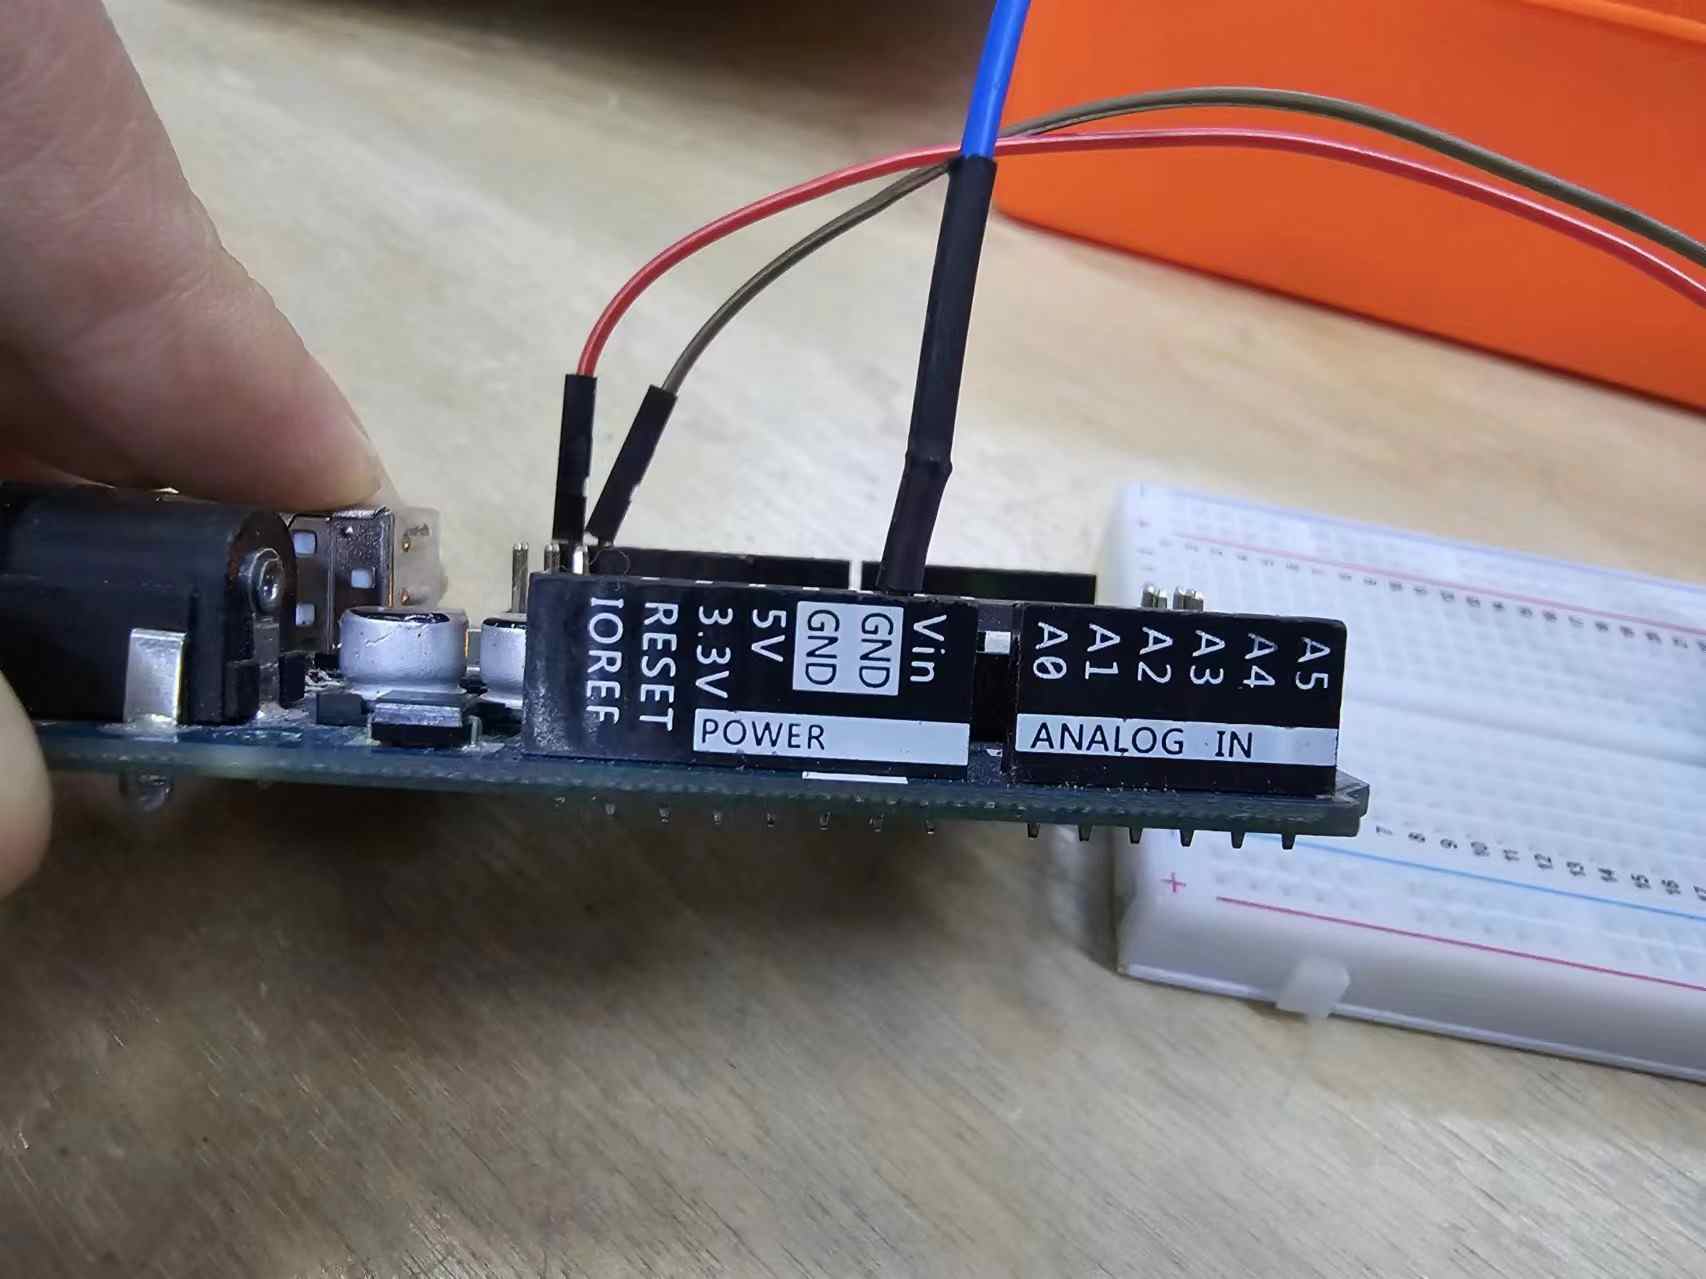
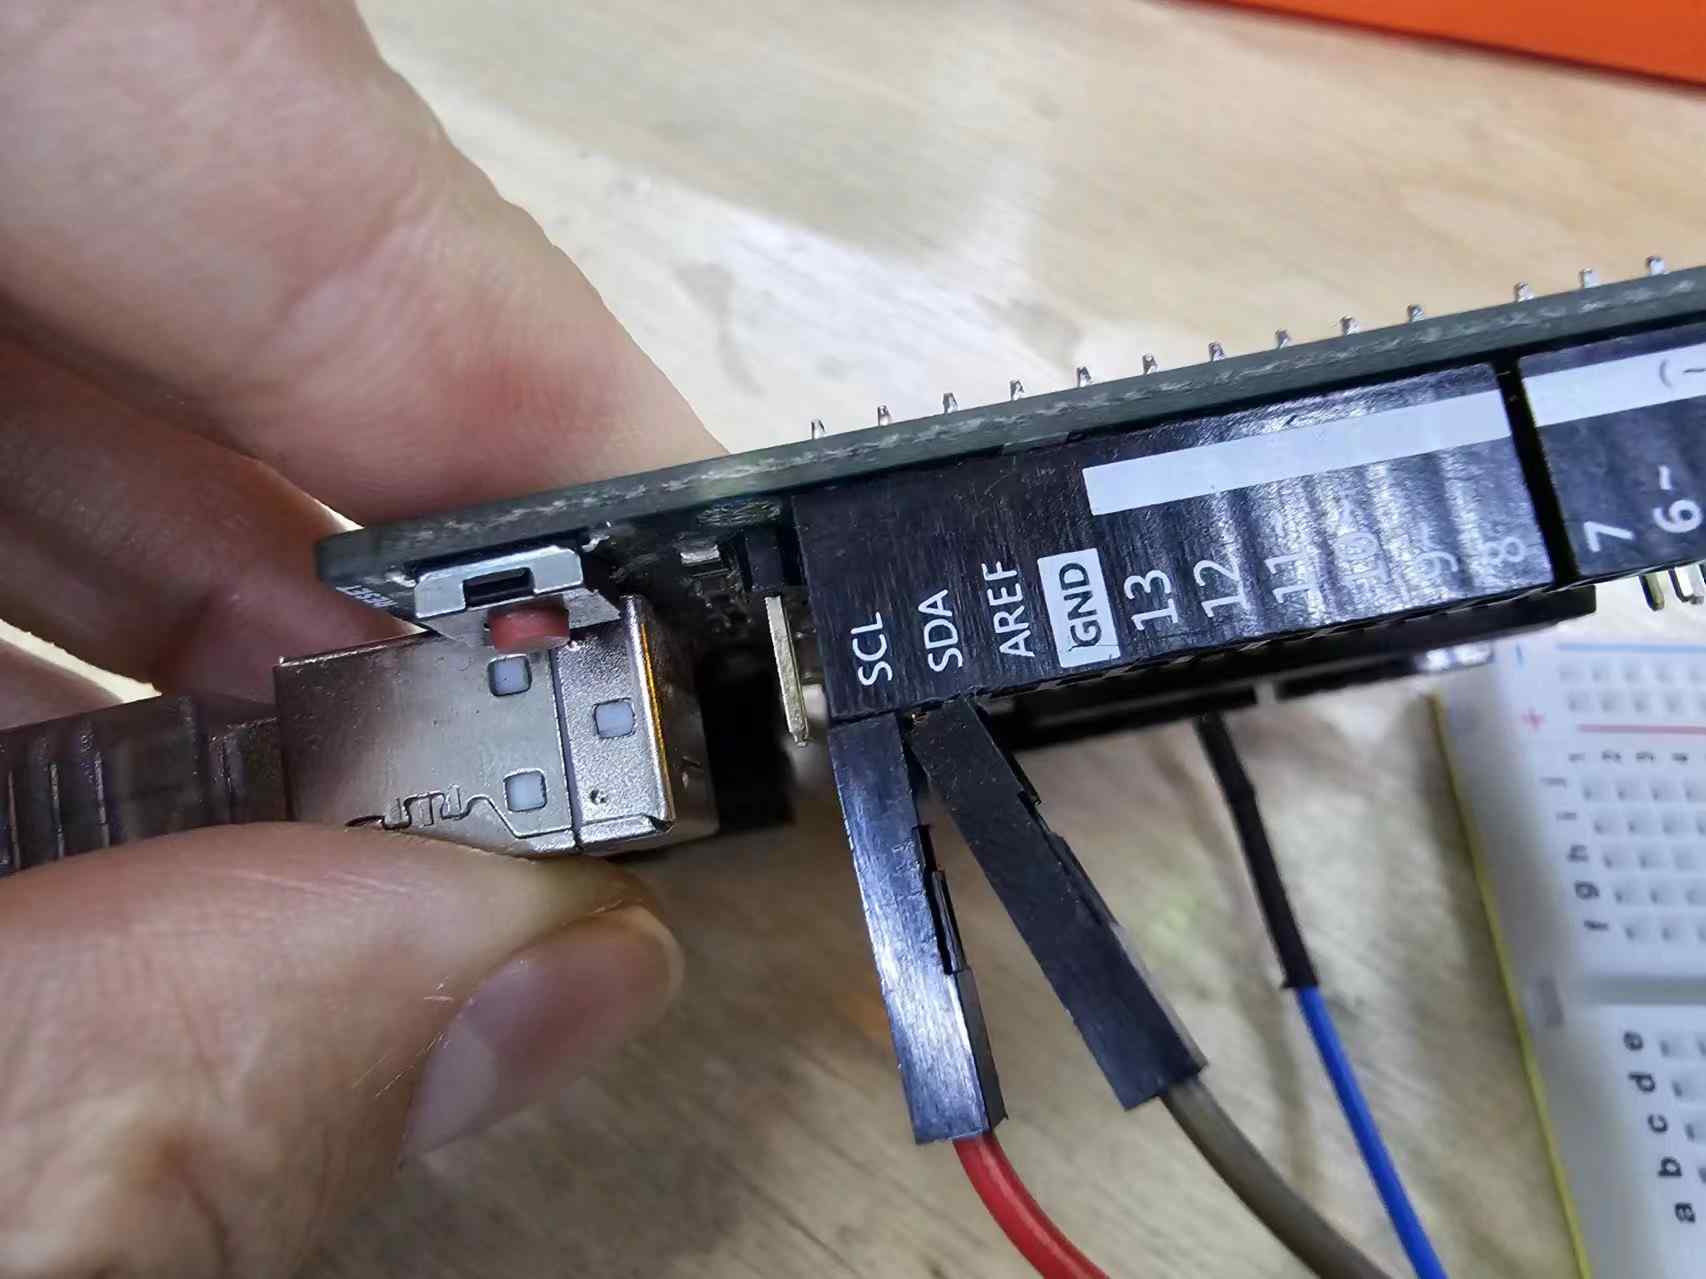
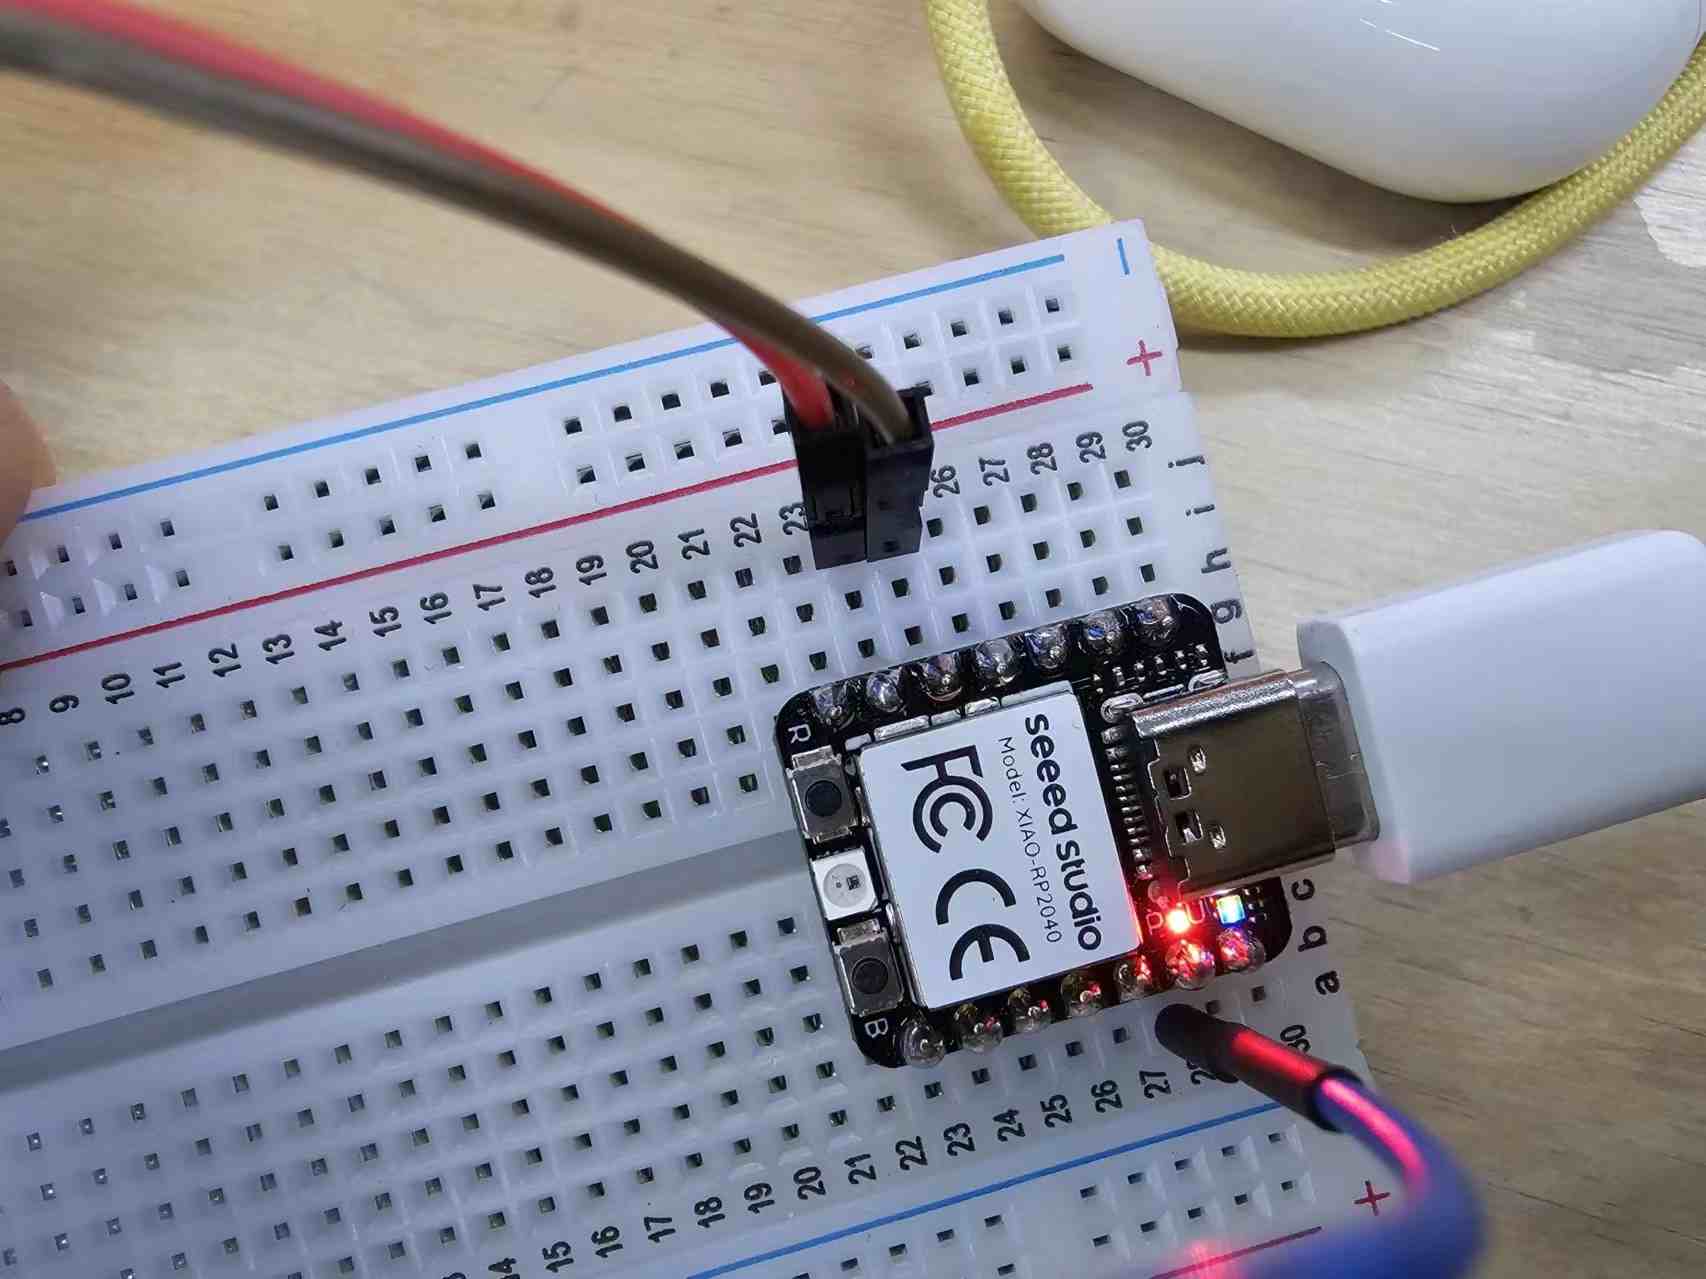
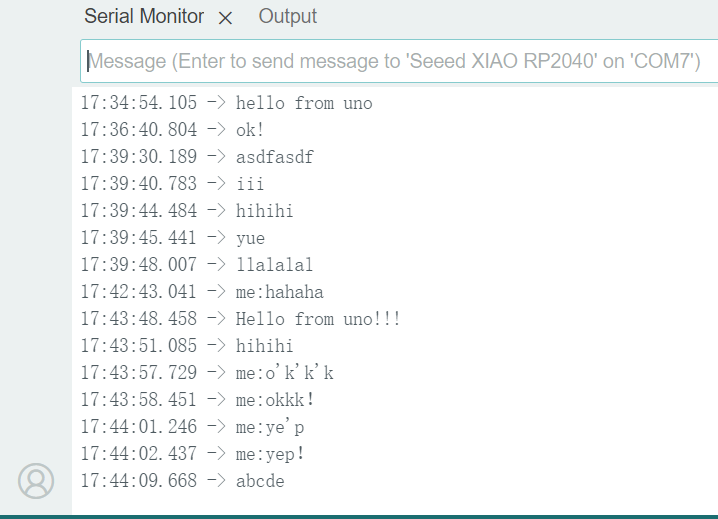
After identifying the cause, the Serial Monitor successfully received messages from the other side! Hooray!
