7. Computer controlled machining
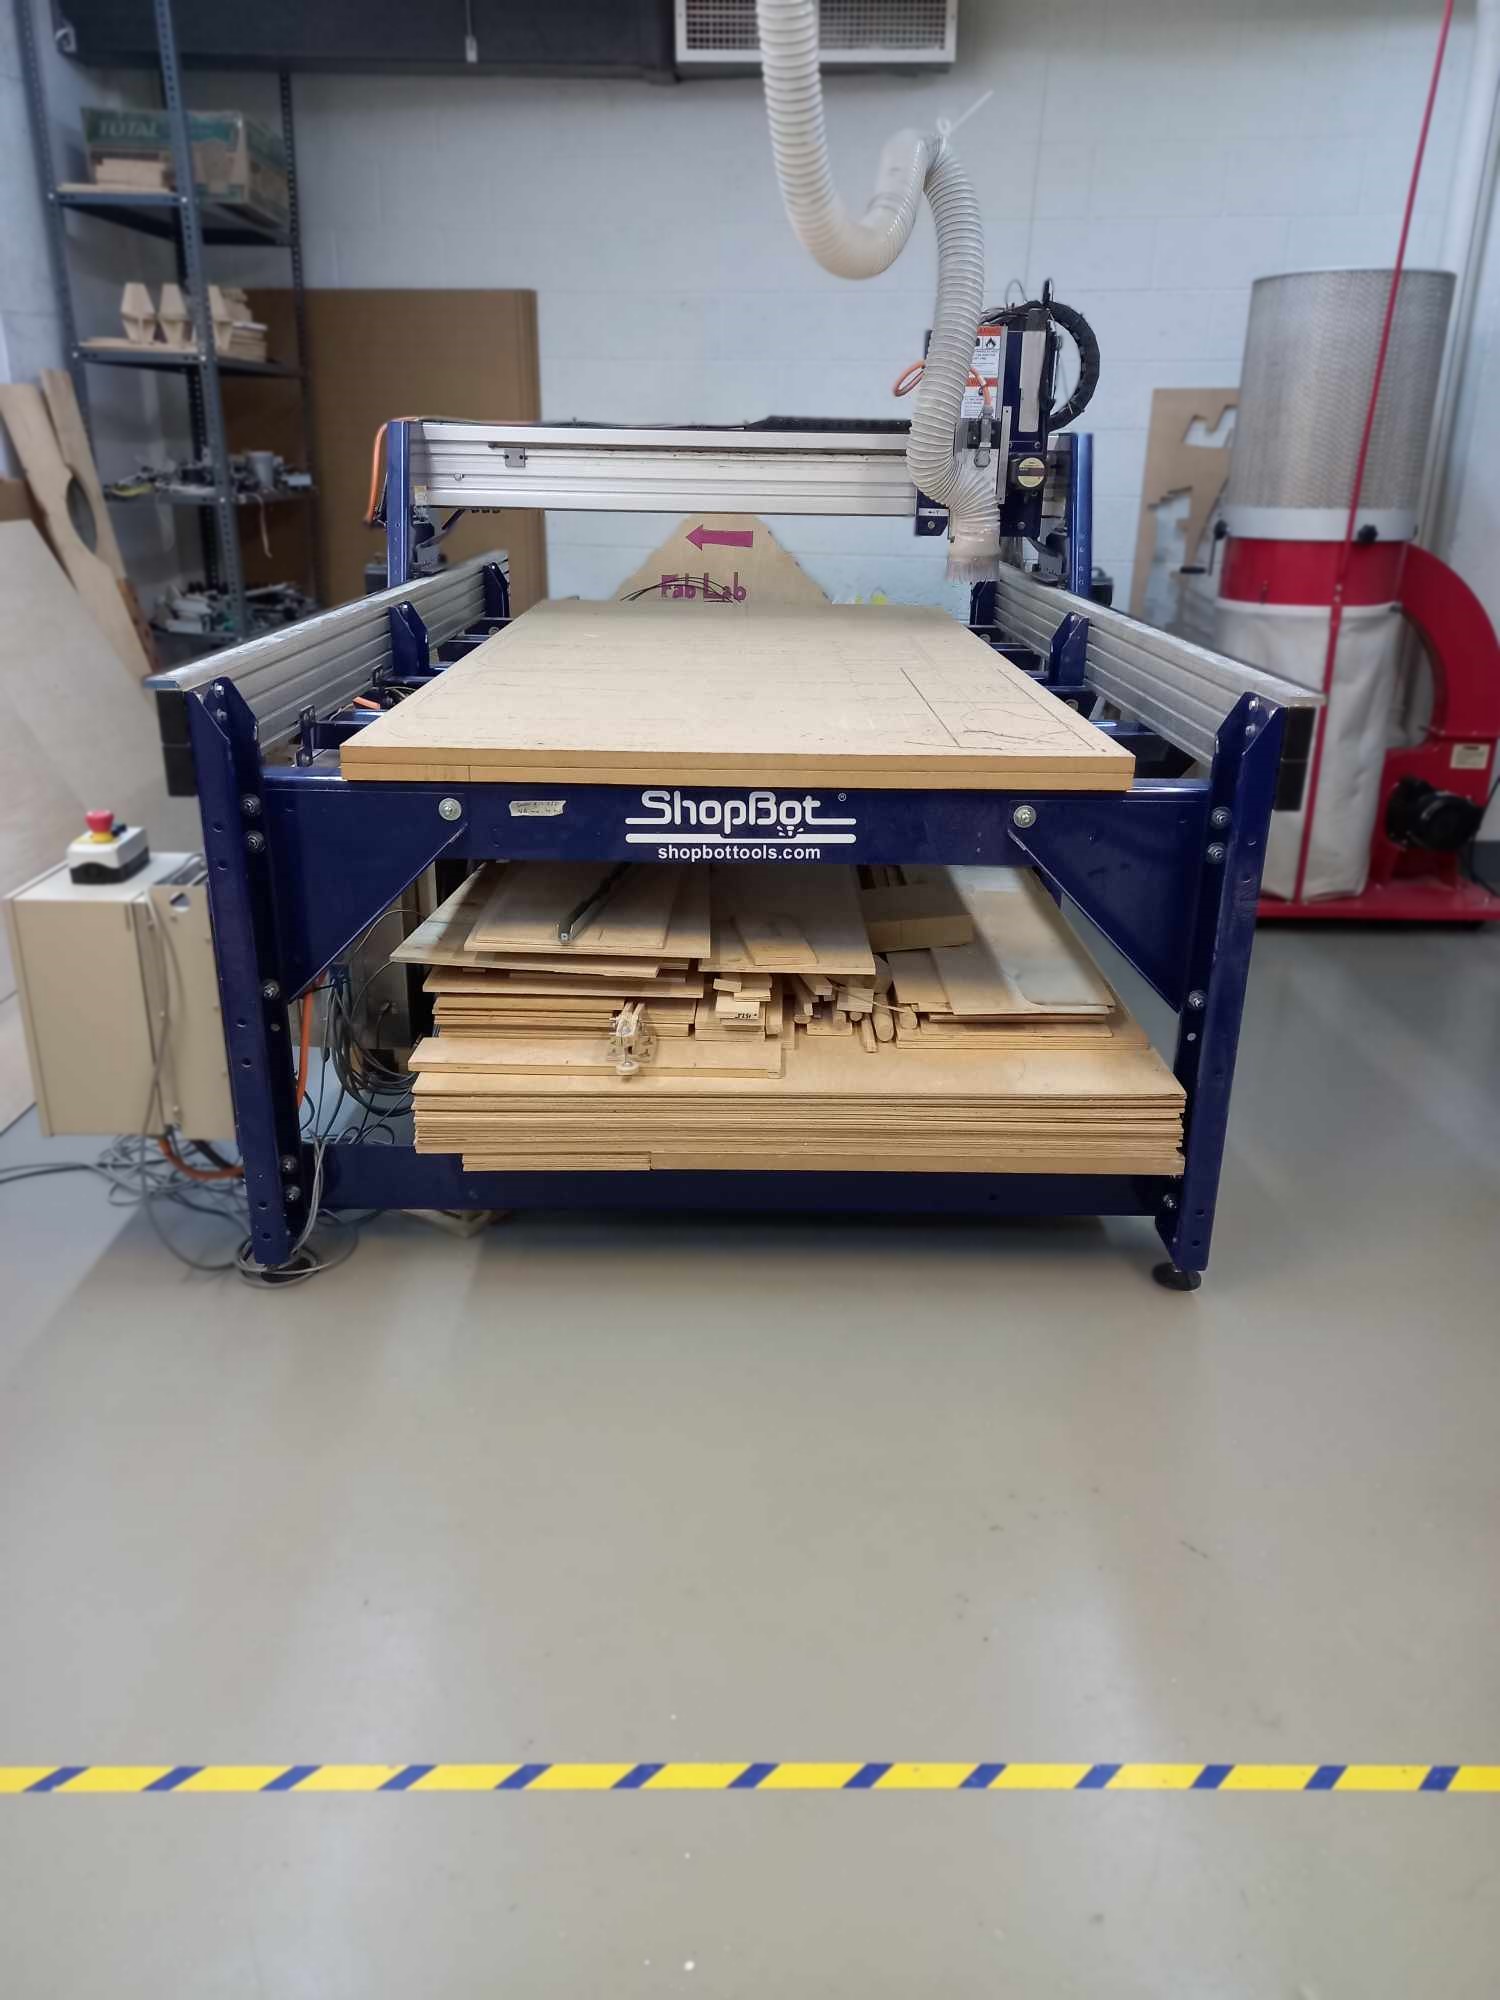
This week we got acquainted with CNC milling ShopbotPRSalpha. We learned how to use it and performed group tasks.
Group Assignment()
As part of a group assignment we learned about safety, how to use the machine, rules that we have to keep and the way machine cuts - joints, parts and etc.
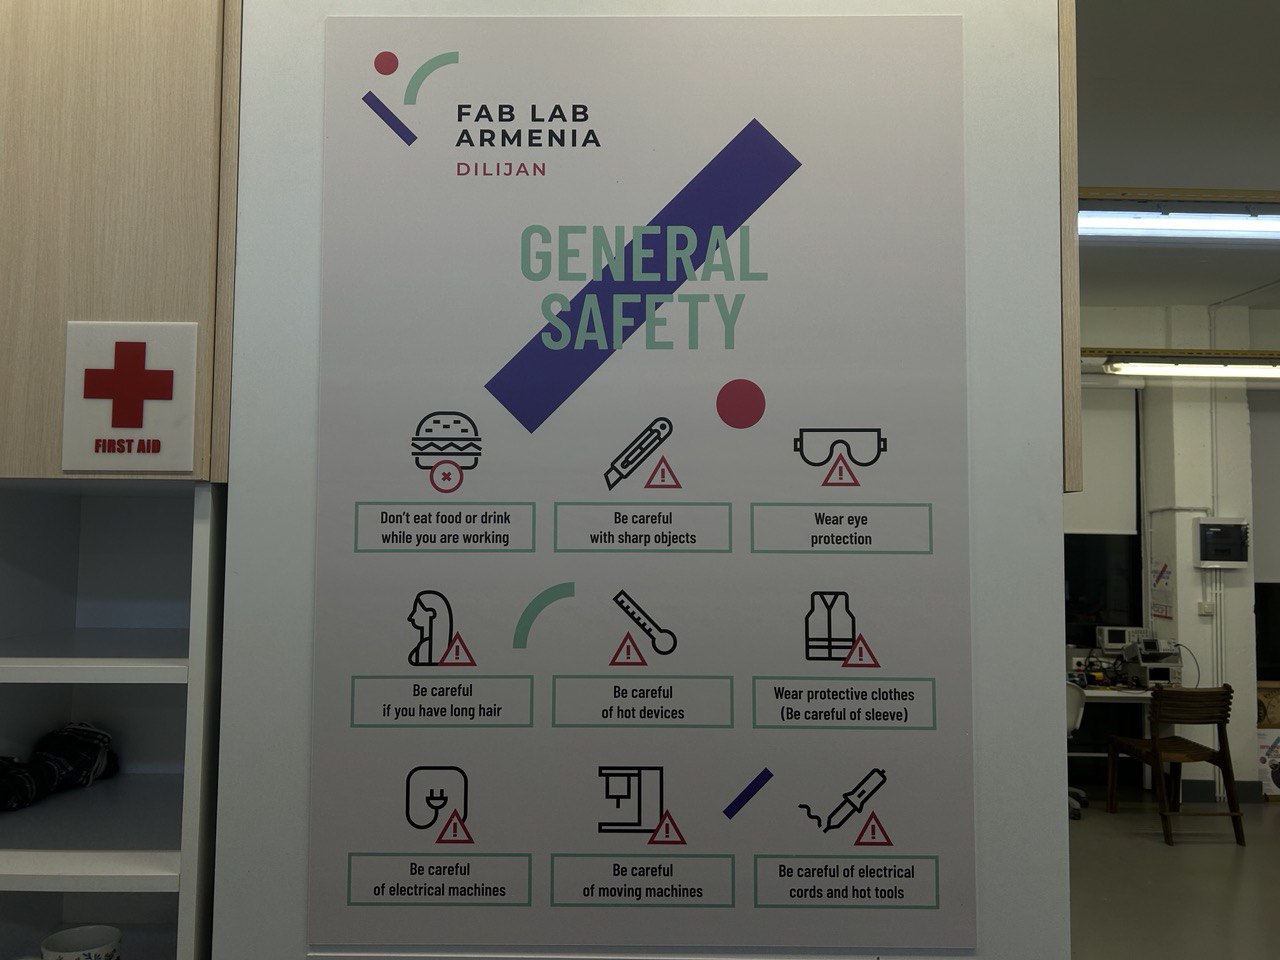
Safety
- safe distance from the machine, while the machine is running, you should observe all safety rules.
- the control buttons
In addition to the usual shutdown button, 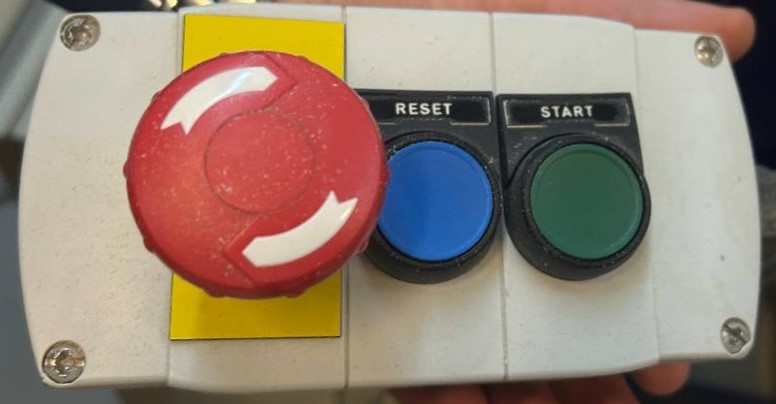 the device also has emergency shutdown buttons that will de-energize the entire area and prevent fire and explosion.
The green button in photo above, is the one by which end mill is starting working/rotating. End mill makes 12600 revolutions per minute. The number and frequency of rotations can be changed through the program.

With this Red Button machine is turning on, and wit ha key in, spindel can turn on, ut if the key is not in there, nothing will start to work. And with the tool in hand end mill can be changed.
Before cutting, I got acquainted with softwares that are used with this machine. There were 2 - VCarve Pro-ShopBot Edition and ShopBot 3
Parts of machine
Spindle is a key part in CNC machines.
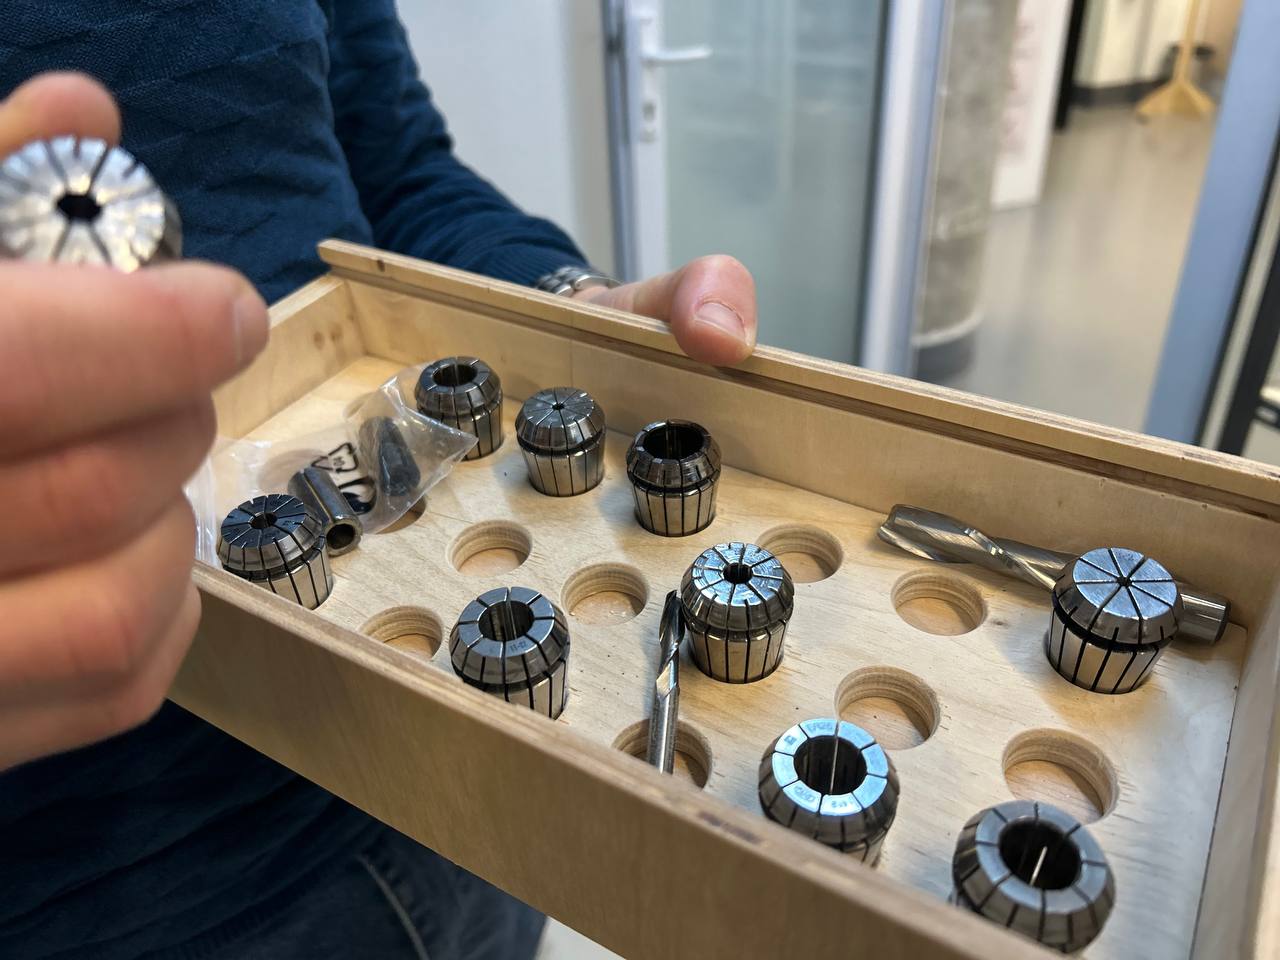
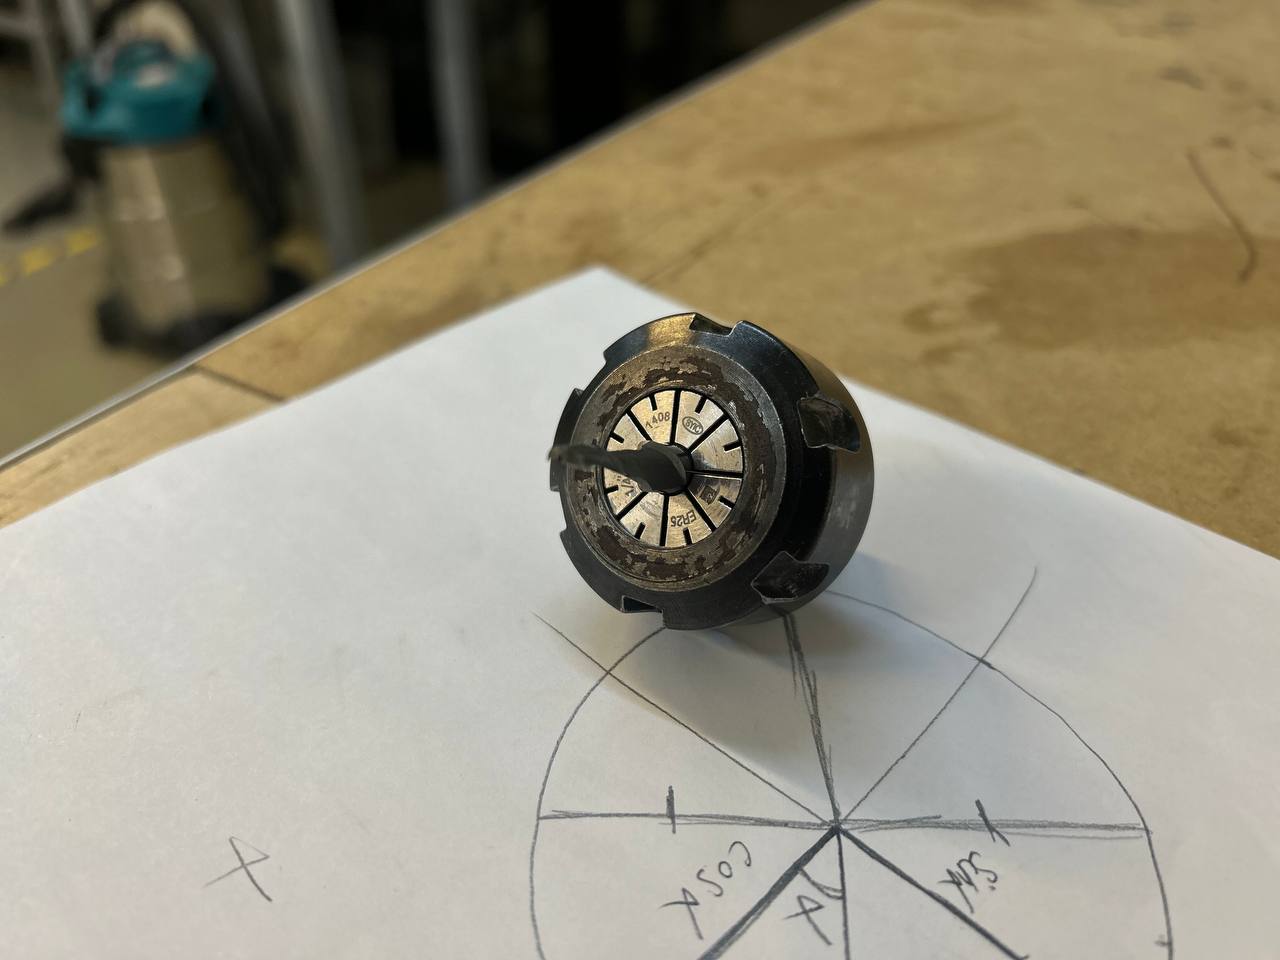
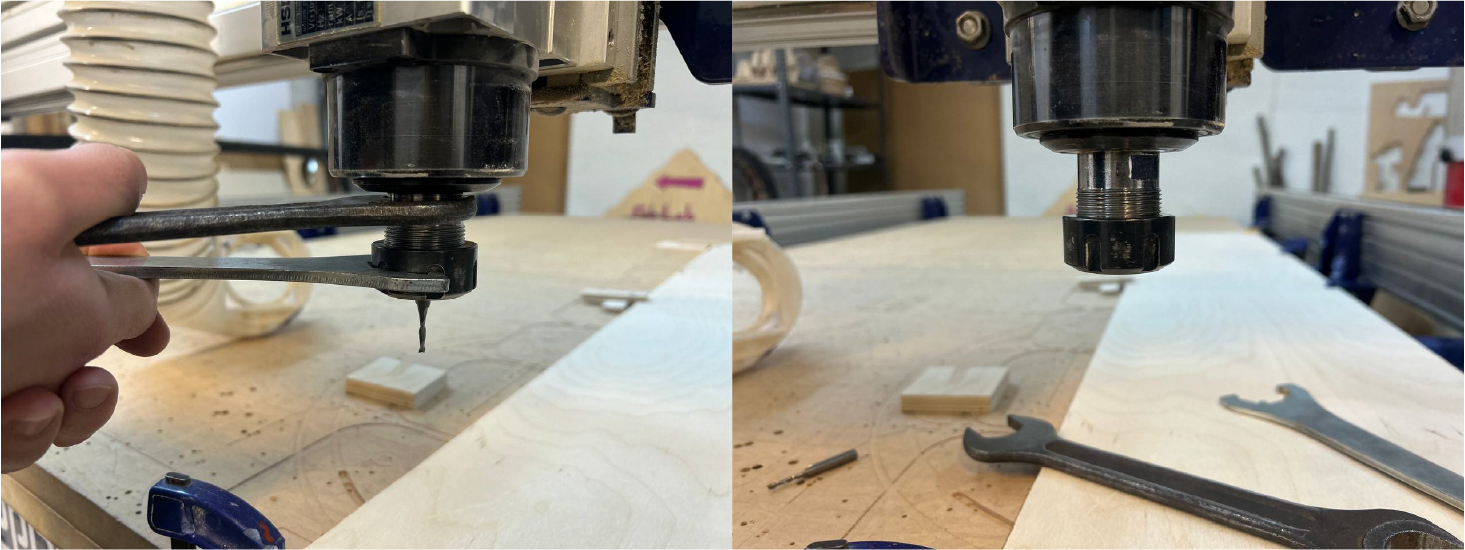
Tool Holding Mechanism
- Collet Chucks
- Hydraulic Chucks
- Shrink-Fit Tool Holders
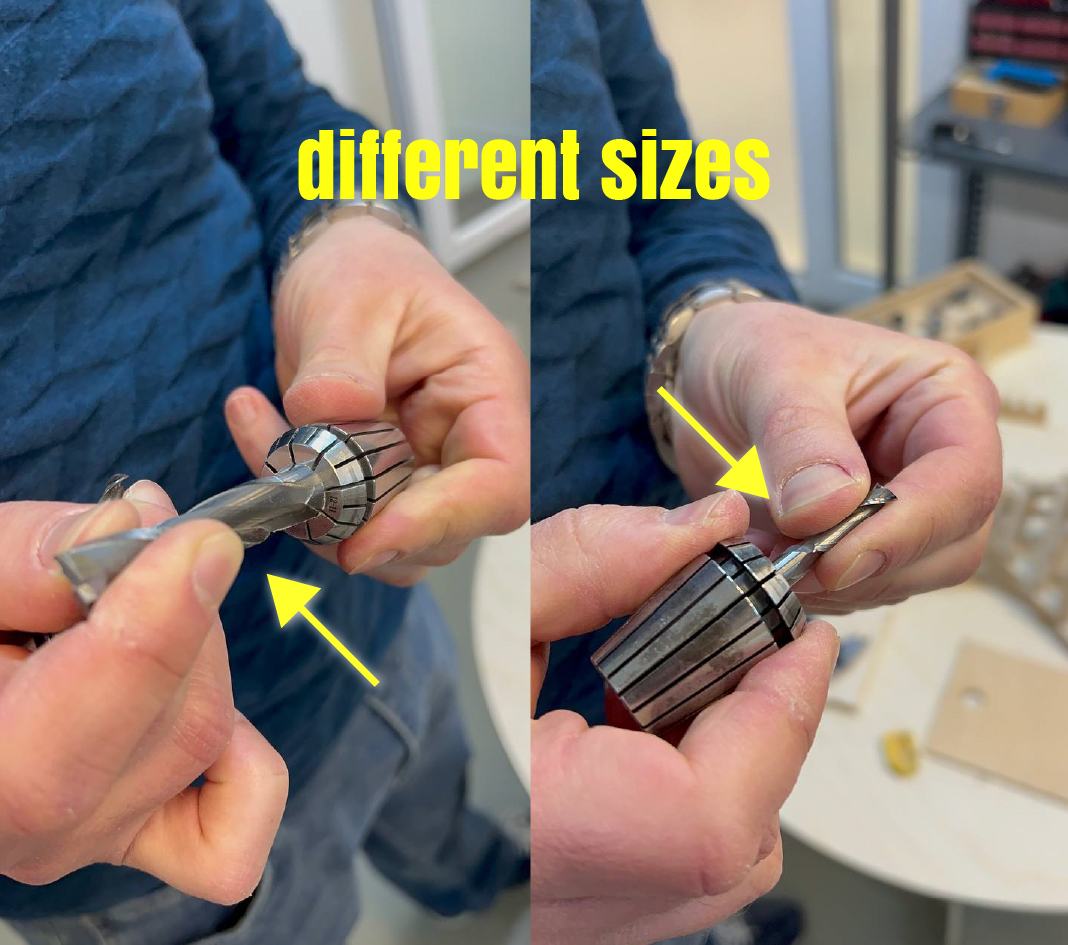
The Tool Holding Mechanism has different sizes, according to which end mills are inserted. We press the end mill into it and then assemble it into the spindle.
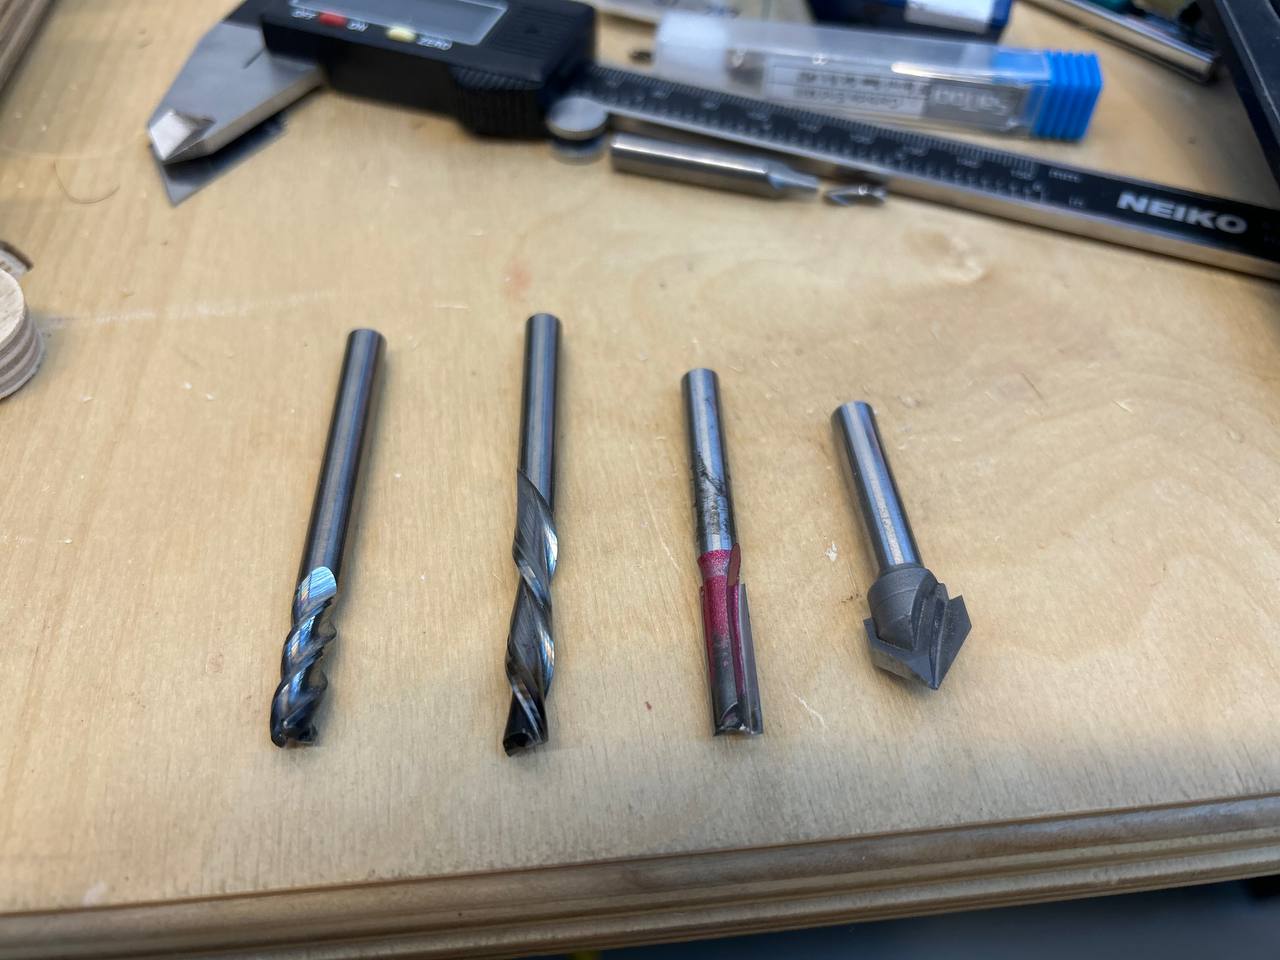
End Mills - the workhorses of CNC milling
It is the whole system, in which there is a motor that rotates the Tool Holding Mechanism, on top is the cooling system of the motor.
Changing Tool Holding Mechanism
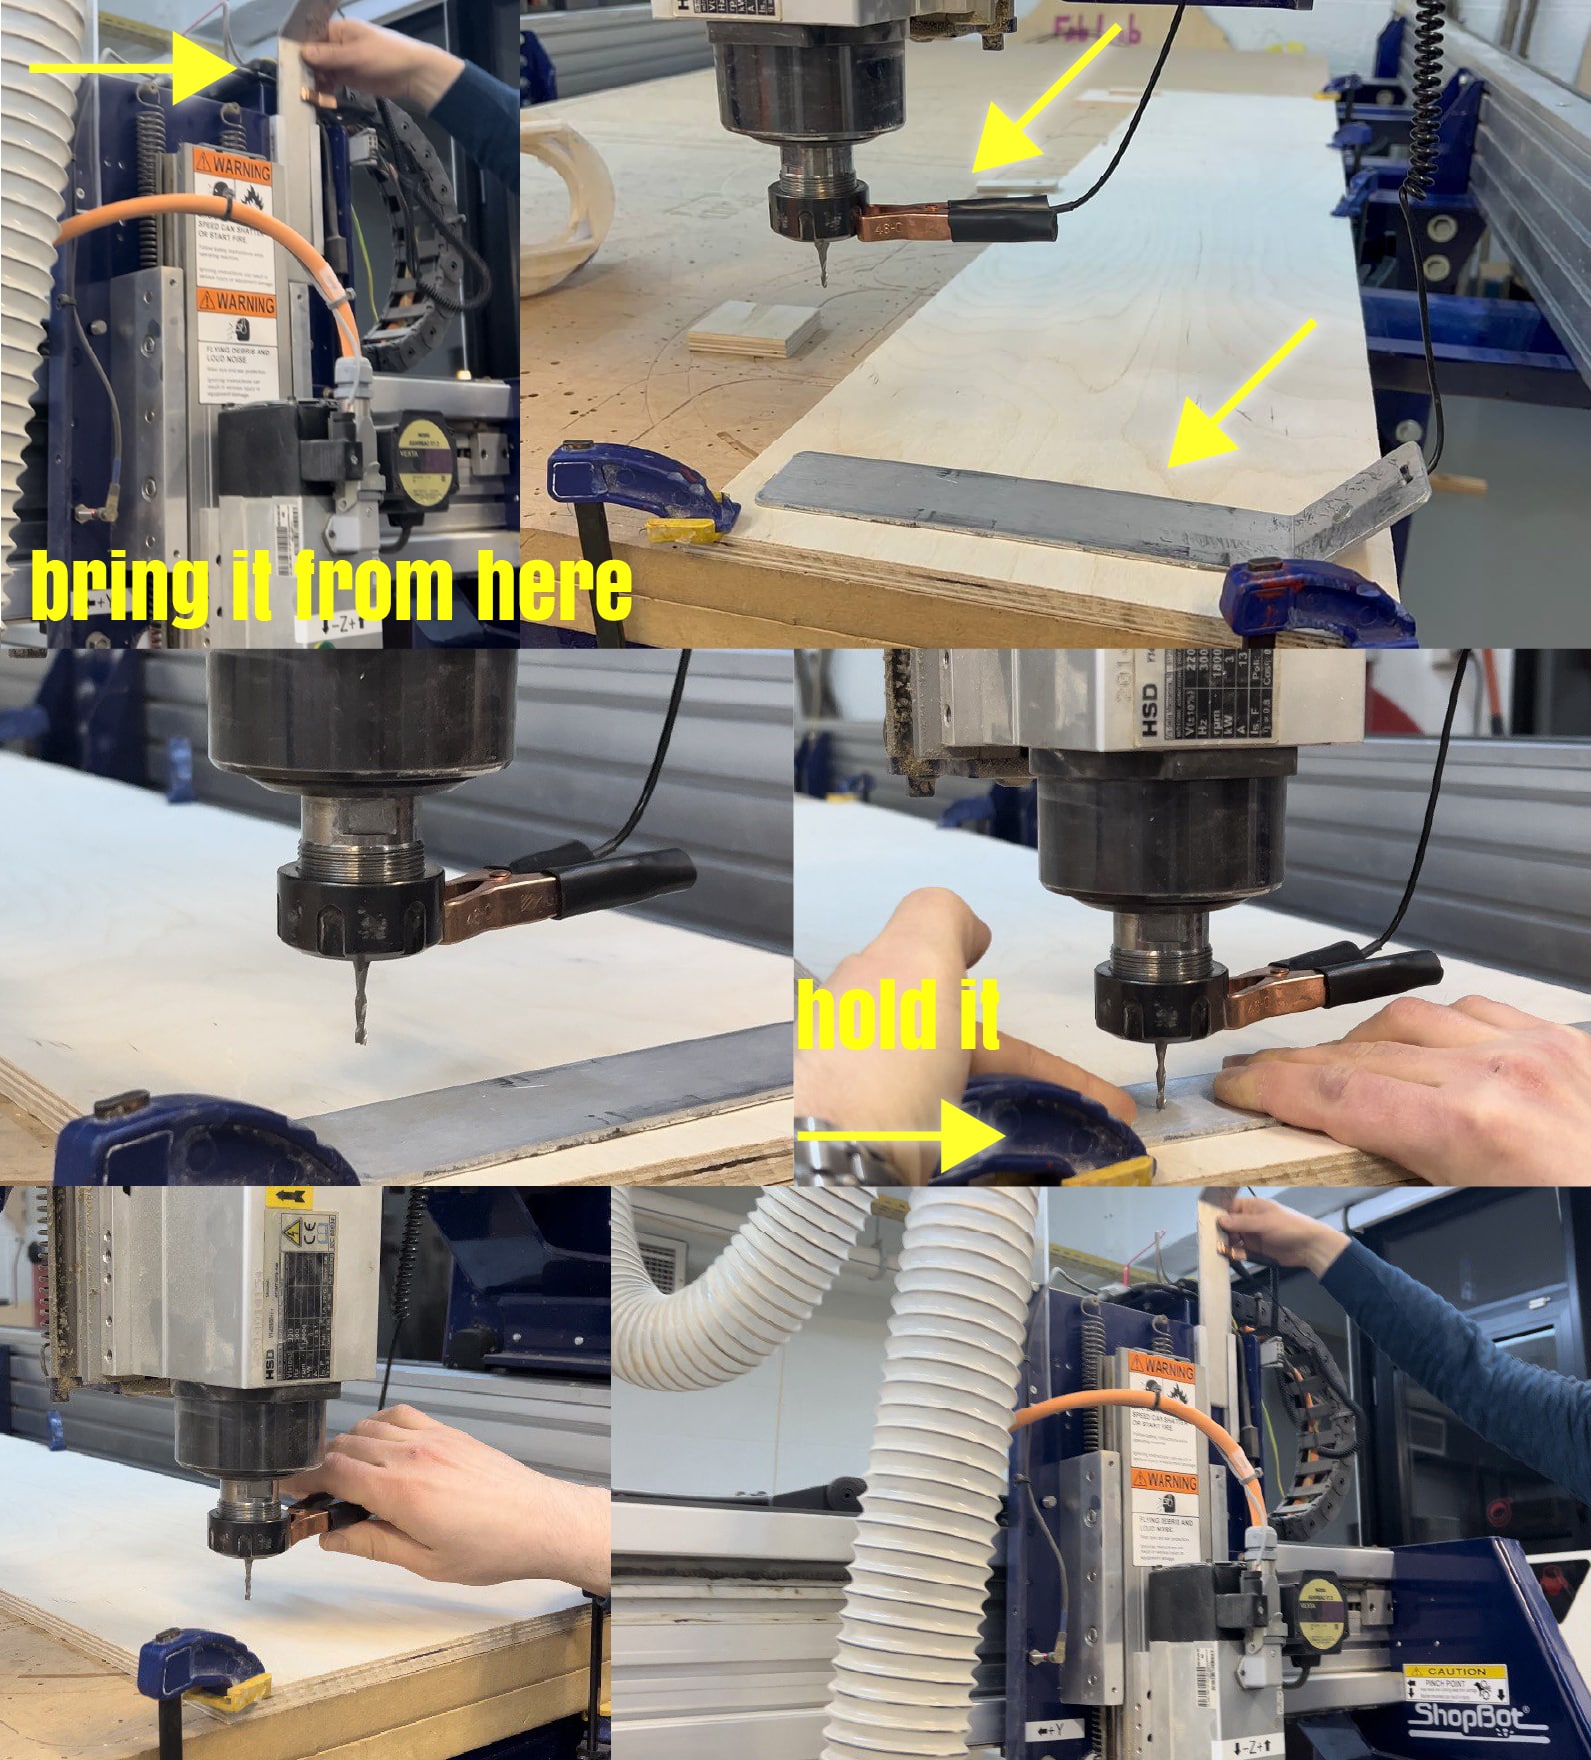
Setting Z axis’s Zero
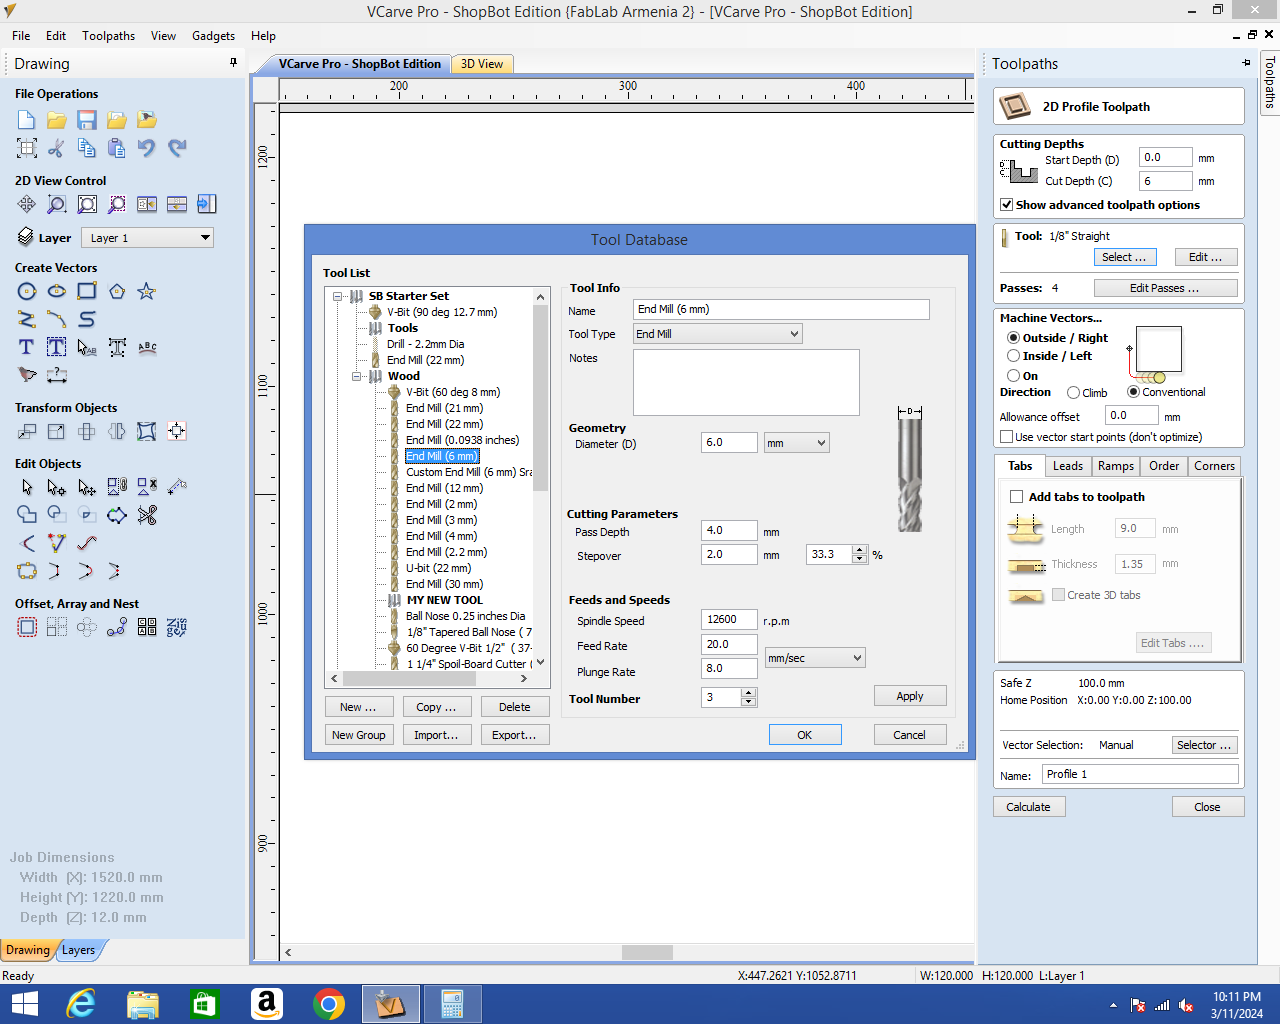
Basic Settings in VCarve Pro:
tabs are like safety nets for your workpiece. They catch it if it tries to move during cutting, keeping everything stable for a perfect outcome.
start depth refers to the initial vertical distance the cutting tool plunges into the workpiece during a milling operation.
Besides that you can make new tools, end mills by yourself, by clicking on “Edit”.
Group Assignment
1st try
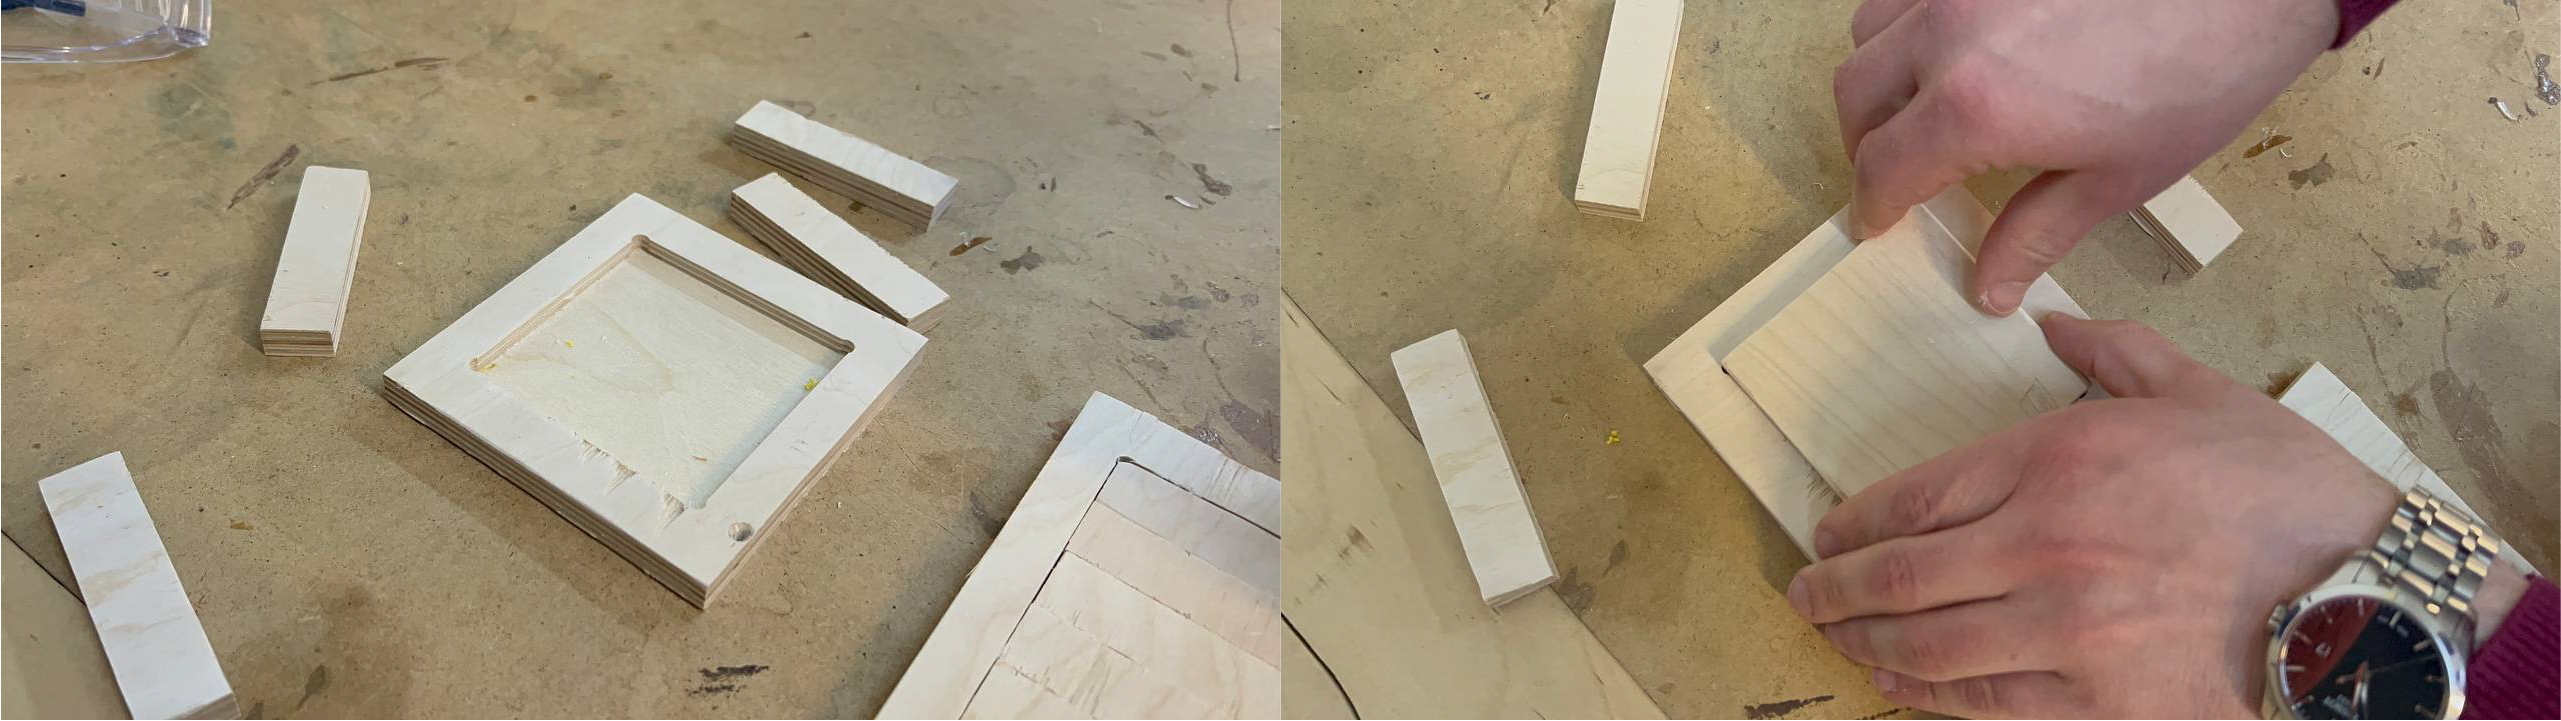
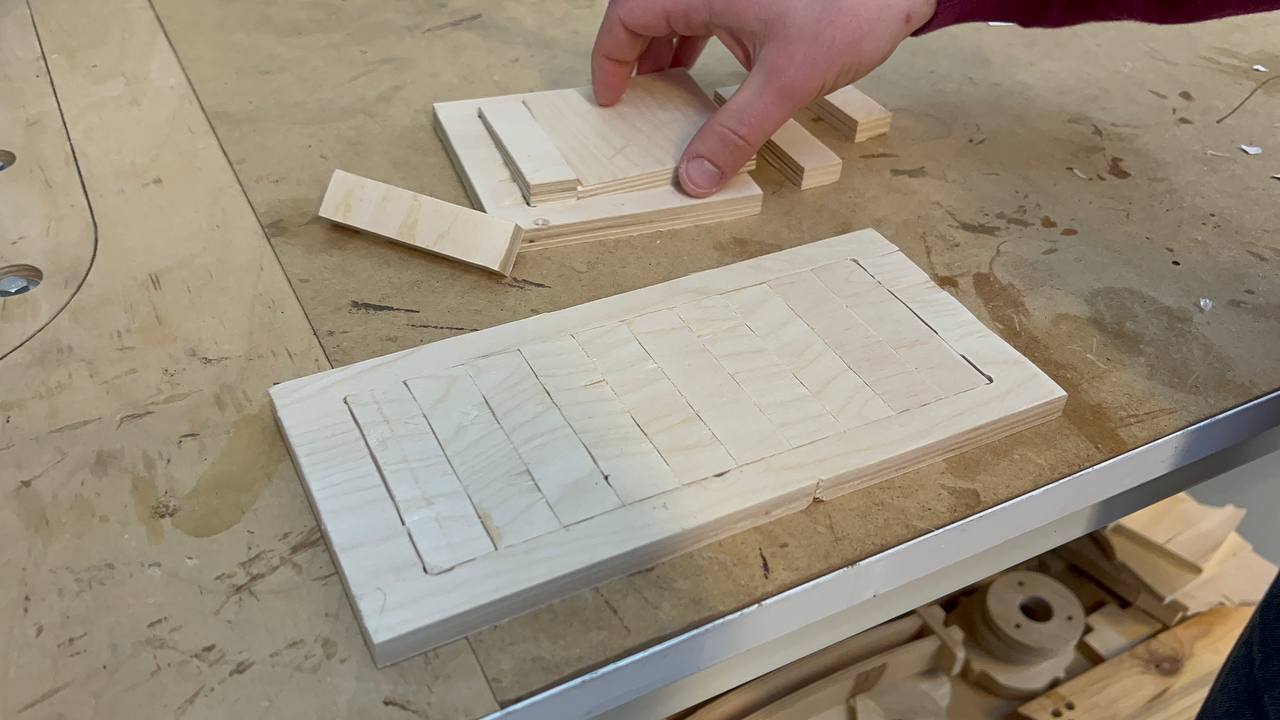
We tried to arrange the pieces in a square circle so that they all fit and do not fall out.
For that we made a 2D drawing of rectangle, we divided them into 10 pieces to understand whether they fit or not, how much space remains between them.
the dimensions in 2D was 80mm x 200mm, 80mm x 200mm, but as we can see in picture it was a bit differ.

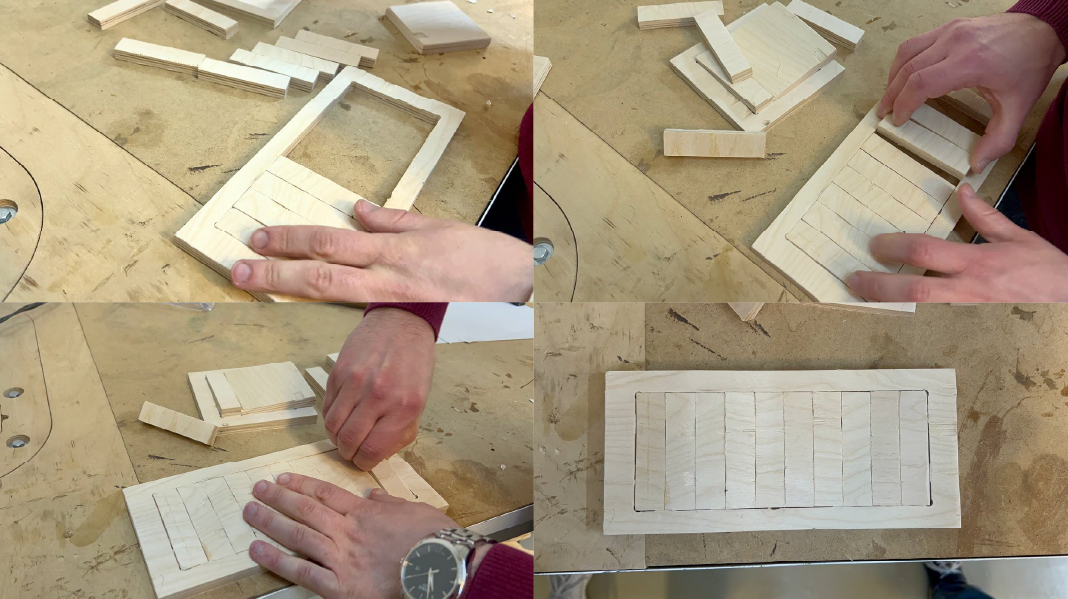
At first it was easy to enter, but as we got closer to the end, it became more difficult to enter.
both the inner space should be 80mm, and the detail.
2nd try
And the other was an 80mm equilateral quadrilateral. After cutting it, we measured it and it showed ~79.80 mm on both sides.

And it almost fit into the frame.