Week 12: Molding and Casting🗿!!!
With the world of hardships and electronics behind us, now lets get into the world of molding and casting!(Hopefully this is not going to burn my brains out😁! )This is also a sort of break away from electronics. These past 5-6 weeks were either filled to the brim with electronics or had some sort of electronic to deal with. Not that I dislike electronics(Trust me I love it!) but I felt that a break from the electronics could be for the best. Getting back, for this week we have to create a mold and also cast on it. Hopefully no gets injured this week and hopefully we have a blast this week!
Professor Neil's Lecture🧐.
For this weeks lecture, professor Neil mainly talked about multiple different material for both the cast and the mold. Going through multiple material and also speaking on its pros cons of using the material. Professor also went through the use of 3D printed molds to cast on. Going about its pros and cons. He also spoke about the how to do molding and casting properly. Mostly talking about you have to pour the silicon for the mold properly or otherwise you might end up getting holes all around your mold! Generally speaking this was a very knowledge full🤠.
Assignments💭
Design a mold and cast on it, make sure too have a smooth finish on both the mold and the cast👀!
Also for this week we were also allowed to 3D print our molds and also cast on them so who know what I might end up doing.
Group assignment😼
For this week our group assignment mostly consists of reading the safety data sheet of the materials we will be using.
Reflection
This week was really fun and through the group assignment I was able to learn a lot and then also have a lot of fun. We were introduced to multiple different varients of molding and castings. Though we only were able to use one type of mold. But on the plus side we were able to use 2 differnet casting materials for our group assignment, The USG Ultimate Drystone and Smooth-Cast 305. Both casting materials had their own properties! The Smooth-Cast 305 is a plastic cast therefor it was more durable compared to the Drystone. Though the Smooth-Cast 305 is more fragile to heat. The Drystone on the other hand had the properties of concreate. Overall it was a very fun week.
Designing!
Before anything, lets start designing our mold so that we can start of with this week. I will be designing my work on fusion 360. I imagined of creating a sort of flower mold that I can cast on.
To start designing my mold I needed to get a sort of base or canvas on which I can start with designing. I searched across the web and there was a really good image of flower that I was really fond of.
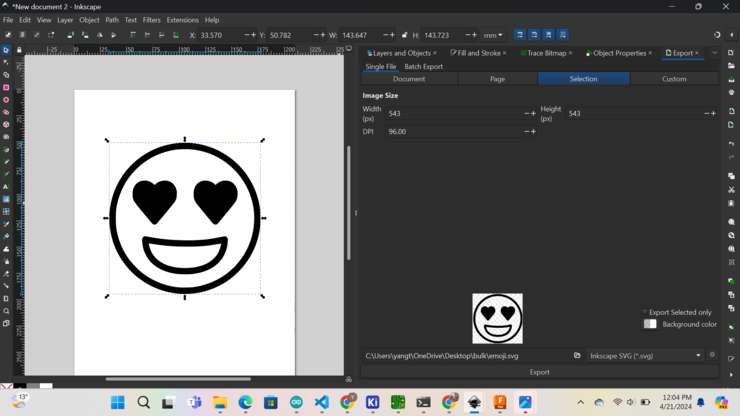
I wanted to use this image of a flower, but first I had to convert this image to a bitmap image and then also have to convert to either a svg or a bitmap so that I can use the image in fusion 360.
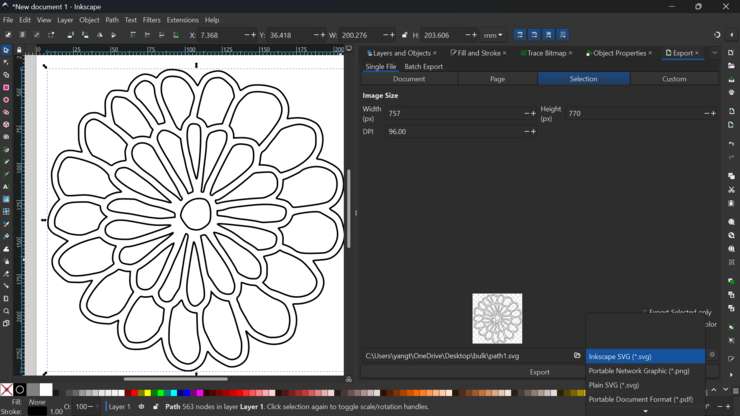
To convert my image into a bitmap, I exported the image into inkscape and then used the trace bitmap feature.
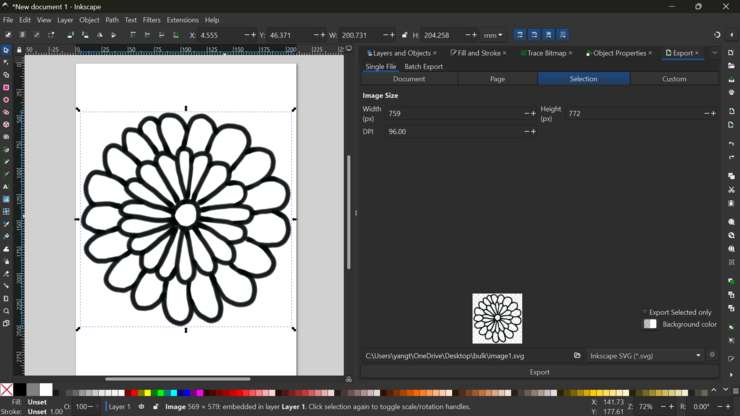
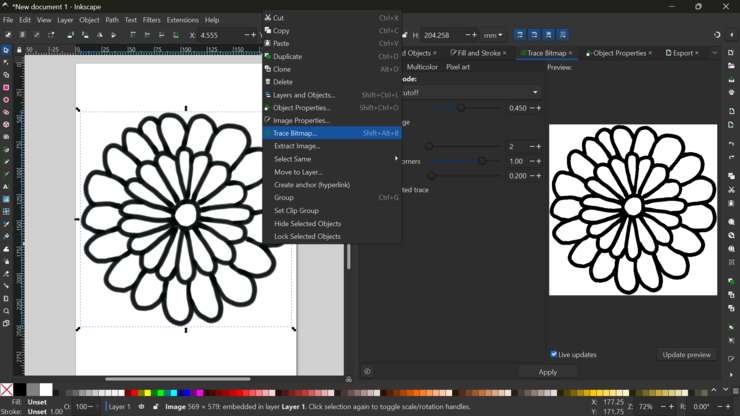
With that done we now finally have our svg and then we can import it to fusion and start designing our mold.
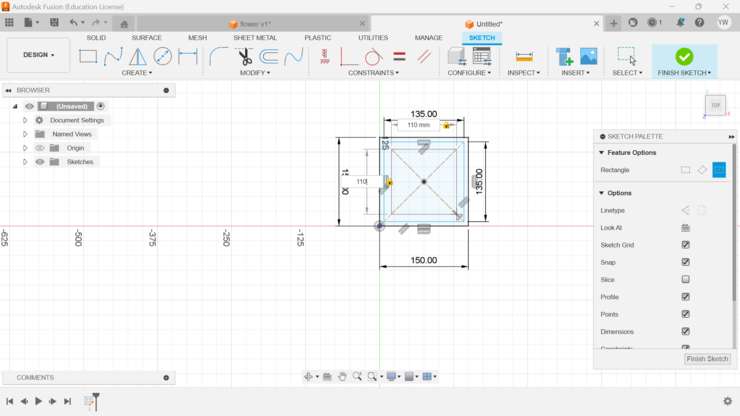
In fusion I first design the offsets so that I have a sort of outline on how big my design can actually get. I made 3 offsets, the first offset was for me to be able to gauge the exact size of the material I was using. Second I used another offset which sorta made a border/ cup for the silicon to settle. Lastly I created another offset which would be like the maximum dimensions of my design.
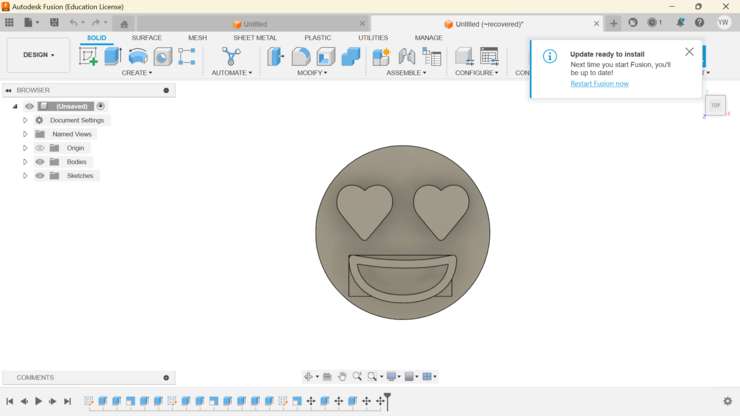
Next I imported the svg image of the flower in it and then simply extruded image in different proportions that way it looks like patterns of a flower😄.
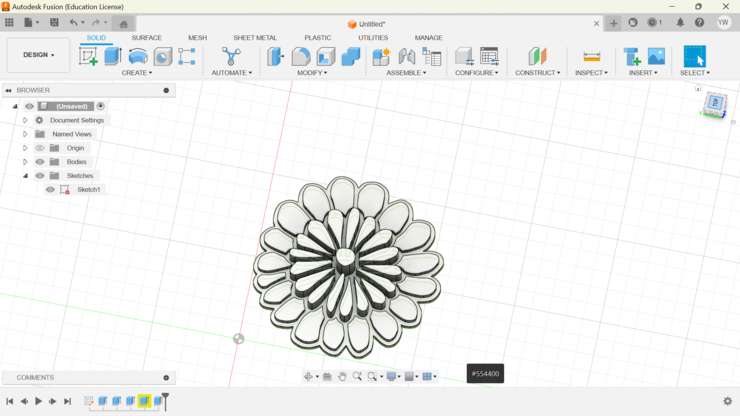
But after a while of inspecting the design, I came across a major flaw that would mean that my design wont work😰! If you look closely on my model you can notice that not all my flower petals have a very small gap between them.
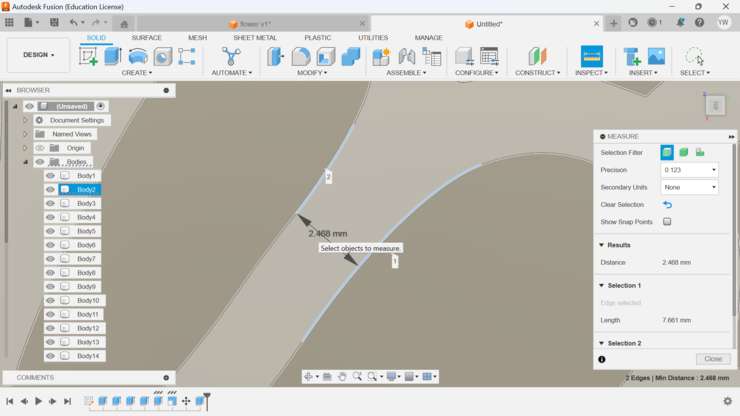
This small but crucial detail is what makes this design unusable. This is because with that small of a gap, my silicon mold my have a problem going through them, which inturn could cause air bubbles to form!
Therefore I had to completely redesign the mold. for this I used one of the petals of the original flower and then I was a able to use the pattern feature on fusion to create a body that looks relatively like a flower.
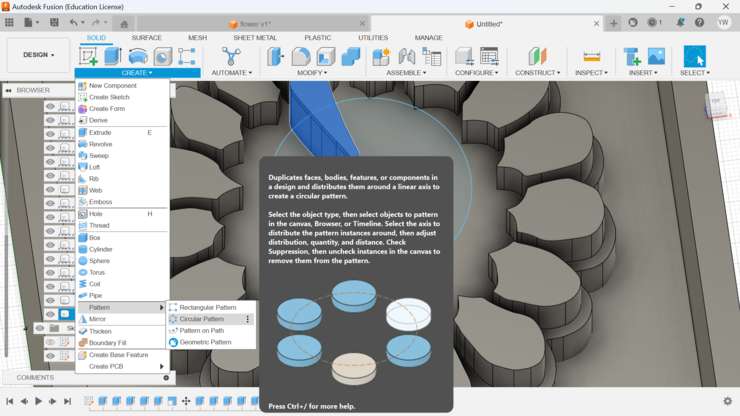
With that I am done with my designing and this is how it looks!

Making the mold!
Now here comes the big twist, I will be 3D printing the positive mold with the use of an 3D printer! This has not been done often so this is purely based on chance, hopefully I don't mess up🗽!
Then after that I set up my 3D printer and imported the design into it
After roughly 3 hours of printing, we finally have our very own positive mold of the flower we designed!

Hero shot of the mold.
Now with that let us get into creating our negative mold so that we would be able to cast on top of that and have our design🤩!
Creating Molds😋!
Now lets get into the main assignment of this week which is to create a mold and to cast on it. We have already created our positive mold using the 3D printer, now lets create our negative mold so that we would be able to cast on it🤠!
I will be using the oomoo 35 liquid silicon to create my mold
This is the data sheet link right here. --> Data sheet

After seeing the user instructions on the back I was able to get a jest on who the silicon and the ratios worked.
Following the instructions on the package. It said
Both mixtures have to be well stirred before mixing.
Mix equal parts of both solutions A and B.
Make sure to continue mixing for about 3 minutes before pouring on the mold.
Lastly curing time is about 2.5 hours after mixing.
With that I now know how I would be able to use the silicon mixture, therefor now let's finally get into creating our mold.
but before anything, safety comes frist!!! lets wear gloves to protect ourseleves
Firstly lets setup our molding station so that we wont ruin anything on the main work area of the lab.
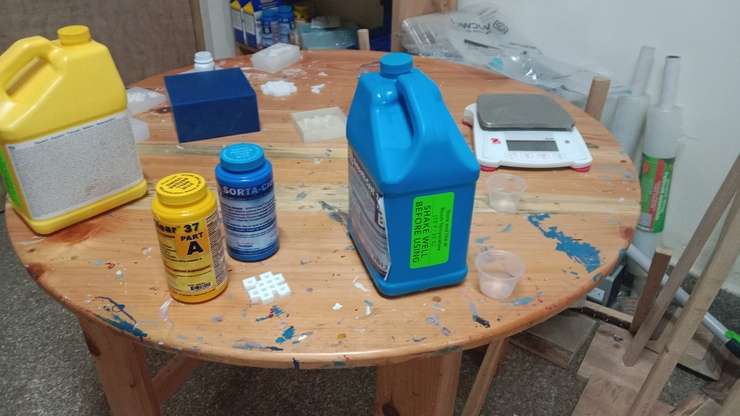
Now lets get into mixing the mixture. We next have to mix equal parts of both solution A and B. Be cautious as if you have not mix as the directions given by the manufacturers, It might all turn into a big mess!
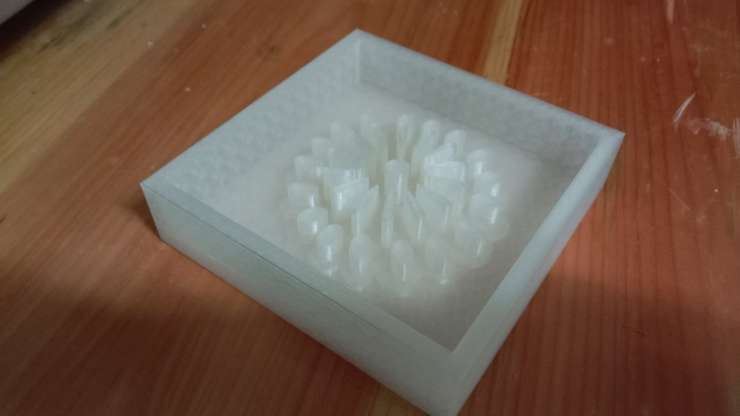
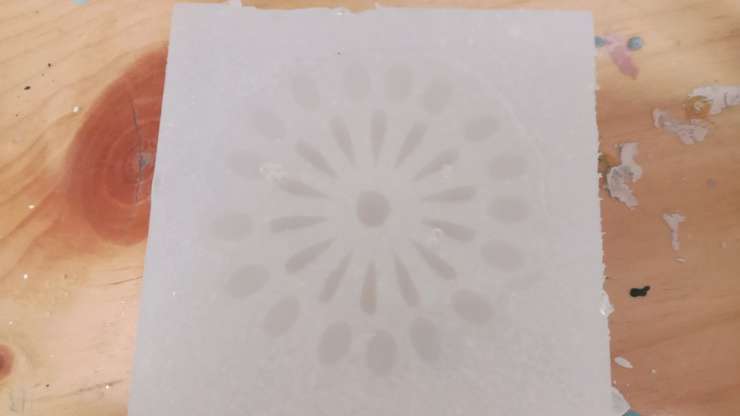
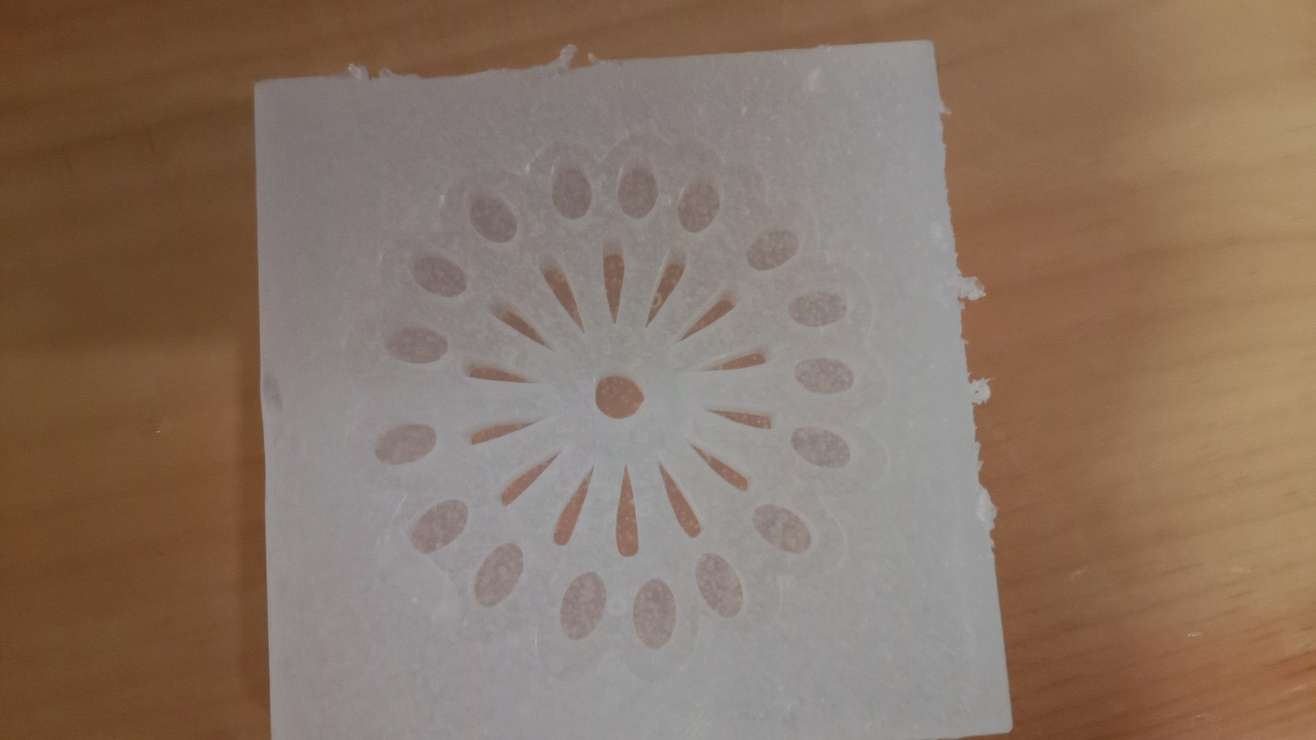
Now I poured the mixture on to my mold and as said in the directions, I let it sit for about 2 hours and 30 minutes.
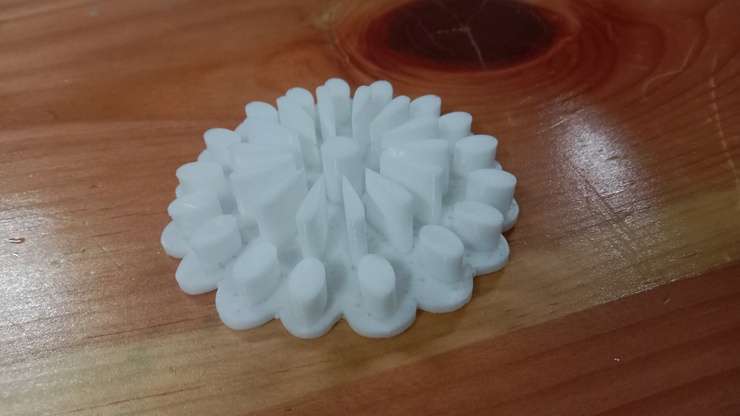
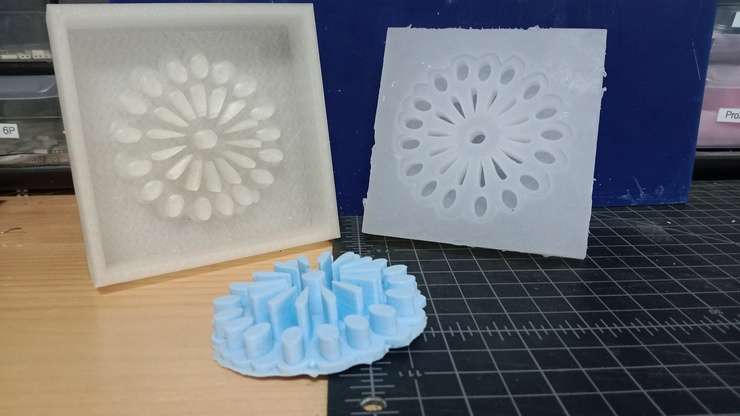
After about 4 hours(Because I forgot about the mold🤐)the mold had finished setting. After I took it out from the positive mold, this is how it looks.
Casting!
Now that we have finished creating our mold, lets go about casting on it so that we would be able get the fruit of all our work!
I will be using the "Smooth cast 305 liquid plastic"(WOW... really long name).
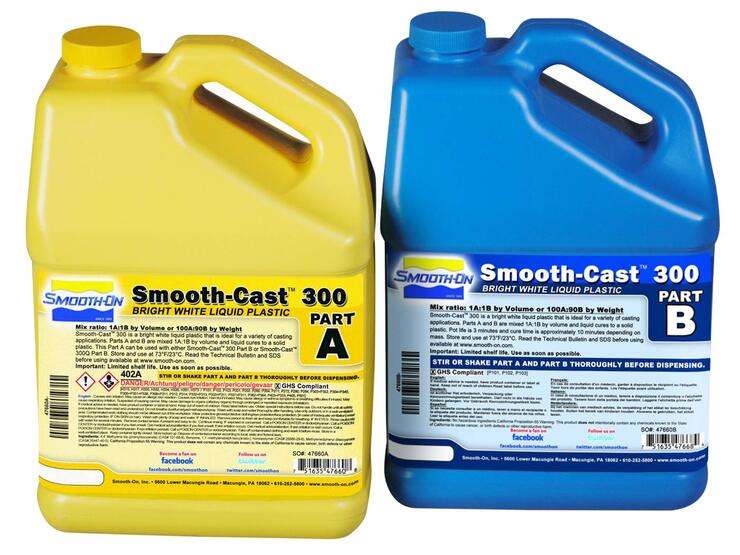
Like I did with the silicon solutions, I carefully read the instructions on both the box it came with and also Its data sheet
Both A and B have to be well stirred before mixing.
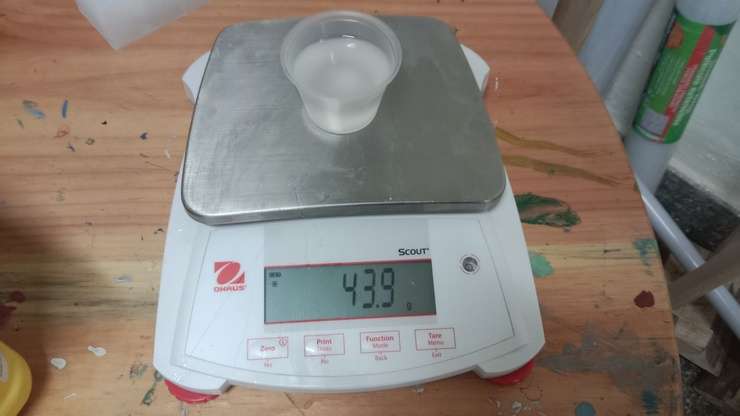
Mix Part A and B in a weight ratio of 100:90 respectively!
Be sure to mix it properly until both mixtures have mixed.(Fun Fact! - I am not any chemist, but I think that the mixing of the two parts"A and B" is a exothermic reaction as after stirring for a while, it became very hot! )
Lastly curing time is about 30 mins
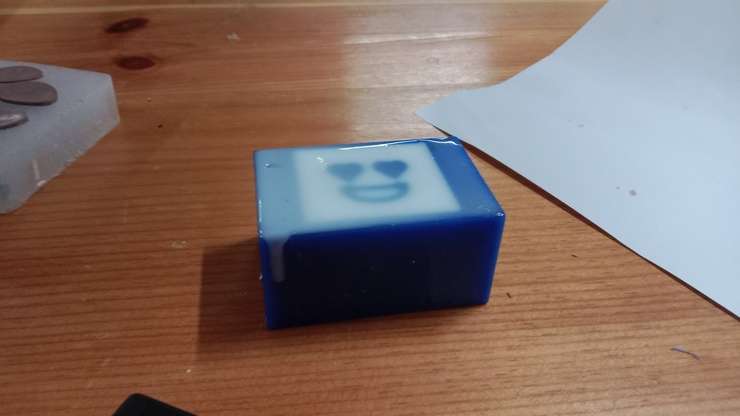
Before I show you the results I will have to tell you, I also made another one and also added colors! I added a hint of blue so that the cast would look more aesthetic.
This is how it looks.
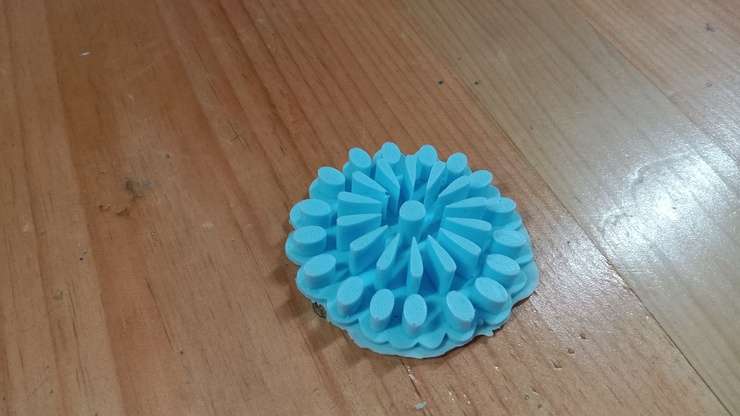
Hero shot!
Milling
Just so that I can complete this weeks assignment I also decided to create a mold and cast using the molding wax. I will be using the SRM milling machine to do so.
To create the tool path for the tool I used the software called modella player.
I quickly created the design using inkscape and then used fusion to extrude my design and then there you have it! my design.
After that I began setting up the milling machine.
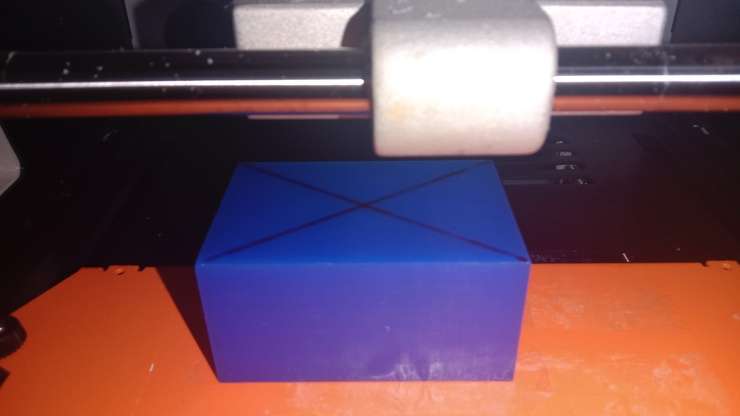
I also drew a x on the wax so that I will be able to find the center of the wax as the origin point is in the center for the tool path created by modella player.
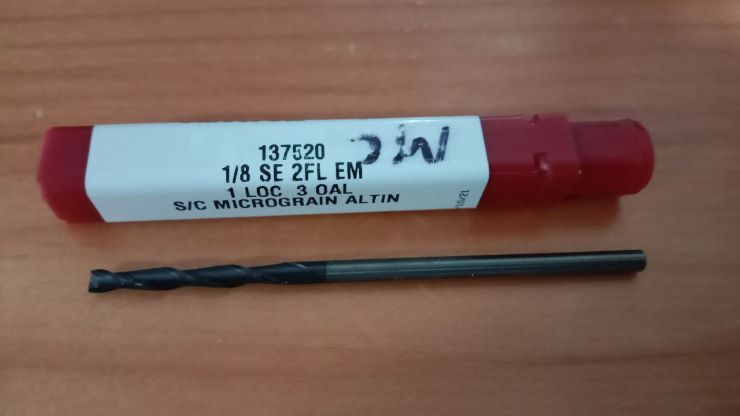
Firstly though since we are milling, we need to use a mill bit. Therefore lets get to slecting our endmill. Since we are milling on a block of wax, using the 1/64 or 1/32 mill bit just wont work. Either the endmill isnt durable enough or would take just too much time. Therefore I will be using the 1/8 mill bit
For the 1/8 I will be two types to mill my design, Firstly we have the two flute 1/8 mill bit for the first milling job.
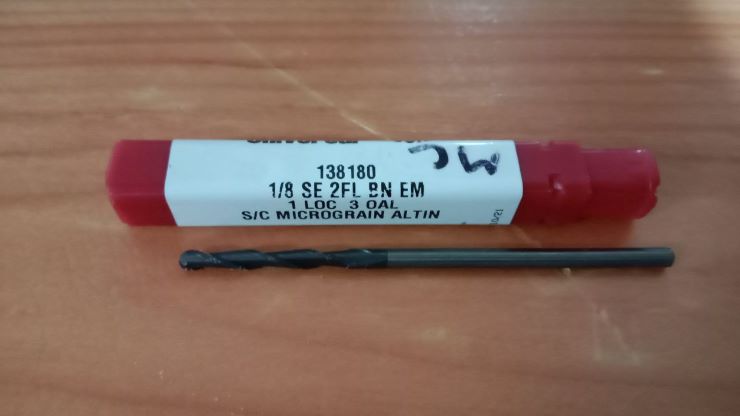
Next to smooth out our design, we have to use a seperate type of mill bit. the round 1/8 mill bit
Next lets begin with modela player!!
Creating tool path
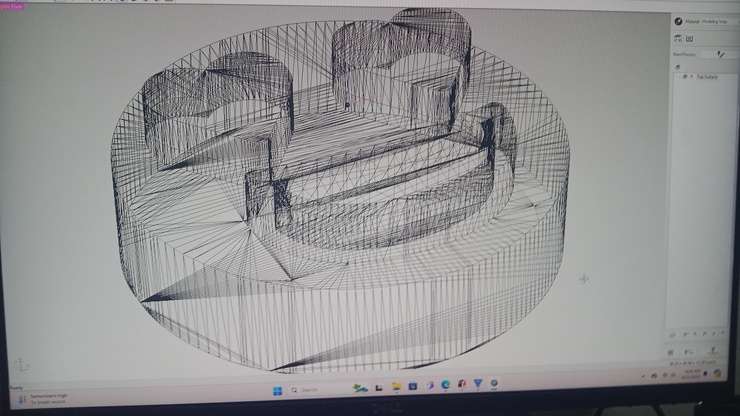
I opened up modella player and then uploaded my design.
.jpg)
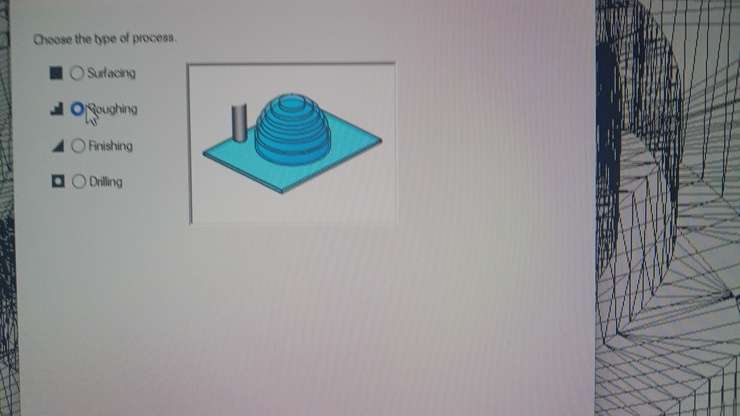
Now with the modella player, I have to create two tool path, one is for the roughing and the other for the finishing.
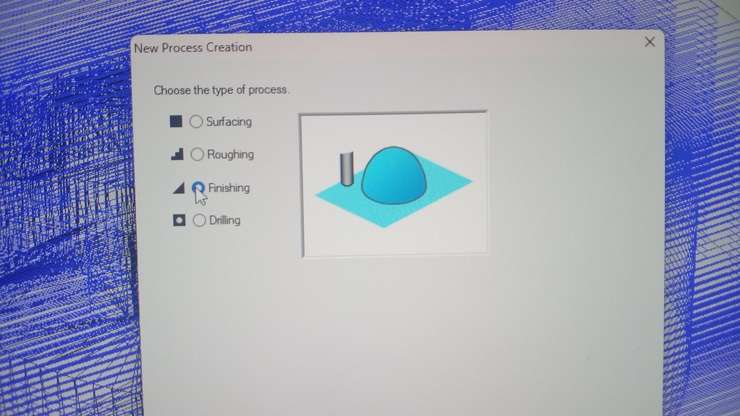
Firstly lets create the roughing tool path. I had to select the new process button and then I selected the roughing option
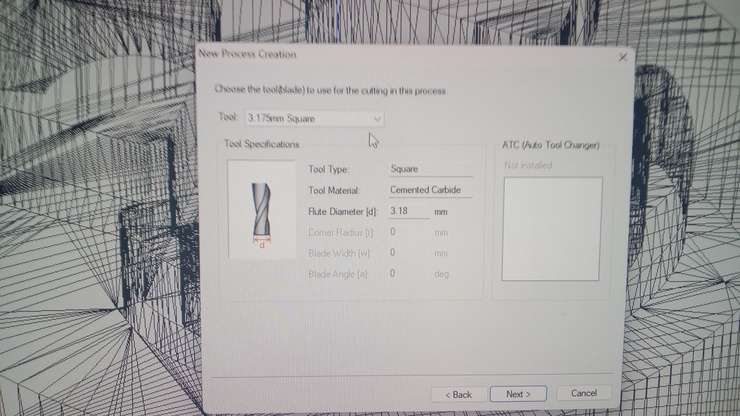
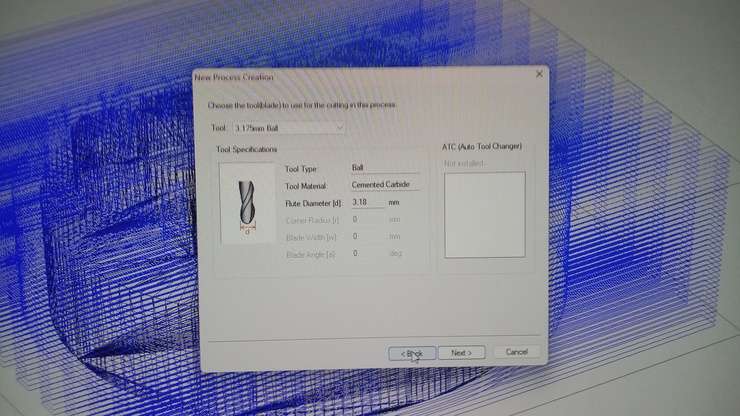
Next I had to select the drill bit I will be using for the milling.(the square mill bit used for the roughing process.)
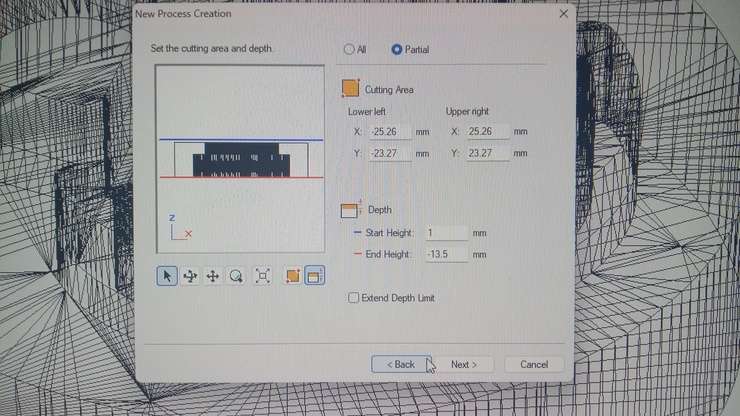
Next I set the cutting area and depth
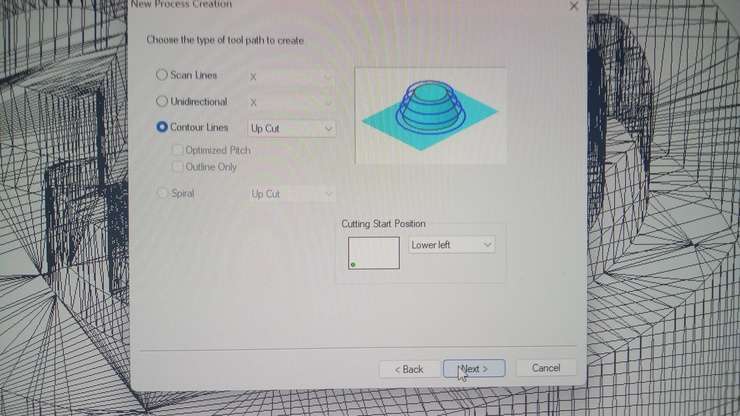
And then kept the tool path type to default.
Now lets create the finishing file.
As before select the new process and then continue as before.
The only thing that has to change is the mill bit.
Now the cutting position
.jpg)
.jpg)
Now we are done!! After I uploaded the tool path onto the Vpannal.
This is how it looks.
I forgot to take a picture off the finish cut and also how it looked before adding the silicon. I am dearly sorry and apologize.
Casting and Hero Shot
Like before I used the same process and then also poured the cast on to the
