Week 03

Computer-Controlled Cutting

I share with you my experience during my process of familiarization with design software.

Group Assignment

Vinyl cutter design

I decided to make a modified deadpool decal. The initial image used is in png format.

Descripción de la imagen
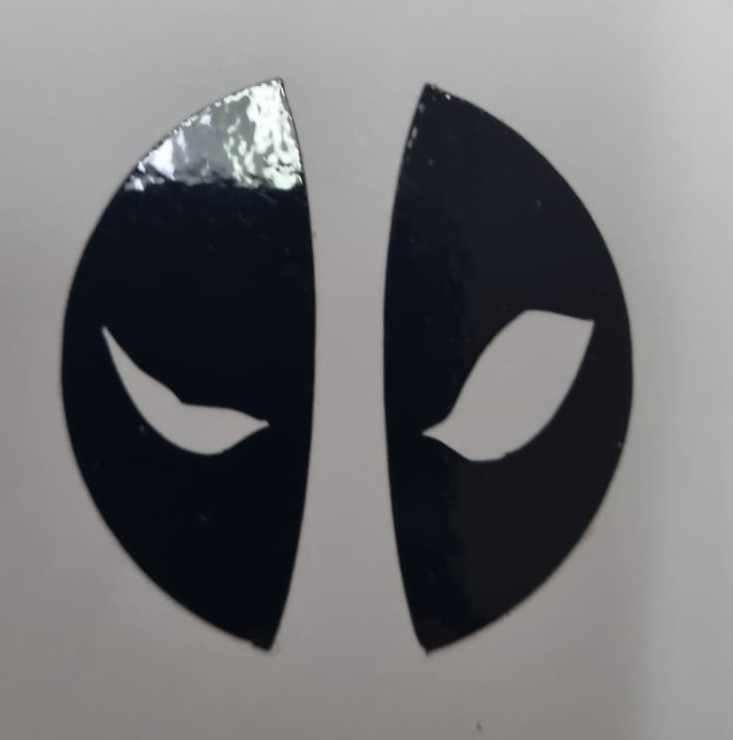
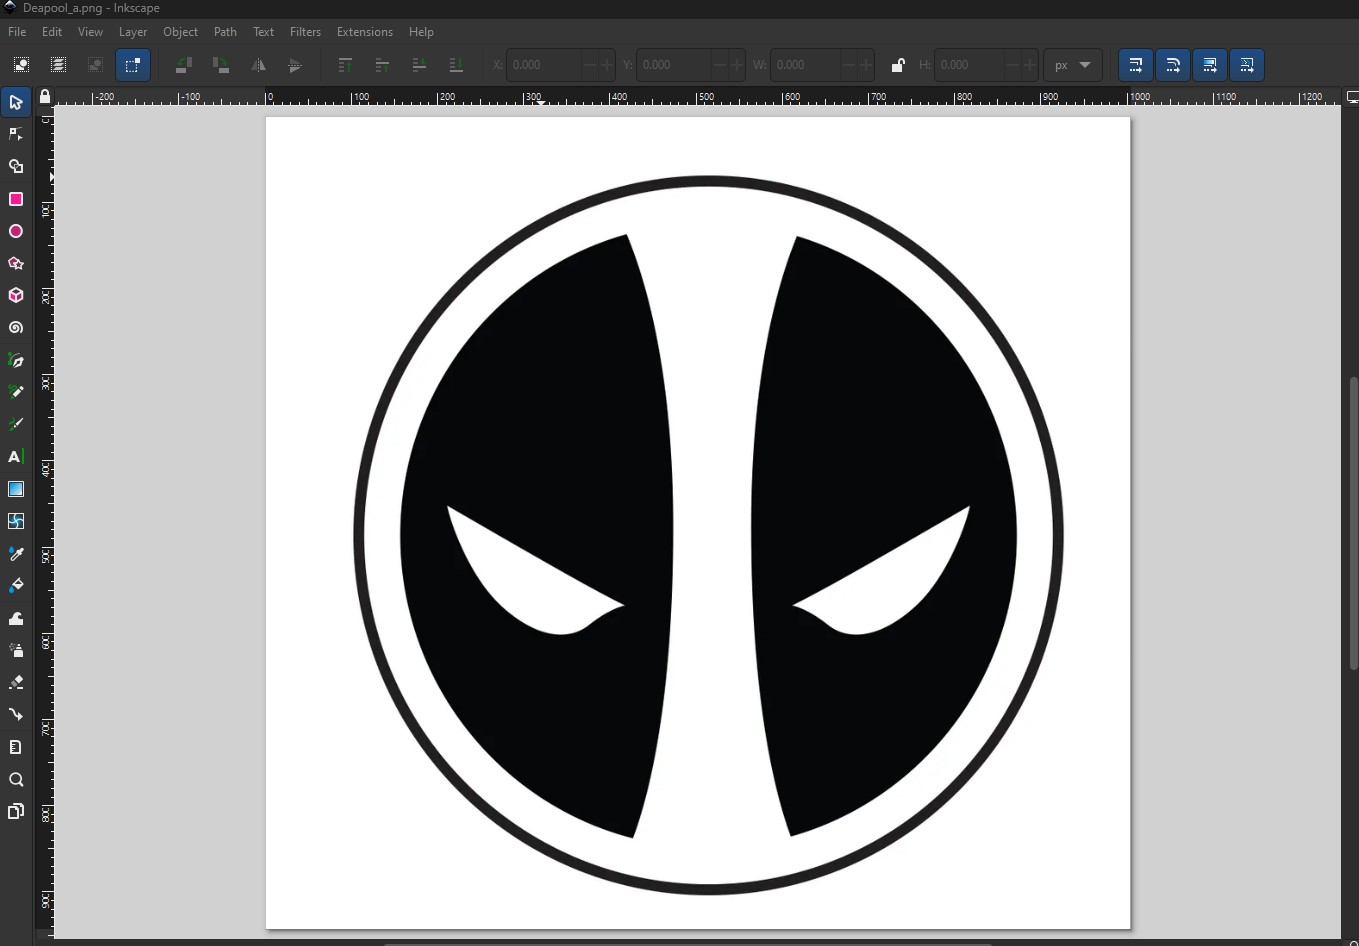
      For vectorization and a little editing I used the Inskcape software.
      The important step is to vectorize the image, for that, we go to the "Path" 
    option in the menu and choose "Trace Bipmap" which will give us a tab to work with.
      For this job I only worked with "Single scan", although I was browsing the 
    other options, but image I stayed with this option.
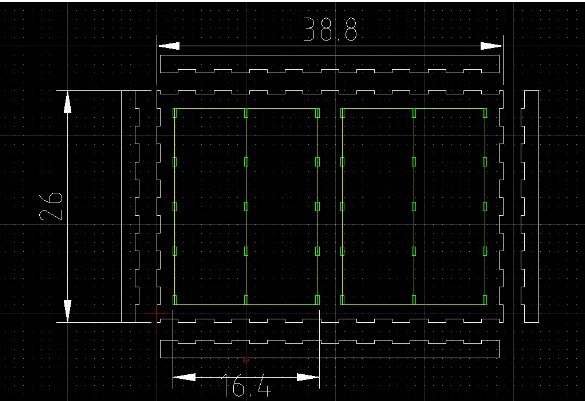
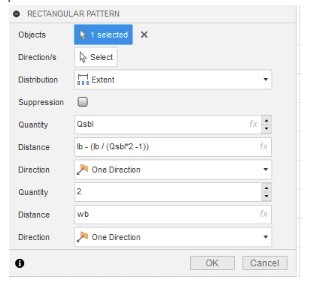
      The next step is to experiment with the options shown in the following image,
      depending on what we are looking for, and we can see how it will look using the
      "Update preview" option.
         Descripción de la imagen 

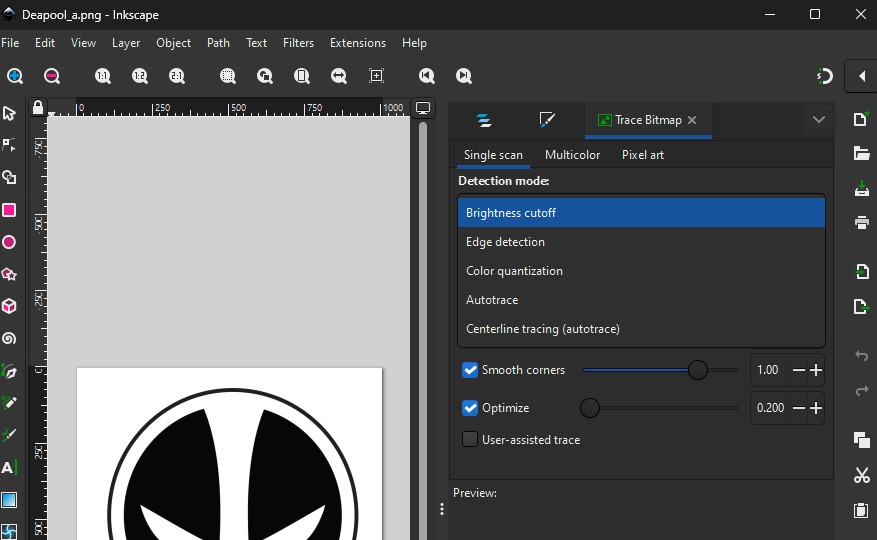
      Once we have decided, we go to the "Apply" button, and we continue 
      deleting the previous image, now we can view the points and make some edits.

      Descripción de la imagen 

      And the file is exported in dxf format.


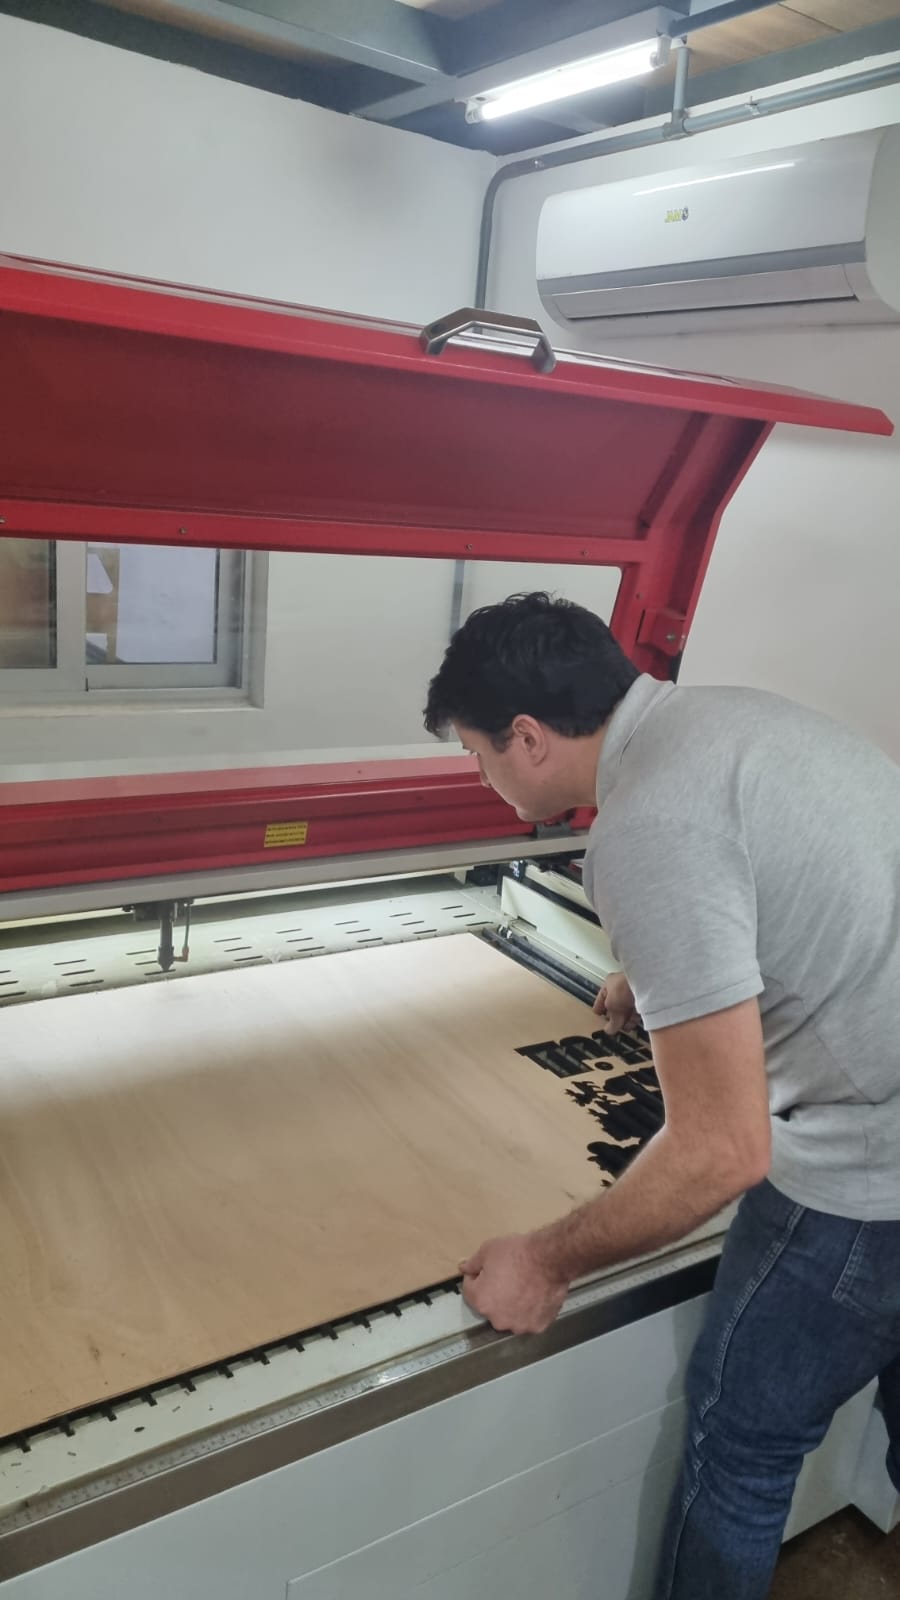
Vinyl cutter process

I sent this file to the machine that controls the vinyclutter, and, due to the available software, I had to carry out a series of steps. I sent this file to the machine that controls the vinyclutter, and, due to the available software, I had to carry out a series of steps. 
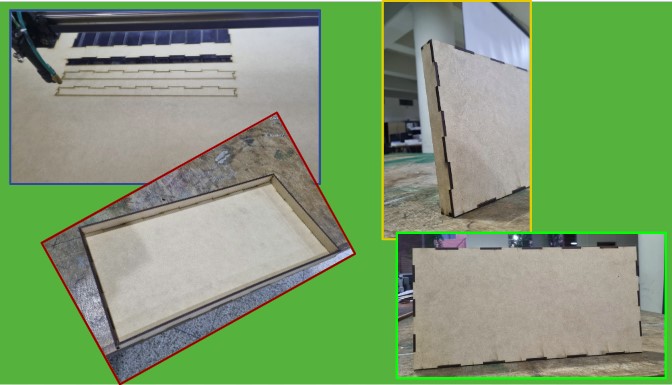
First, I had to open the file with "RDworks" software to transform the file from dxf to plt, that way I was able to open the file with the "Gss uploader" software that controls the vinylcutter. After that I started preparing the vinyl: - Choose the vinyl. - Cut the vinyl to the size of a sheet of paper. - Join the vinyl with the Matt. - Check and calibrate the blade. - Check the origin or reference axis of the machine. - Let the machine check the dimensions of the vinyl. - Set the pressure. - Start cutting. - Remove the vinyl. - Enjoy the result!!!. Descripción de la imagen

File download

Deadpool_b

lasercutter - Construction kit

QI started the first part of this work looking for a project, in this case I decided to make a vertical organizer, whose base would be made of MDF and with acrylic boxes. I must confess to you that I was only able to make the first part corresponding to the base in MDF. - I made my first doodles to clarify my ideas and started drawing them using the "Fusion" software. Descripción de la imagen The next step was to experiment with the parameterization (which took me a long time!), The parameters I recorded were: - Length_base (cm)= lb - wide_base (cm)= wb - Thickness_wood (mm) = tb - Thickness_acrylic (mm)= ta - Kert (mm) =ke - Quantity_socket_length_base (quantity) = Qsbl - Quantity_socket_wide_base (quantity) = Qsbw Descripción de la imagen - I made several attempts to parameterize the dimensions of my base in general (length and width) and the inserts based on the number of inserts, the thickness of the material and the kert. Descripción de la imagen - Applying a series of formulas such as: Descripción de la imagen - Finally, a box was left as a base.. Descripción de la imagen - Finally, a box was left as a base. - Now we need to define the following parameters: dimensions of the base, thickness of the MDF, and the kert. - The laser cutter is from the JQlaser brand. - I chose to use a 3.3mm thick MDF. - We perform the Kert test. Descripción de la imagen Descripción de la imagen - I got a kert value of 0.182mm. - The next step was to carry out a series of insert tests to determine the best option. Descripción de la imagen Descripción de la imagen Descripción de la imagen

- Finally, with the results, I adjusted the parameters and we were able to cut the pieces and assemble the pieces. Descripción de la imagen

Files made

  • Designe BOX
  • Keert_test

    Conclusion of the construction kit

    Unfortunately, the design could not be completed in its entirety, it had to be simplified in the process, because I underestimated the time spent understanding the parameterization and fitting tests and the time to familiarize myself with the software, However I must highlight: - I am very satisfied with the result of the inserts, they are the right size and were firm. - I have already developed a set of parameterized tools to calculate ket and test the fittings. - I can now use the laser cutter correctly.

    Many Thanks!!