Week 2: Computer Aided Design
Another week in the "heaven" that is making documentation for Fab Academy. Yay! Here we go.
Now I'll try to be a little more organized and first focus on the
Fab Assesment guide as sections for my documentation.
Objectives of the week
- Installing and learning how to use 2D and 3D softwares
- Modelling something for final project
- Process of uploading into web
Sections in page
- 3D Softwares
- 2D Softwares
- Video
3D Softwares
Autodesk Fusion
I used my teacher account to have access cause I haven't recieved my Fab Academy license jet, but thankfully it worked fine for me cause I just needed to renew it.
The first thing I tried to play with was the parametric designing in my sketch, so I tried making some base that I then extruded to look like a puzzle piece.
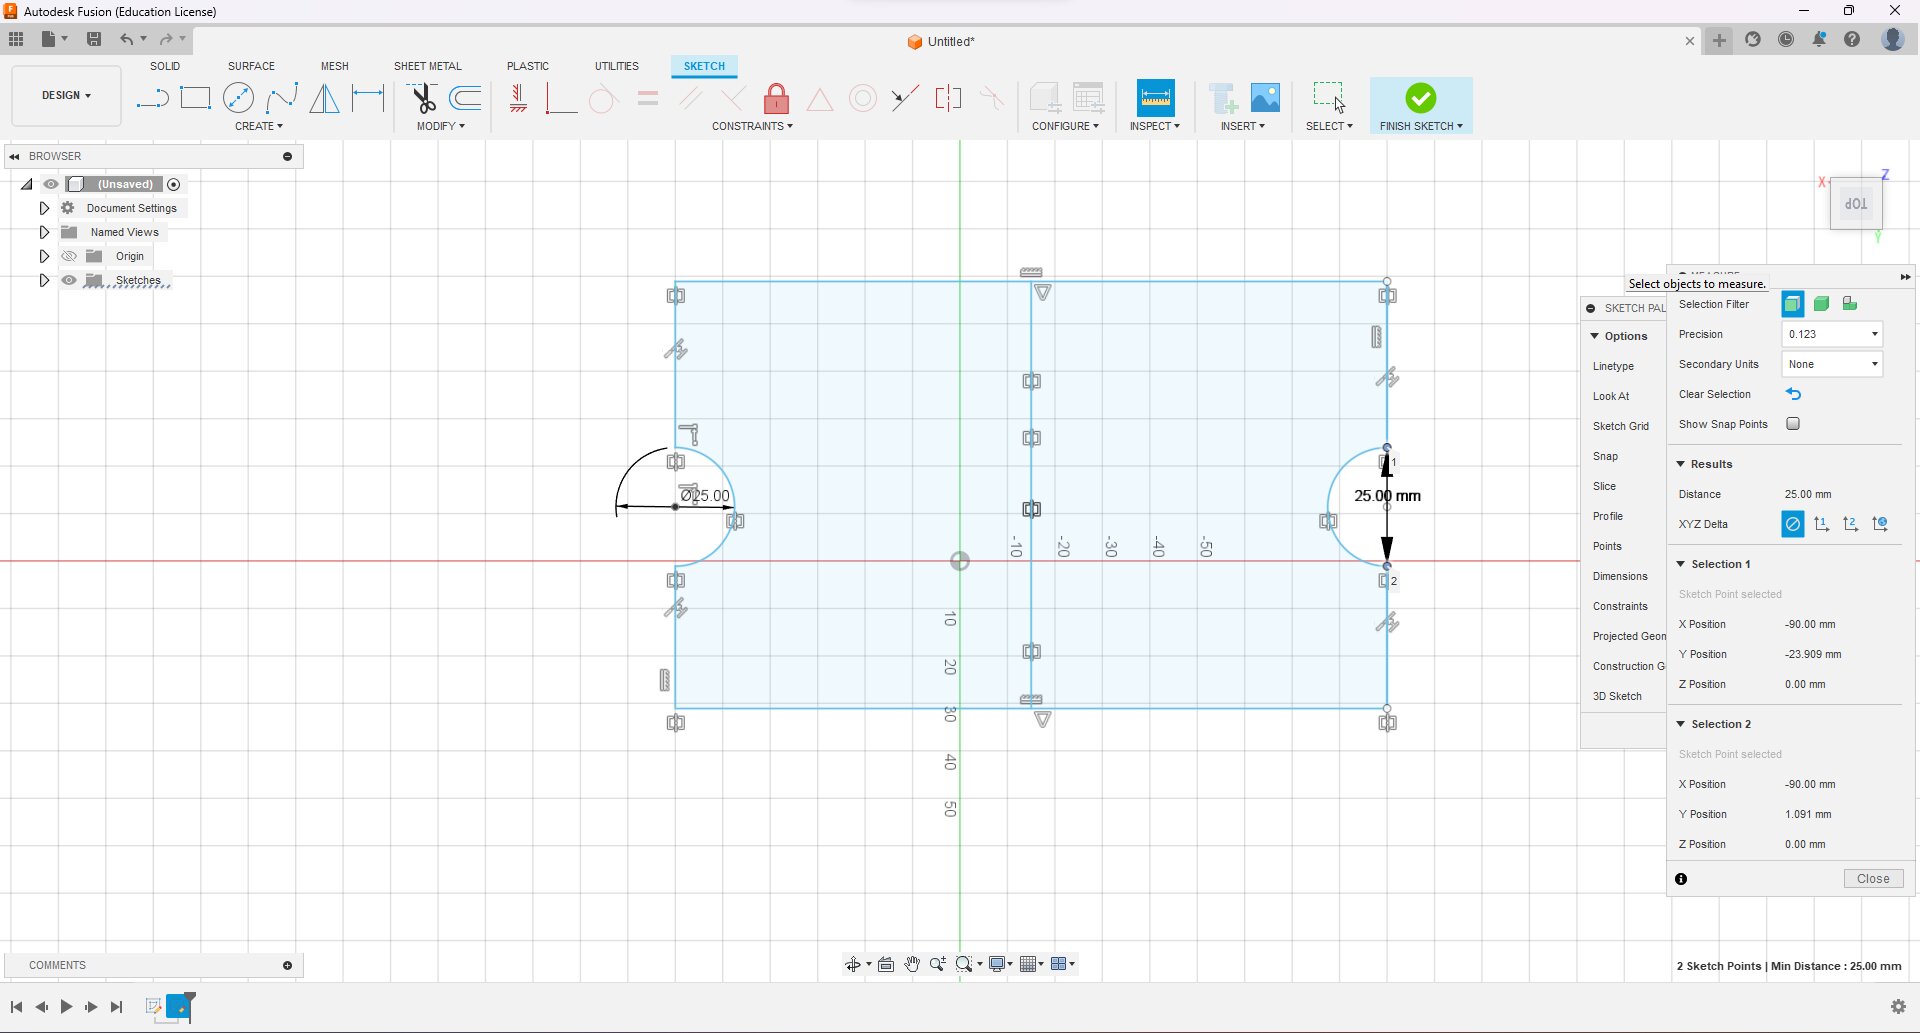
I strted with the "parallel" constrains for all the walls
Then I used the "equal"
Also had some troubles cause my sketch apparently wasn't a
closed plane so in the beggining, extruding was not possible.
For this reason, I started using the coincident constrain as
well to close my drawing.
Played with some of the meassurements by using the meassure tool as well. To test if the circles all changed at the same time.
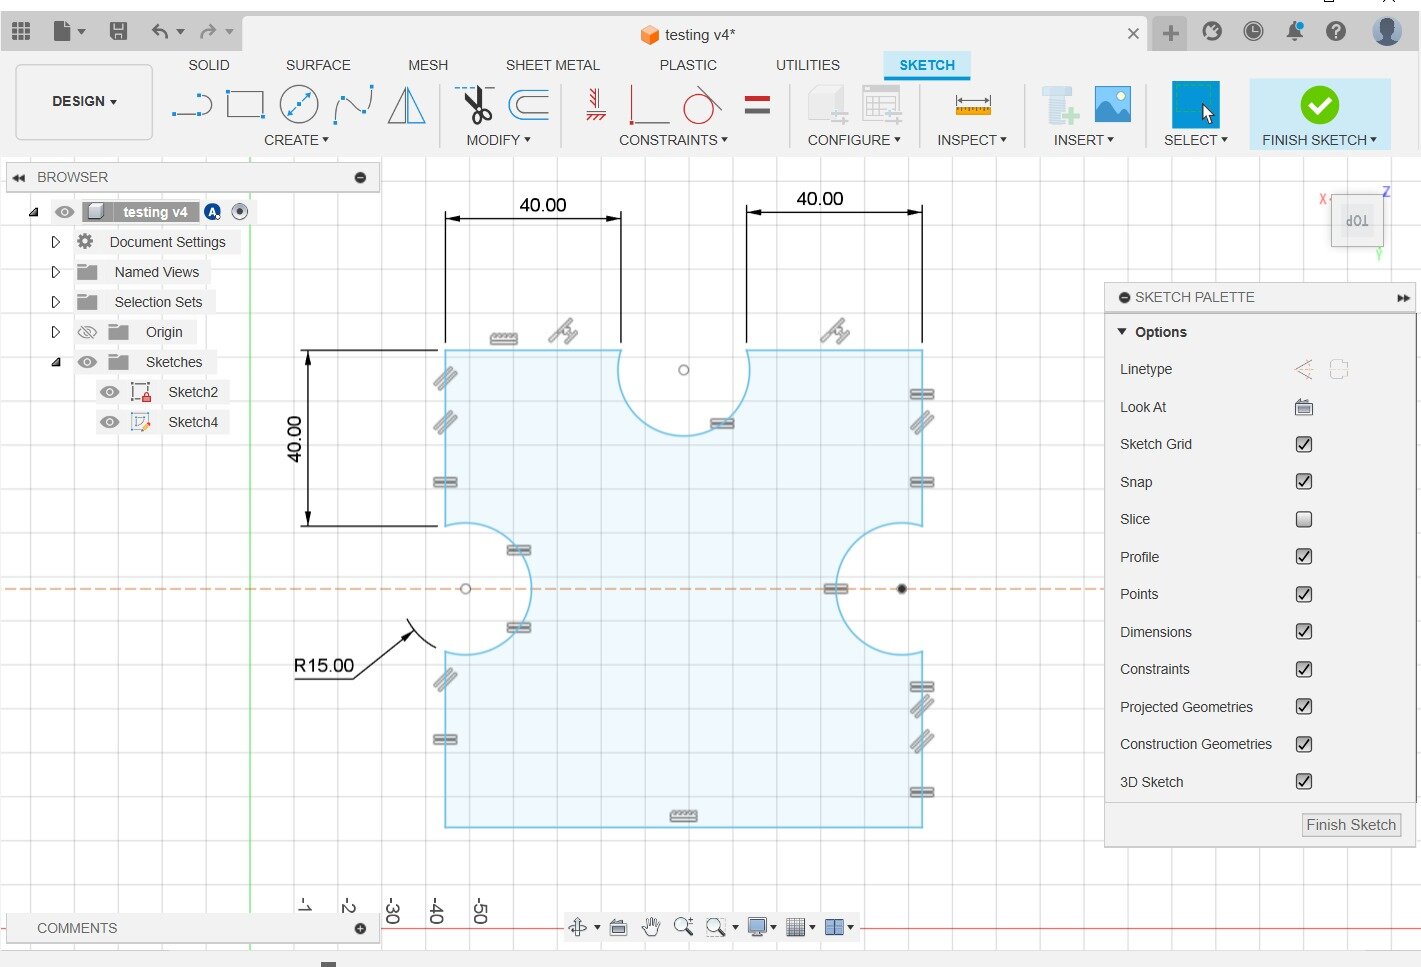
Tested if the 3 circles made changed when I changed only one and if the extruded body also was saving those changes and it worked
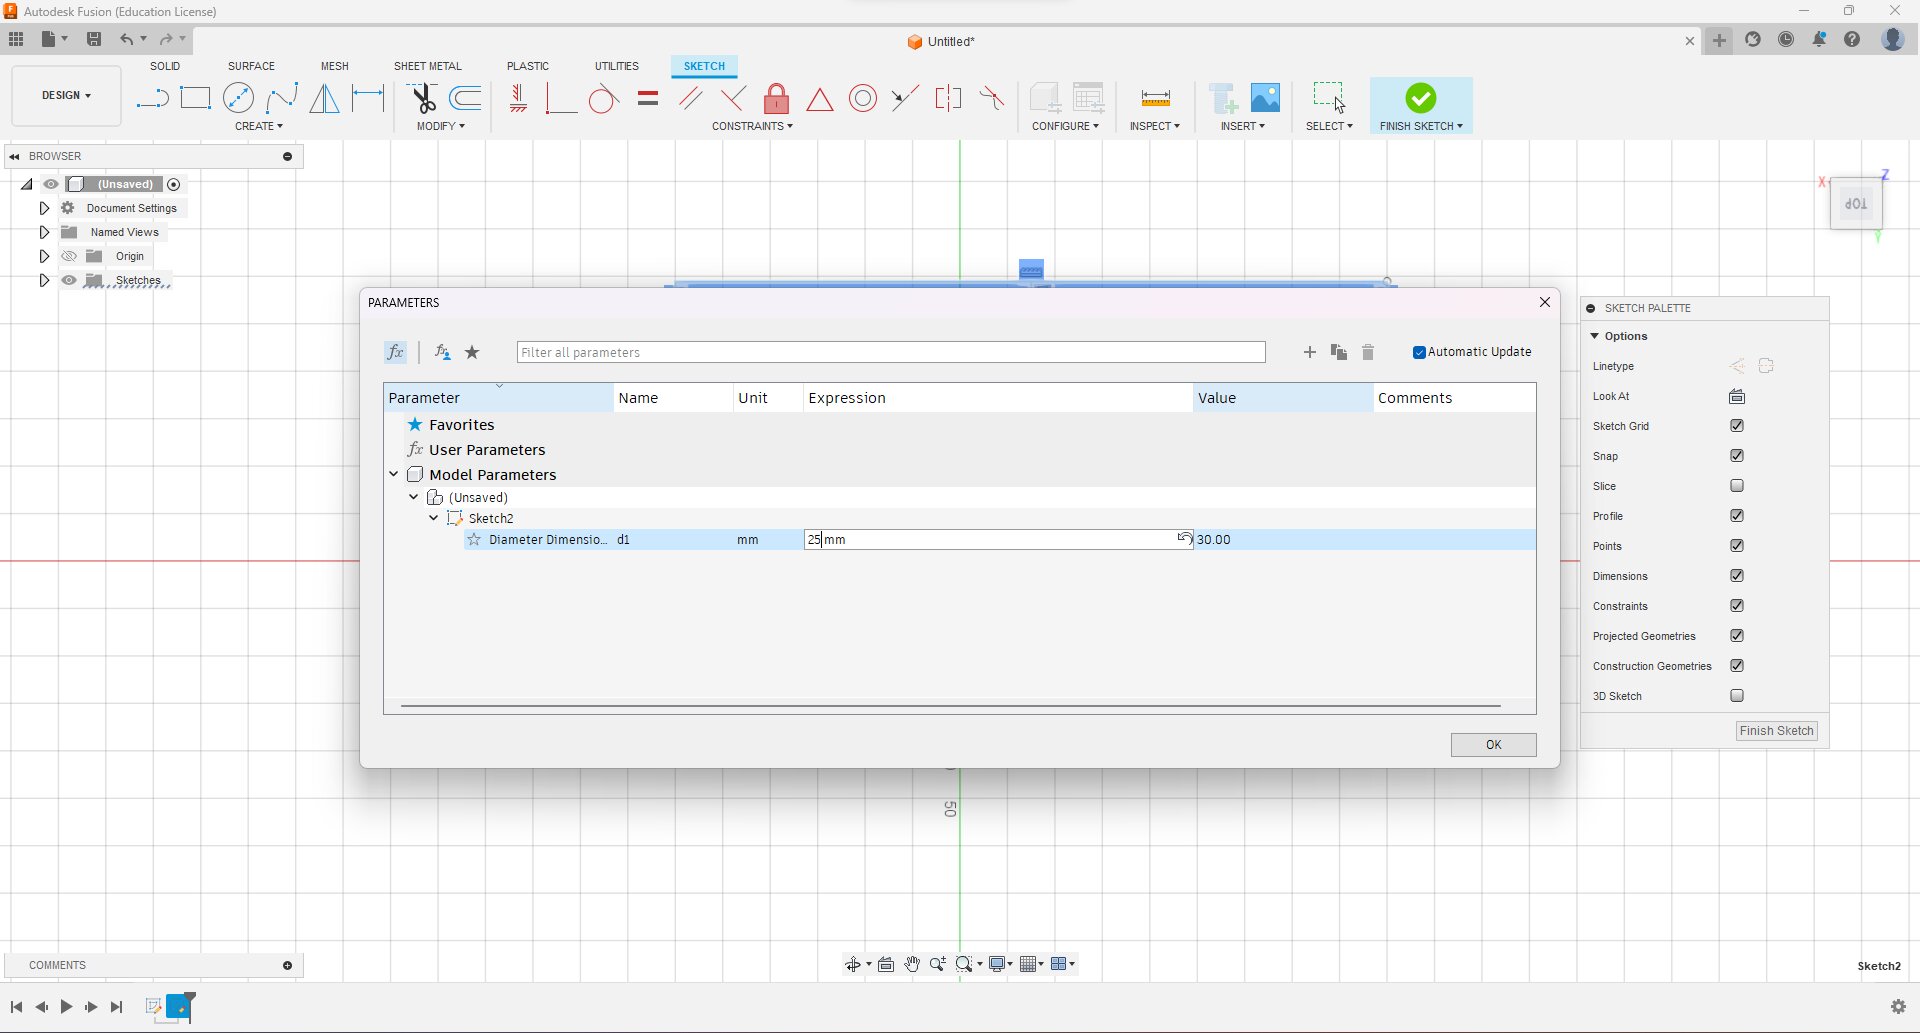
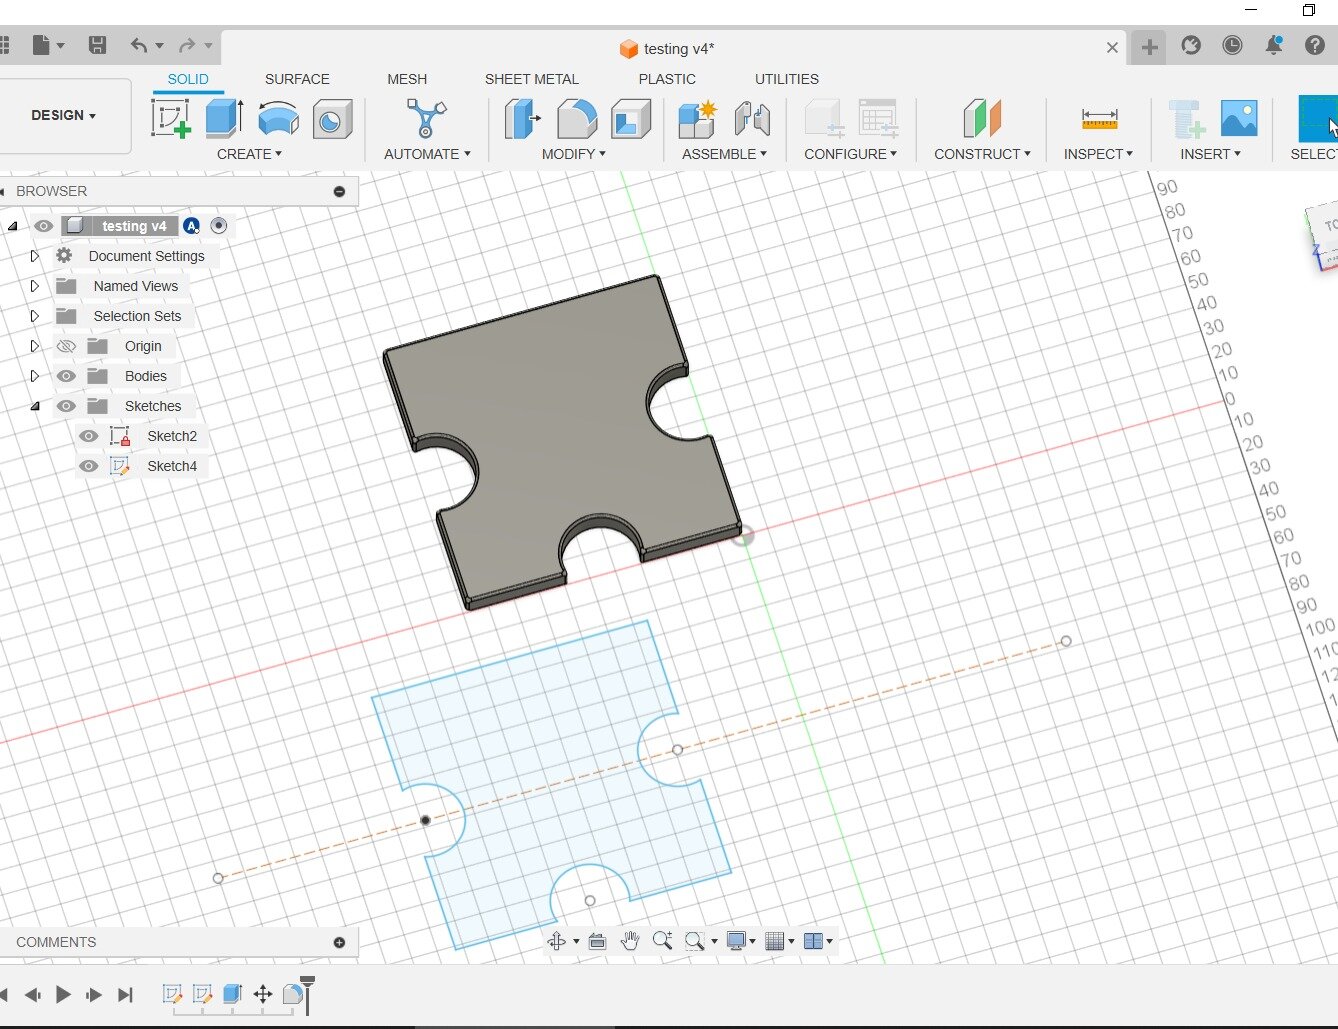
On sunday, my instructor told me that something that was missing was making the overall perimeter not change when I changed the size of the circles, cause the idea is that it's always the same piece, but that the cuts can change. So I used the "fix" constrain in the wall without circles and that was enough to make it work like that.
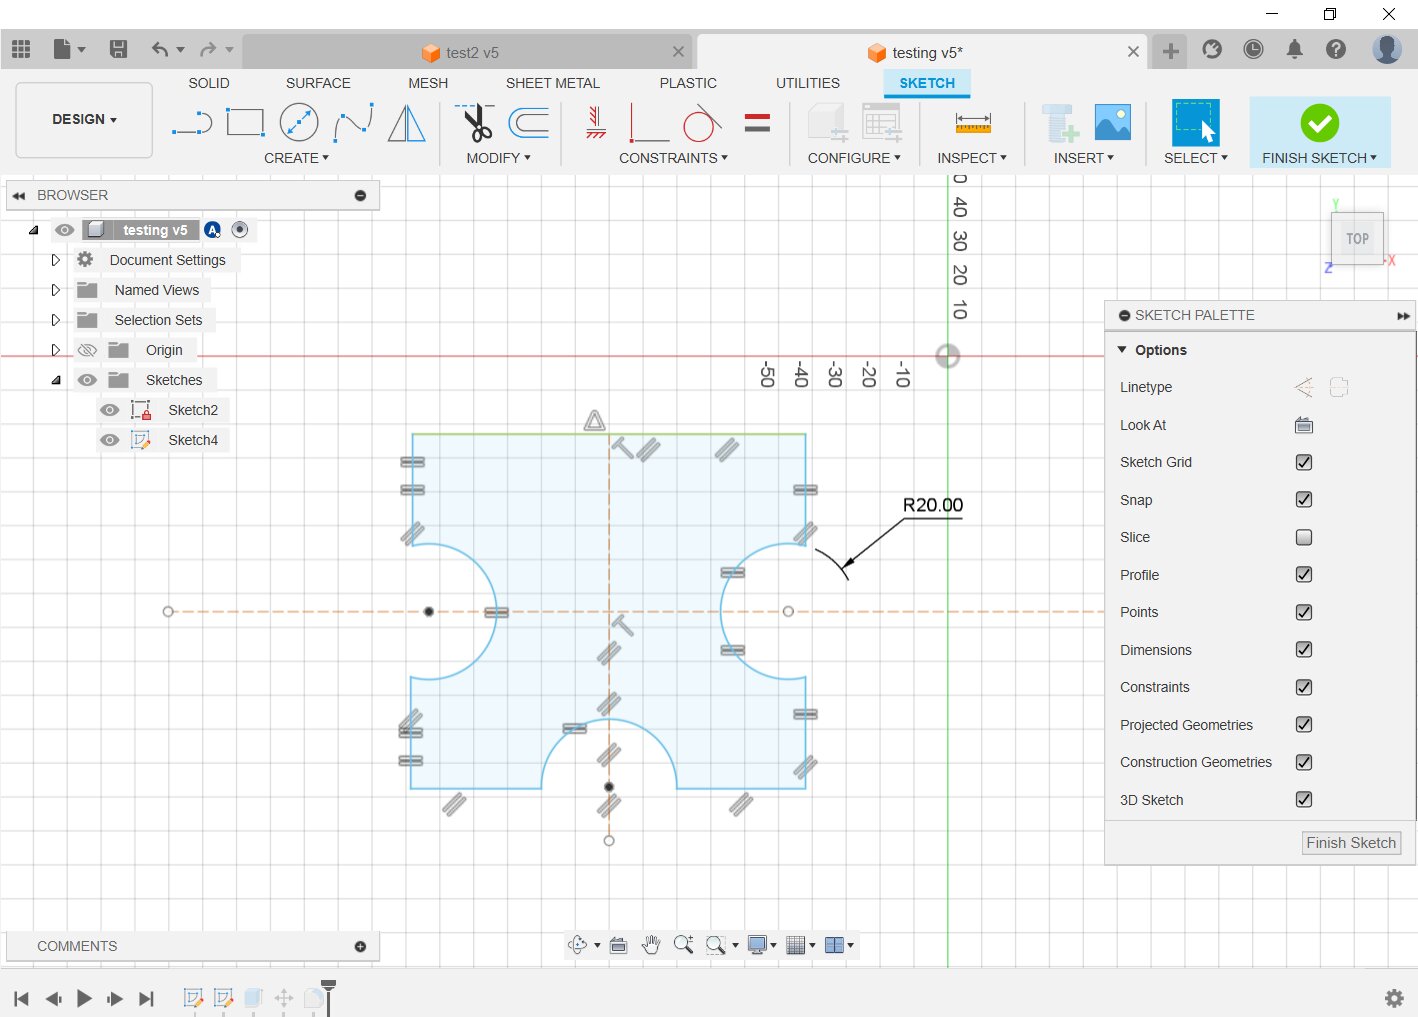
Here is the design with all the changes!
Now this is where I started to try and model my final project
I wanted to test some other things like the revolve tool and some others. So I made a little donut looking thing with the revolve.
After that I tried to make a sphere with a circle in the middle of the donut, to kind of make a wheel (I'm not sure if this wheel will work as one but the general idea of how I imagine they work is here)
I used a circle in the middle of my wheel to create the axle.
After finishing with the wheel, I started to create a box.
Same process, made the sketch first and then extruded the thing. And after extruding, I created a shell of the body.
Happy with that, I used the construct tool to make a plane in the middle of that body and mirrored the wheel on the other side then I started with another construct plane on top to start working on the cap.
Used the offset tool and got my cap, then I had to test ways to
create the little holes that are going to be for the modules
that go on top.
One of those was by creating one little cylinder with the sizes
of the hole, and then using the pattern tool to put them all
around and when combining them, made a cut in the base body.
Tried other methods but all using patterns, it took some tries
and it wasn't exactly smooth.
But here a video with all of what I tried to explain.
Blender Testing
After being happy with what I accomplished with Fusion, on Saturday in Global Open Time, Rico (one of the instructors from Japan) showed how to start using Geometry Nodes with Blender.
He did a bit of modeling of a box with parametric design as well. So I wanted to try that to see if it was a smooth operation to follow.
First things first, installing the program
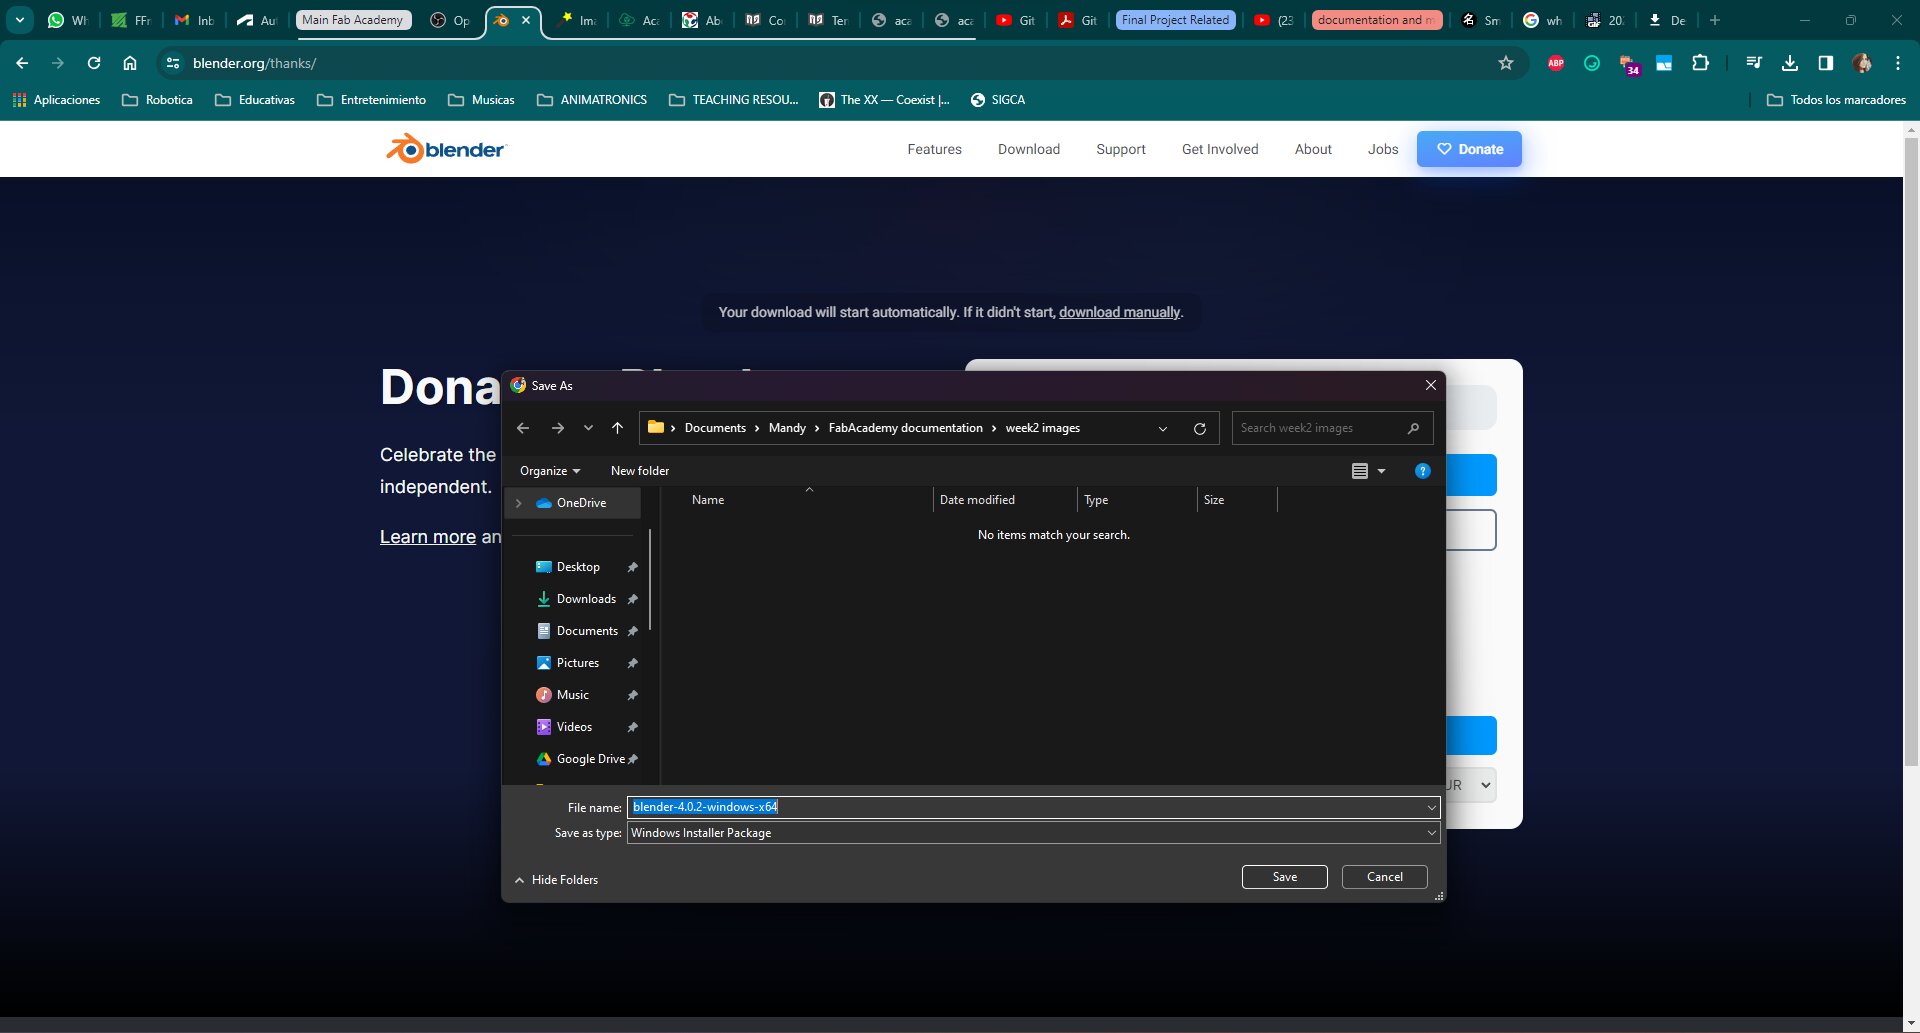
I went to a link that was provided in the zoom reunion that had a tutorial done in the Instructors Bootcamp, and followed those steps to get a parametric desing.
I won't explain the step by step process cause it seems like a lot when the tutorial is already done. You can find said tutorial on the left side of the page in the Blender section.
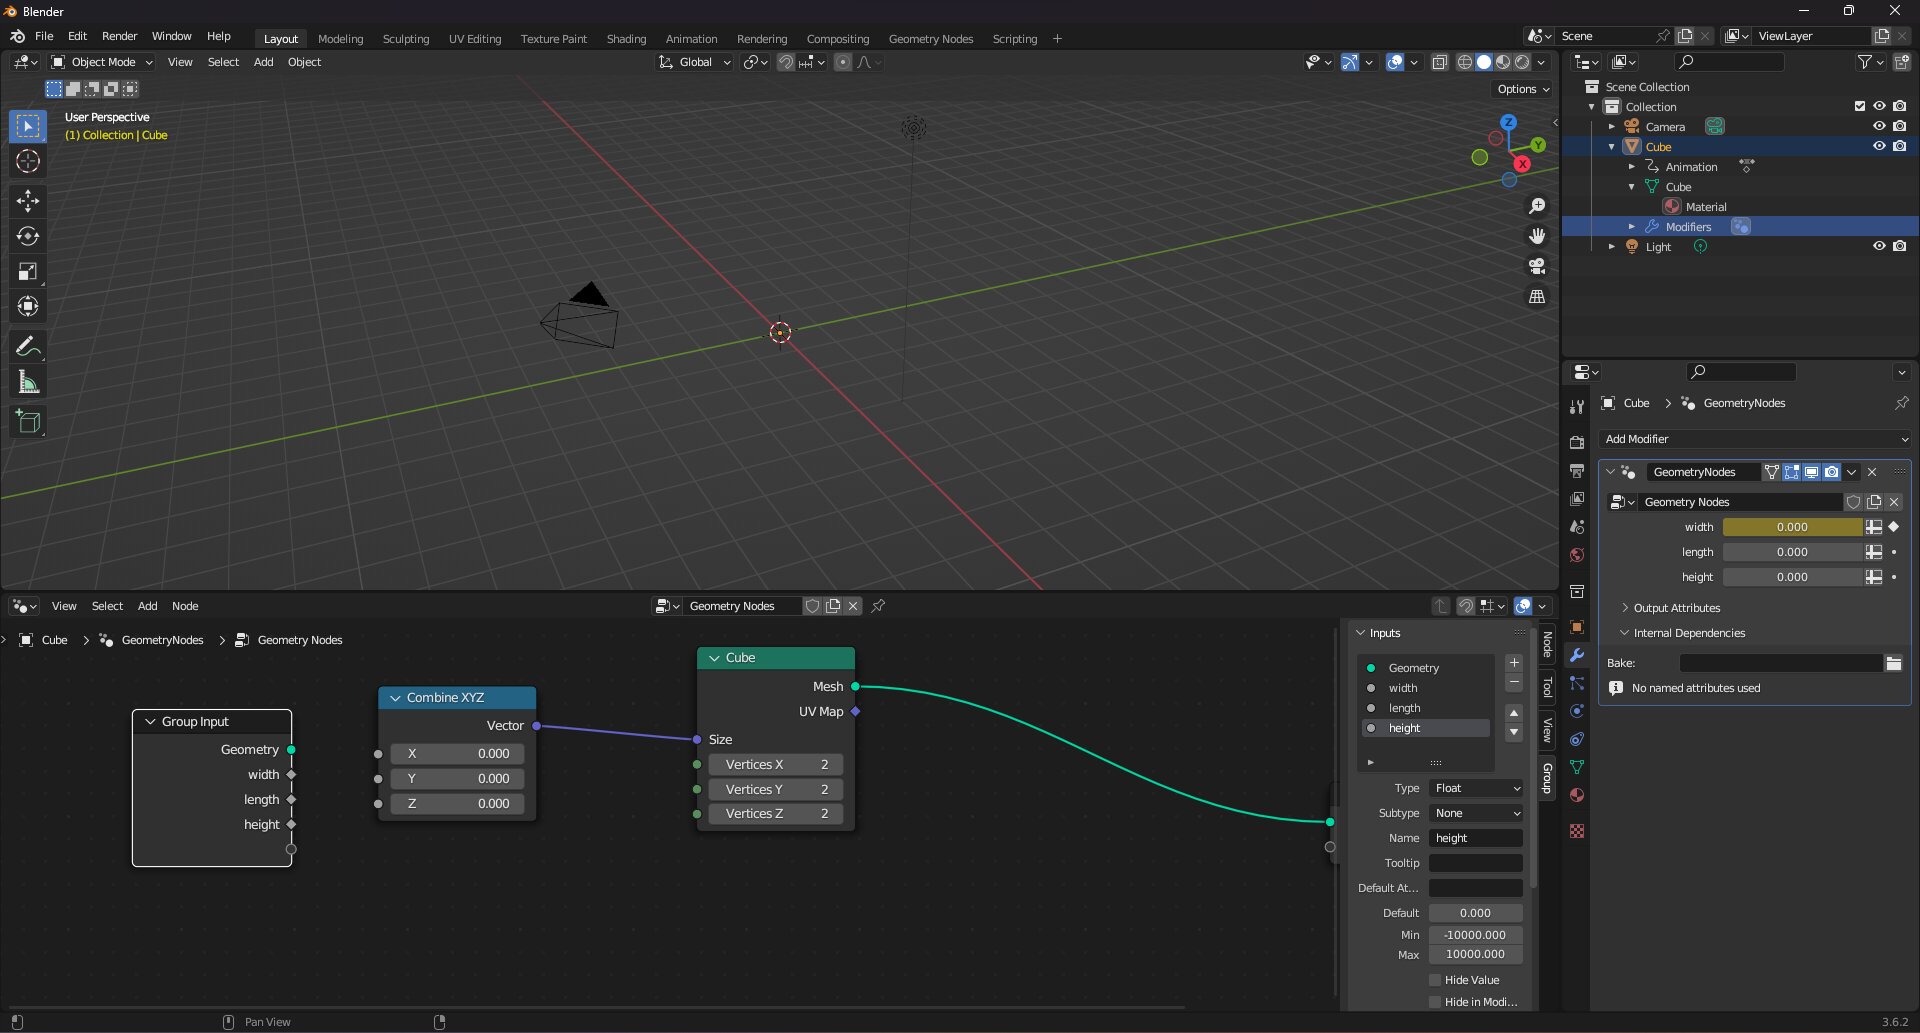
To put it short, first, you create a cube with some of the provided nodes and also create the parameters that are variables and connect them as inputs and outputs.
After that, using the same inputs with the variables of the first box, and another one of the thickness, you create the hole. You use that variable and a substraction node and connect those to the cube, and also change the position with a transform node.
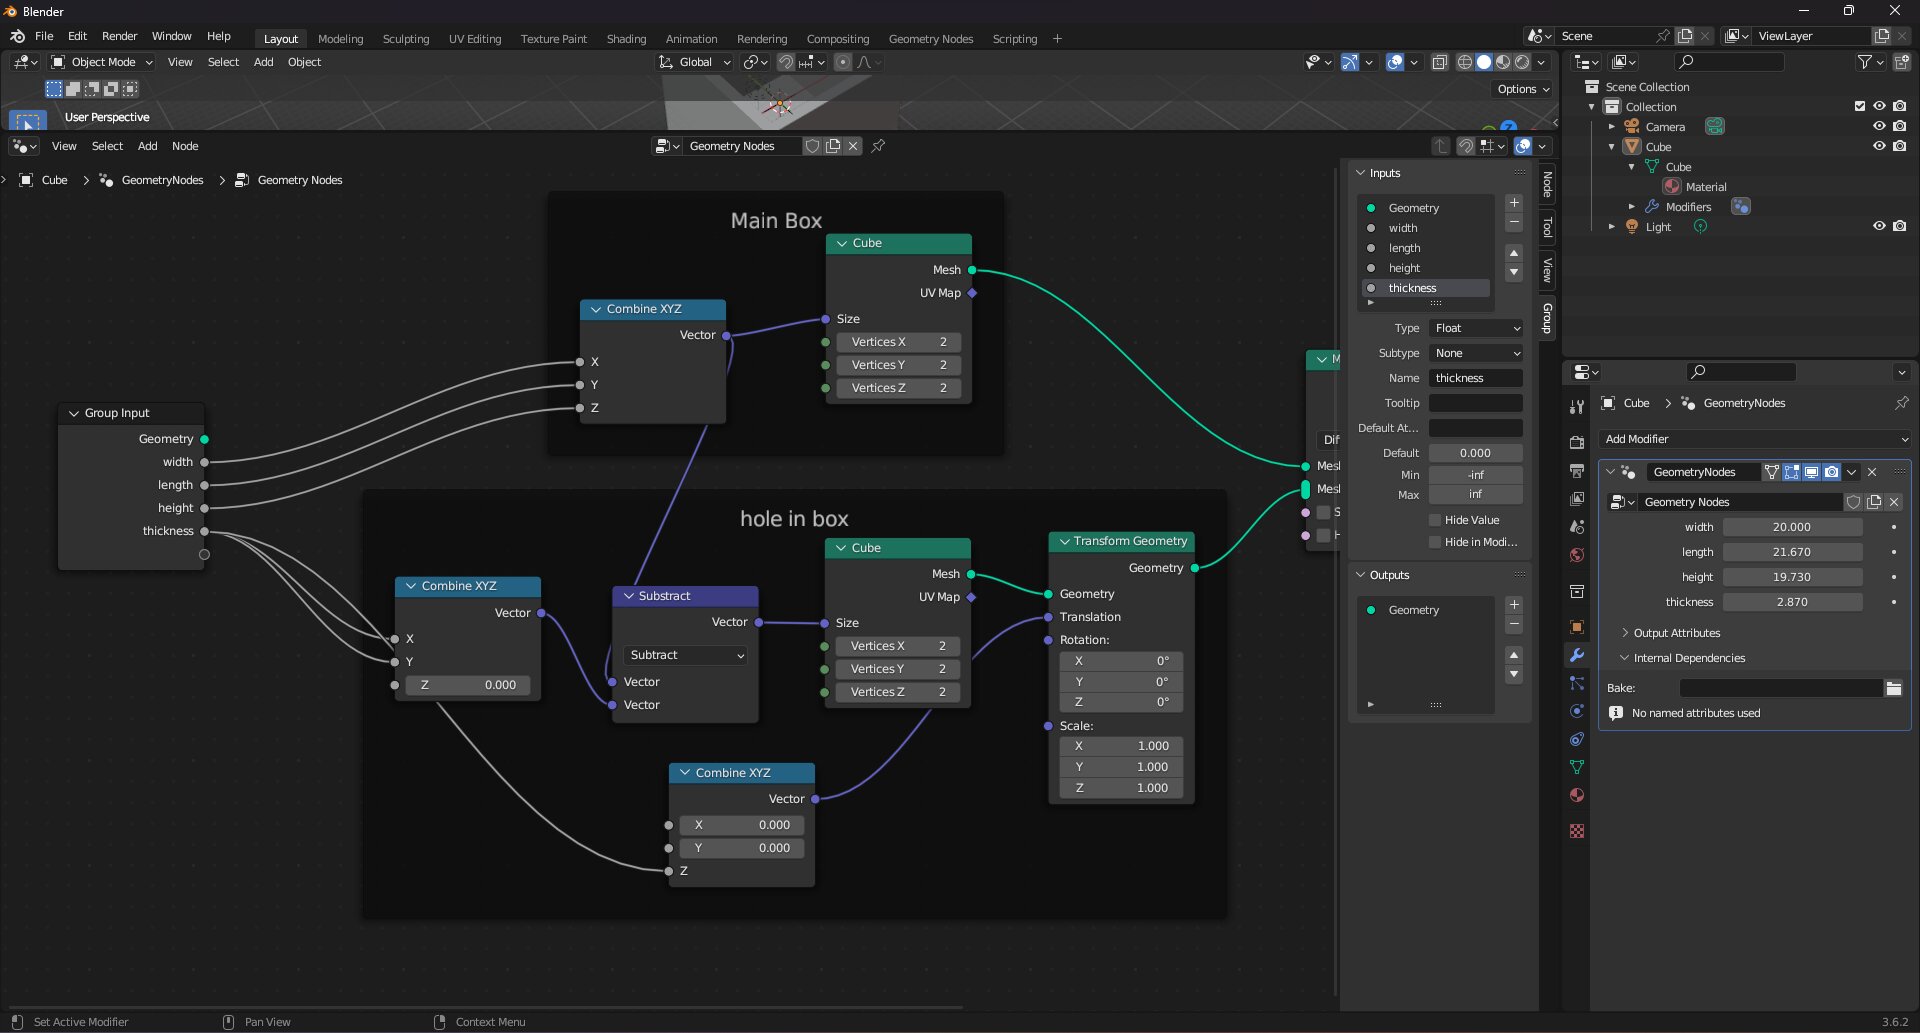
With those things in place, I tested the parametric values, as you can see in the video below.
After this, I tried to do the Lego as well, but to be honest,
the tutorial was a bit confusing. I didn't finish this. (lost
hope quite early into it, so I won't really put files to it xdd)
But, in general, I will say that Blender is a bit confusing to
use because it has way too many things.
I get why all of it is there, but as someone that gets lost easily when there is too much going on, I found it daunting. Maybe with a bit more time and practice I'll learn to harness it correctly.
You can also find my "Sake Cup" design in the download section
2D Softwares
Inkscape
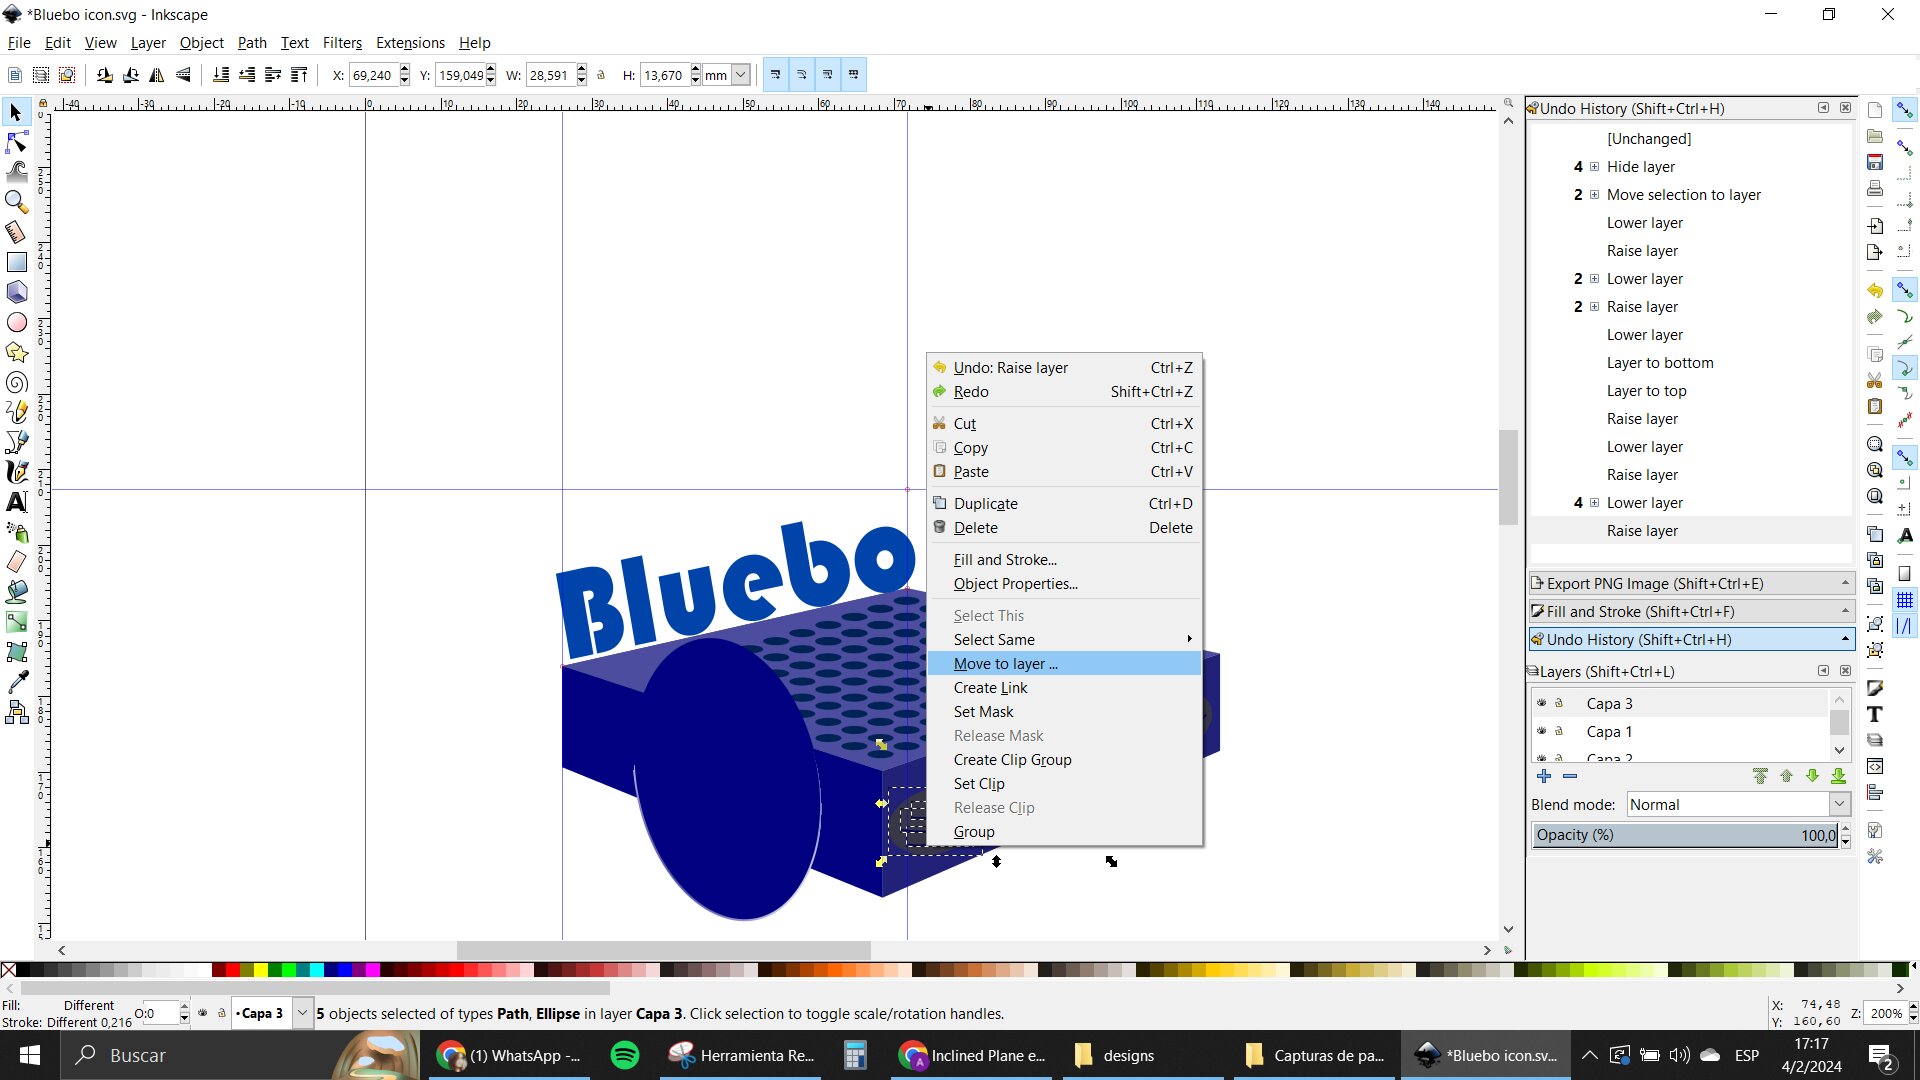
I downloaded the software for Inkscape pretty easily and begun testing it in the first day, but to be honest, I wasn't sure what to do with it. Also, in that first day, I couldn't figure out how to make lines but ended up playing with the Bezier pen tool and some rectangles. I made a little snake
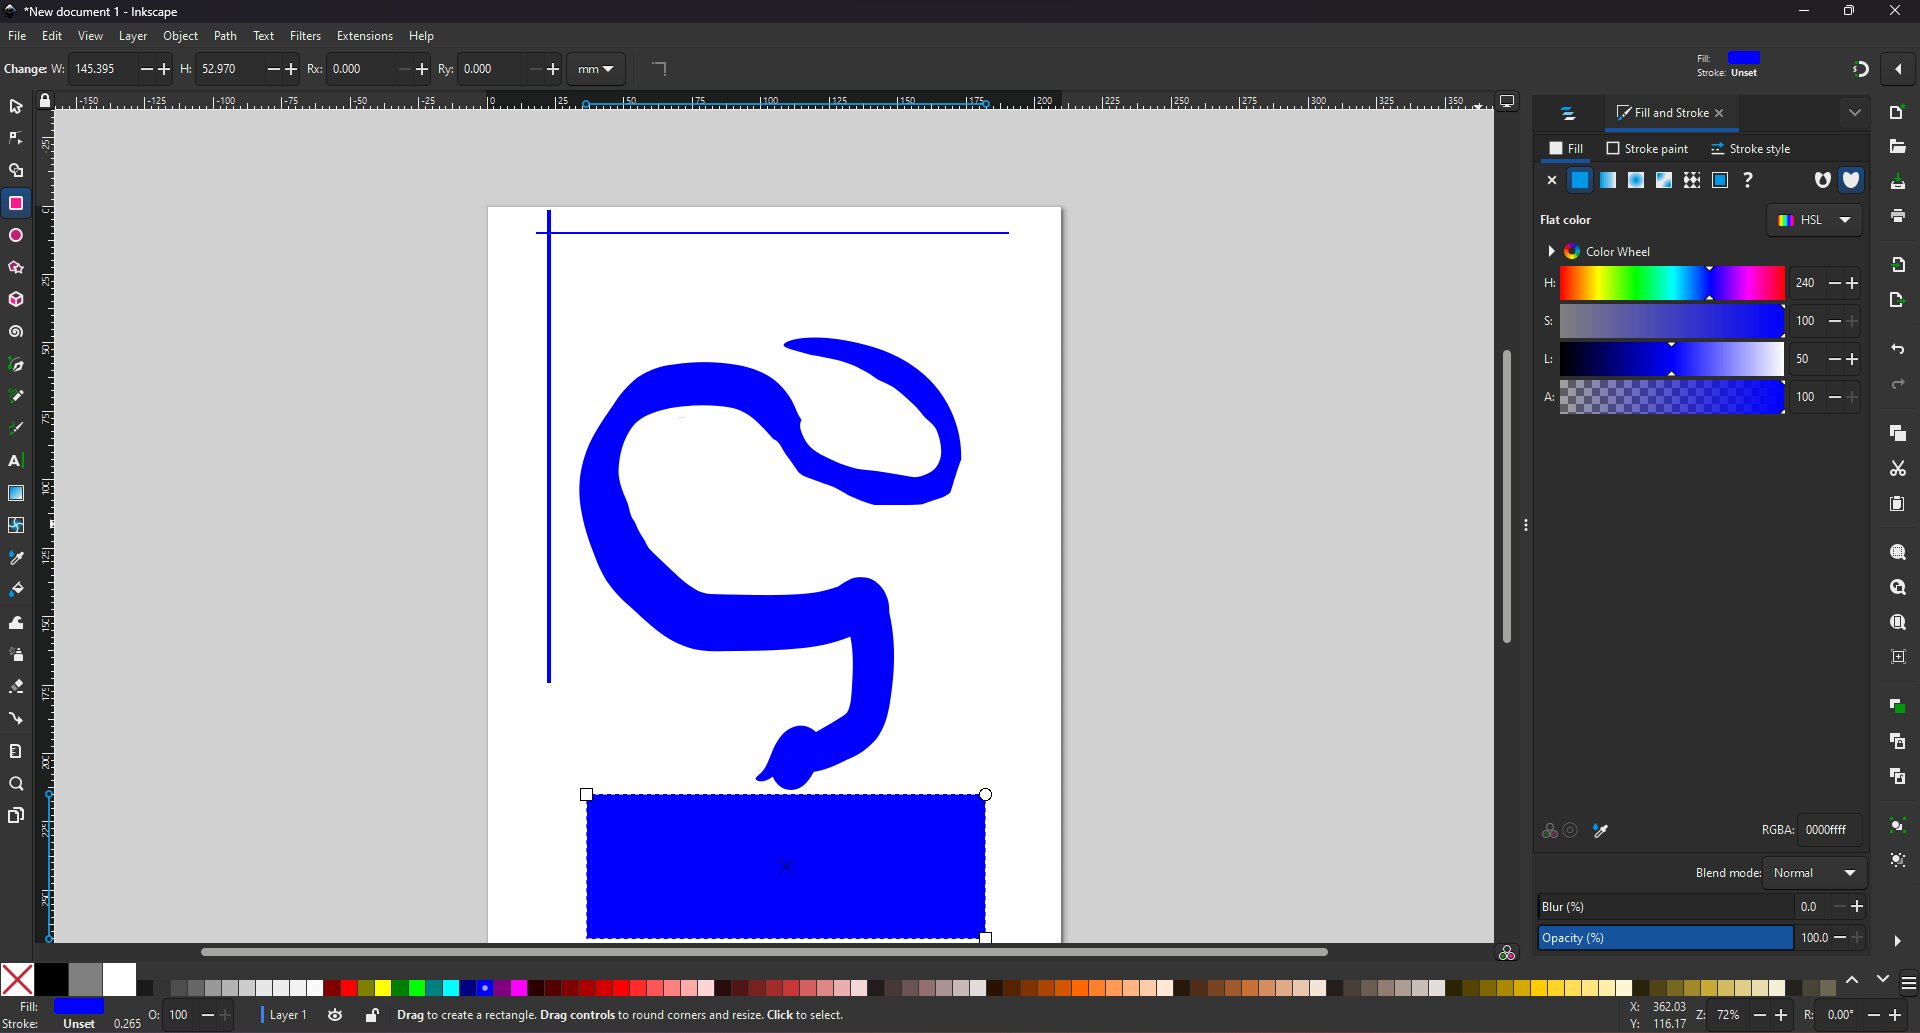
Next day, I asked to one of my instructors how to make the line making process, and it seemed a little dumb that I didn't find out that the Bezier tool was also for that but well.
Anyway, with that answered I started to play with other tools while I was thinking what to make. Making something appear 3D with some isometric view just with lines was hard.
I tried to make a box only with lines but wasn't happy with the results, was hard to make things with meassurements. Wanted my box to be accurate (?)
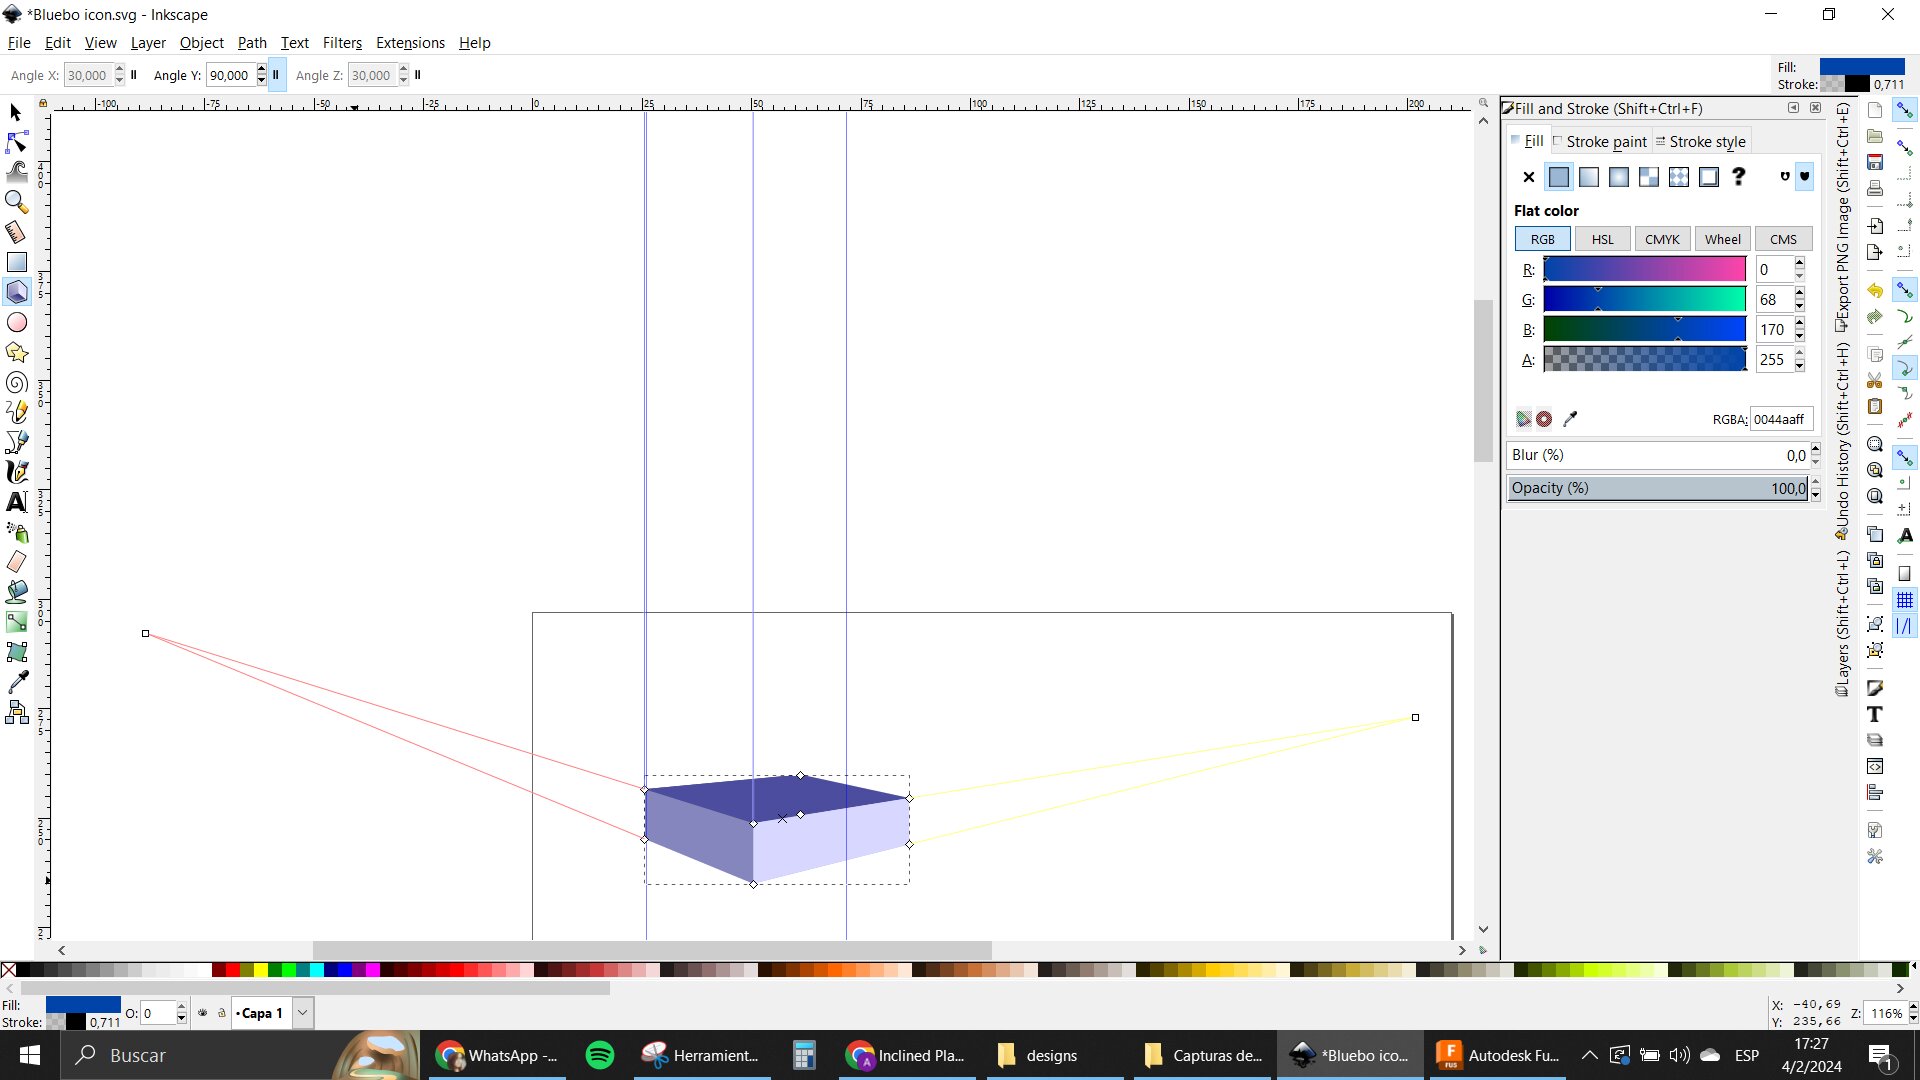
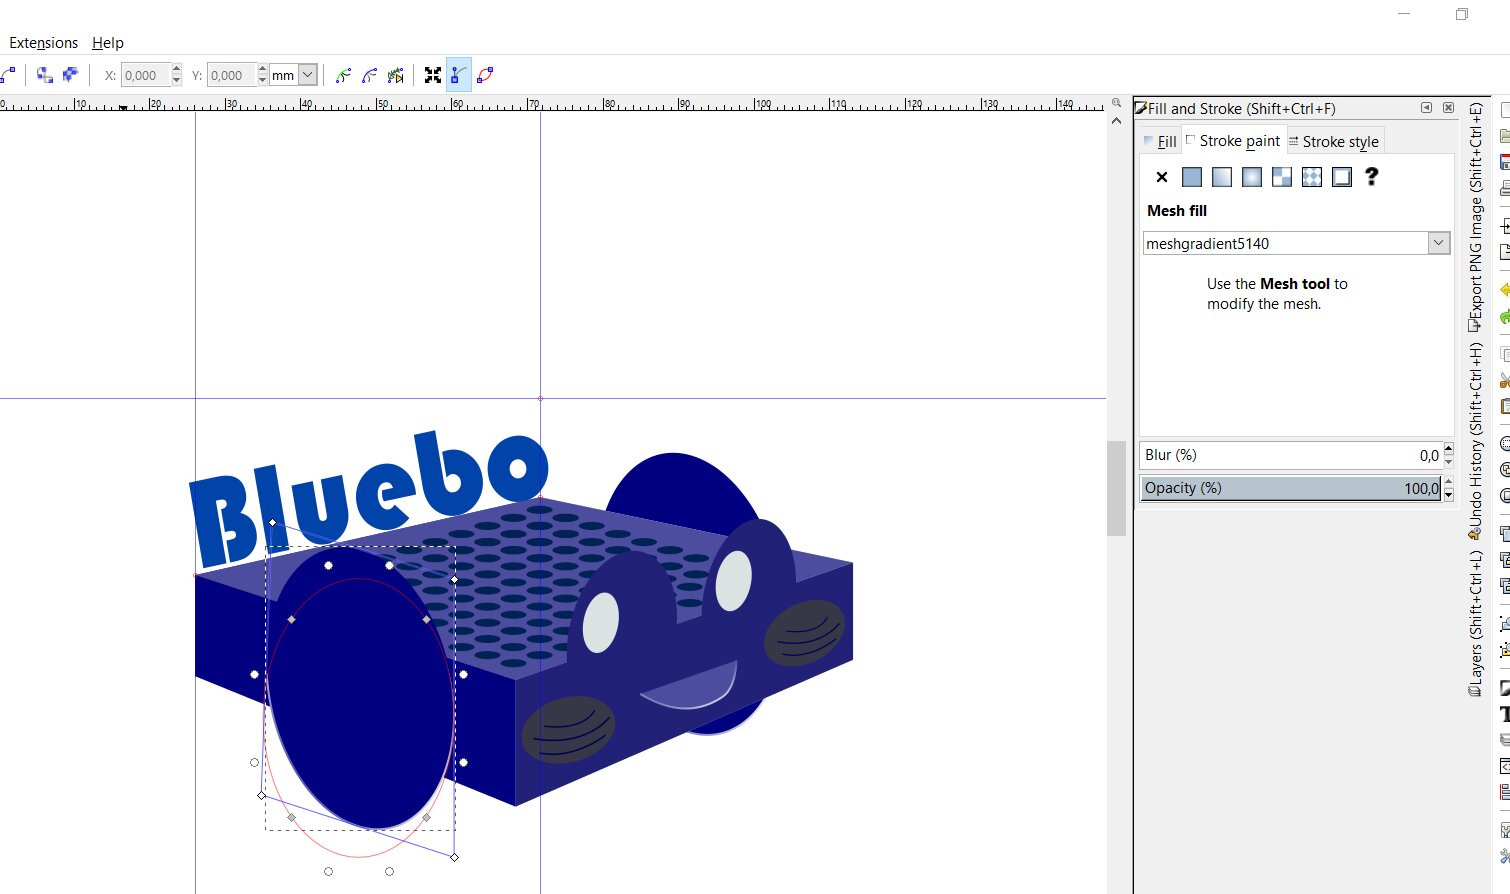
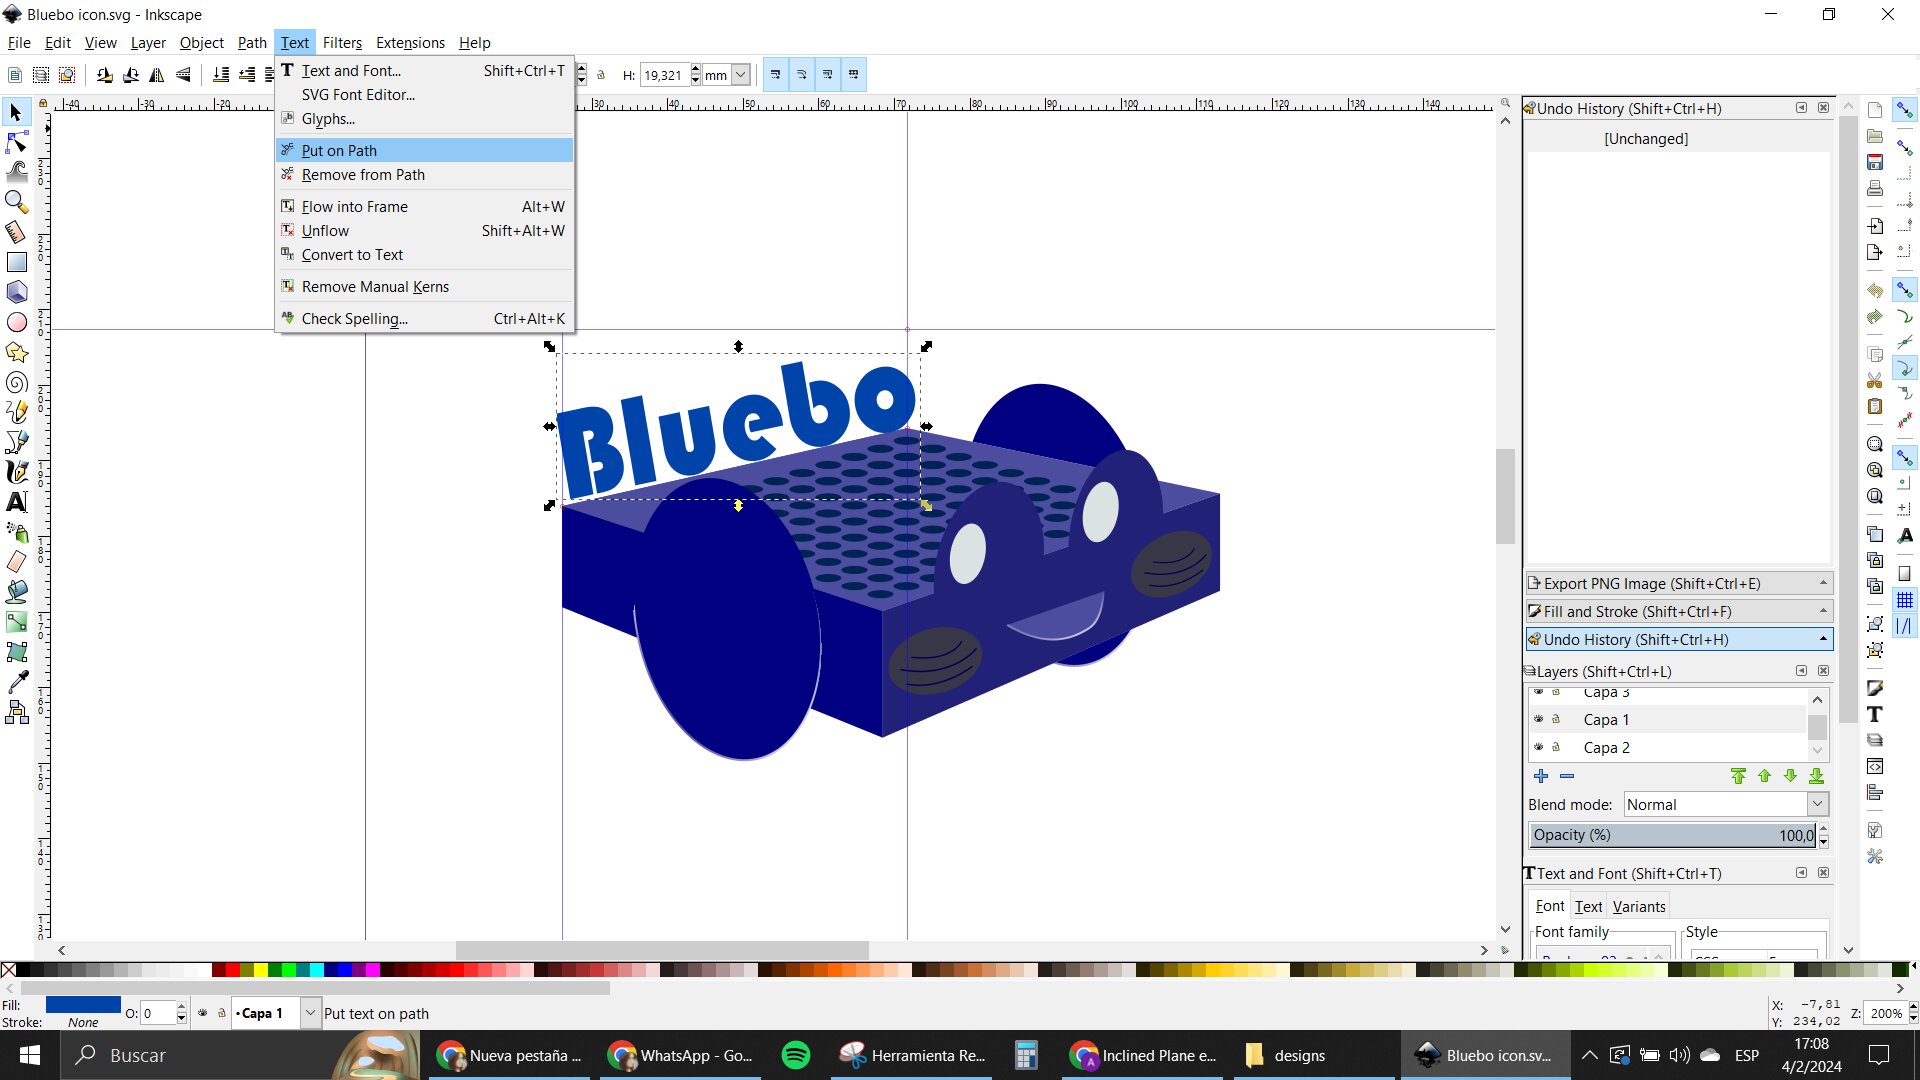
At the end I experimented with their 3D box making tool. To have a shape that looked a lot like my sketch from last week's Final Project assignment.
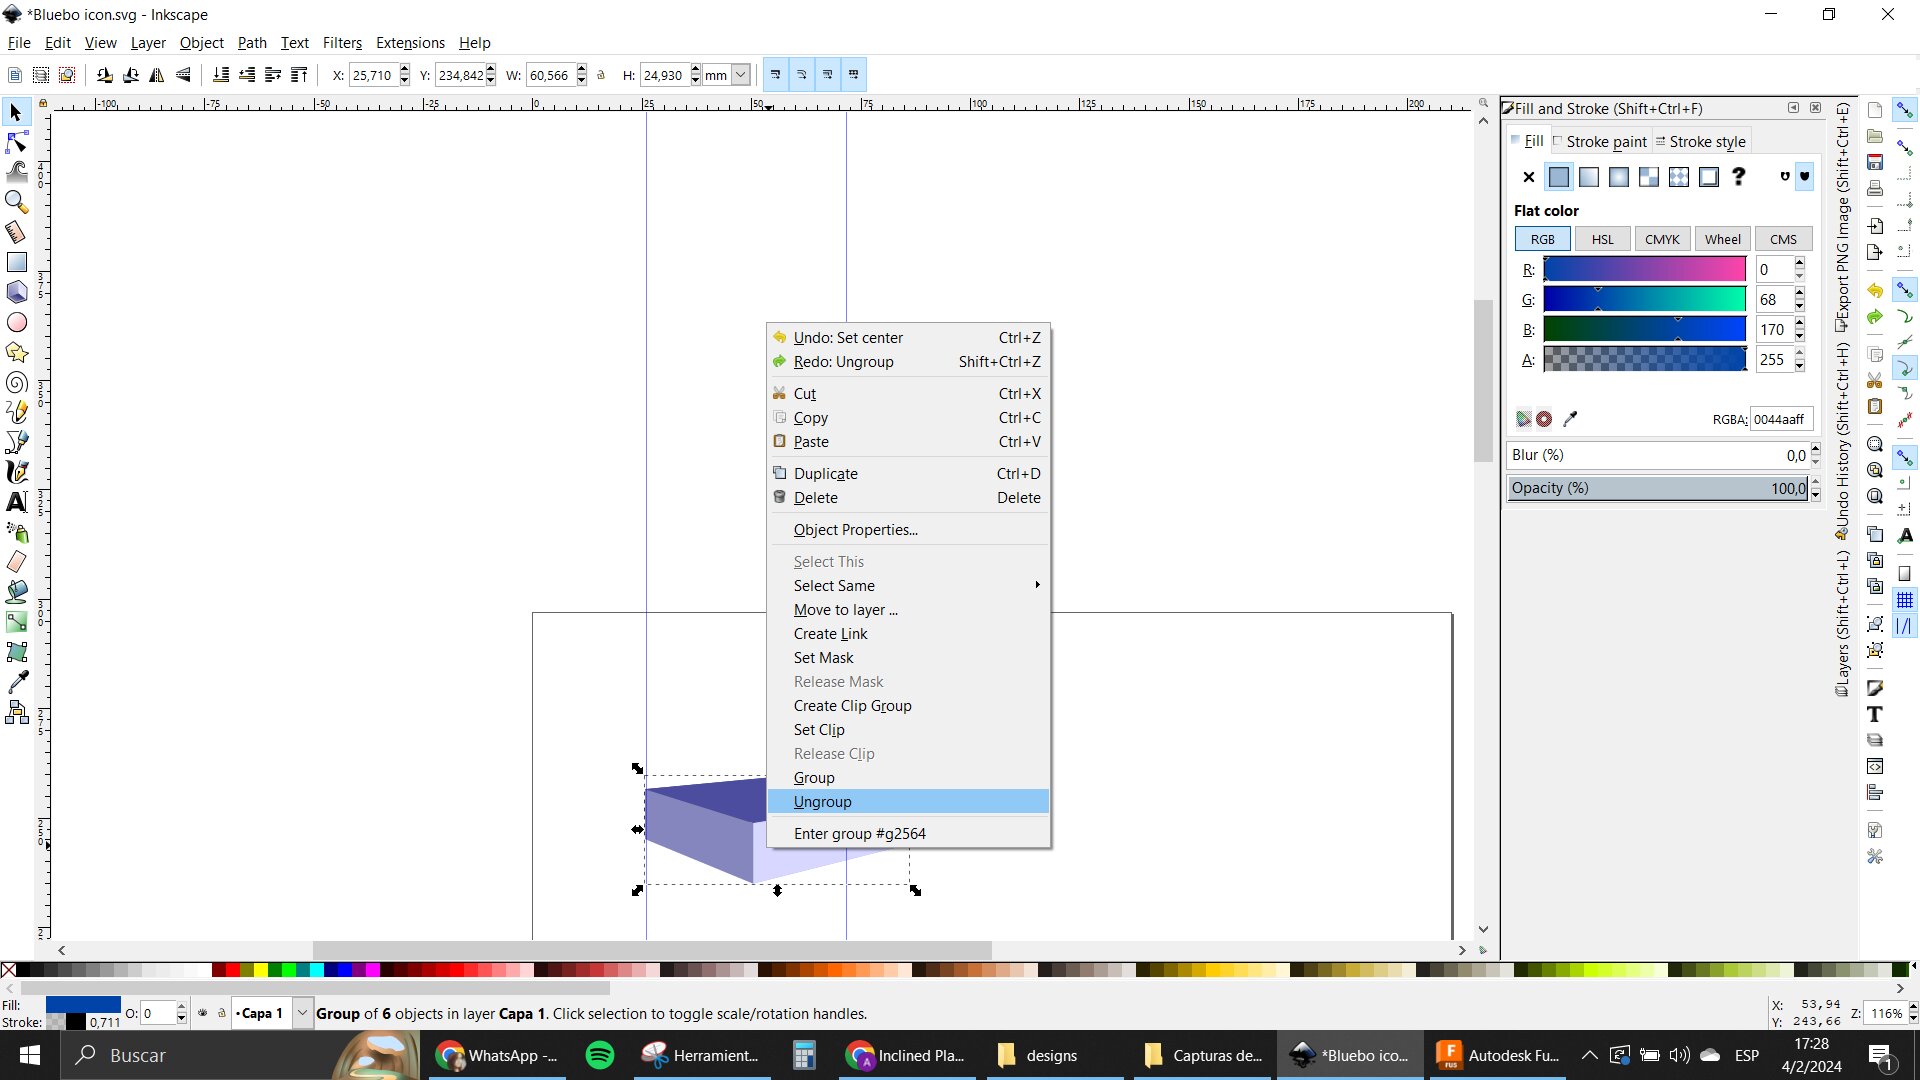
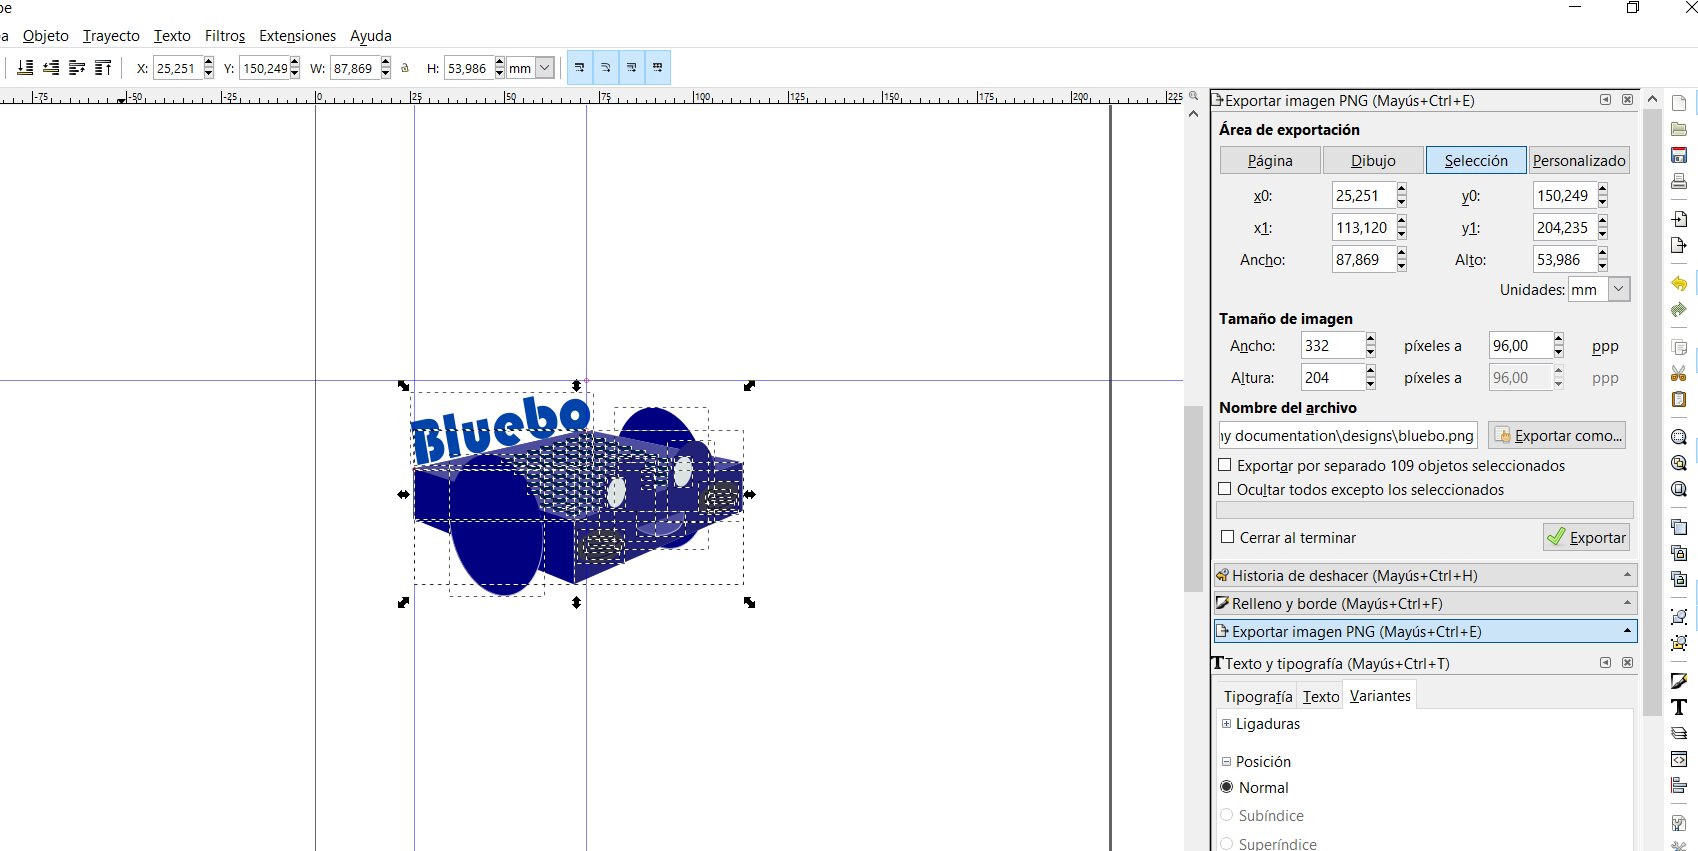
I tried to make an icon of Bluebo, with my less than ok design skills.
I used many tools to make it possible. And ended up with a little bot with a happy attitude, so I'm pleased with it.
ImageMagick
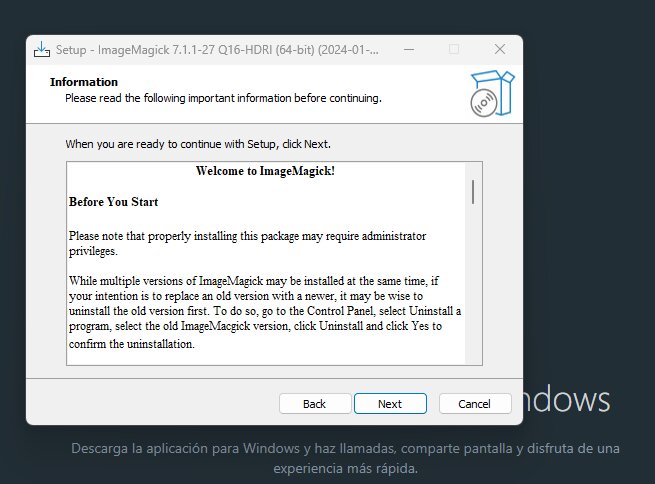
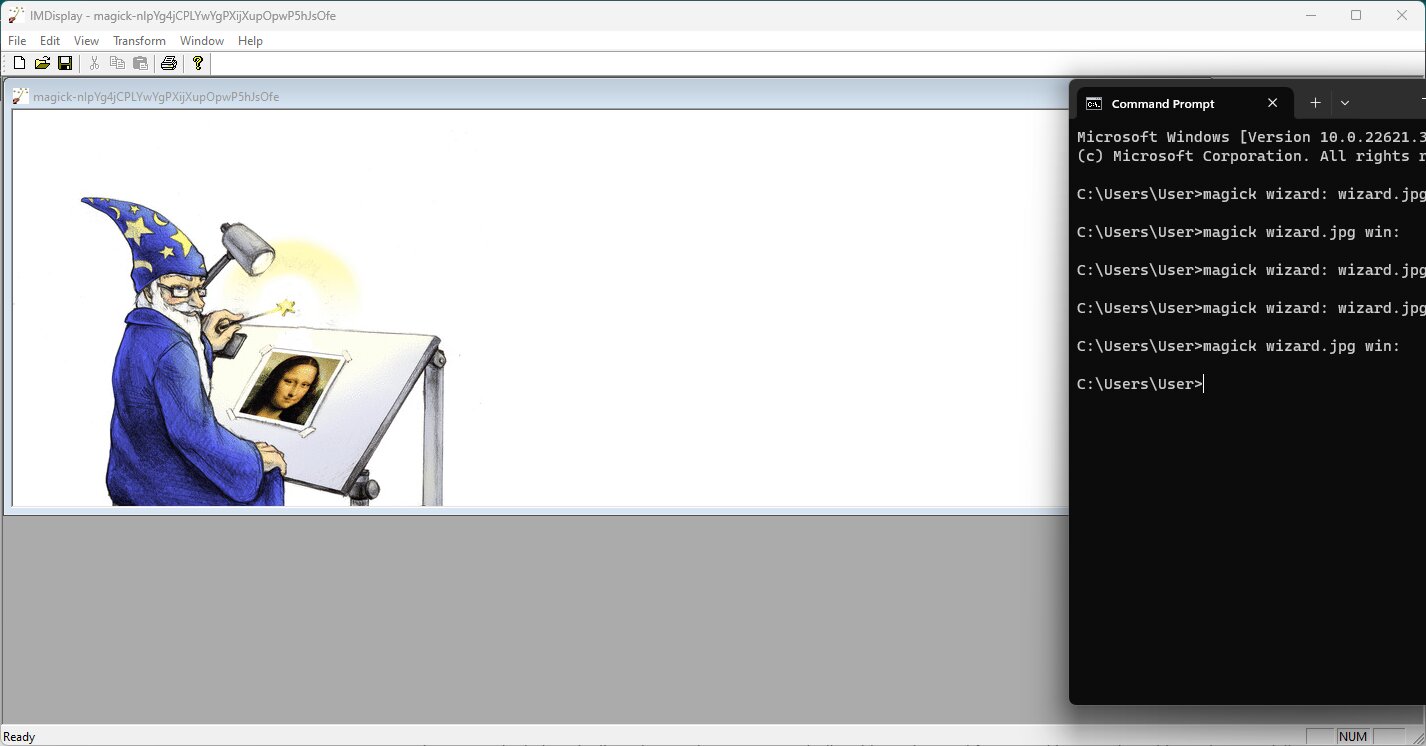
This one was a ride, I am not too comfortable using the command line if I'm honest, so I had some complications.
I watched a little tutorial on how to optimize images (see in links), to understand how to use this tool
The problem was that when I tried testing it, I didn't realize the guy was doing it in Linux, so my computer wasn't computing what I was asking.
That was a little frustrating tbh. But all in all, that video helped me understand a lot of what you can do with this tool.
Changing the quality of the images so they take less space, taking metadata from it as well, transforming the format to one with less information. All of that.
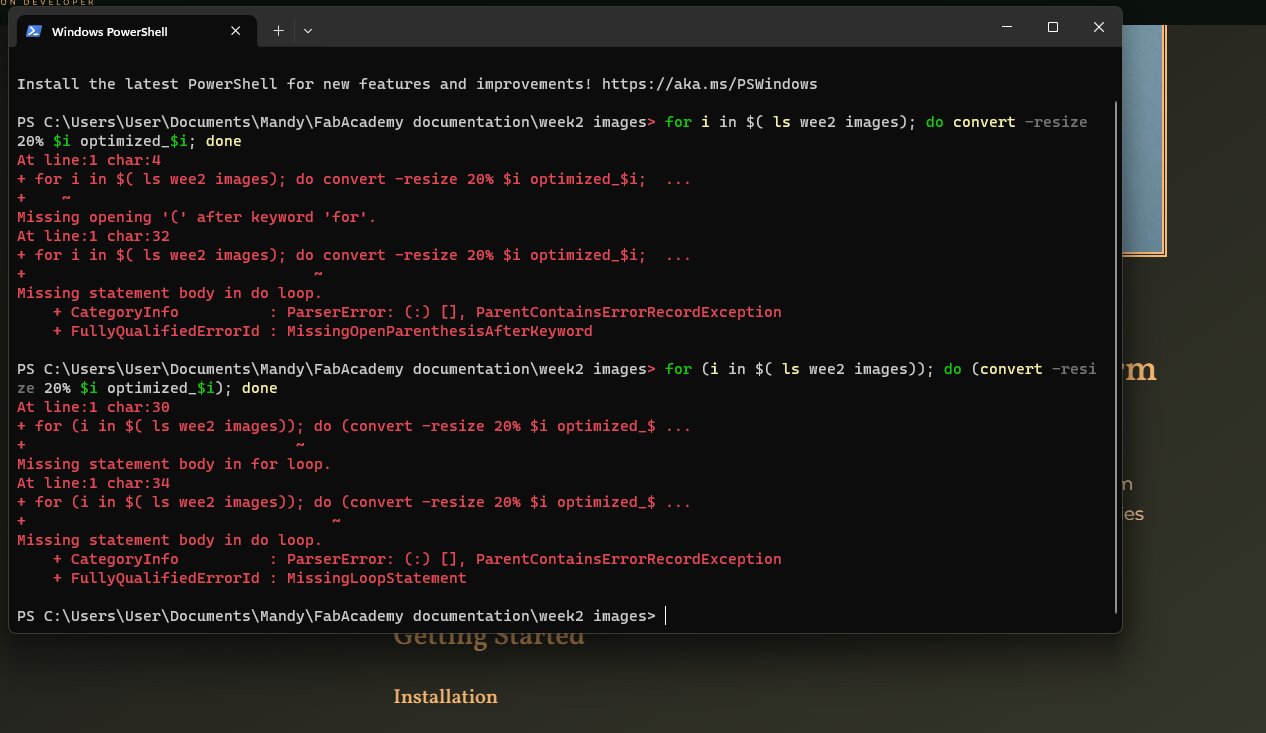
Since it wasn't working I started to look at other pages, then I found this video of How to change from png to jpg in bulk in Windows.
That was exactly what I needed for my documentation so I went for it. At first i tried resizing and changing formats, but the quality was unreadable.
Problem was, I deleted all the originals after making the change. Thank goodness for the Recycle Bin.
What ended up working for me, was only changing the format with a little less quality than the original so it can still be readable.
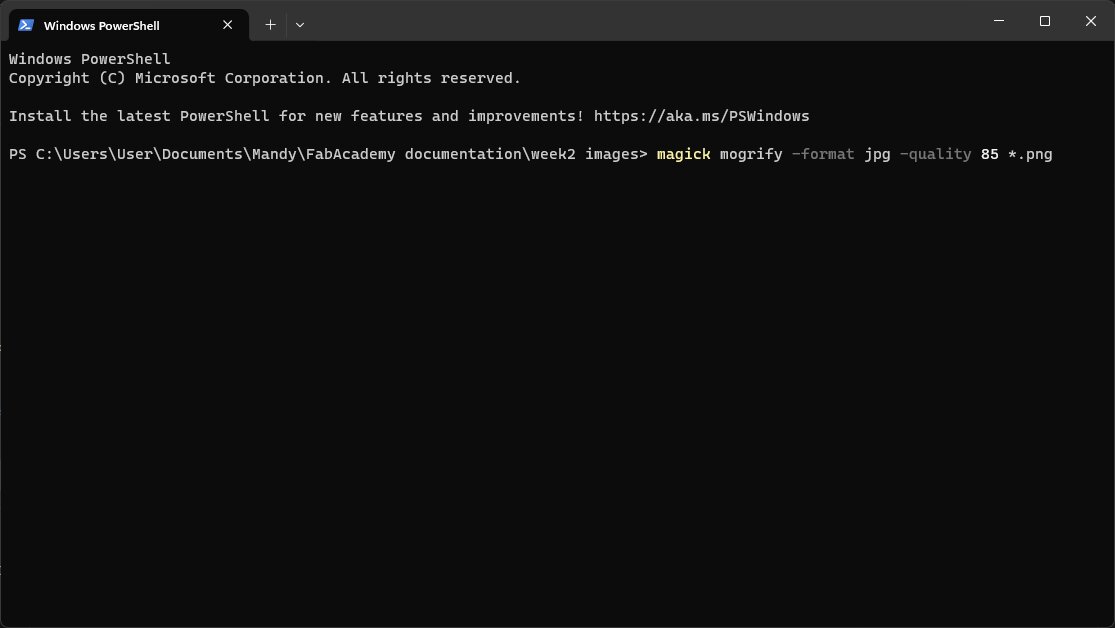
So basically, now I can do a bulk compression and format change for my documentation in easy steps, I also changed the size of my w1 images.
Video
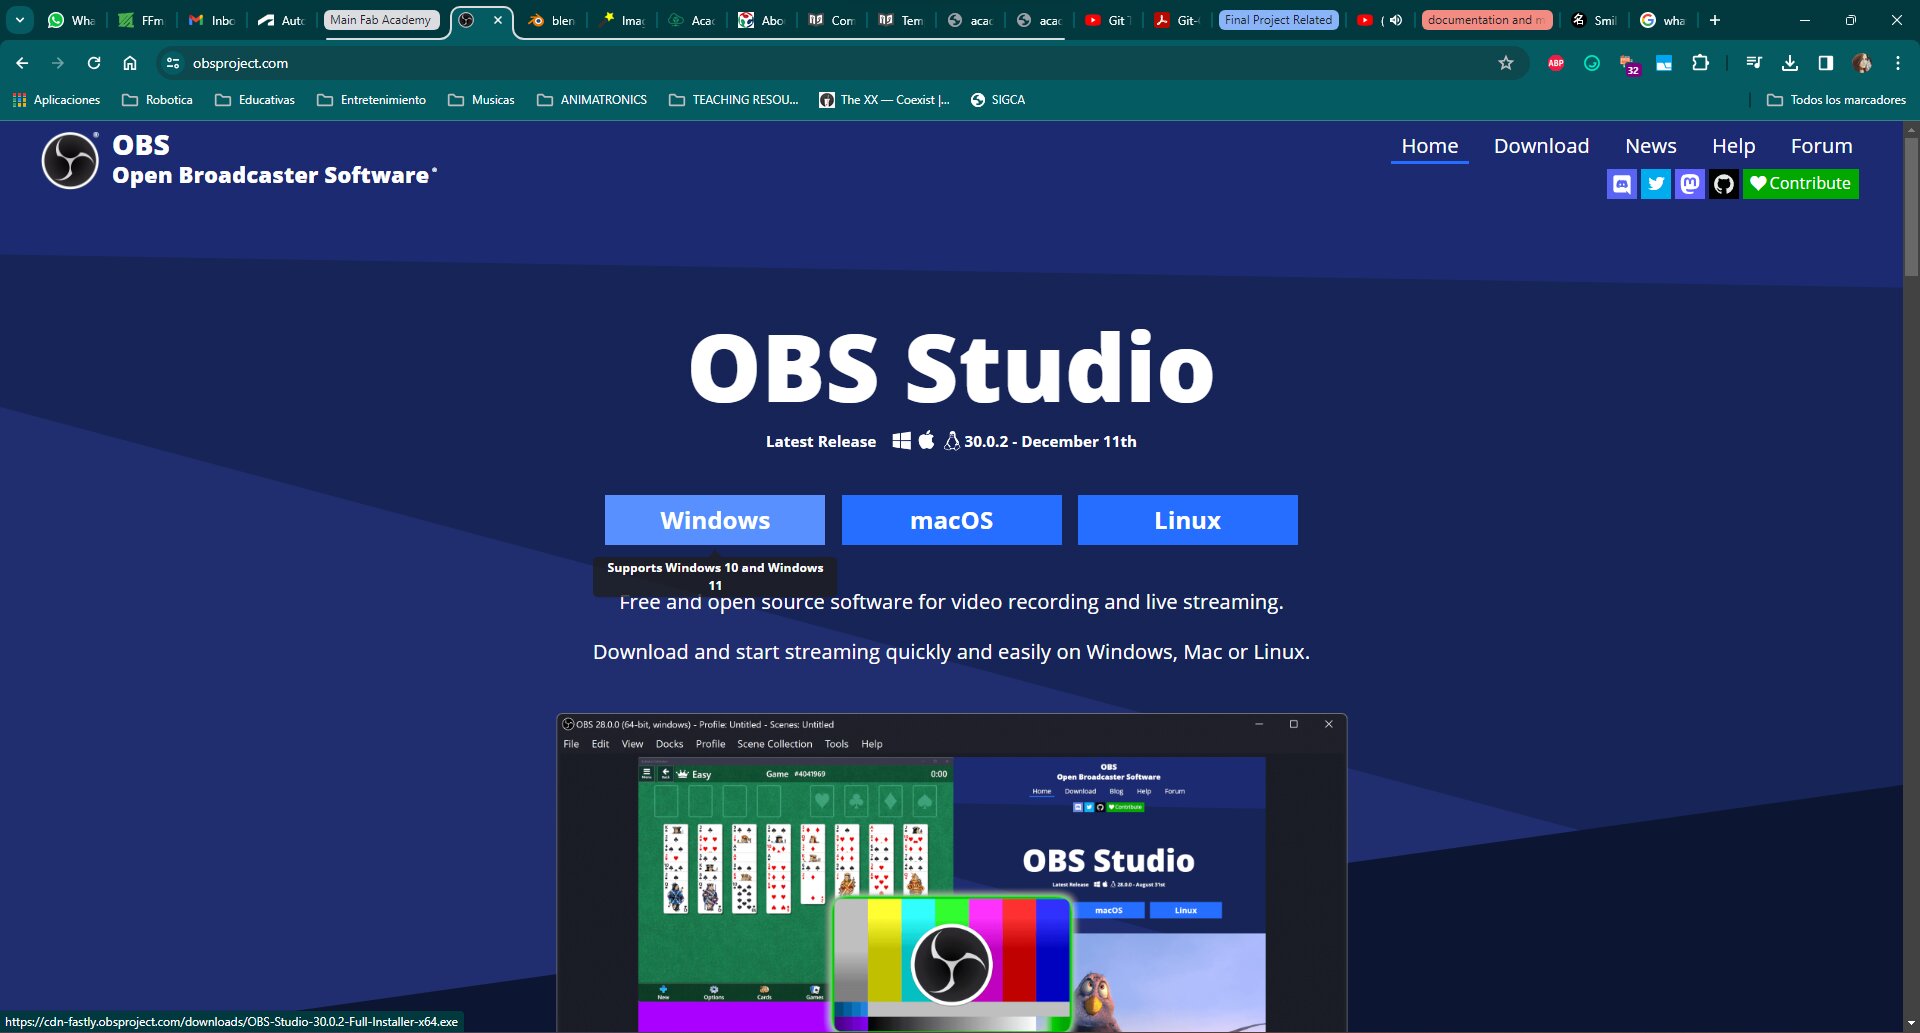
OBS Studio
This is a very nice software for streaming and screencapturing. I have used it before, and here I plan to use it to record some little videos of my work in the screencapturing way for my documentation.
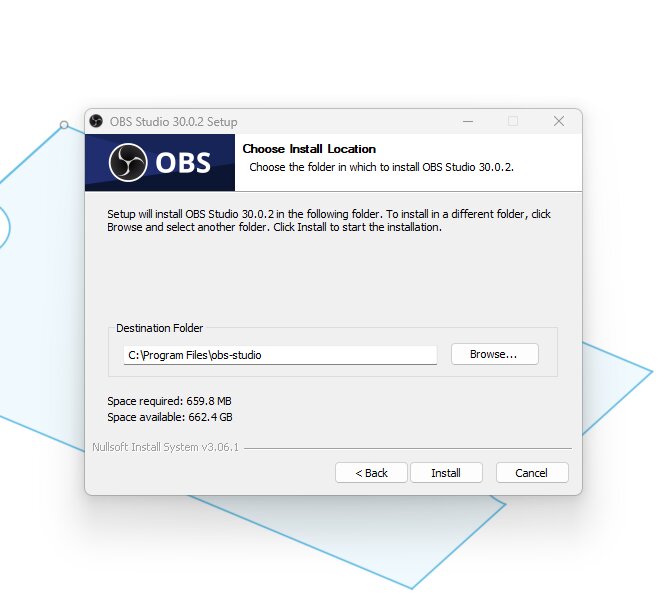
It's pretty easy to use, you just set up a scene (in my case just the whole screen), and then you just press "start recording"
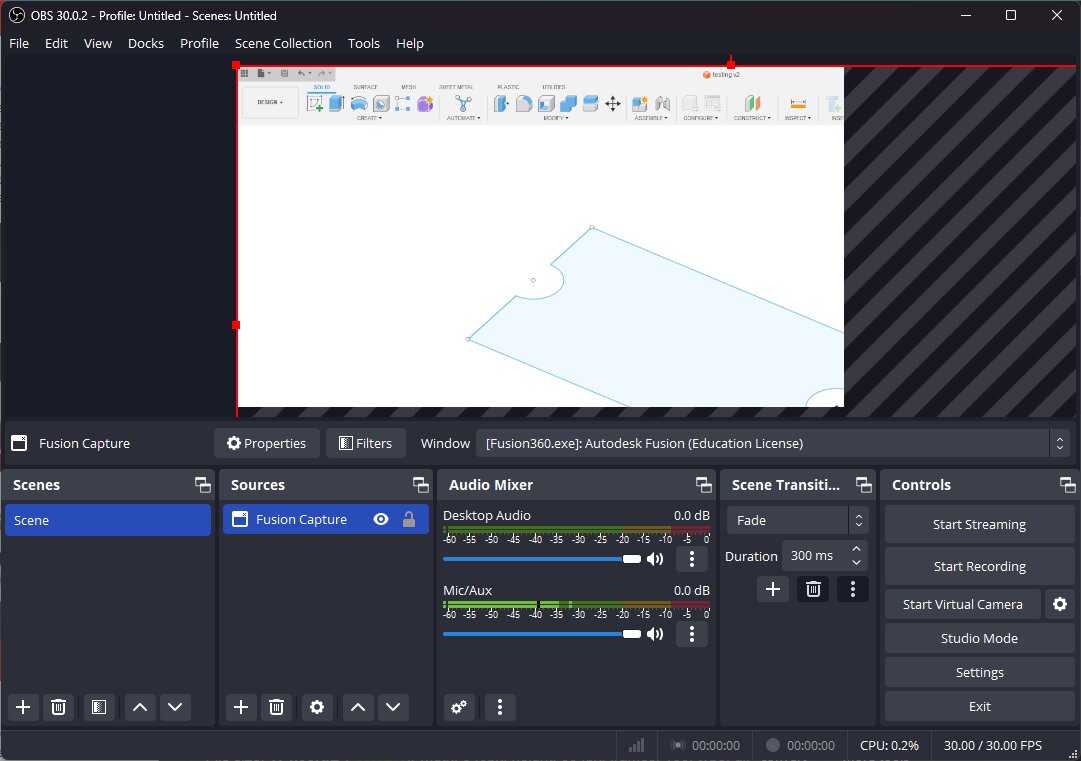
Then when you're finished, you press the stop recording button, and look for the video in the "Videos" folder of your computer.
Of course, you will need to edit and compress the video for optimal use in web. SO that was the next step.
Using FFMPEG
This, just like ImageMagick, was a bit of a ride. Again, command line is not my friend.
BUT, this was even more trickier, cause the problem started even when I wanted to install it 🫠
I tried installing by using the package manager "Chocolatey" to use ffmpeg cause it seemed easier that way.
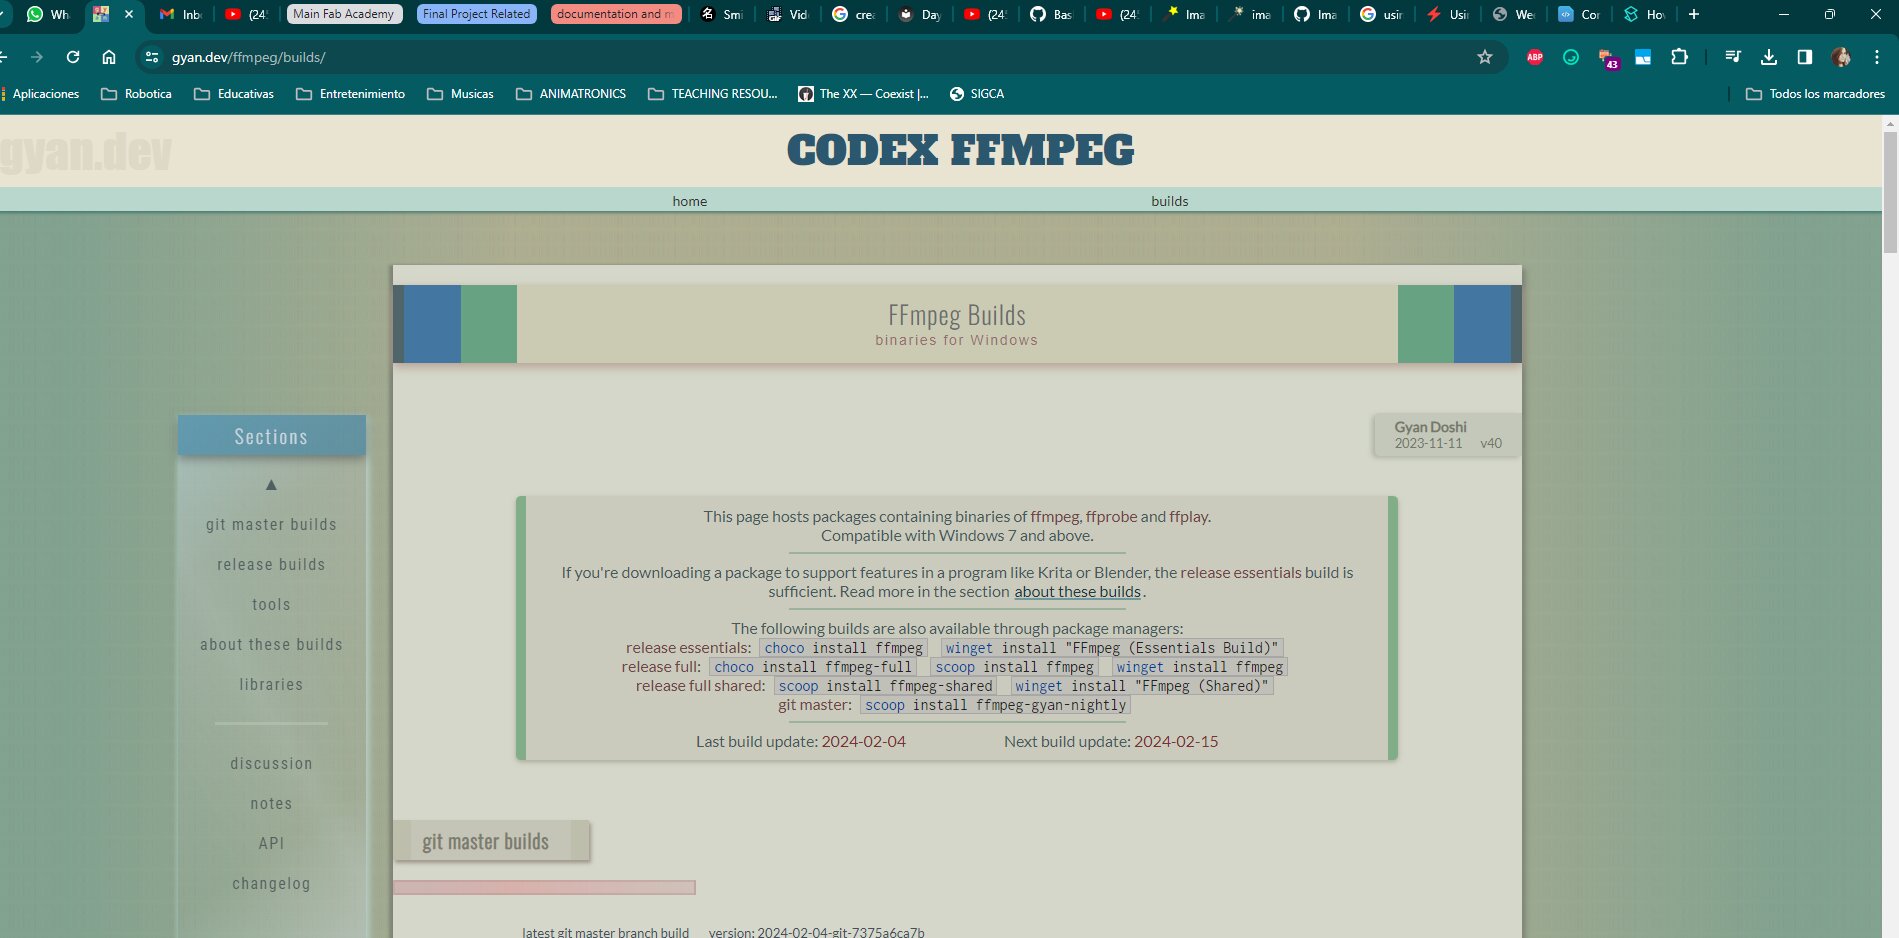
But it turns out i didnt have it in my computer, so I had to go to their website and figure out how to install this thing.
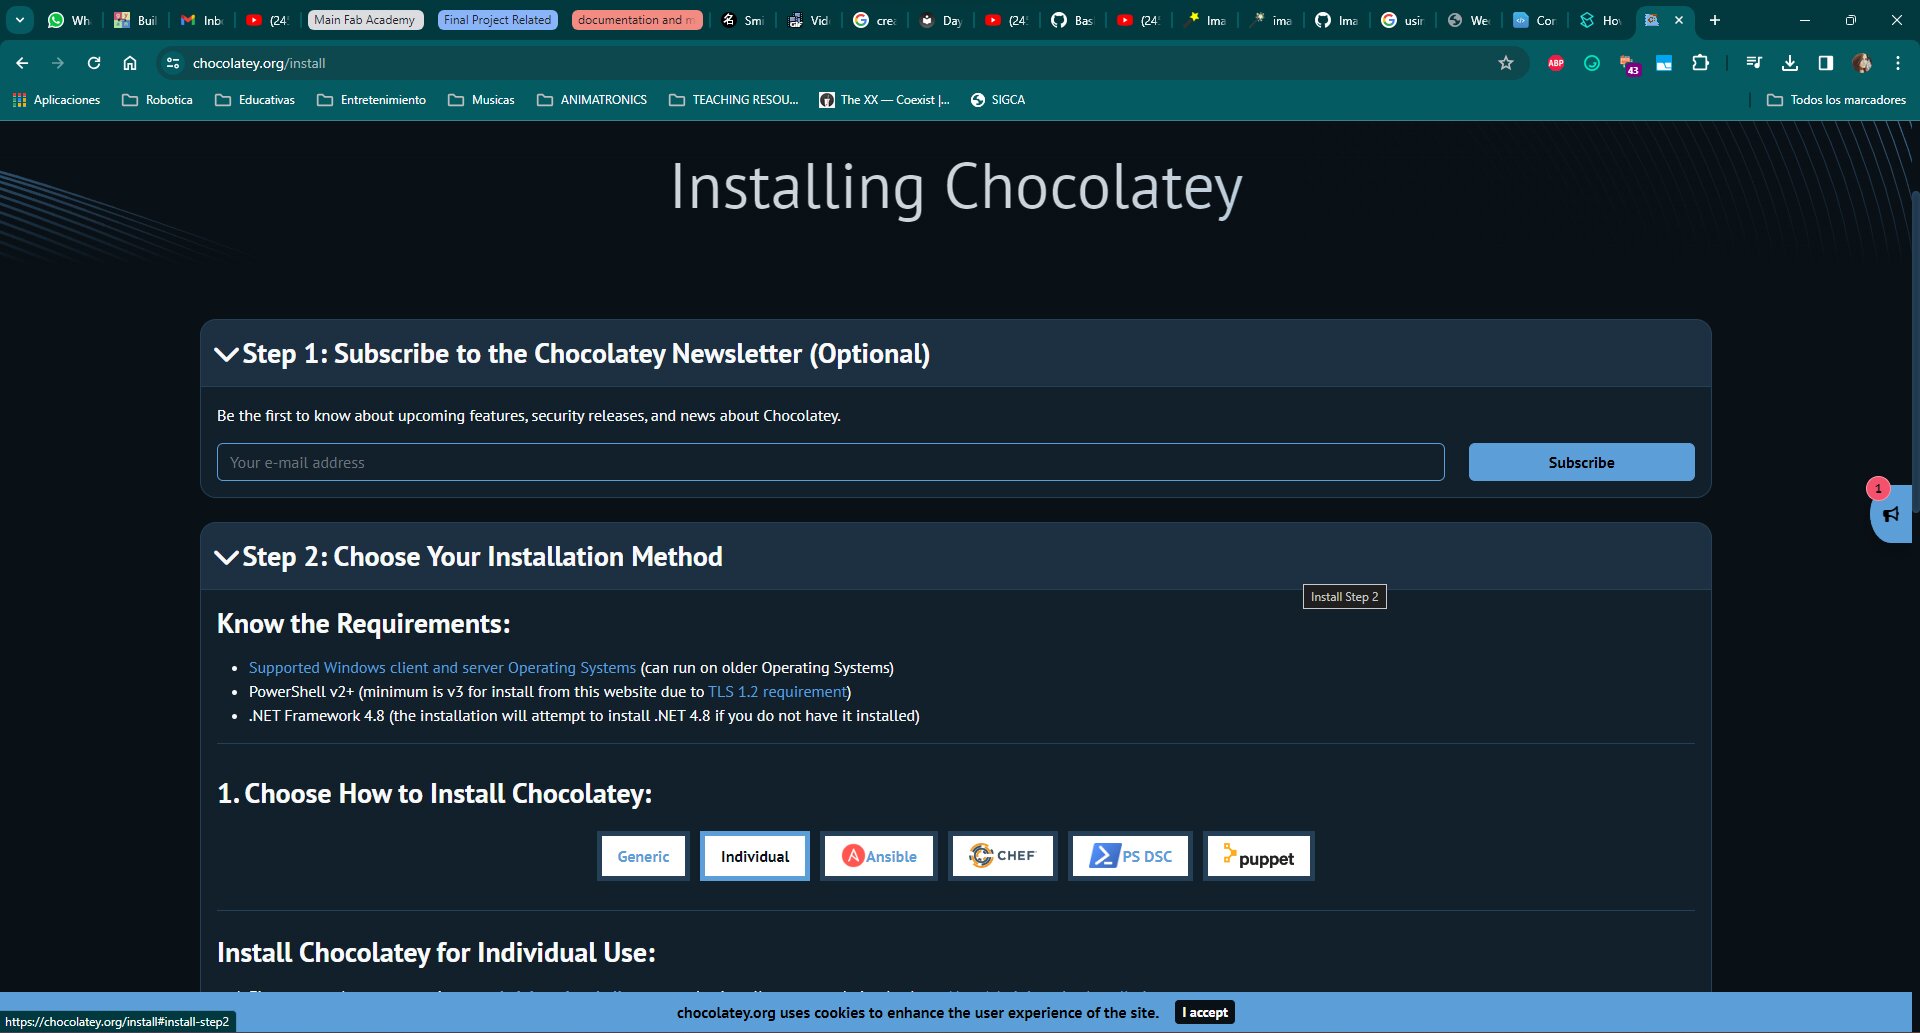
I was trying to use the Windows shell as it was telling me in the webpage, but I didn't know there was a difference between the cmd one and the Powershell.
Turns out I had to use exactly that one, not just any shell. My dumb head was not able to understand until I found a video showing me lol.
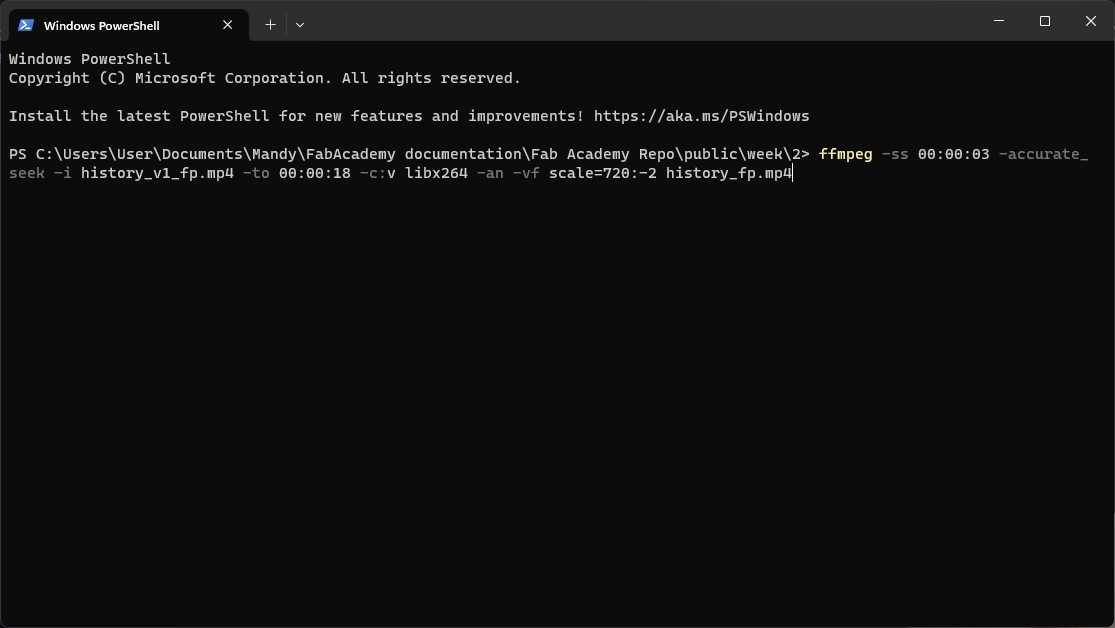
After those shenanigans, I followed a little tutorial explaining me how to use some of the commands to change things, like how to cut the audio from the video, how to scale the video, and even a little tutorial on how to trim things that you don't need. All of that in the links on the side.
This is the general line of code used to make the changes to my videos:
                  ffmpeg -ss 00:01:03 -accurate_seek -i input.mp4 -t 00:00:10
                  -c:v libx264 -an -vf scale=720:-2 output.mp4
- -ss: allows you to input where you want ffmpeg to look in the video to start creating the clip, and it takes numbers representing time where 00:01:03 is the value in this specific case (one minute and 3 seconds)
- -accurate_seek: makes it so the accuracy of the value you passed in the -ss command is better, cause it searches for the closest point to it.
- -i: is the input, takes the value of the name of the file you want to transform
- -t: Specifies how long you want the video to last from the starting point. Takes a value with numbers representing amount of time where 00:00:10 represents that we want a 10 seconds clip.
- -c:v: To give the type of codec we want our video to have so it can be visible on every browser. (This part was confusing, consult the "How to compress video" for further explanaition xd
- -an: removes audio information
- -vf scale: this is a filtergraph that allows us to change the scale of the video. In my case here the 720px is the height and the :-2 is so you keep the aspect ratio instead of giving a width. The 2 just means that the number will be an integer.
- Lastly you have the output name with the format after, which in this case is a .mp4
Now the last thing to do was to make the videos appear in my web. So I just used a page to help me with the info:
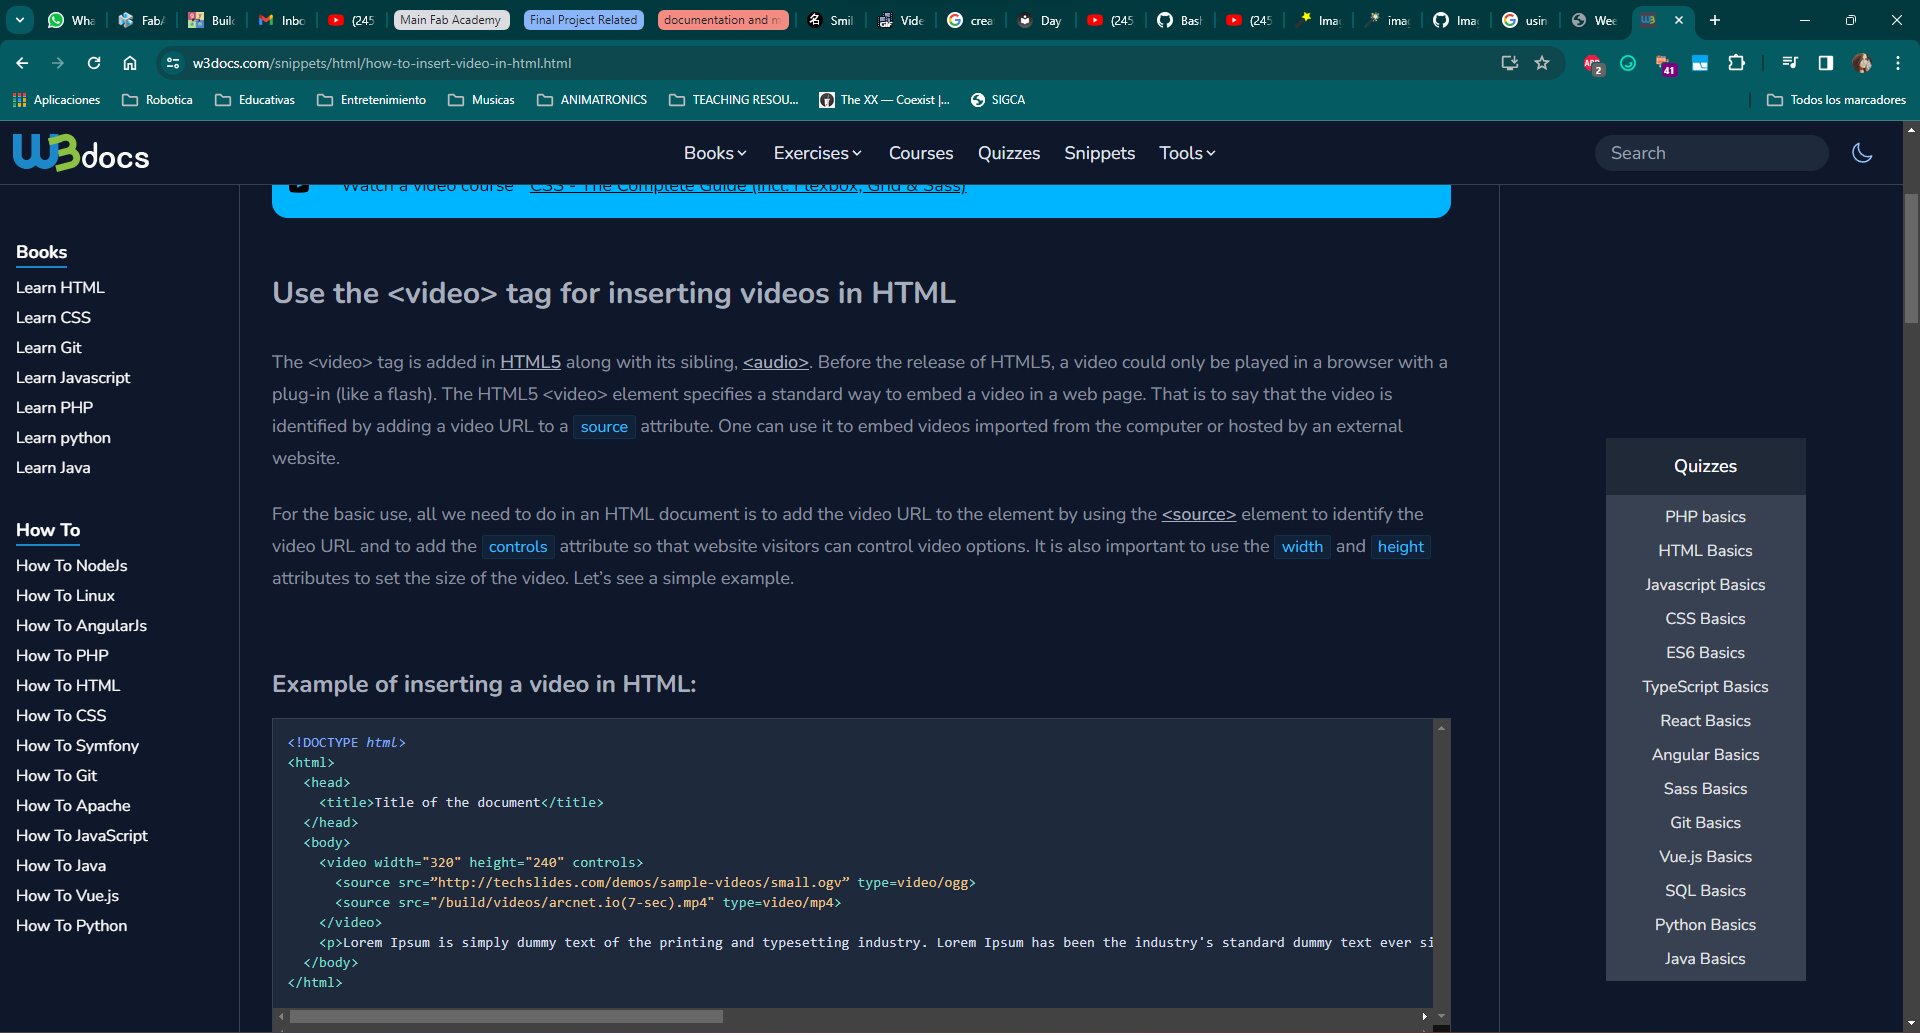
And that was it for this week! I compressed the files from all my tests and uploaded them and they are over in the side c:
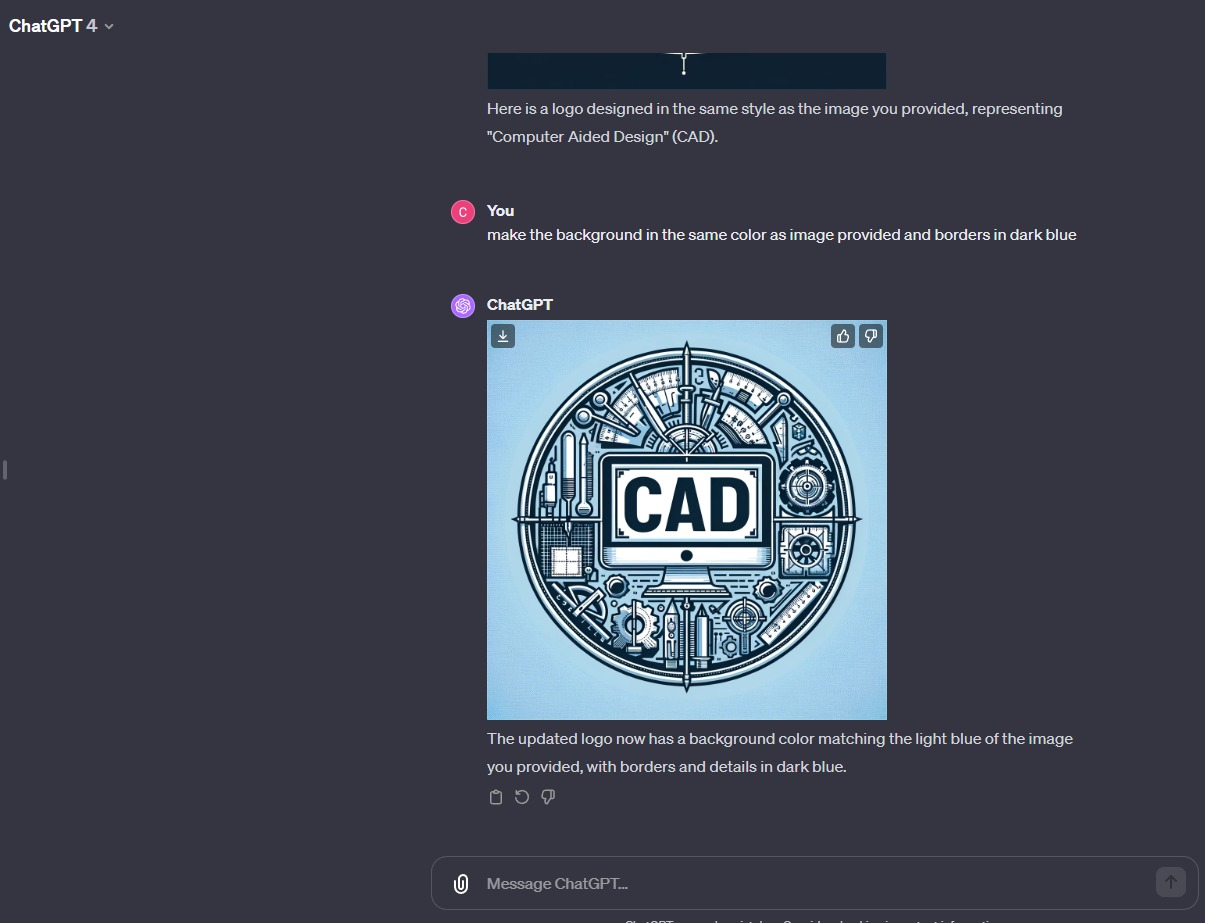
ChatGPT to create my w2 icon
