WEEK 1: Principles and Practices, Project Management
It’s a hard process to make documentation let me tell you that. I am trying many things at once and then all of it will go on the page.
Hope it is understandable.
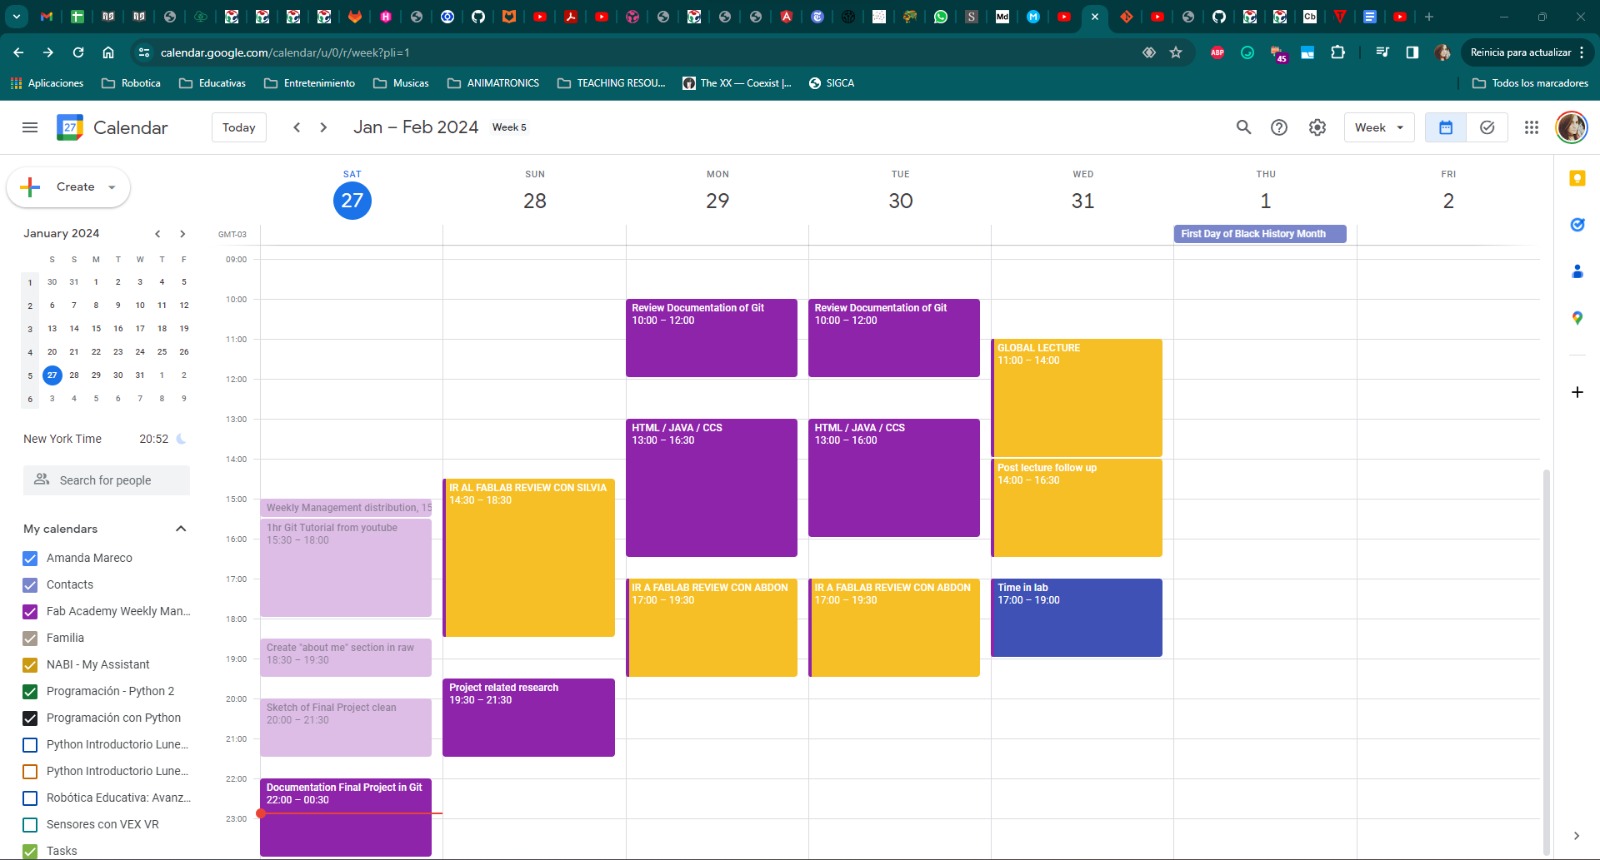
First of all, here you have a picture of my proposed schedule for this week:
Mostly I have been trying to keep up with it and achieving it, so I’m happy about that.
Now here I have the questions that I needed to answer this week according to the guide that is inside the Fab Academy thingy of Assesments:
-
Sketched your final project idea(s)*done, go to final project section
-
Described briefly what it will do and who will use it *done, go to final project section
-
Made a website and described how you did it *done, go to web development section
-
Created a section about yourself on that website *done, go to about me page
-
Added a page with a sketch and description of your final project idea(s) *done, go to Final Project page
-
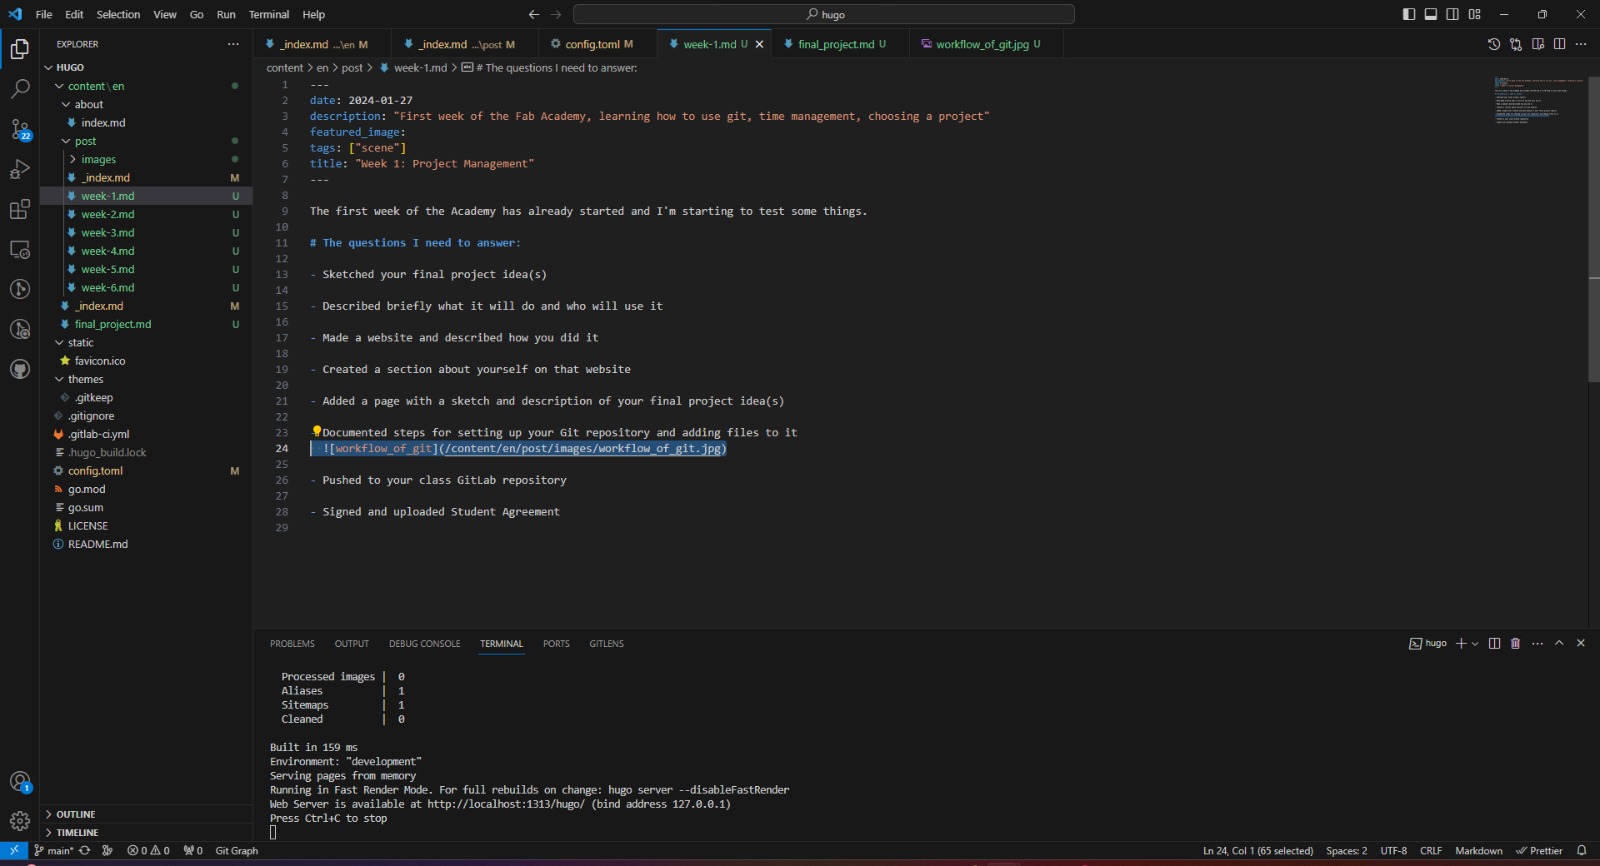
Documented steps for setting up your Git repository and adding files to it *done, go to using Git section
-
Pushed to your class GitLab repository *well, you are reading this so I guess I did it
-
Signed and uploaded Student Agreement *done, go to My Student Agreement!!!!!
How I'm trying to document
Testing testing 1 2 3
Today is Saturday 27th of January of 2024 and this is the first time that I'm trying to develop some work in the documentation of my fab Academy Journey.
Okay so I'm going to start with my documentation by using voice typing on Google Documents because I think this is going to be easier for me because I hate to type. (of course only for the raw ideas, later i will make corrections so it looks nice and tidy before making it into html lol).
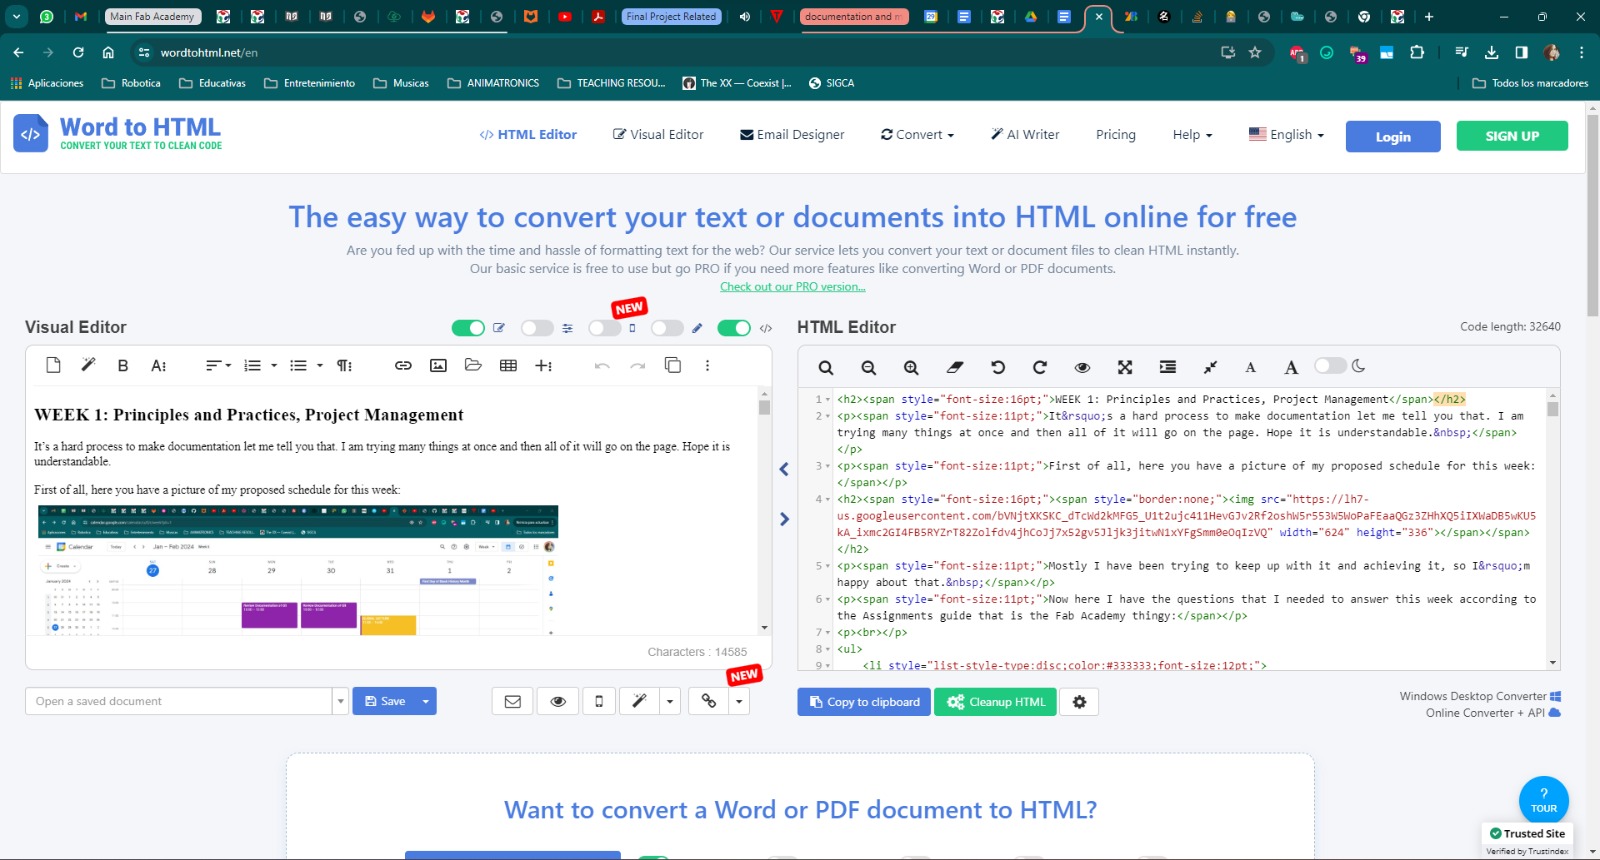
After that part is finished and I'm sorta happy with the document, I found a page that allows me to pass word to html, and, like I stated before, I'm a bit lazy, so I used that tool as well, but honestly I'm not sure if it is the best option lol. We shall see next week how it goes.
Here is the little web that I used with my doc into html
Another thing I used a lot when documenting, was WhatsApp. Why would you ask? Well, turns out the image compressor it has built in is awesome to make big files quite smaller. So while doing many many screenshots with the "prtsc" key, at the same time I was feeding them to my WA and saving those in my folder for this weeks images lol.
Using Git
Now what I've been doing today was trying to understand the whole thing about git and how to install it, how to start using it, basically how it works.
I was watching a tutorial called“git for beginners”(1) on YouTube by a content creator named Programming with Mosh that was sent to me by one of my local instructors.
I used Git before but I never really got it that much, I always had a lot of trouble understanding how it actually works but with what I've been seeing in this tutorial I now understand a lot more.
I downloaded the thing and started following parts of the tutorial:
Now here some notes I took when learning:
Git is a Version Control System that allows you to save documents in a repository and also it allows you to save the history of those documents.
This is great and ideal for collaboration because it lets you go back to previous versions if needed and also because the information can be all in one place for everybody to access in a team.
The distributed git is the one that we use, there is another one that is centralized like the one used by Microsoft but we don't really use that.
There are many ways to use it:
-
the command line,
-
code editors like VS Code (which is the one that I'm going to be using mostly)
-
also there is an user interface for Git like Git Kraken and Source Tree (I’ll be using this one).
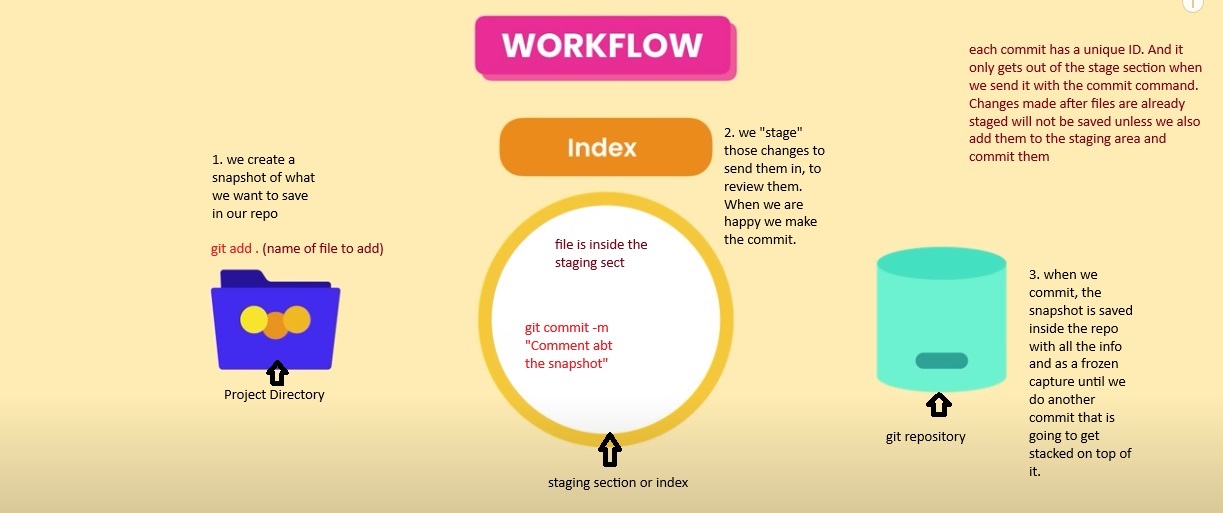
The most important commands:
-
git add: when you create files in your directory, they are not automatically added to git, you need to stage them. That is what the add command does.
-
git status: status lets you see what is going on with your files at all times and tell you if you have some staged things or commited things, and if they are being modified or not currently so you know if you need to add more things to your staging.
-
git commit: when you are ready to upload the snapshot of your work into the repo, you commit your changes with this command, and add a comment w -m and inside "". The comment usually is information about the snap that will help you do a good version control of what changes you have made etc. That is why when you do the first one you commonly write "Initial commit".
I already created a little bit of a map with all of the info that is most basic for git commands and how to create the repo, which I will leave here:
Installing and using it:
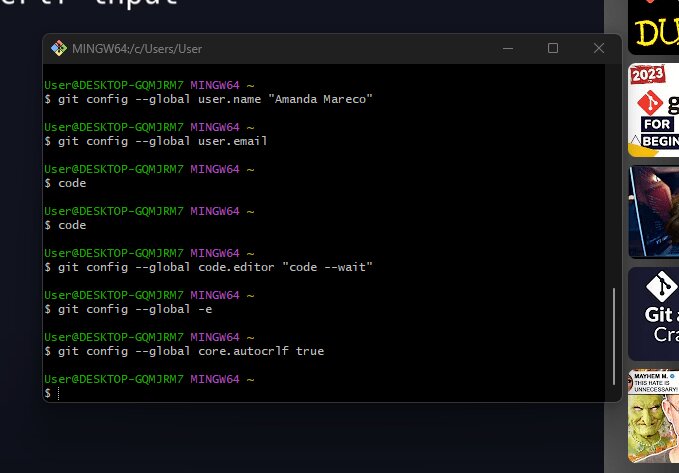
Now regarding how I installed my Repo in my computer, first I did the configurations in git bash in my computer to have it ready:
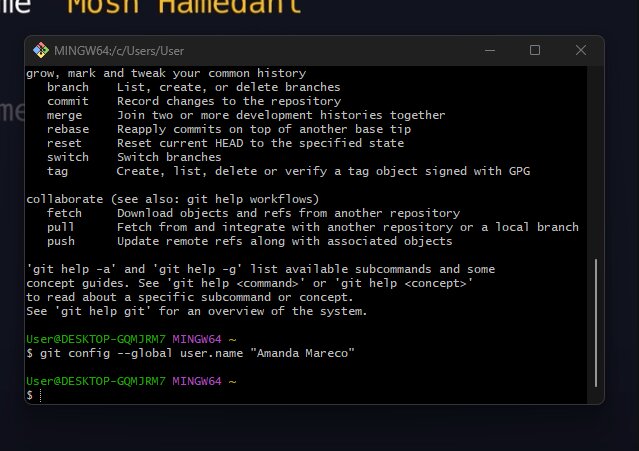
Then I did some other configs that the tutorial showed:
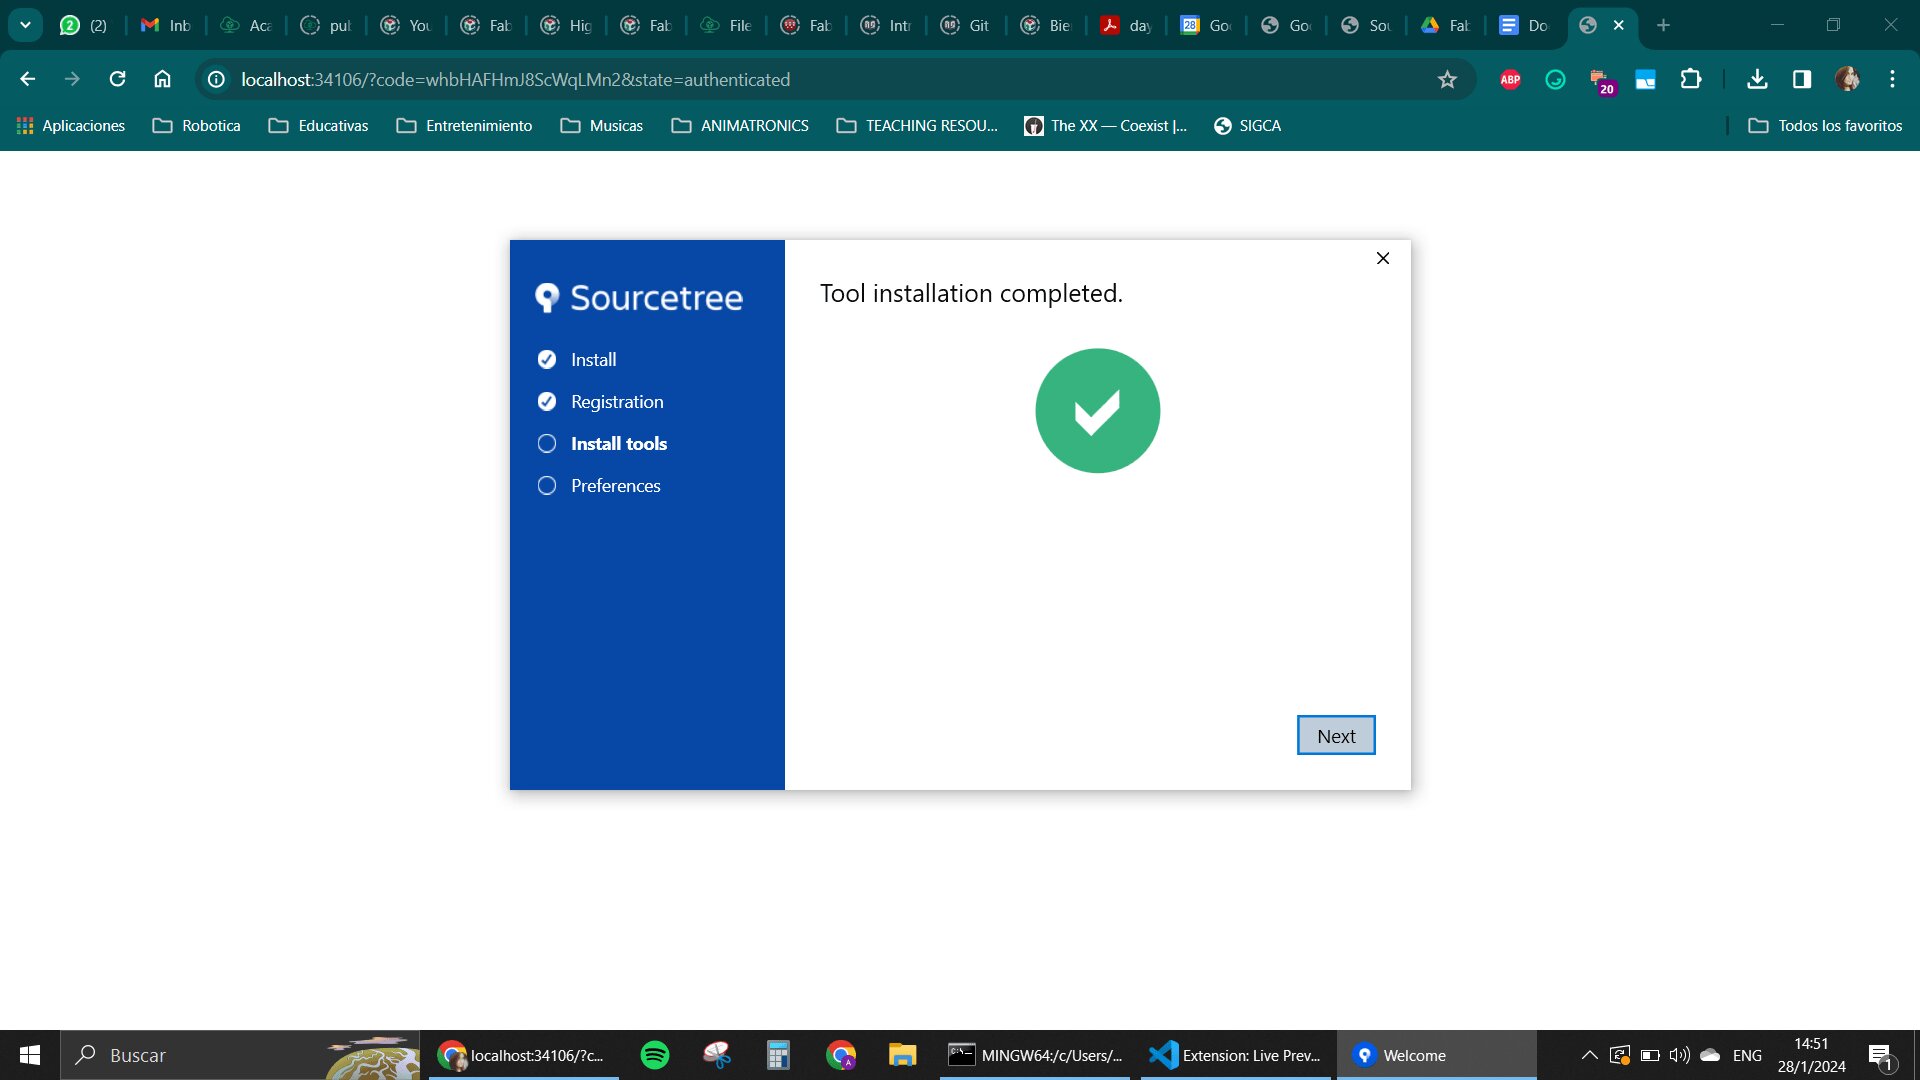
After all of that was ready, I went to install Source tree like I said before I was going to try to use it. Here how I did it:
First I went to the download page for it. And followed the executable steps to install it:
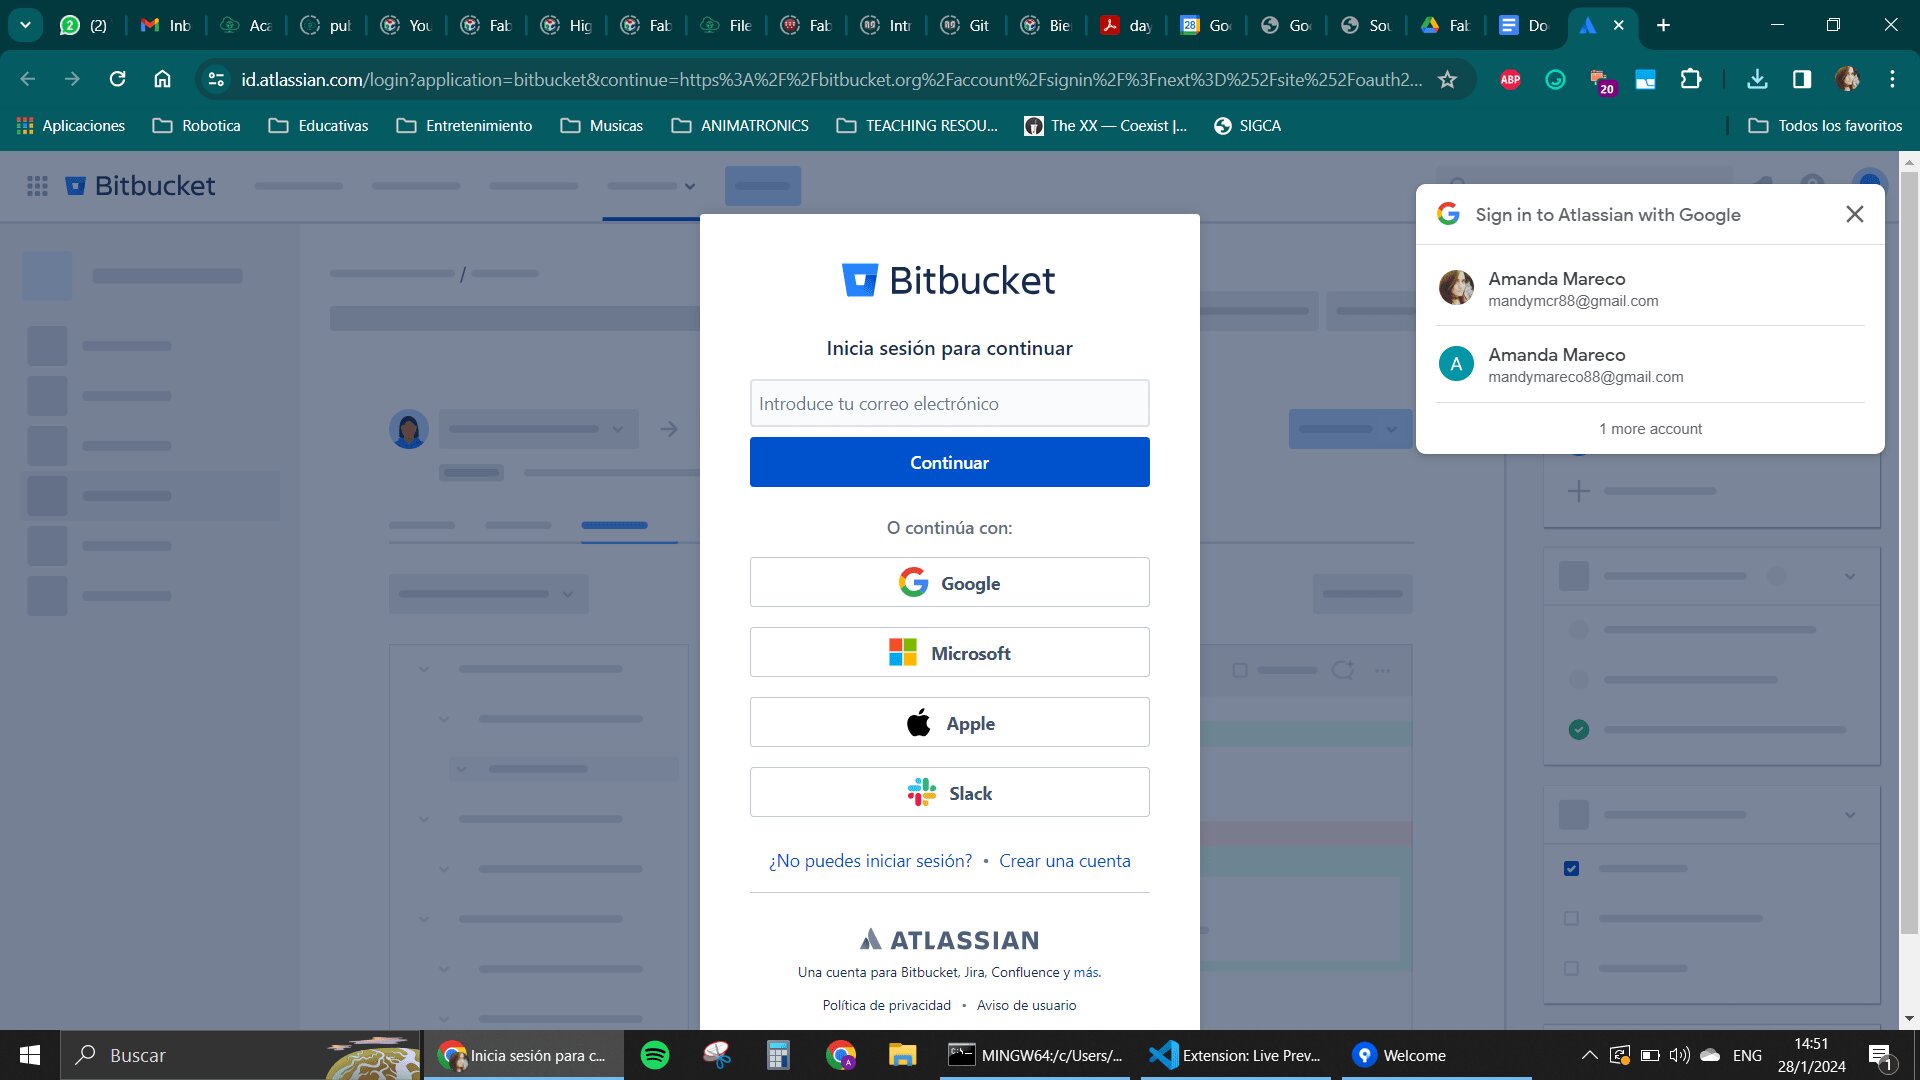
When that finished I created a Bitbucket account with the same email I have in my gitlab
And then the source tree was set.
That is when I went to my Repo, and I looked for my https code in my gitlab account, and tried to put it inside of the source tree cloning method that allowed me to have it in my computer.
That was it on Saturday. I haven't really made any commits yet because I am still looking for a good way to create my web page like I want it. I made a detour here, that I explain in the Web Dev section
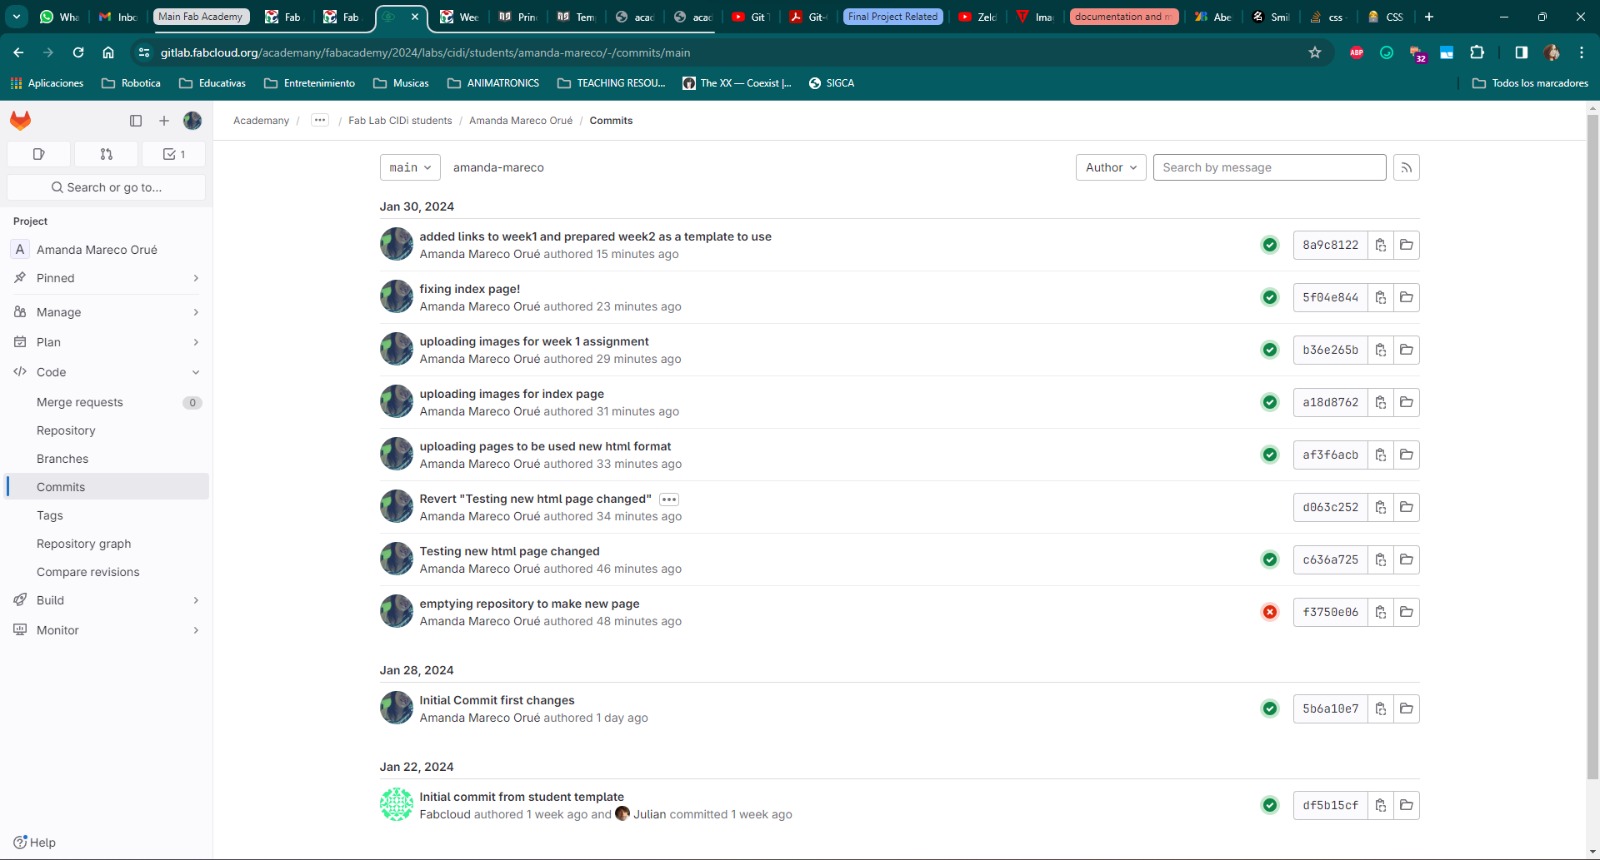
Sunday's first commit
After that, on Sunday, I tried to make my first commit and push to the server.
And I was able to push after some failed attempts! The credential manager wasn’t letting me get inside my gitlab account to push the changes I made (which at this point are still minimal). I was trying to do it with my email, but turns out it needed my username (plop emoji)
But after that, voila:
Here how it showed in sourcetree:
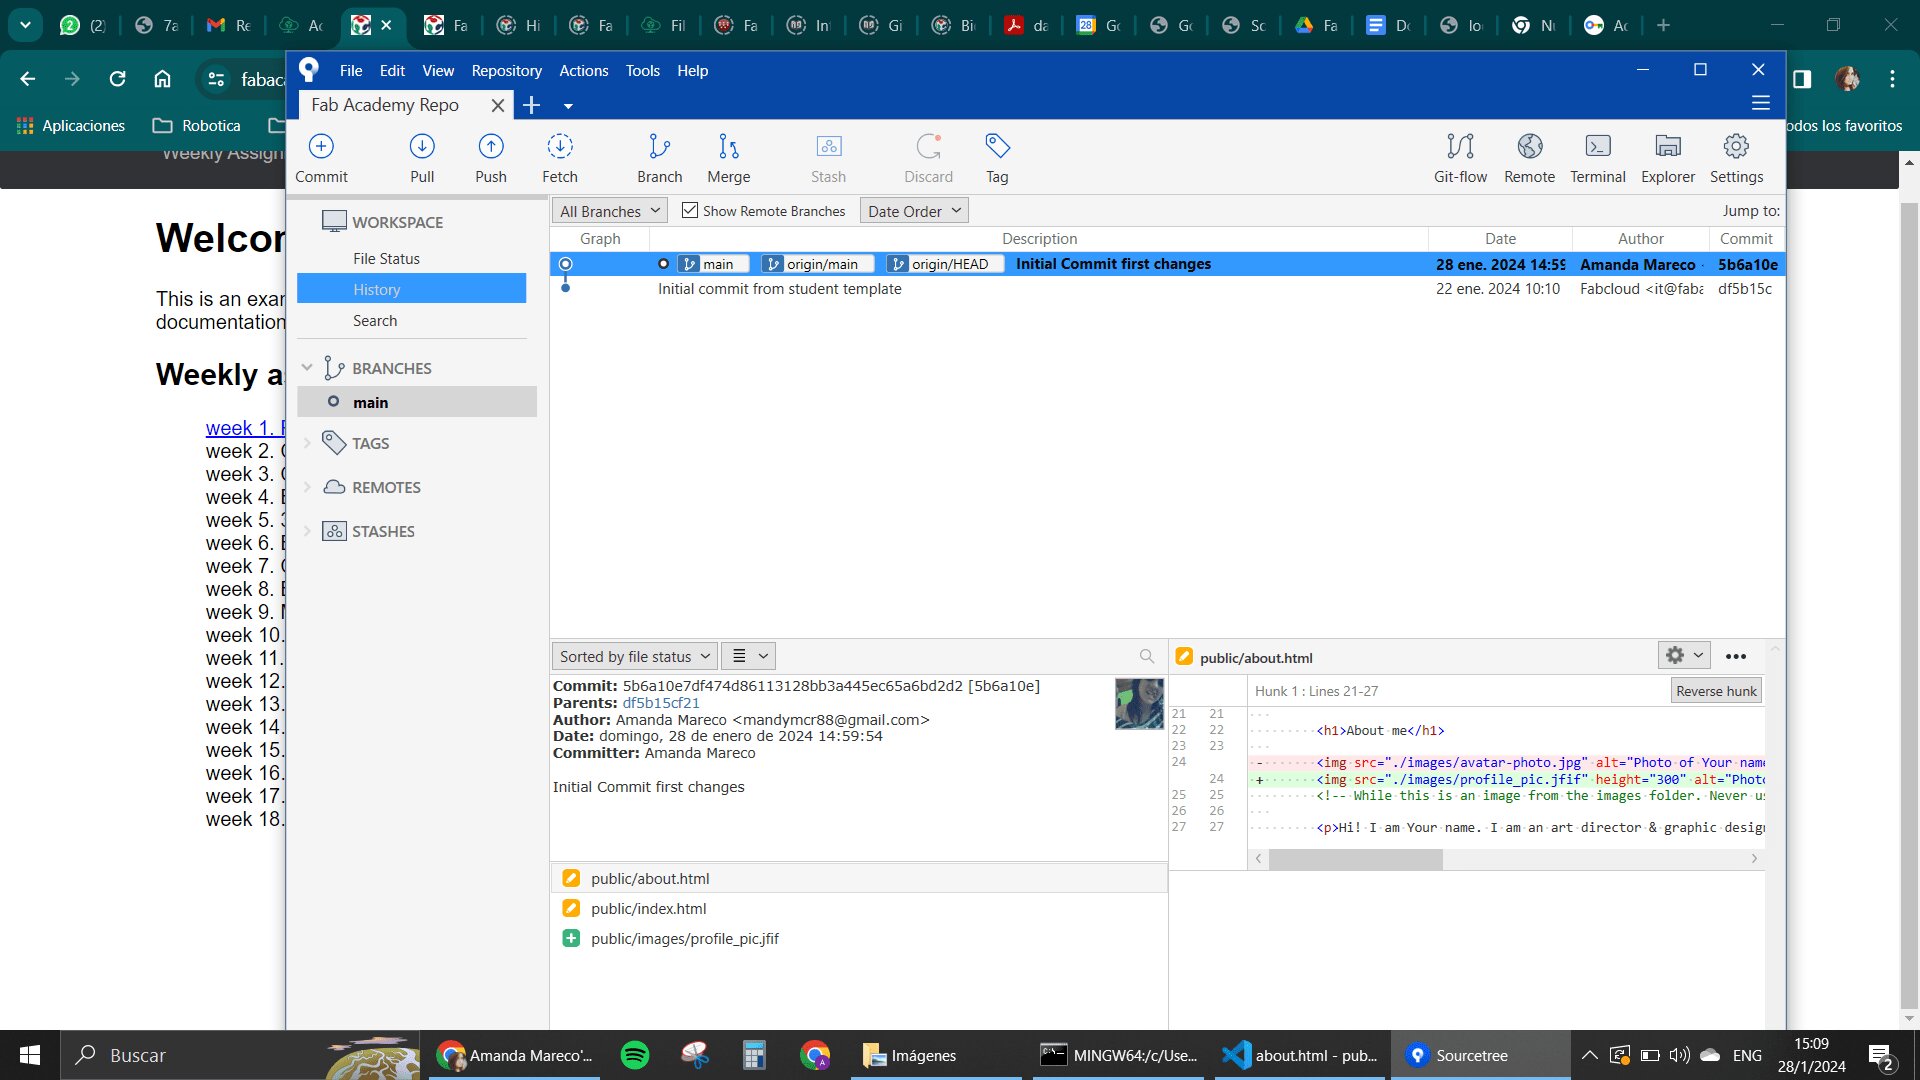
And here how it looked in my repo:
(you see how it says initial commit first changes there? Yay, it works xdd)
That was it on sunday, now on monday I plan to start deploying my web page already.
Monday's deployment 🫠
So today is the day were I finally try to upload my new page!!!!!! I finished the first chunk of changes in my new format for my page, and I wanted to upload my hard work after many many hours of editing code.
Well, turns out I was a little too eager and did a big 💩. First, in my local repo, I emptied the whole bunch of files that were there, and then copied what I had in my testing zone, which was all the work I did, with pictures, ALL OF IT!!!!!! Basically everything you see here.
Now the thing is, that when I tried to push my changes to the remote git, there was a big error saying that "my base was behind" or something like that. I apologize for not having pictures of this part, to be quite honest, I Pannicked. I almost lost it
I did many things, I don't even remember what exactly. I tried to merge the changes, I tried to rebase the main branch, and a lot of blabla all to see the thing work
But it was all in vain u.u Like we say in Paraguay "no hubo caso" (there was no case to be done)
Thankfully, the whole thing about git is that you can go back to previous commits. So I reverted all of the changes to the initial commit I had made to start all over.
What I learned from this
- There is no way to try to make big changes like errasing the whole repo without having some conflicts, be careful
- If you worked in your laptop when you went to the lab, and worked in your Desktop when you were home, please try to merge your repos so both of them are up to date
- Don't forget to pull changes before trying to commit and push, you might find things that were in conflict or so
- If you started using Source tree to do your pushes, stick to that one. Don't mix and match, it's just going to give you a headache
Aaaaanyway, after I was able to revert changes, I followed these steps:
- First, delete the old files and push that change.
- then, copy the files of your page in the empty repo
- If you make a commit that has too many stuff in it, The page will stay on loading, and you will freak out, so don't do that to yourself
- Upload the html pages first
- Upload one batch of images per turn, I did it by folders and it worked nicely
- Test all of your changes in your page, see if you need to make any more changes that were left undone because you had a mental breakdown (believe me, that happened to me and I almost lost it again)
- Take a sip of something when you manage to make it work and be happy
- But then be sad because you didn't take pictures for your documentation
But yeah, the pics of my repos commits and my source tree are here:

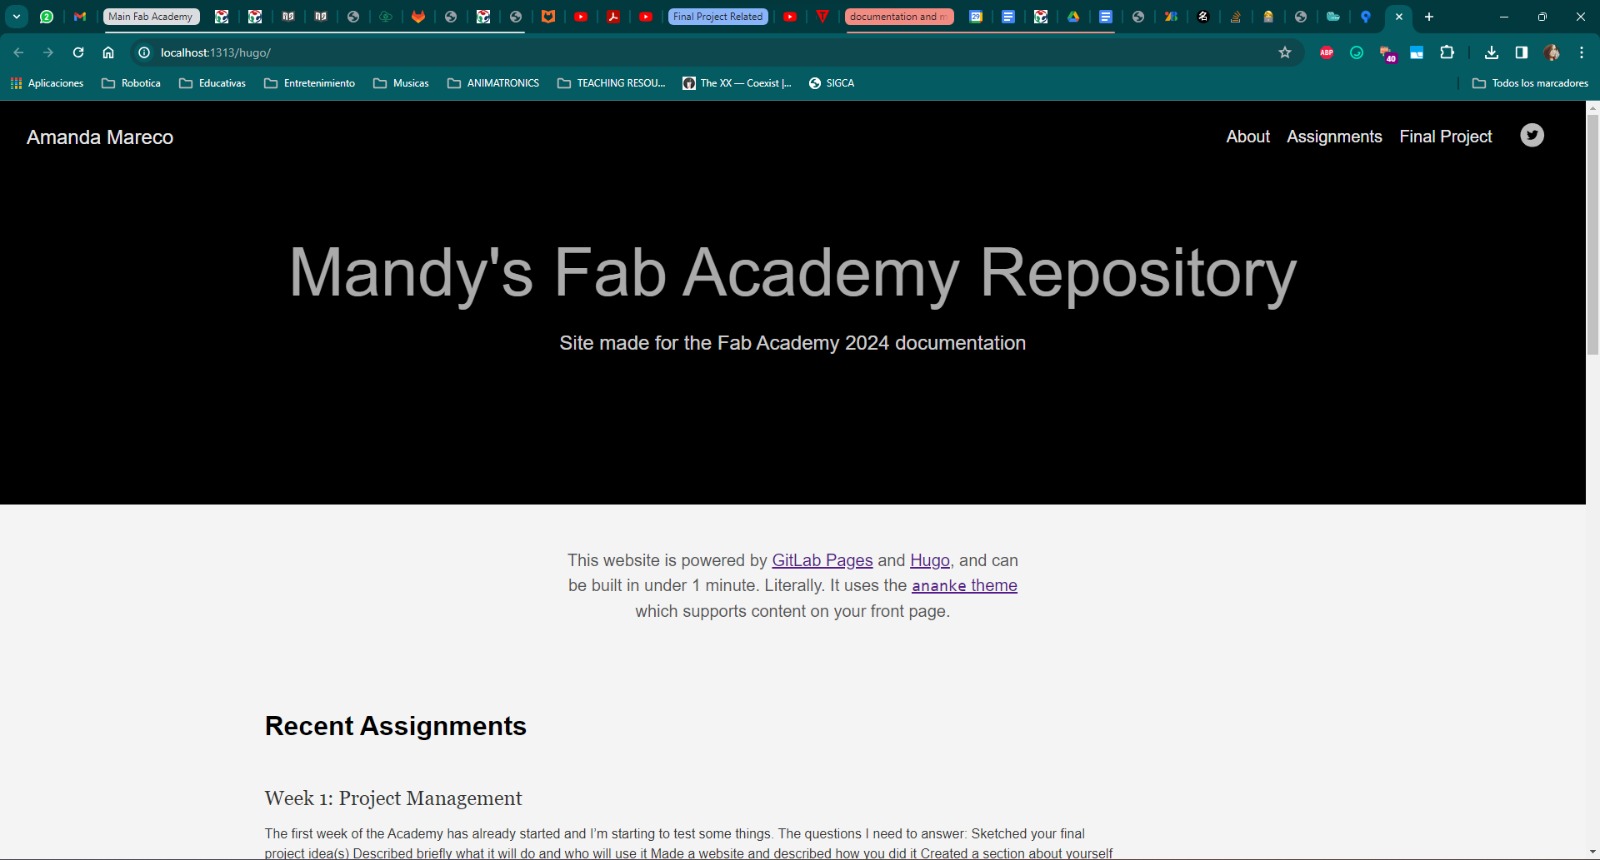
Web Development
Saturday xd
Now in the web page development area, this is where I have been using a lot of my time today. Basically, I was looking at many options inside of the Fab Academy Network and looking at many of the ideas that a lot of people had when they tried to create their websites to get inspiration.
I was also looking into GitLabs Example Pages which led me to this one that I really liked the look of, and that I thought can actually meet my requirements. Another thing that I saw that was very interesting to me, was that it mentioned how easy to use it was. It used this framework called Hugo which is a Static Pages generator.

I followed the tutorial that is on their web page that allows me to install it on my computer. I had to install the Go programming language, that is the one used for building this whole framework and to install Hugo itself I followed a little tutorial that I found on YouTube, That allowed me to install it using the binaries of of the framework that can be found in their website.
After I finished installing the whole thing, I was looking at the example that is inside the gitlabs page
Examples because that's the one that I really liked.
I cloned the repository of this example page inside my computer so I could experiment with it, and test it with how and what I wanted it to look like.
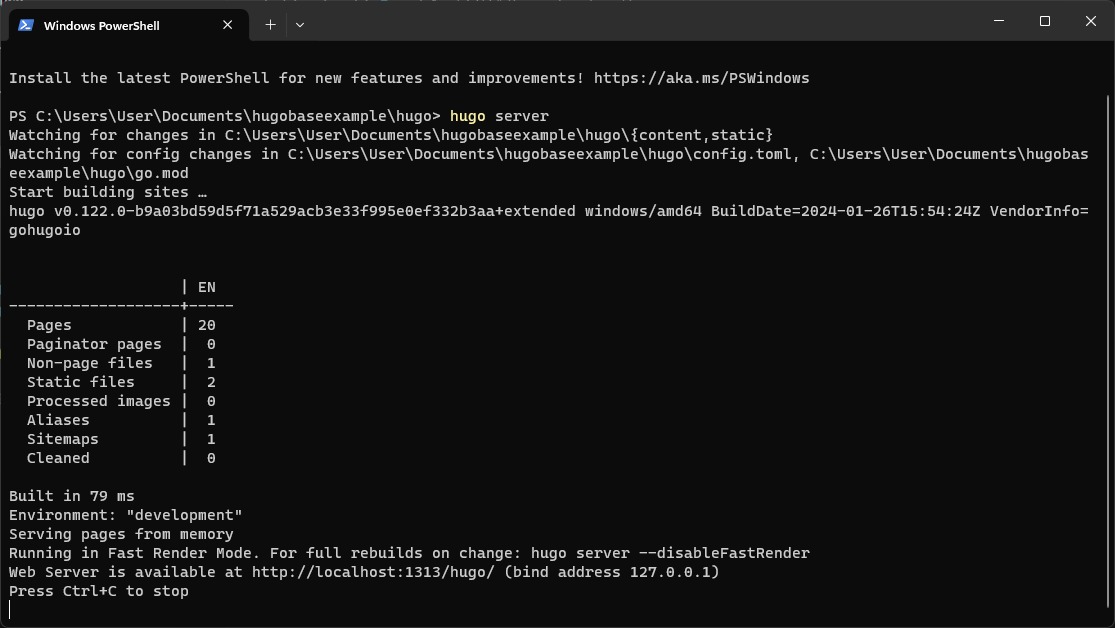
Something important, you needed to “deploy” the page locally using the command line, the whole tutorial to start with this it's here if you want to check it out.
But basically when you want to see your changes, you gotta do the “hugo server” command inside the path where your page is being saved.
Some of the issues that I found in my first hours with this new framework that I tried to learn today:
-
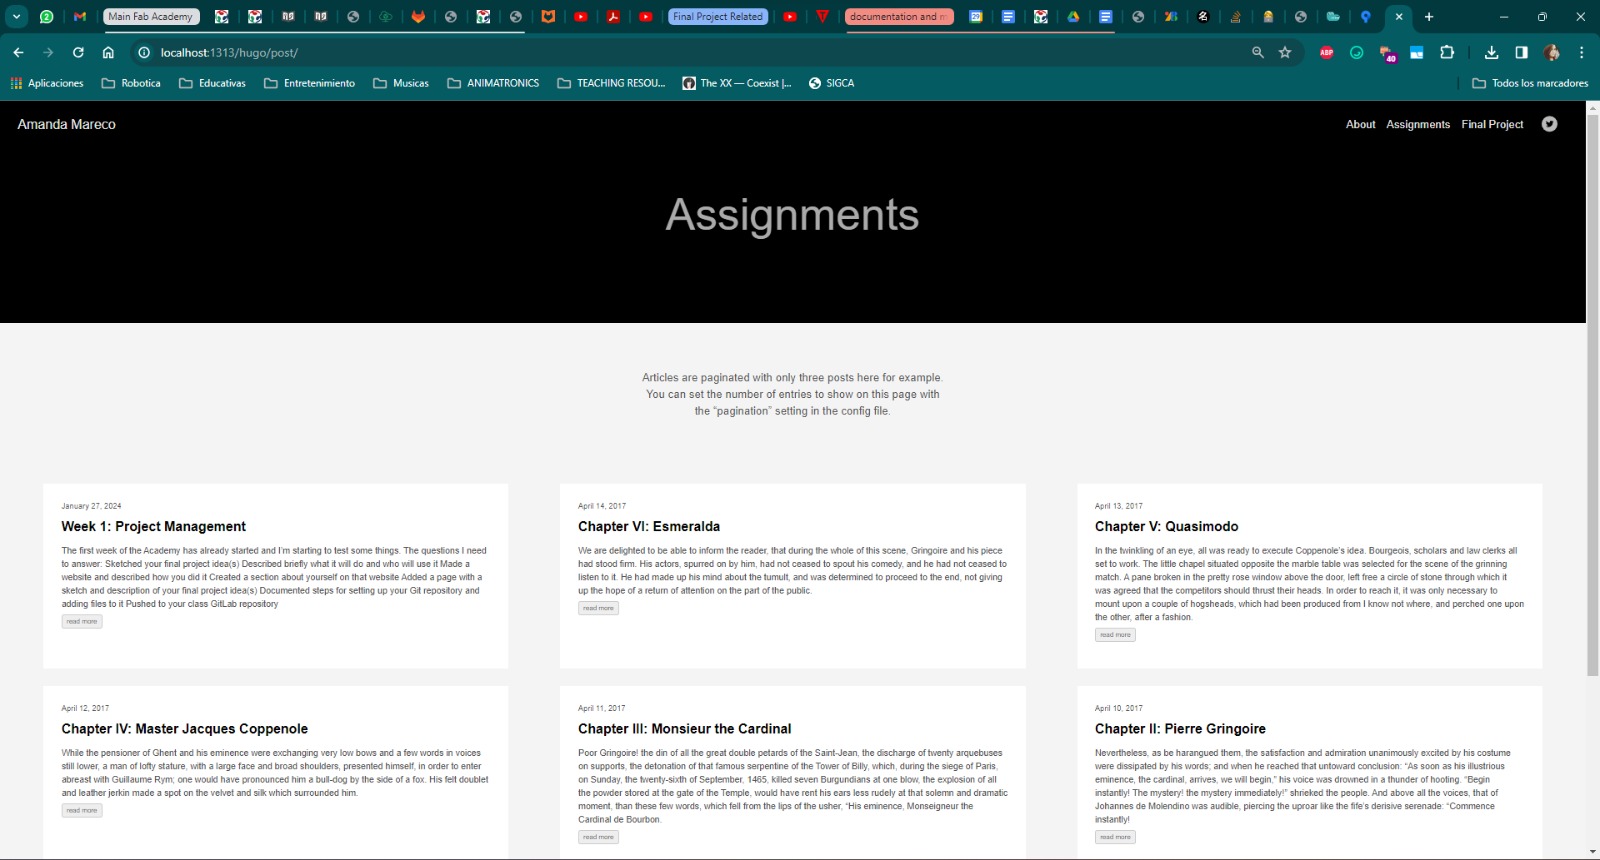
When you have a template that is already built inside of the code, it's very hard to change some of the constraints that are inside of it because I really couldn't really find where to change some stuff and I'm still trying to figure that out. For example, I couldn't find how to make the “assignments” page posts not come in an order that shows me the most recent post based on dates, but I wanted to put it how it is shown in the fab academy schedule.
-
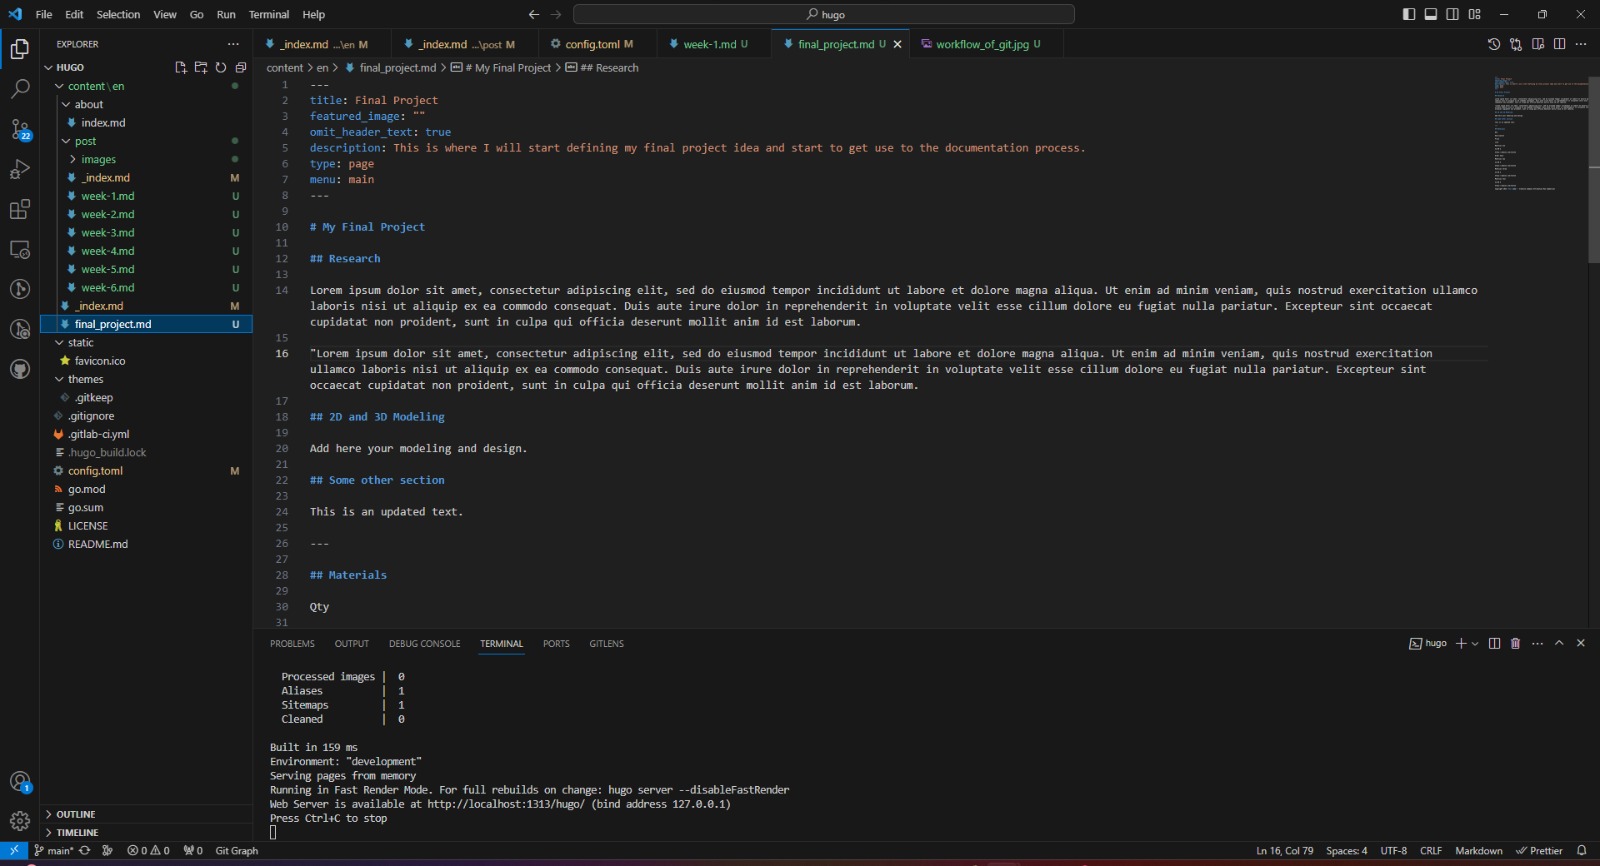
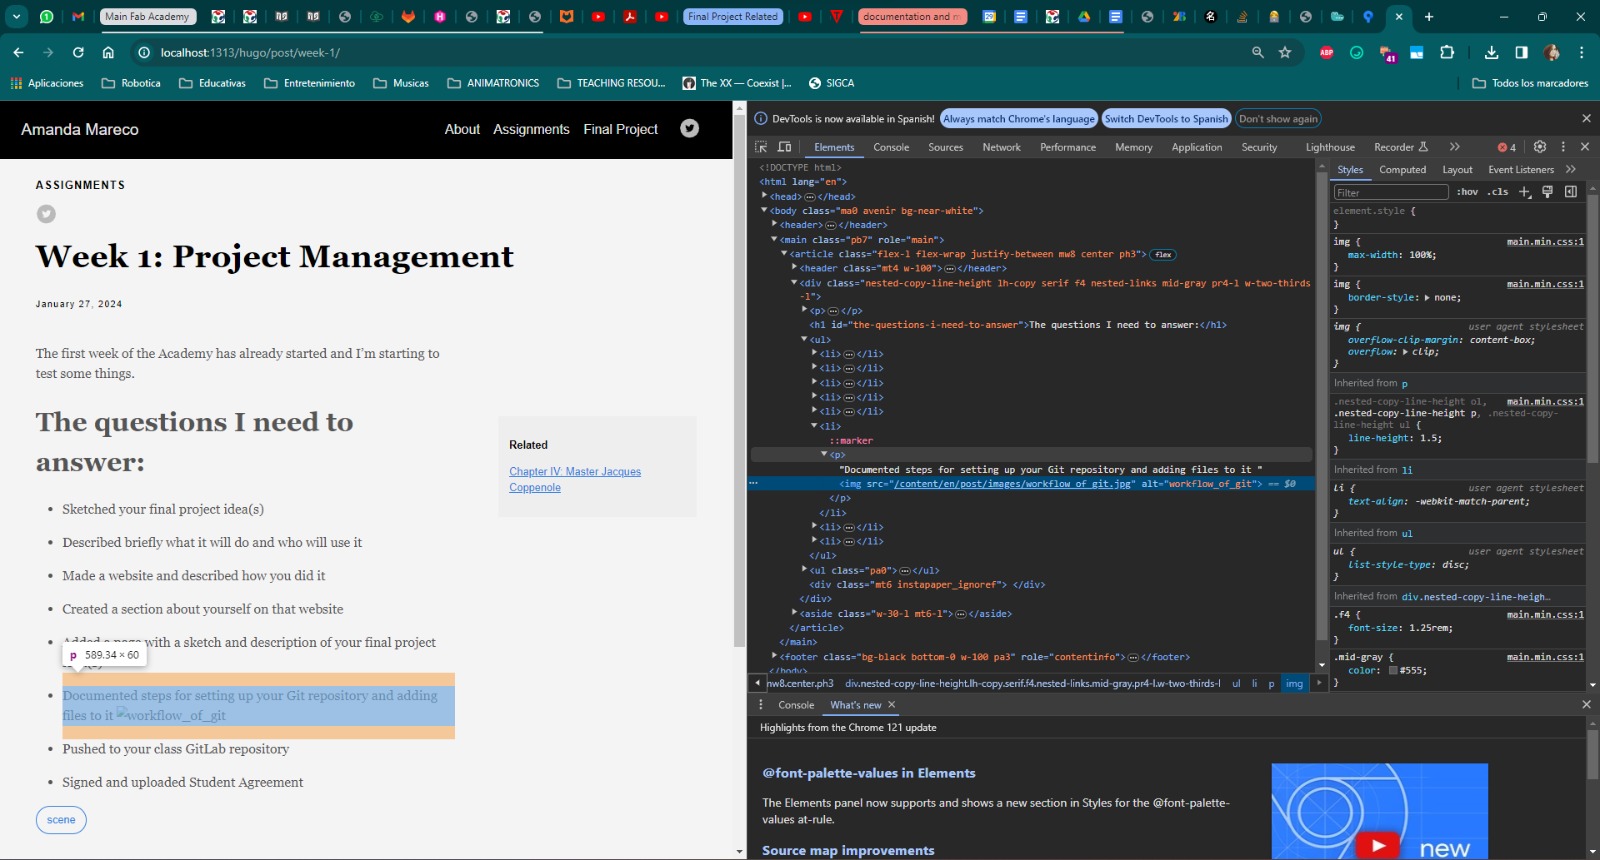
The second problem, and this is a very important one, is that I can't seem to find out how to add images. I already did some of the changes using markdown while trying to learn how it works (oh yeah this is an important thing the whole building of the pages is using markdown which I think it's a little more easier than using HTML but this also has some limitations), but the problem was that the images were not really showing in my local page and I'm not sure if that also means that when I upload it in my gitlab they will not show up either. I am afraid that probably the pics that are shown in the local repository will not be the same as the ones in my actual repository and that is also something that I have to find out how to solve.
A little bit of what I achieved with this code, again you can find the original here
- Made changes to the index, compare to the pic a little on the top:
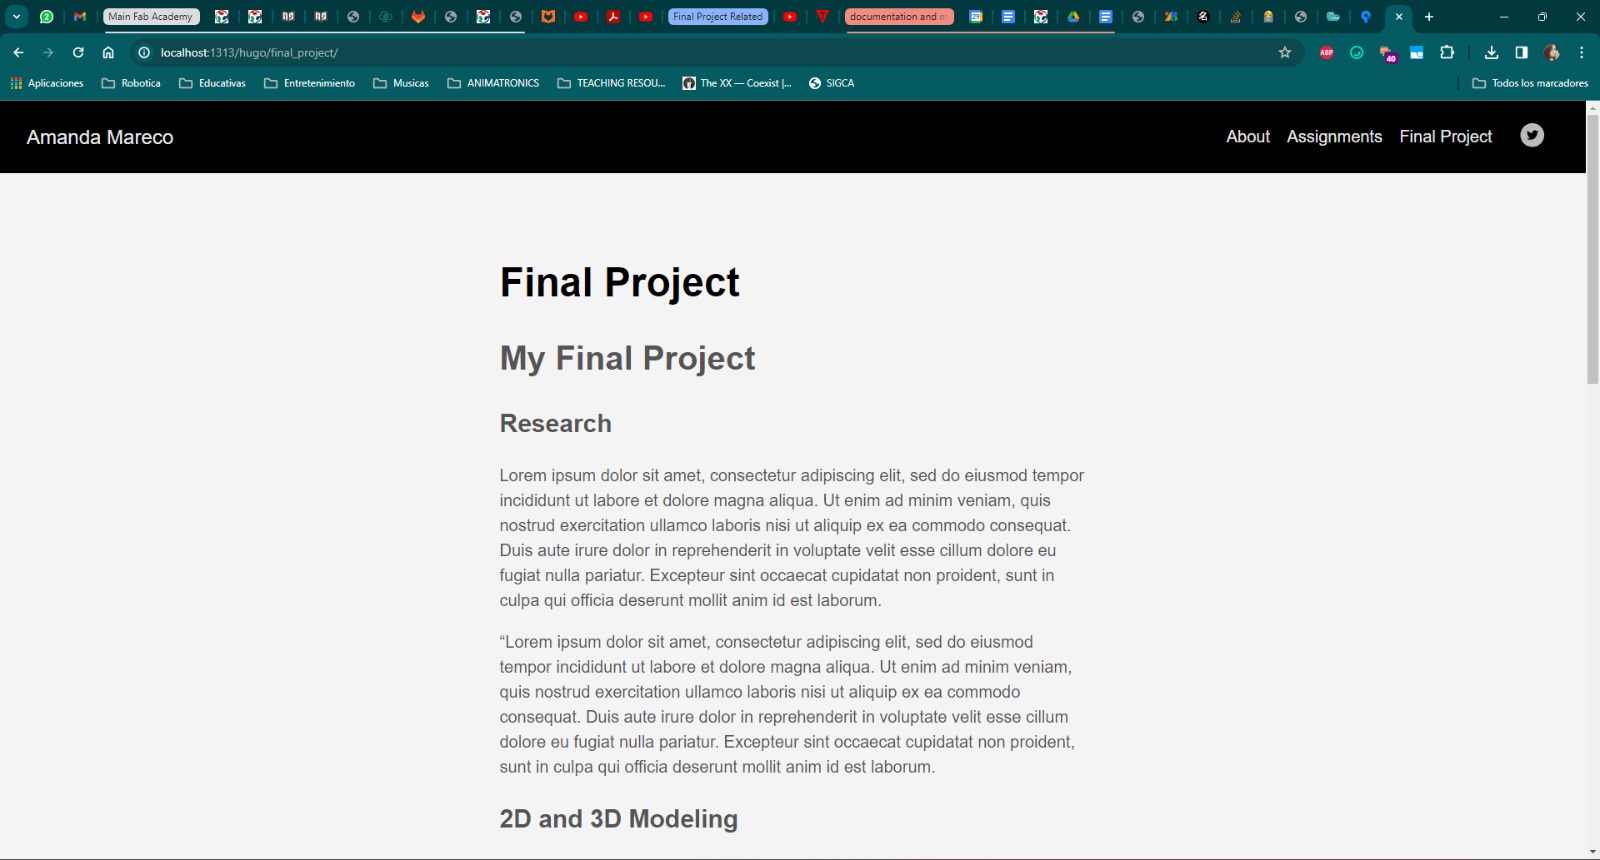
- Here is how the code looks in Markdown for the “Final Project” page (copied from the one provided in the repo already):
And here how it looks:
- I tried to change the assignments section, you can see it is ordered by “Latest” with correspondence to dates:
- And inside my week1 I tried to put one image of my own and failed. Here is the code:
...and here's how it looks u.u I even reviewed it with the Inspection section of the browser but still couldn’t understand the problem
In conclusion, I am very torn about this idea of using Hugo right now. I'm not sure if it's the best idea to use it but I will keep on looking into it these remaining days and while I do, I’ll just try to finish up with my documentation like I'm doing right now.
And then, Monday came….
Here is were the whole real thing actually started.
On Sunday while working on the first push in git, I talked to Silvia, one of my local instructors, and she said that I was getting caught in something that wasn't gonna help me.
So I showed her my idea of working with html, but basing all of my work in an already made page.
I looked into many pages of previous years to find one that I truly liked the look of, and that's how I landed on Miriam's Fab Academy page
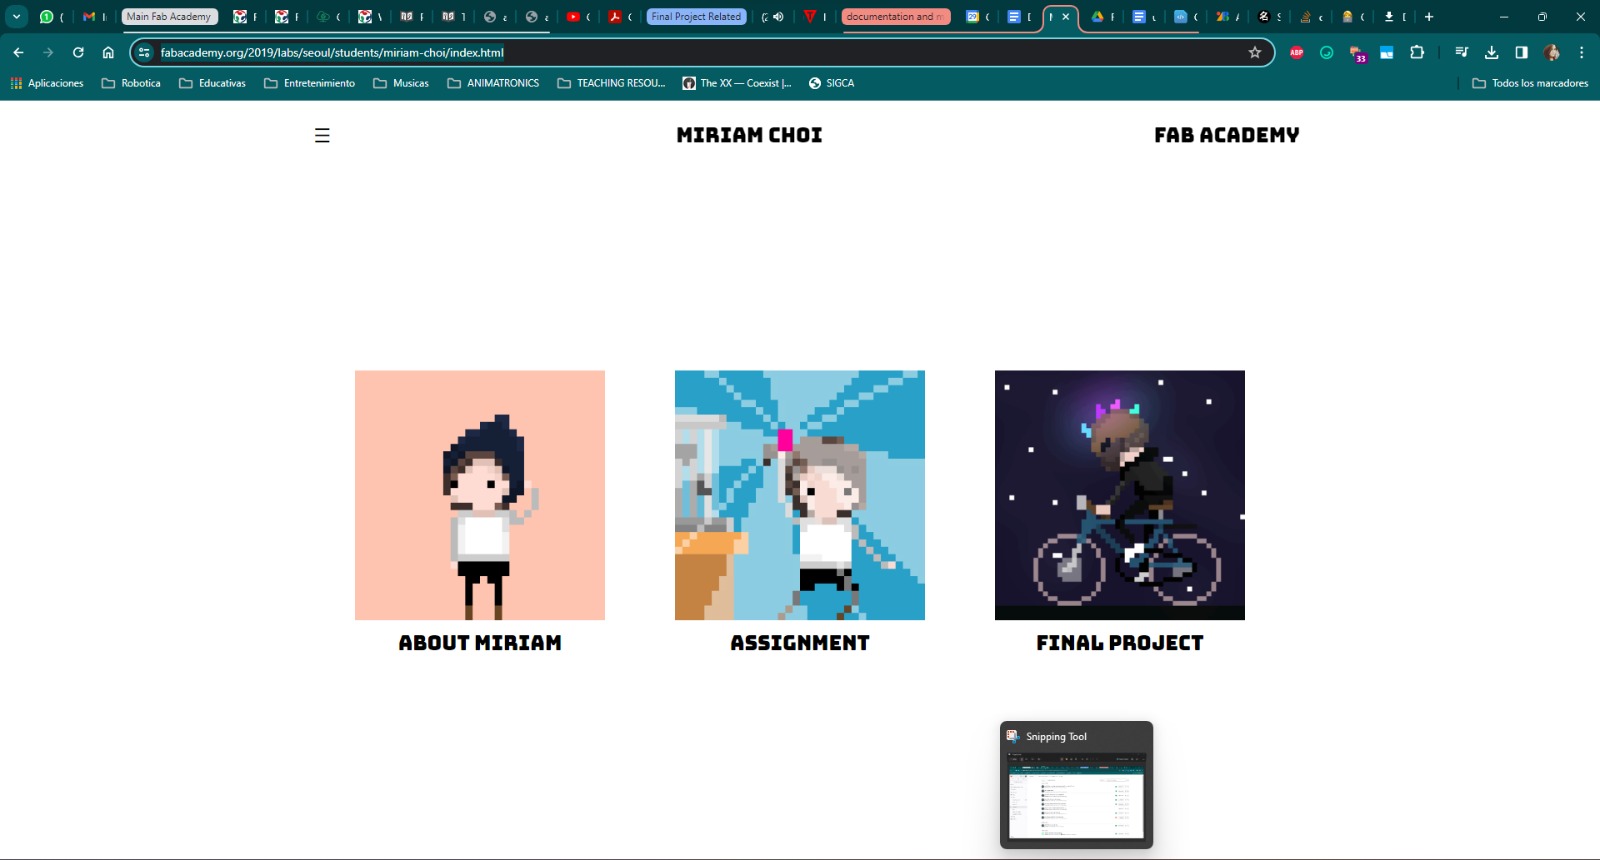
I did the obvious thing when you like something a lot and copied it. Basically I searched for the repo and cloned the page in my computer to start playing with it so I can have a nice page of my own but that looks kinda like that.
Well, that's when I started to really work for it. The first thing was to erase all of her pictures and leaving only roots and templates and the main pages that I was gonna be using and changing already.
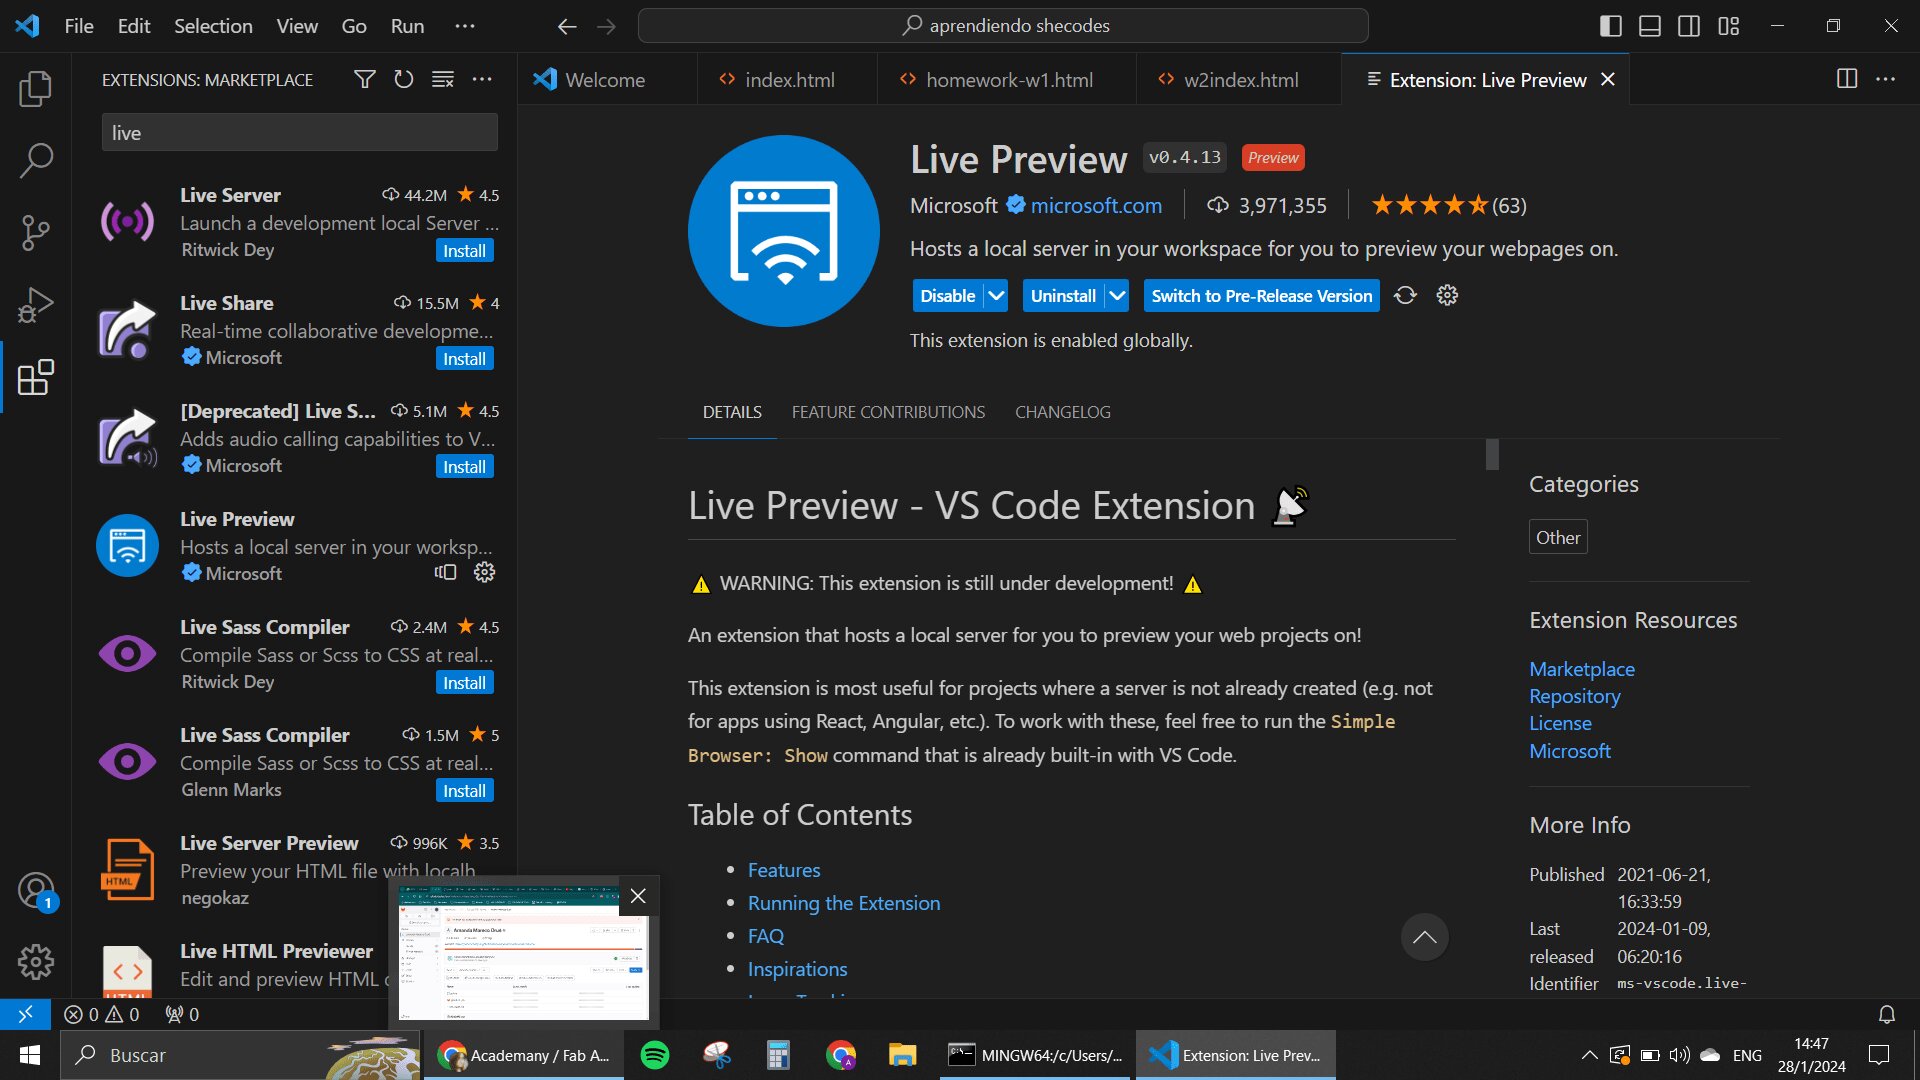
I opened VS CODE and first thing that I did was installing the extension Live Preview so I could check my work right next to my code and see the changes while I was making them. Pretty cool thing if I say so myself
Now that I had all that I needed I put my html muscles into use. One of the first things I did to the code was changing the font style, cause honestly I wanted something a bit more simple looking. I went to Google Fonts and chose some that I liked and replaced those lines of code in the original
After changing that and playing a bit with the "style" section of the code, I went ahead and started to change images and inserting my own
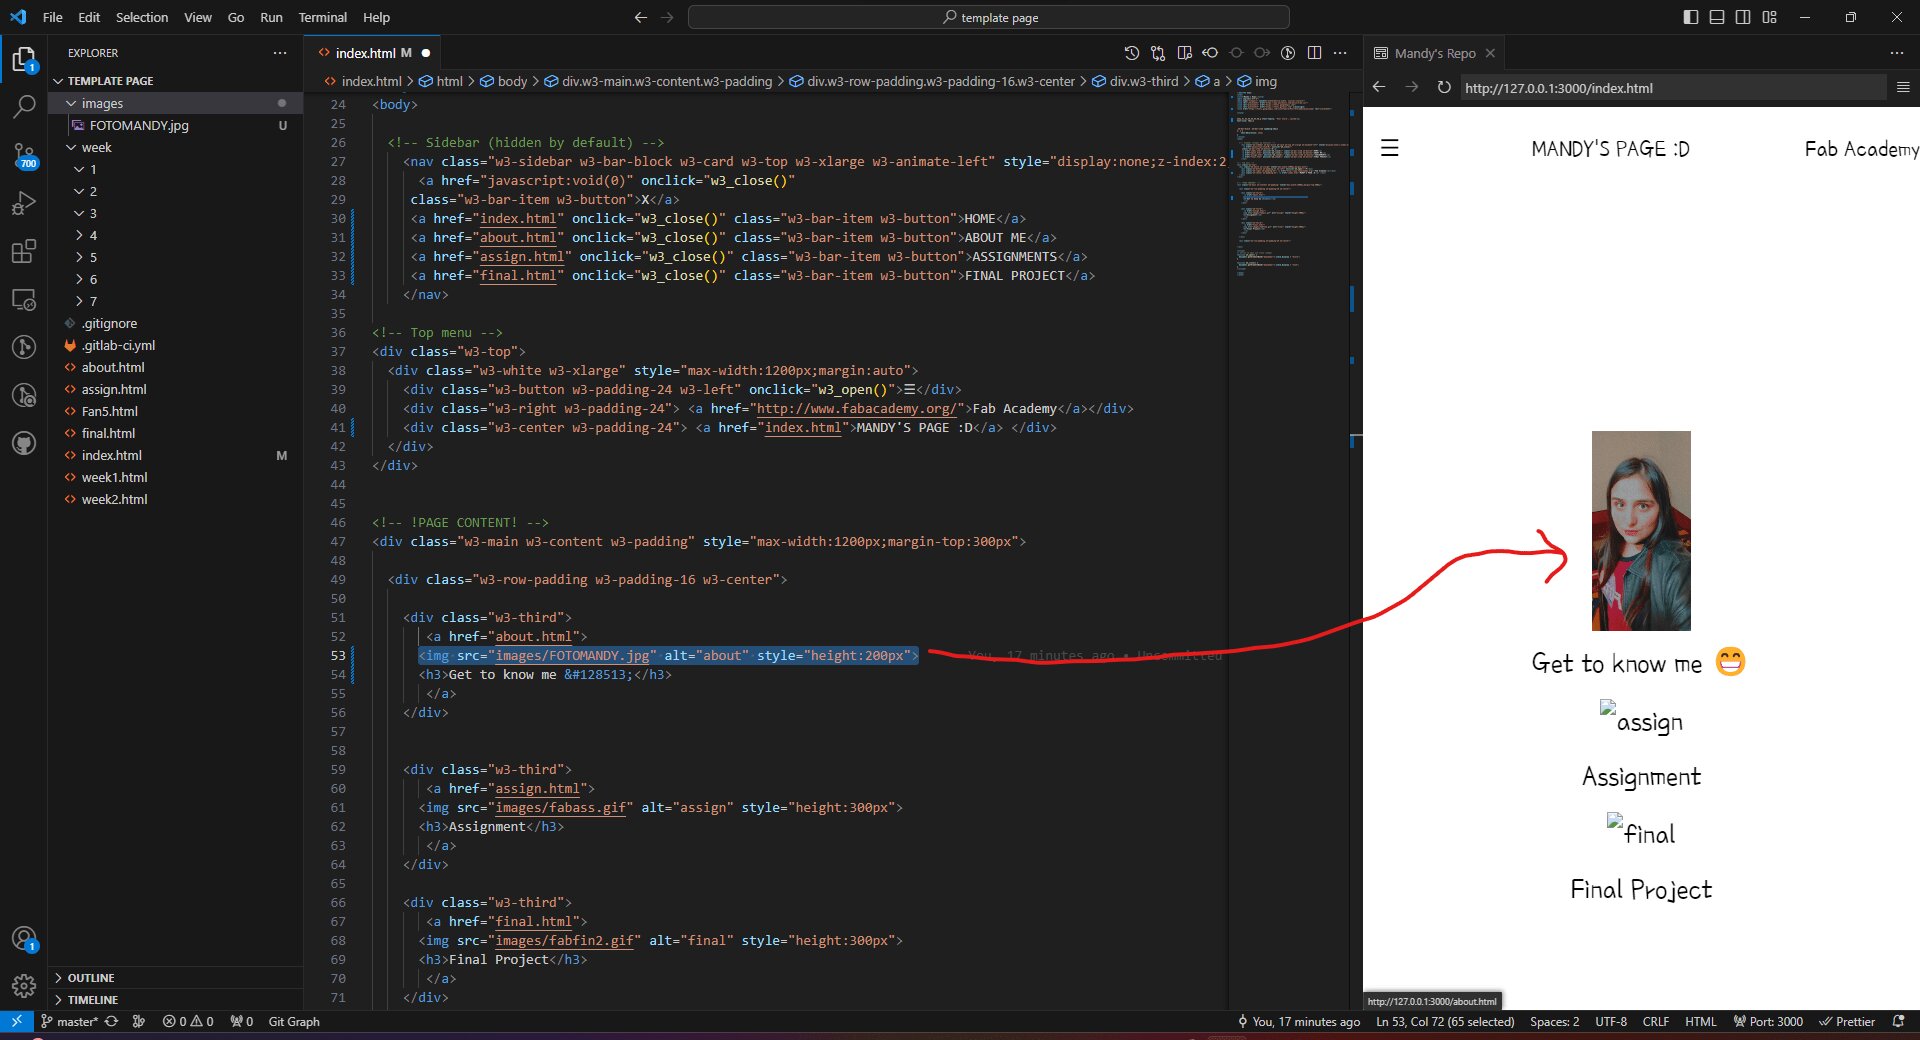
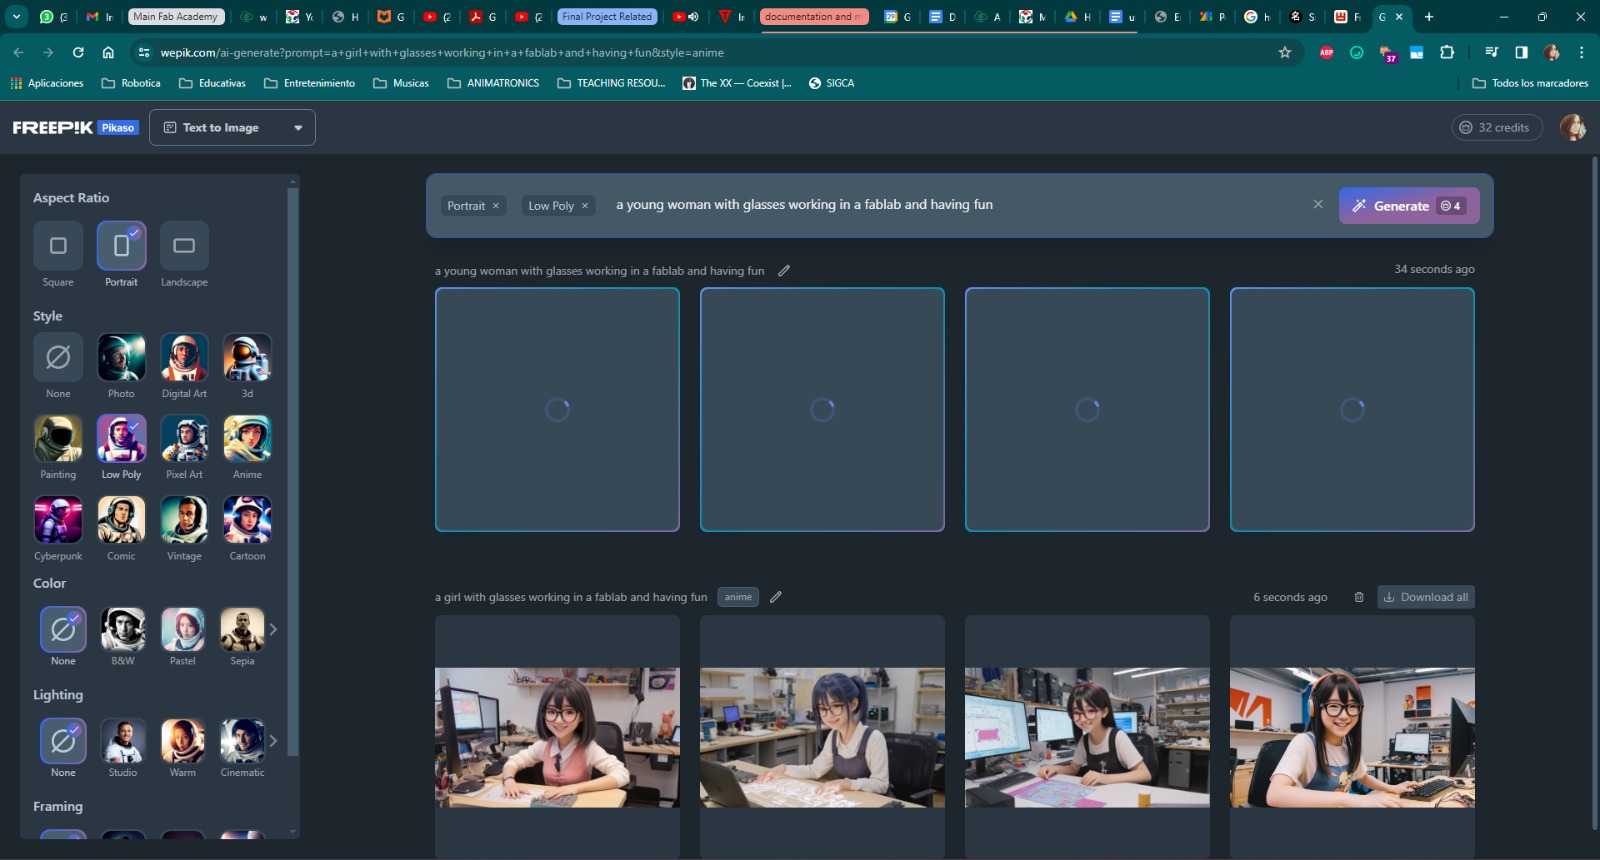
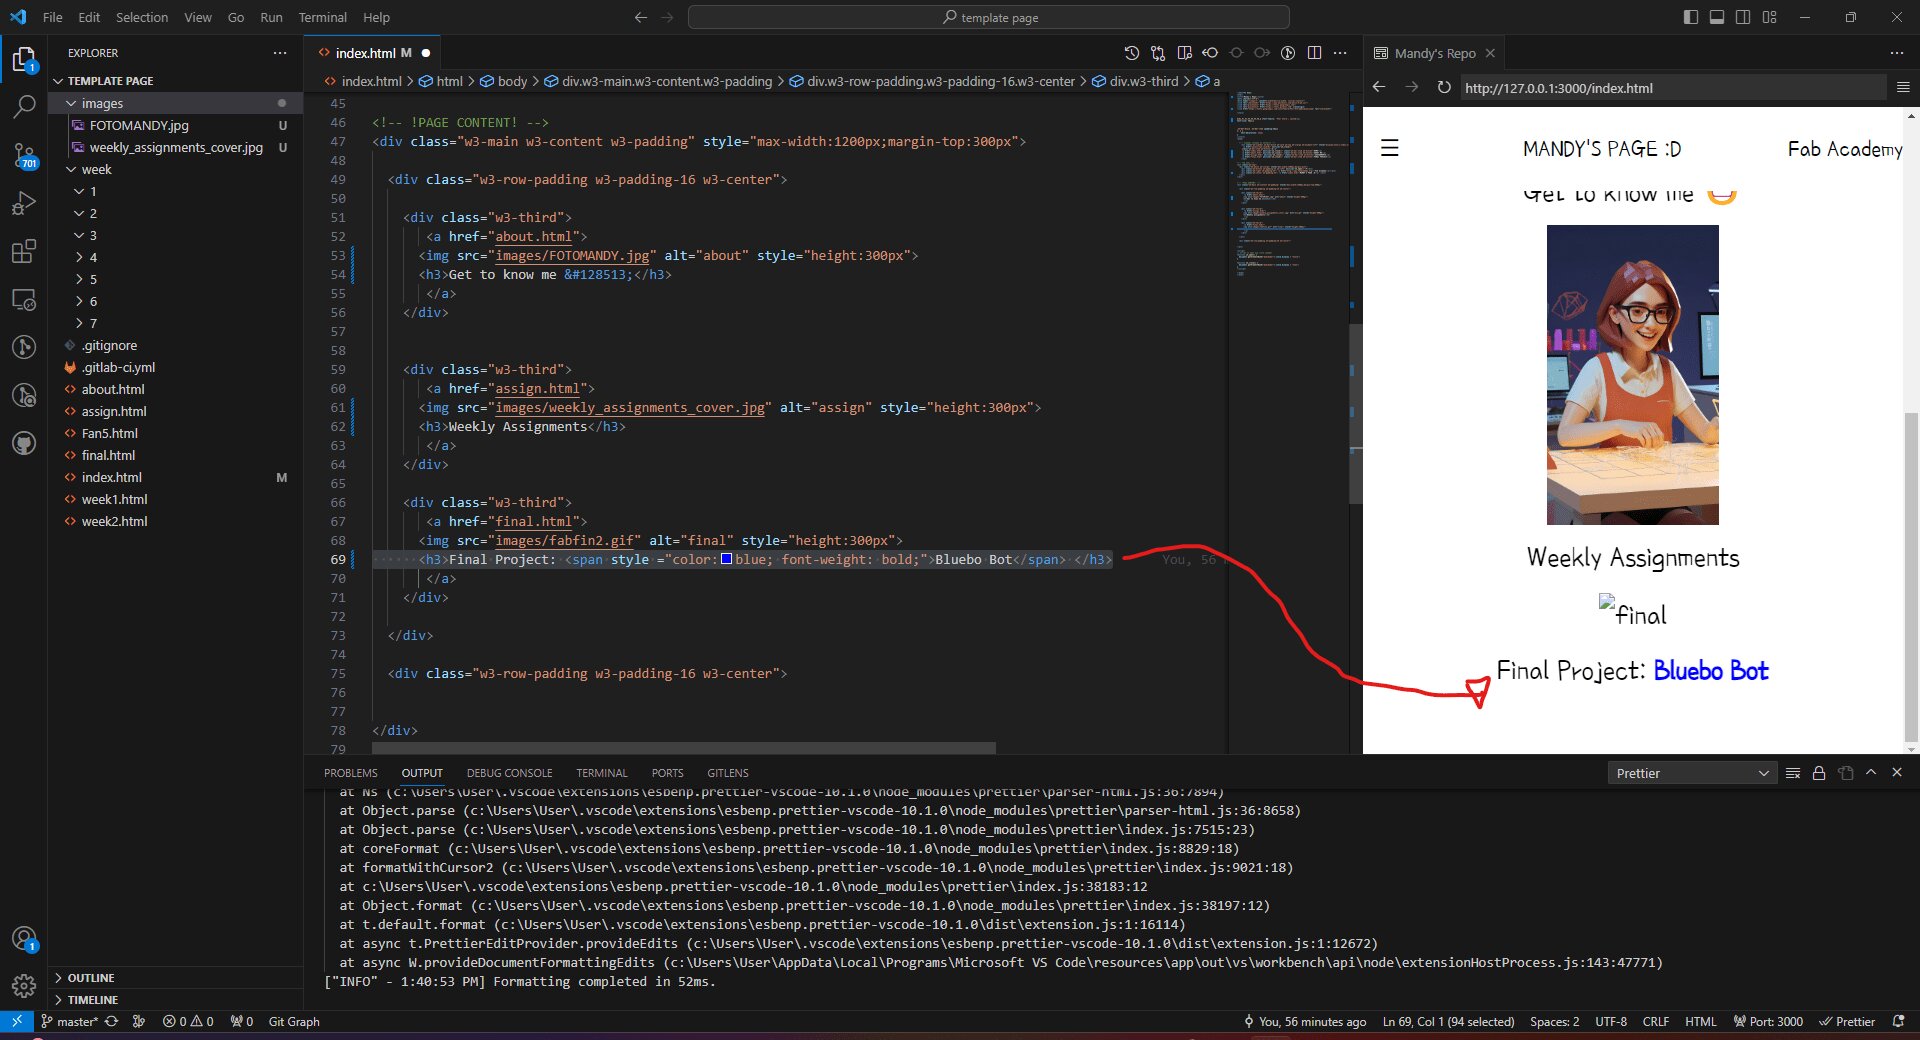
I also used some AI tools to create icons and generate images for my web. The one in the main page for "Weekly Assignments" is one generated by AI, and I also plan to create the Icons for the "Assignments" sections completely with AI to save some time.
I played a lot with the template. I mixed styles inside the html as well like you can see here.
And I also used some pages to look for info I didn't know. Like how to put Unicode inside the html to be able to see the emojis that I like so much 💓 💥👾
Then I started playing with the other pages, I even started my "Student Agreement" and "Week2" template from scratch. To finish understanding how each part of the template works.
I basically ended up organizing my whole code and leaving it very pretty in my documentation for the assignment cause as you are reading it, I wrote a 🤬 lot
My best friend is the "div" tag in html and commenting the sections that I'm creating. Very very useful honestly
Well, this took me forever. I spent almost ALL DAY HERE. FROM 2PM TO 12AM!!!!!!!!!!!! Don't be obsessive like me, is not healthy.☠
Final project Proposal:
For my final project, I already did some research and I already know what I kind of want to do from beforehand cuz this is an idea that has been in my mind for a very long time already. I have some of the (very ugly) sketches where I was brainstorming here:
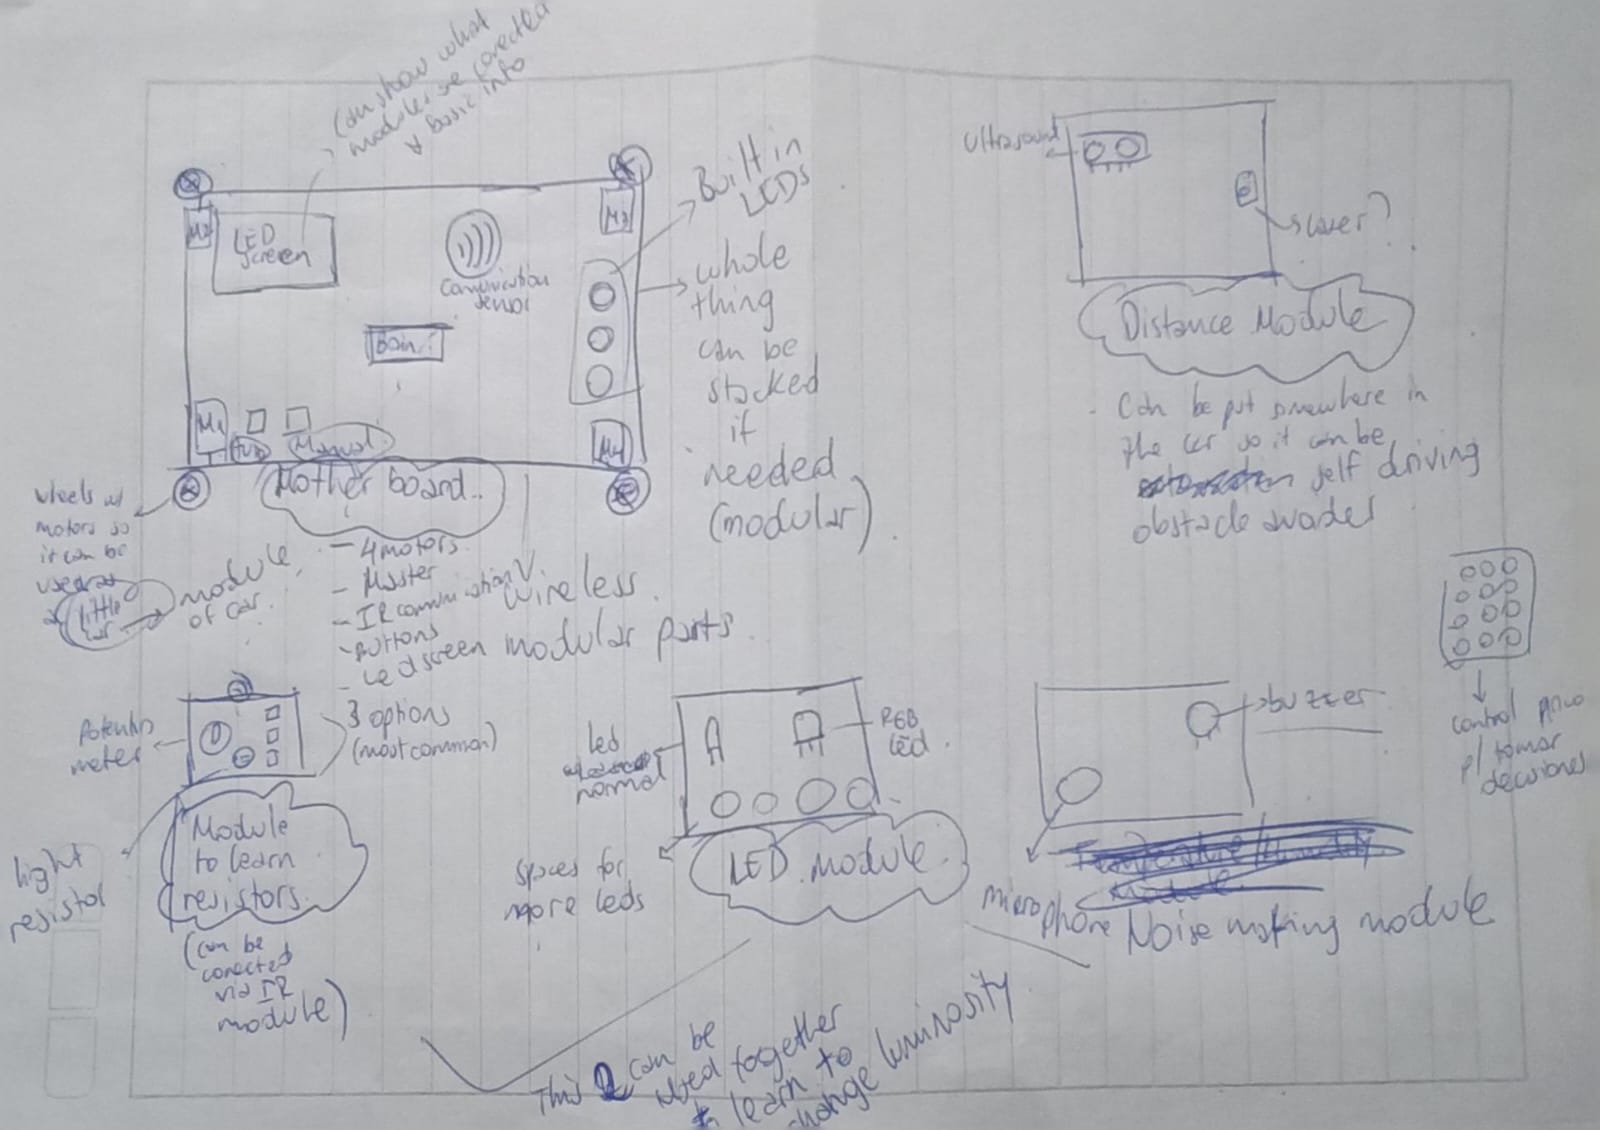
I did my first sketch on Thursday and started to write down some of the applications that I wanted inside of each of the parts of my modules. After that I started to do research so I could see if there were ideas that were like this one made before and if there was something I could base my project on.
The good thing is that someone already had the same idea or at least it is a very similar one to the one that I was thinking of making. This can also be a very bad thing because I don't want to have a project that is redundant.
This is the moment where I start to develop new ideas on how to improve this project and make it more interesting so it can still be something that I can work on. I am very fixed on this idea because it is a project that I also want to use as a part of my thesis for my career.
Now let's talk a little bit about how I want the product to work and what it actually is.
The basic idea for the product is that it will be an educational toy that allows kids to learn Electronics. There is going to be a main board for the kit which will be like a master for many other little modules with different Functionalities so that kids can learn about each of these functions individually or by combining them.
My first sketch had an idea of having a communication sensor in the baseboard and also in each of the little modules for them to work together. I planned four modules that helped kids to learn.
-
one about resistors that will have a potentiometer and other options like that, like a light resistor and so.
-
one module to learn about LEDs and how light works with electricity.
-
a module to learn about audio with a microphone and a buzzer and maybe also a little speaker.
-
and a module to learn about distances which will have an ultrasound and a laser-based distance sensor.
All of these are going to be stackable on top of the baseboard which will also have some motors with wheels on the side that the kids can use to make a little car so that the toy can move and be another way of learning about Motors and outputs.
The base will also have some other things like a little screen and a speaker with a separate remote controller to use it as well.
Like I said before, there is already a project that is very similar to this idea, that is named “modular IoT kit” that consists in this little electronic Lego bricks that can be stacked to create iot devices, is also to learn about electronics and uses the Lego Systems to make it modular but my idea is a little different because I want mine to be a little interactive, by adding the little screen and the speaker that can talk to the kids when they put the small modules on top of the base board to learn, or if they want to use them wirelessly they can also connect to them like that.
The baseboard can show you what each module is for so you can use them separately or together to make different projects. Also, maybe when the toy starts, the bot says hi and asks you what you want to learn about or give you ideas. I am not sure how I'm going to make this sentient part that talks, maybe I will just use a little AI or something like that, we shall see.
The toy will have a lot of pre-programmed actions in it, since the wheels are already part of the baseboard, you can make it move with the little controller if you want to and it will ask you if you want to learn how the motors work as well, and tell you that you have options to move it autonomously with other modules and even add parts that make it run differently.
Here is the Sketch of the bot:
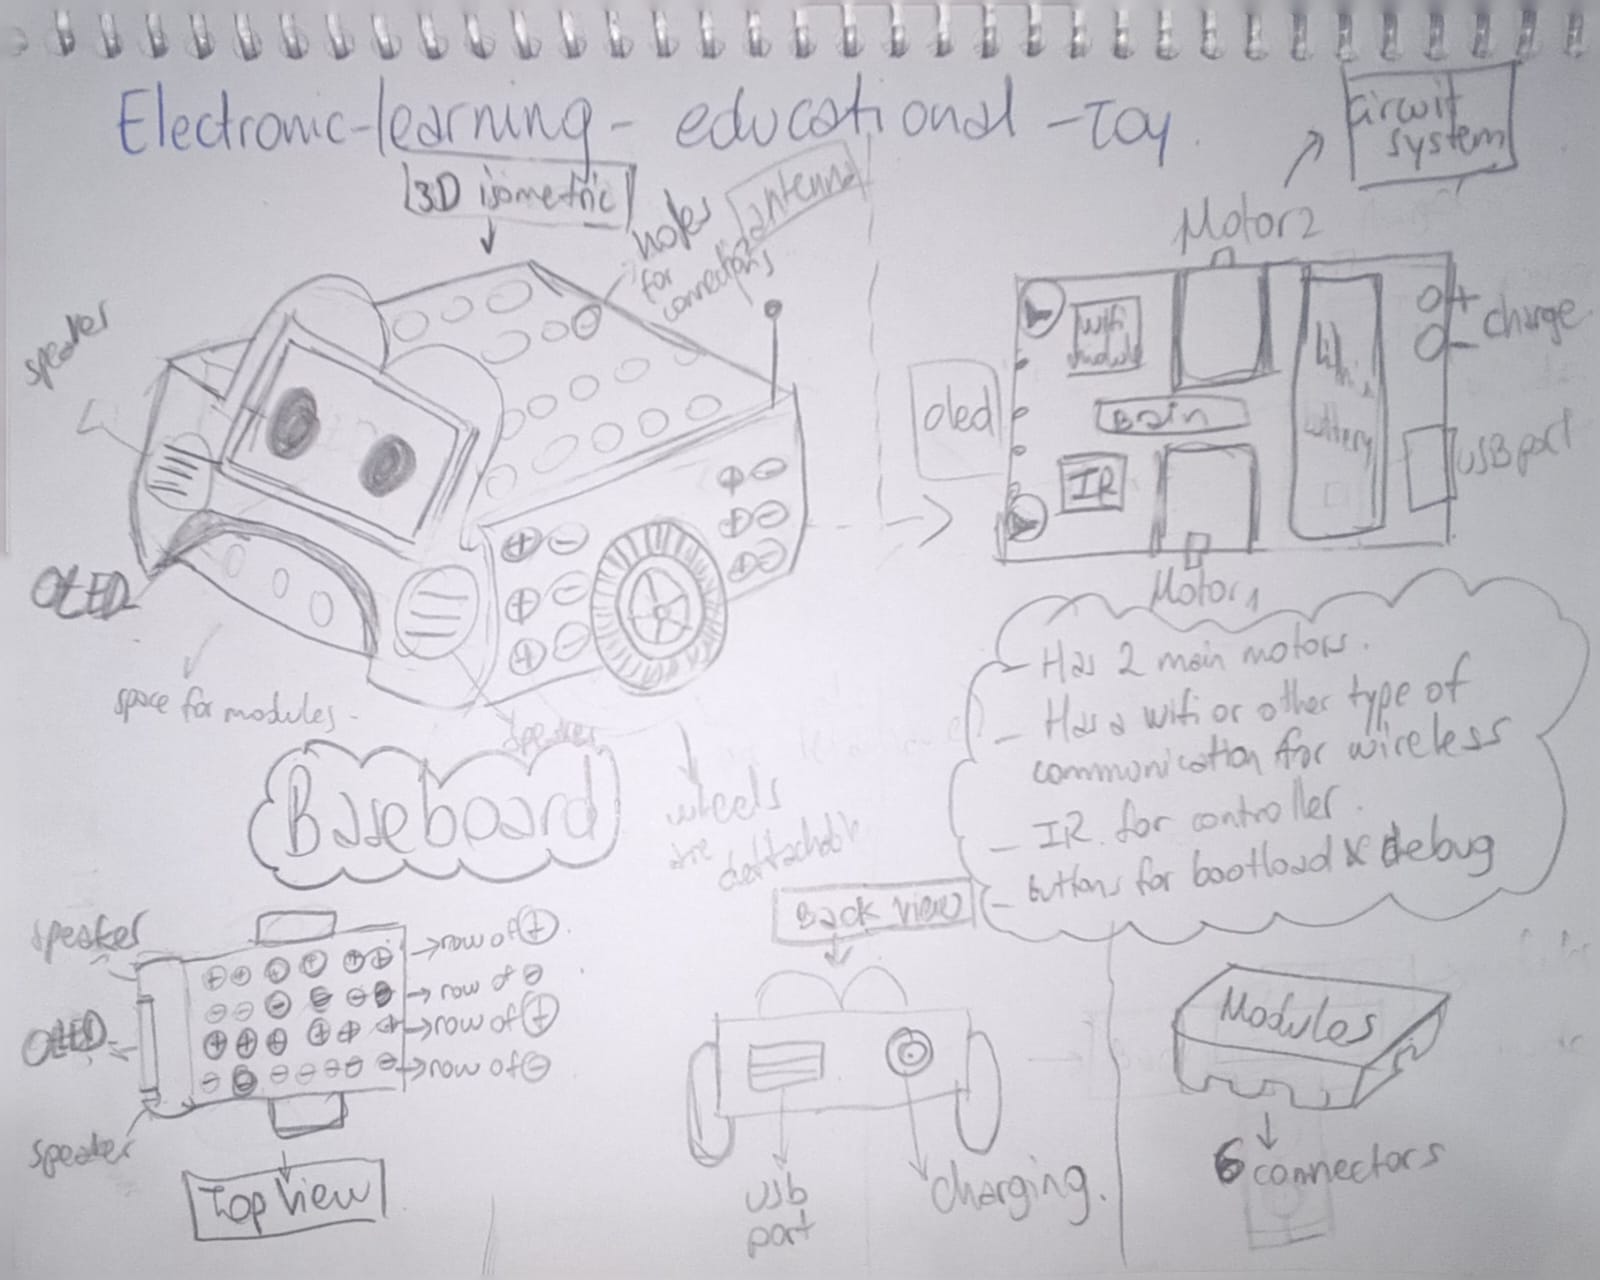
My idea is that it will make kids learn not about programming, but more about Electronics. This means that the heavy programming and everything that regards that part will be on my side, but that's okay. I am not the best programmer but I will try my best.
I also want it to be very cute because it's for little kids and little kids are very very hard to impress, they want things that look interesting, but at the same time I want it to be functional and sturdy. That is where 3D printing and cnc will come in very handy.
I will probably use a lot of the ideas already done in the iot bricks that I saw before but of course I will add many of these things onto it as well.
ChatGPT helps
When I finished with this sketch, my boyfriend had the idea of feeding it into ChatGPT v4 (he has the pro version 😋 lucky me), to see if we could have a realistic version or a more understandable one since my drawings are very bad lol. But here you can see the little conversation we had with it:

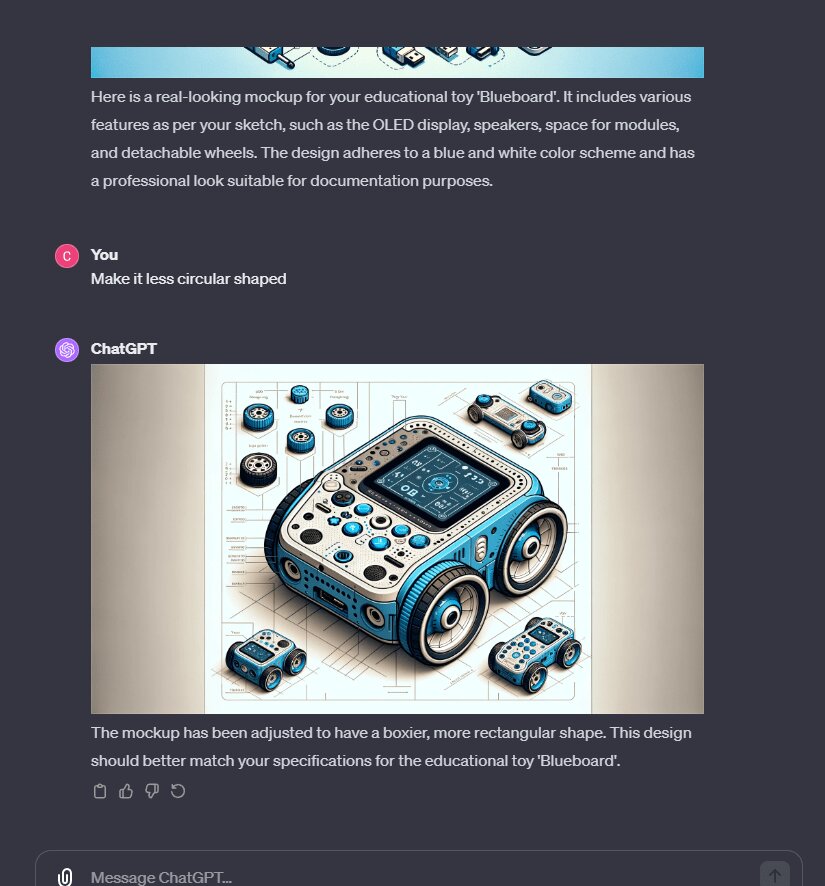
And that name, of "Blueboard" (which probably was just what it understood instead of Baseboard) resonated with me, so I kinda decided to name my project Bluebo Bot.
Last thing I did regarding it was asking for a model in “portrait” for my index page, and here it is:

I still need to think a lot about the architecture of the whole thing, but I'm certainly excited to start!