Wildcard Week
Design and produce something with a digital process not covered in another assignment, documenting the requirements that your assignment meets, and including everything necessary to reproduce it. Possibilities include but are not limited towildcard week examples.
Navigation
-
Testing AI and failing
-
Trying a new approach
-
Making a test run of a “stitch” garment
-
Making my own design
-
Final result
-
Testing something different
-
How to create a thermoforming DIY tool
-
Testing some thermoforming
Testing AI and failing
So for this week my first choice was to try to make something with AI. I did a lot of research and started to test it. I found out about this thing called “Edge Impulse” that allows you to create little machine learning algorithms to put inside embedded devices. I found a video and many hacksterio articles that helped me understand a bit how the whole thing works.
Well, I installed a VM and linux and everything to start testing this, I learned how to build and upload c++ programs to the raspberry, and then wanted to try the example with an accelerometer, but sadly nothing seemed to go like I needed it to. I kinda gave up on it because of time constraints and went on a different route.
Trying a new approach
One of the teachers in the Lab already did the Academy a few years back, and she pointed to me about this technique of making garments using the laser to cut patters and also by not sewing, but actually making the fasteners as well. I found it interesting and wanted to test it out.
She sent me her work that she did for her Final Project, which is like a coverlet to put on top of her machine.
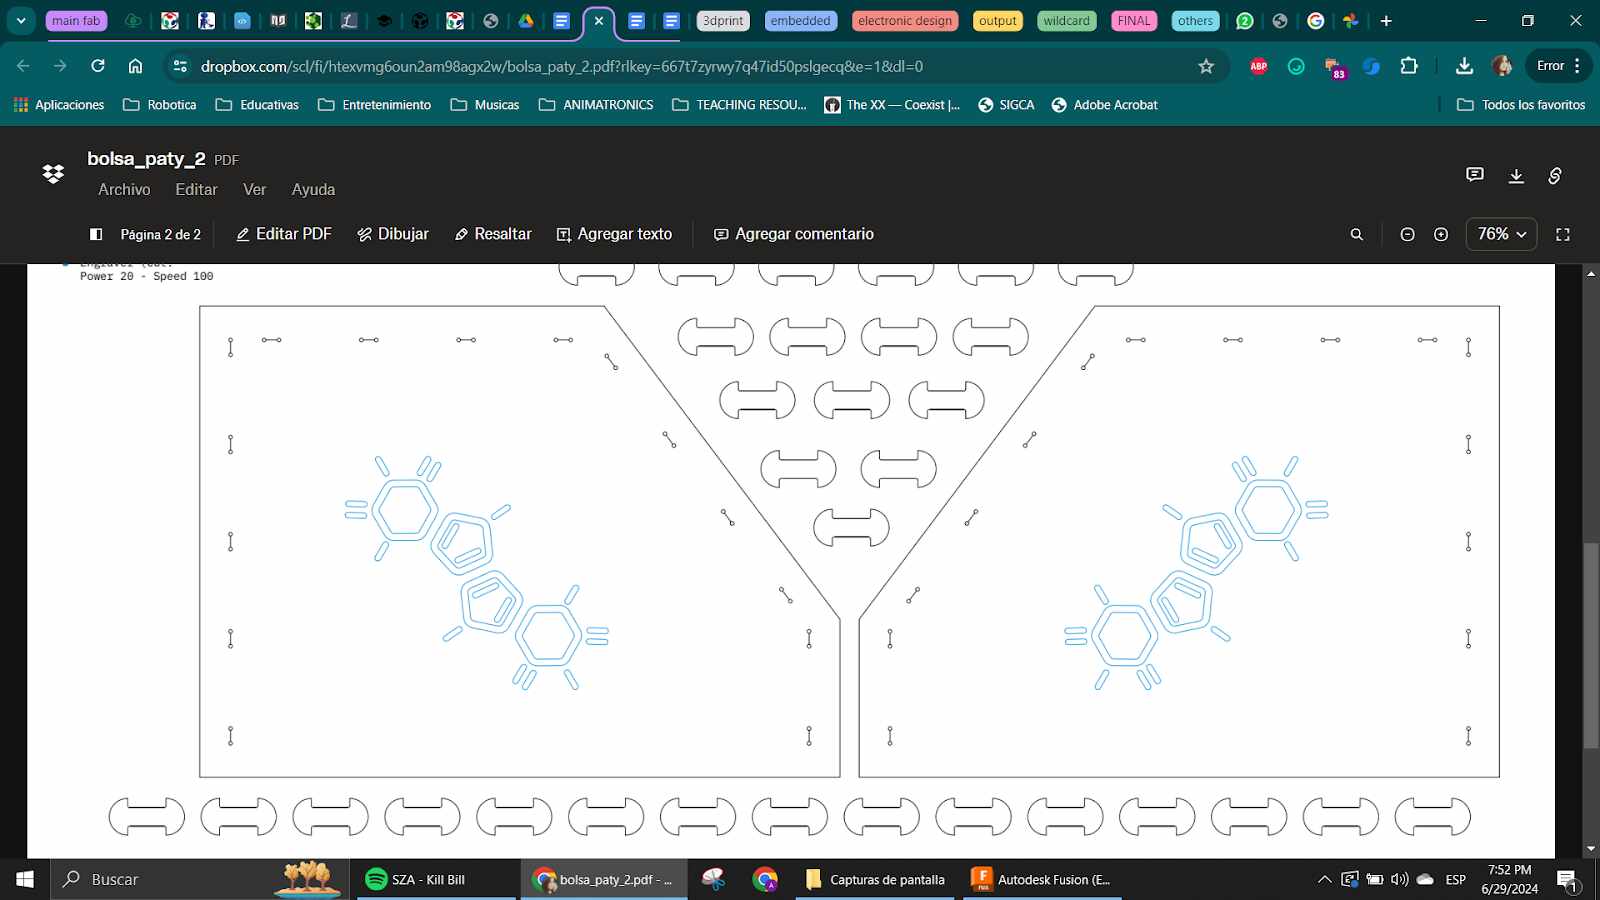
I wanted to test it out so here goes that.
Making a test
She sent me thefile she madeso I downloaded it and checked it out.
The second page was the coverlet, so I opened it in Inkscape to have it saved as a dxf.
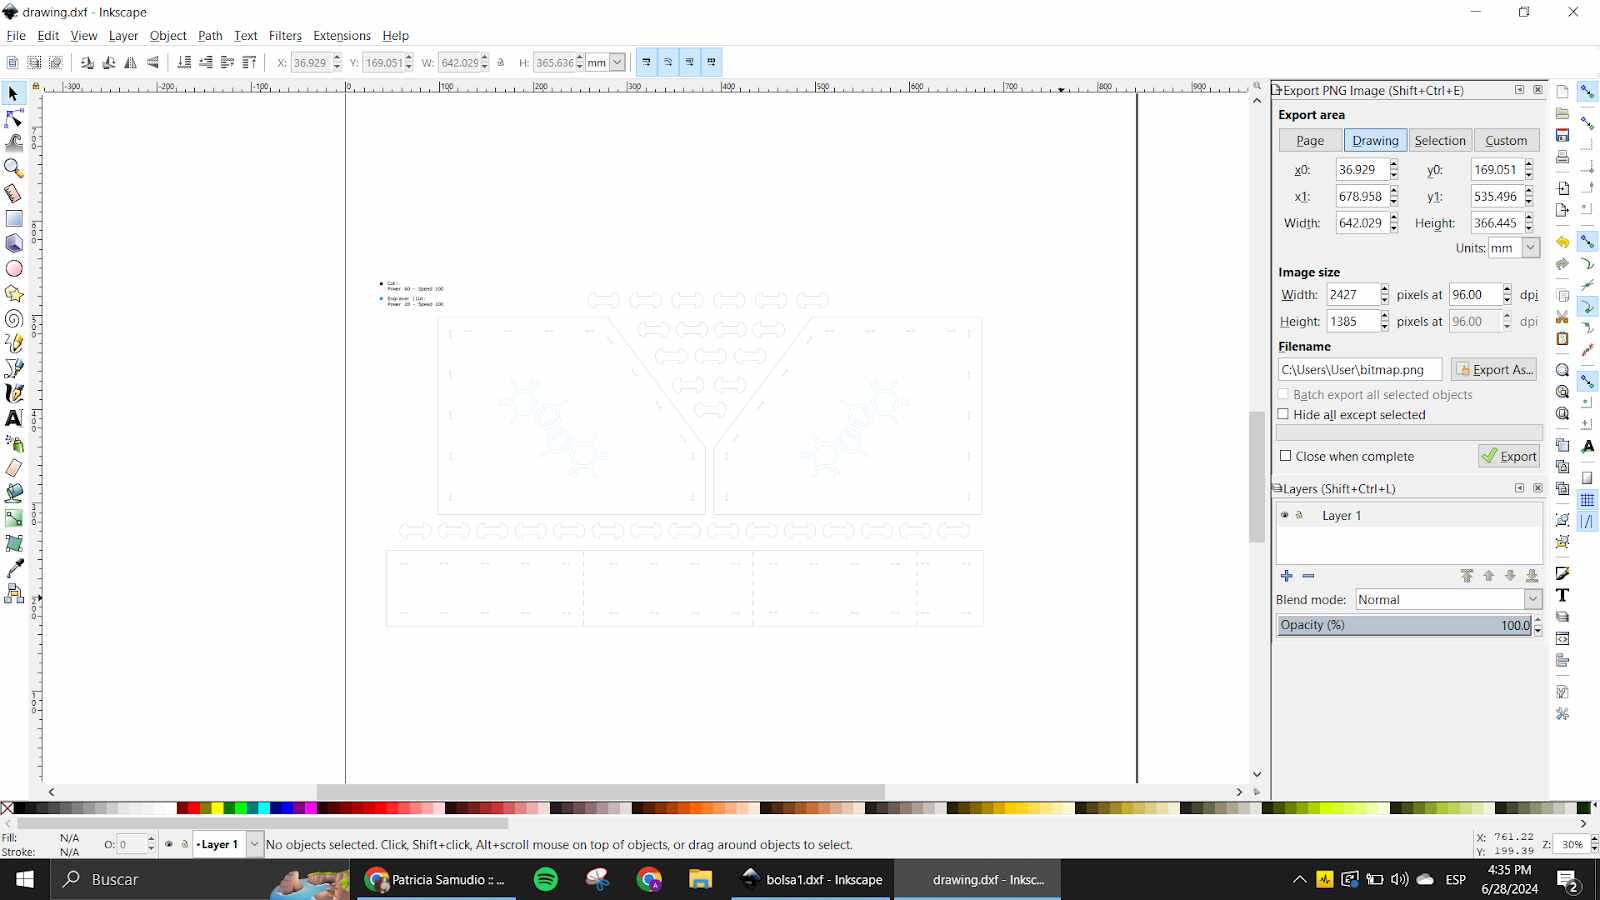 With that I
went to the laser and put the speed in 100 and the power in 60 and
used this fabric that was already in the lab, its kind of like fleece
very thick.
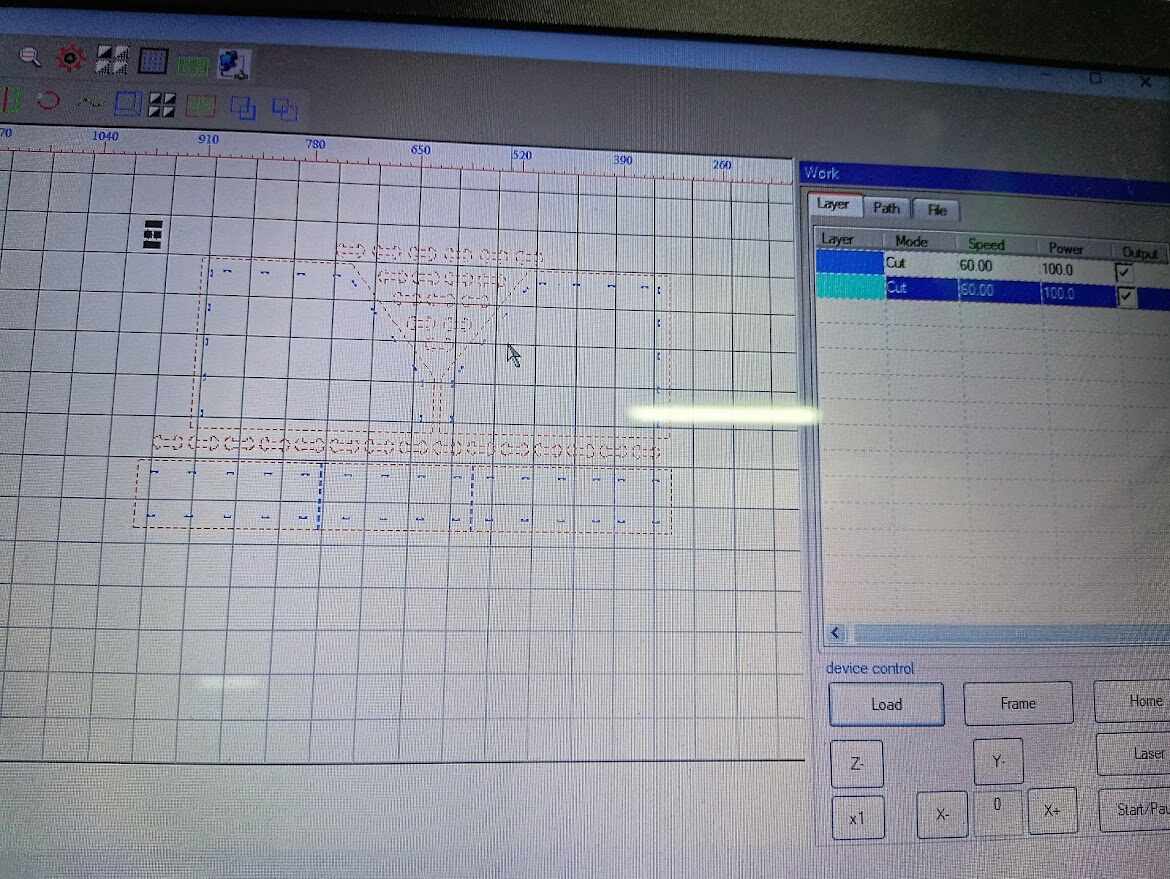
I tried to grab the thing and attach it to a panel to make it flat using some masking tape.

After making that part, I prepared the laser and did the cut.
When that finished I grabbed all of the parts that came from it.
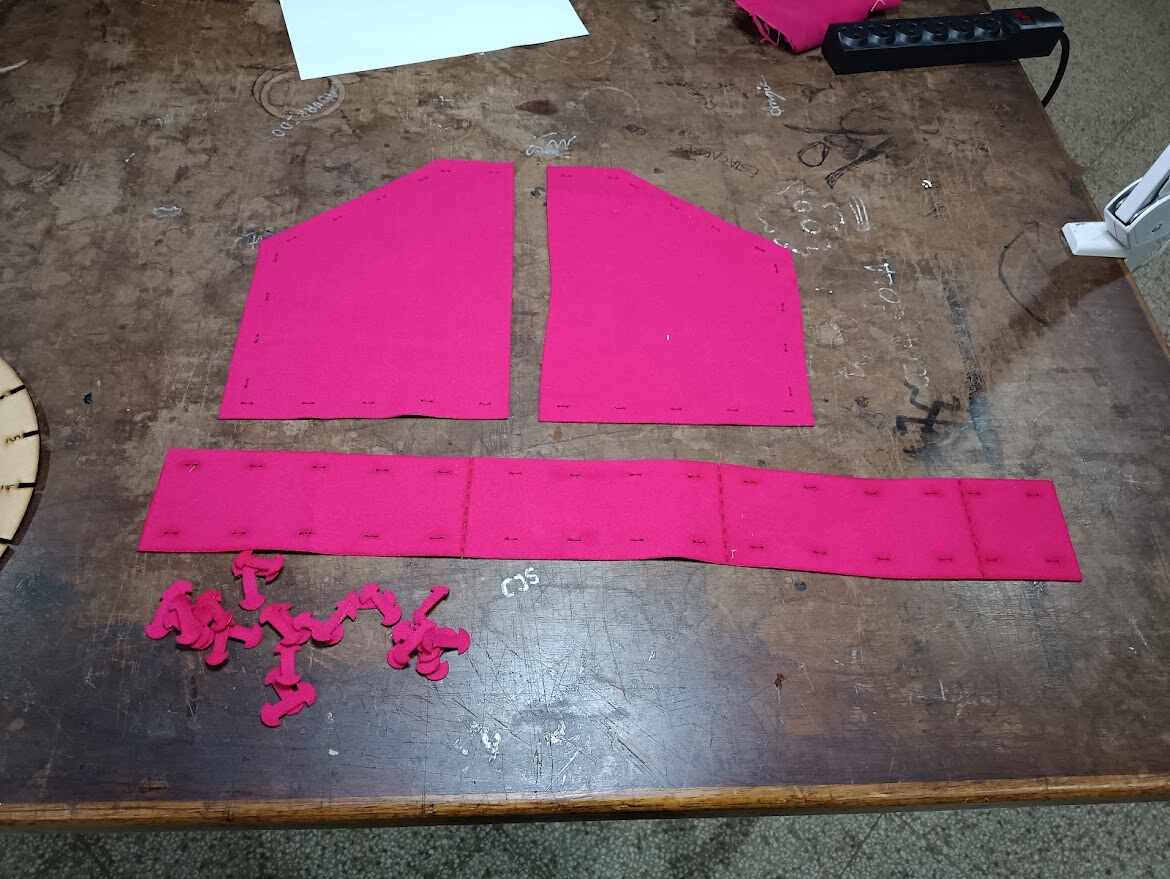


Here it is how it looks:


I actually really enjoyed this process and wanted to see if I could make some kind of tote bag for my project.
Making my own design
So here is where I measured my design and came up with some type of bag following the ideas that the sides need to be stitched together with this little thingies that look like ribbons.
I used Fusion to create my design and honestly I thought it will be a smooth and easy process, but I went through 3 iterations before actually landed in one that could be assembled.

The first one had the little holes on the side of the stitches too big.

I went back to change my design and tried it again, but I realized that the stitch itself was too big for the ribbon. I made it 1cm big, but my ribbons where only 1.5cm wide, so they came out easily.
I then made them only 5mm and had to change the placement a bit. I only redid the panels since the ribbons were ok.
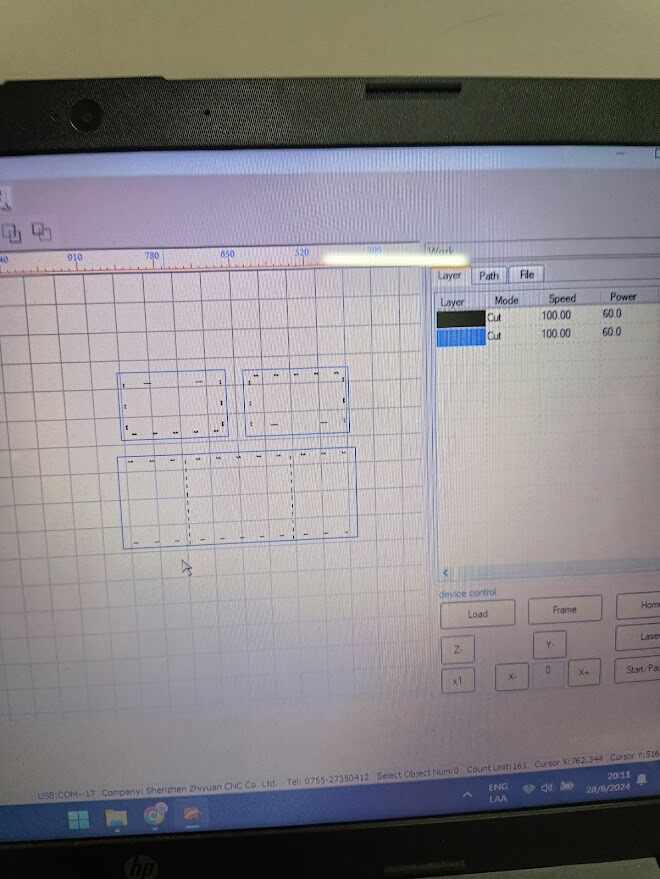
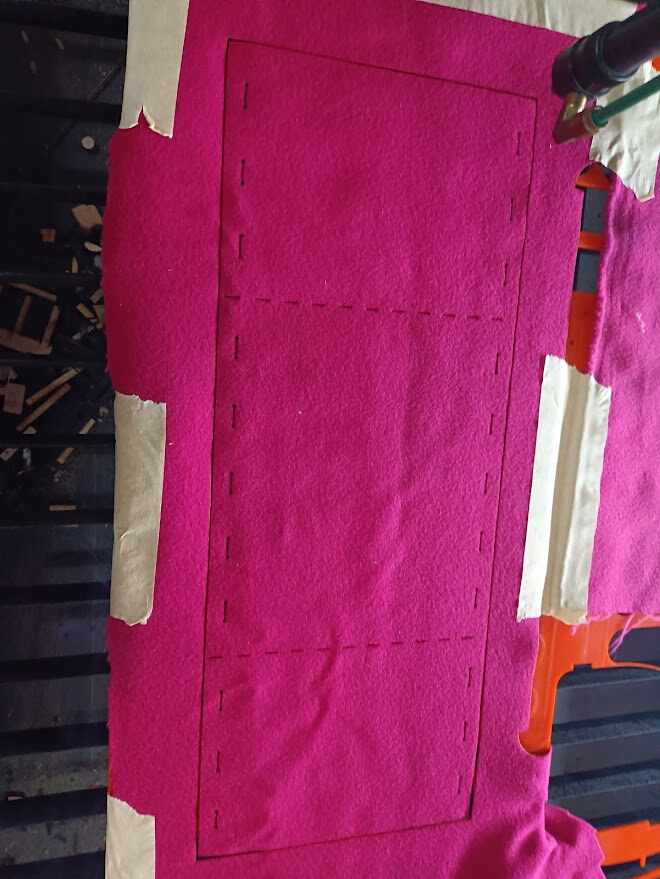
That last one worked so I took the parts home to build it.

Final Result

Testing something different
Now, only doing something with the laser cutter is not a very wild card for me, so I began to think about new approaches to make this assignment more interesting. I didn't really have that much time, that is why I needed to create something easy and fast.
Recently there has been a new acquirement in the lab, a new vacuum. Pretty industrial and all.
So I started to look into some ideas about vacuum thermoforming. I know there is a special machine for it usually in some labs, but here we don't have it yet, but that doesn't mean we can't try and do something similar.
That is why I wanted to test the idea of making a tool that will help me use some appliances that are very standard in a lab (even a house to be honest), and see if I could achieve something similar to what you get with the thermoformers that are more specialized.
How to create a thermoforming DIY tool
So I started to see examples as how do people usually do these, cause I know is not a very strange concept to test. I saw things likethis, that is basically a little box with a top part that has a matrix of holes where the elements are put in, and a separate frame, where you put the material you want to use to make the process, like PVS, Acrylic or PET and etc.
I saw most of the videos and so that they used conventional woodworking tools to create this boxes, but in my case of course I made use of something easy and fast.
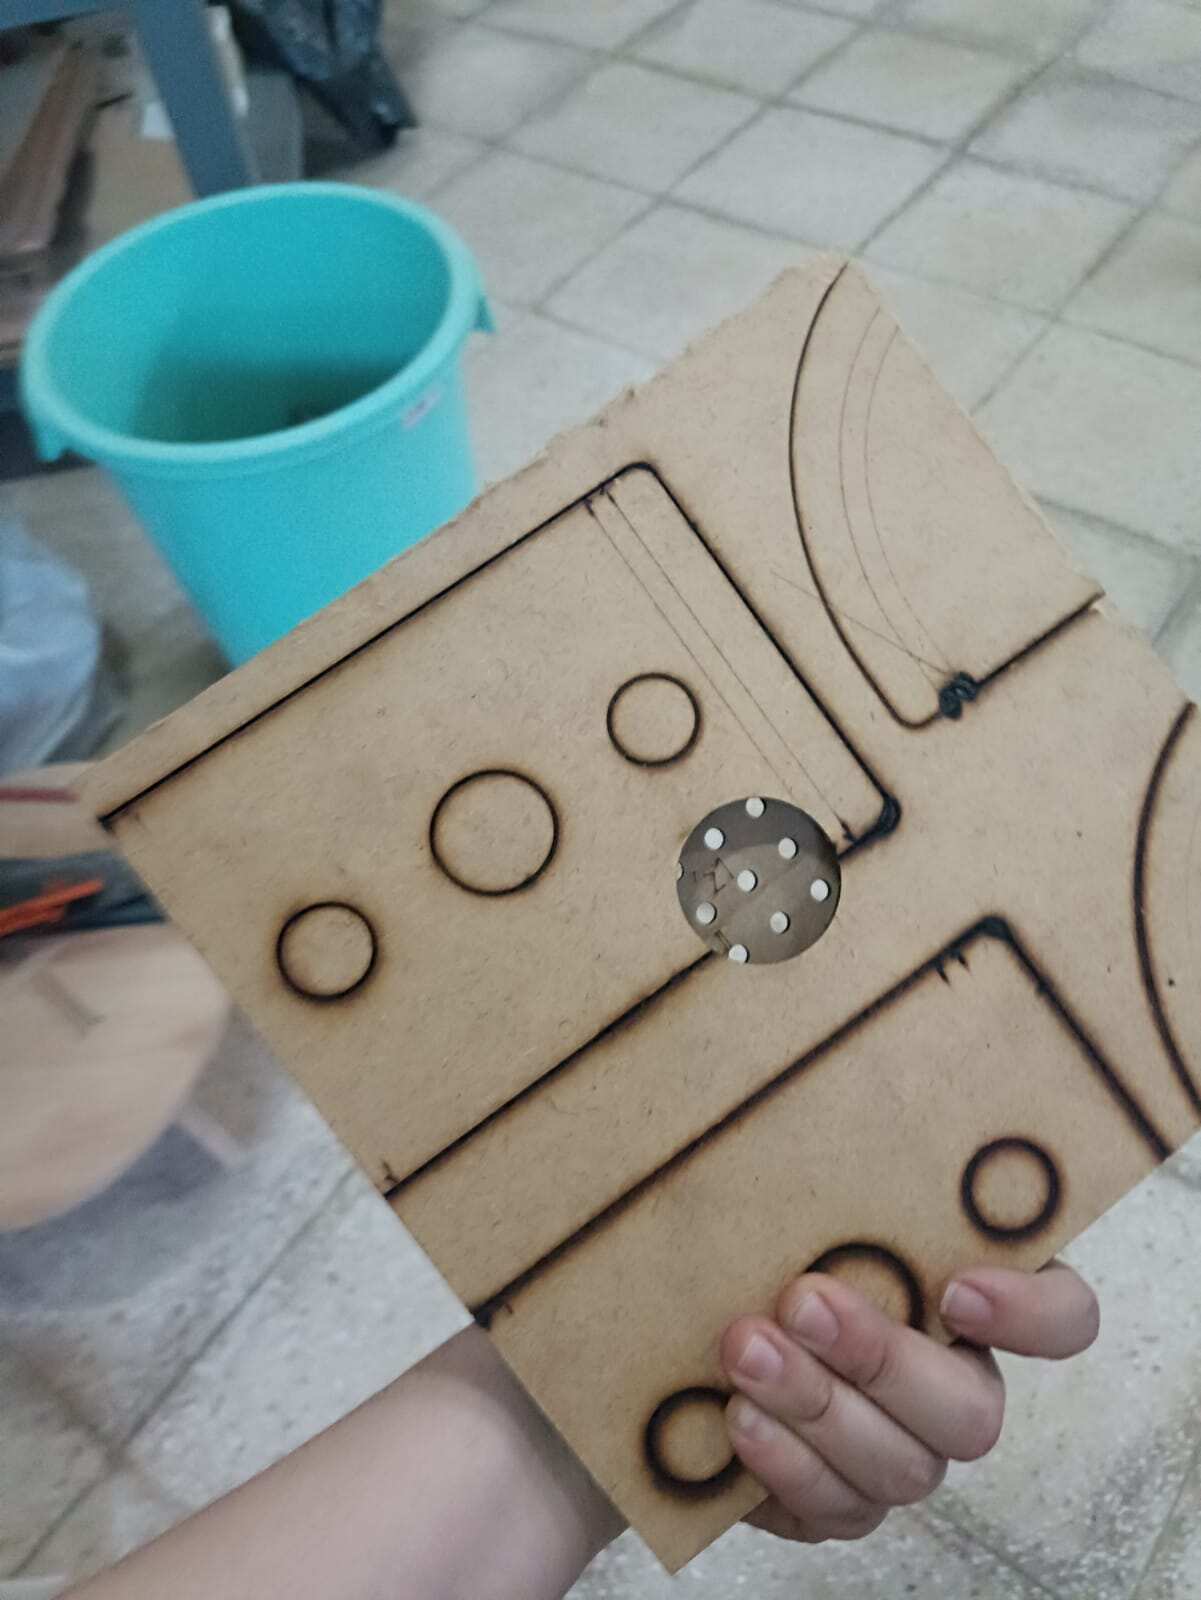
We had a lot of MDF in the lab still so I decided to go with an approach with the laser cutter (lol again I know but this is to make use of another technique). So I went in Fusion and created a little box that was to be stacked. The bottom had a hole in the middle for the hose of the vacuum, then we had 3 frames and the top was the matrix of holes.
I also designed 2 extra frames, that were bigger than the box to be the ones that allowed me to grab the material and make the magic happen.
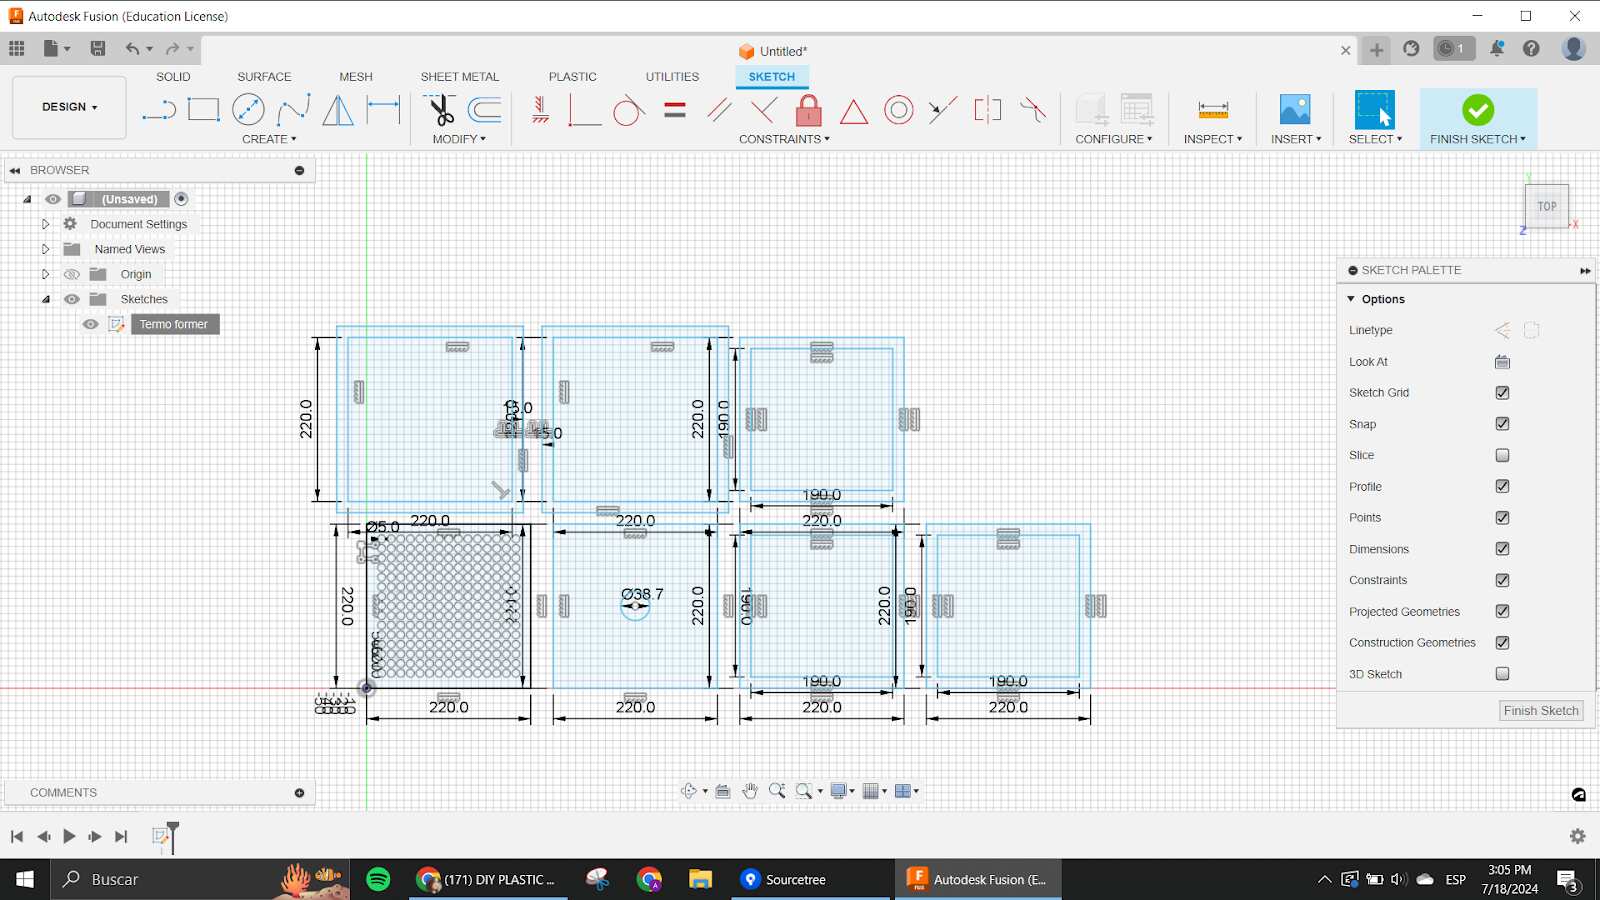
Here is the design in fusion. I made it so the frame could fit on top of the little stove that we have in the lab.
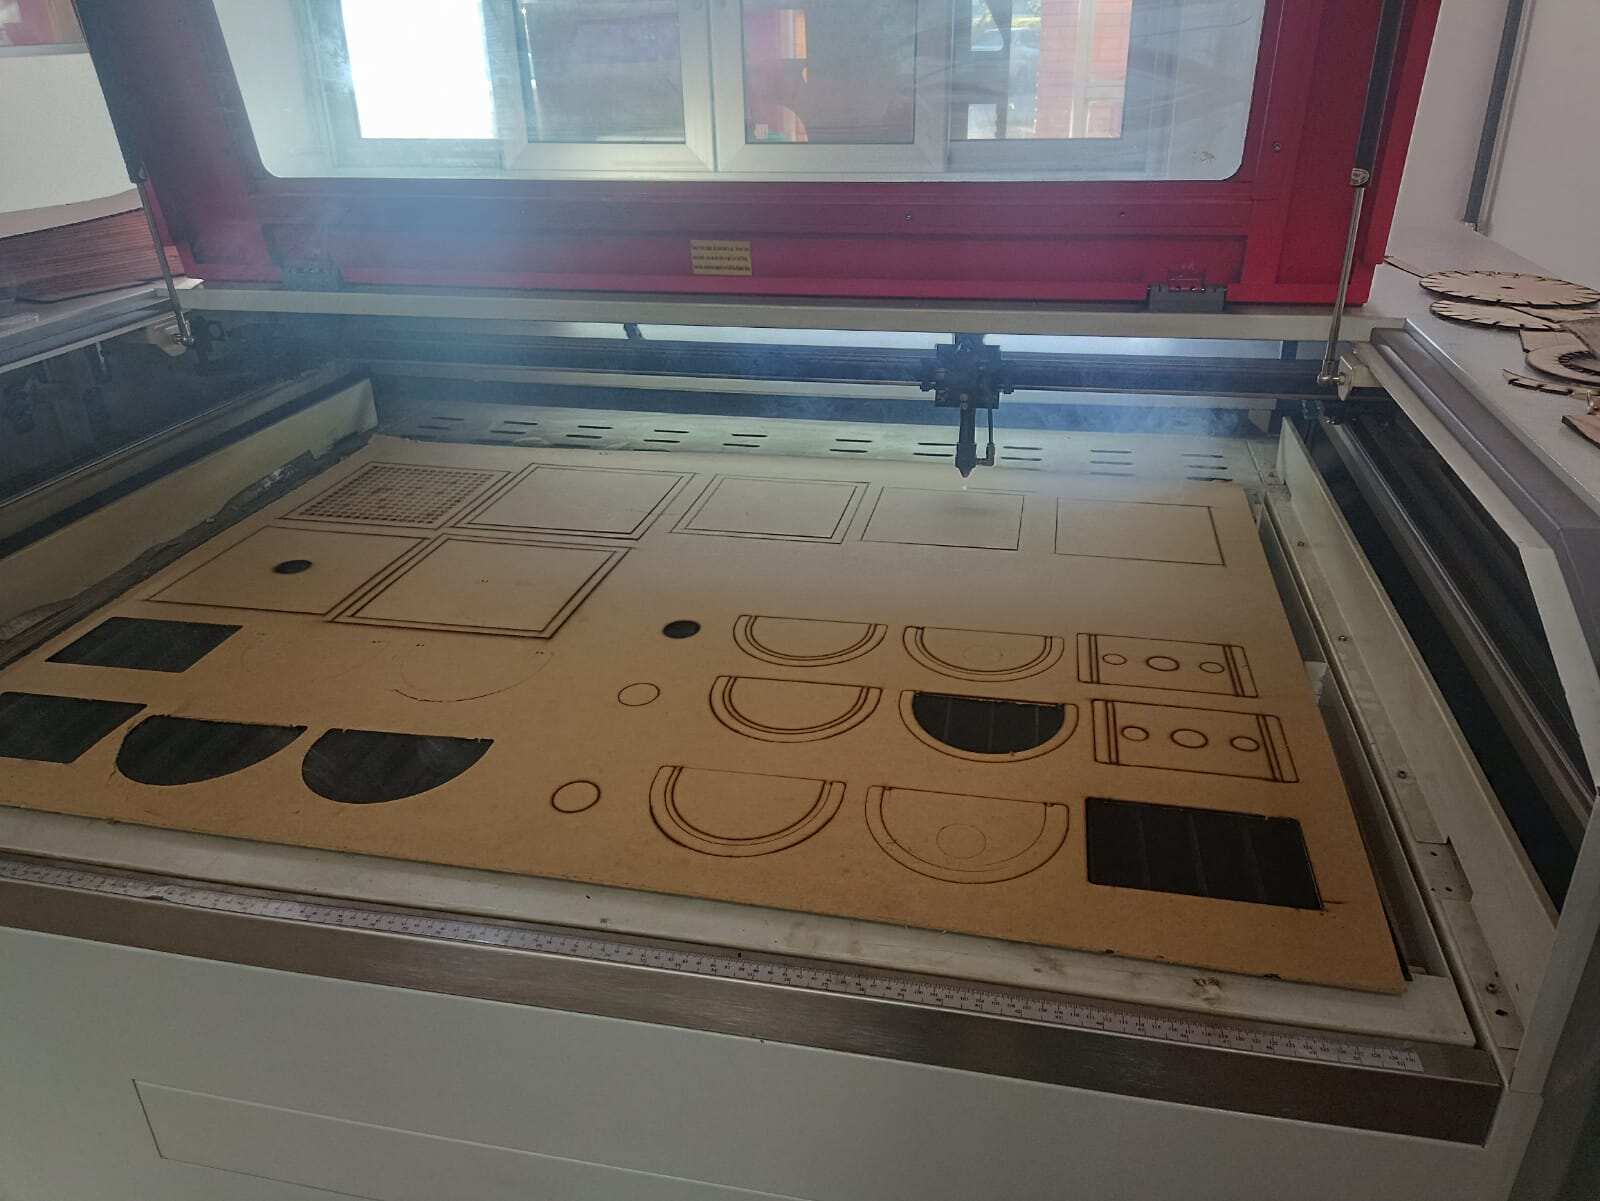
Here you can see the whole thing being cut, a side note, for the square that had all the little holes I had to go over it like 3 times so the holes were actually cut. Even tho the speed and power where in 10 and 100 respectively, I guess the MDF was bending a bit too much on that place.
When It finished cutting I glued all the parts together.
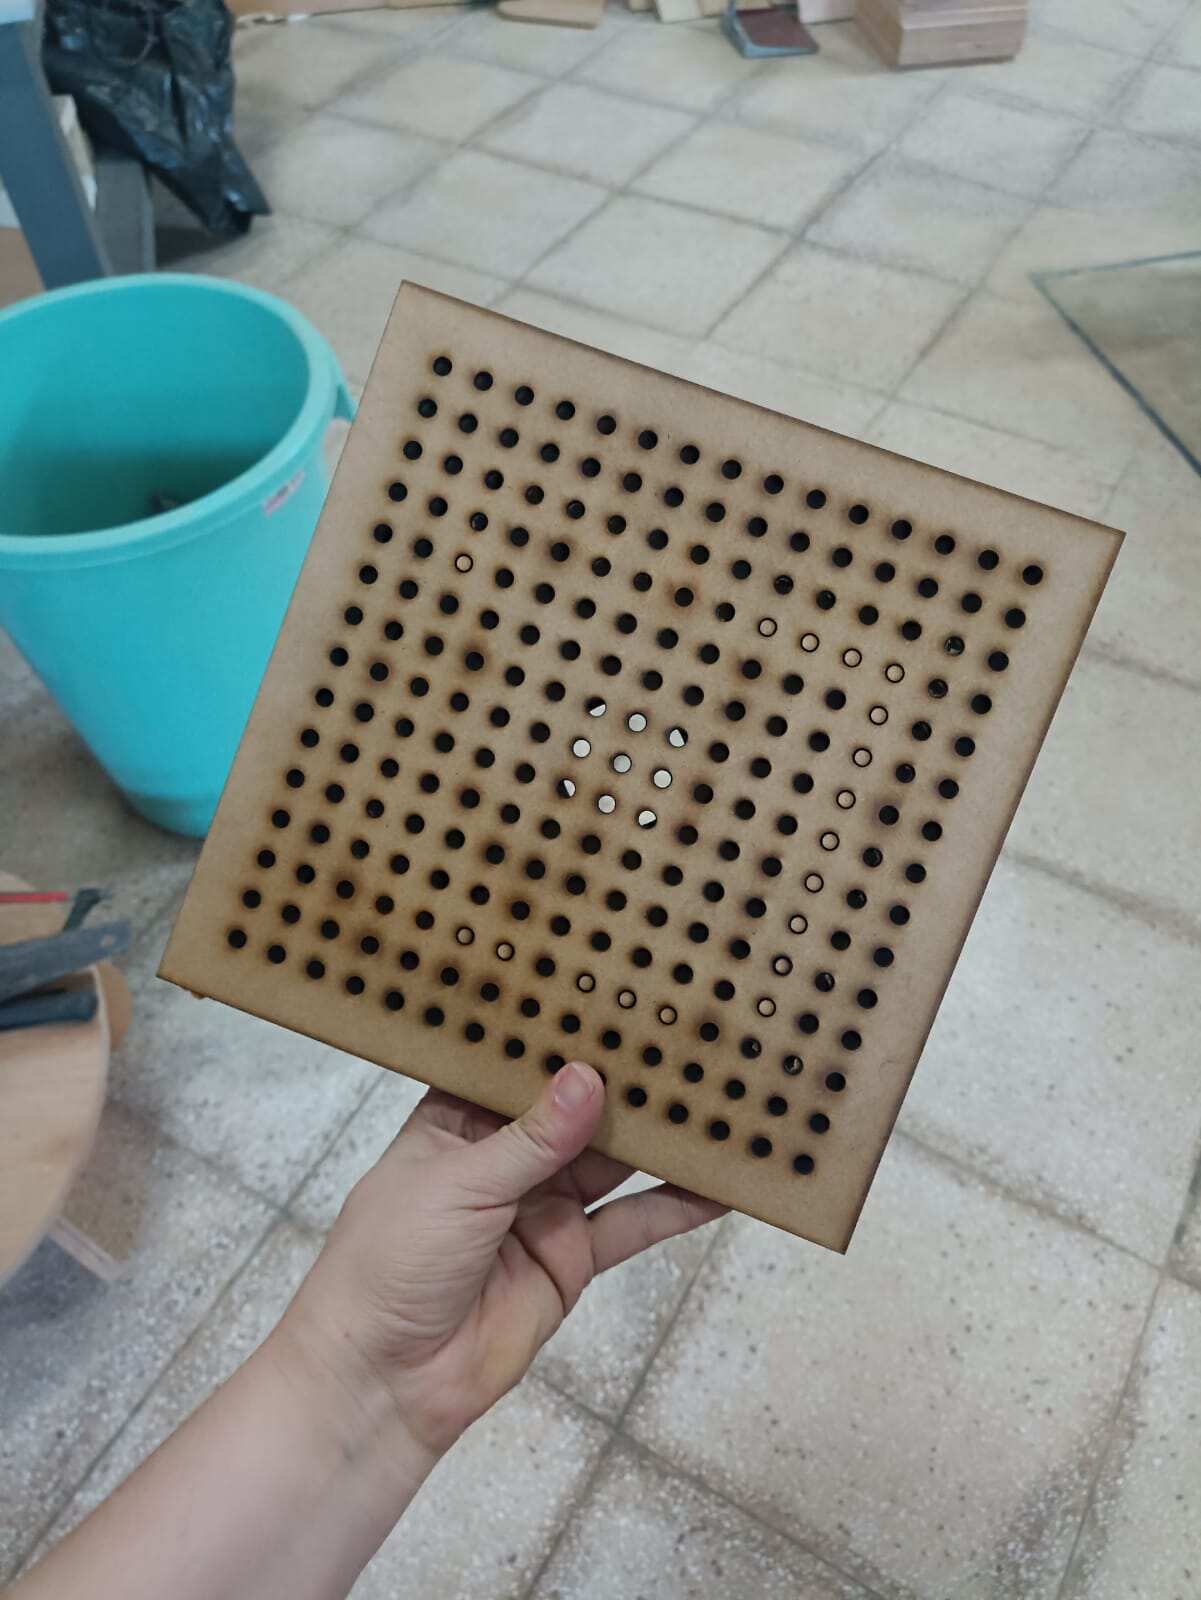
And there you go, that is the tool. Now I had to figure out how to make the thermoforming happen with the stove and the vacuum.
Testing some thermoforming
This is where I started to prepare my frame to have it ready for the process. I went with a little piece of PET that I cut from a roll that we had in the lab and clamped it inside the 2 frames that I created for it.
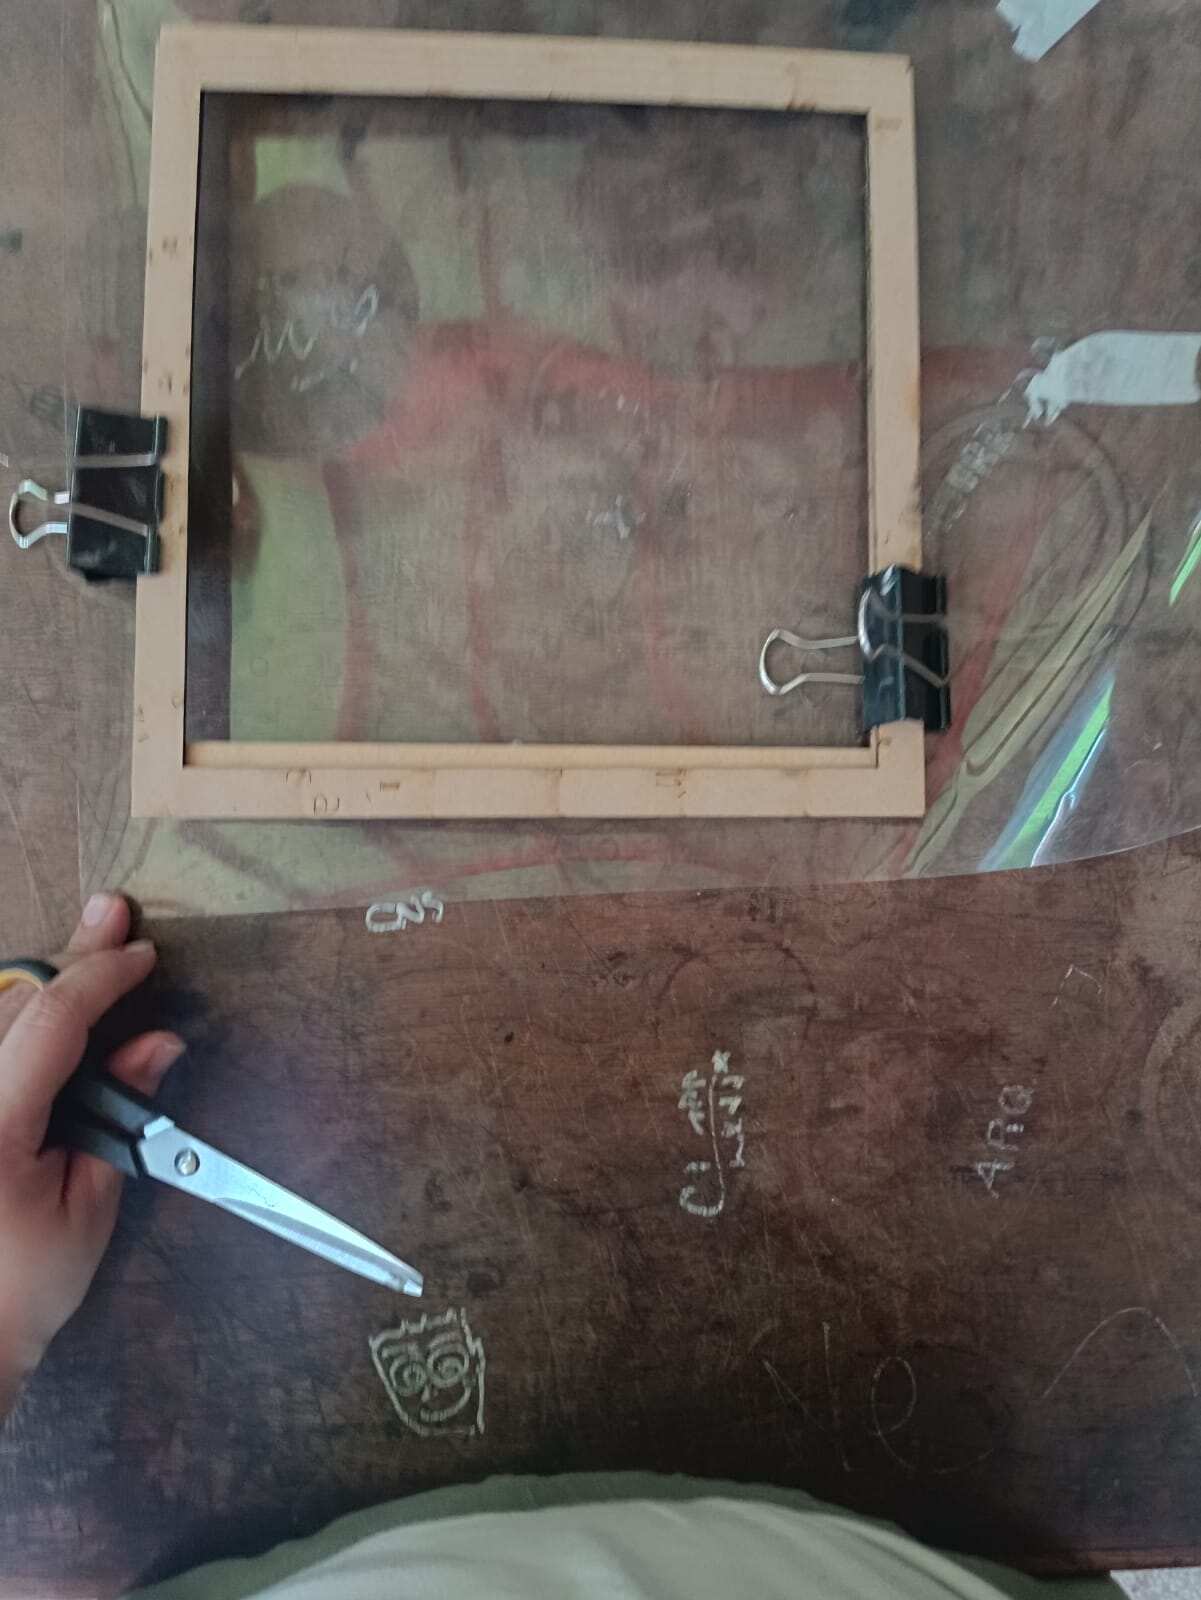
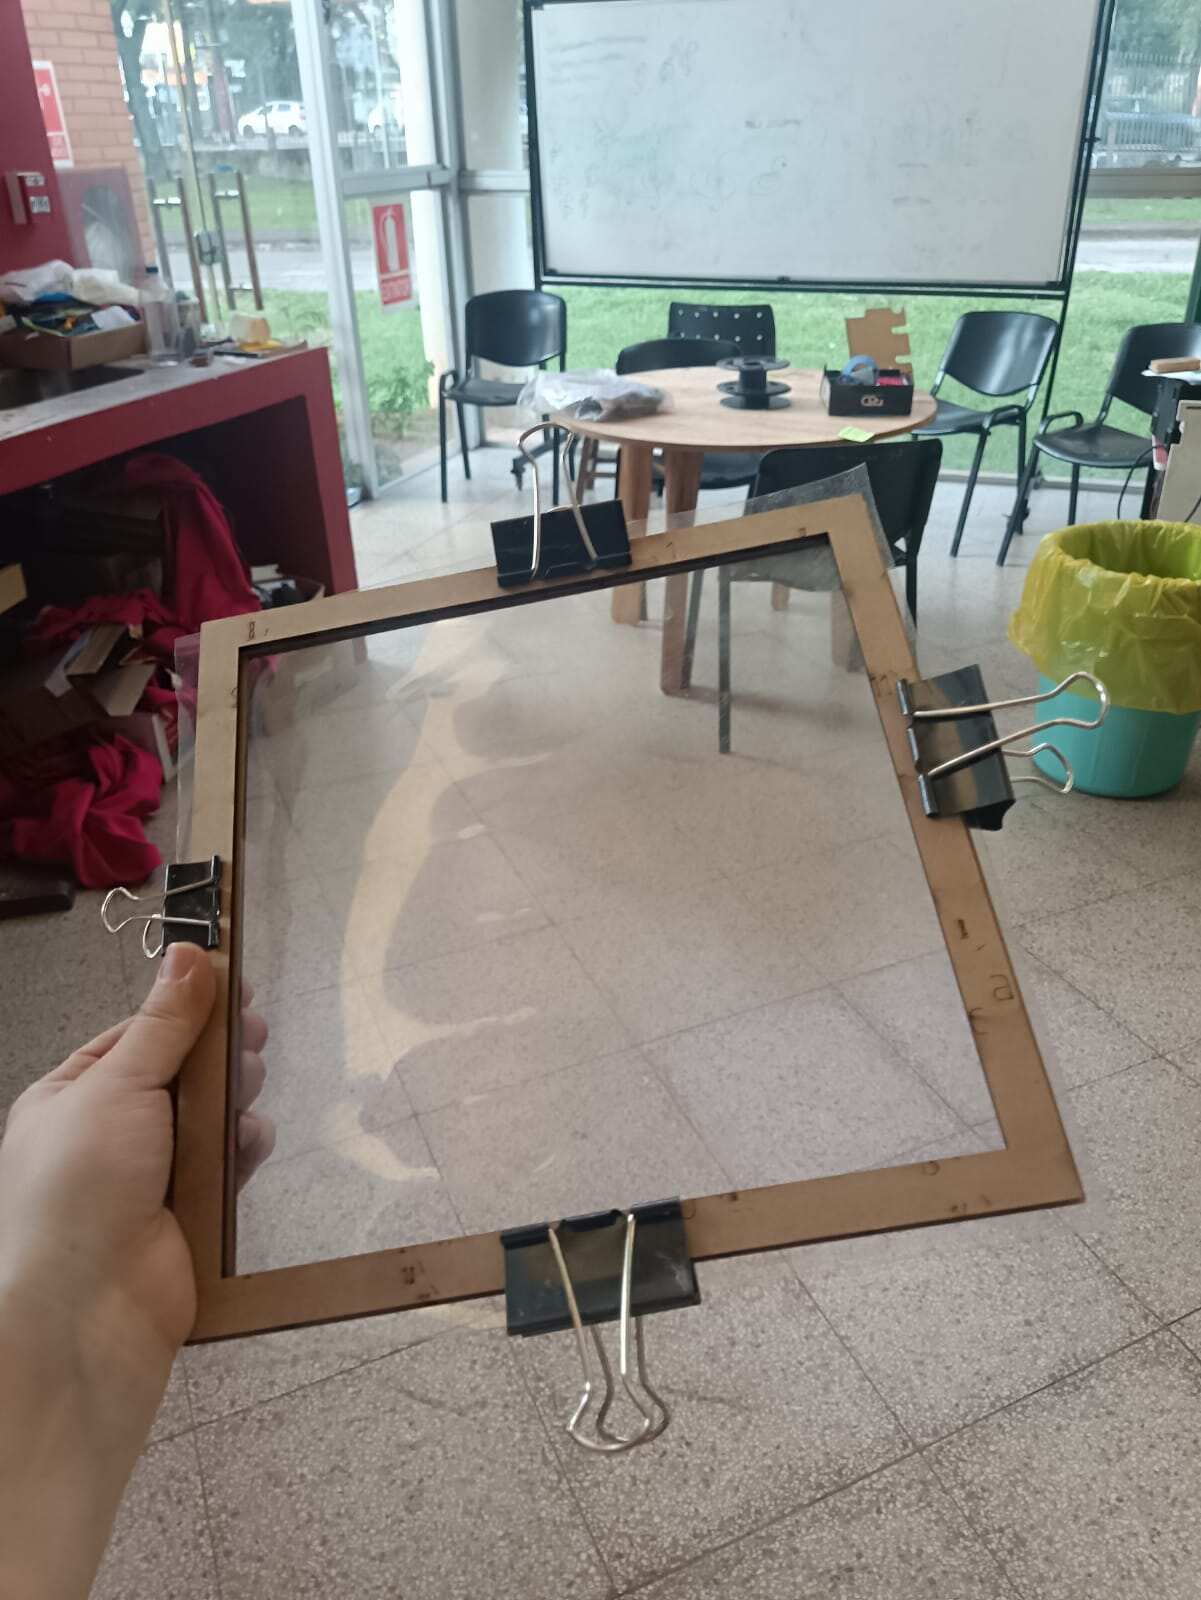
Then I went and prepared a space where to put the tool. The hose needed to go in the bottom of the tool so I needed some kind of place that allowed the hose to go under. The solution I came up with was to put 2 chairs near enough and the tool on top of it.
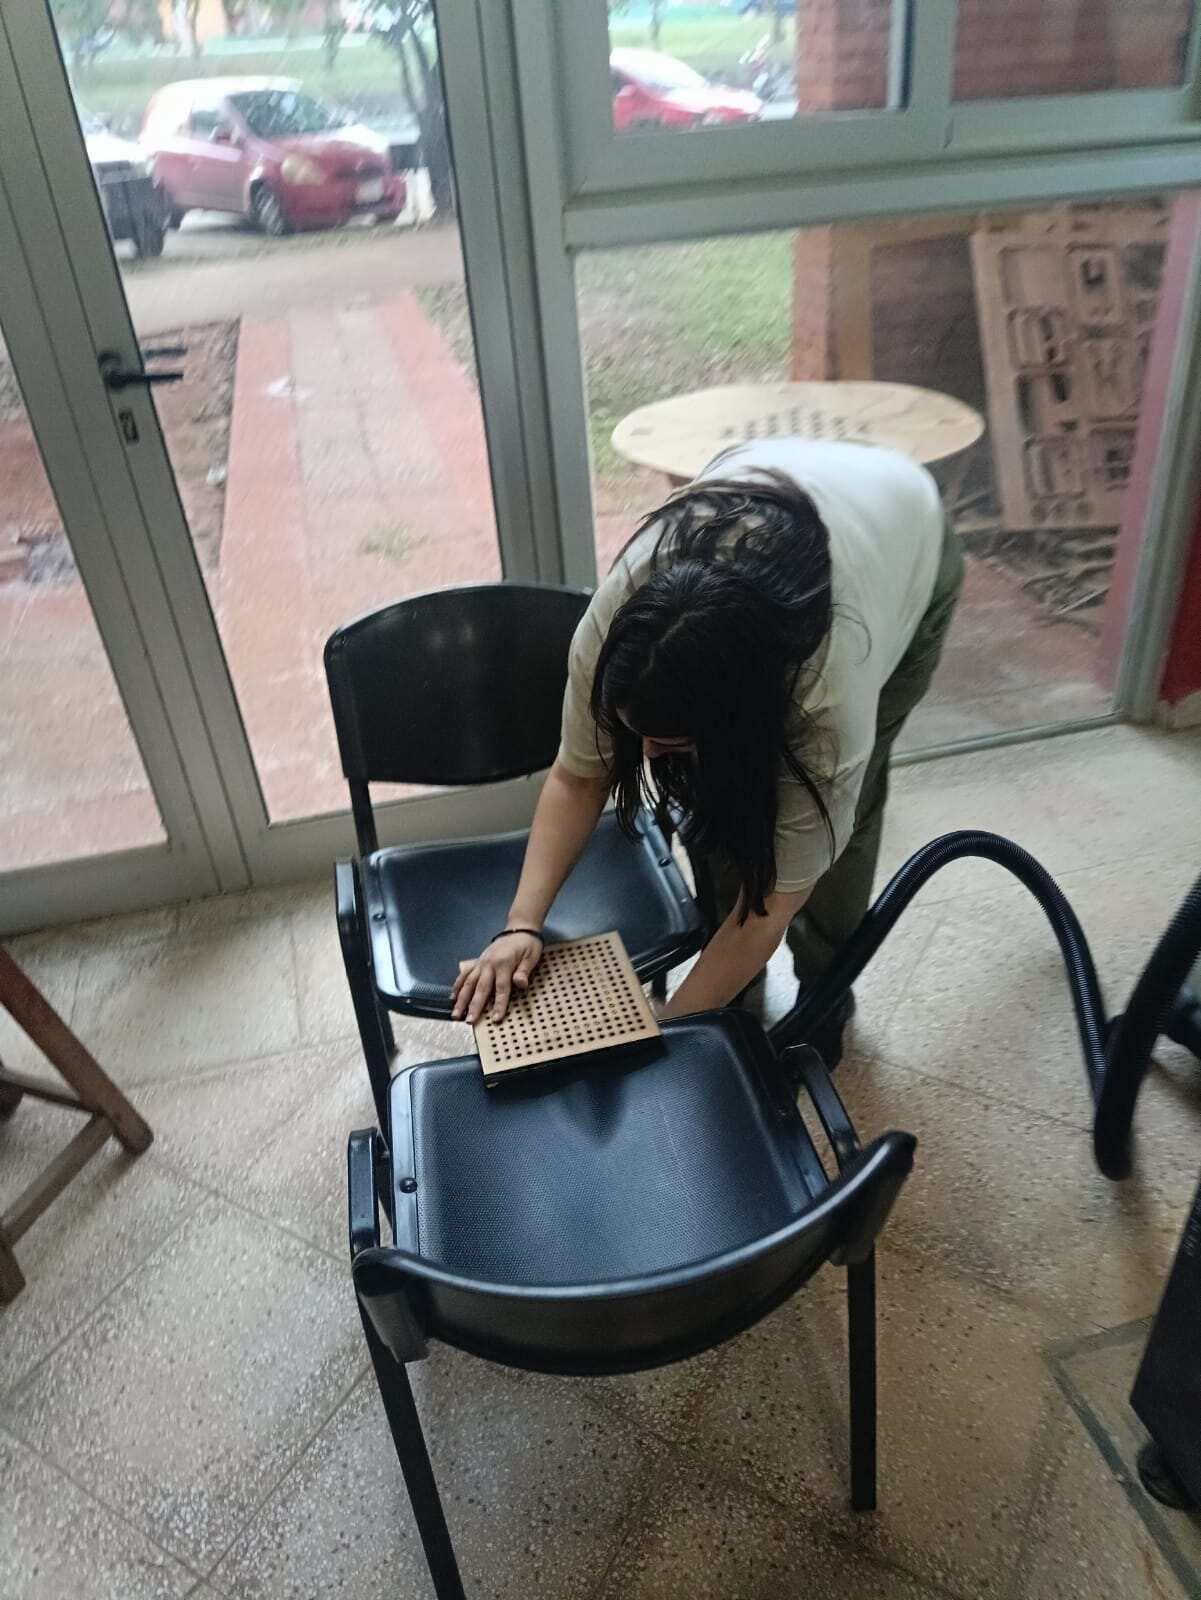
With that ready, the stove needed to be turned on and used to heat the plastic.
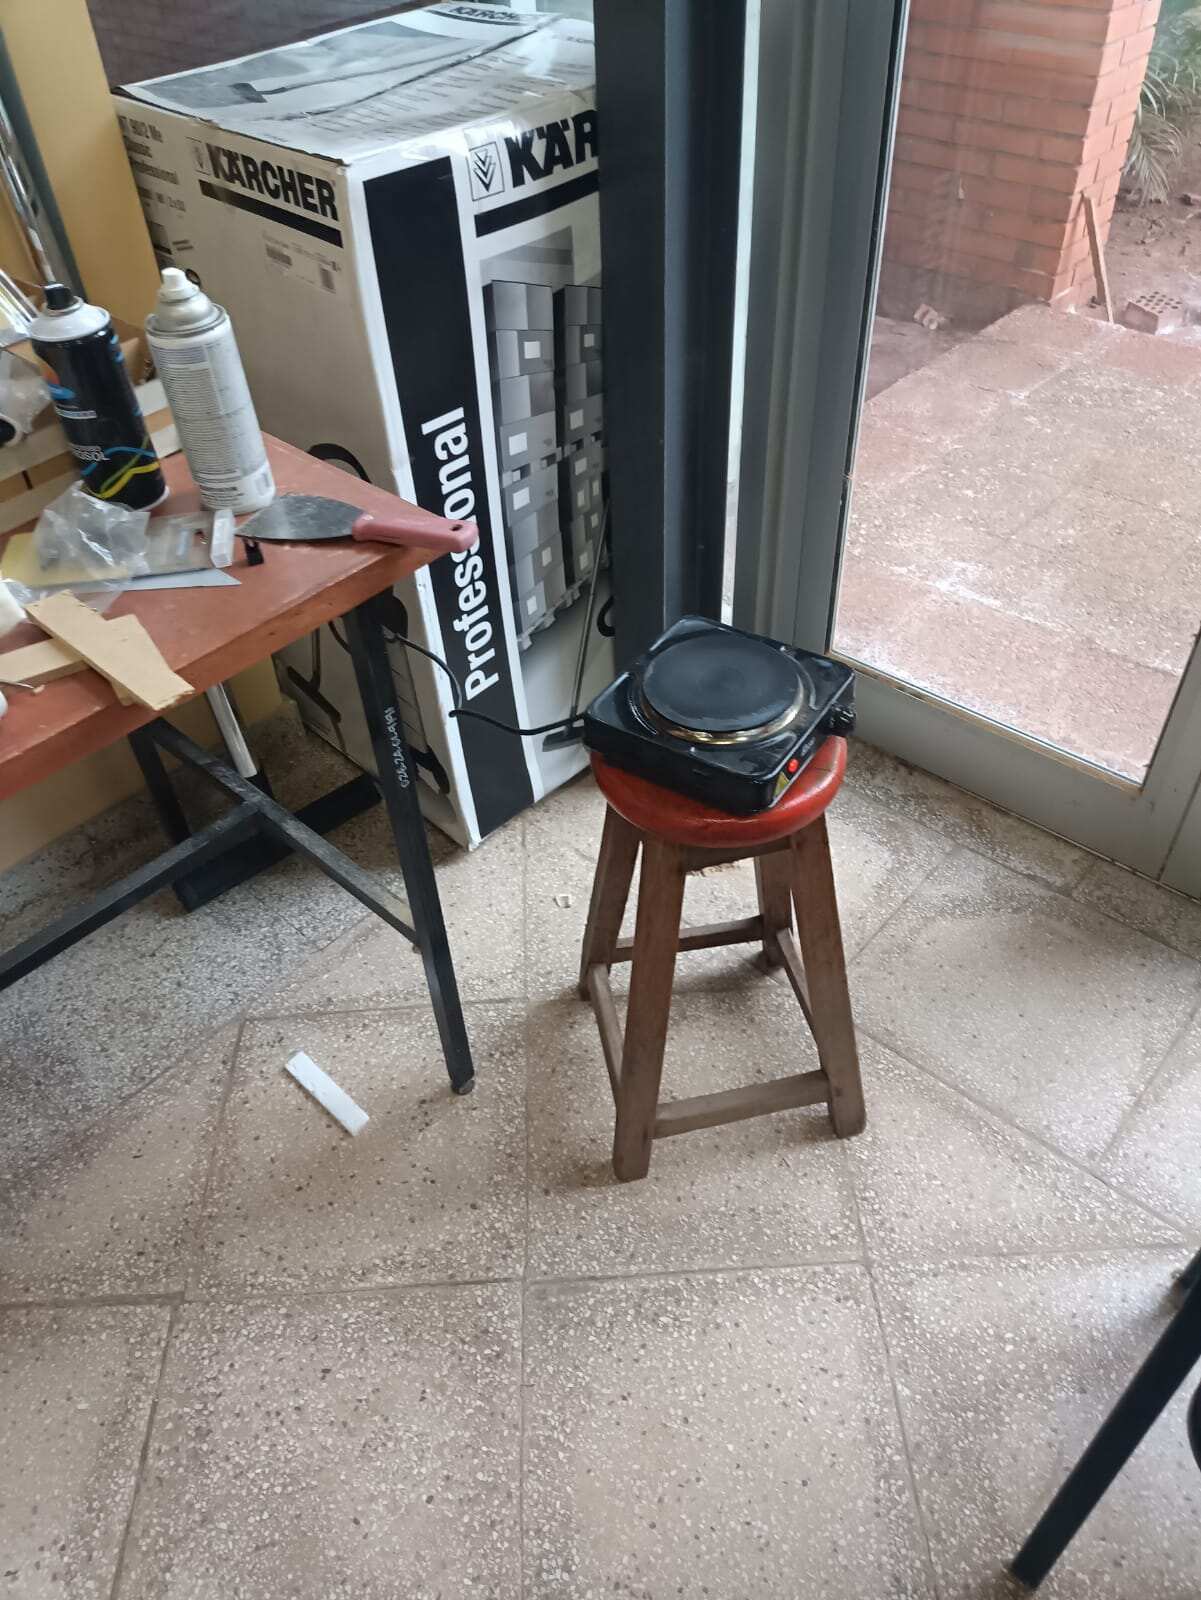
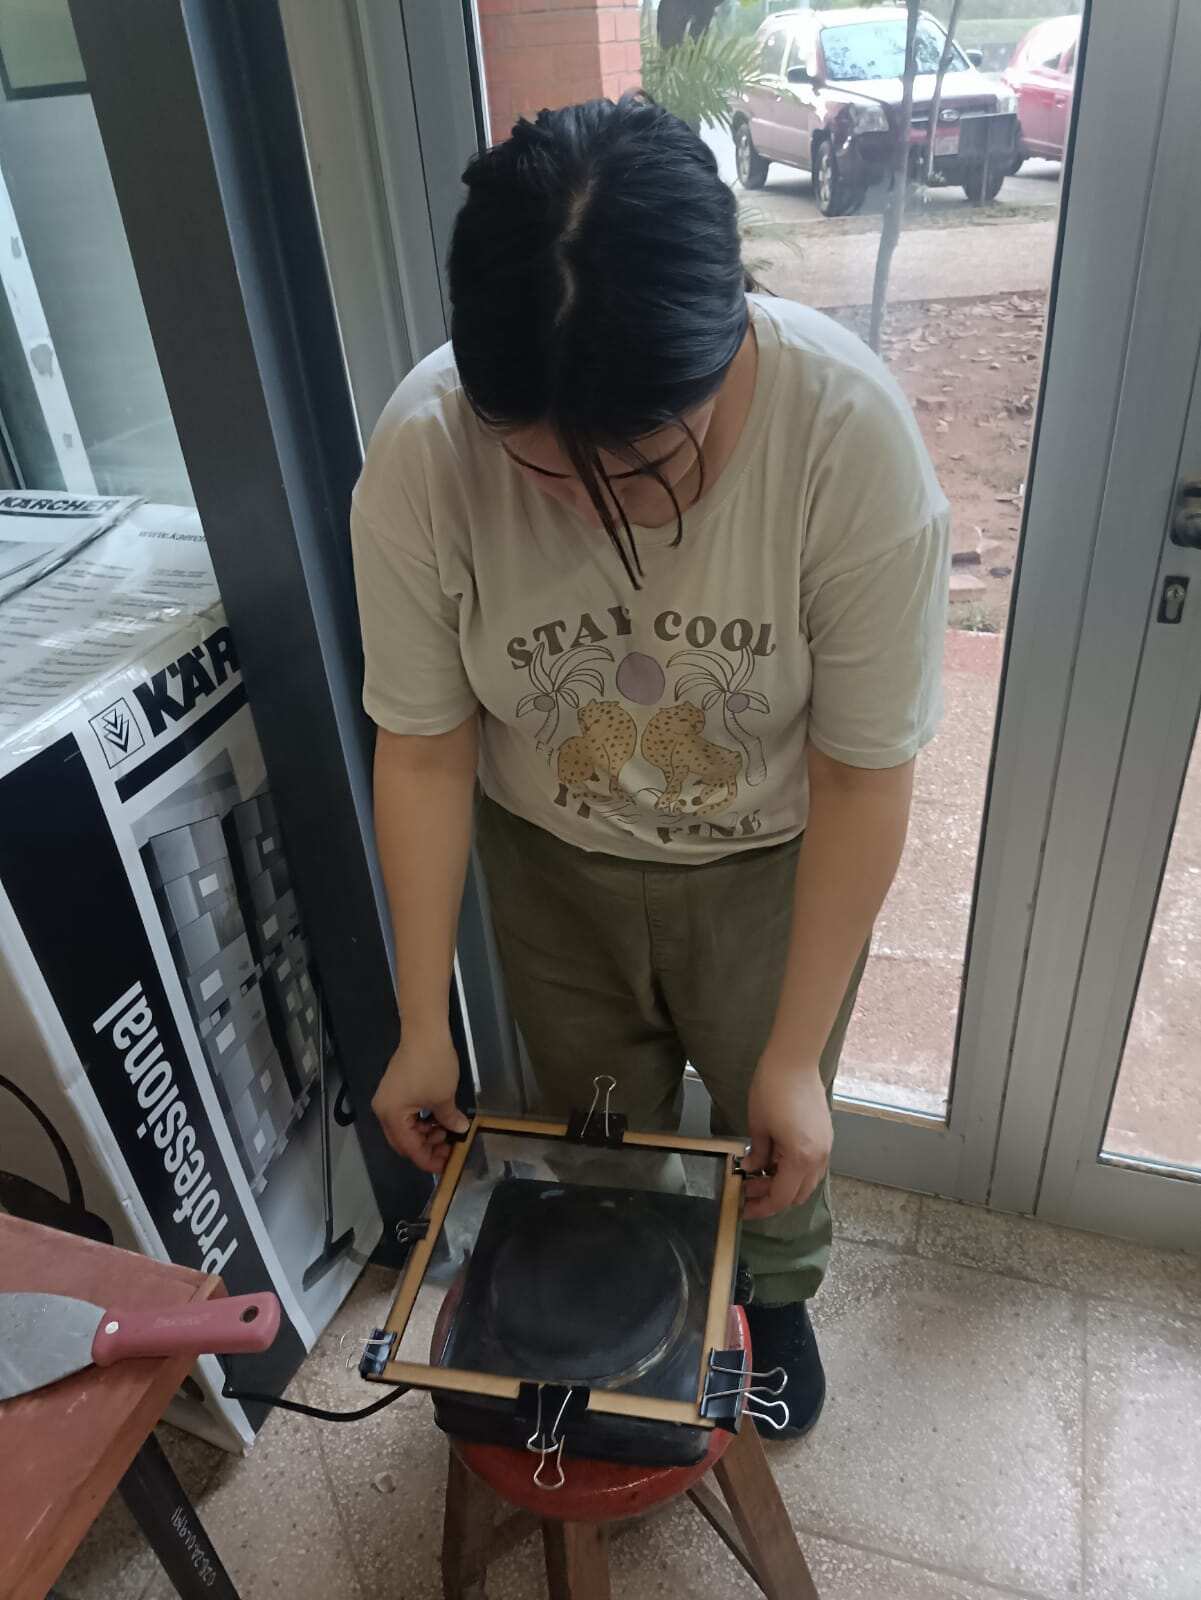
Of course, we had to use something to make molds of. We chose some things already molded in the lab before, 2 in resin, and one with cement.
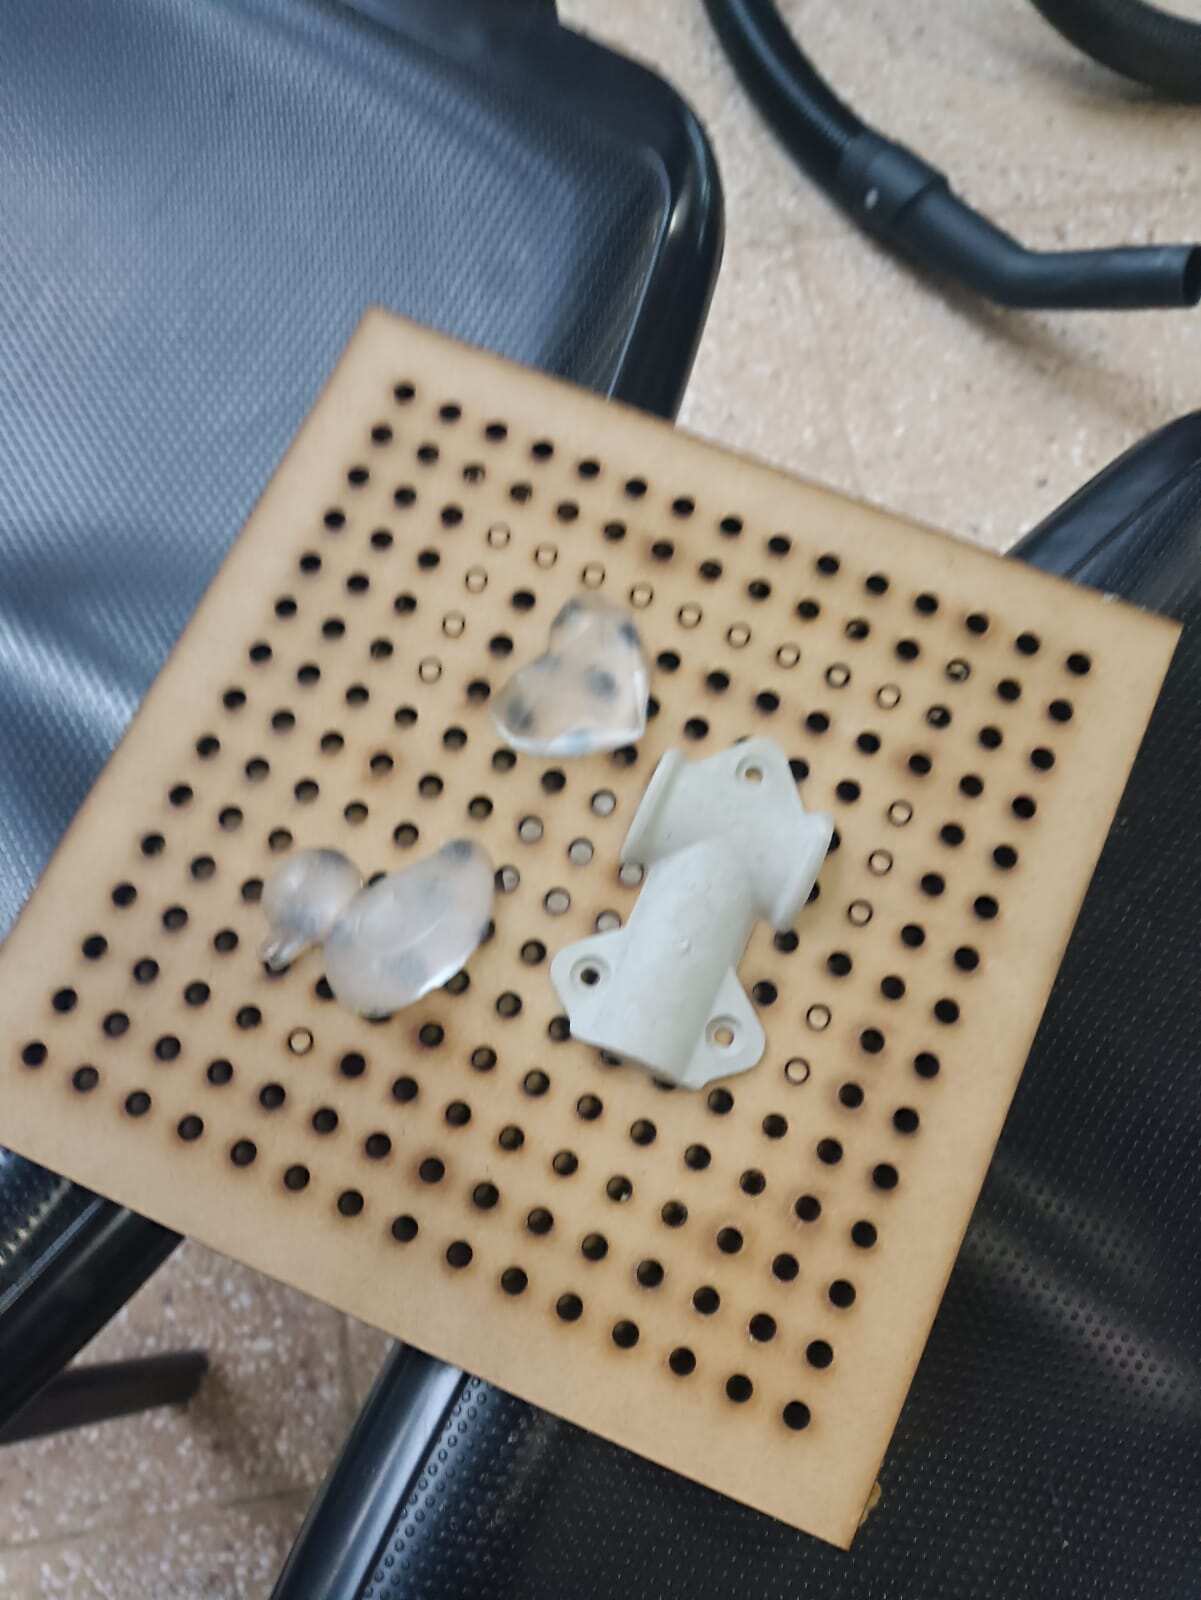
Now having those ready in there, it was time to do the testing. Vacuum cleaner on sucking air in the bottom and the plastic getting heat up with the stove for a minute or 2 (you have to see it start to deform a bit to know when it is ready). When the plastic was ready we put the frame on top of the tool and here goes the result.
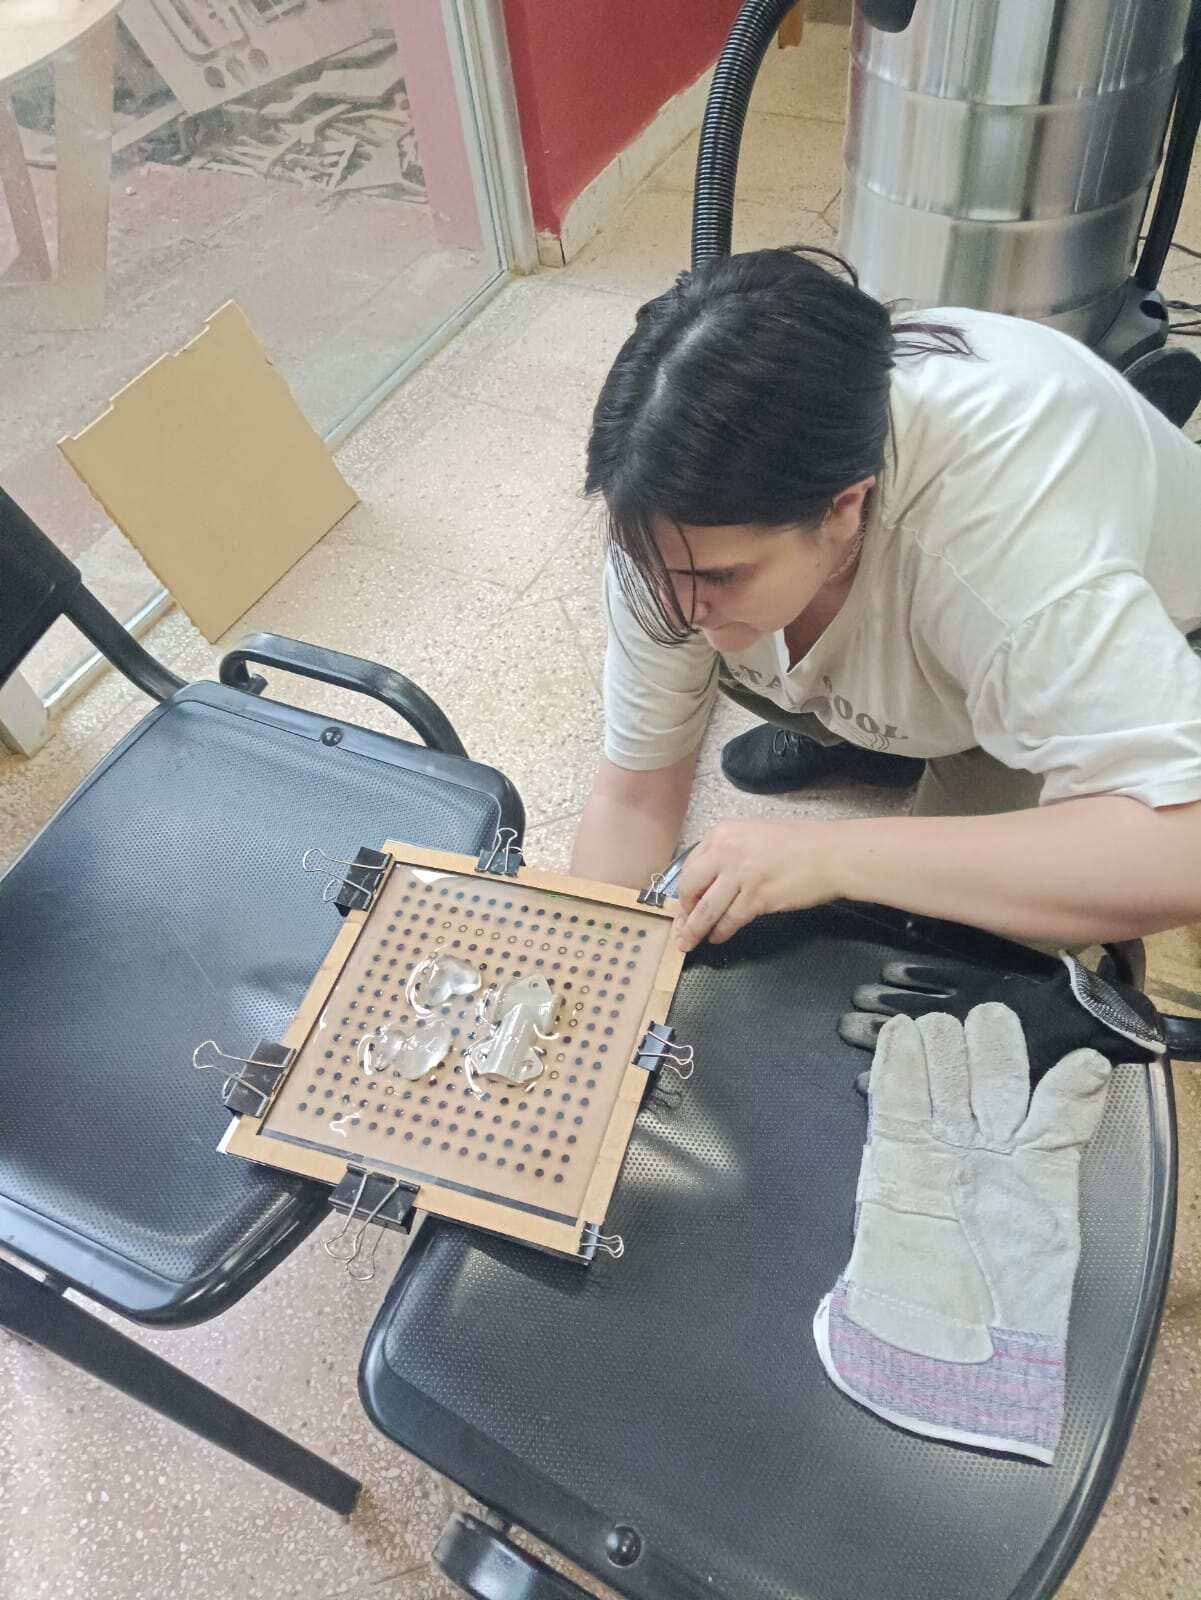
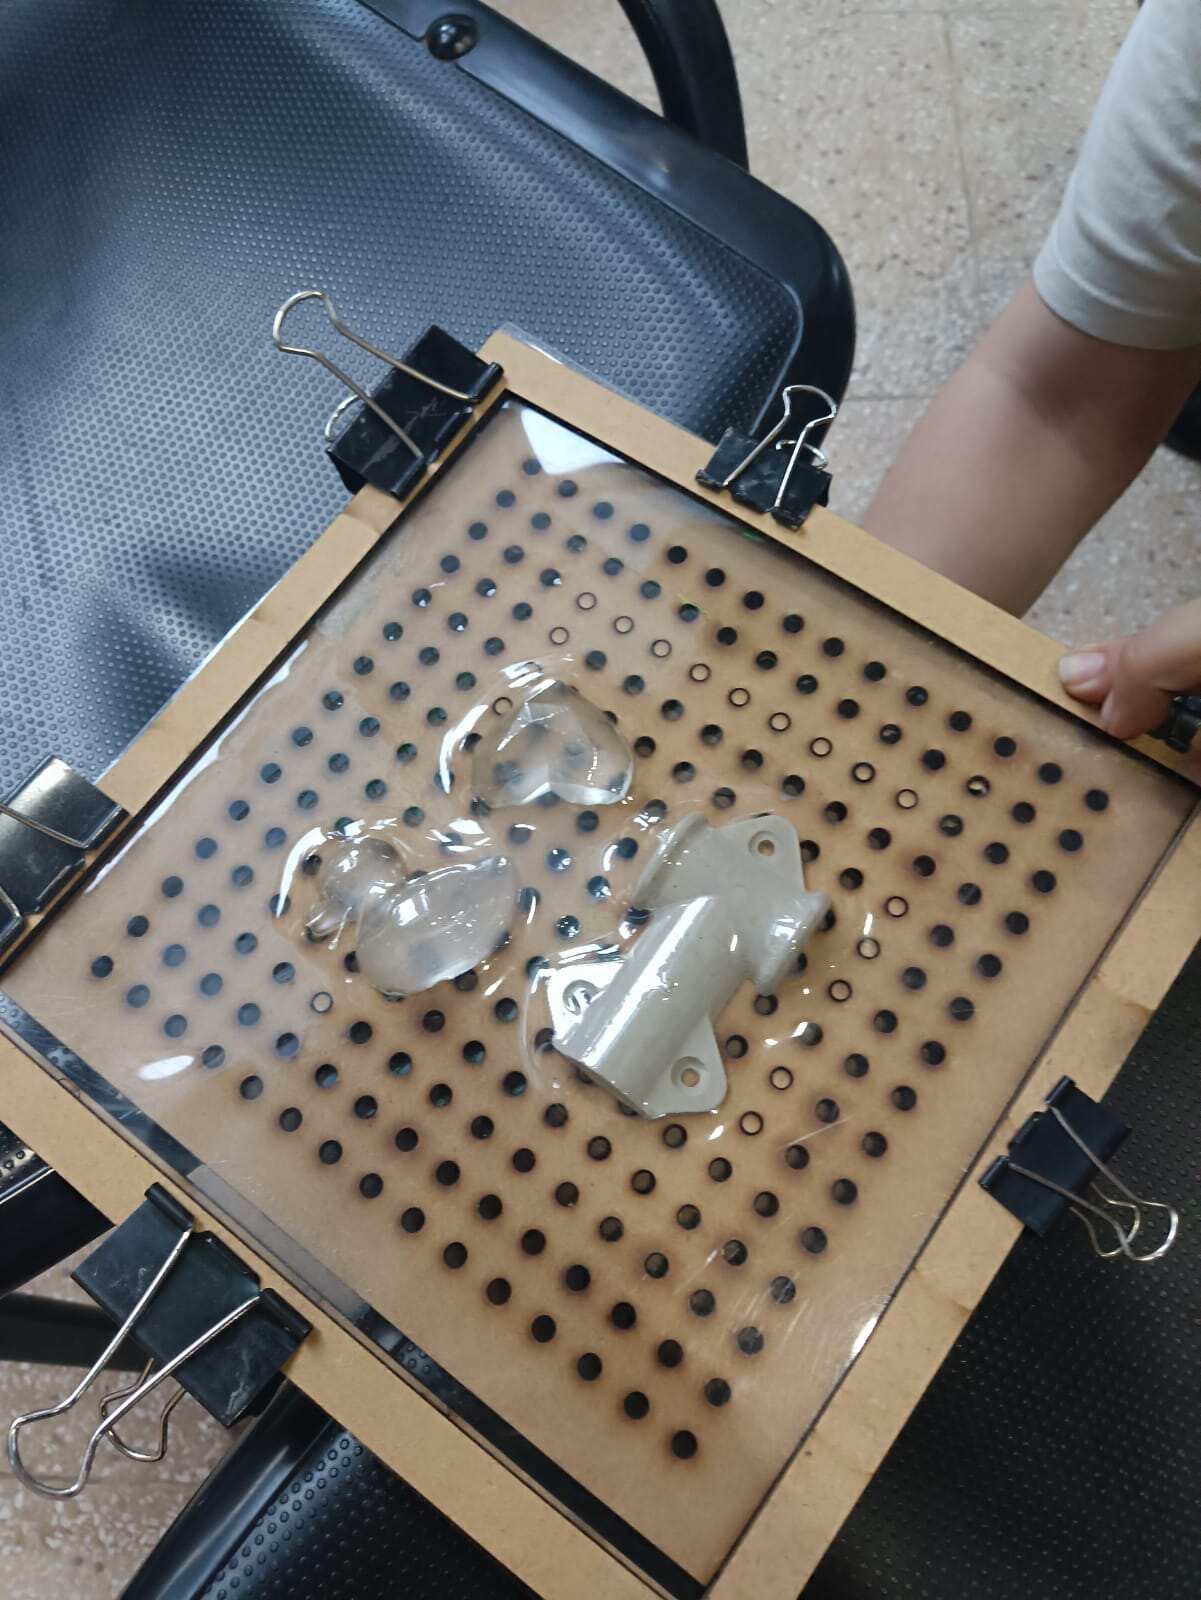
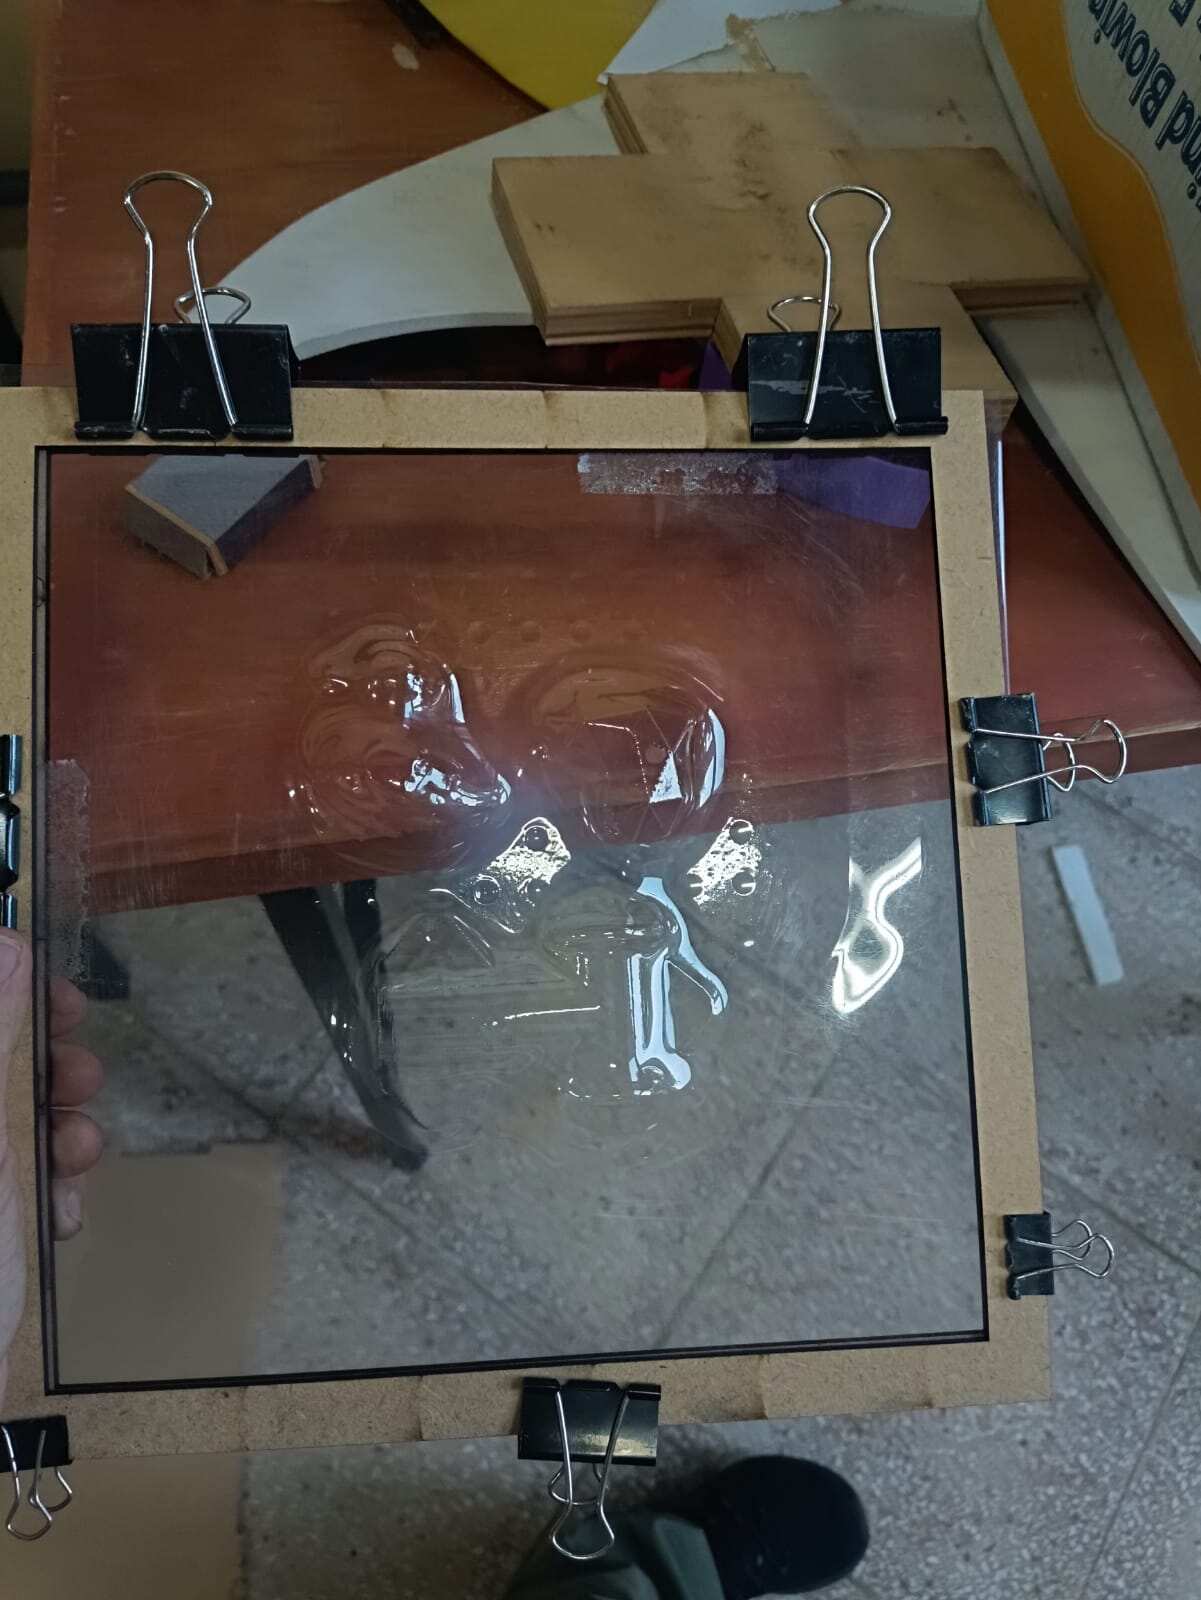
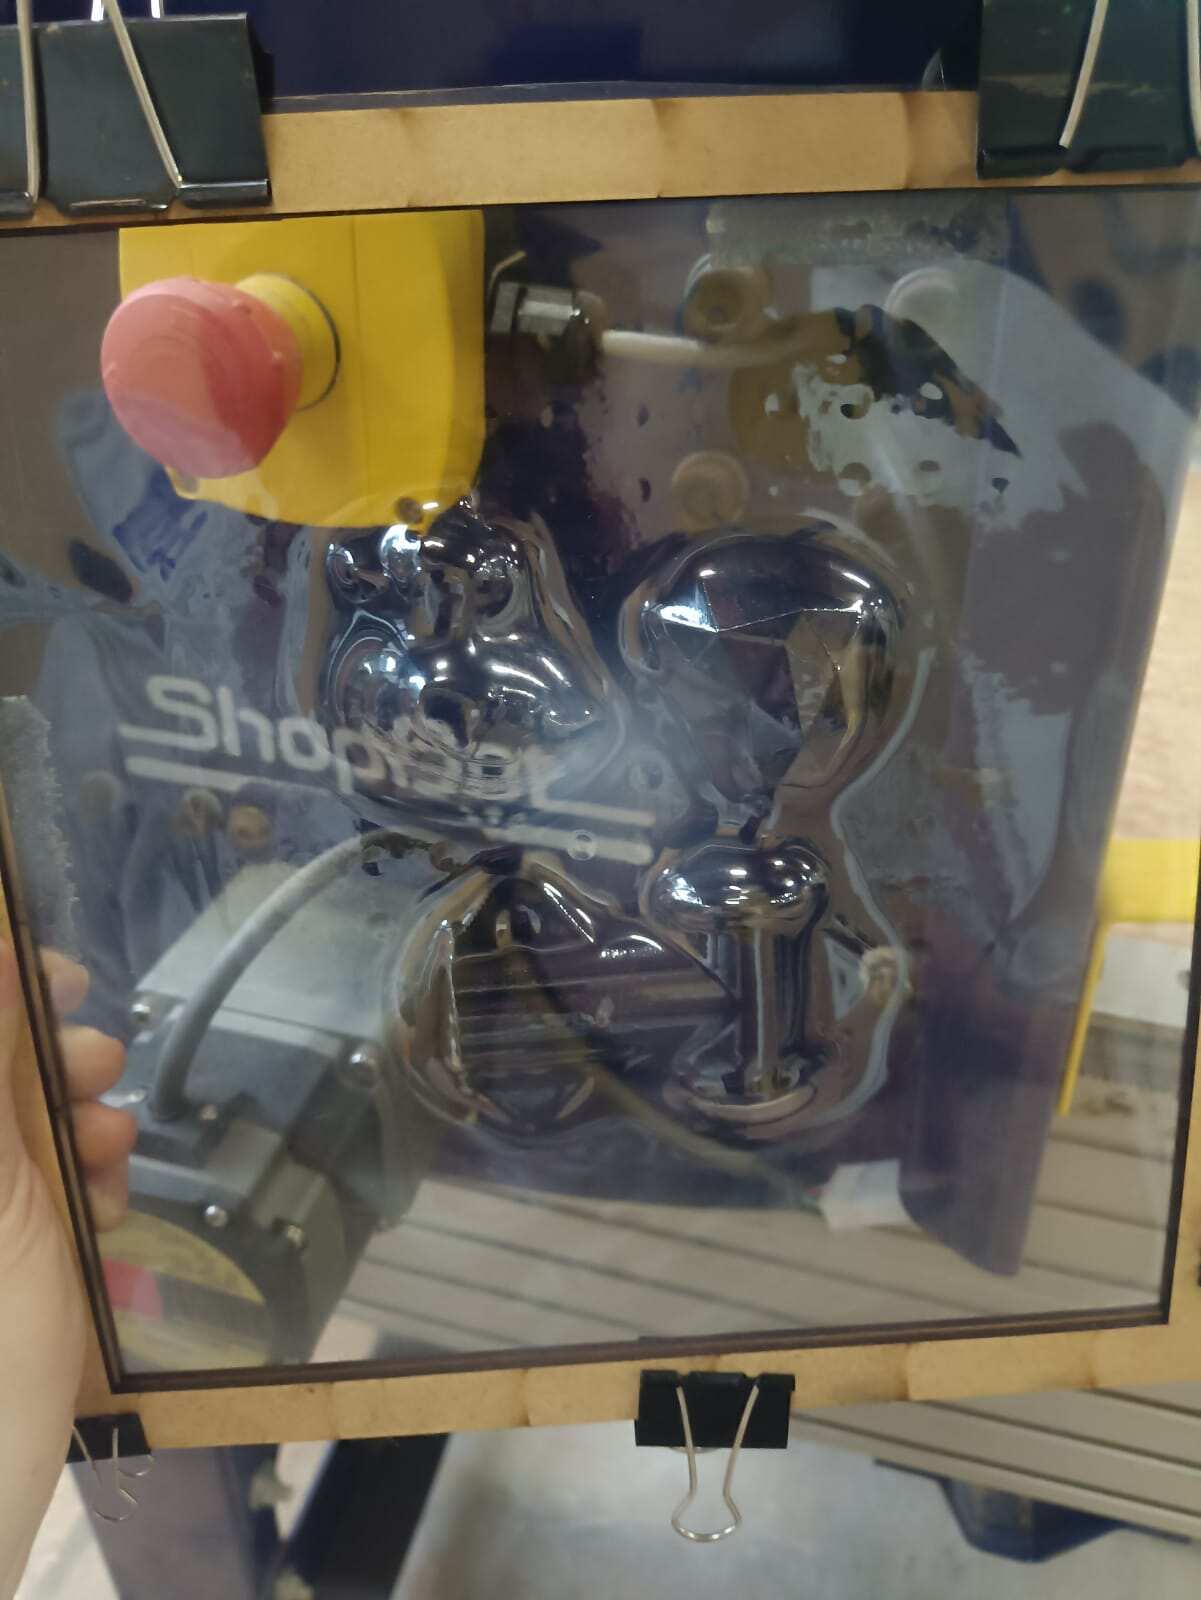
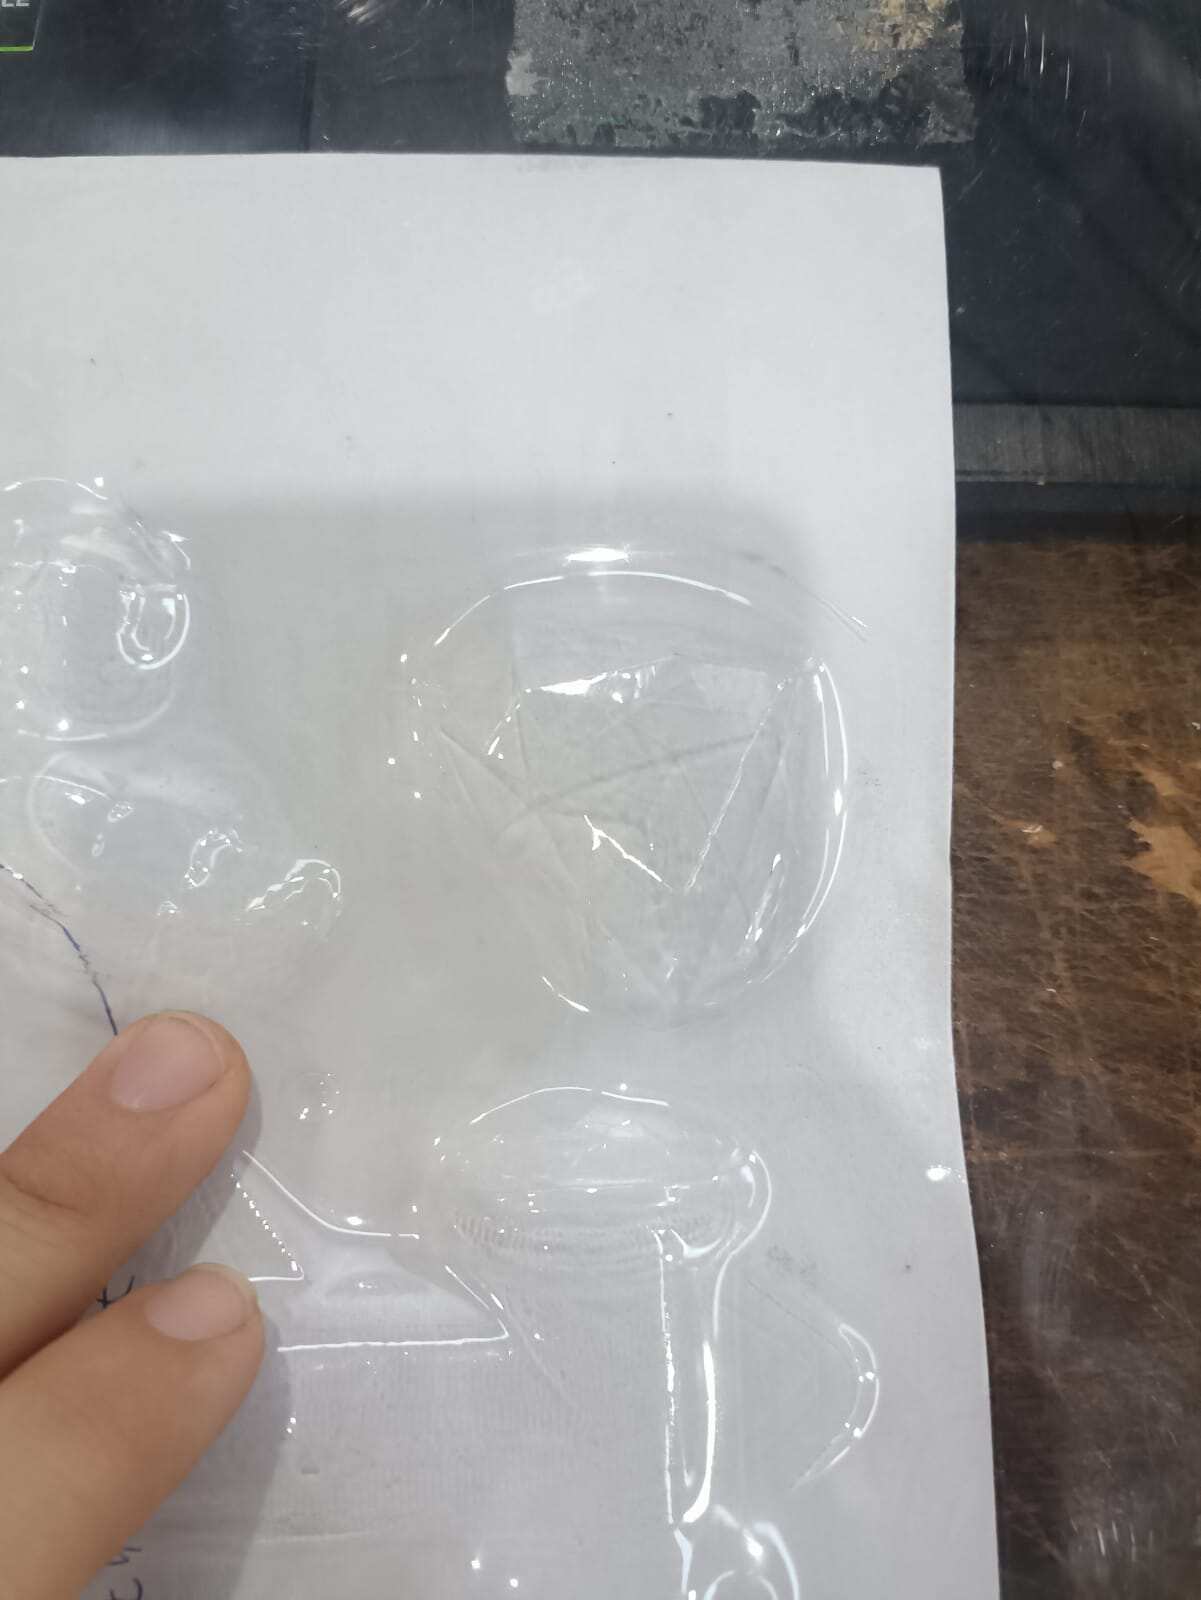
The molds look awesome, but I would say that perhaps molds that have a base at the bottom are probably look even better and also that the heat needed for it to be more flexible was not achieved with the heater (or it got cold way too quickly before actually being transferred to the tool) because as it can be seen in one of the pictures it didn't really grab the sides completely.
Still, I believe this is a nice method to create molds that are gonna be used for making things that are edible, since this plastic is non toxic. It is also one of the most affordable ways to make molds since you only need the PET sheet and this pretty easy to create tool besides a vacuum (which you normally have in the house for cleaning anyway) and a heat source that can easily be a stove.