12. Moulding and Casting
Group assignment:
-
Review the safety data sheets for each of your molding and casting materials
-
Make and compare test casts with each of them
-
Compare printing vs milling molds
Individual assignment:
- Design a mold around the process you’ll be using, produce it with a smooth surface finish, and use it to cast parts.
Download Design Files
Click here to download my design files folder
Group Work Reflection
This work helped me to consider the difference in processes for mold making (using a 3D print and casting the final product in it vs. using a 3D print, casting and creating a mold from it to be later able to cast the final product in it). It also helped me to consider what type of materials are necessary with respect to the final product’s desired result: flexible or hard.
For example, for my individual project I wanted to make a flexible cover for my I2C LCD electronic. If I were to do a two-process mold and cast, I would 3D print a mold that was an indentation of my desired final product and then cast a flexible material in it. If I were to do a three-process mold and cast, I would 3D print an extrusion of my desired final product, cast a hard material over the 3D print, and then use the newly casted, hard mold and cast a flexible material into it as the final product.
Mold Material Technical Data Sheets:
-
Mold Star 15 SLOW by Smooth-On technical data sheet (the flexible cast material)
-
Task 8 by Smooth-On technical data sheet (the hard cast matrial)
Mold Material Safety Sheets:
-
Mold Star 15 SLOW by Smooth-On SDS (the flexible cast material)
-
Task 8 by Smooth-On SDS (the hard cast matrial)
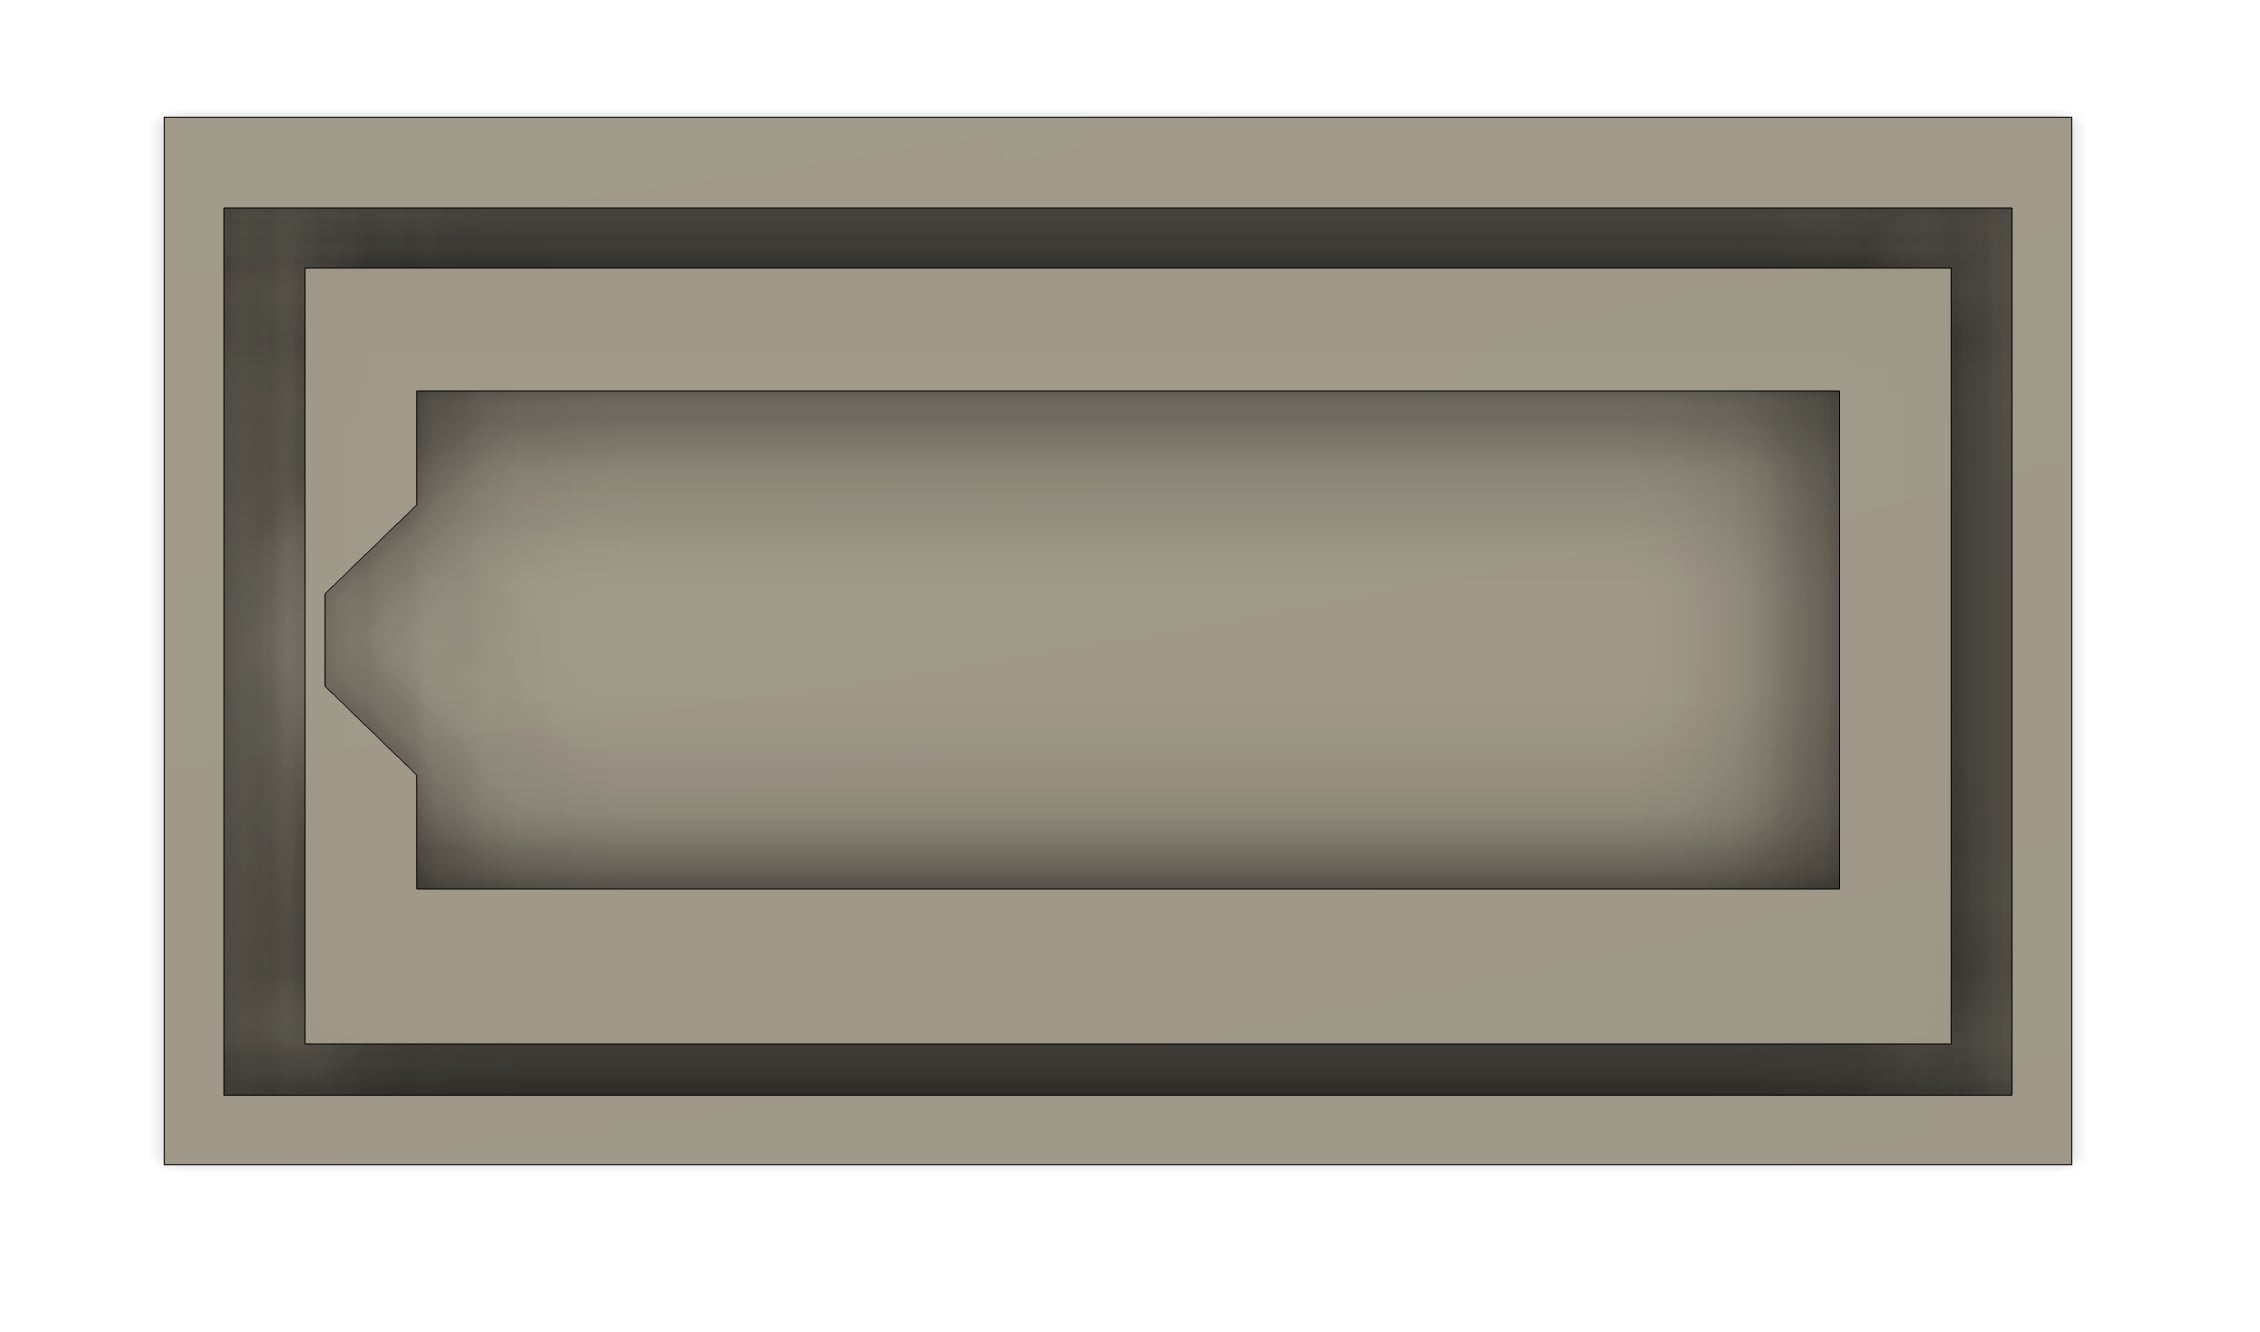
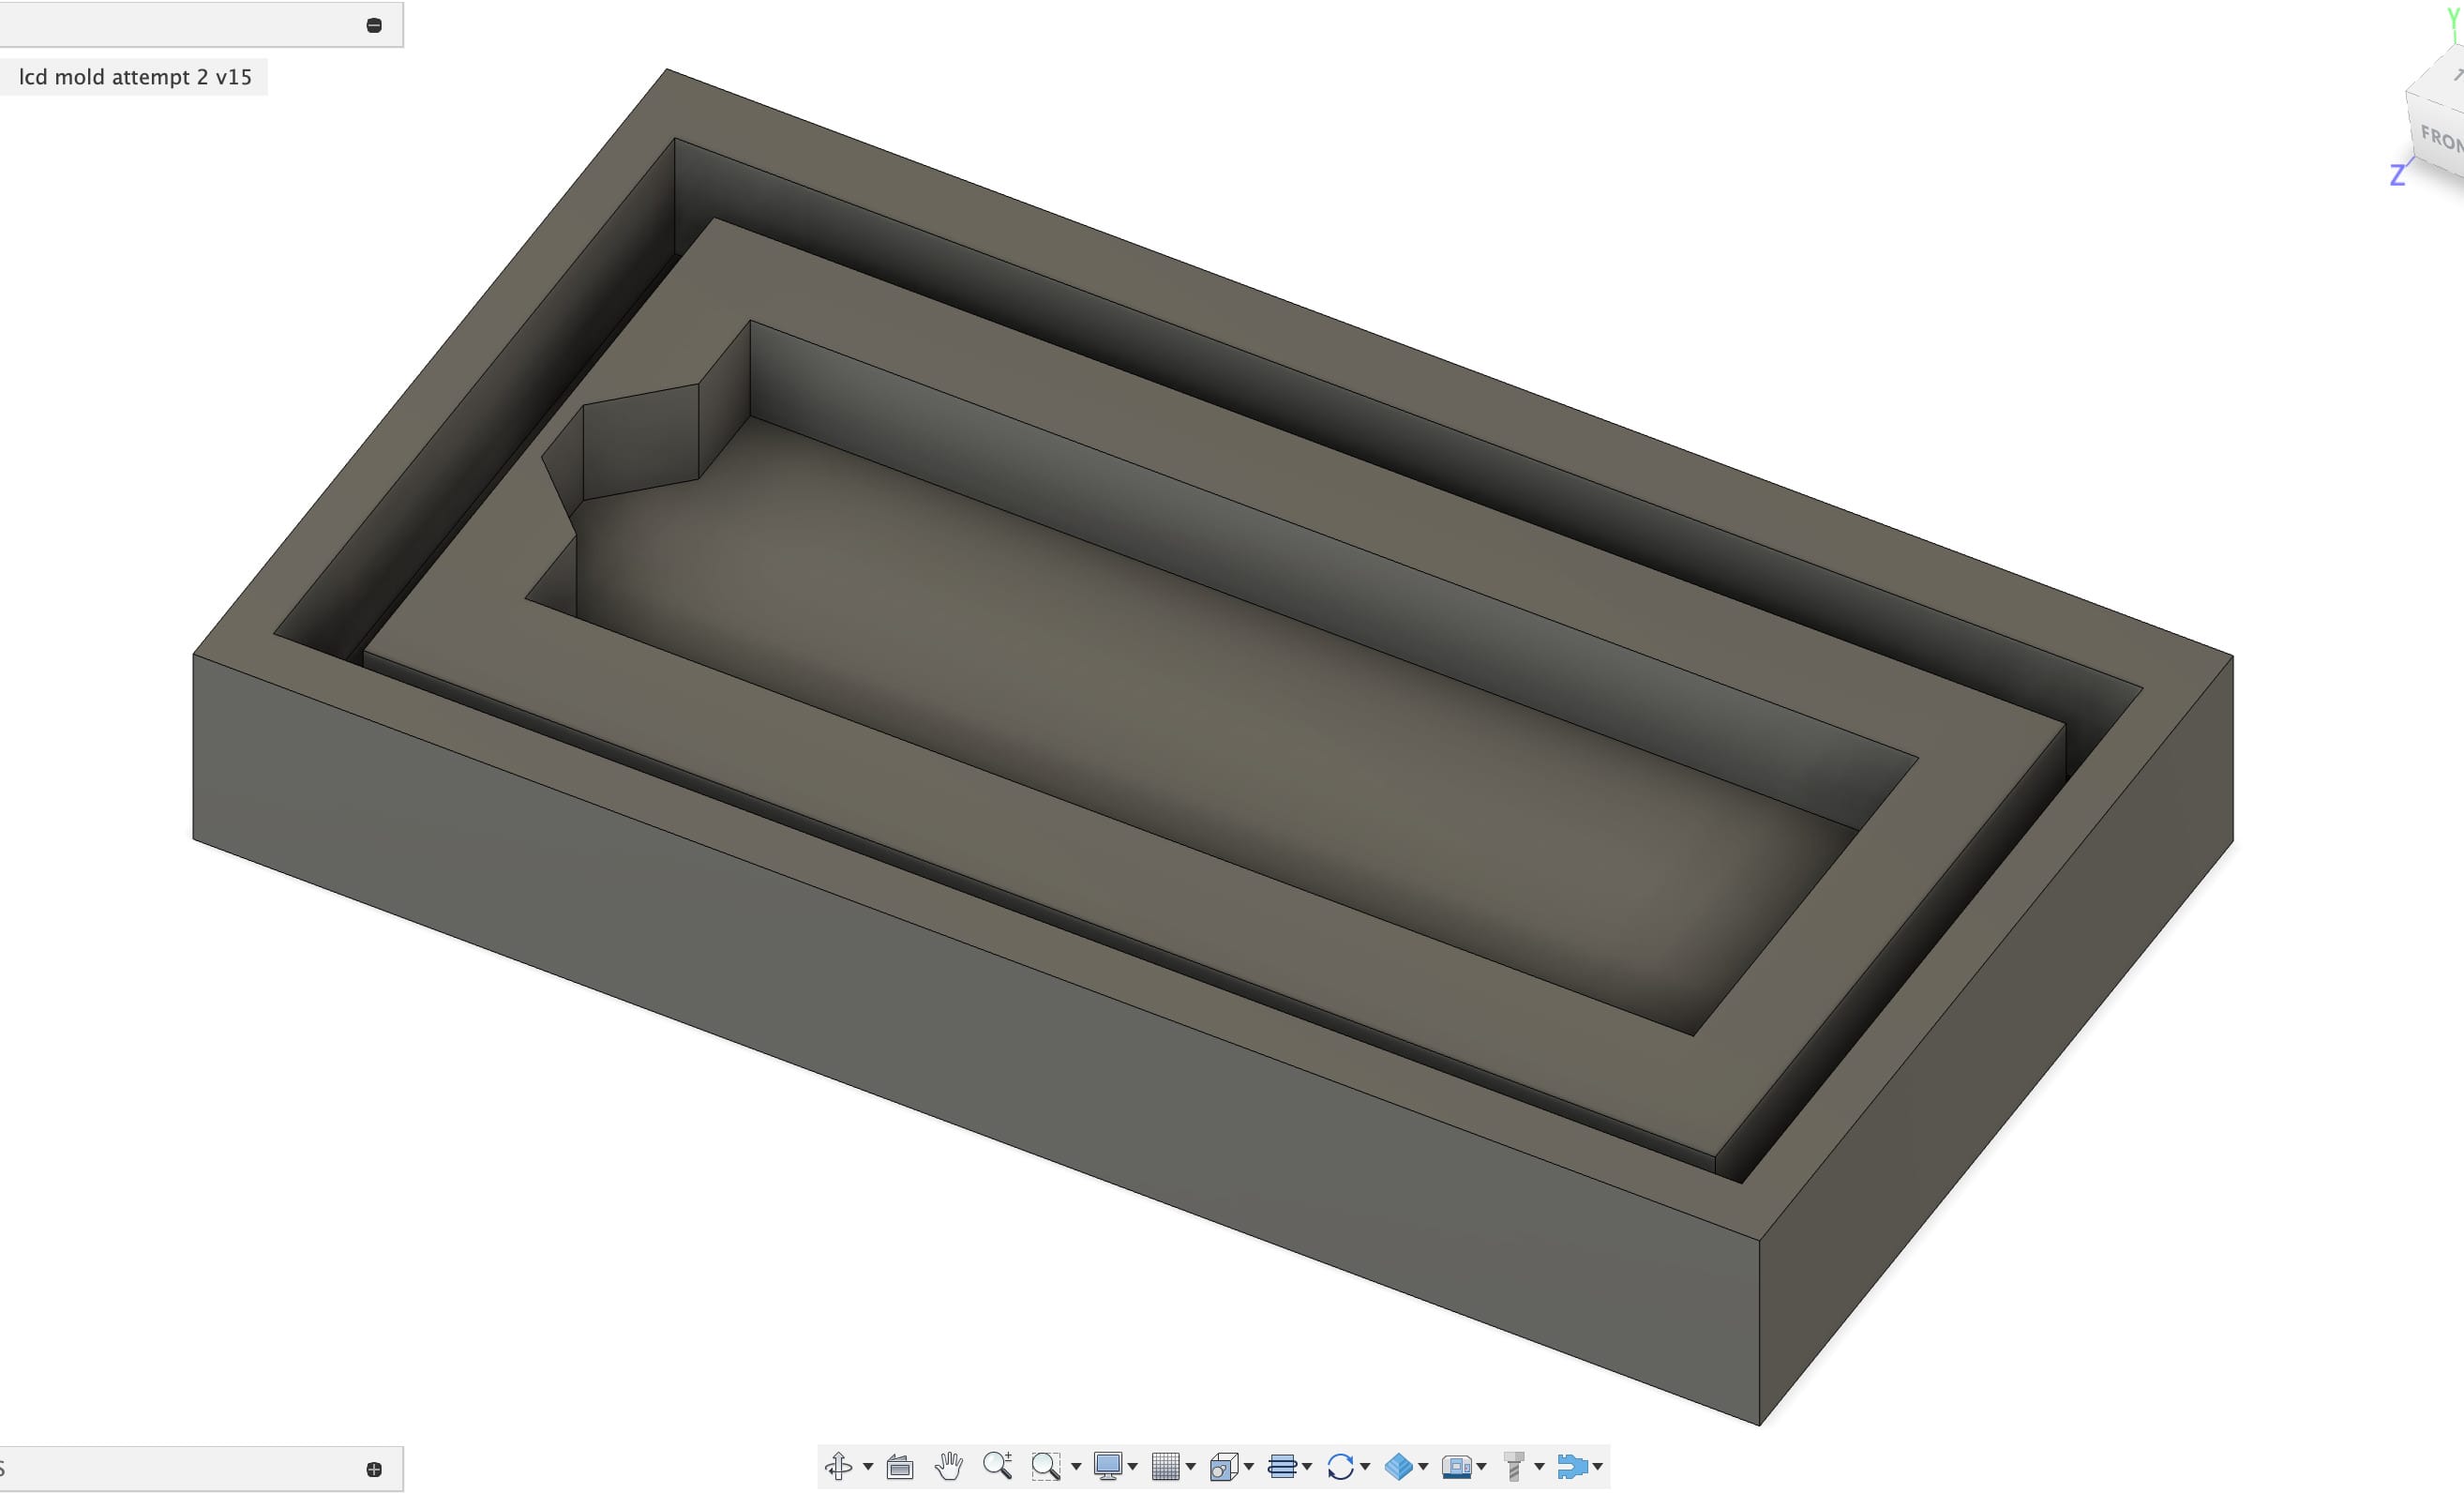
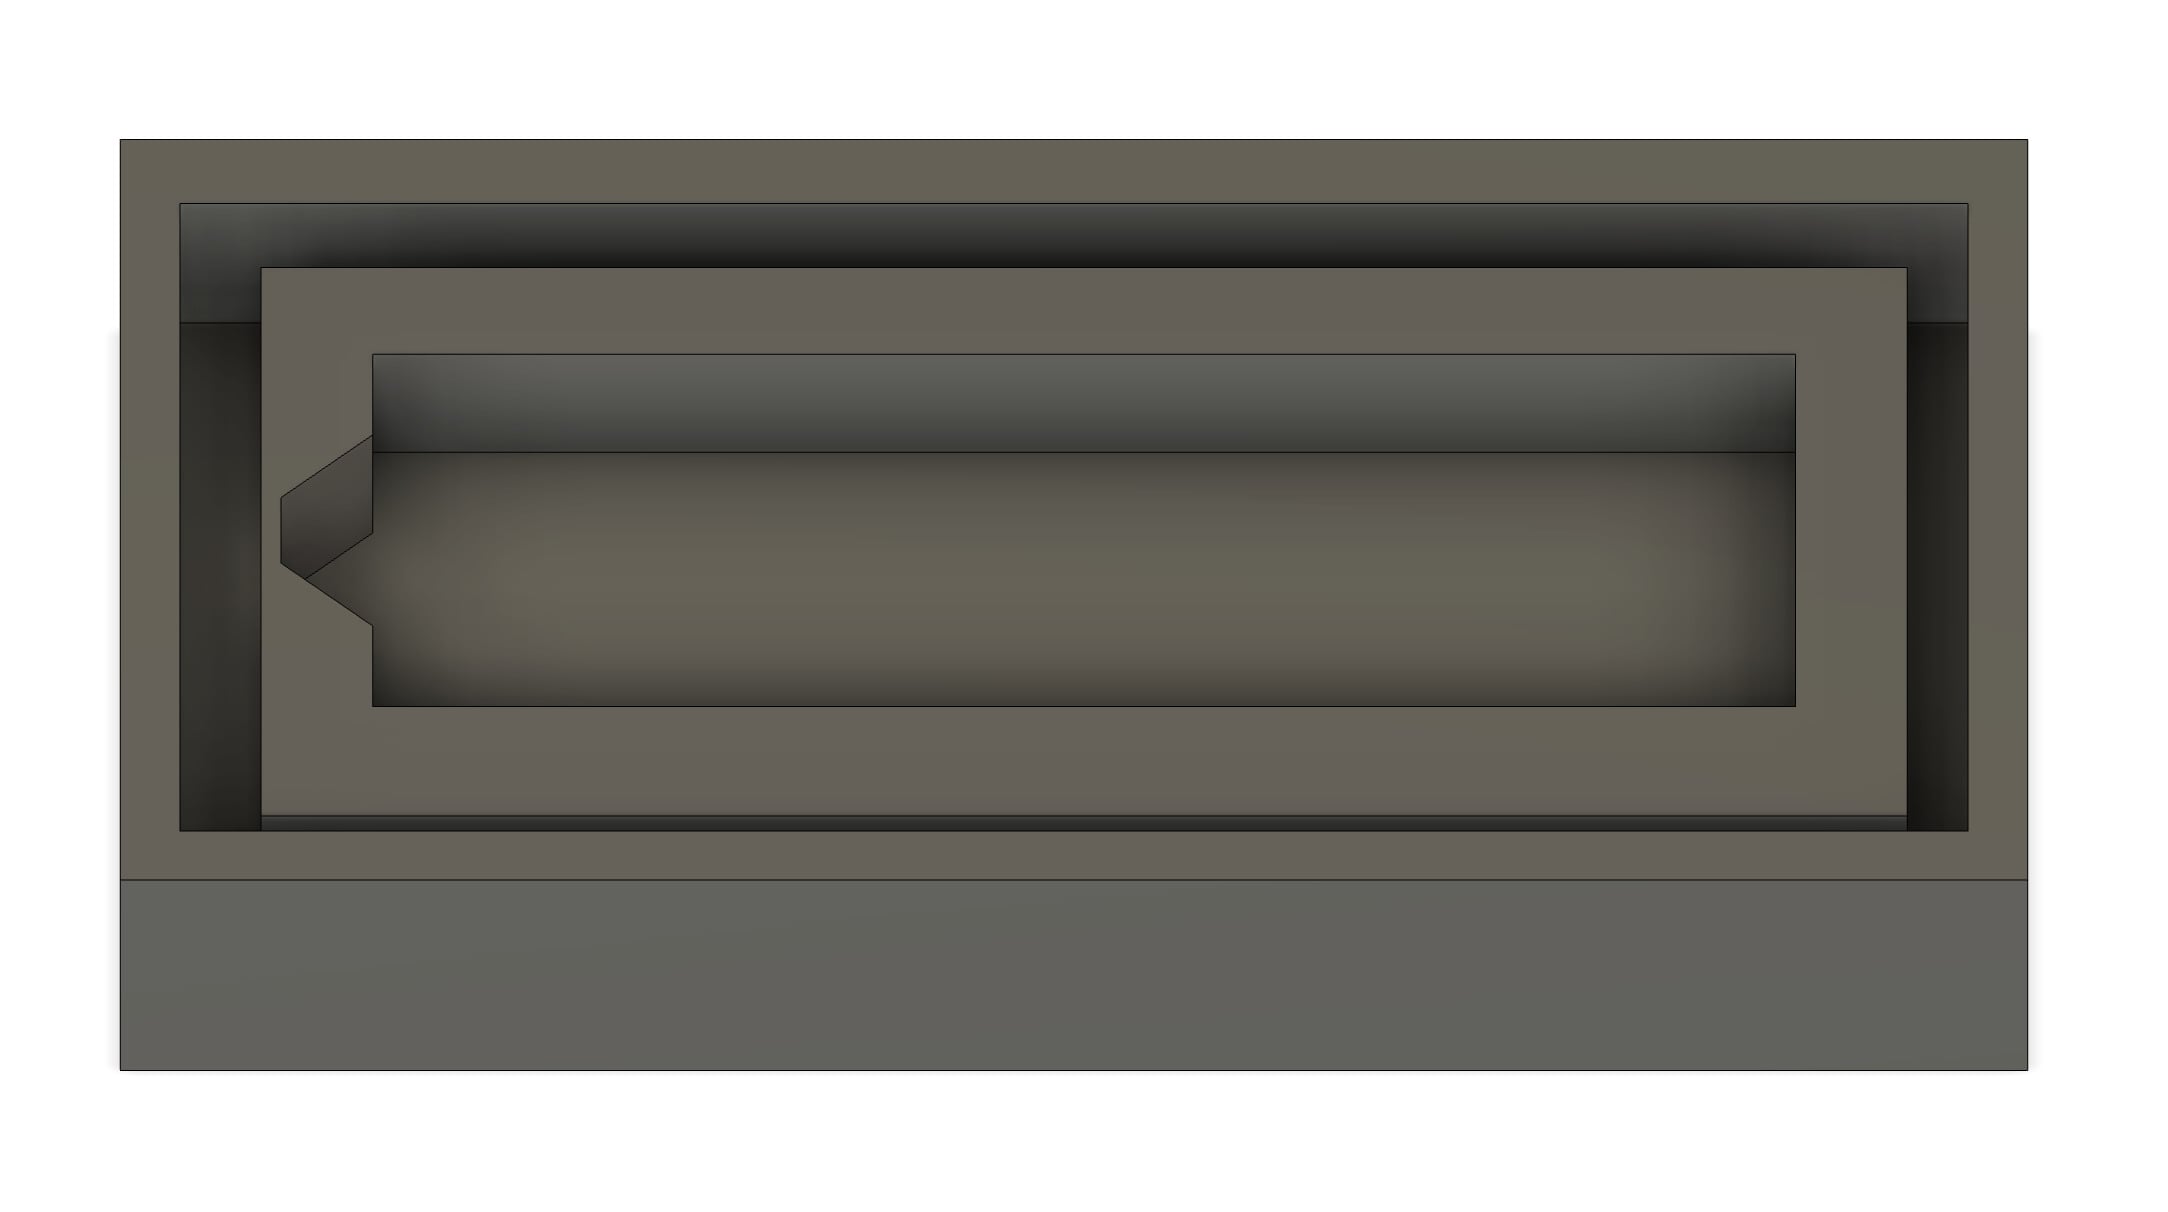
CAD Mold Model
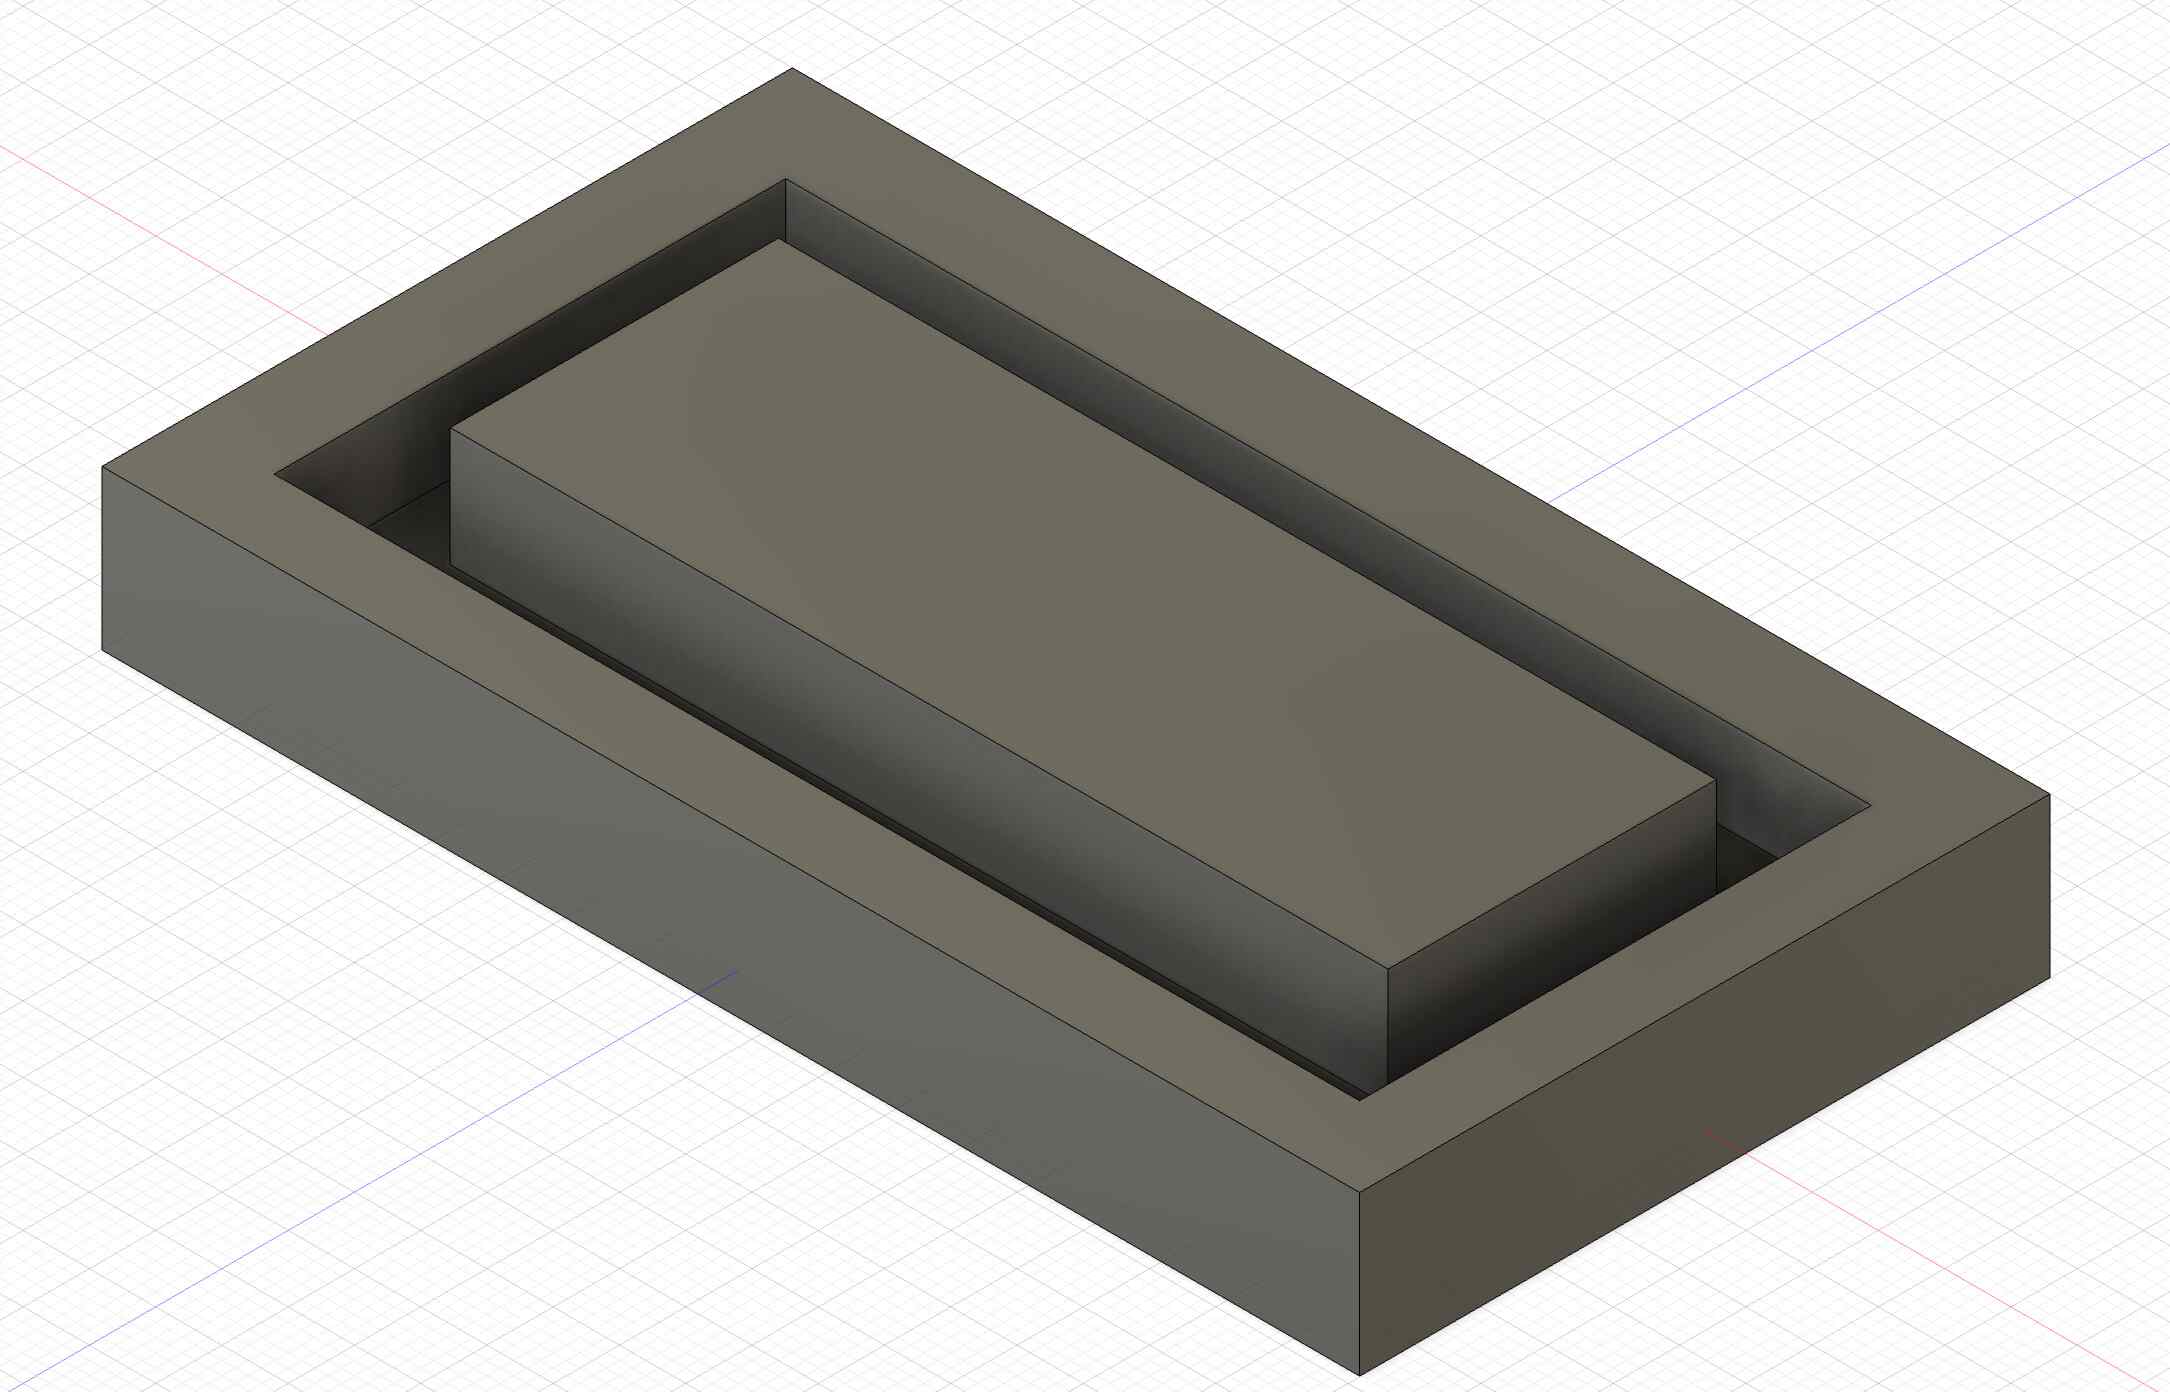
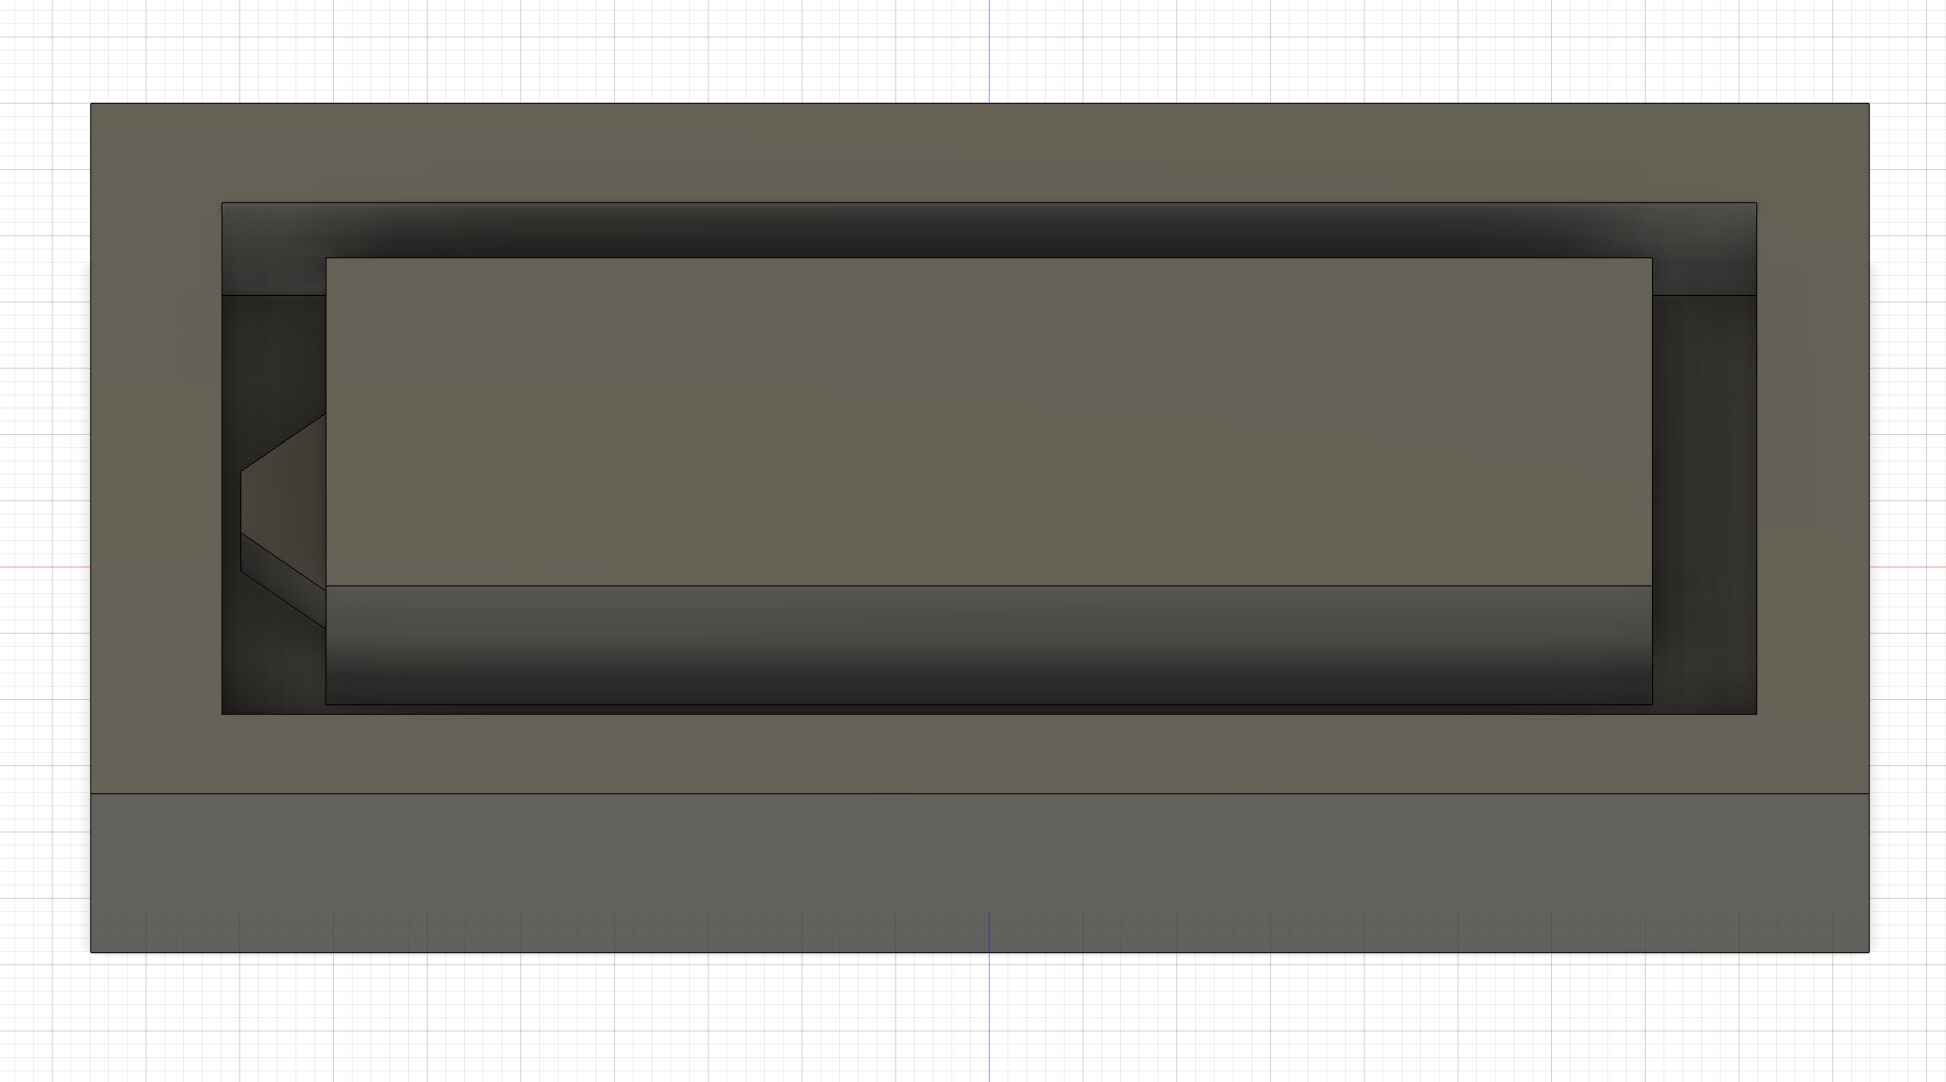
Two-Process Model
The two-process model is made so that I can 3D print/mill a mold, cast Moldstar 15 Slow (a flexible material) in the 3D print/mill, and then have my final product once the Moldstar cures.
Example:
When first designing my CAD model of the I2C LCD mold in Fusion360, I tried downloading an already-made model of the LCD from this link. I later, however, just found it easier to measure and make my own LCD model.
Below are images of my CAD model:

I had originally included the wires that stick out of the front of the LCD in my v3 of the mold model, however, I later removed them in v4 as they were too small and broke off the 3D printed mold. I decided to still cast with that mold and, using a flexible silicone casting material, I was able to push the wires of the LCD into the mold with little to no trouble and thus decided to remove the wires from my design all together.
Design Considerations
I planned to make this design with the Prusa MINI 3D printer and Formlabs resin printer.
For the Prusa, I had to take into consideration the nozzle width (4 mm) which would dictate the minimum size of a subtractive design component I could have. Additionally, I also made the inner rim of my design (the LCD shaped piece) taller than the outside rim that way the material wouldn’t flow over the top and thus cover the back of the LCD.
For the Formlabs resin printer I mainly only had to take into consideration (apart from the design changes I had already done for the Prusa) was the orientation of the model when printing. If I had printed it upright like I did with the Prusa, I would have had cupping and thus had excess, unwanted resin in the subtractive part of my design where the cast was supposed to go. Thus, I had to print it upside down with supports.
Three-Process Model
The three-process model is made so that I can 3D print/mill an object, cast Moldstar 15 Slow (a flexible material) in the 3D print/mill to make the mold and then cast Smooth-On Task 8 (a hard material) in the Moldstar mold to make my final product once the Task 8 cures.
Example:
To make the three-process CAD model, I took my two-process CAD model and extruded it out of a box.
Below are images of my CAD model:
Design Considerations
I planned to make this design with the milling machine so I had to consider the bit sizes and what the minimum size bit, and thus minimum size subtractive components I could have in my design. We had bits small enough to fit into all of my design so I did not have to make any adjustments.
Making the Mold
Prusa 3D Print
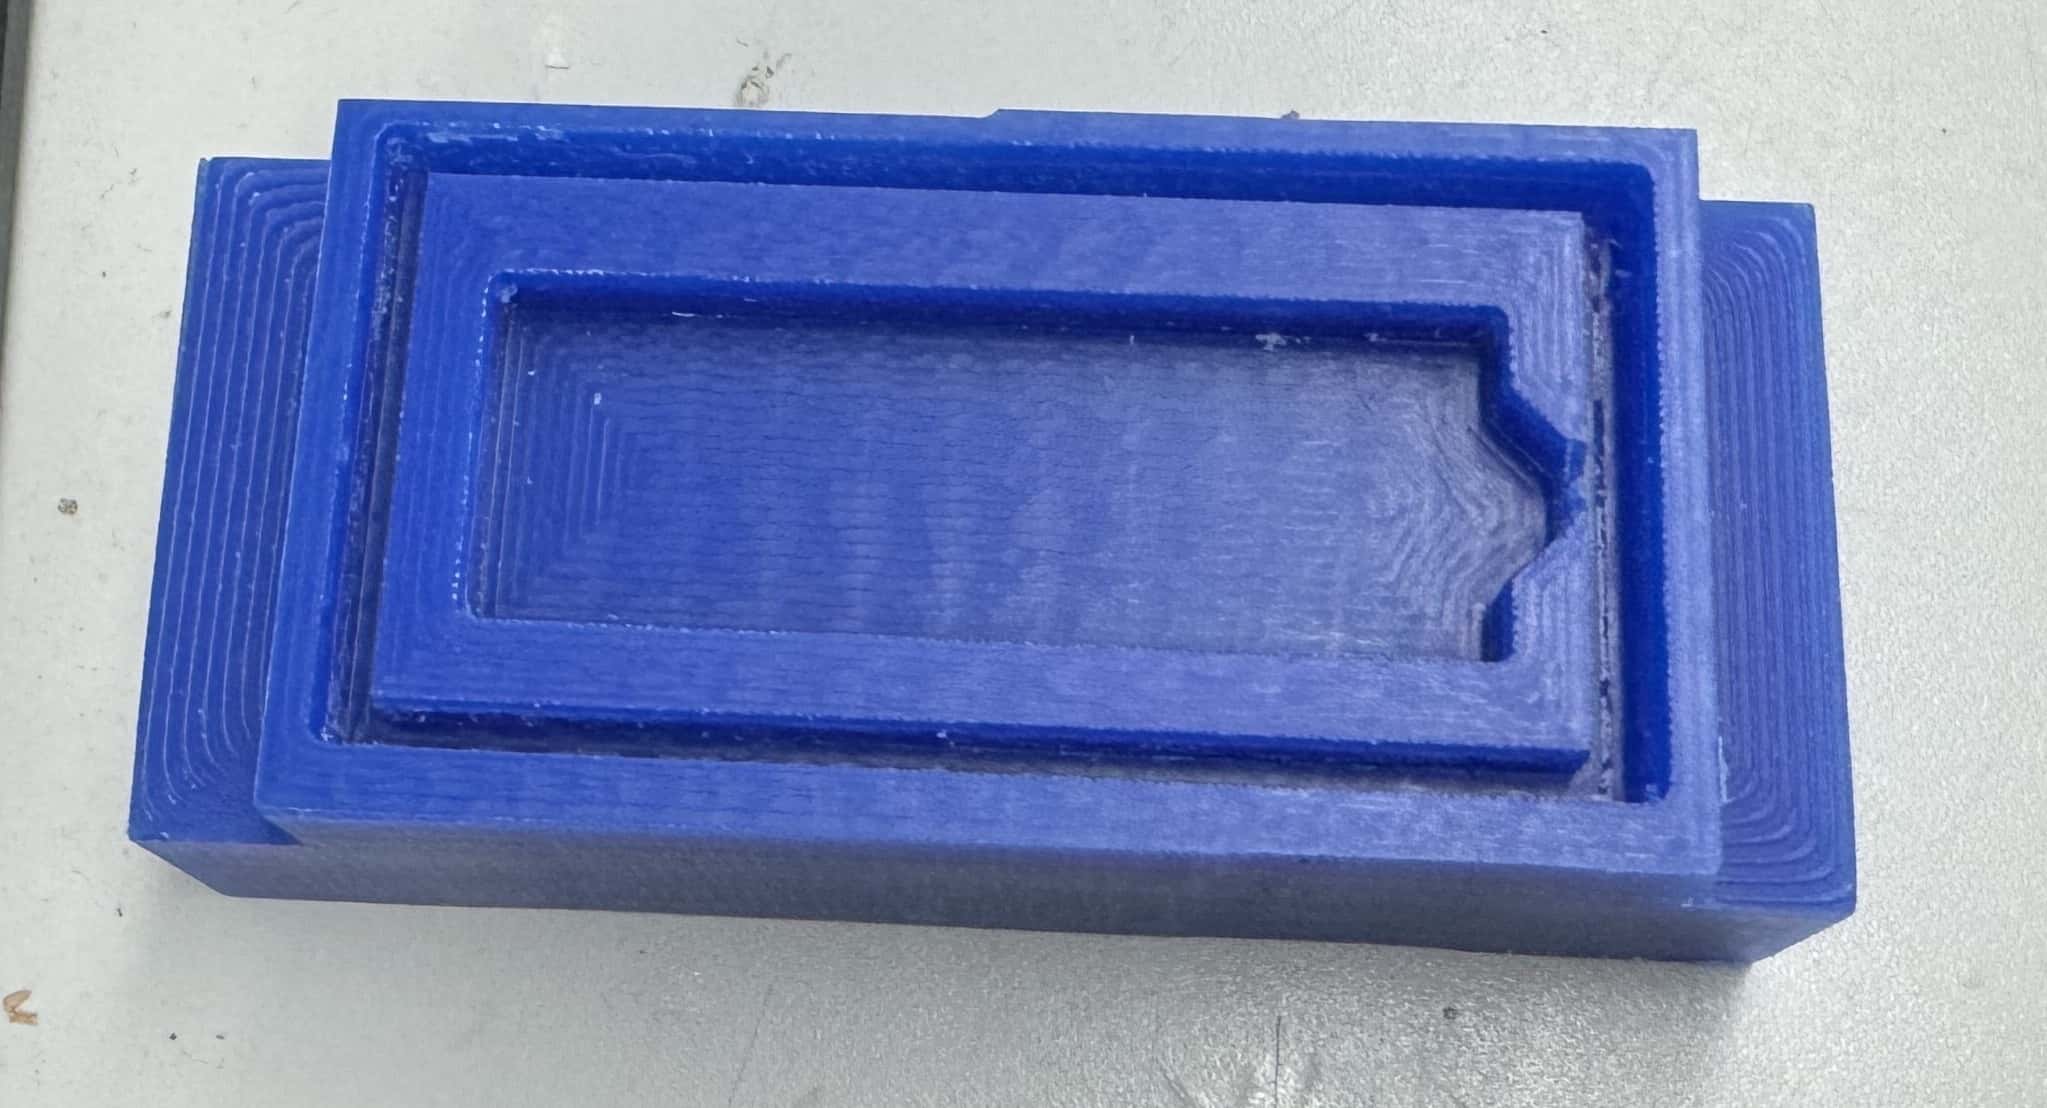
I sliced my stl file in PrusaSlicer to create my gcode and then sent it to the Prusa 3D printer.
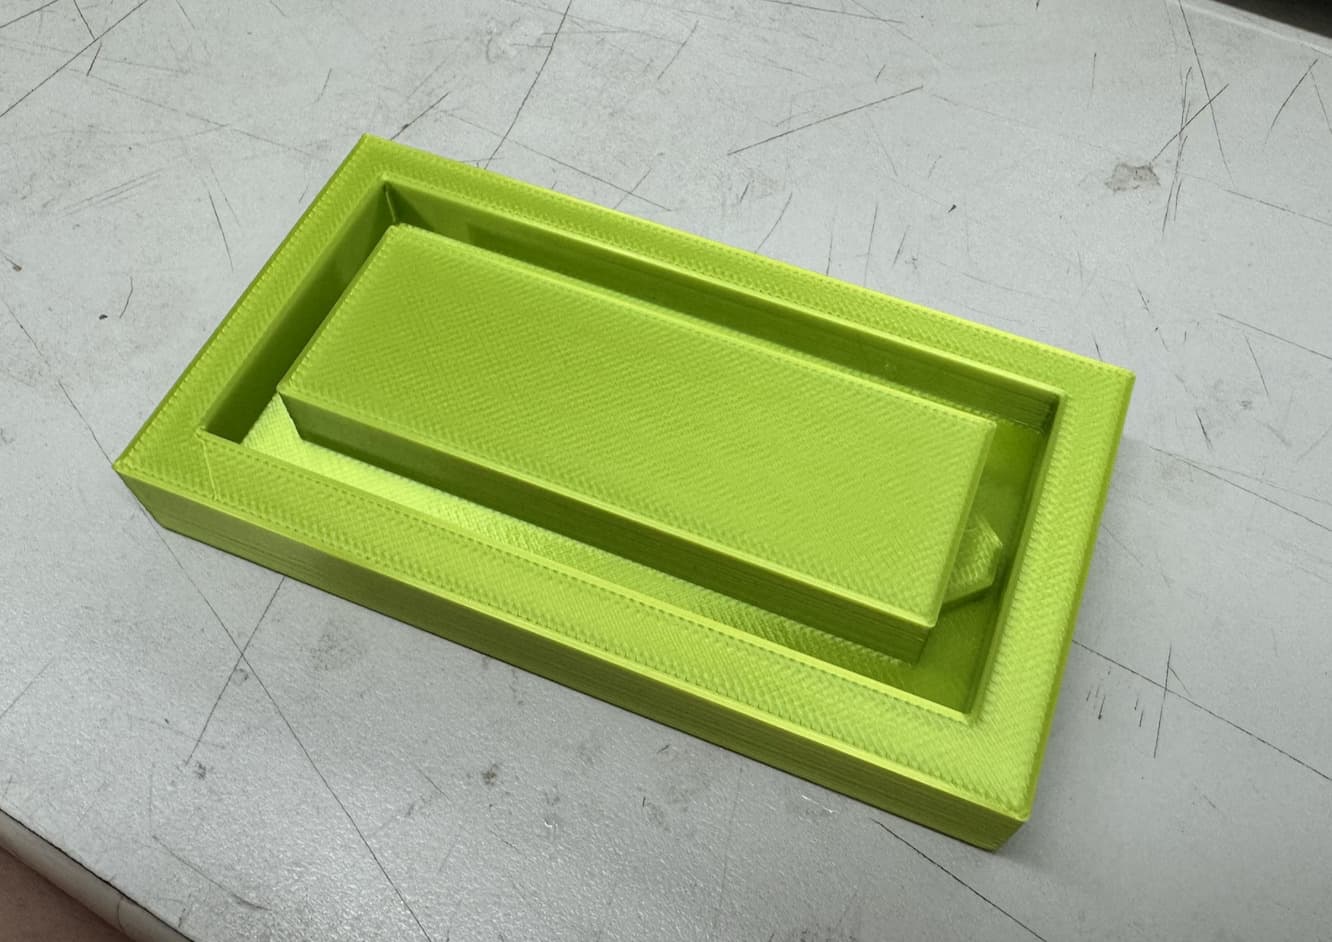
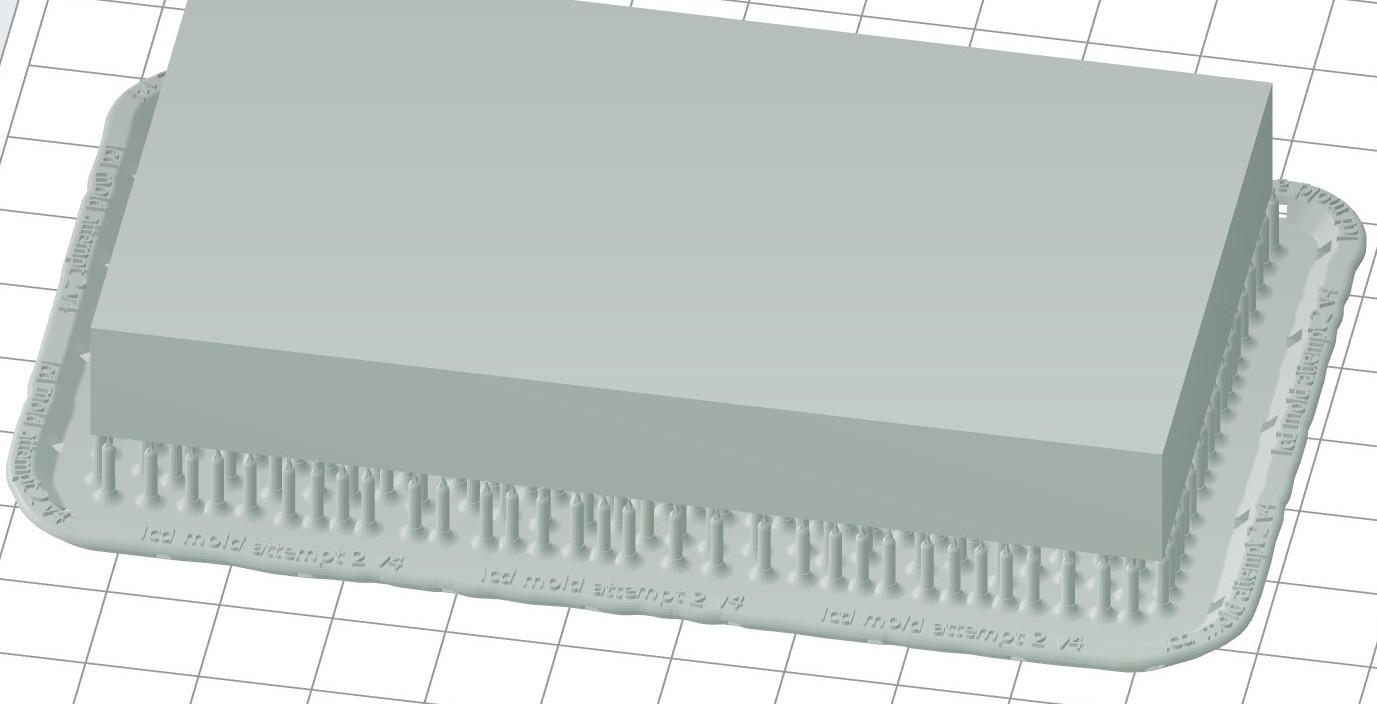
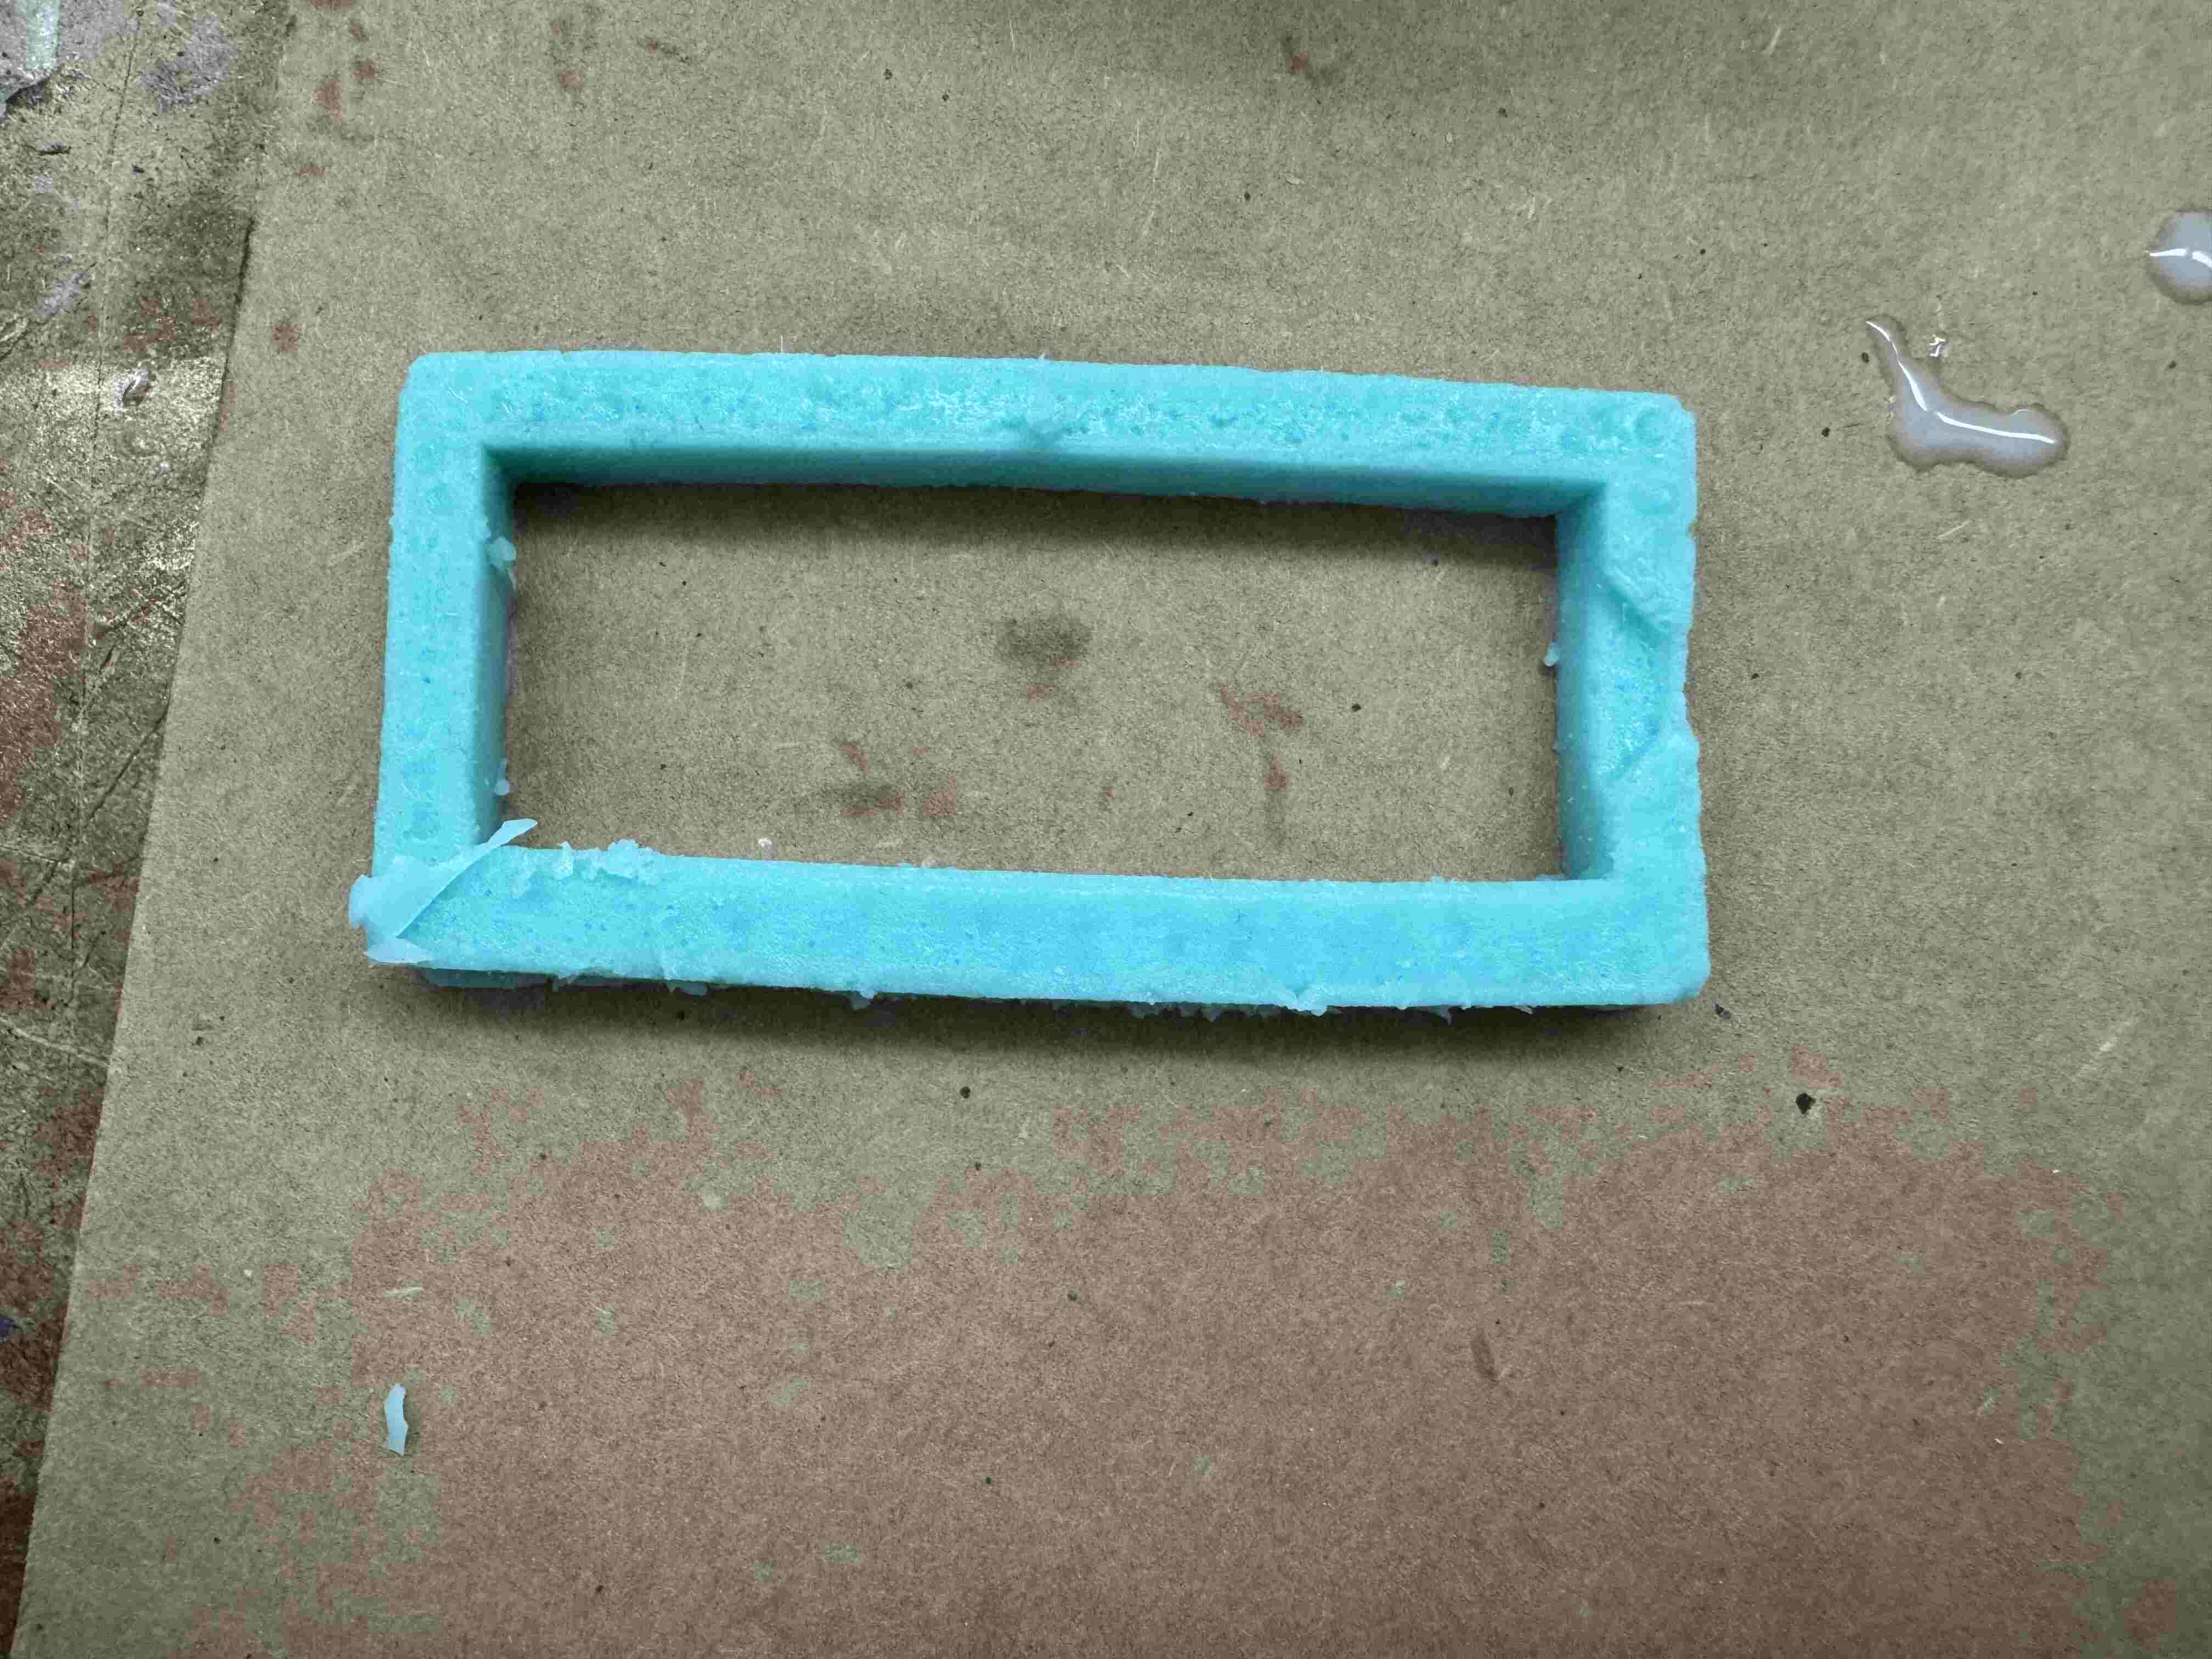
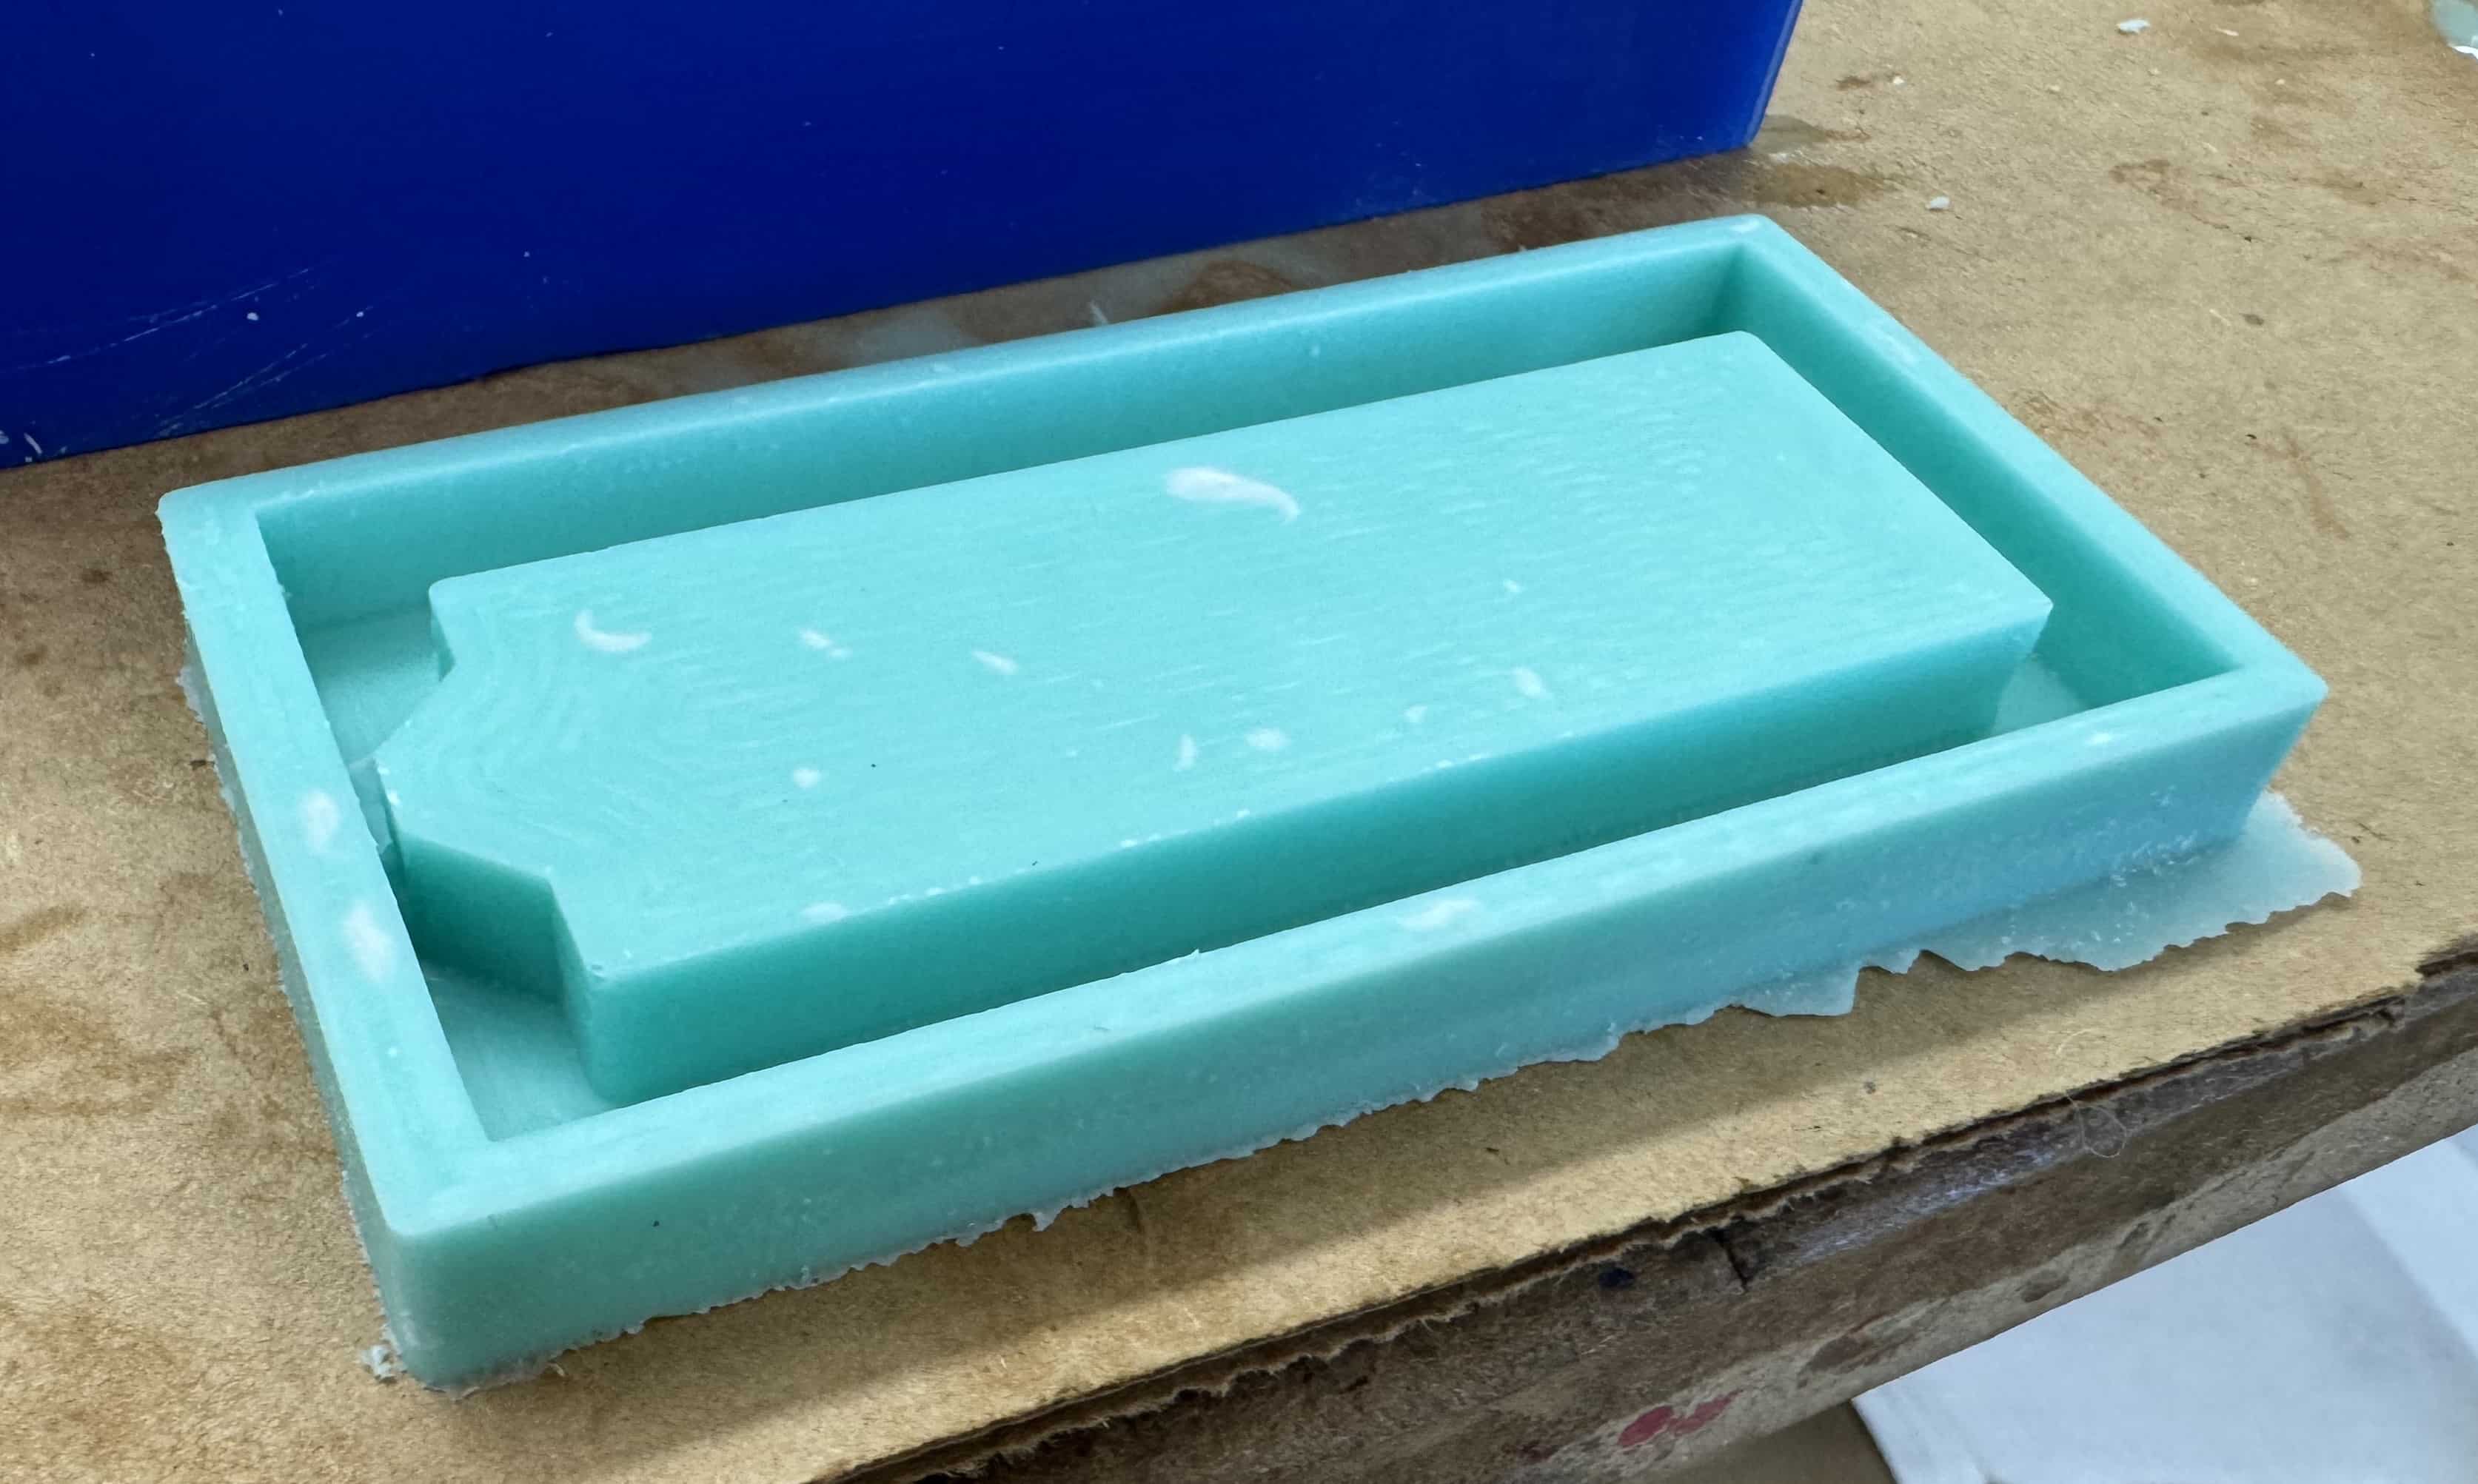
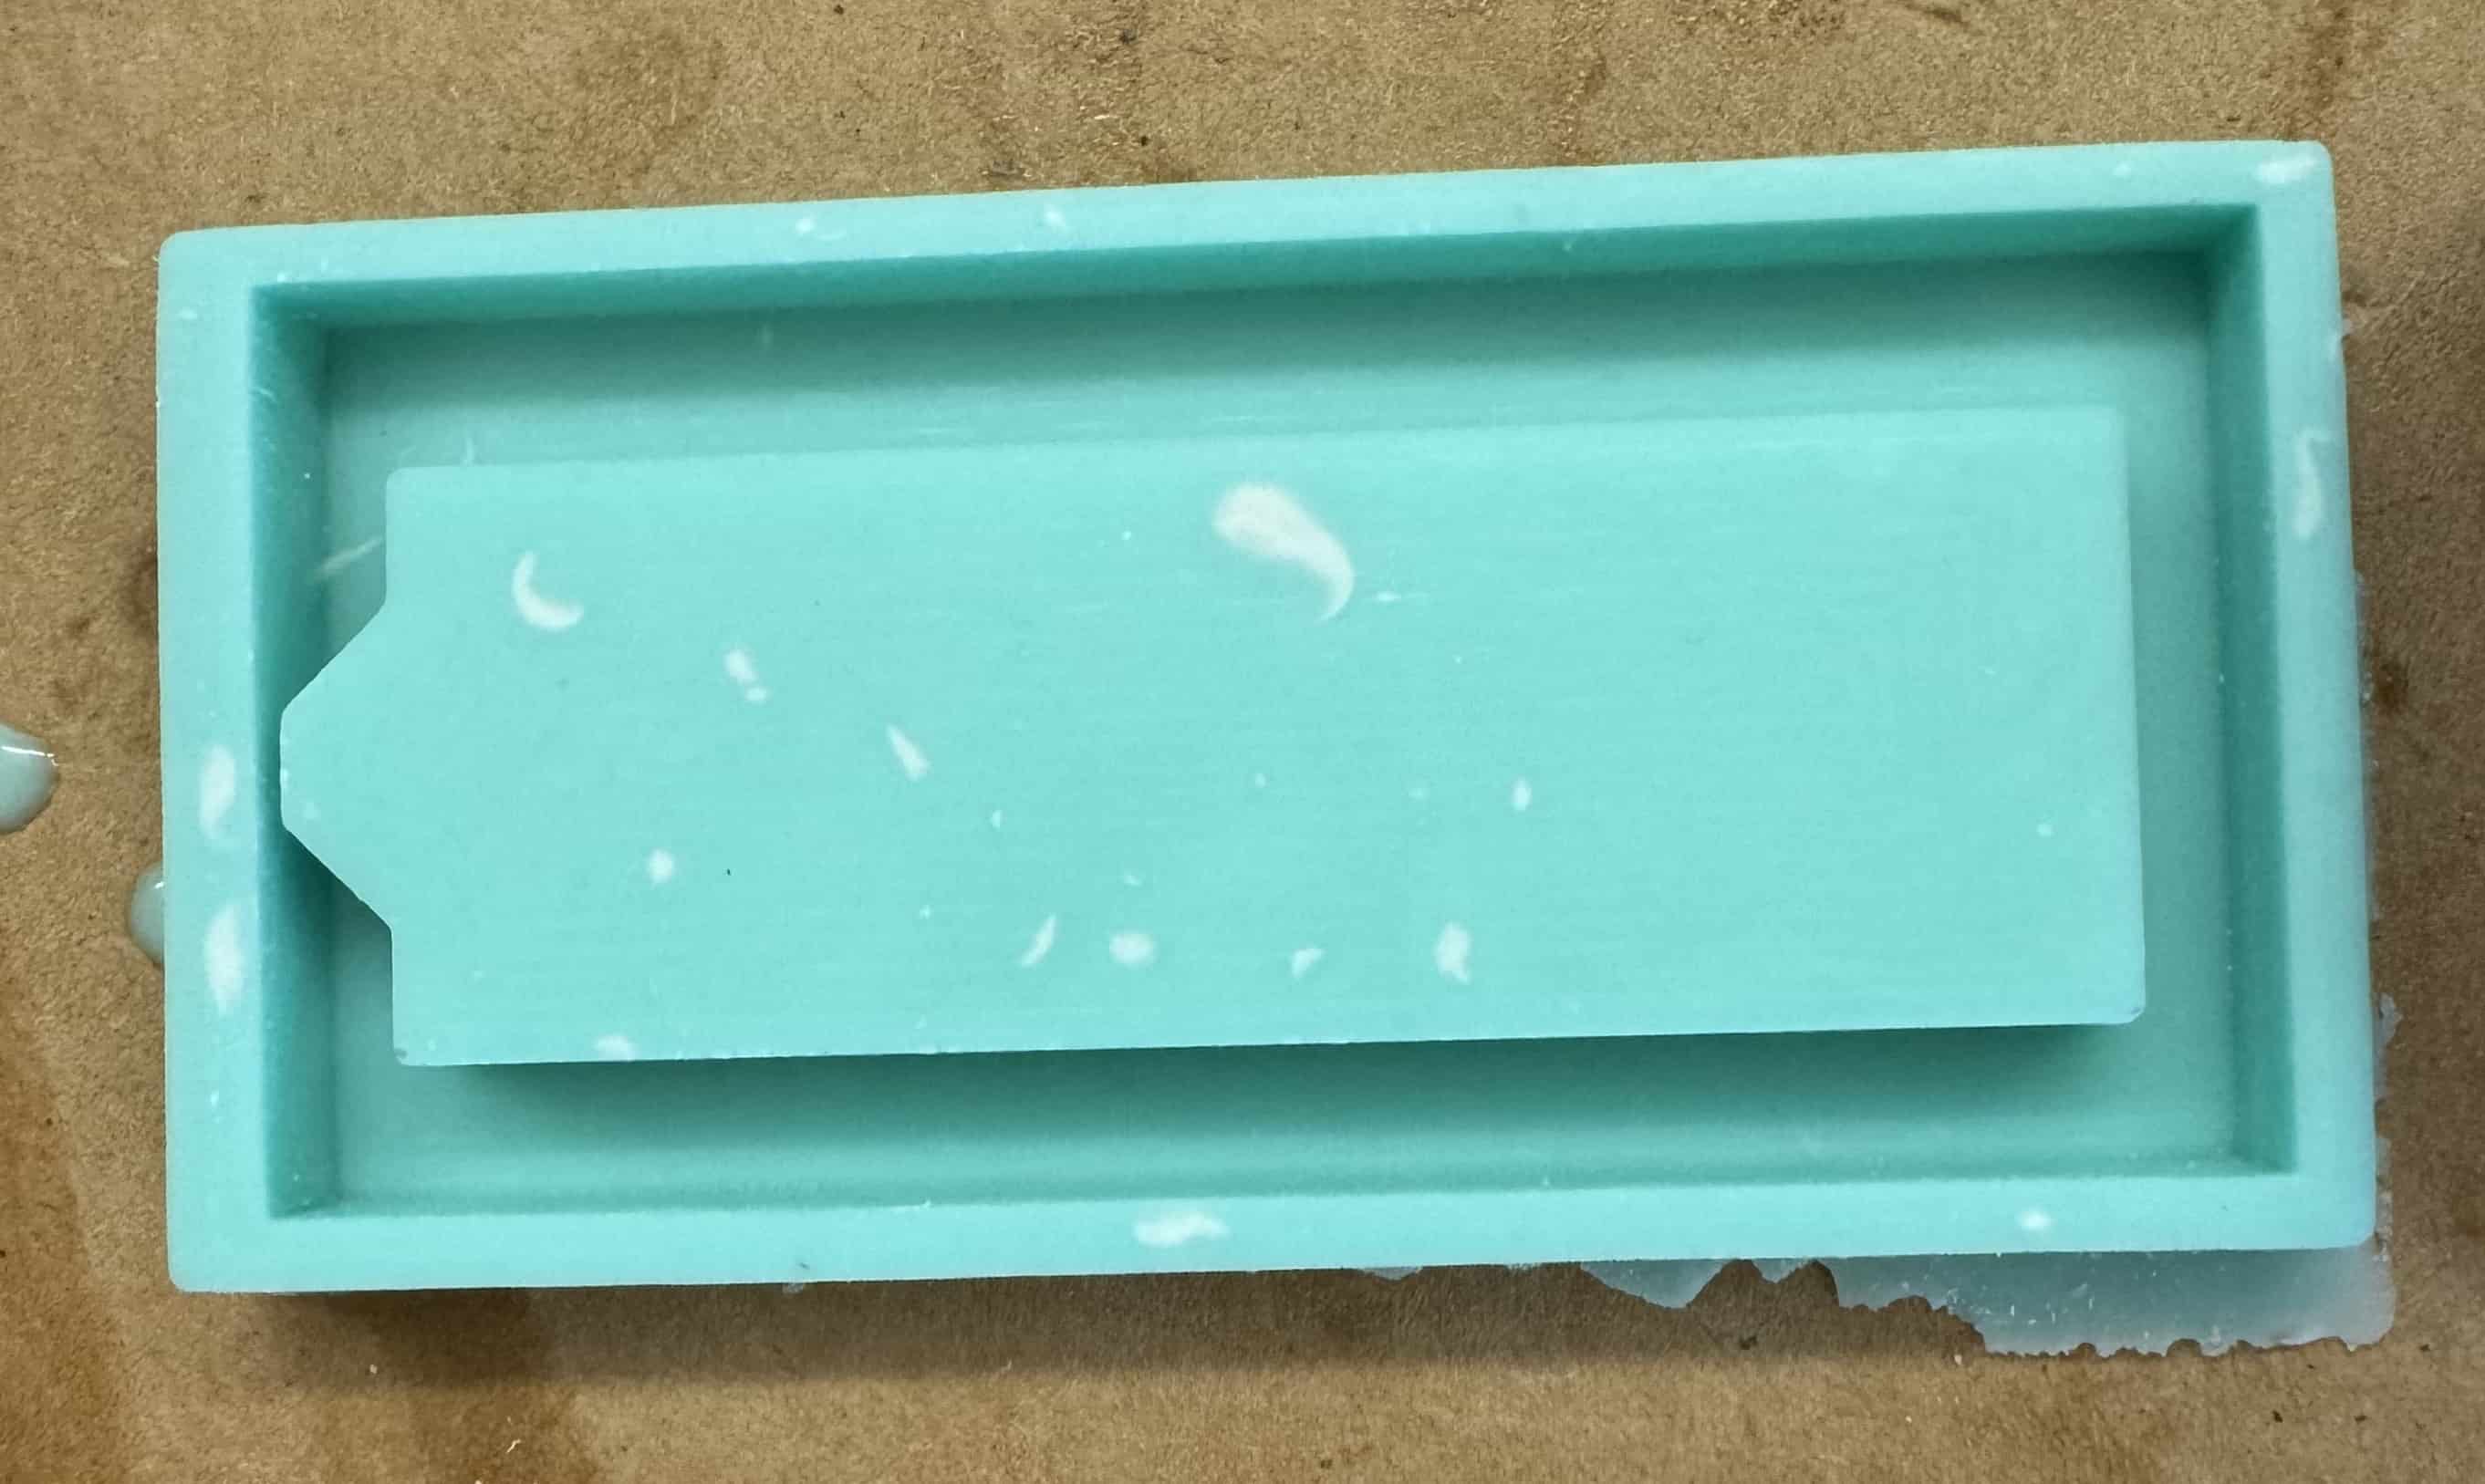
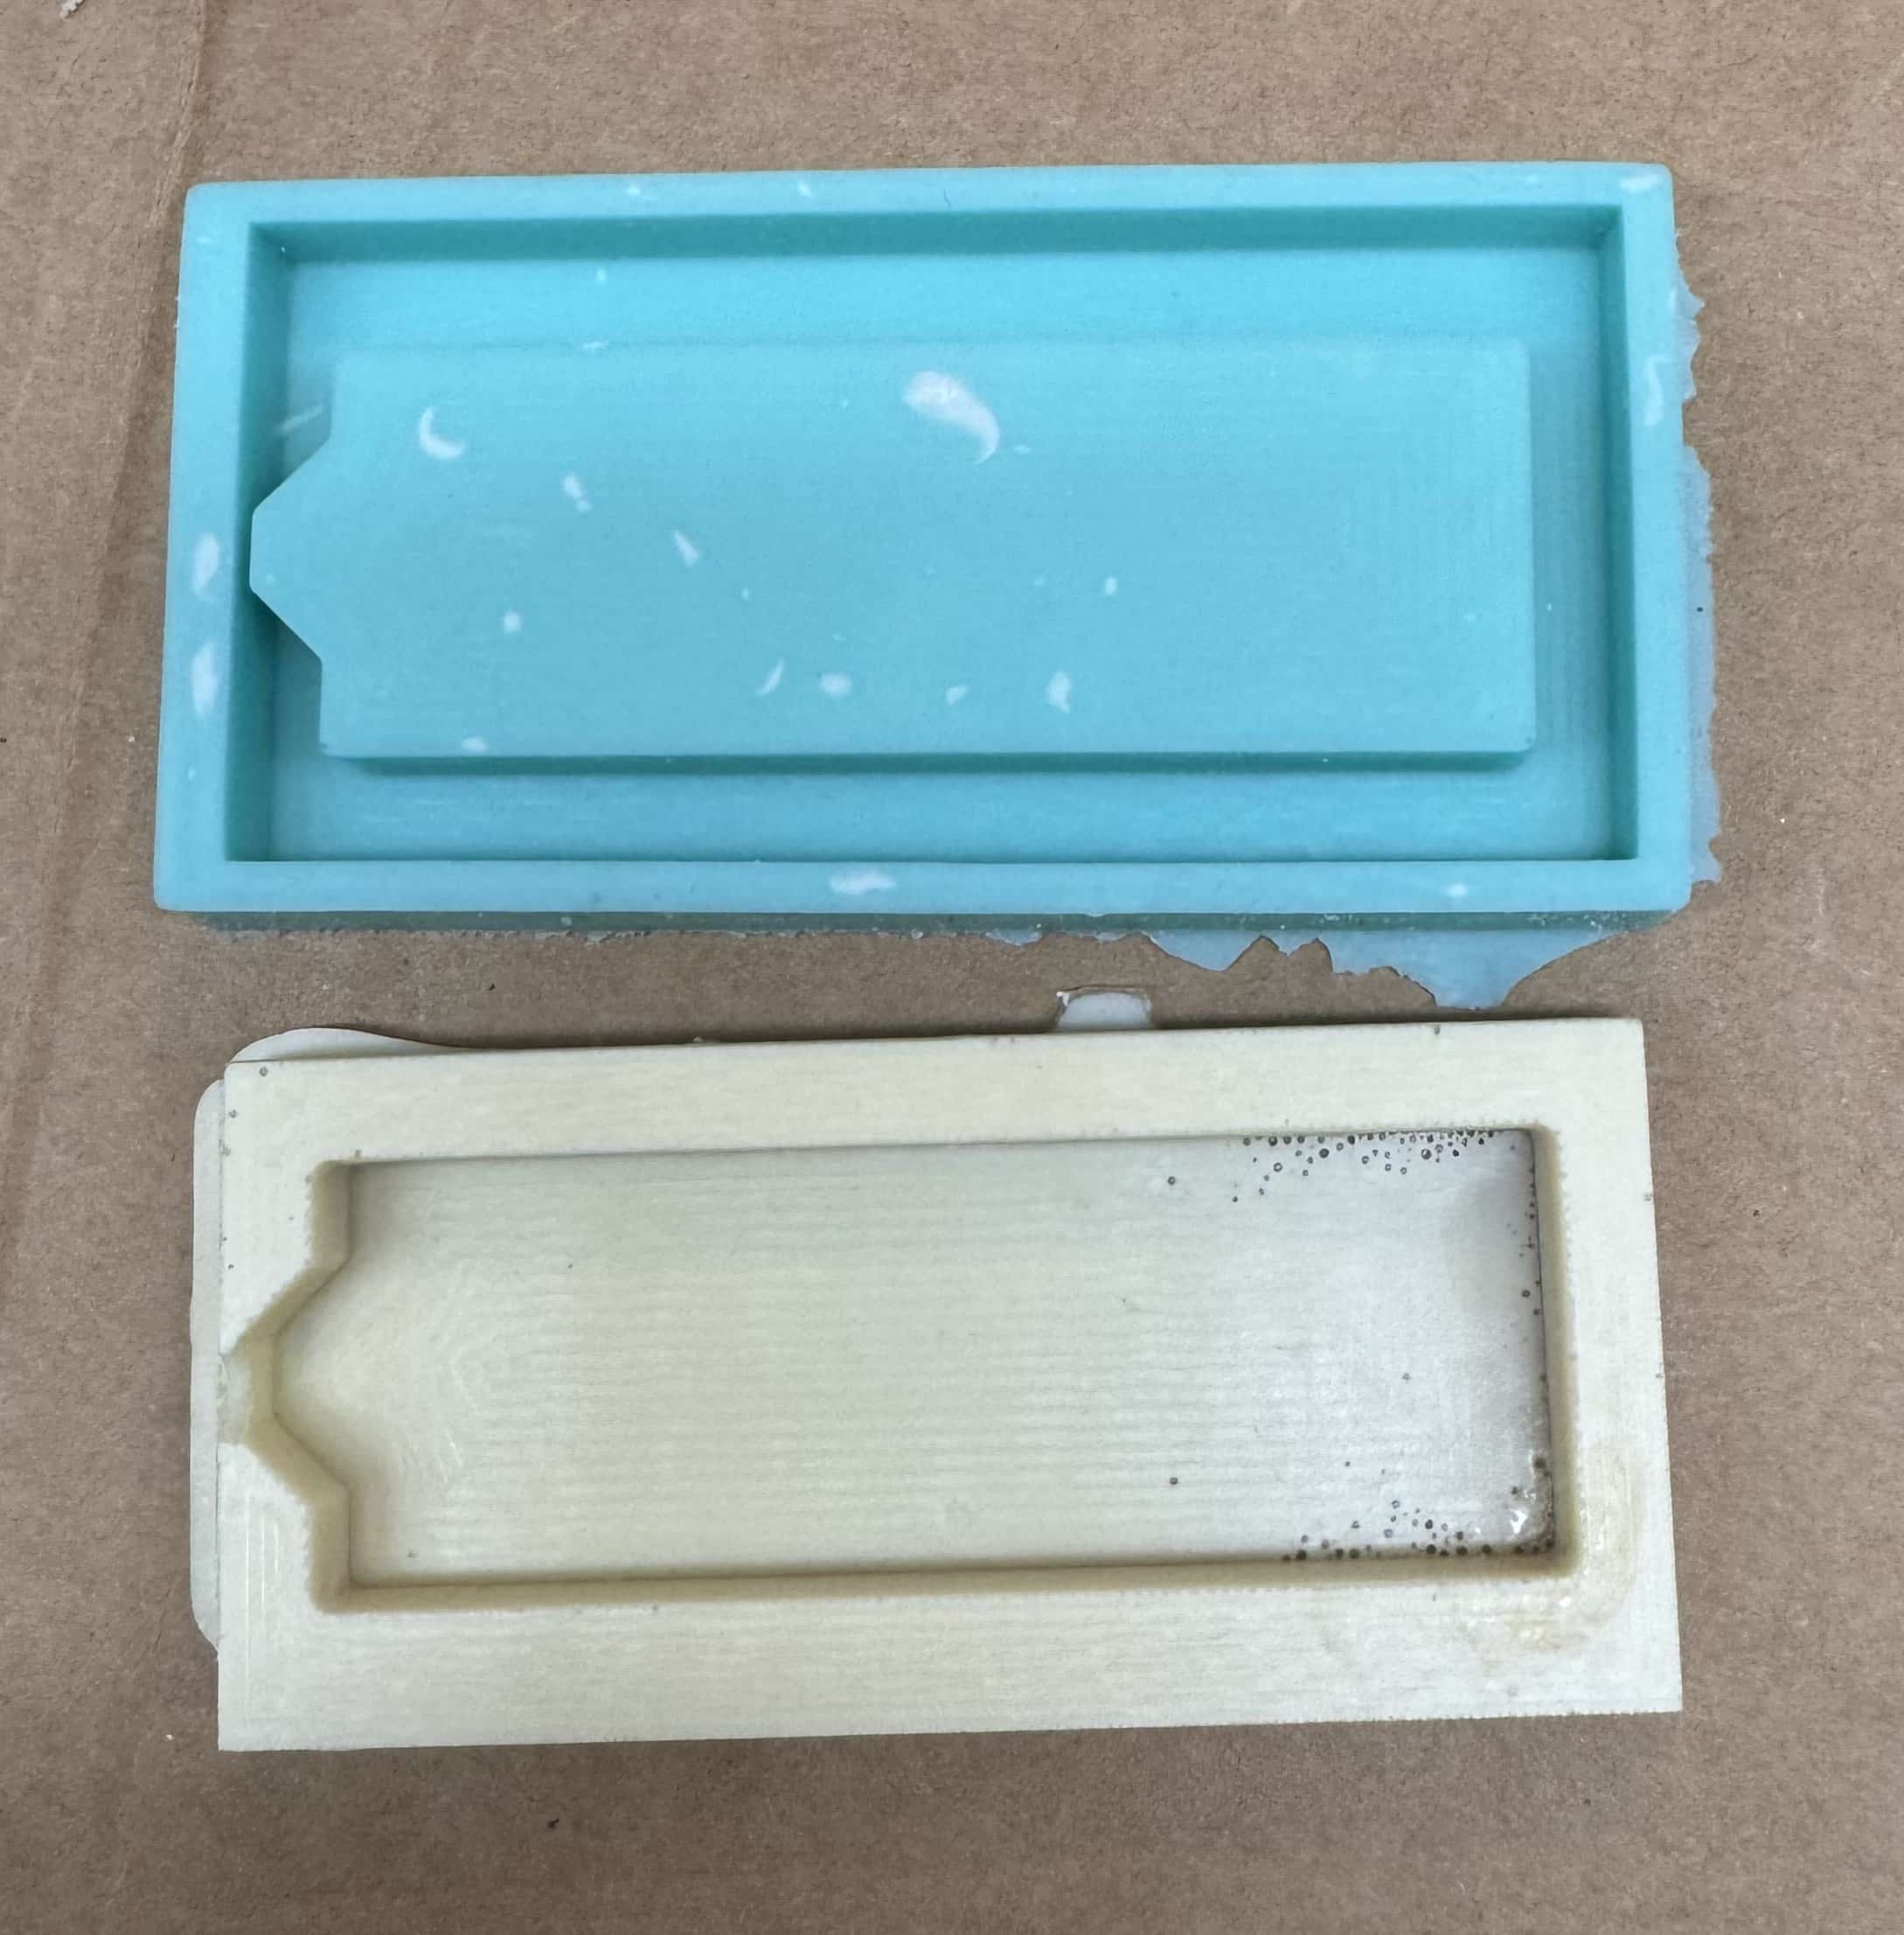
The mold 3D printed:
Formlabs 3D Print
To use the Formlab’s resin 3D printer, I first opened our lab’s site and went to our Lab Equipment tab. From there I opened the Formlabs Form3B printer workflow.
The steps I followed are detailed below, slightly modified to my process.
Workflow
Setting Up Job in Resin Printer (updated 2/21/23)
-
Go to printer and clean build plate then lock it in
-
Then hit “Prime”
-
Follow the steps provided ie, locking build plate and opening vent
-
Open FormLabs PreForm 3.28.1 on a computer in Charlotte Latin School Fab Lab.
-
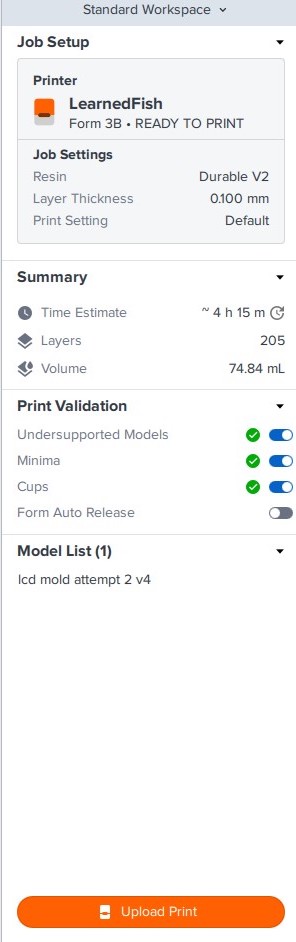
Under “Job Setup” select “LearnedFish” Printer preset
- Settings are Form 3B, Durable V2, and layer thickness of 0.100 mm or 0.050 mm
-
Open model file (either .STL or .OBJ).
- Go to File–> Open. Bring a file in. It will place the file in the virtual workplane.
-
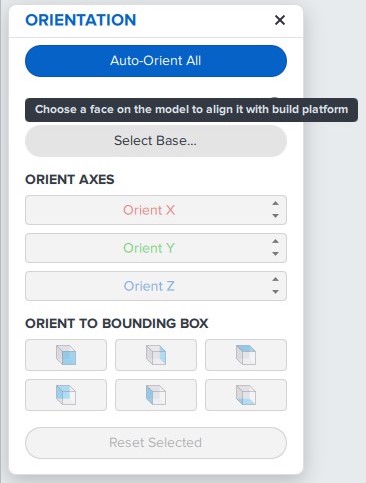
Orient the model for the best printability
-
On the right side of the screen, verify “Printability”. This should be green in color.
- Add supports if needed:
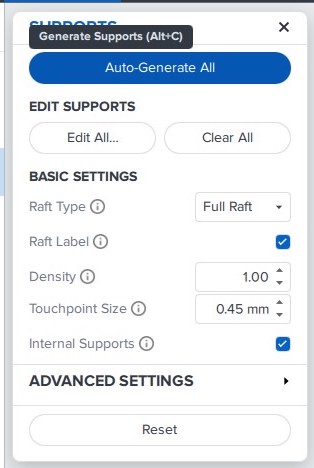
The supports on my print:
-
On the left side of the screen, click on the orange “Start A Print” button.
-
Select a printer; this should say “LearnedFish” since it’s already been configured
-
Then “Upload Job”.
-
Go to printer to confirm that the print is running
-
Wait until step 5 of the checking process
After Job Is Complete
-
Pull the entire build plate out
-
Press “Open” for the washer and slide the entire build plate on the ledge
- If not using the basket, please remove basket and place it on some paper towels
-
Start washer for twenty-minute cycle
-
Once wash cycle is finished, put on disposable gloves
- If the build plate is still sticky, the wash didn’t cover the entire print. Fill more alcohol into the wash and re-wash the print
-
Carefully pry the print job from the build
-
Place print job (alone) in curing machine for sixty minutes
-
Wash the build plate with alcohol and put it back into printer
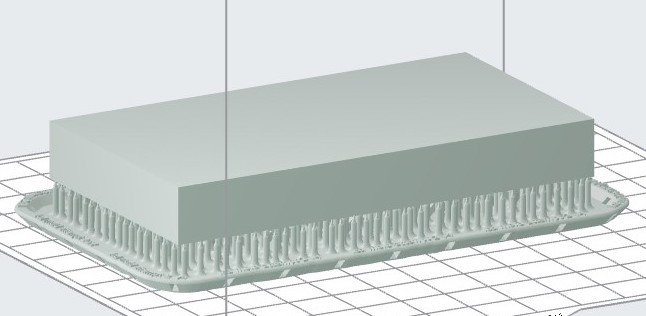
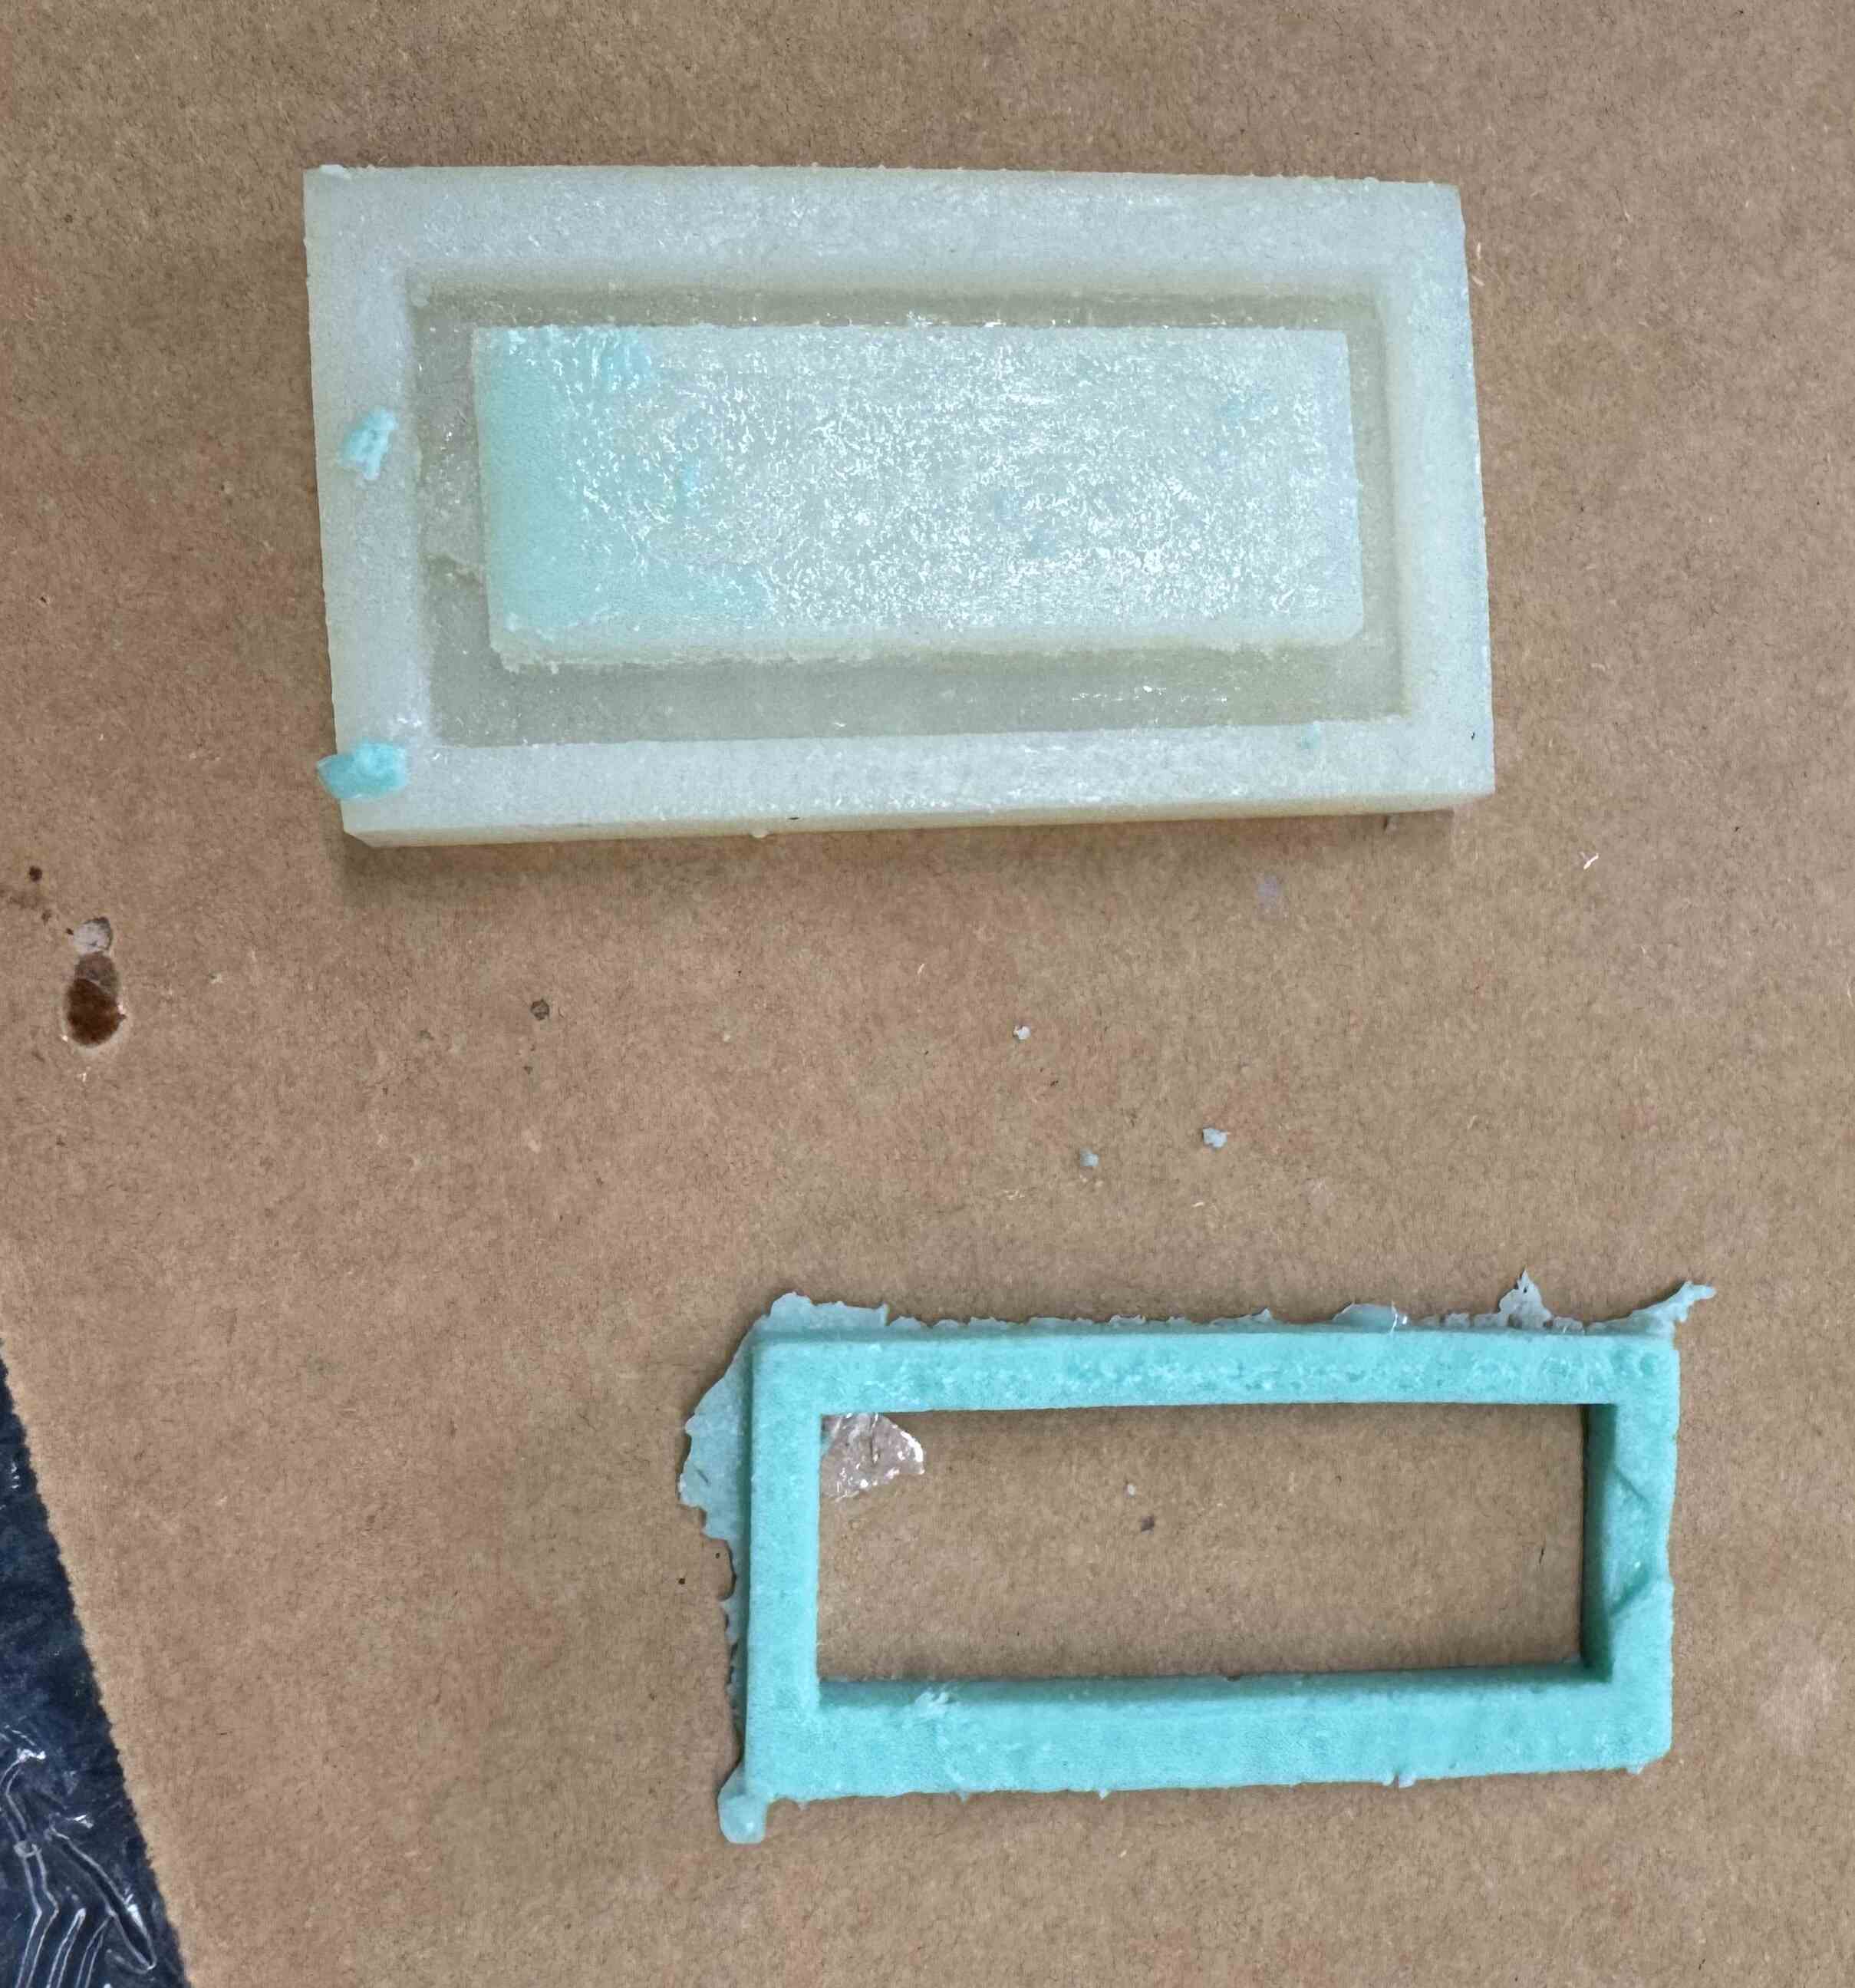
Once the resin print finished it looked as pictured below:
I pulled the supports off and then ran it in a wash cycle for 20 minutes and a curing cycle for 60 minutes.
When it finished, the mold looked as follows:
Problems/Solutions
while trying to print with the Formlabs Form 3B printer, I got a dispense error:
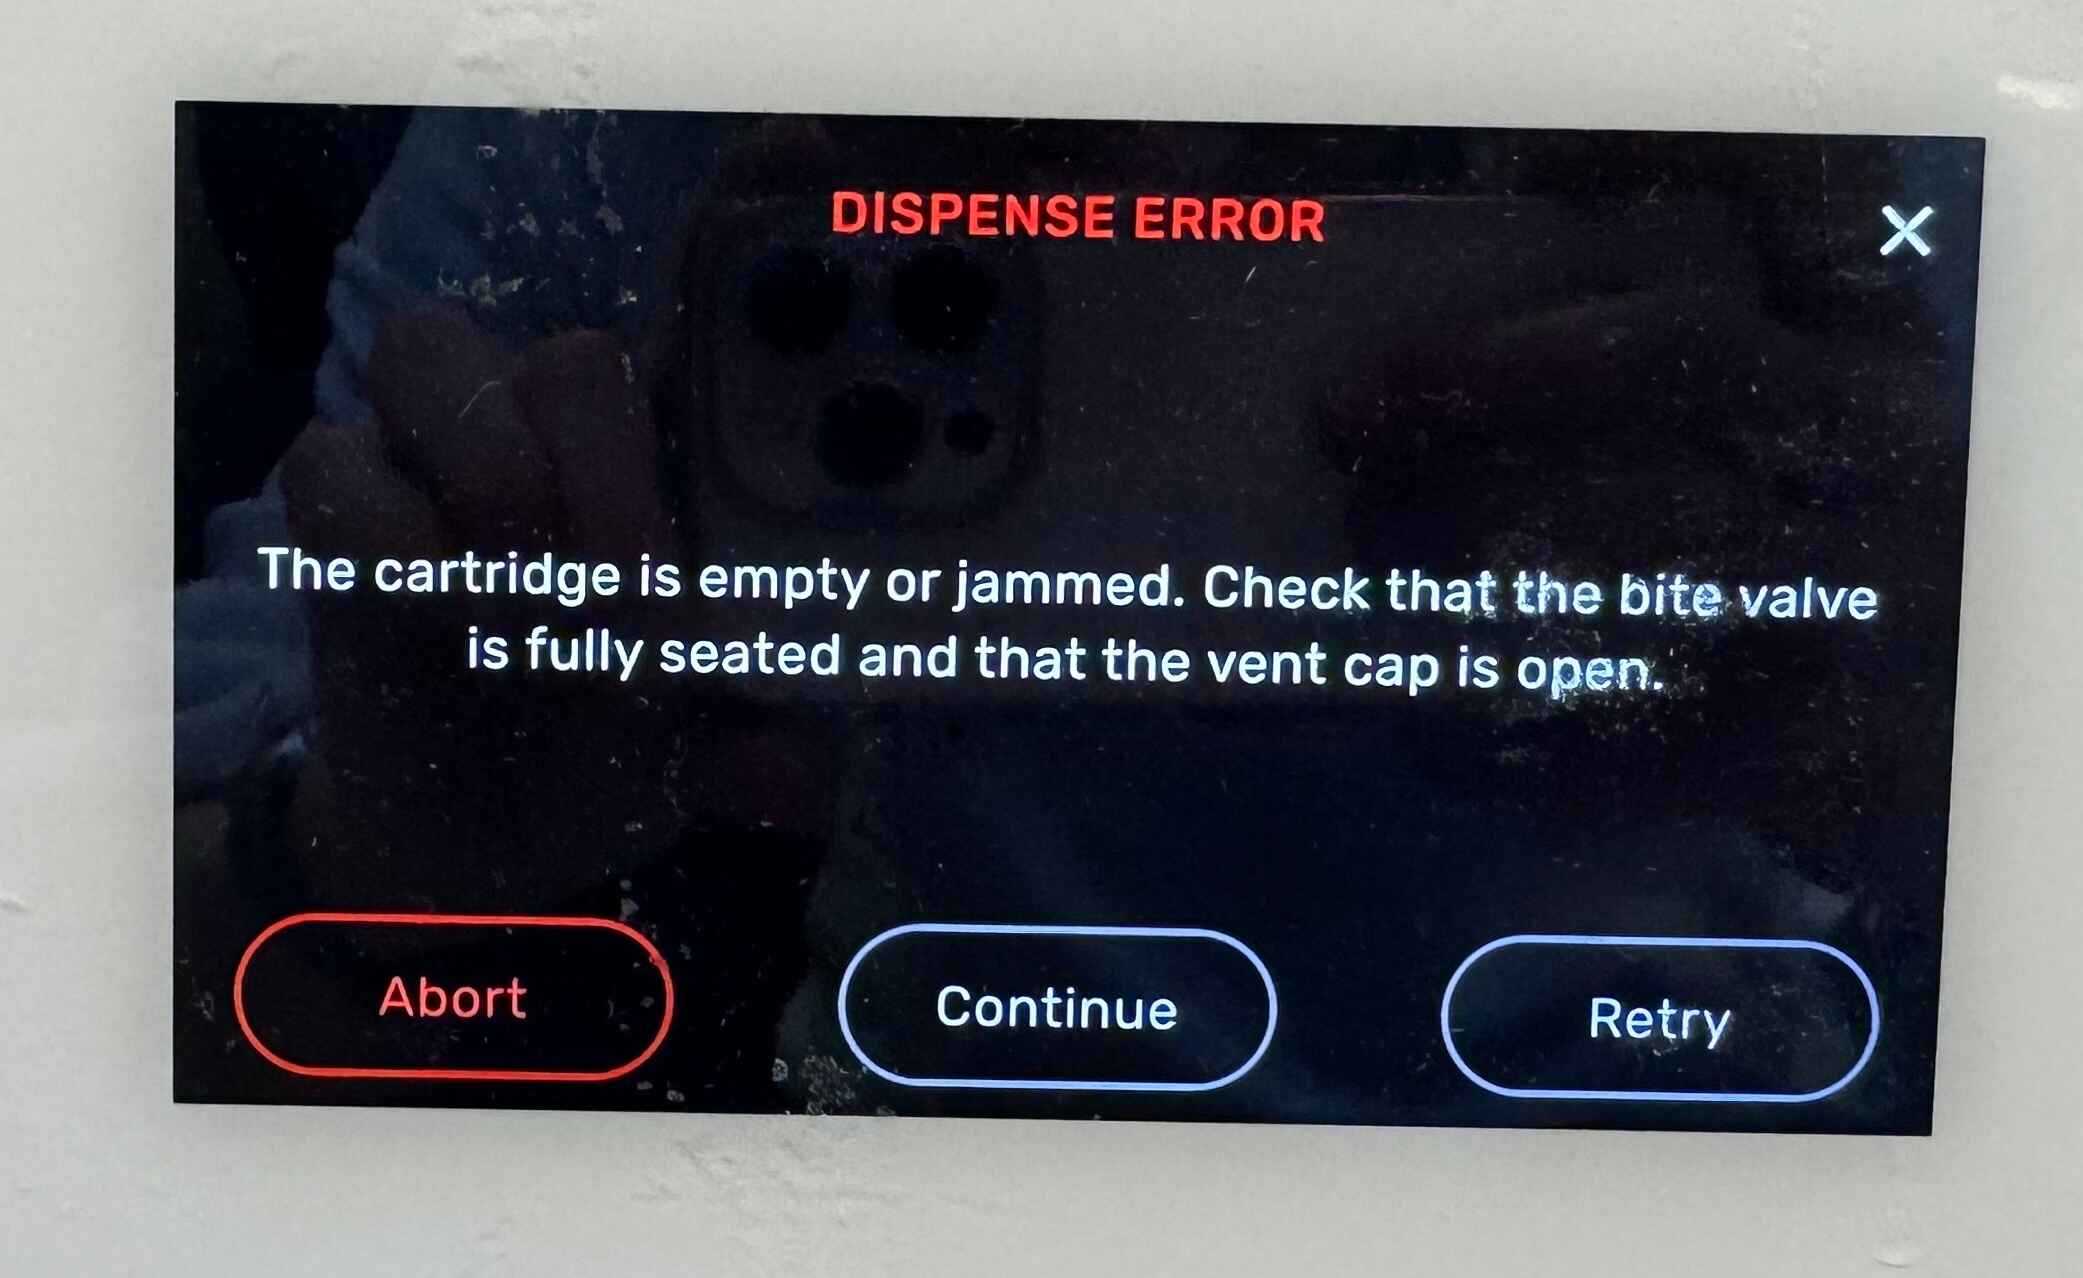
To fix this, I ended up pushing on the tank down a little, checking the vent cap, and clicking retry. I used this article as reference.

Bantam Tools Wax Mill
Fusion360 Setup
In Fusion360, I went to the machining workspace and created a setup and toolpaths for the Bantam machine to be able to mill.
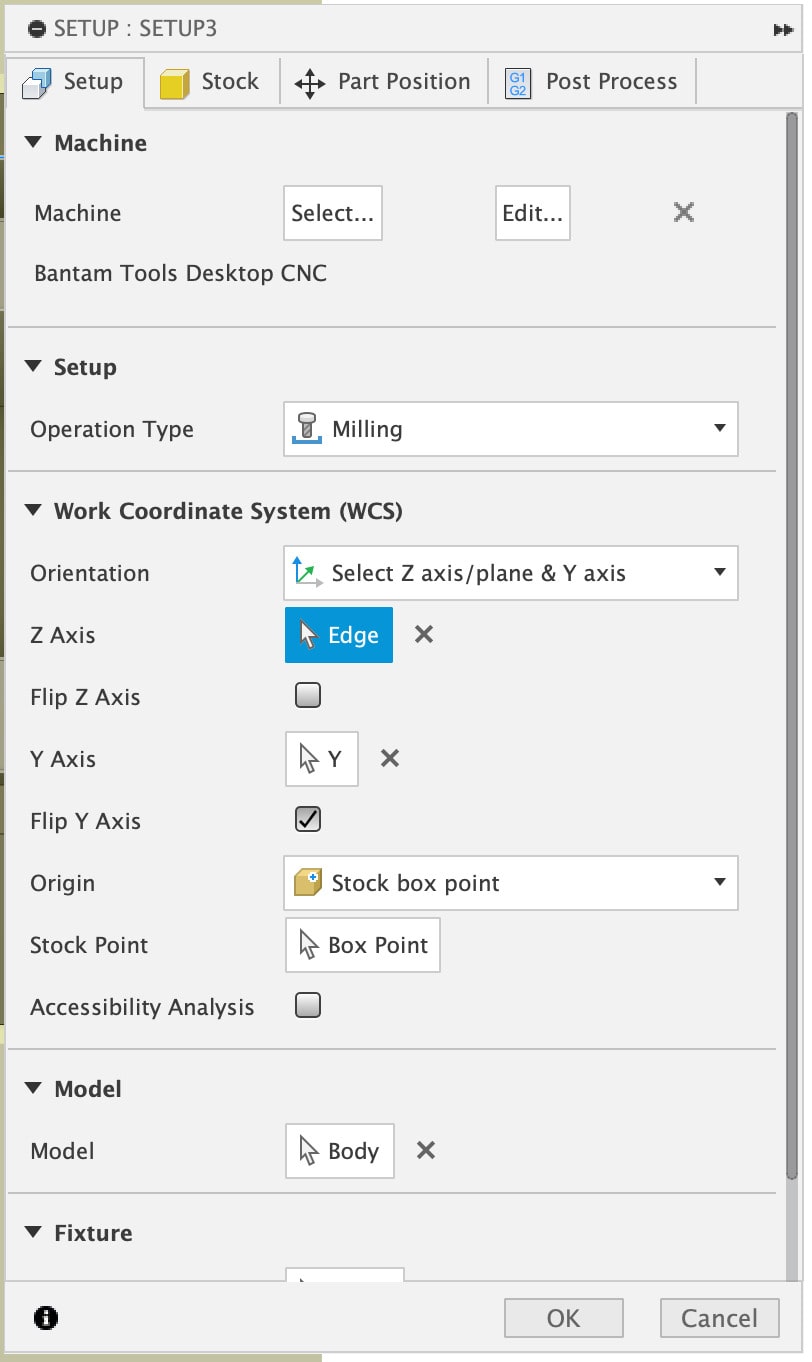
Setup
The setup settings were as pictured below:
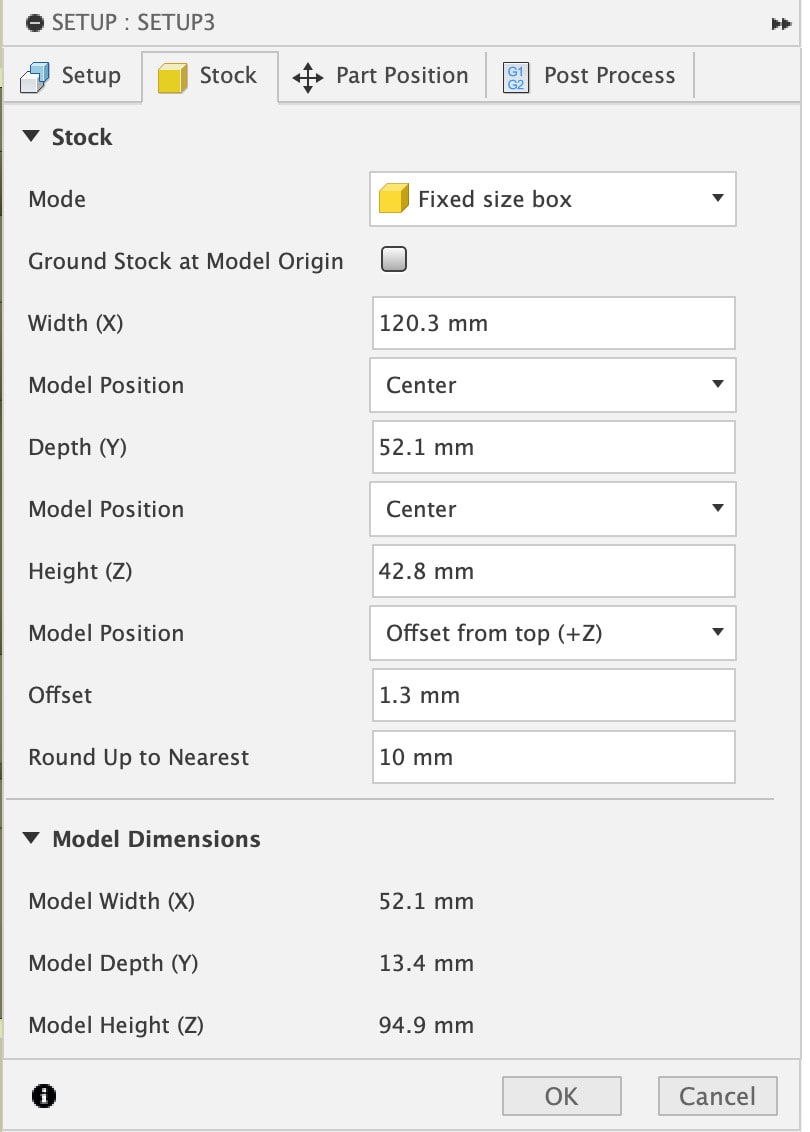
The stock settings were as pictured below:
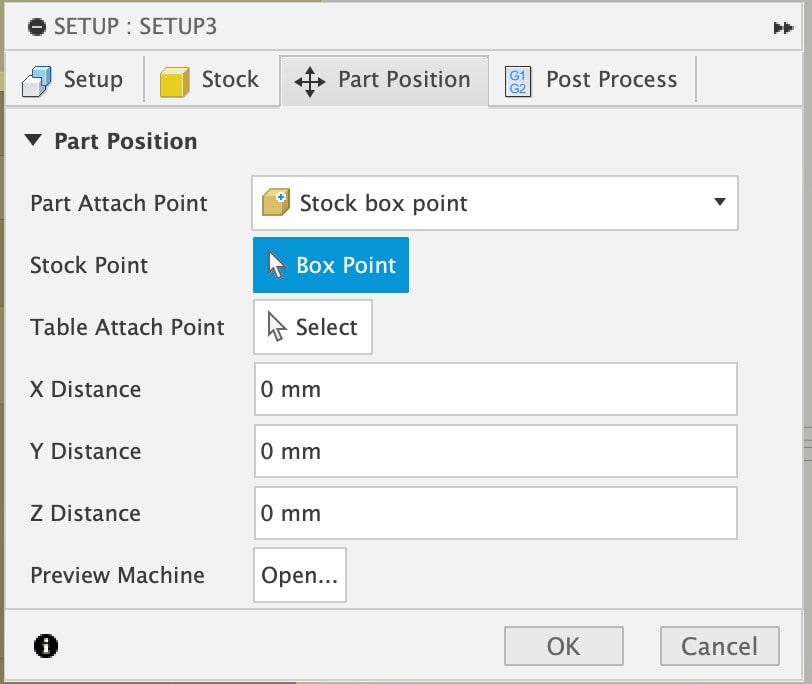
The part position settings were as pictured below:
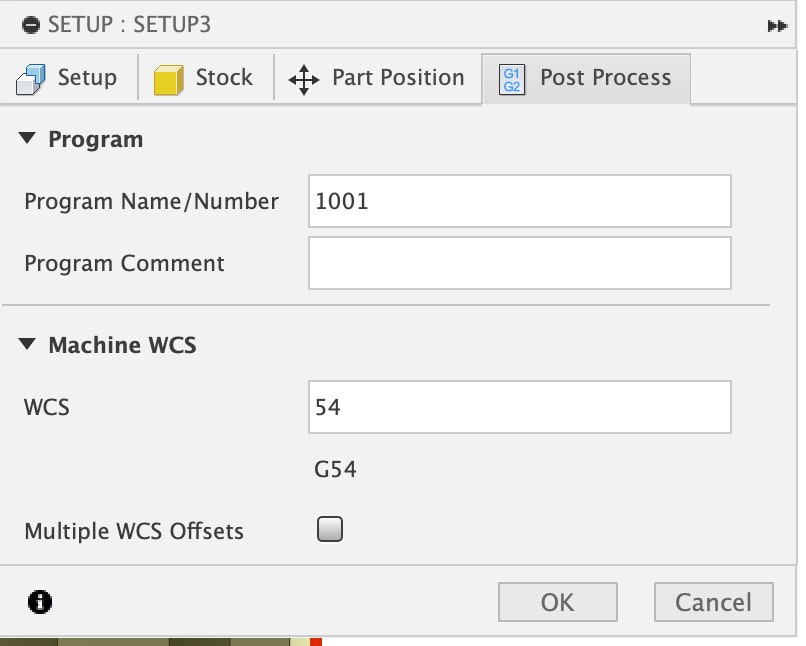
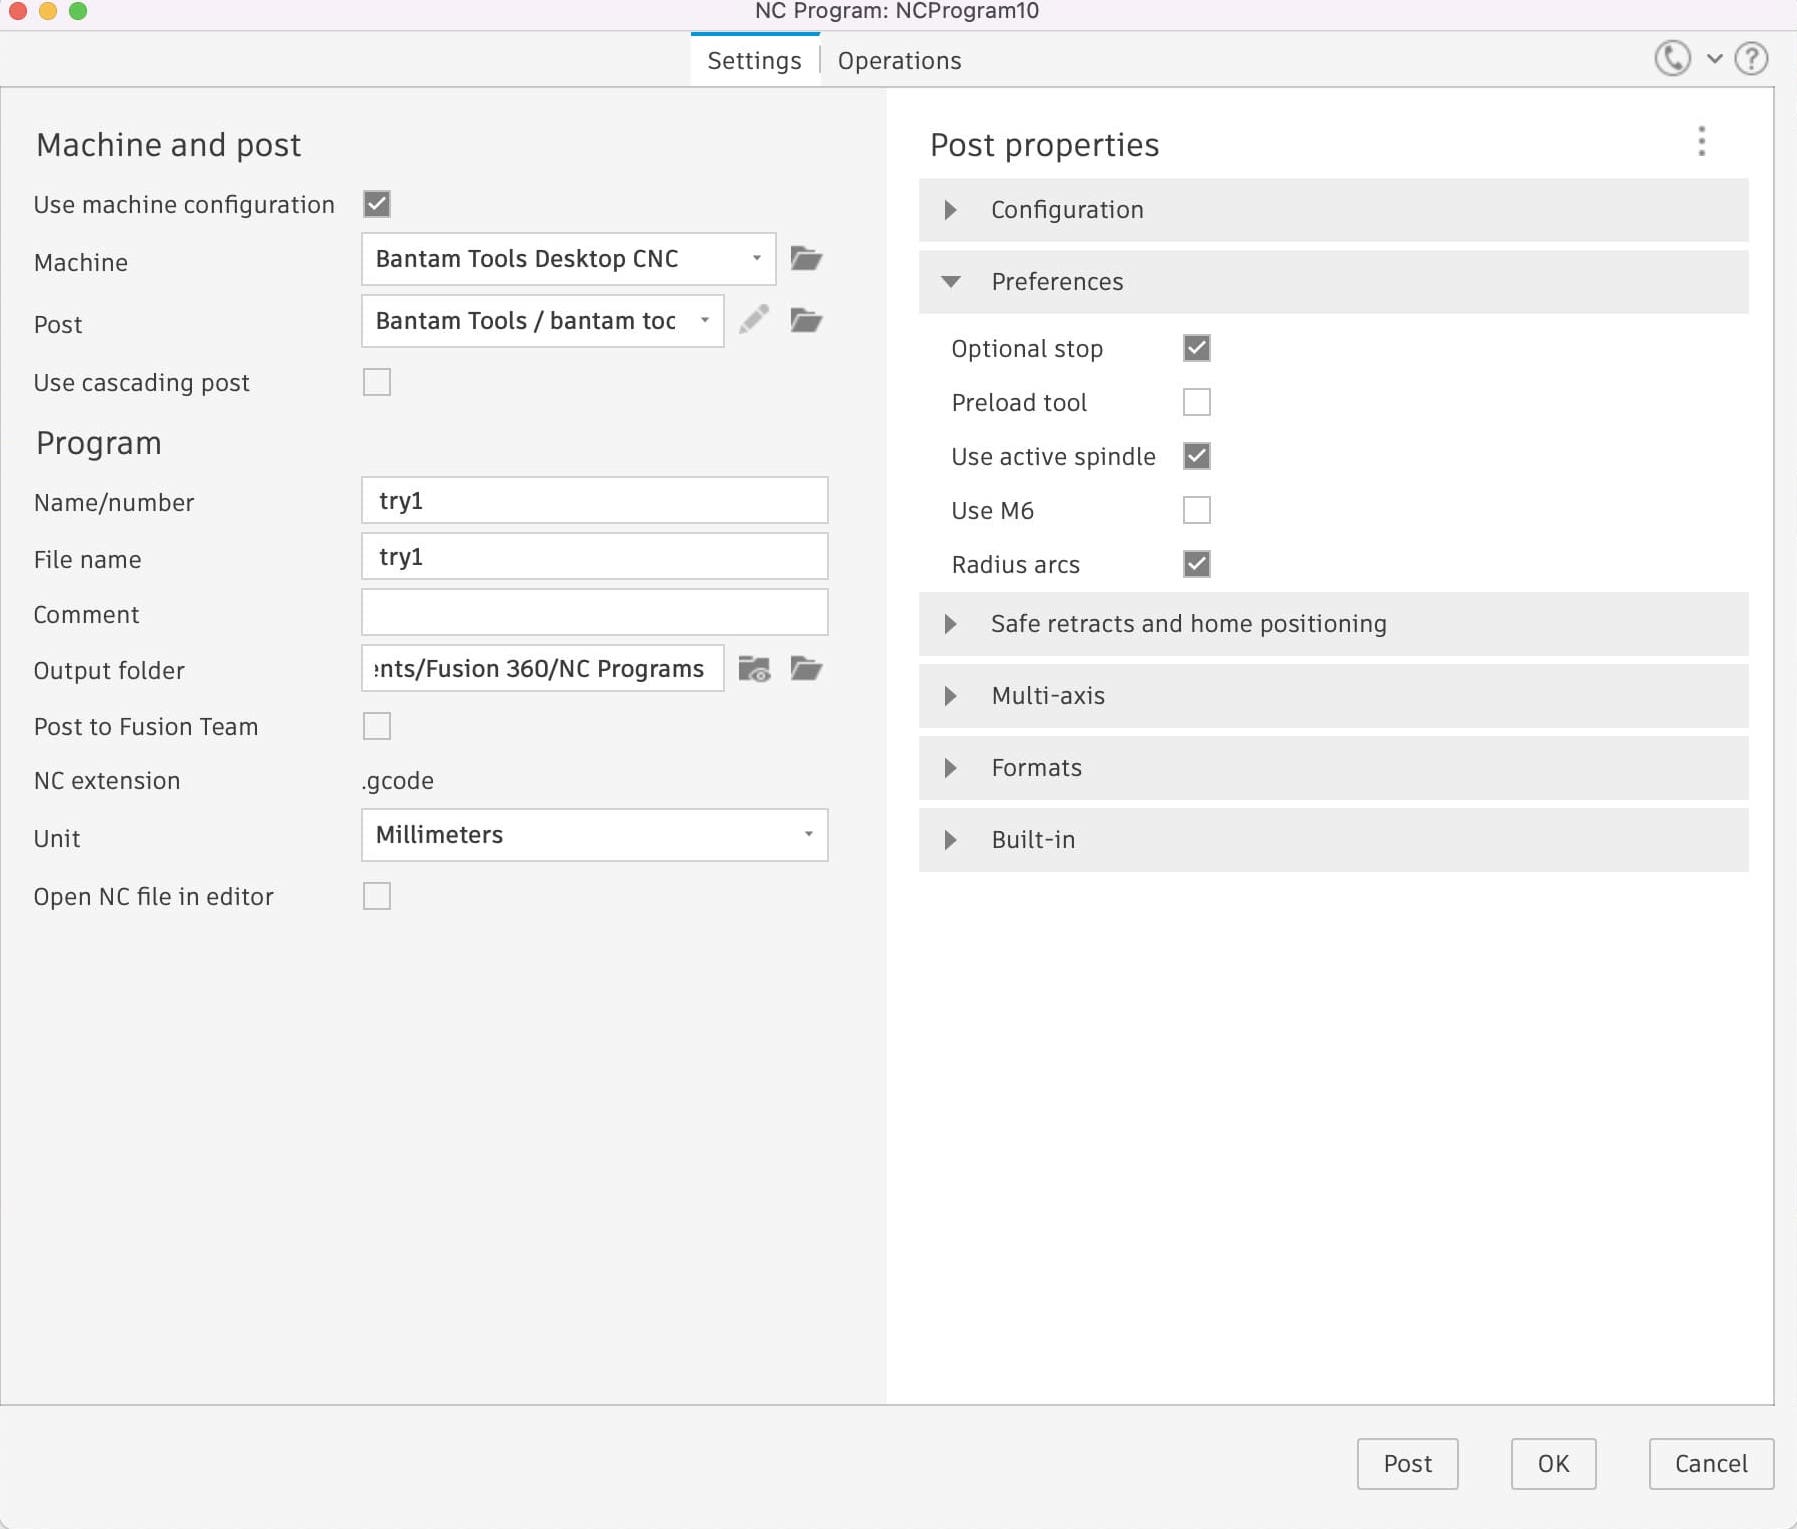
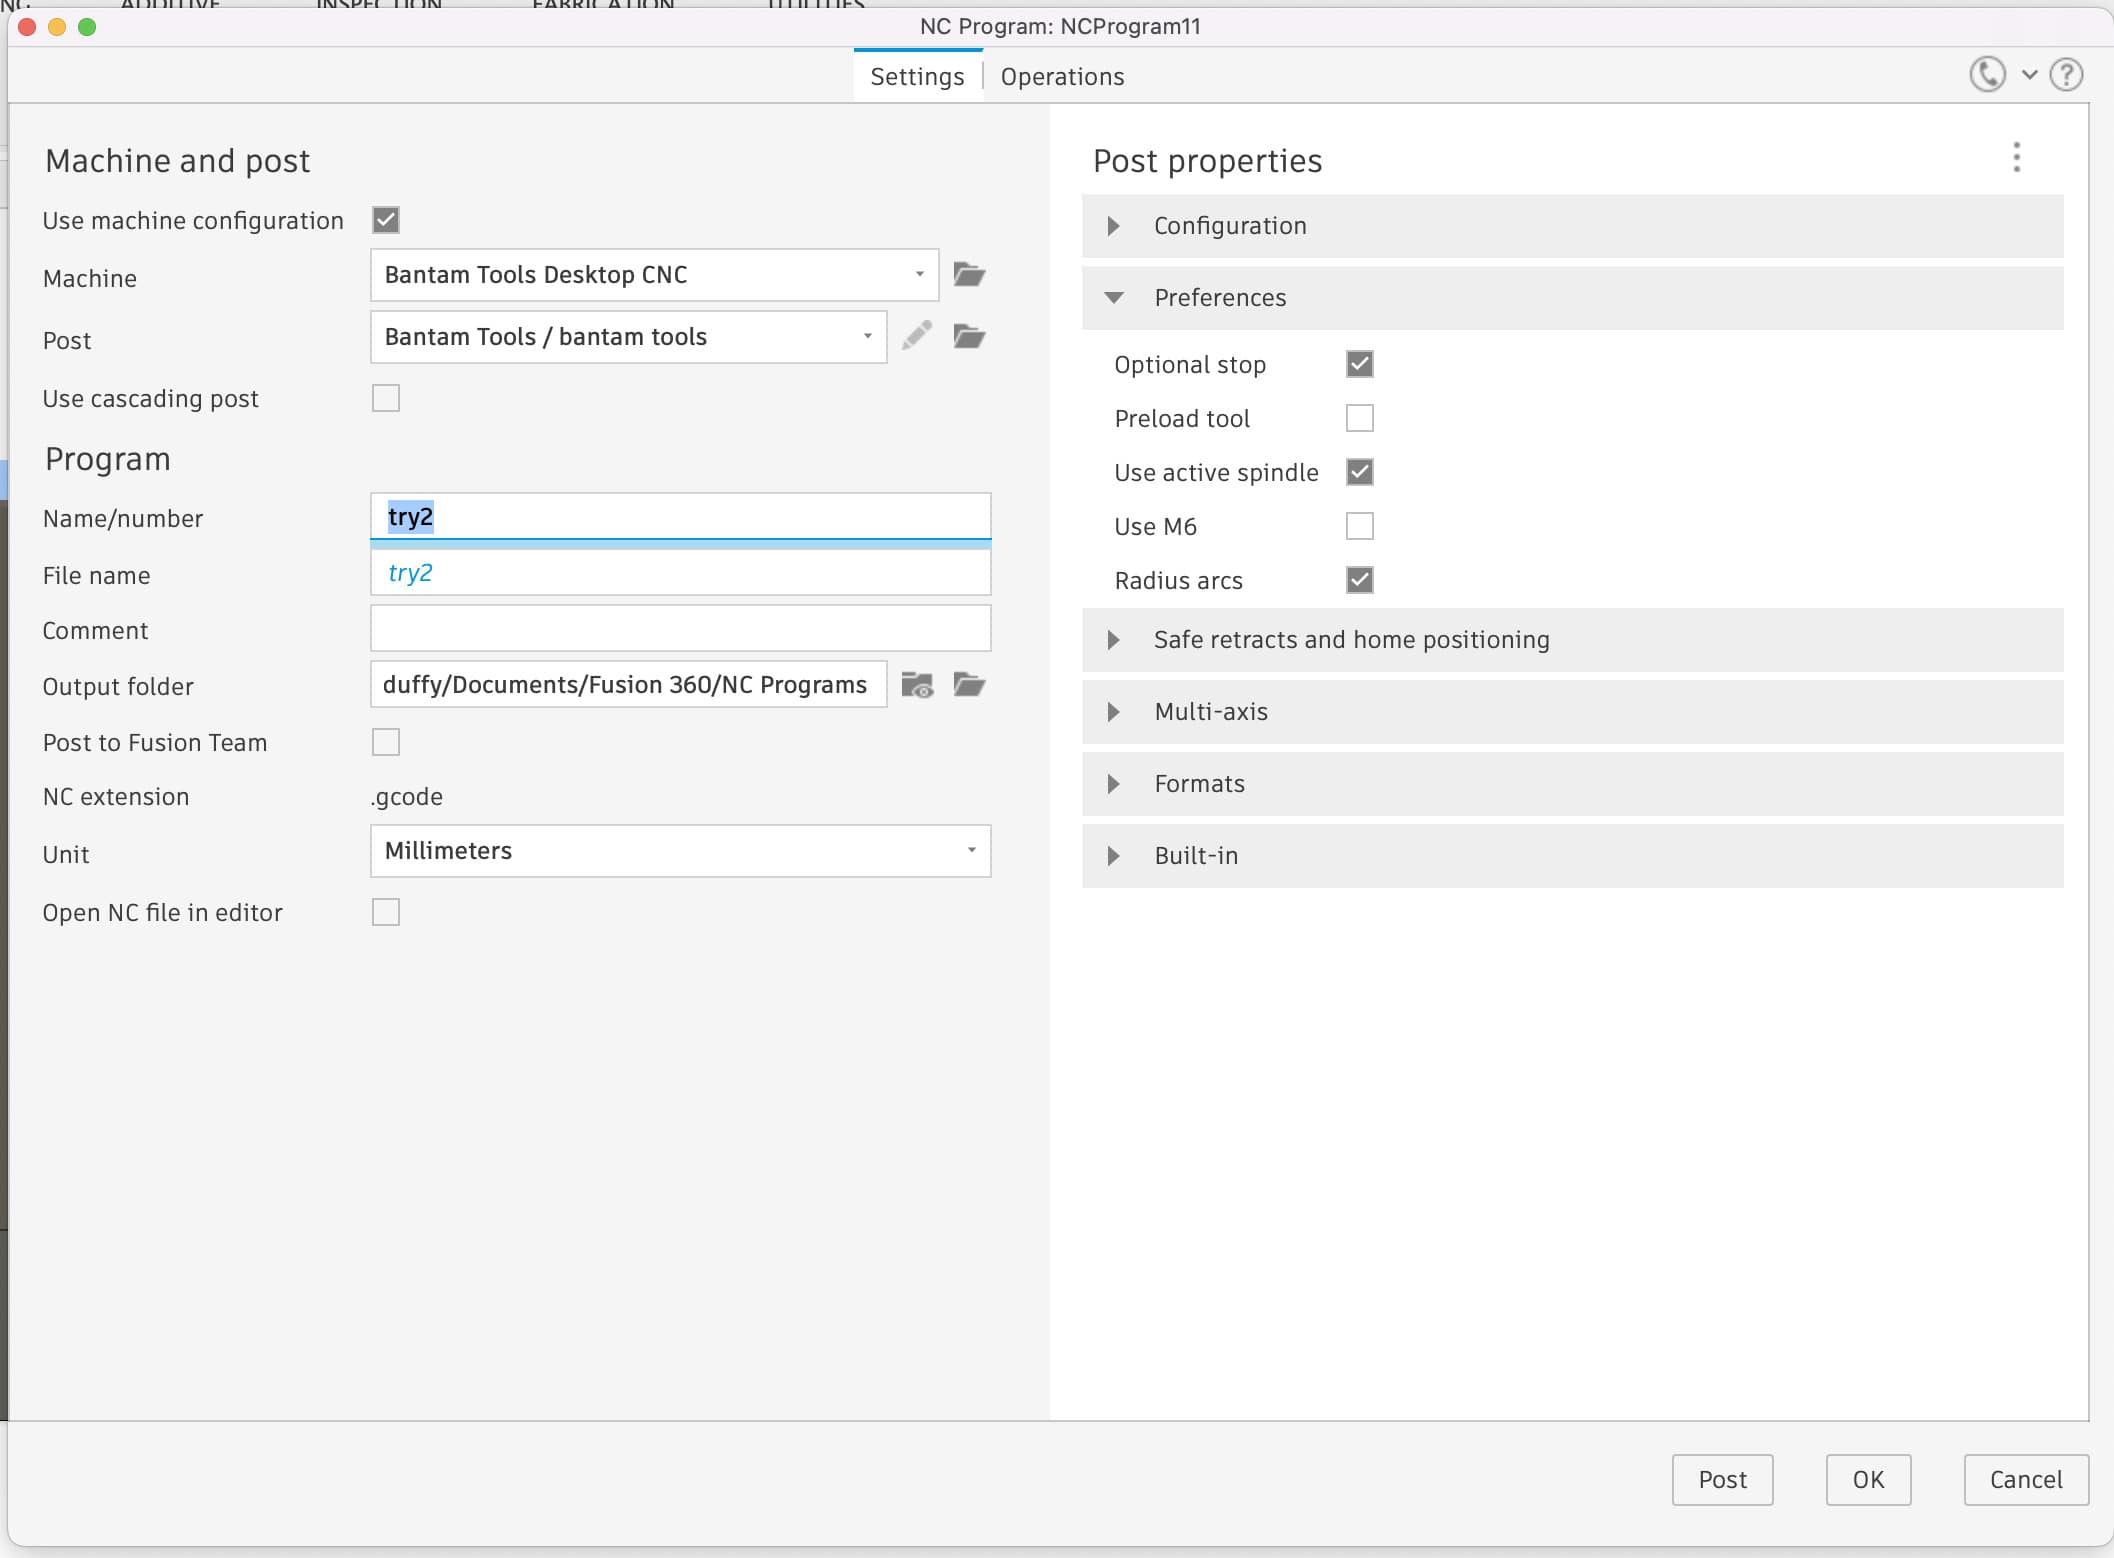
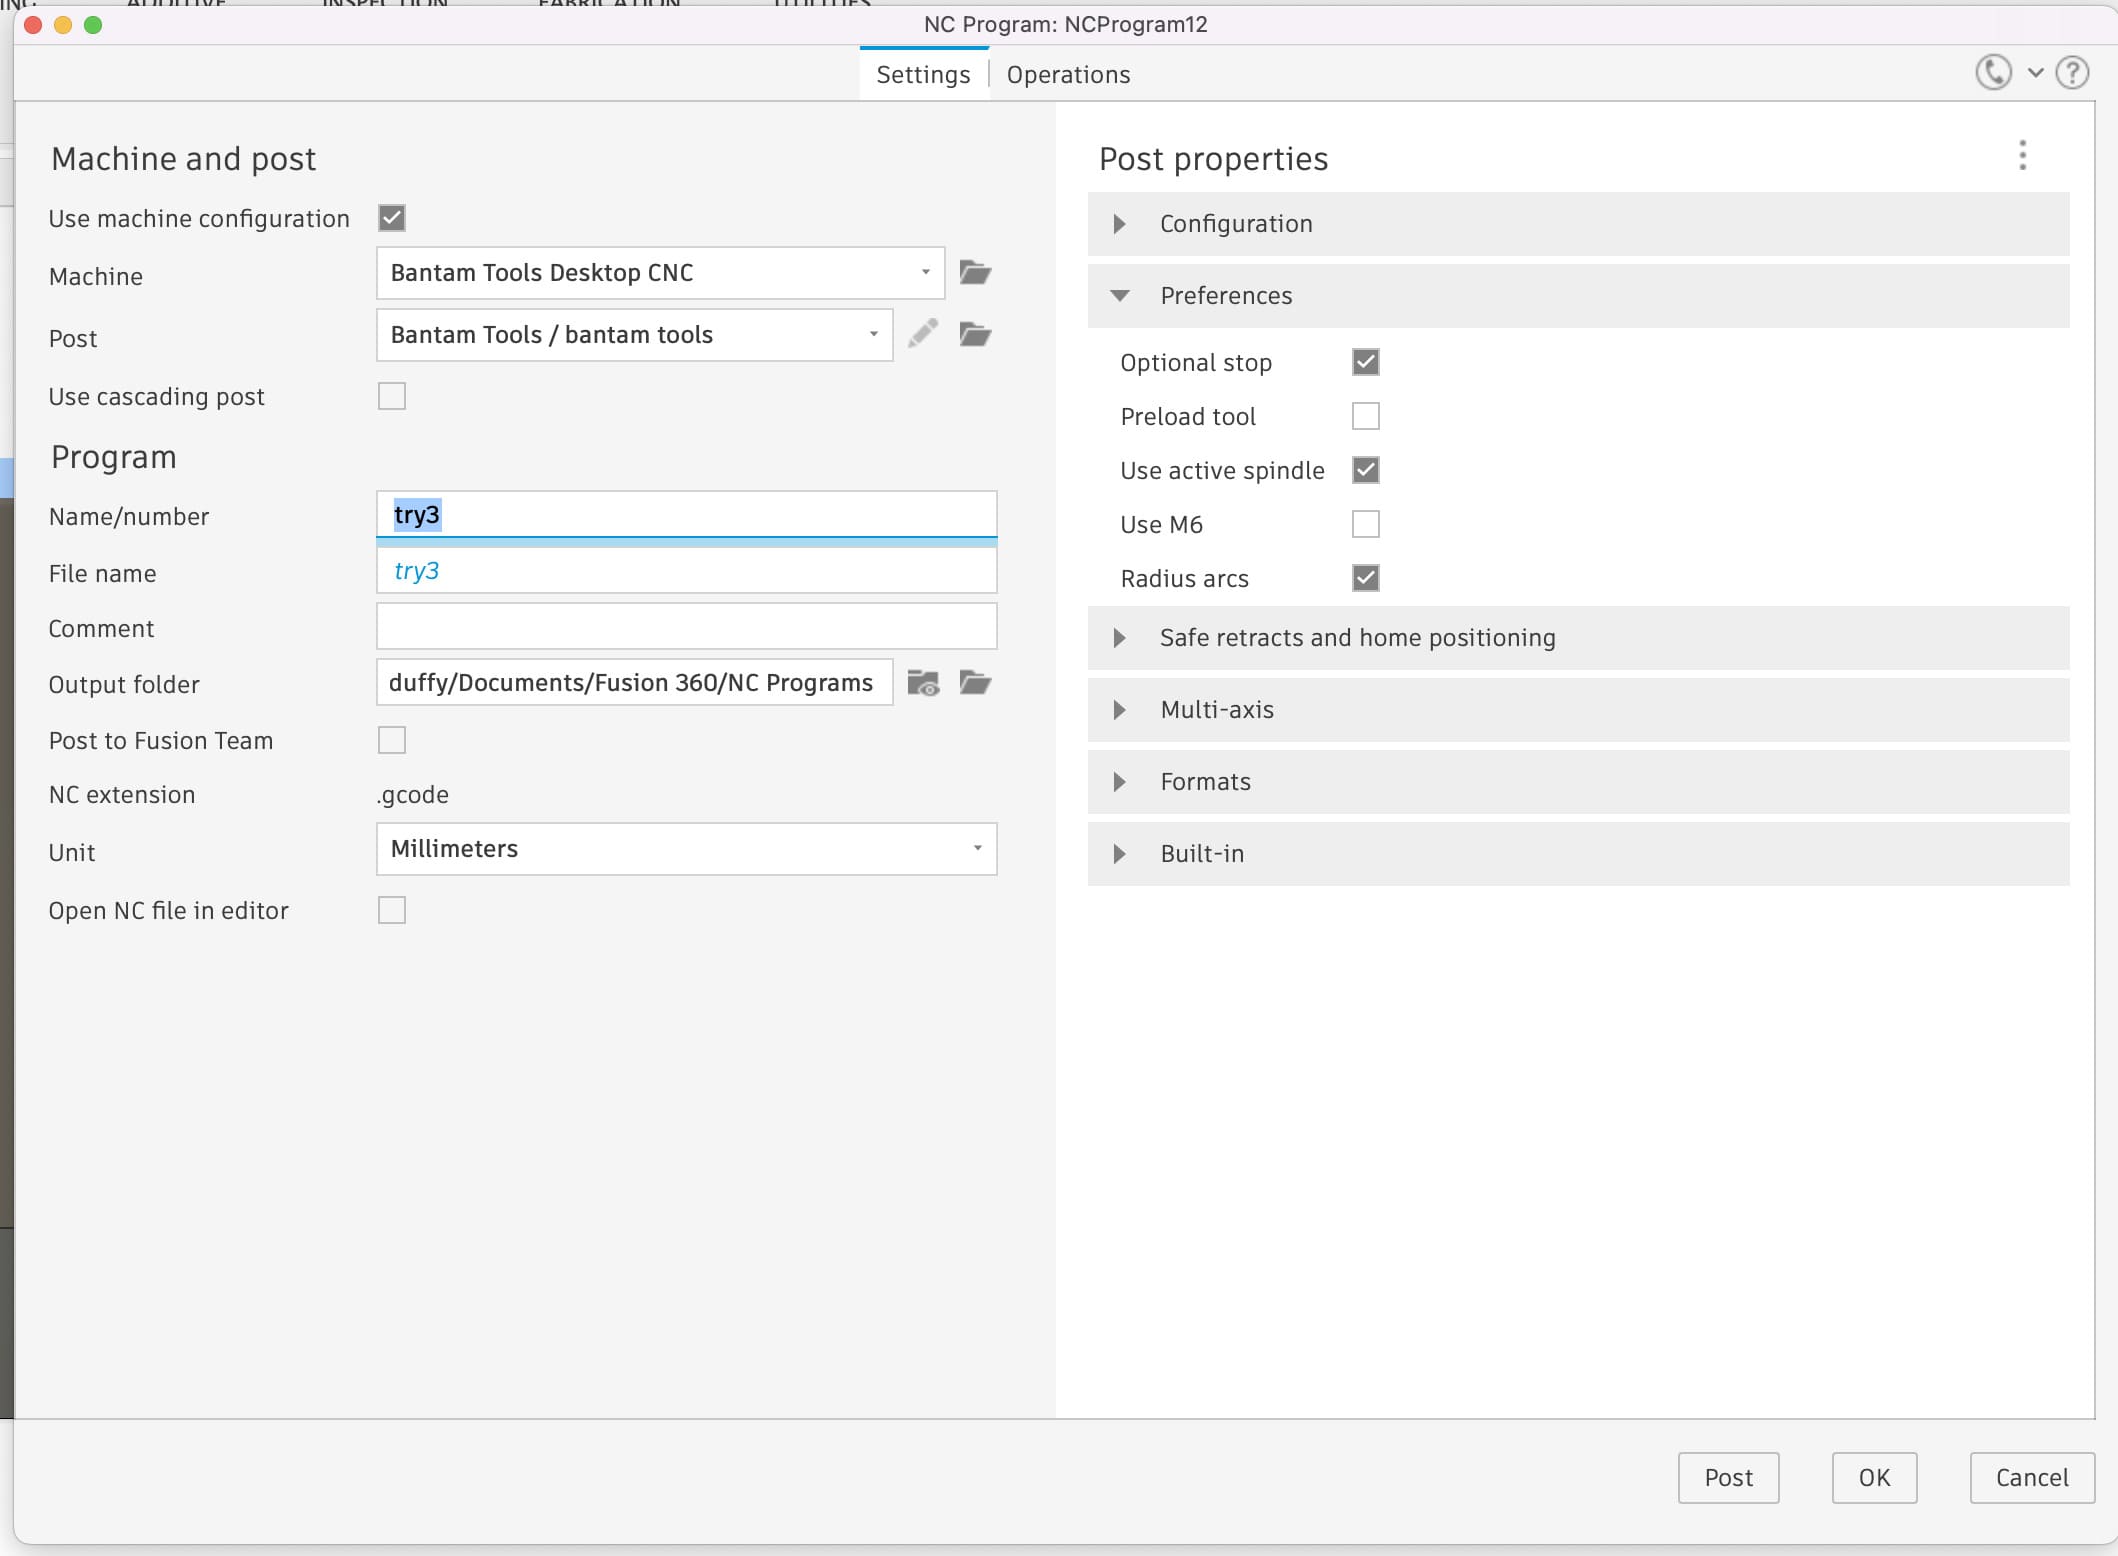
The post process settings were as pictured below:
Toolpaths
I had three toolpaths: a roughing pass, a finishing pass for the sides, and a finishing pass on the bottom.
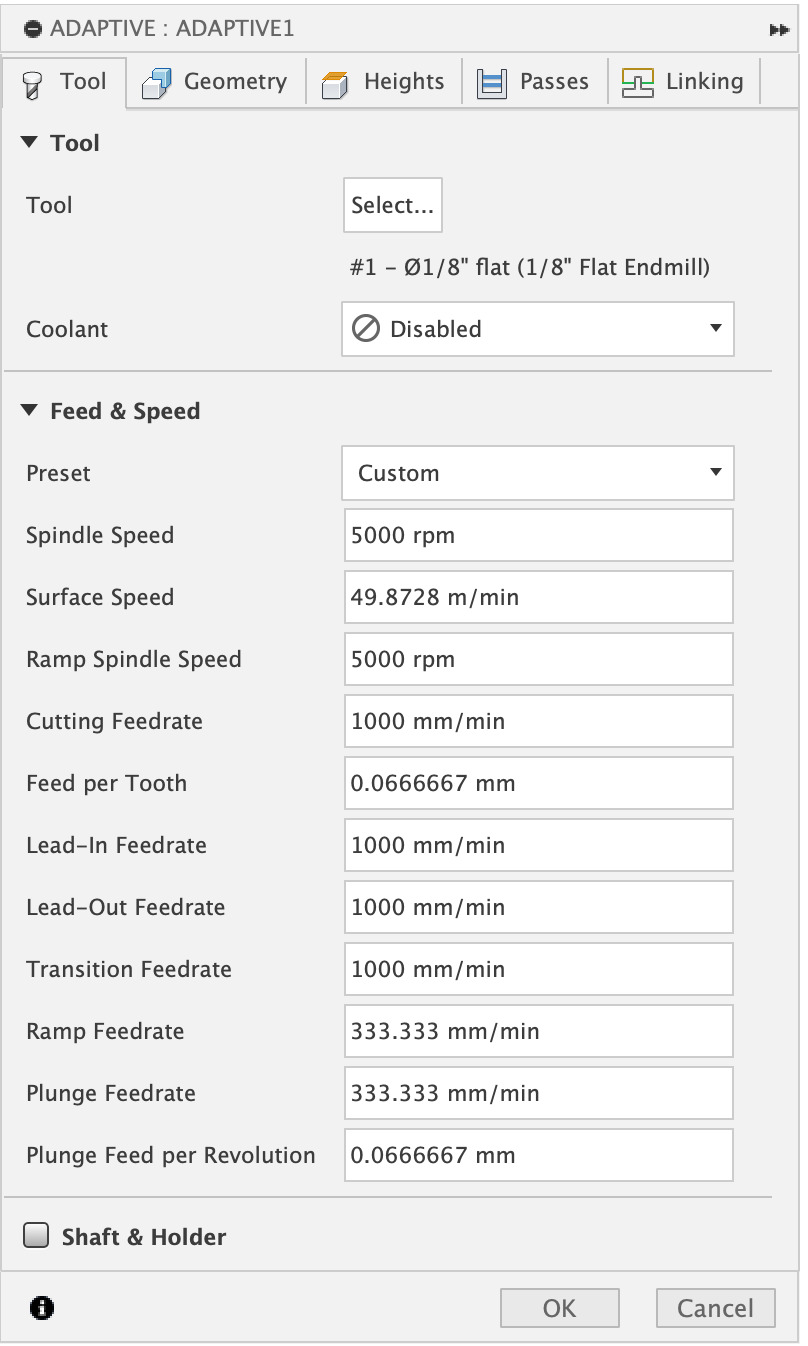
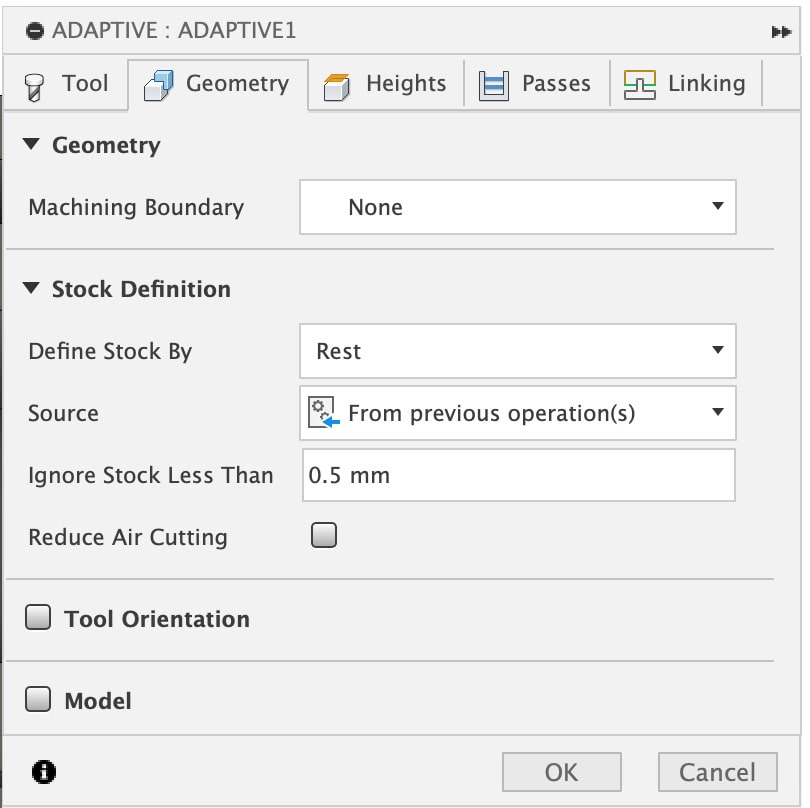
- Roughing Pass (Adaptive1)
The tool settings were as pictured below:
The geometry settings were as pictured below:
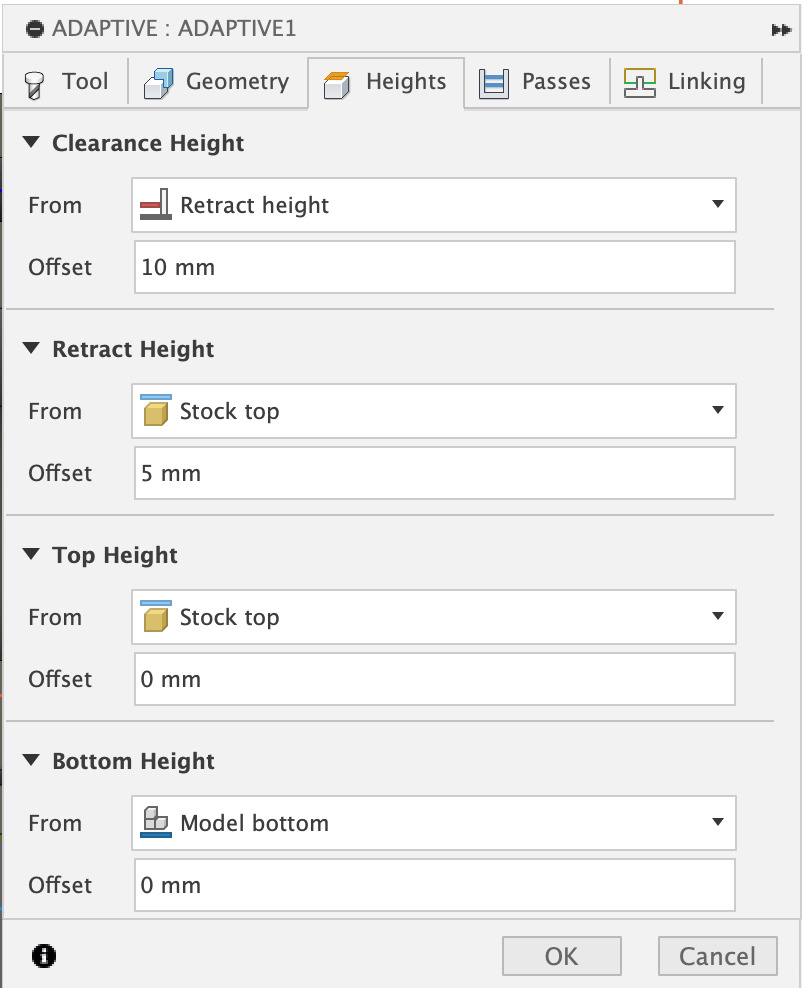
The heights settings were as pictured below:
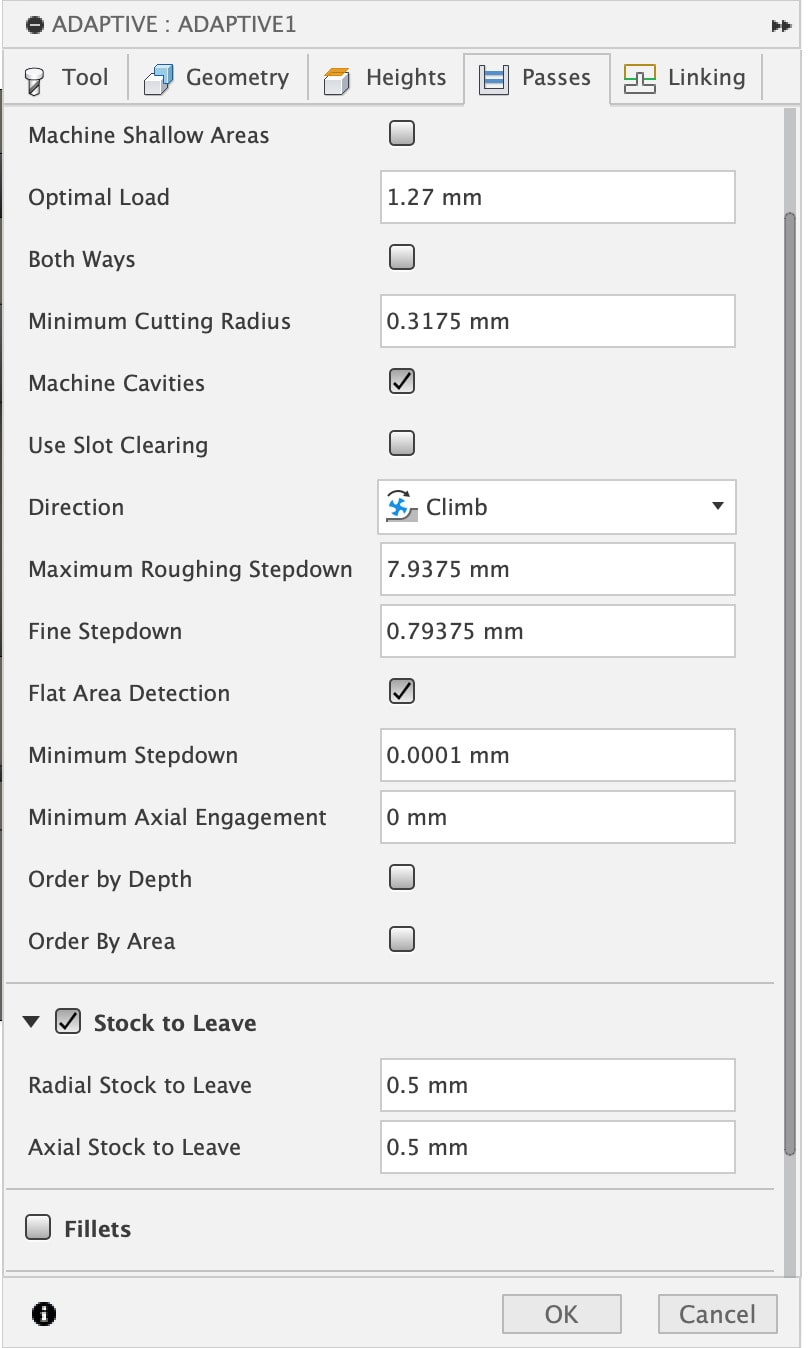
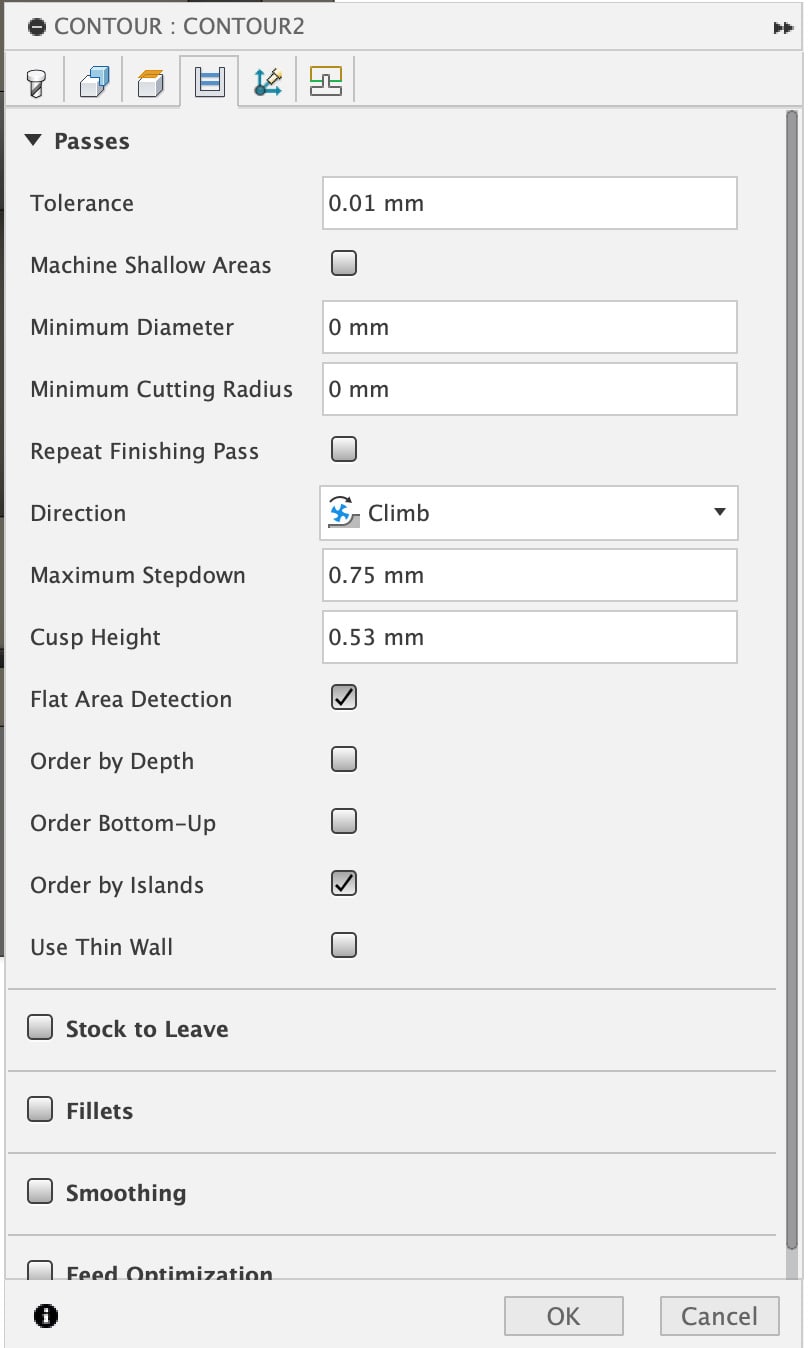
The passes settings were as pictured below:
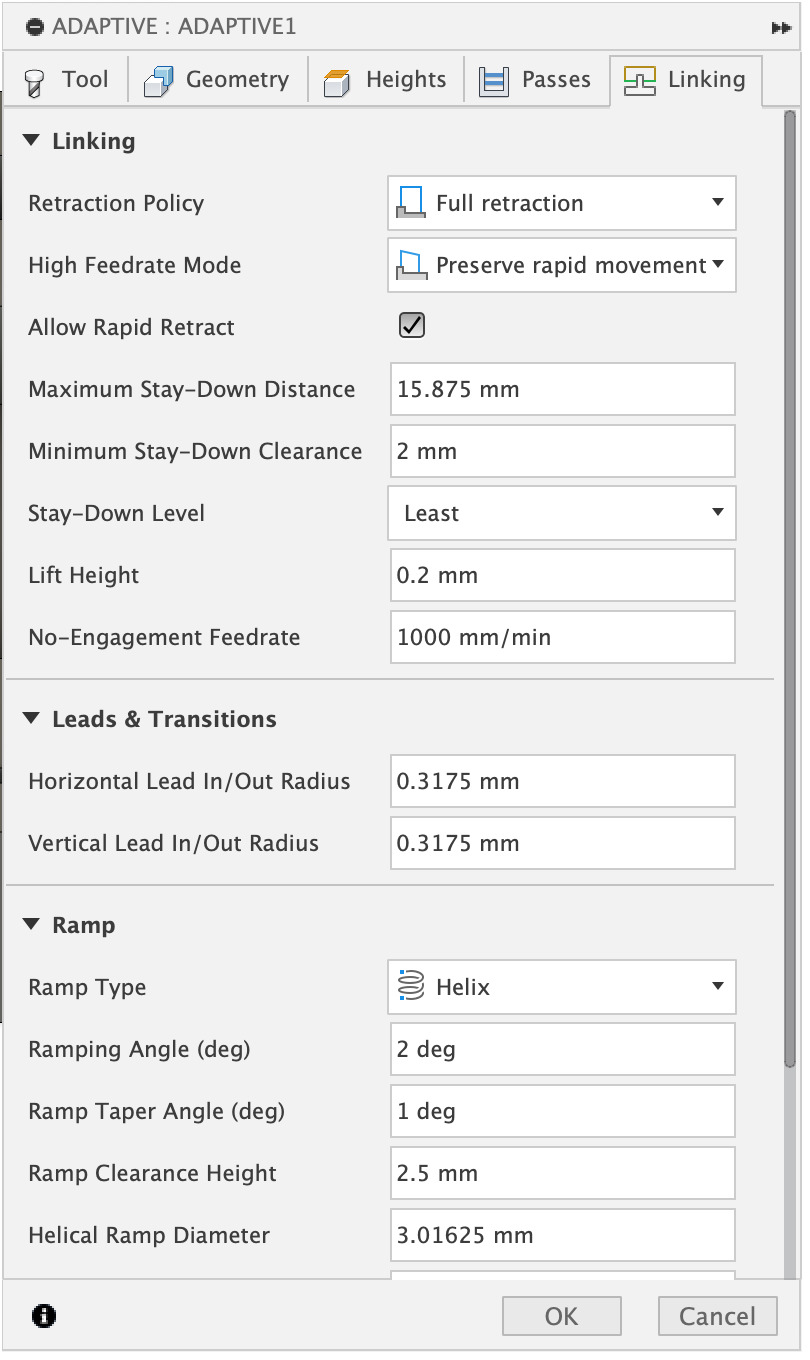
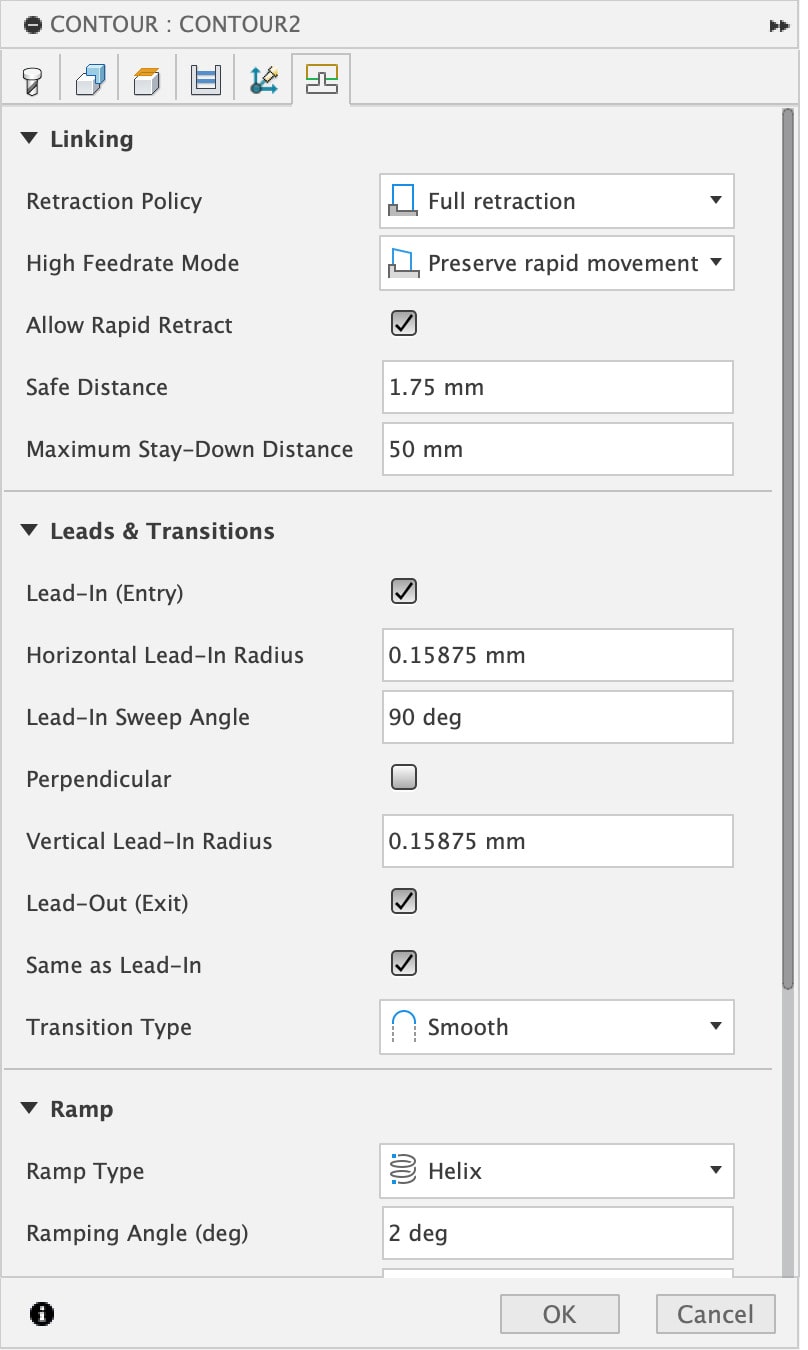
The linking settings were as pictured below:

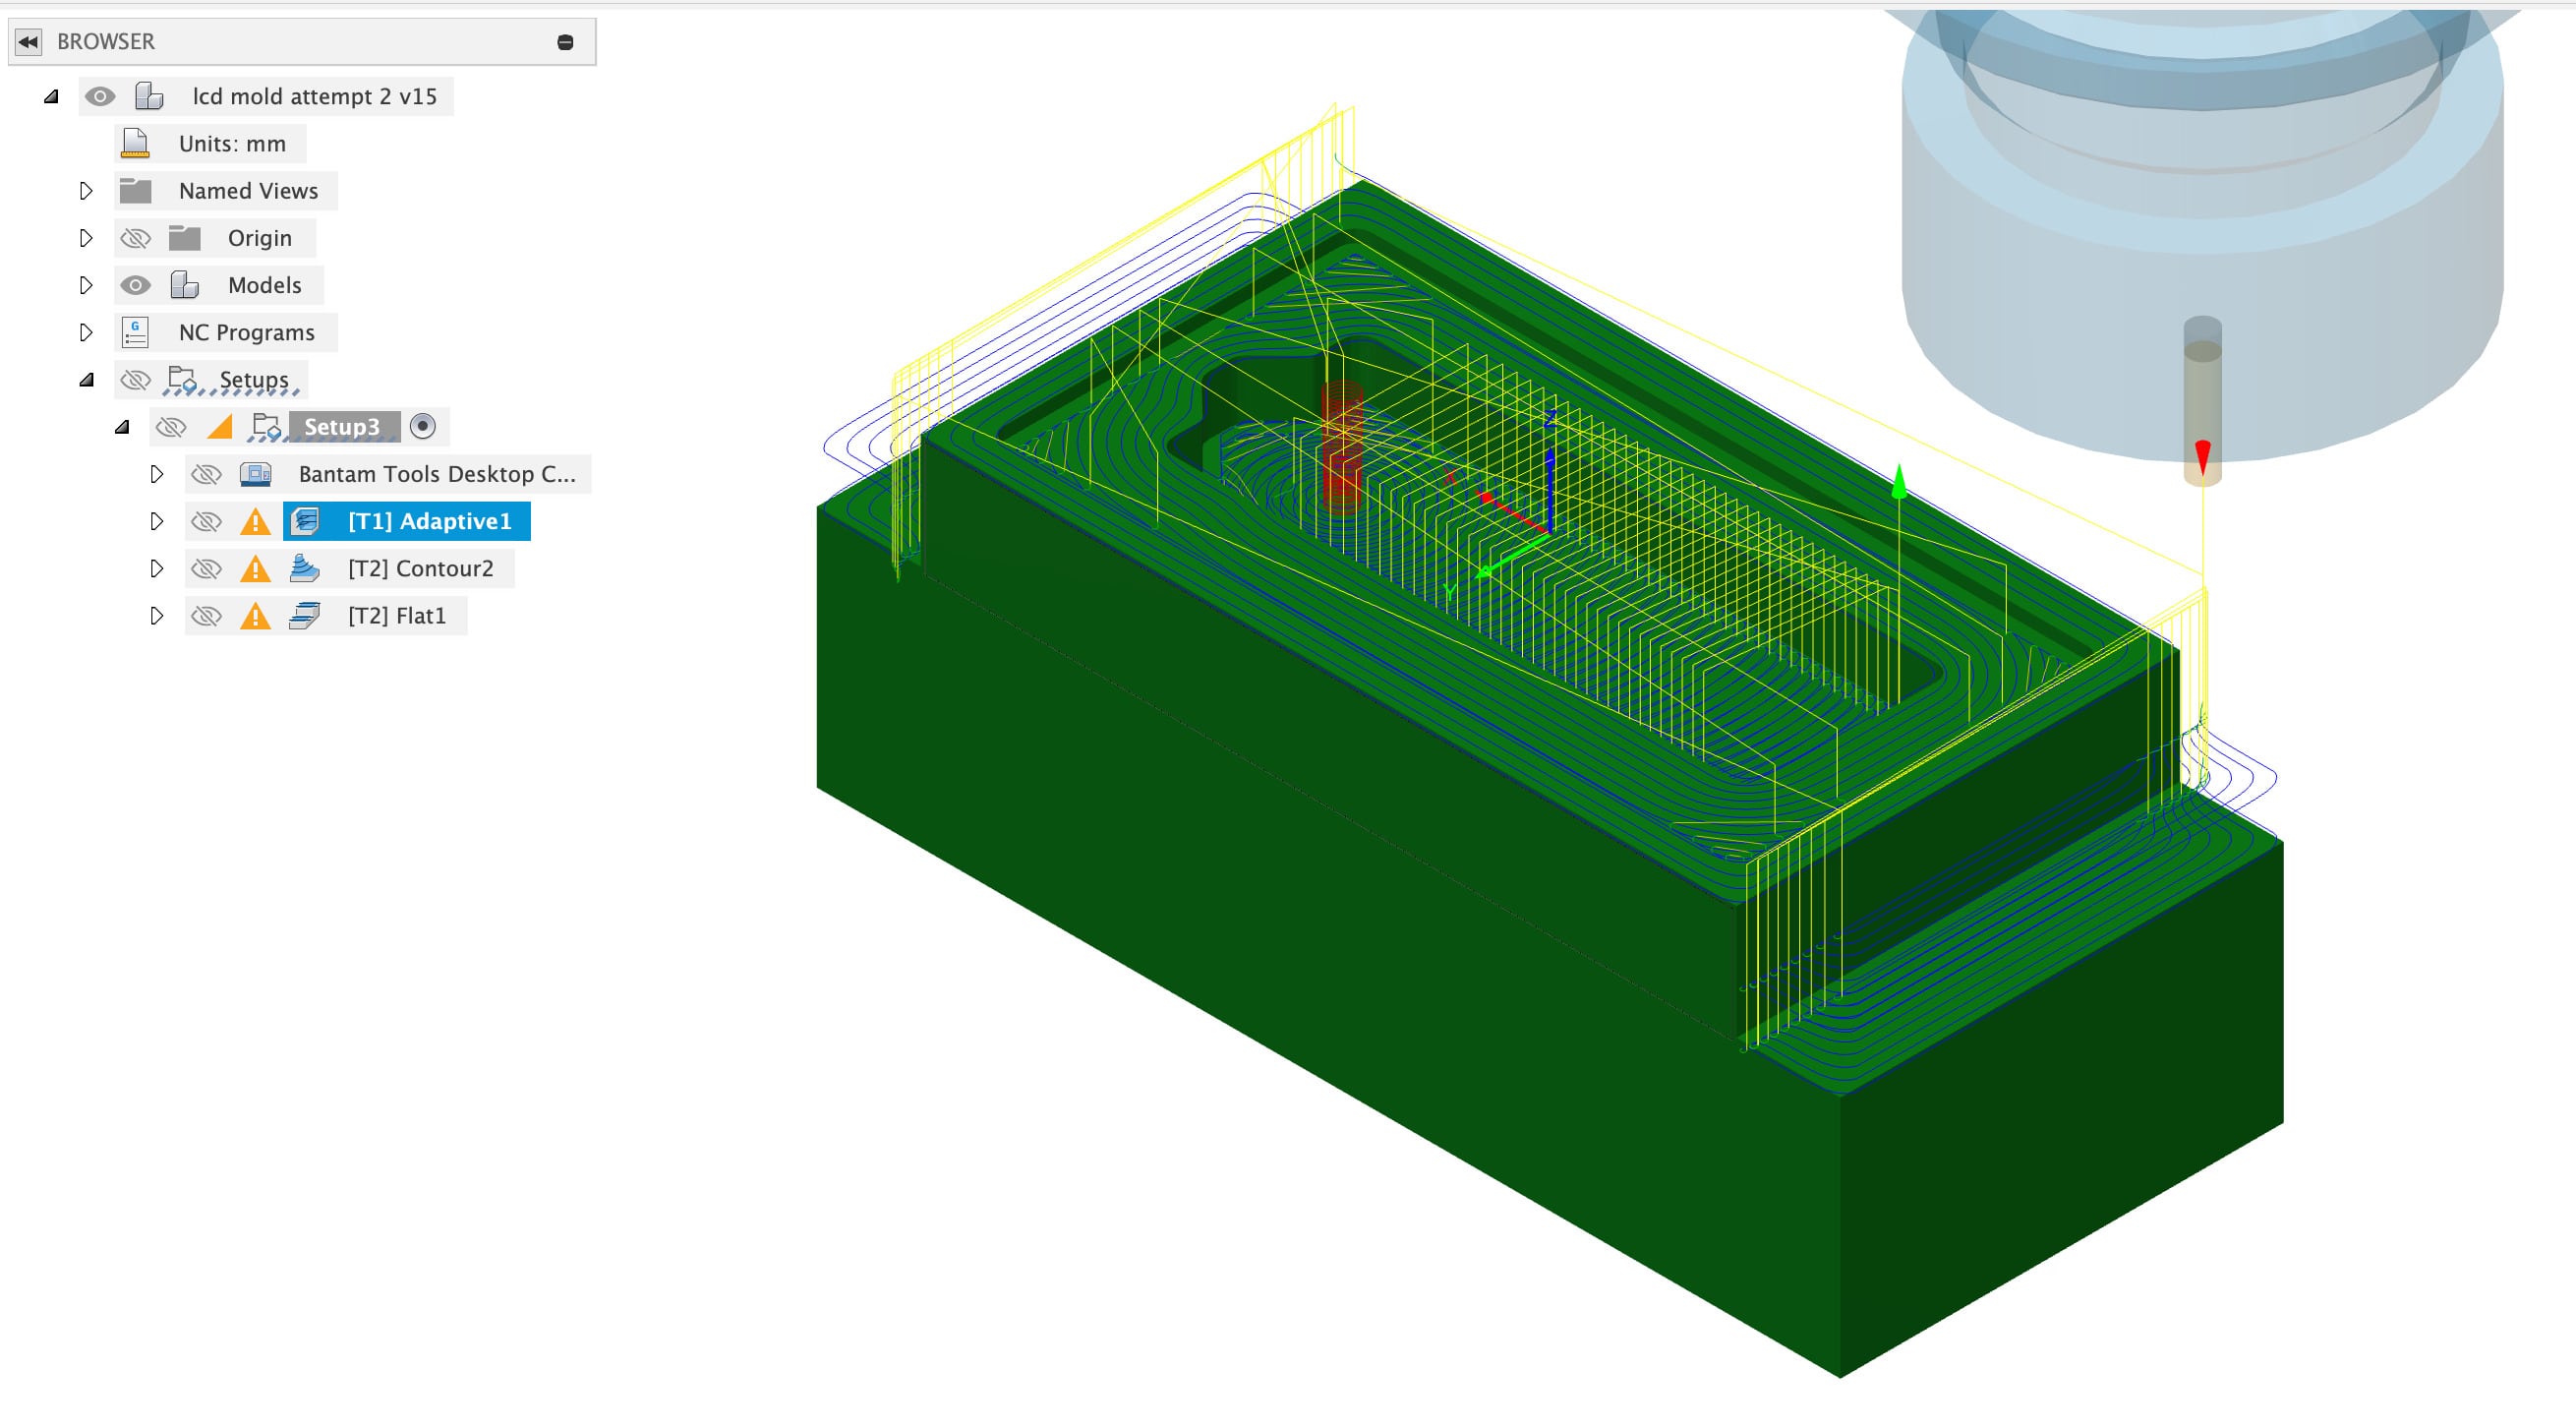
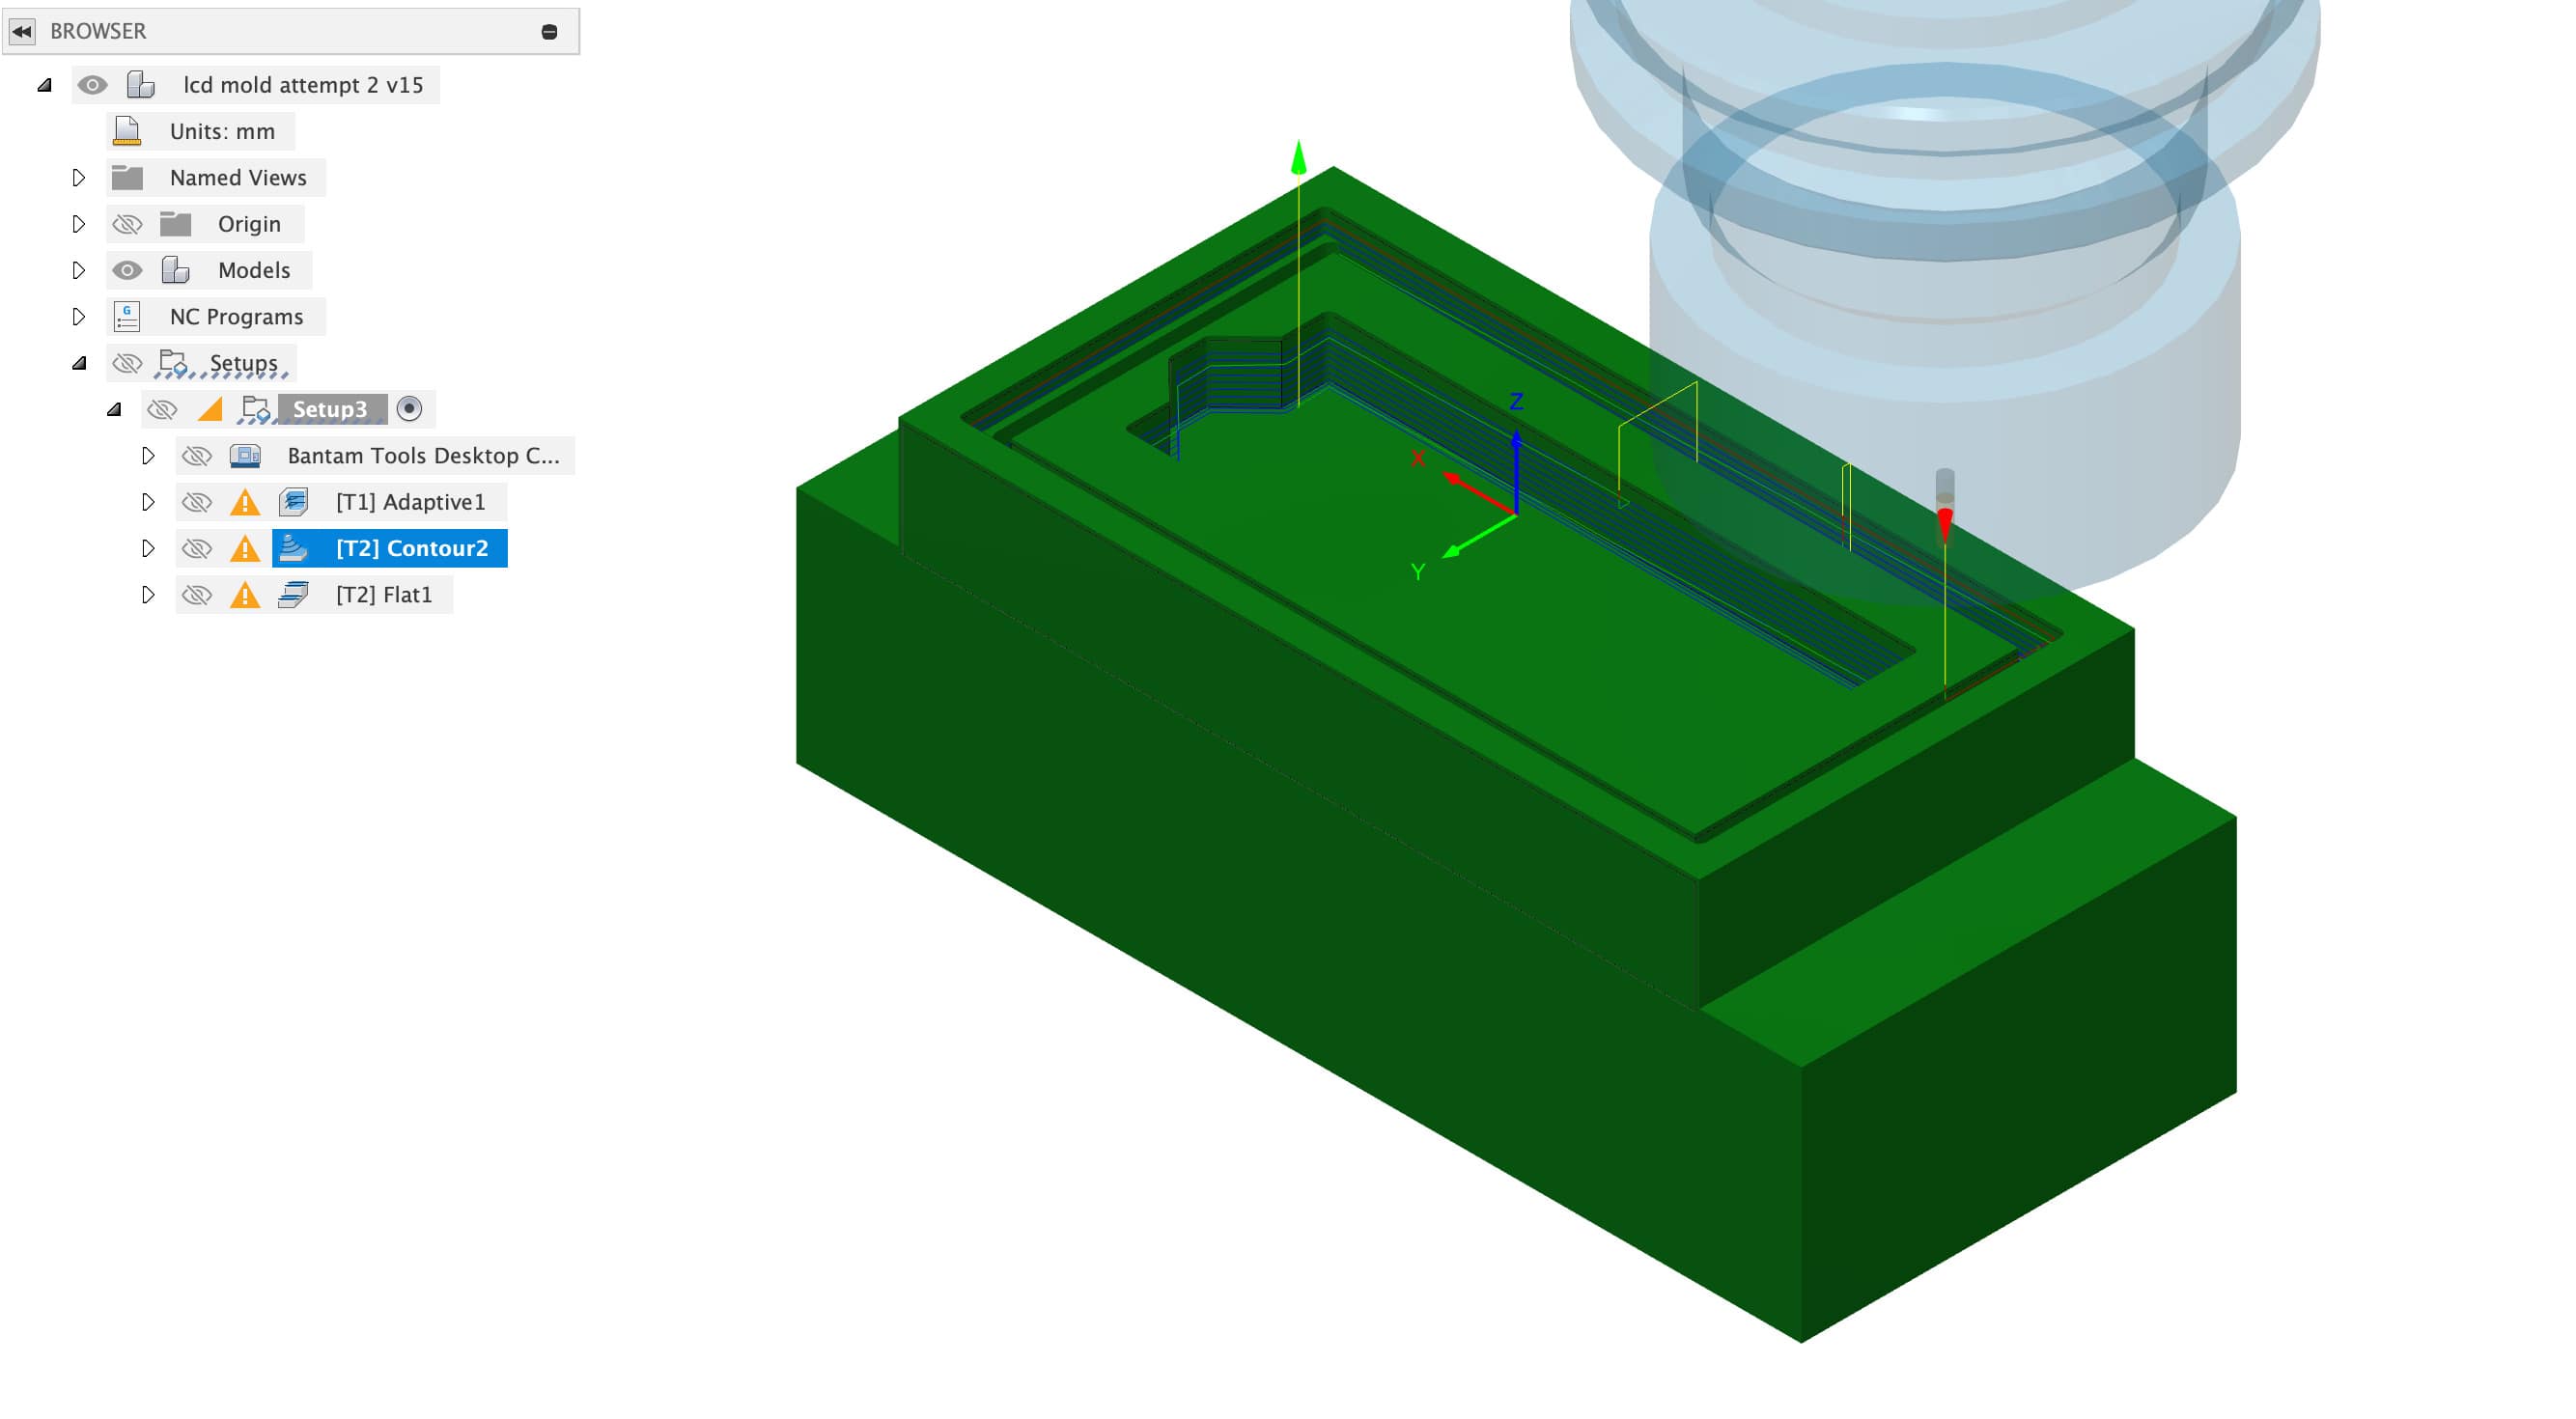
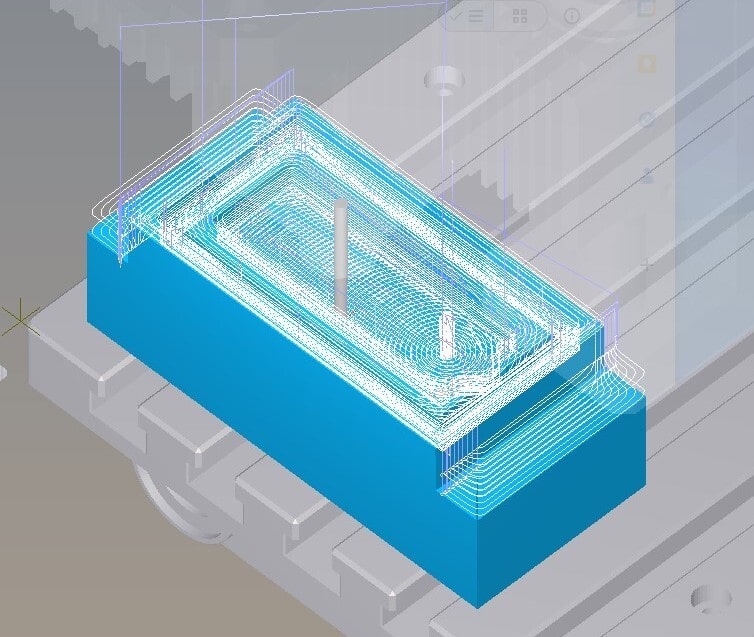
The toolpath looked as follows on the CAD model
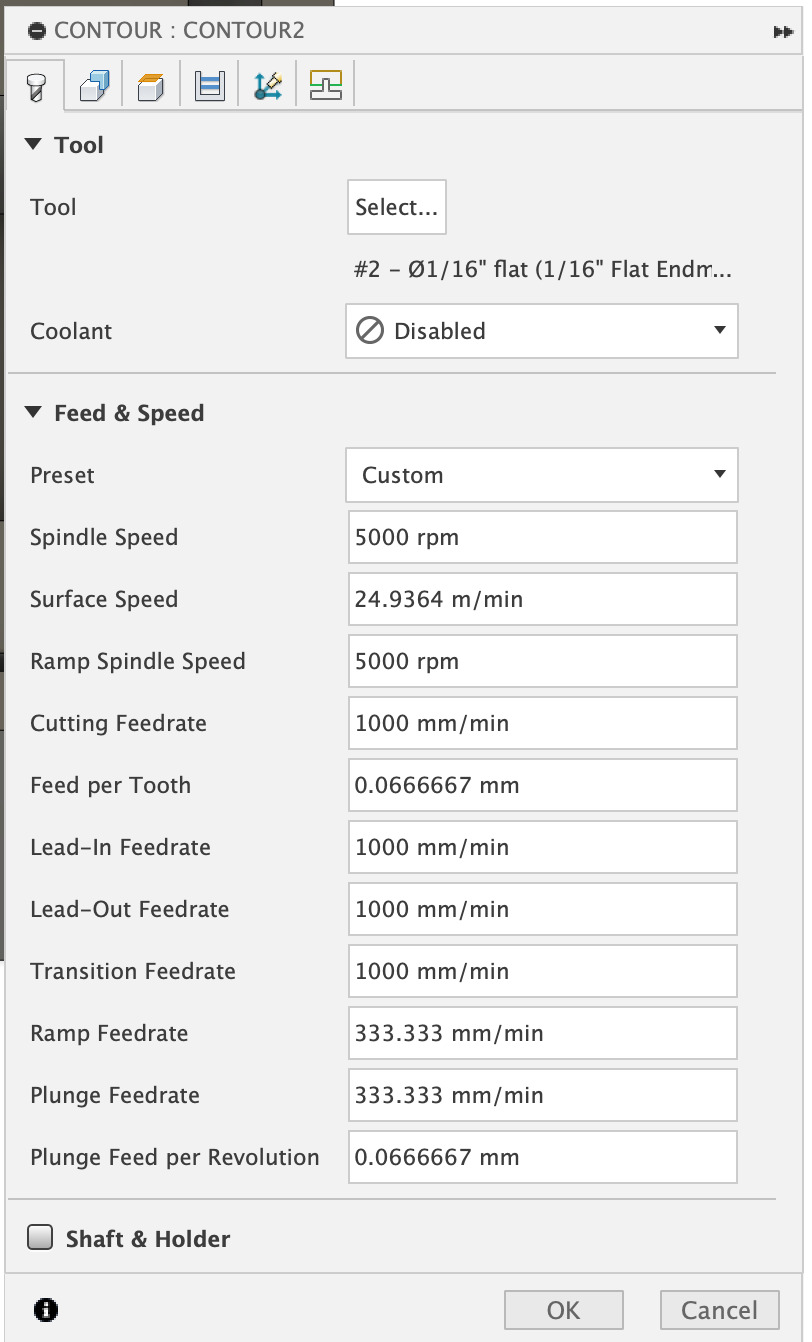
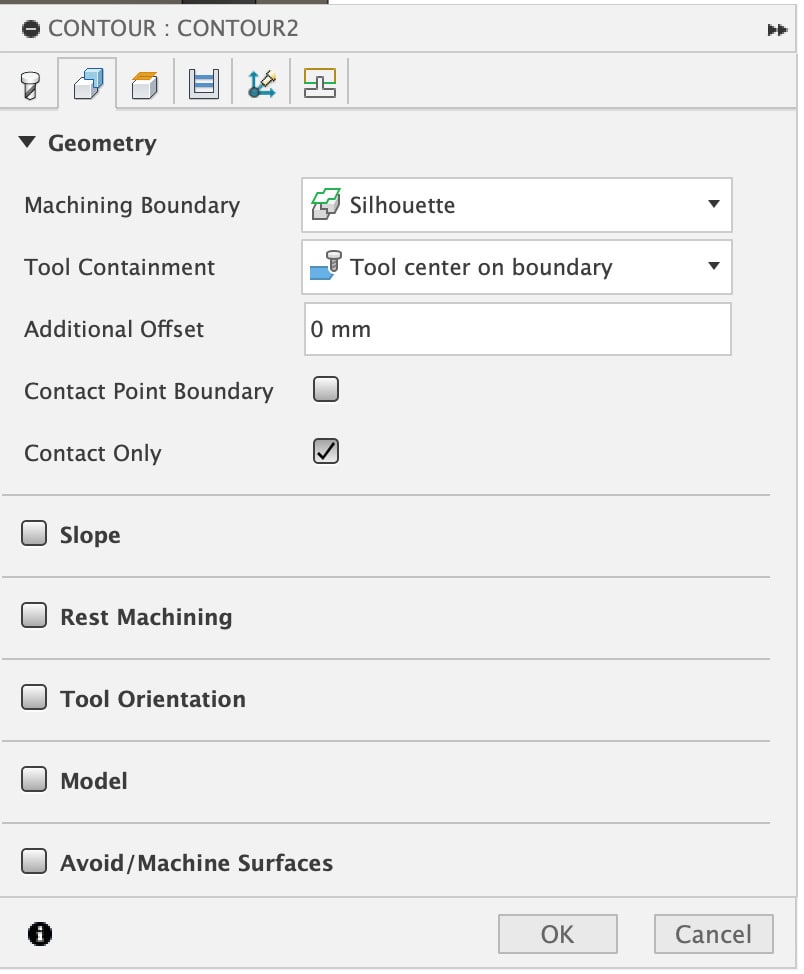
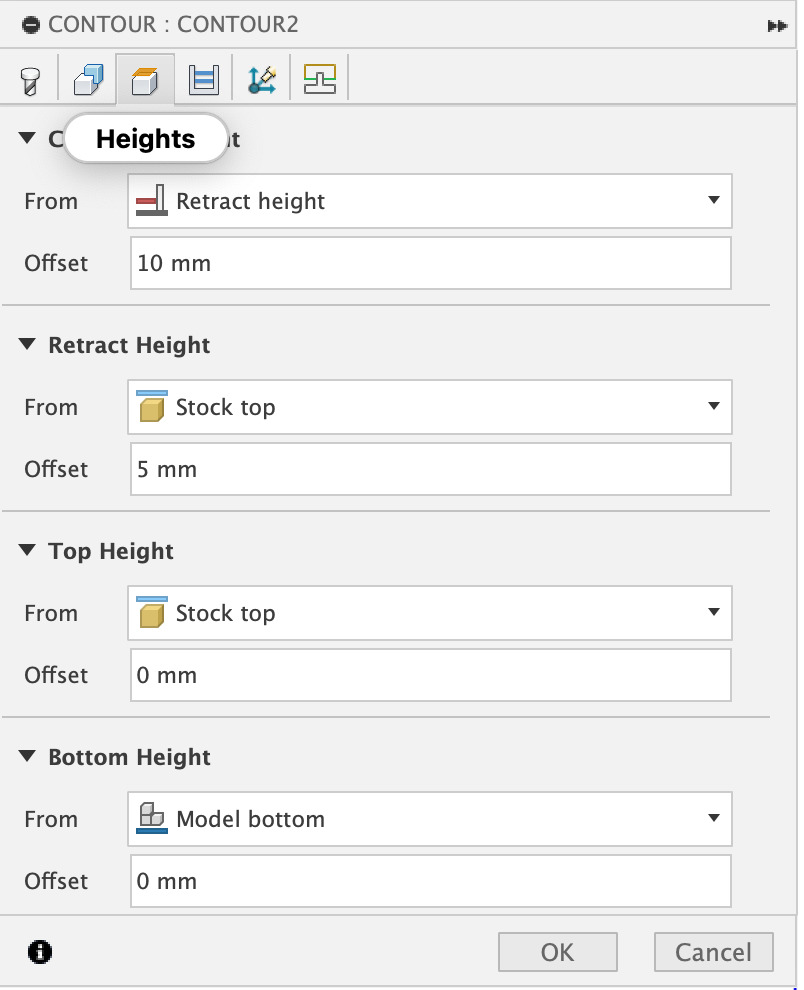
- Side Finishing Pass (Contour2)
The tool settings were as pictured below:
The geometry settings were as pictured below:
The heights settings were as pictured below:
The passes settings were as pictured below:
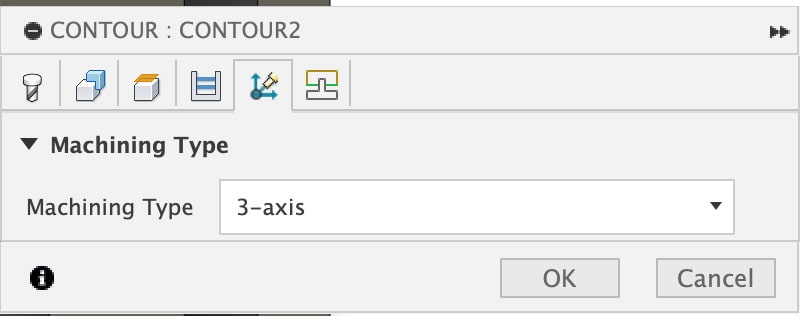
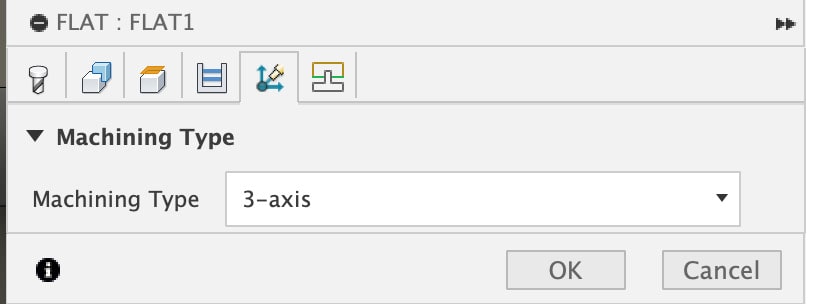
The machining type settings were as pictured below:
The linking settings were as pictured below:

The toolpath looked as follows on the CAD model
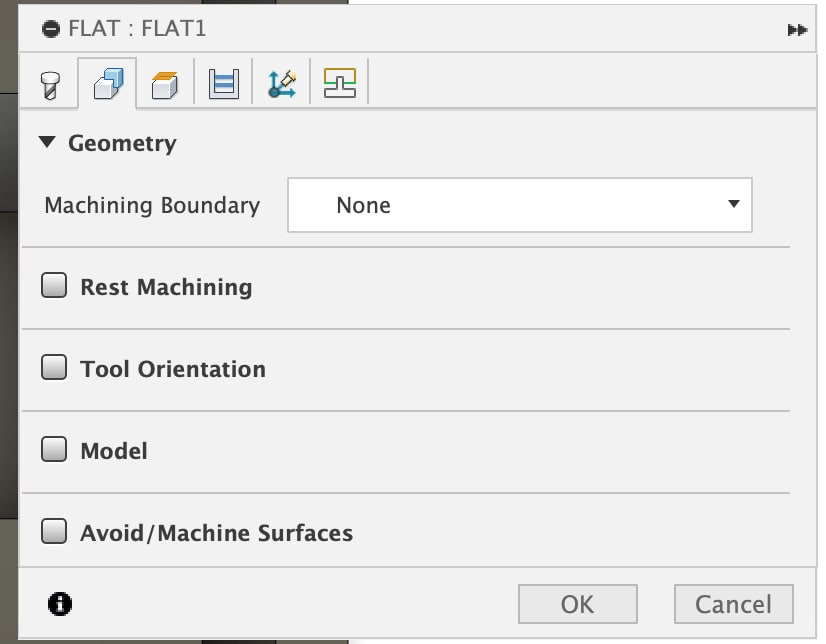
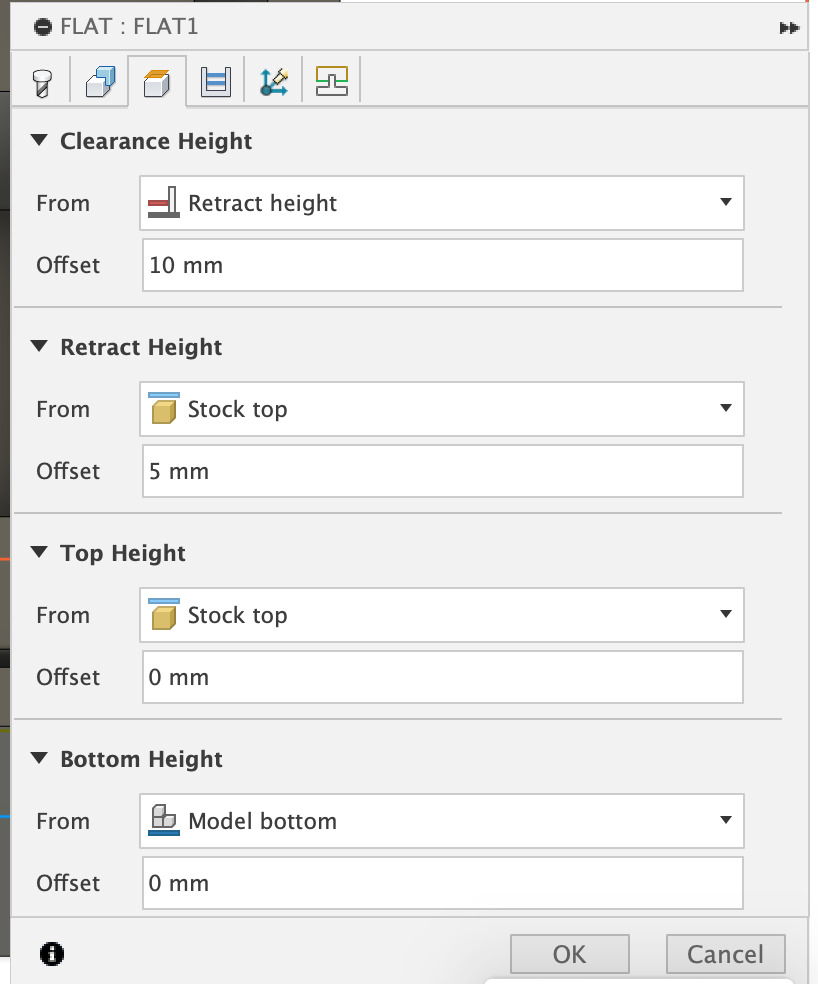
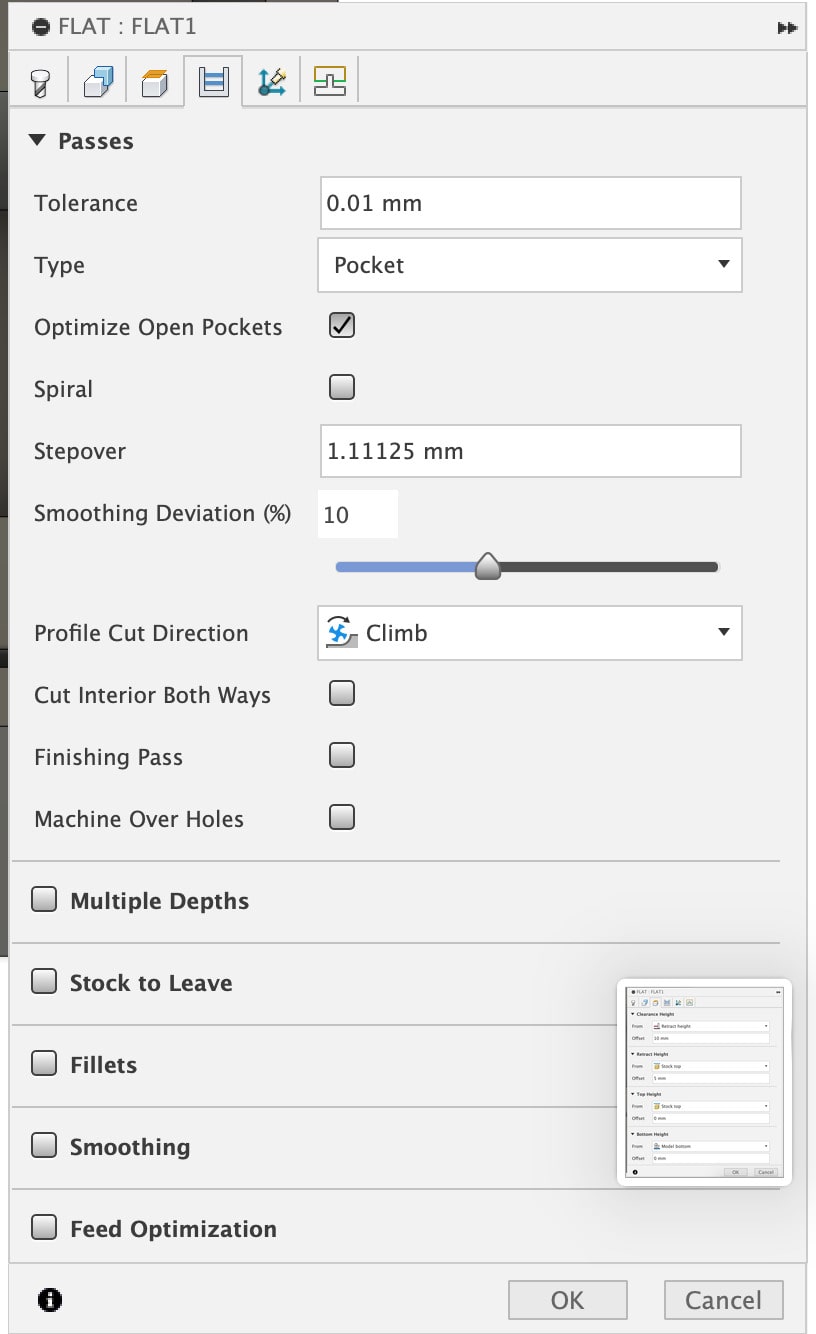
- Bottom Finishing Pass (Flat1)
The tool settings were as pictured below:
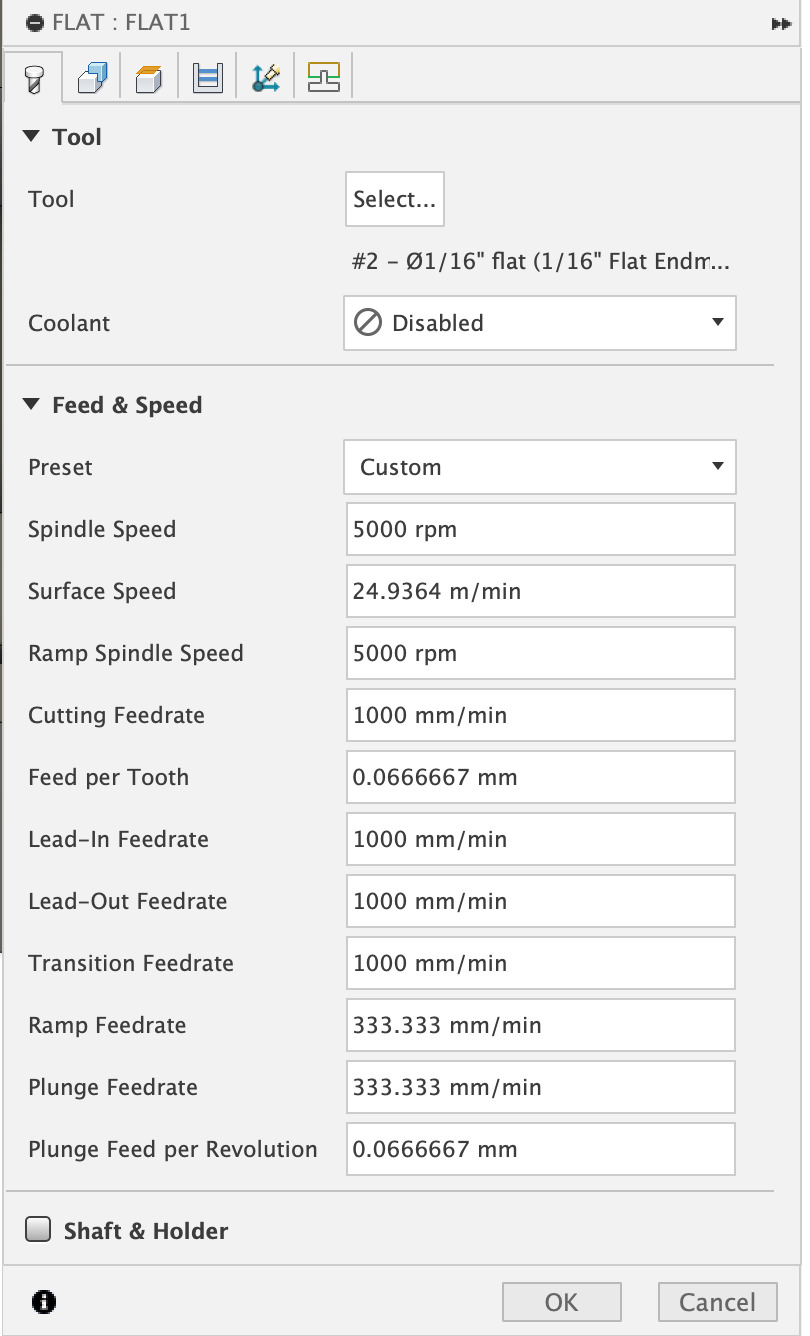
The geometry settings were as pictured below:
The heights settings were as pictured below:
The passes settings were as pictured below:
The machining type settings were as pictured below:
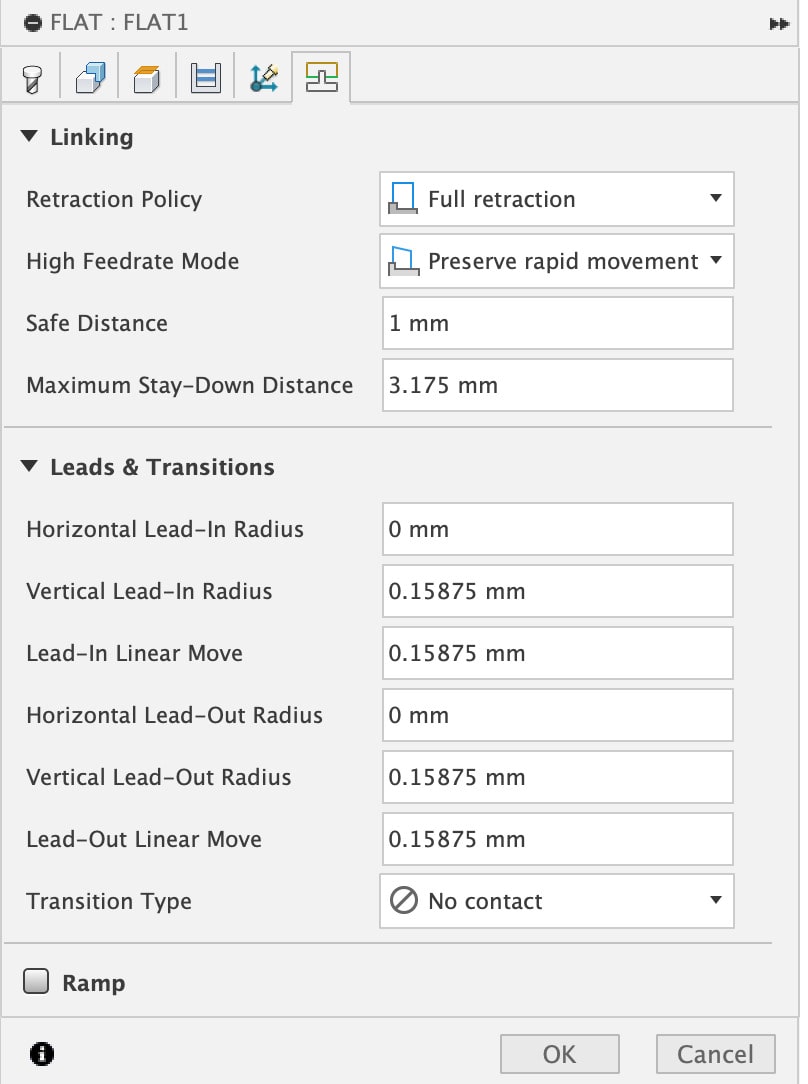
The linking settings were as pictured below:
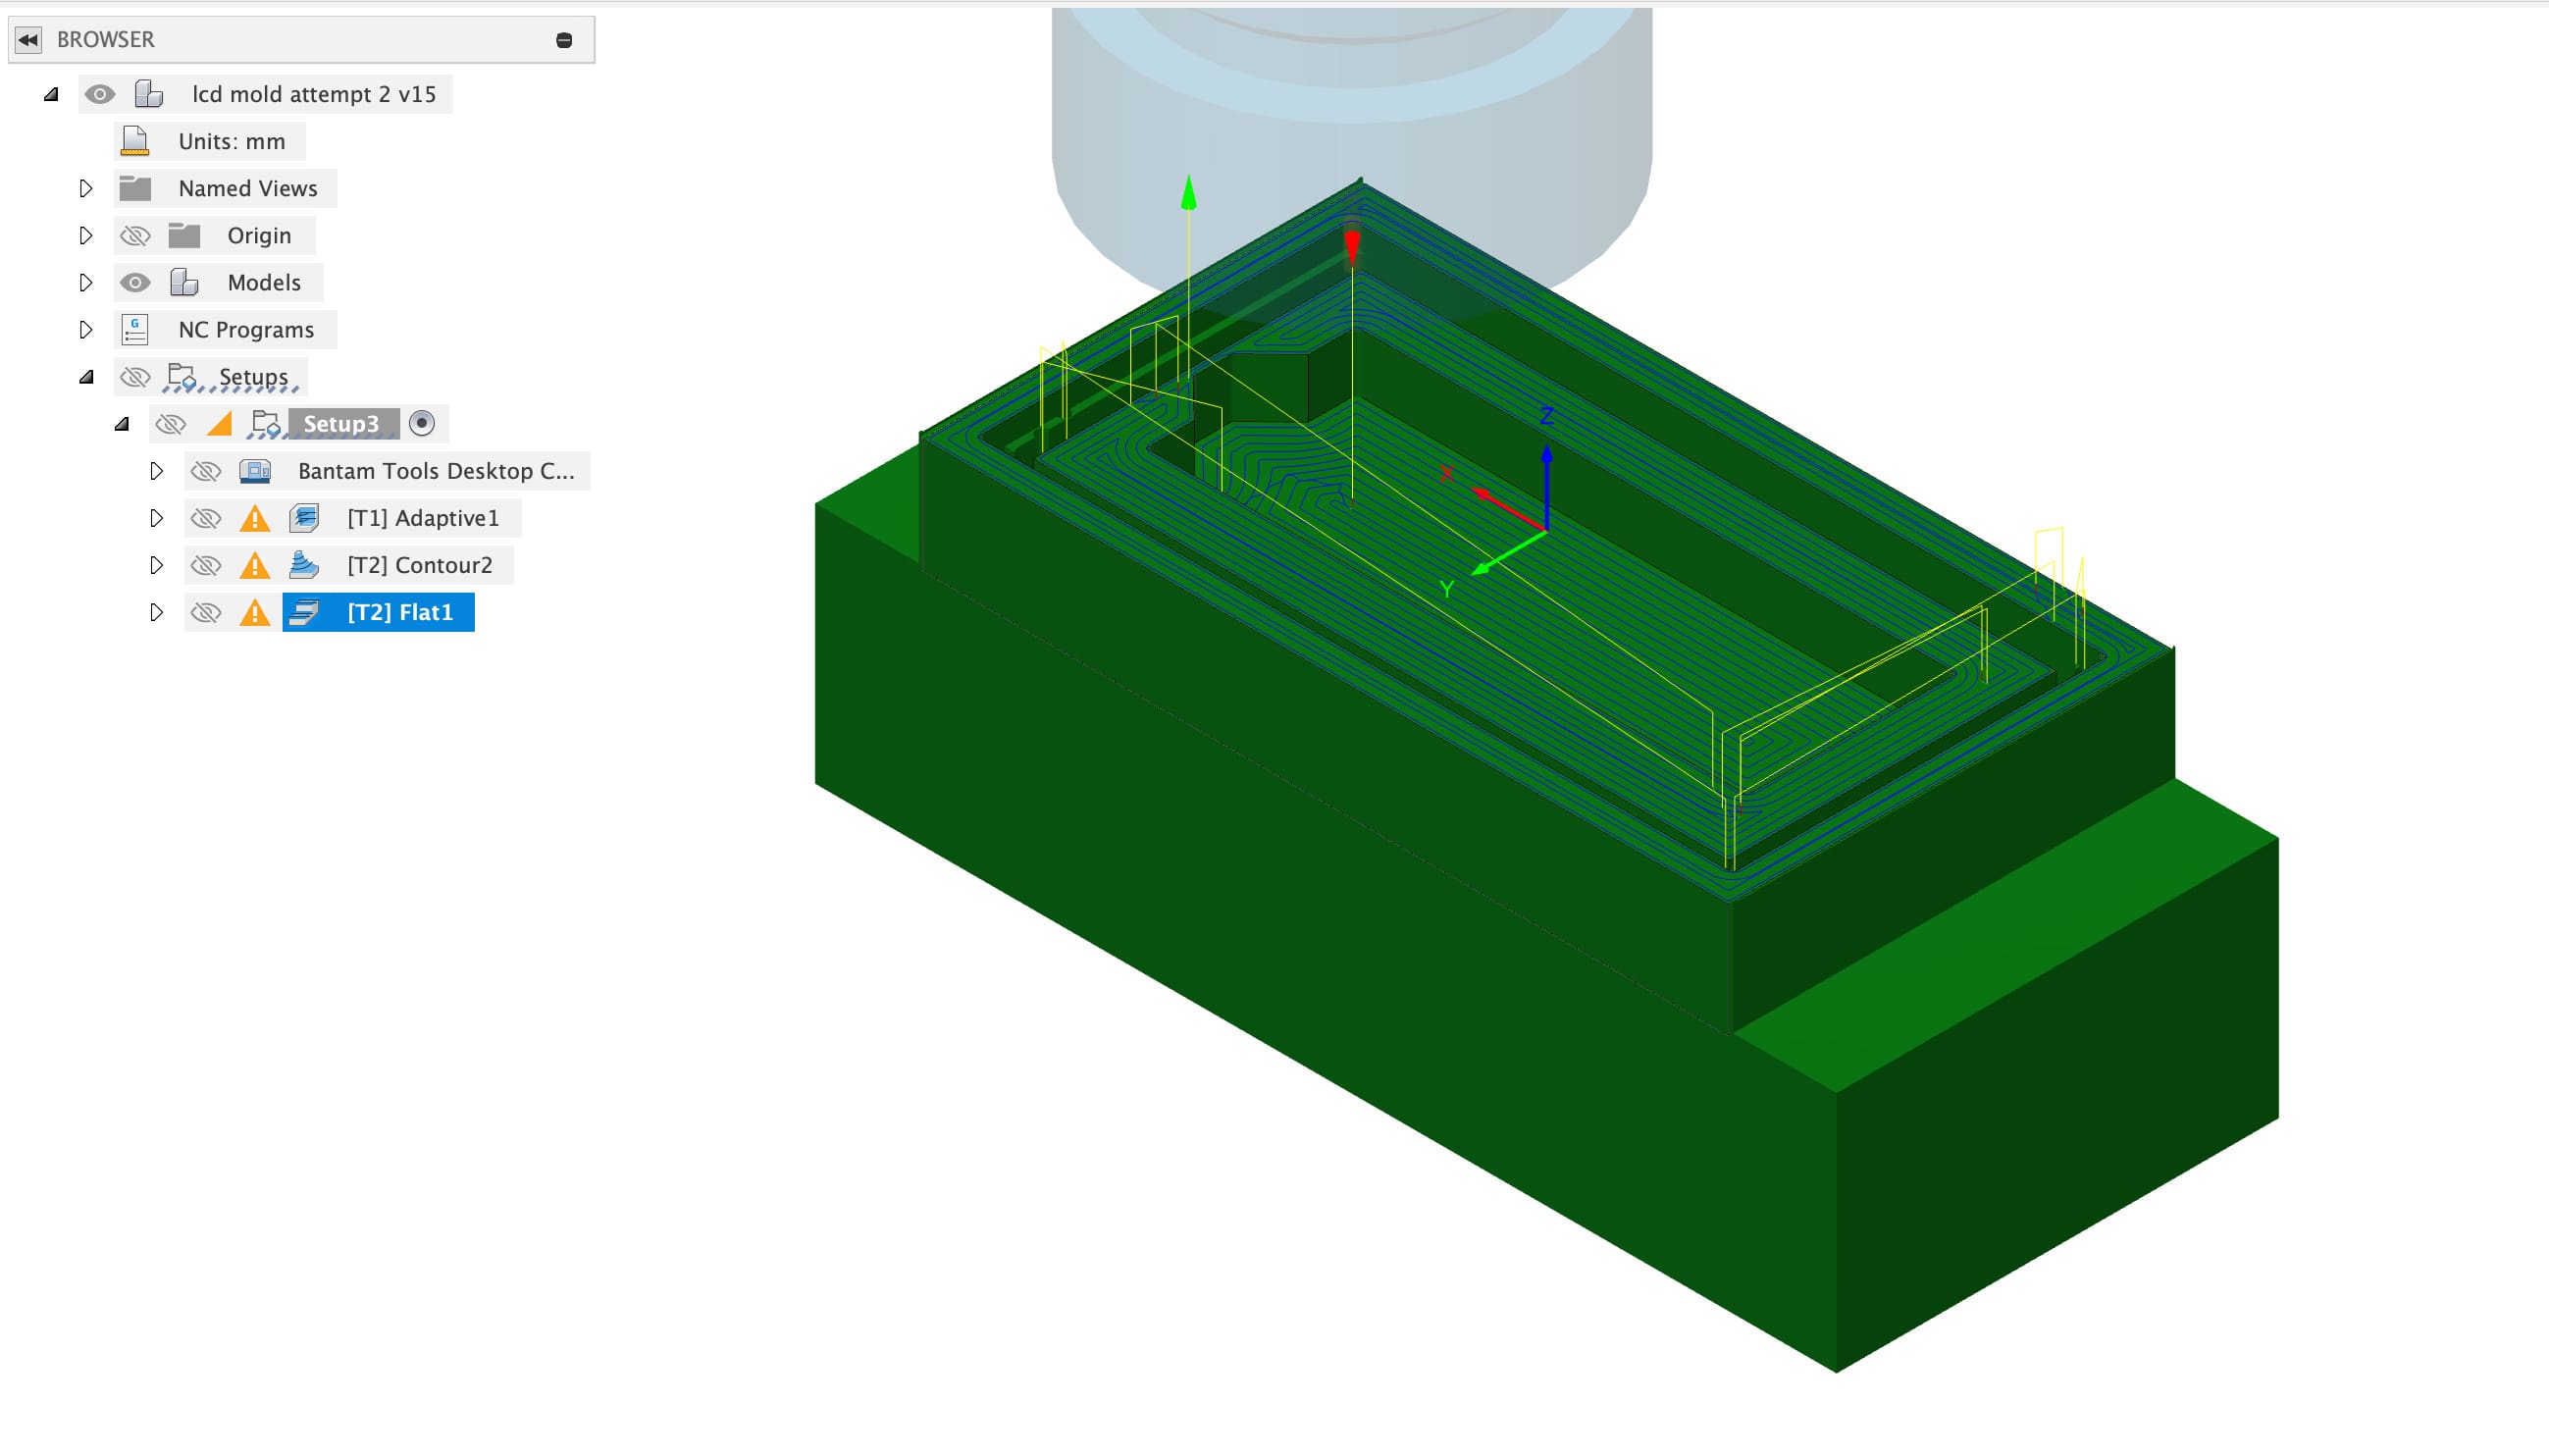
The toolpath looked as follows on the CAD model
Post Process
The post process operations for all the toolpaths are pictured below:
The post process settings for the toolpaths are pictured below:
- Roughing Pass (Adaptive1)
- Side Finishing Pass (Contour2)
- Bottom Finishing Pass (Flat1)
Bantam Setup
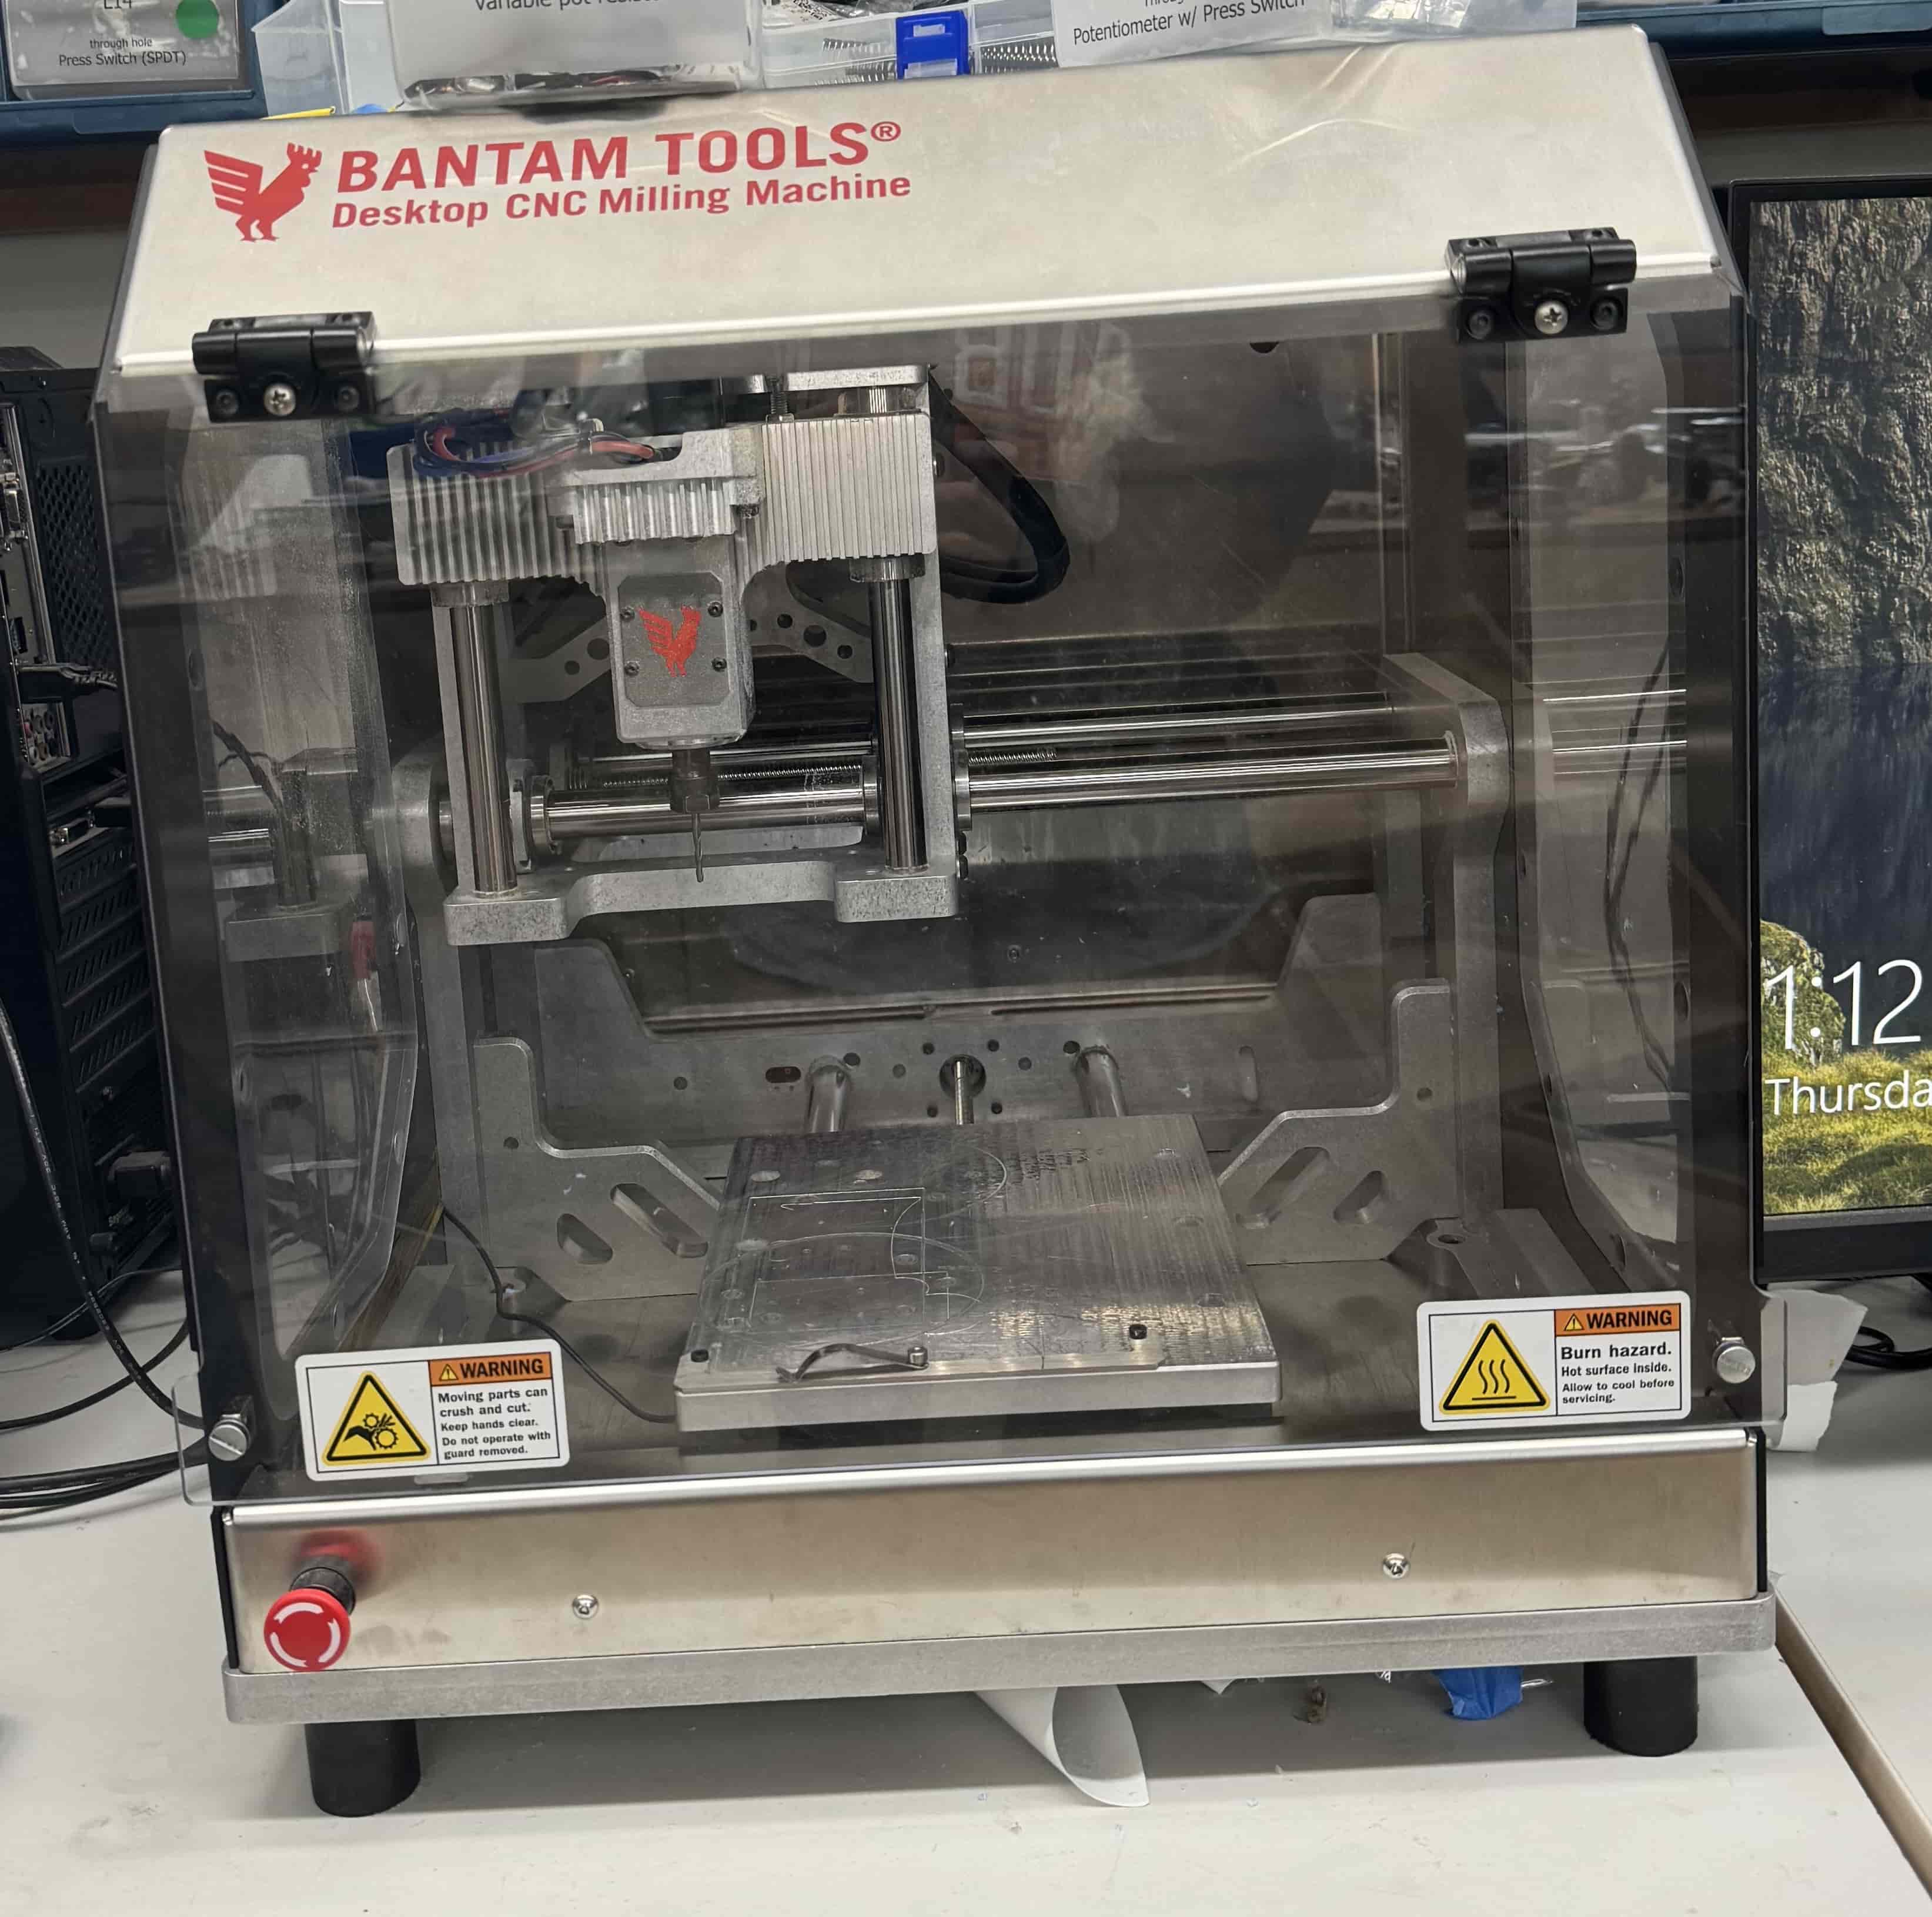
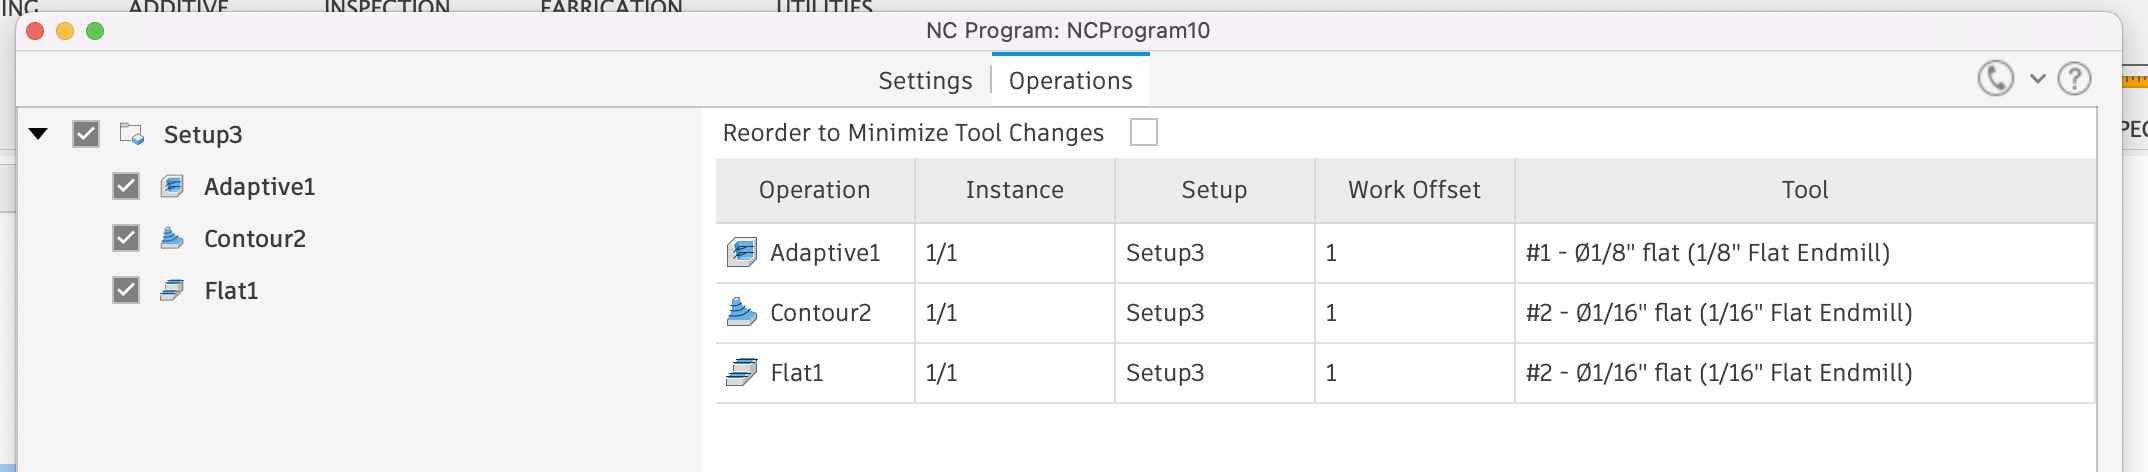
On a computer connected to the Bantam Tools Desktop CNC Milling Machine, I uploaded my toolpaths as 3 separate files.
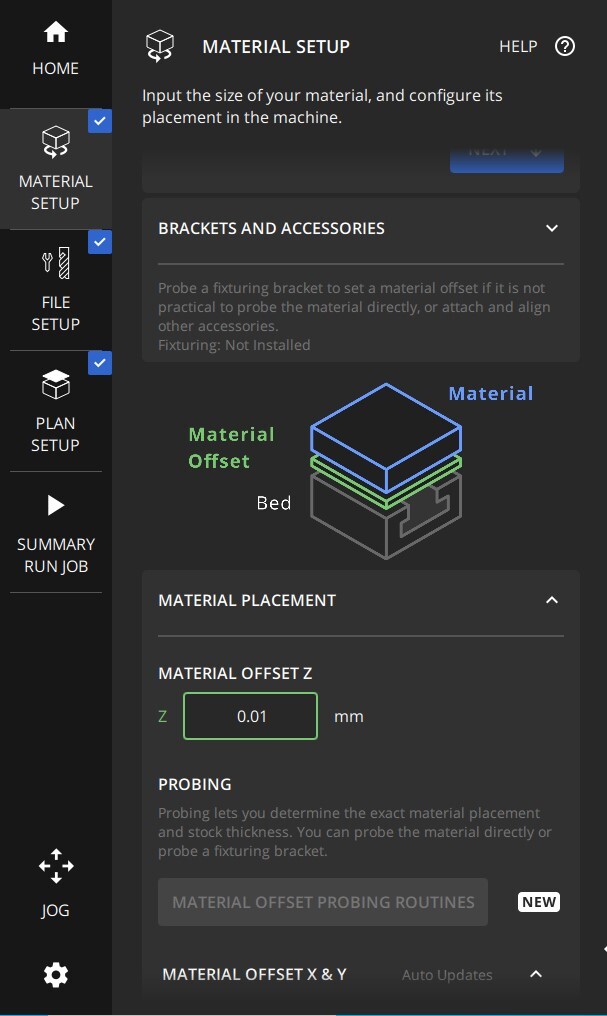
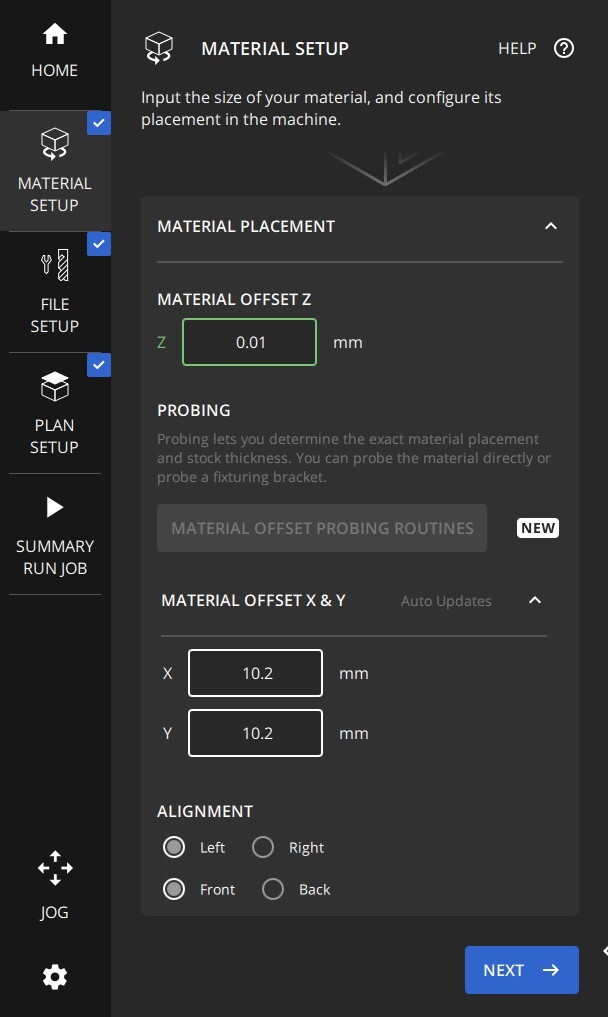
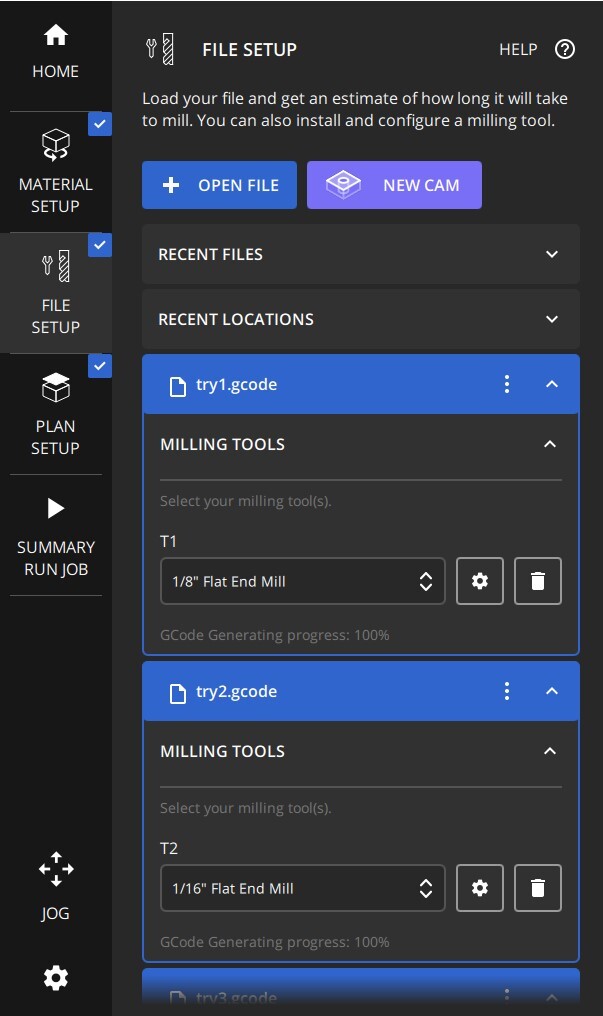
The settings for my mill are as pictured below:
- Material setup
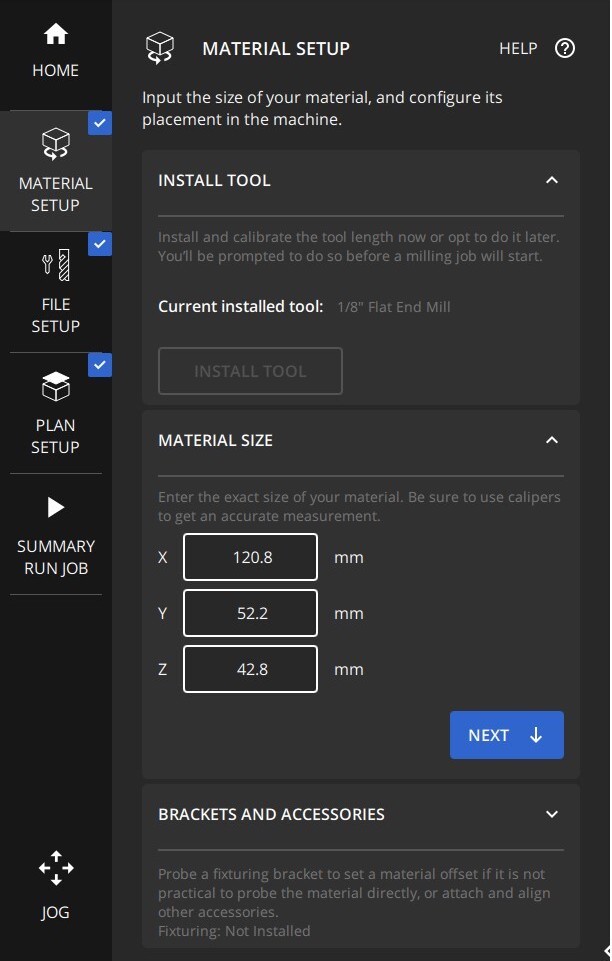
Note the material size is the size of my wax block
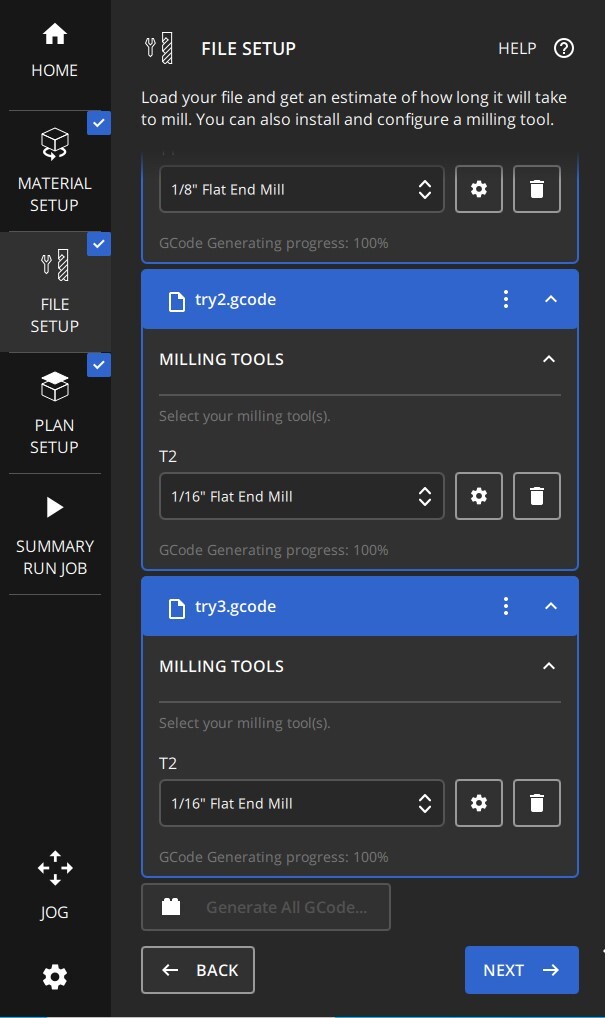
- File setup
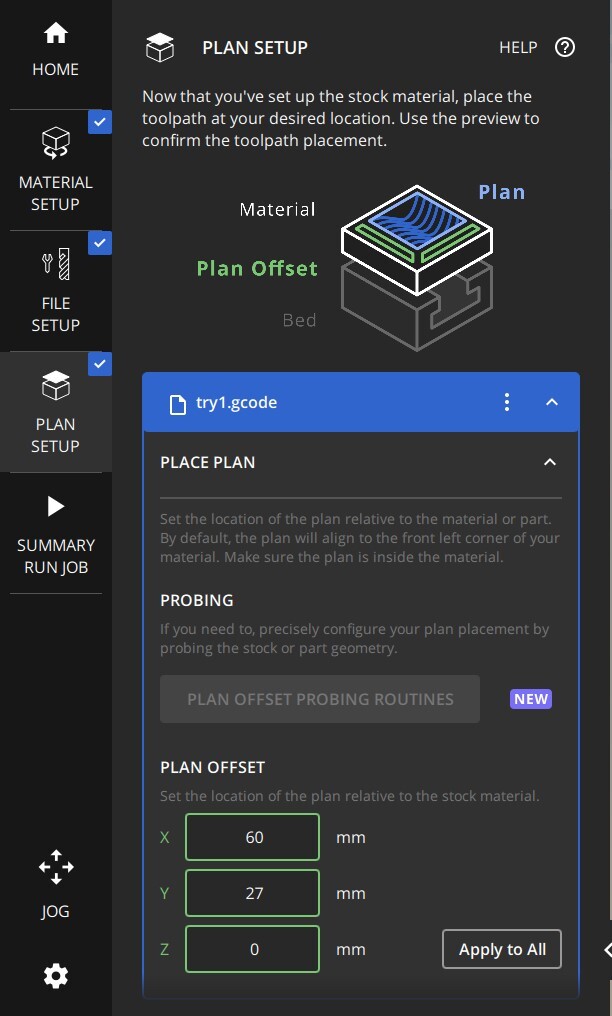
- Plan setup
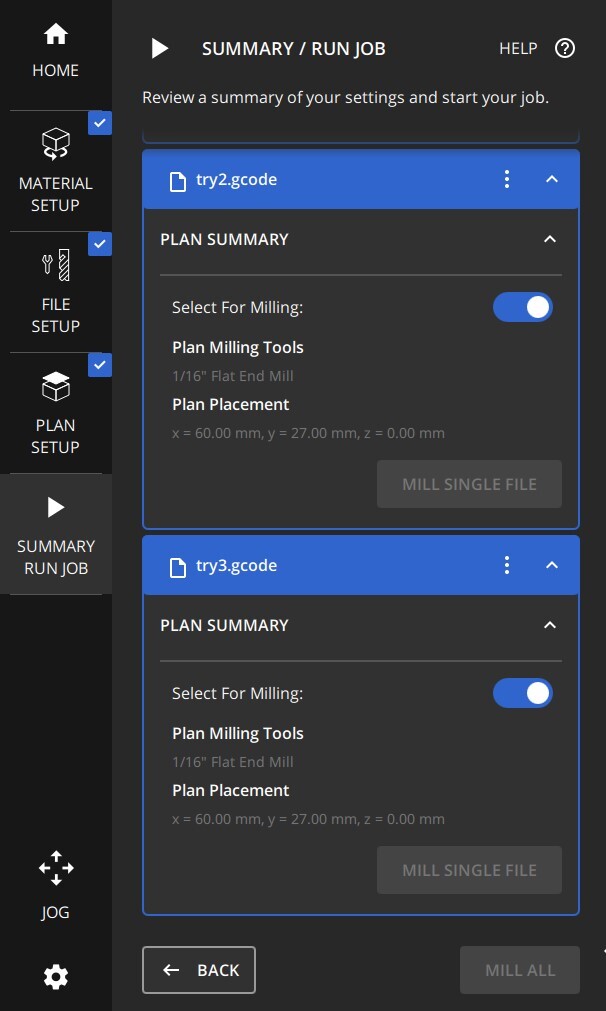
- Summary/Run Job

The toolpaths in Bantam looked as pictured below:
Wax Block
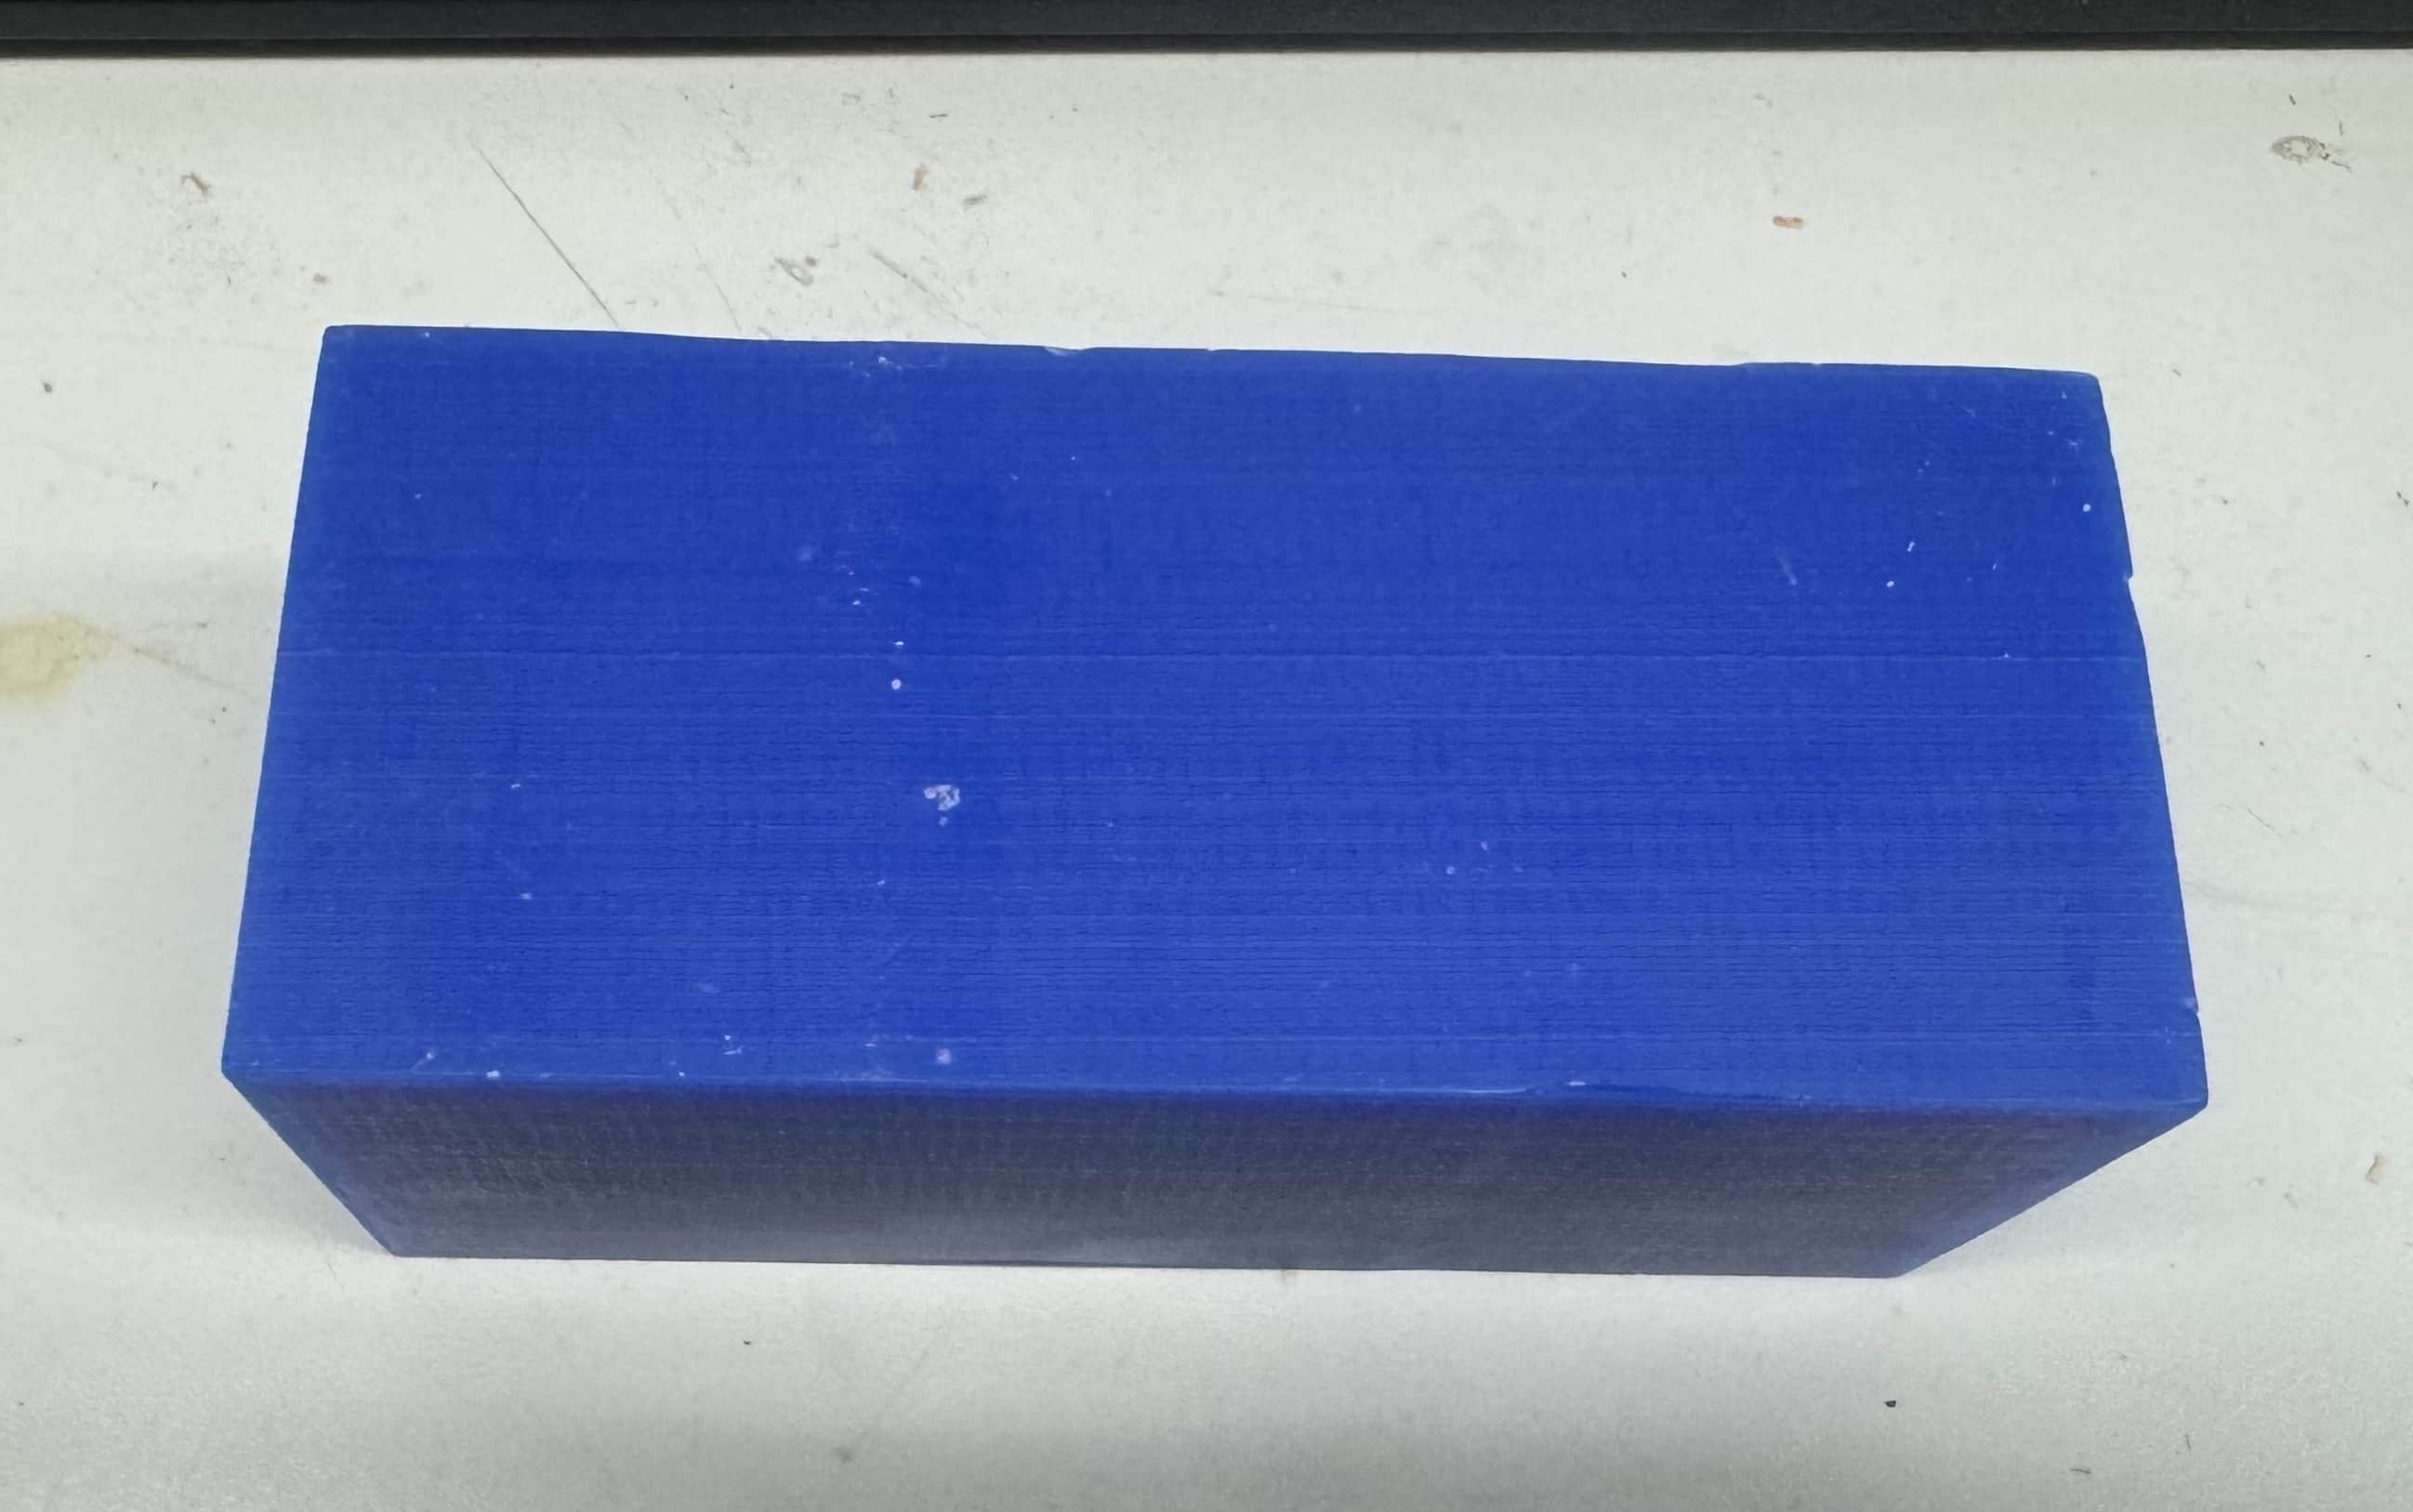
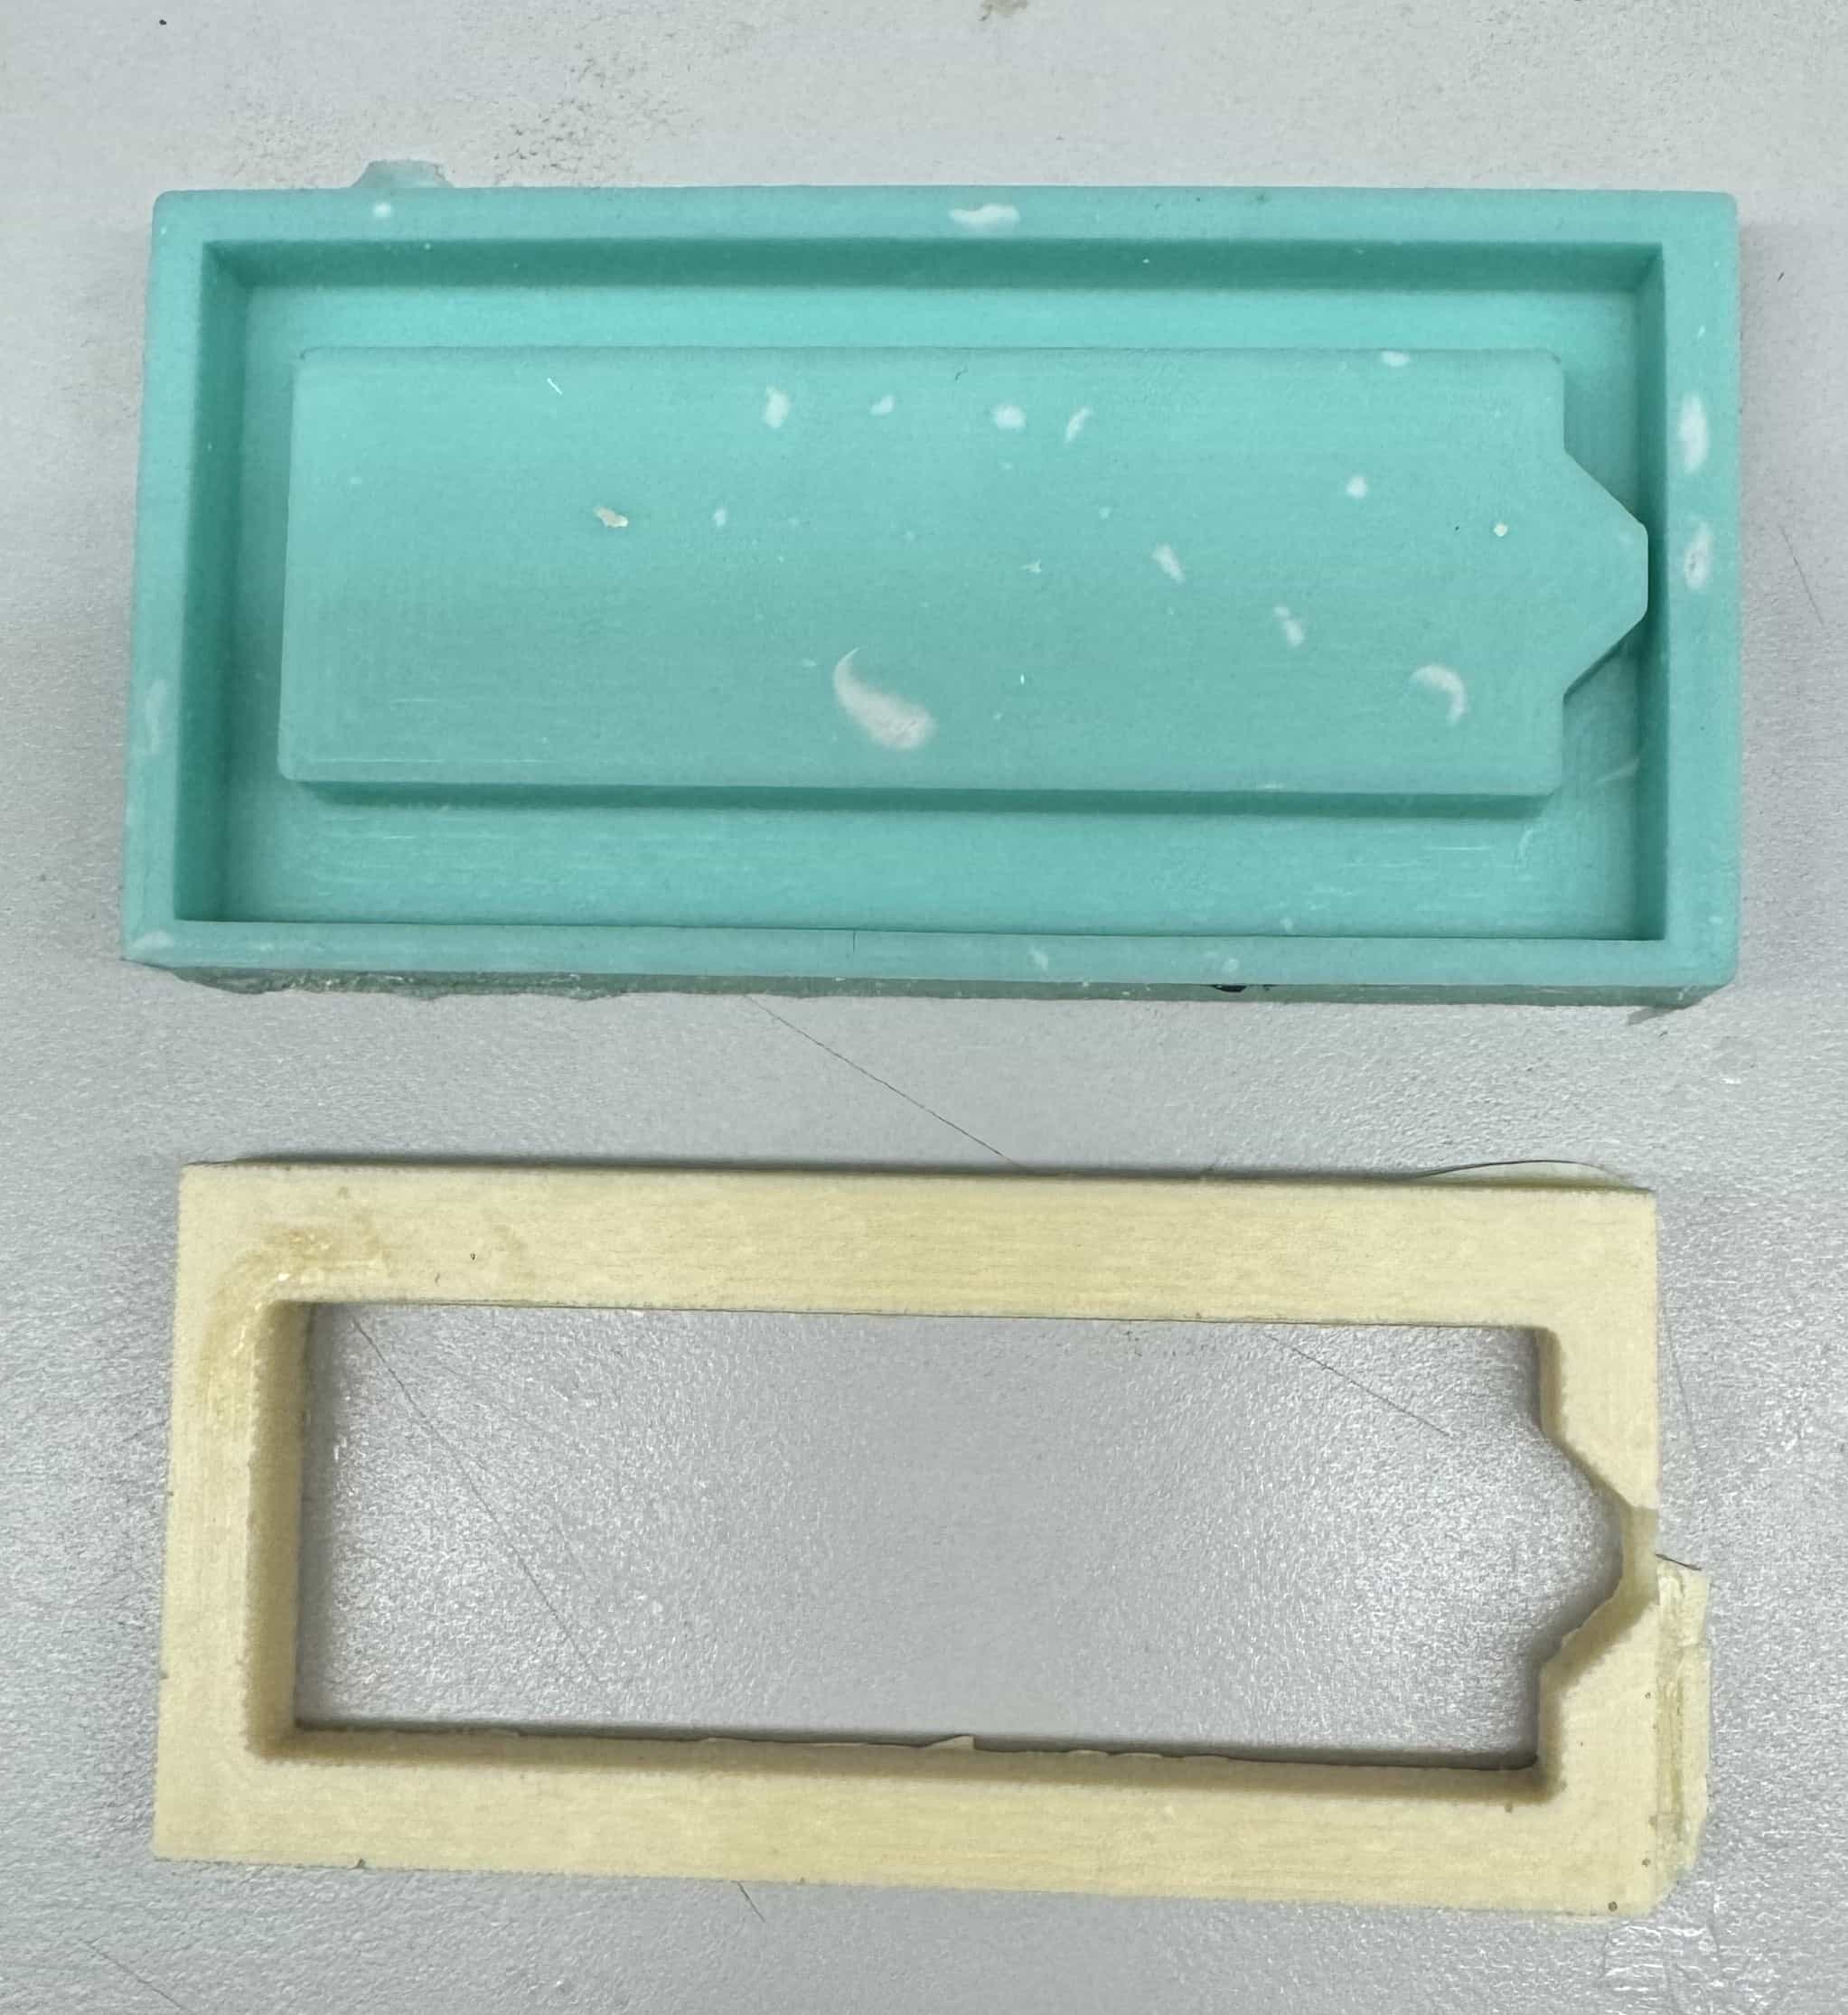
My starting wax looked as follows:
I used nitto tape on the bottom of the wax block to secure it to the Bantam machine bed.
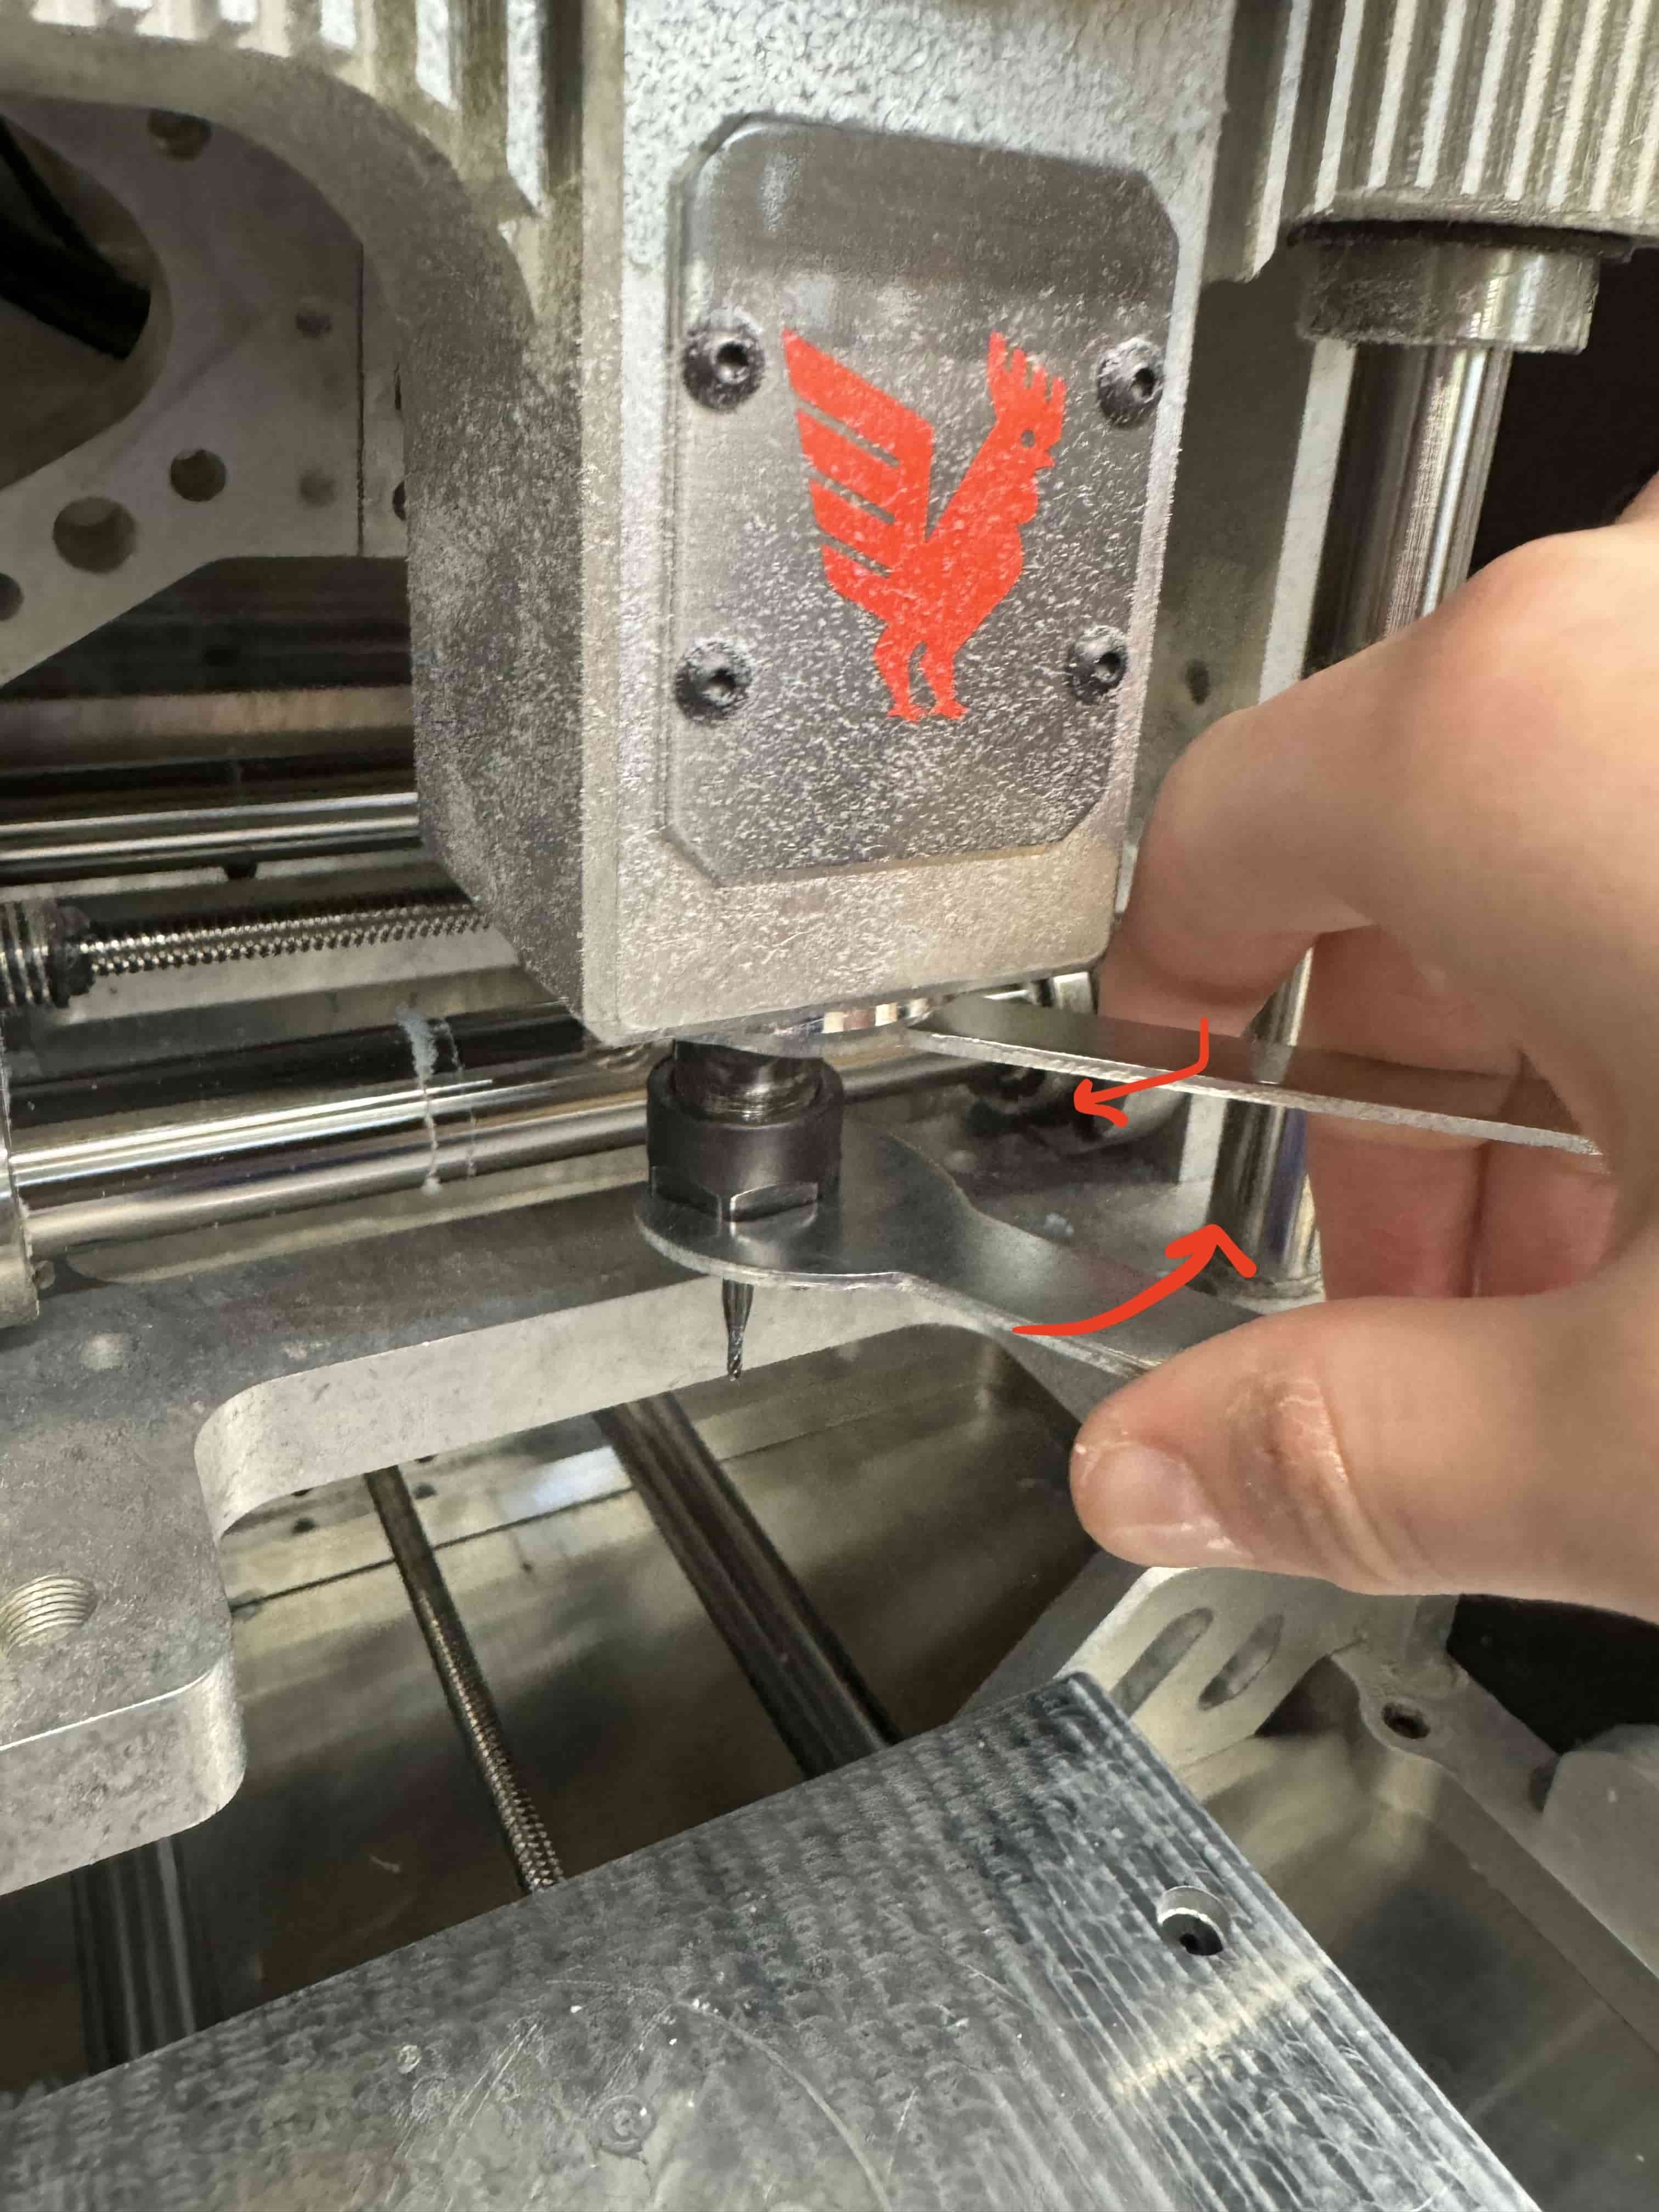
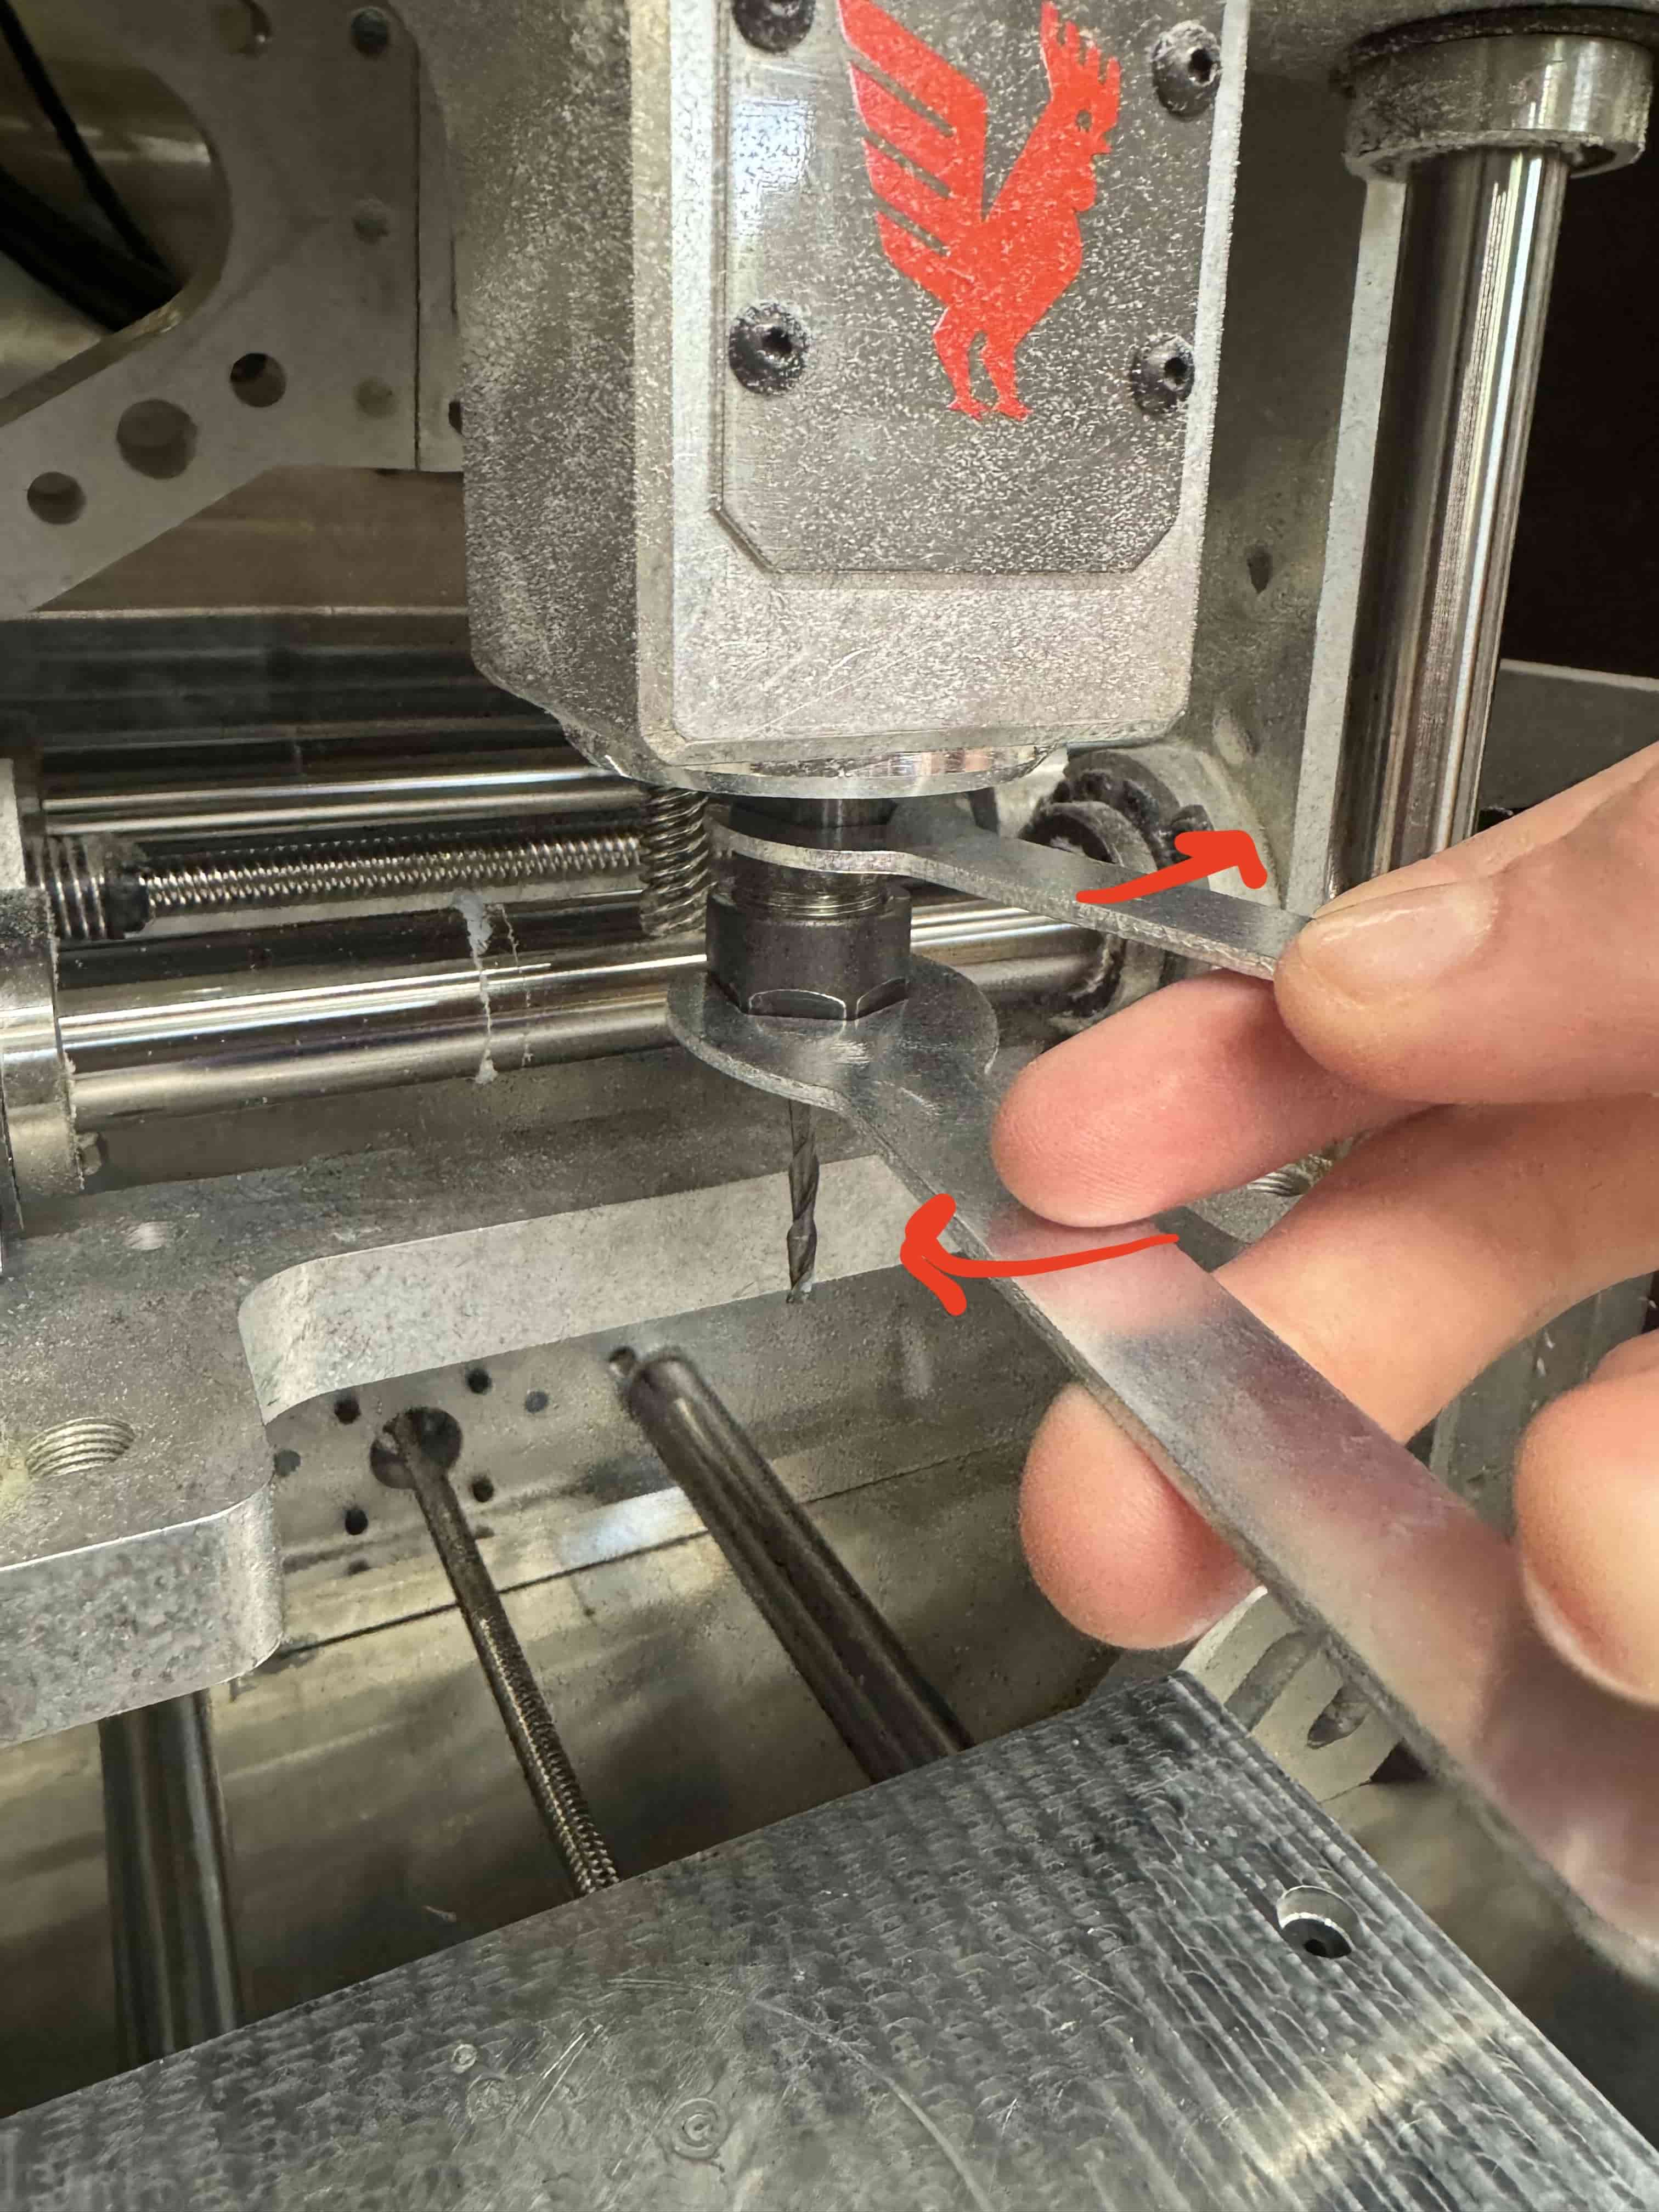
To change the tools, I used two wrenches; a smaller wrench on the top and a bigger wrench on the bottom. To tighten the bit, I turned the two wrenches towards one another. To loosen the bit, I turned the two wrenches away from one another.
To tighten:
To loosen:
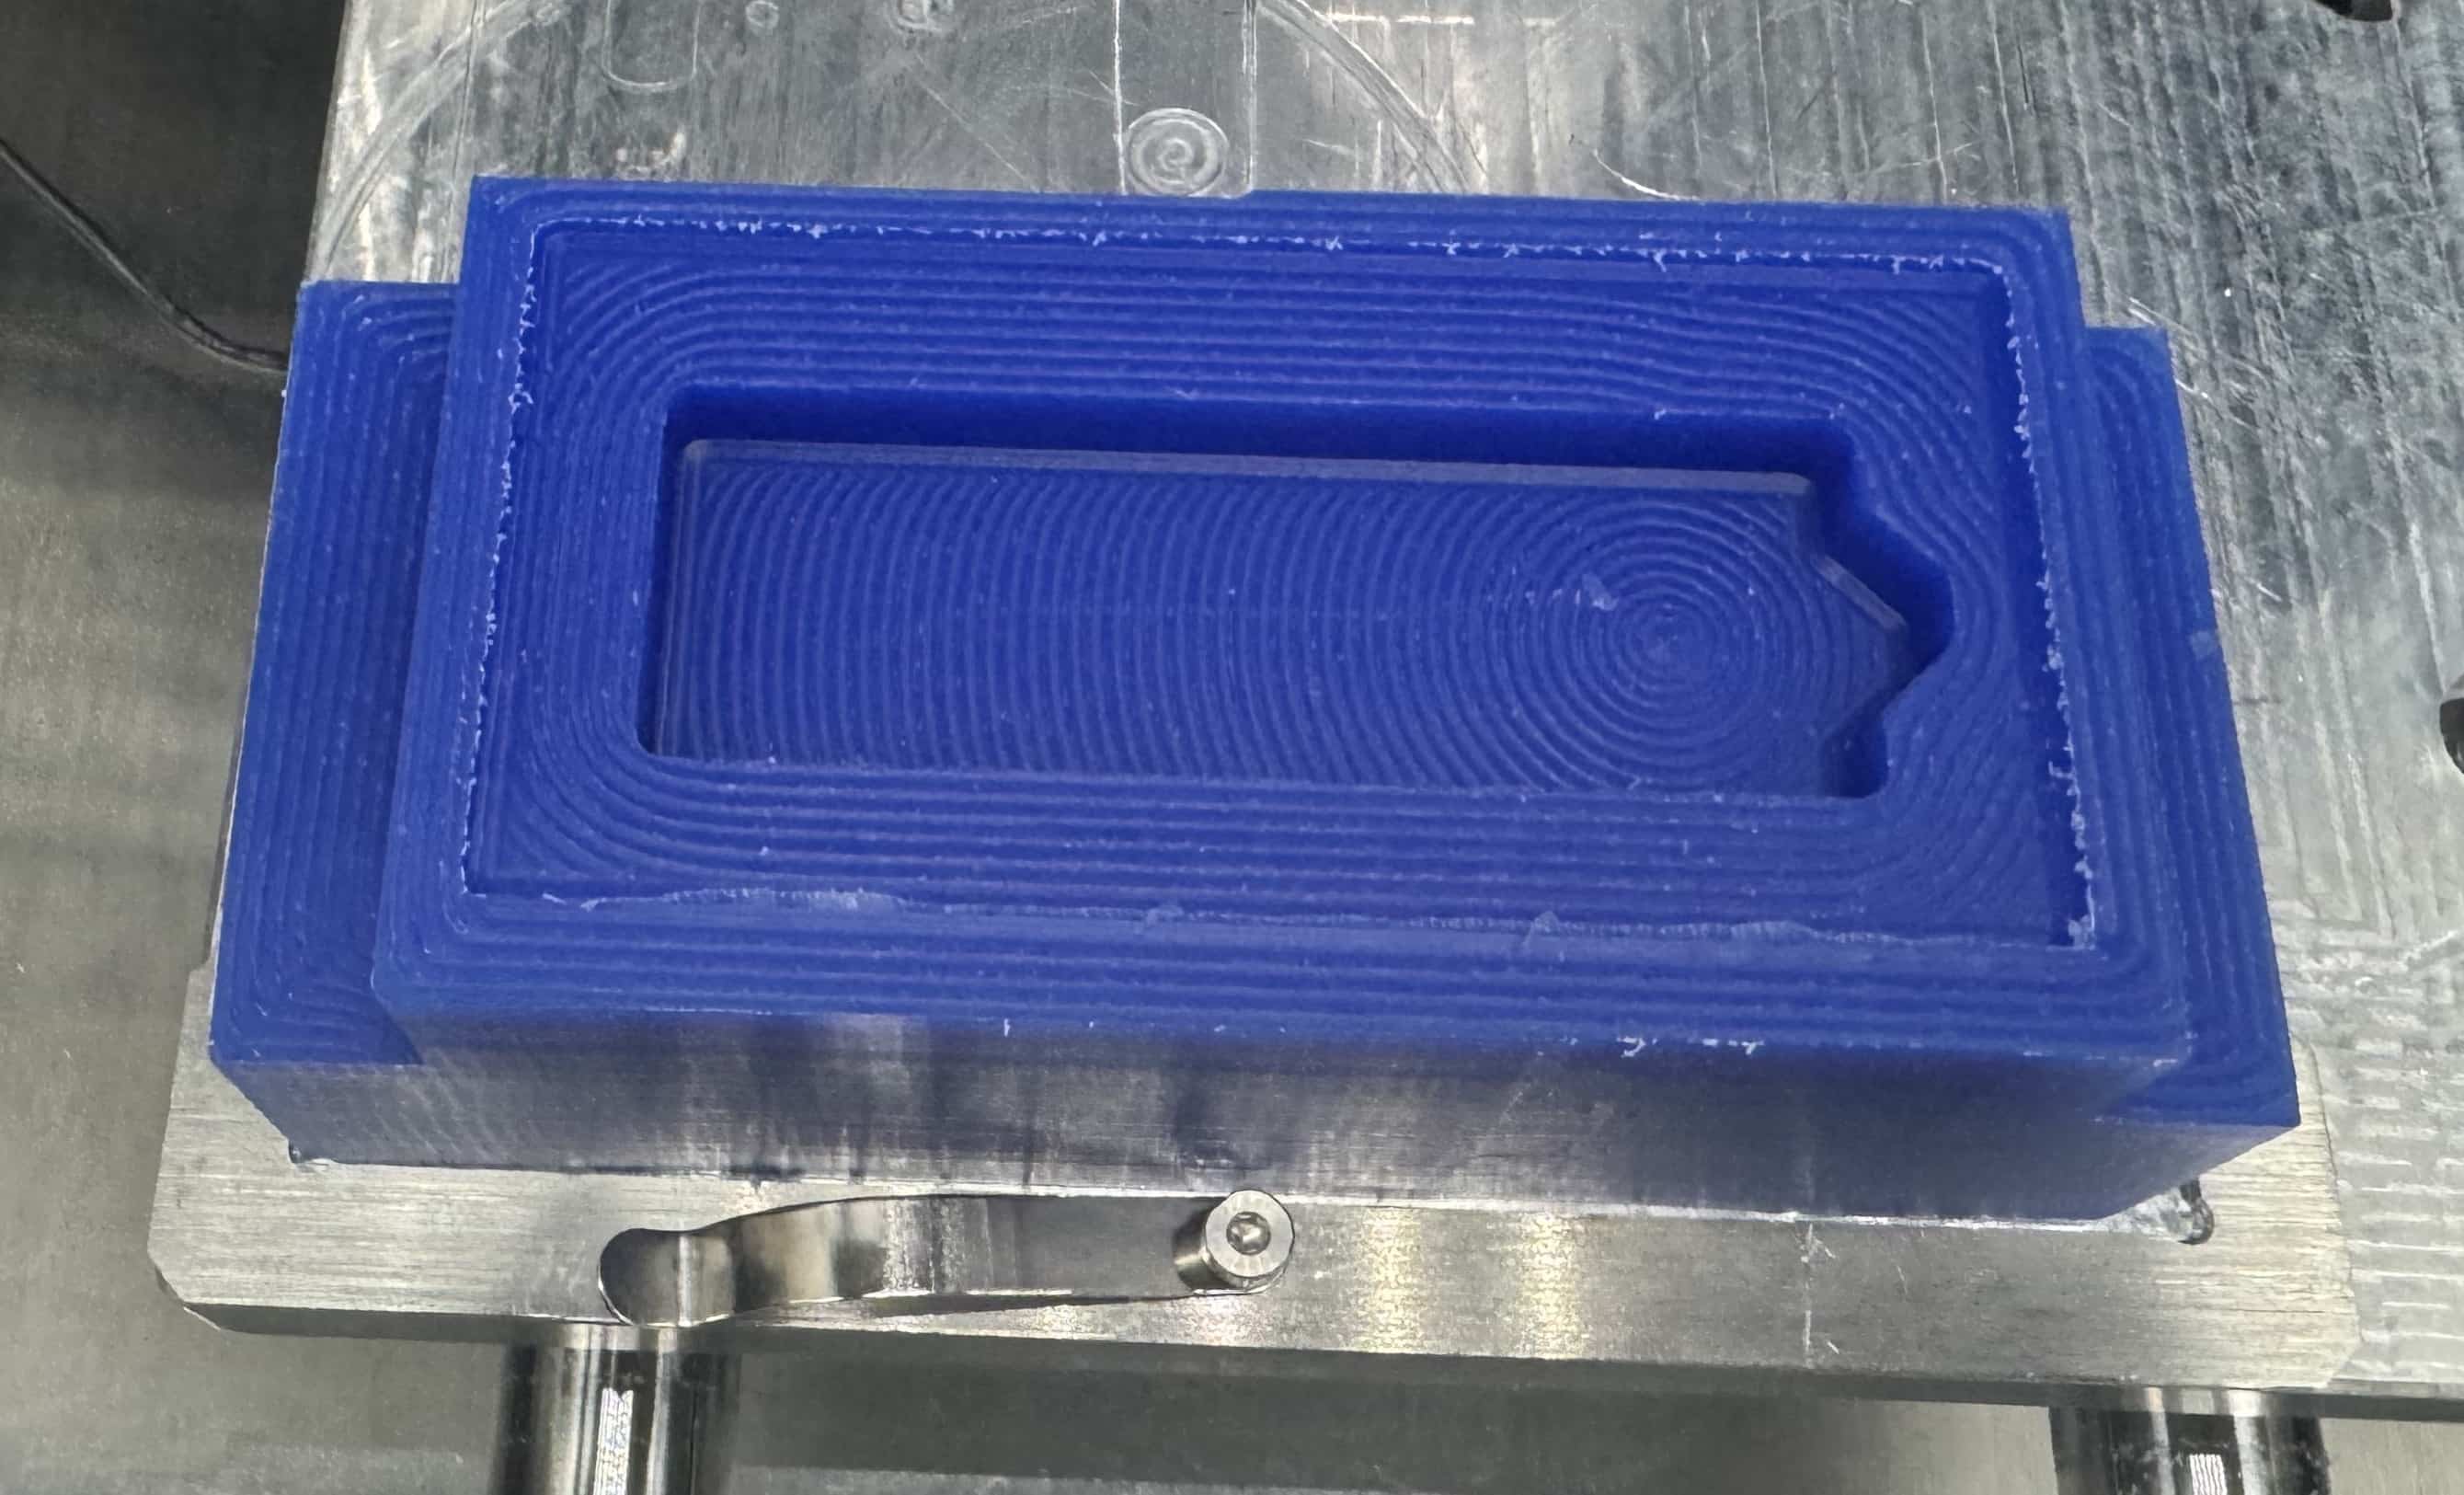
After the Roughing Pass (Adaptive1):
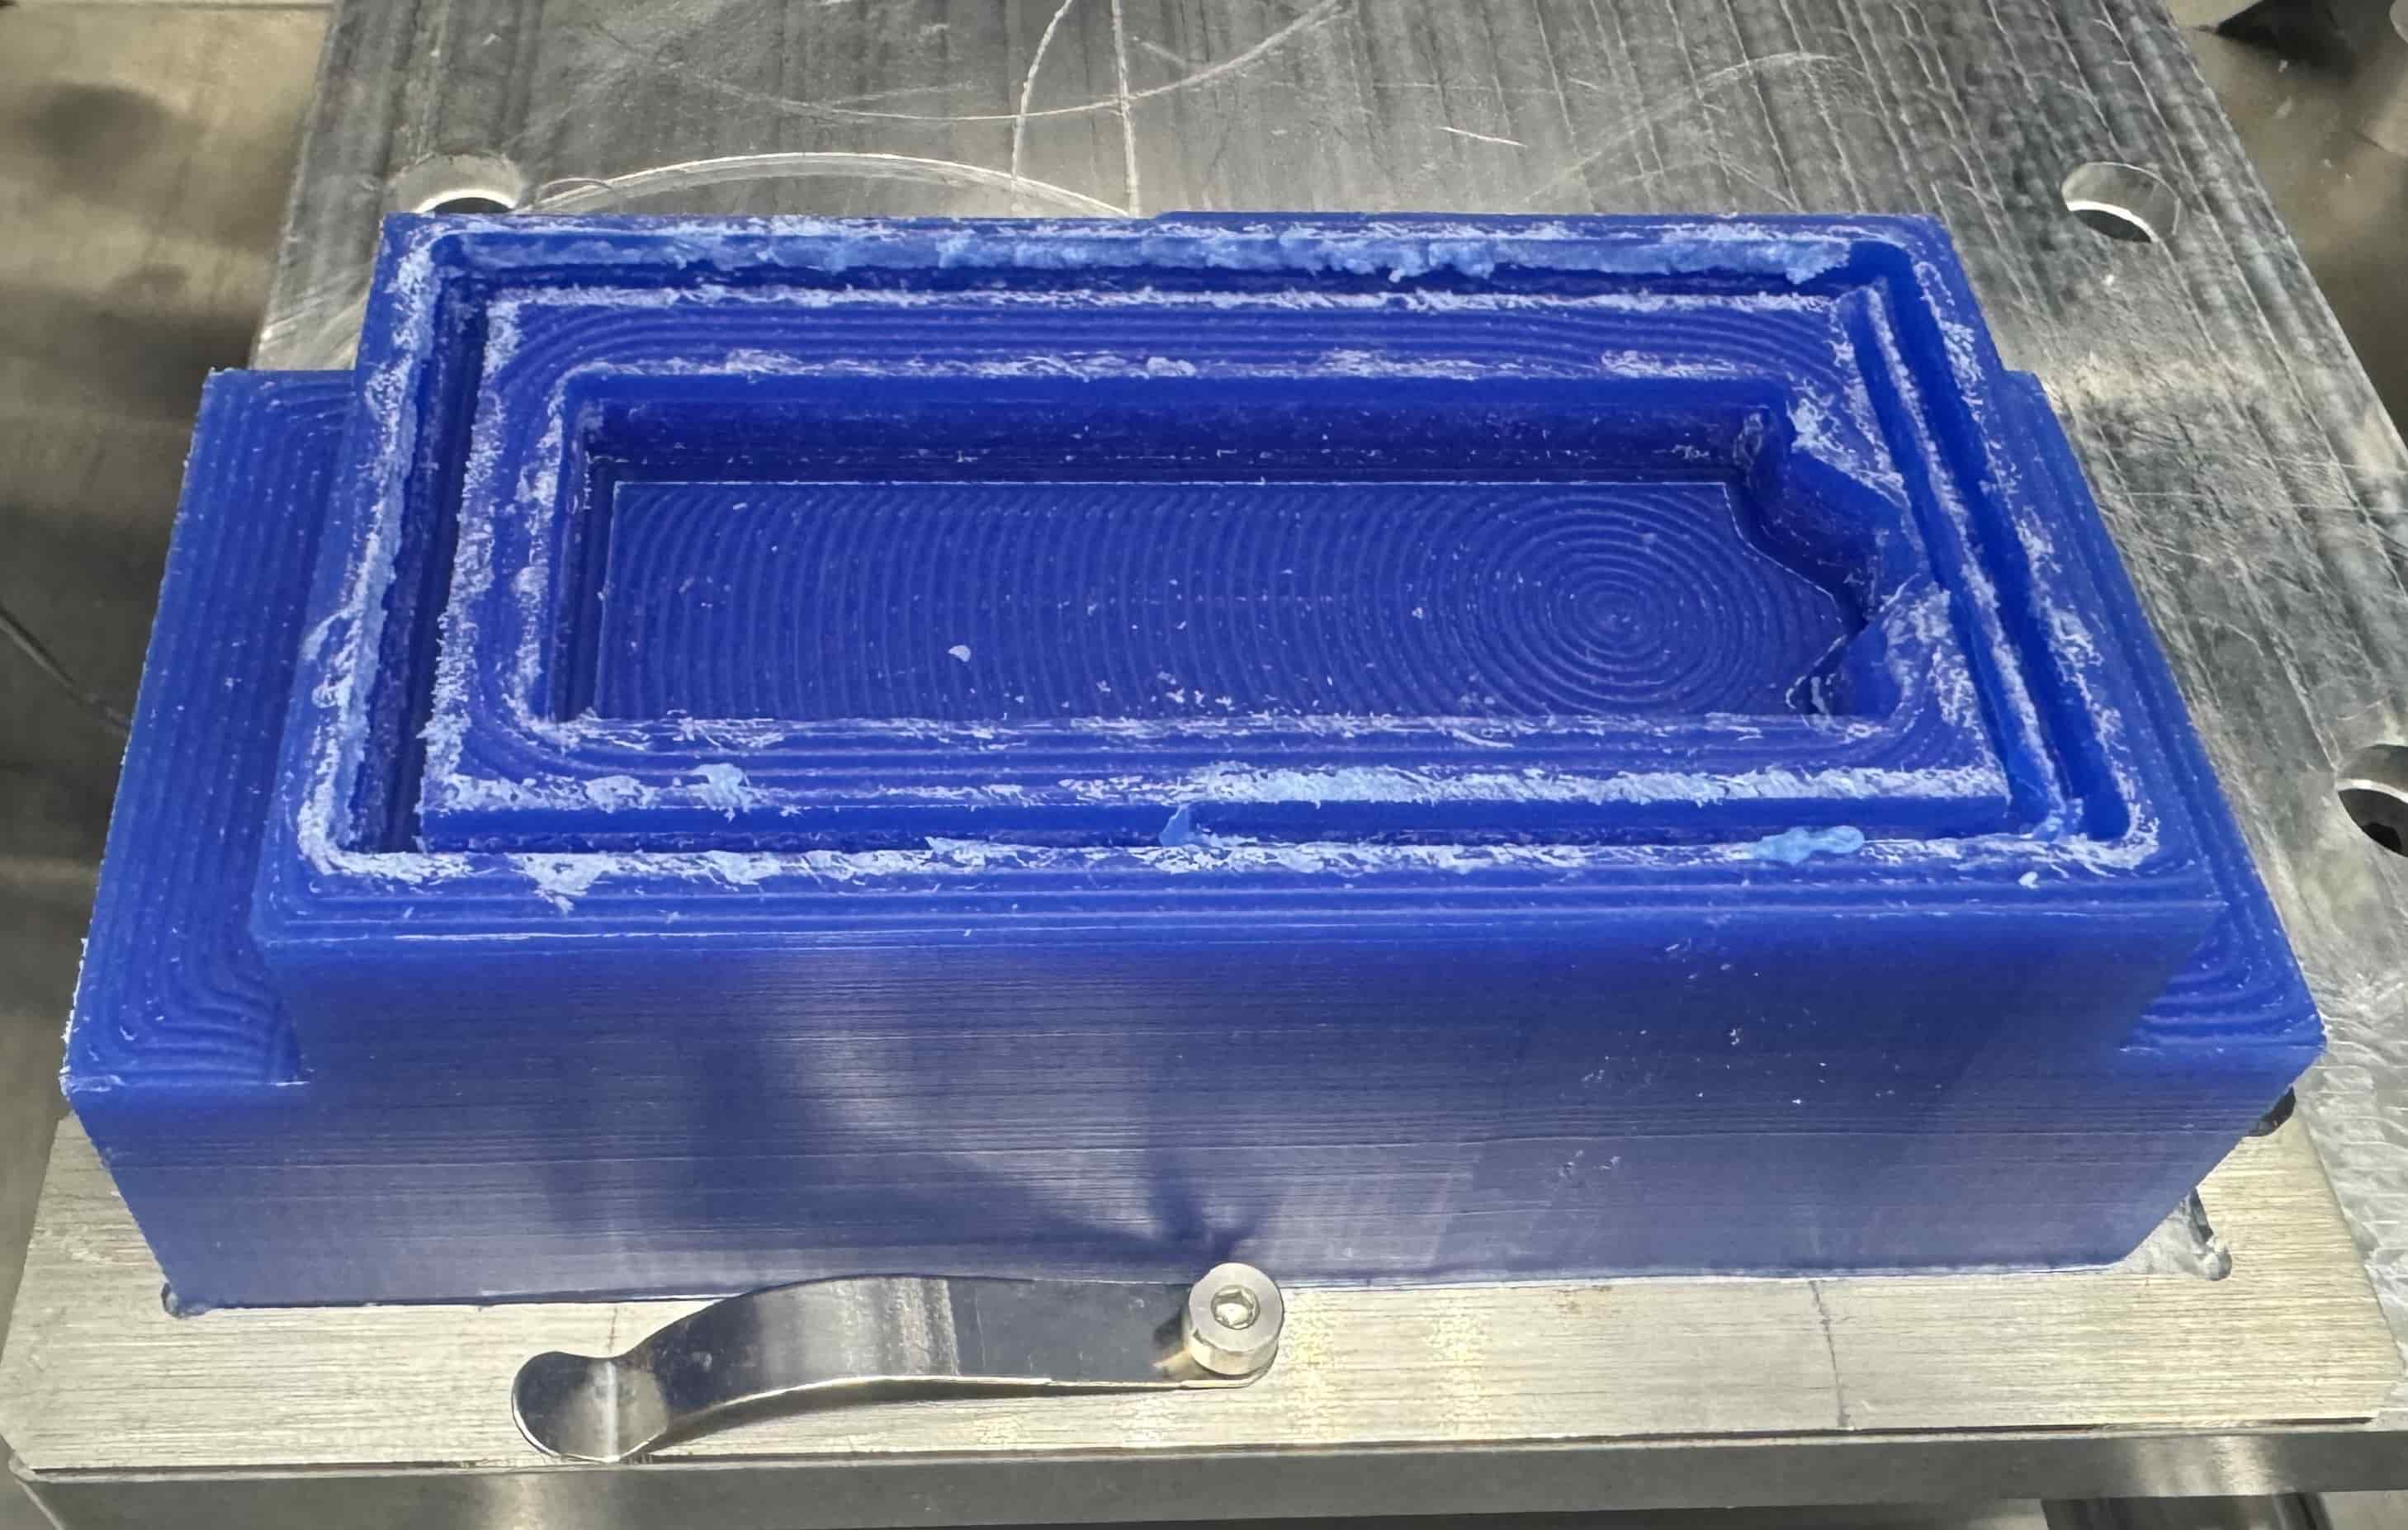
After the Side Finishing Pass (Contour2):
After the Bottom Finishing Pass (Flat1):
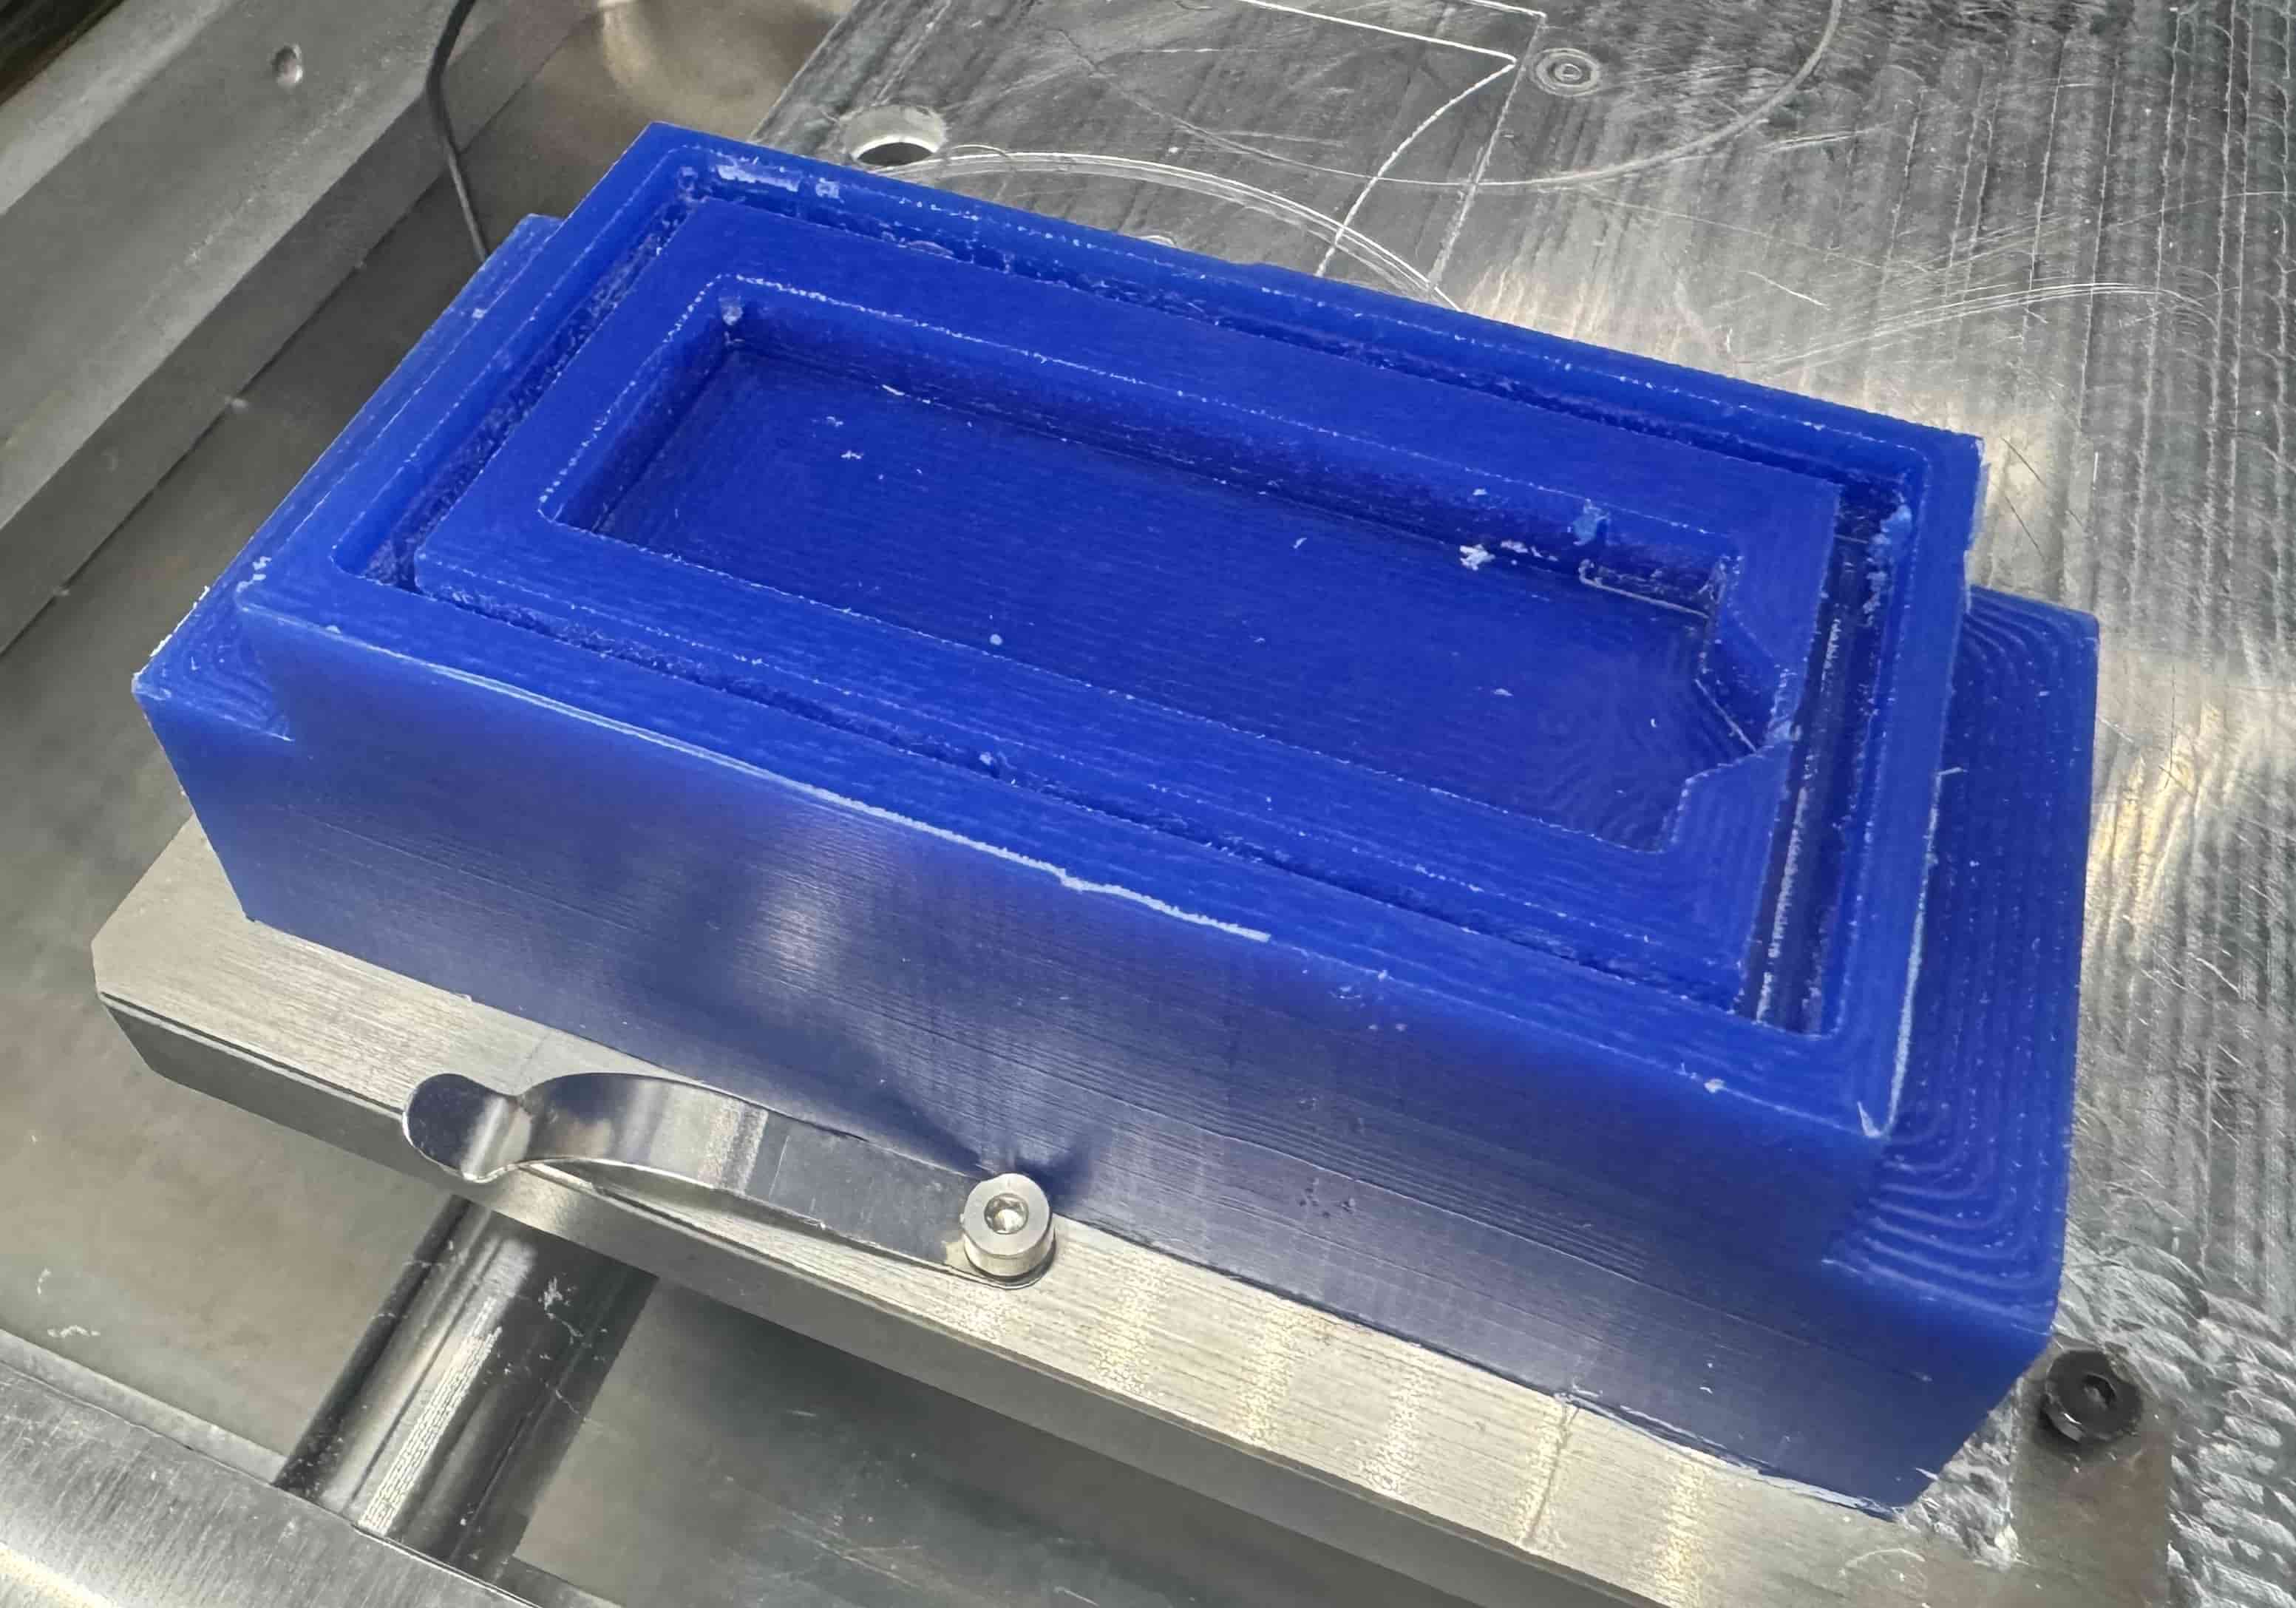
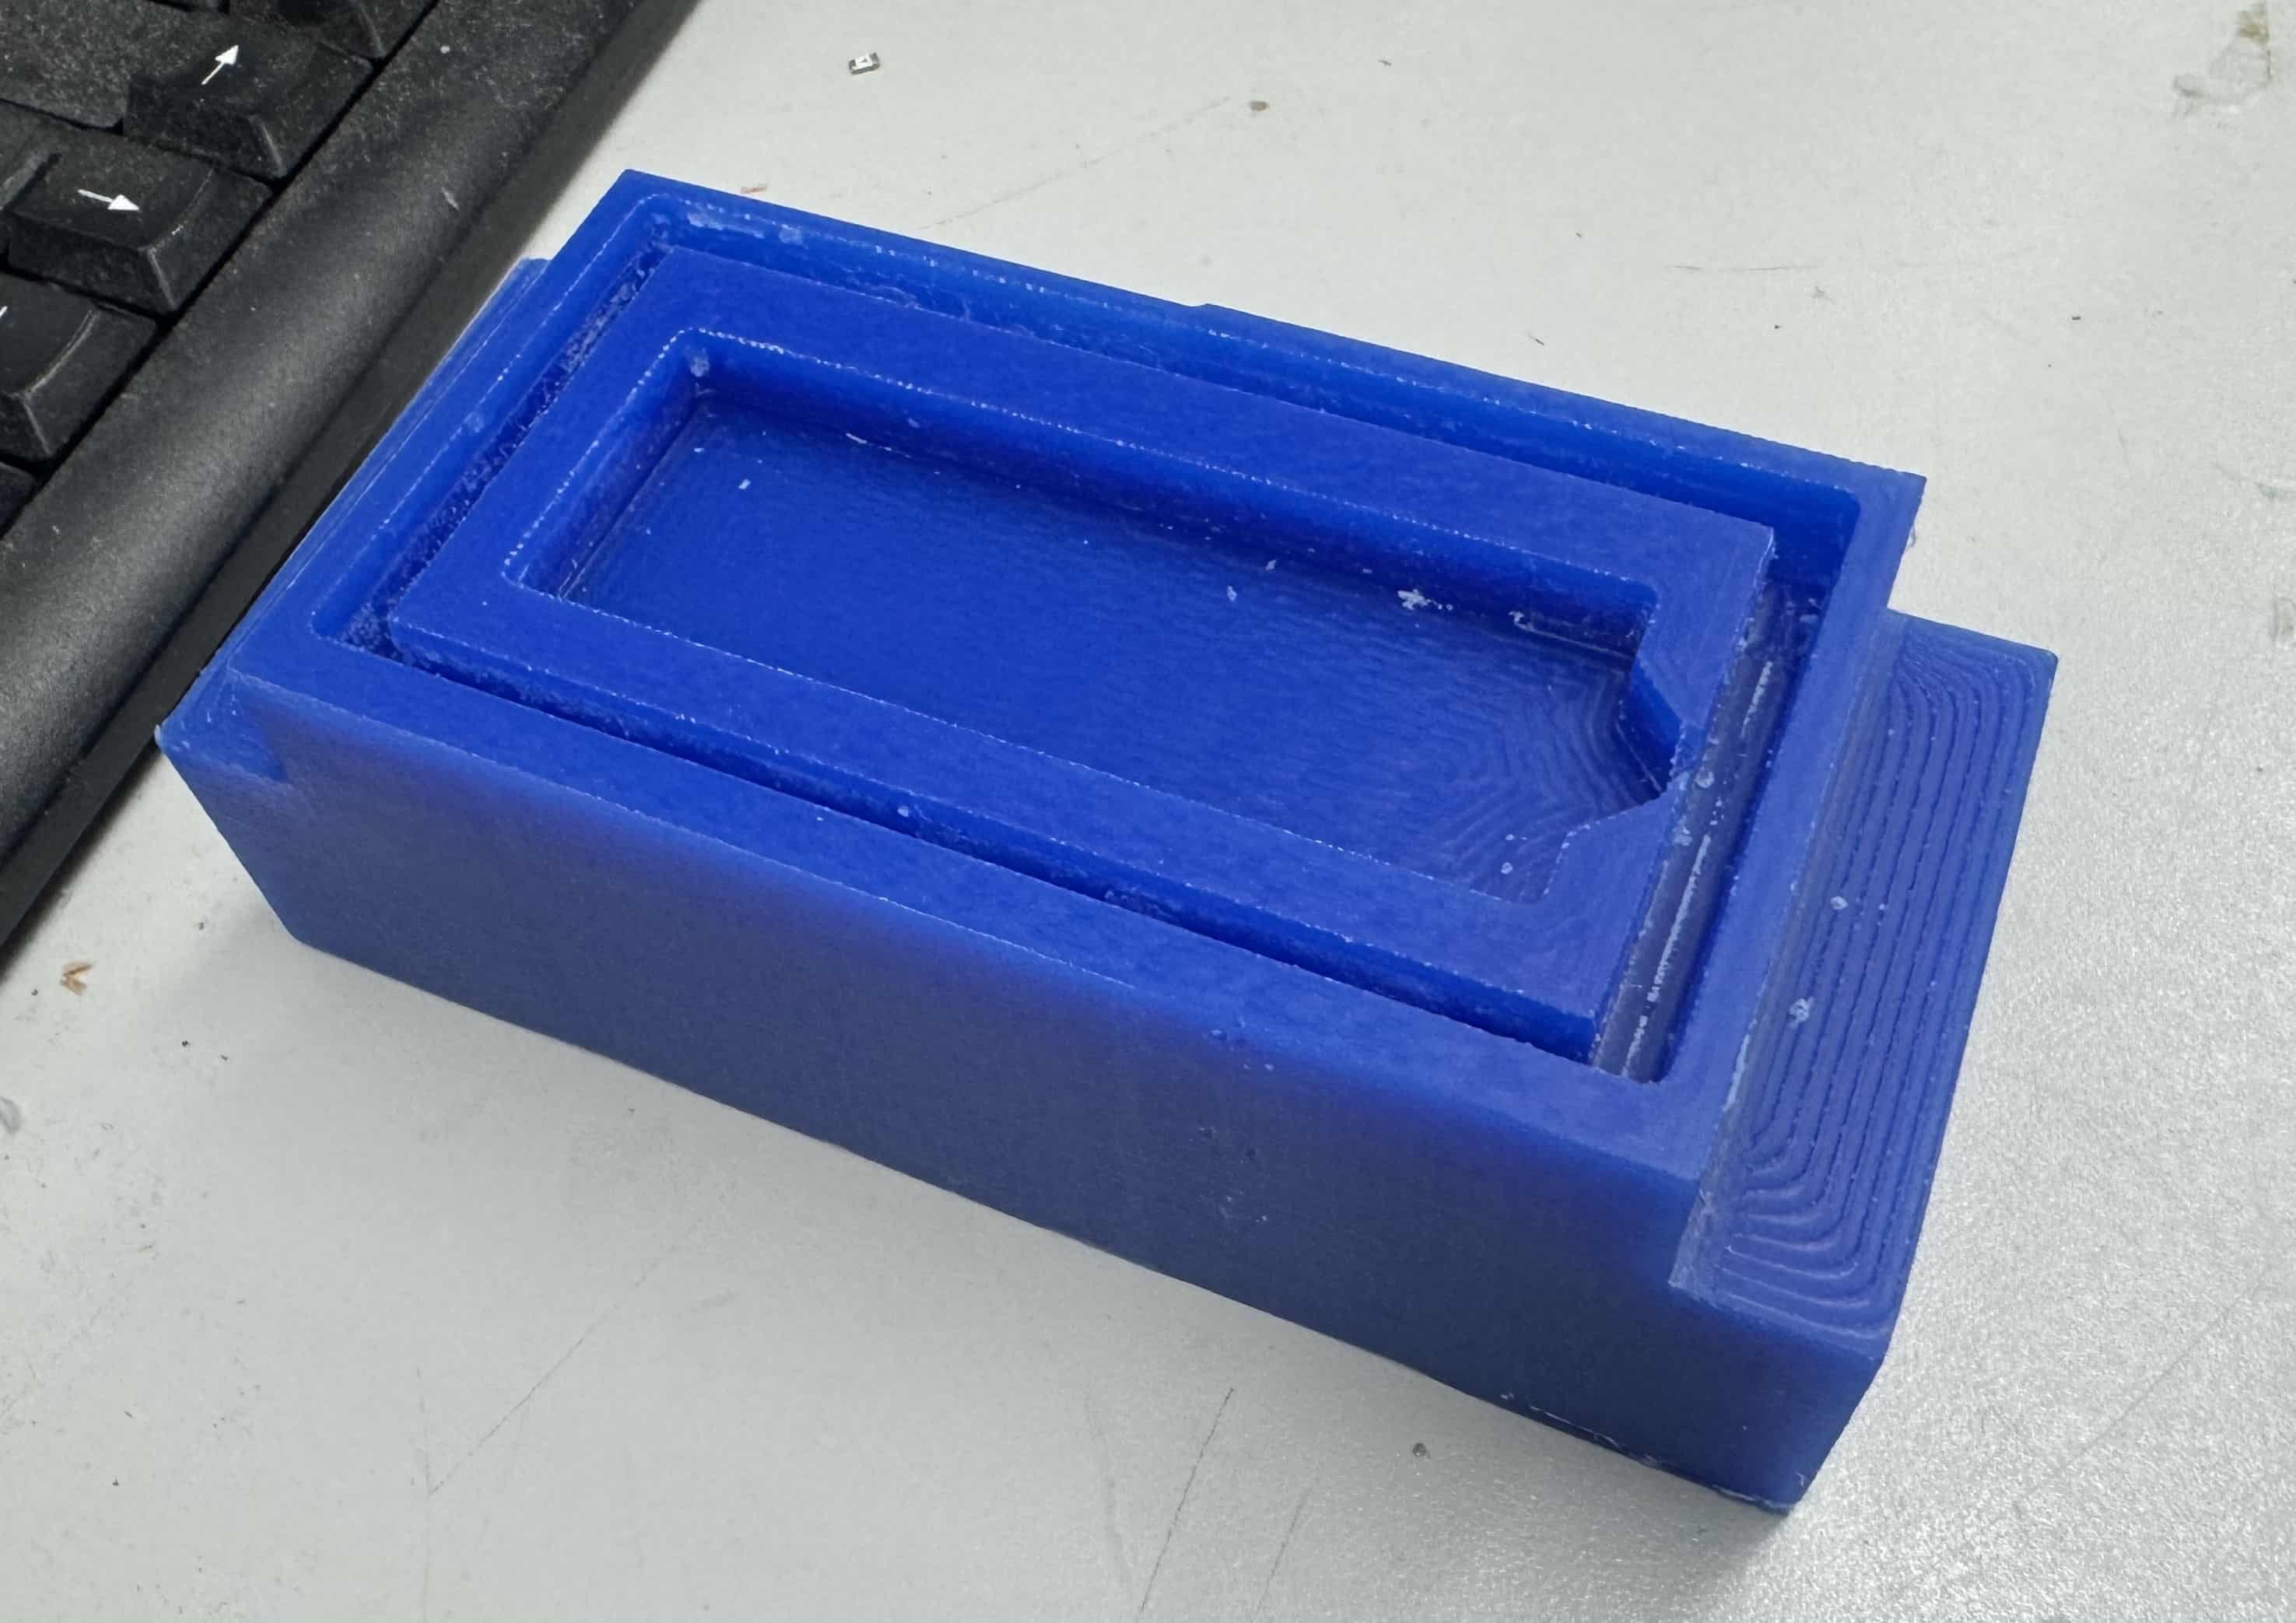
I used a putty knife to help remove the milled wax block from the machine bed. Once out of the machine, I got a good look at the wax mill – it was really nice!
Casting
Moldstar
One of the mold materials I used was 15 Slow Mold Star Series which would create a soft cast. It is necessary that I did a soft cast because I did hard molds.
Parts A and B need to be mixed together in a 1:1 ratio. Before I put them together, though, I took part A and part B and put them in separate cups (while wearing gloves!). I stirred them for a few minutes each with their own popsicle sticks. I then poured them together in a cup and mixed them together with a third, clean popsicle stick.
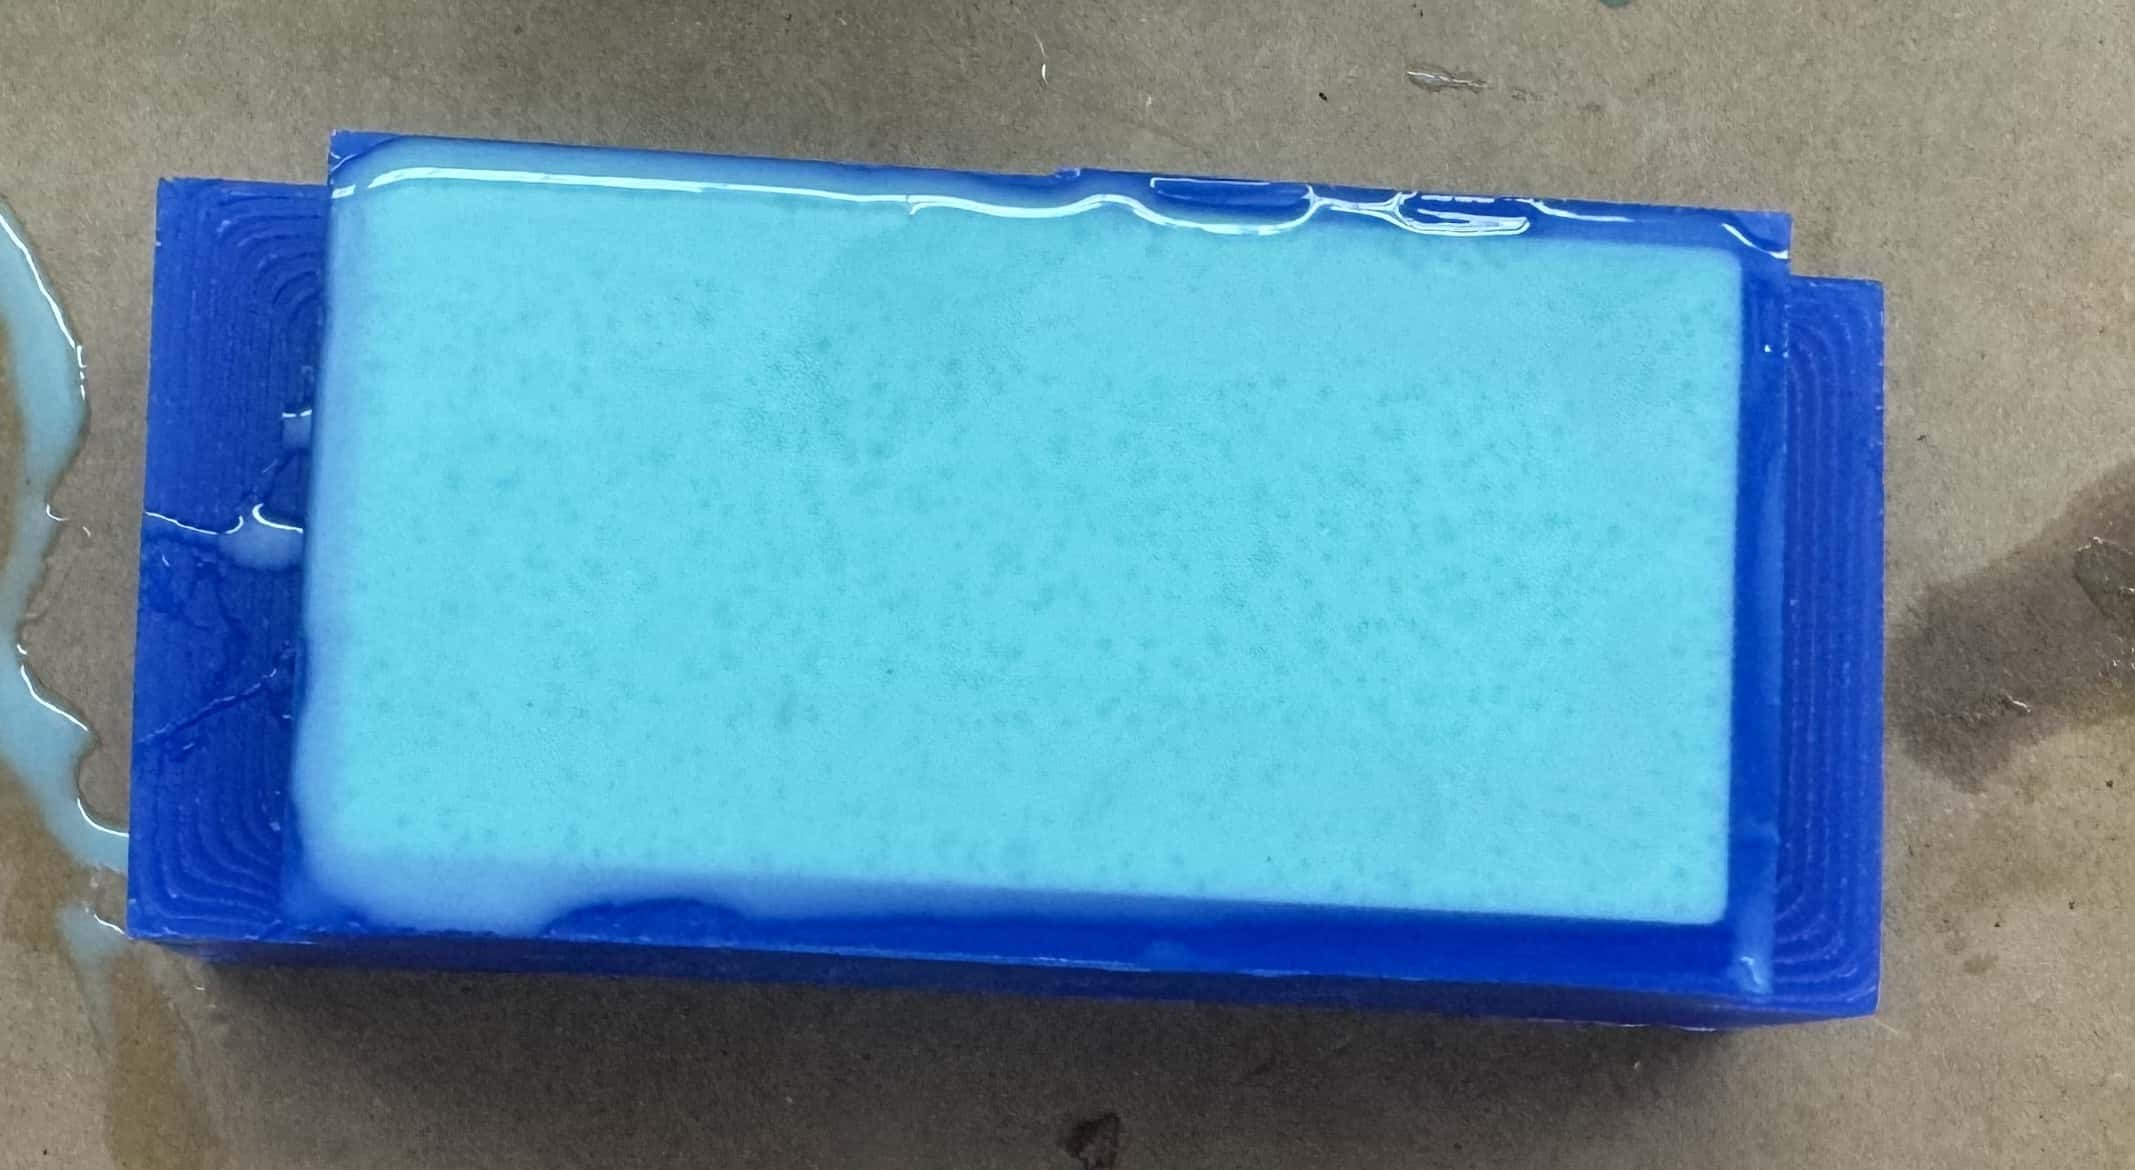
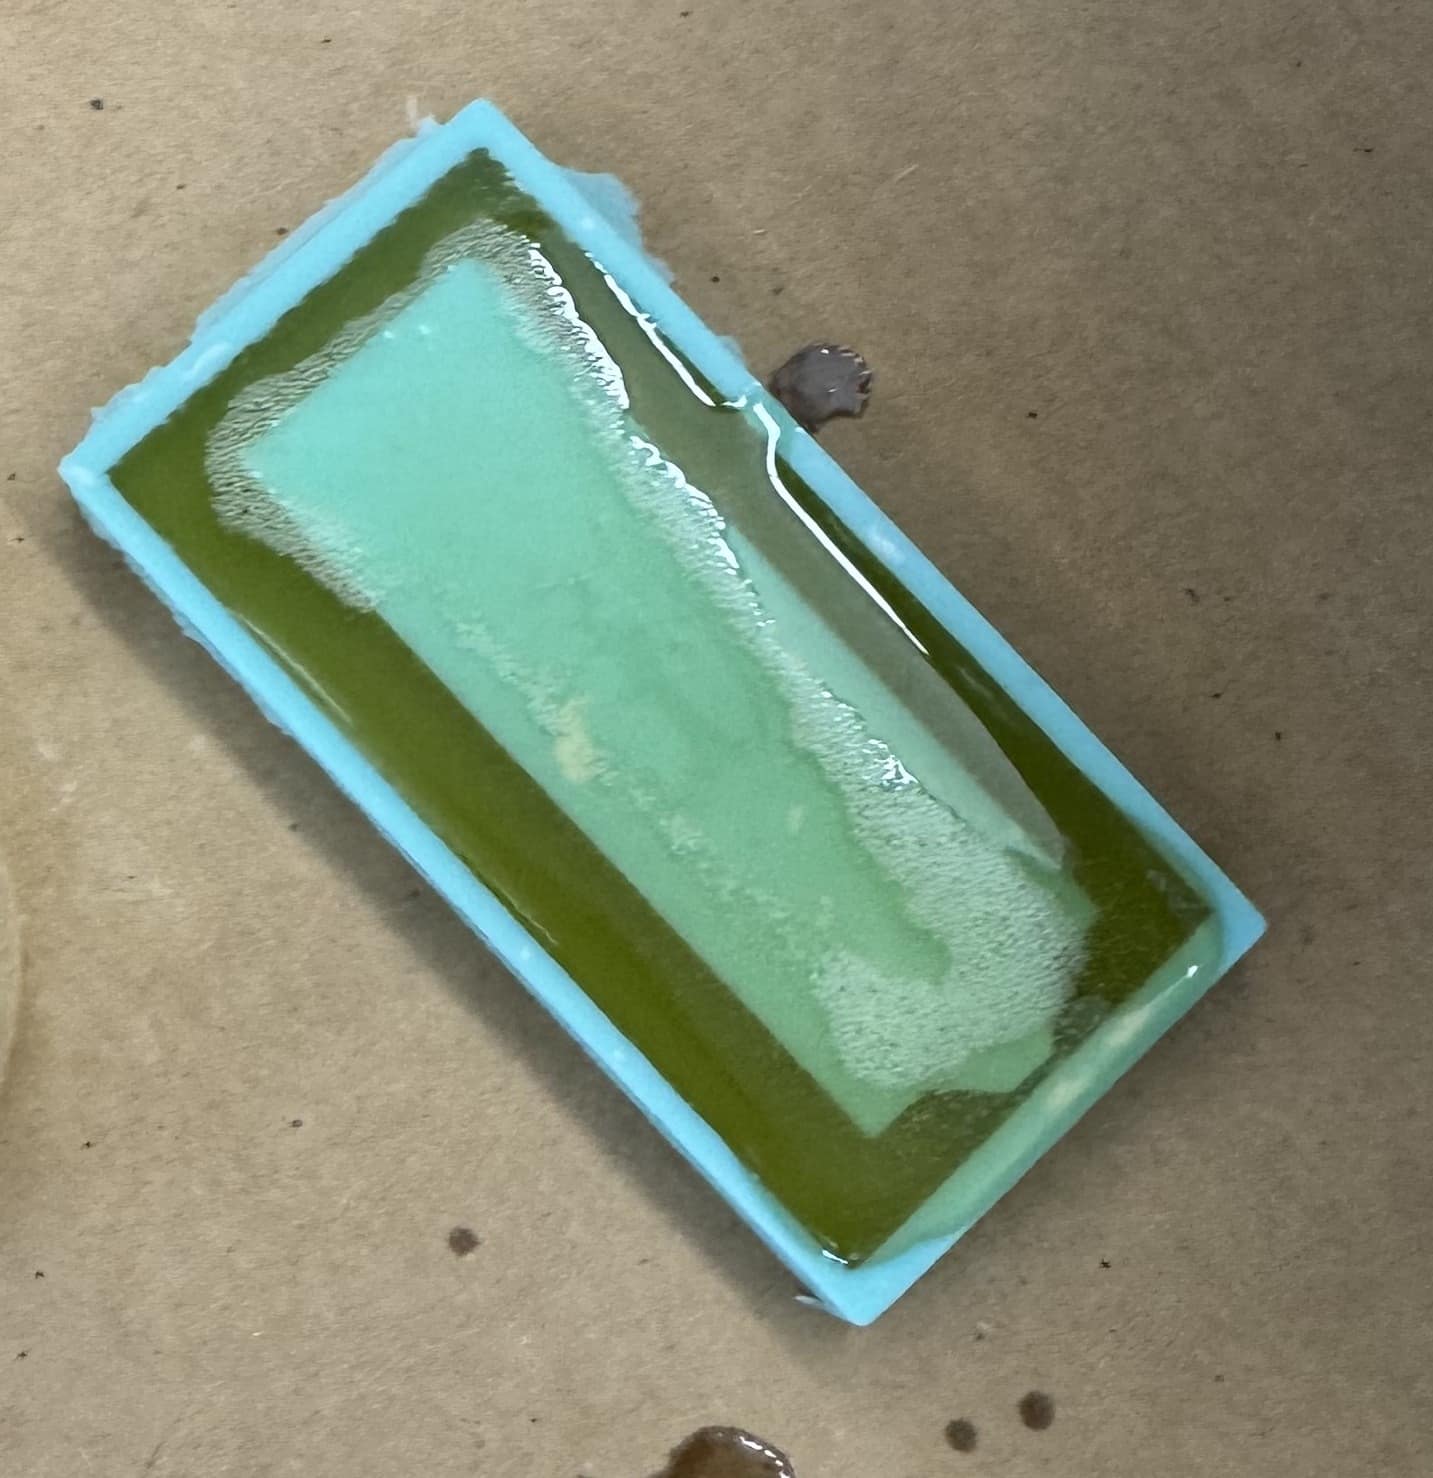
I then slowly poured the mix into the mold that was placed on a sheet of cardboard to protect the table. Once it was poured in, I carefully hit the mold on the table a couple of times to help remove bubbles.
The cure time for Moldstar 15 SLOW is 4 hours according to the technical data sheet. I let my casts cure overnight as I was not in the lab after the 4 hour mark. The casts all came out very well for the material and none of them were sticky, messed up, or hard to remove from the molds.
Task 8
One of the mold materials I used was Task 8 by Smooth-On which creates a hard cast. Because its a hard cast, I needed to do a three-process mold & cast because I start with a hard mold and this hard material needs a soft/flexible mold so that it can come out.
Parts A and B are mixed together in a 1:1 ratio. Before pouring them out, I shook the bottles as this material cures very quickly and I did not want to waste time stirring the parts with popsicle sticks. I took part A and part B and poured them in separate cups (while wearing gloves!). I then poured them together in a cup and mixed them together with a popsicle stick.
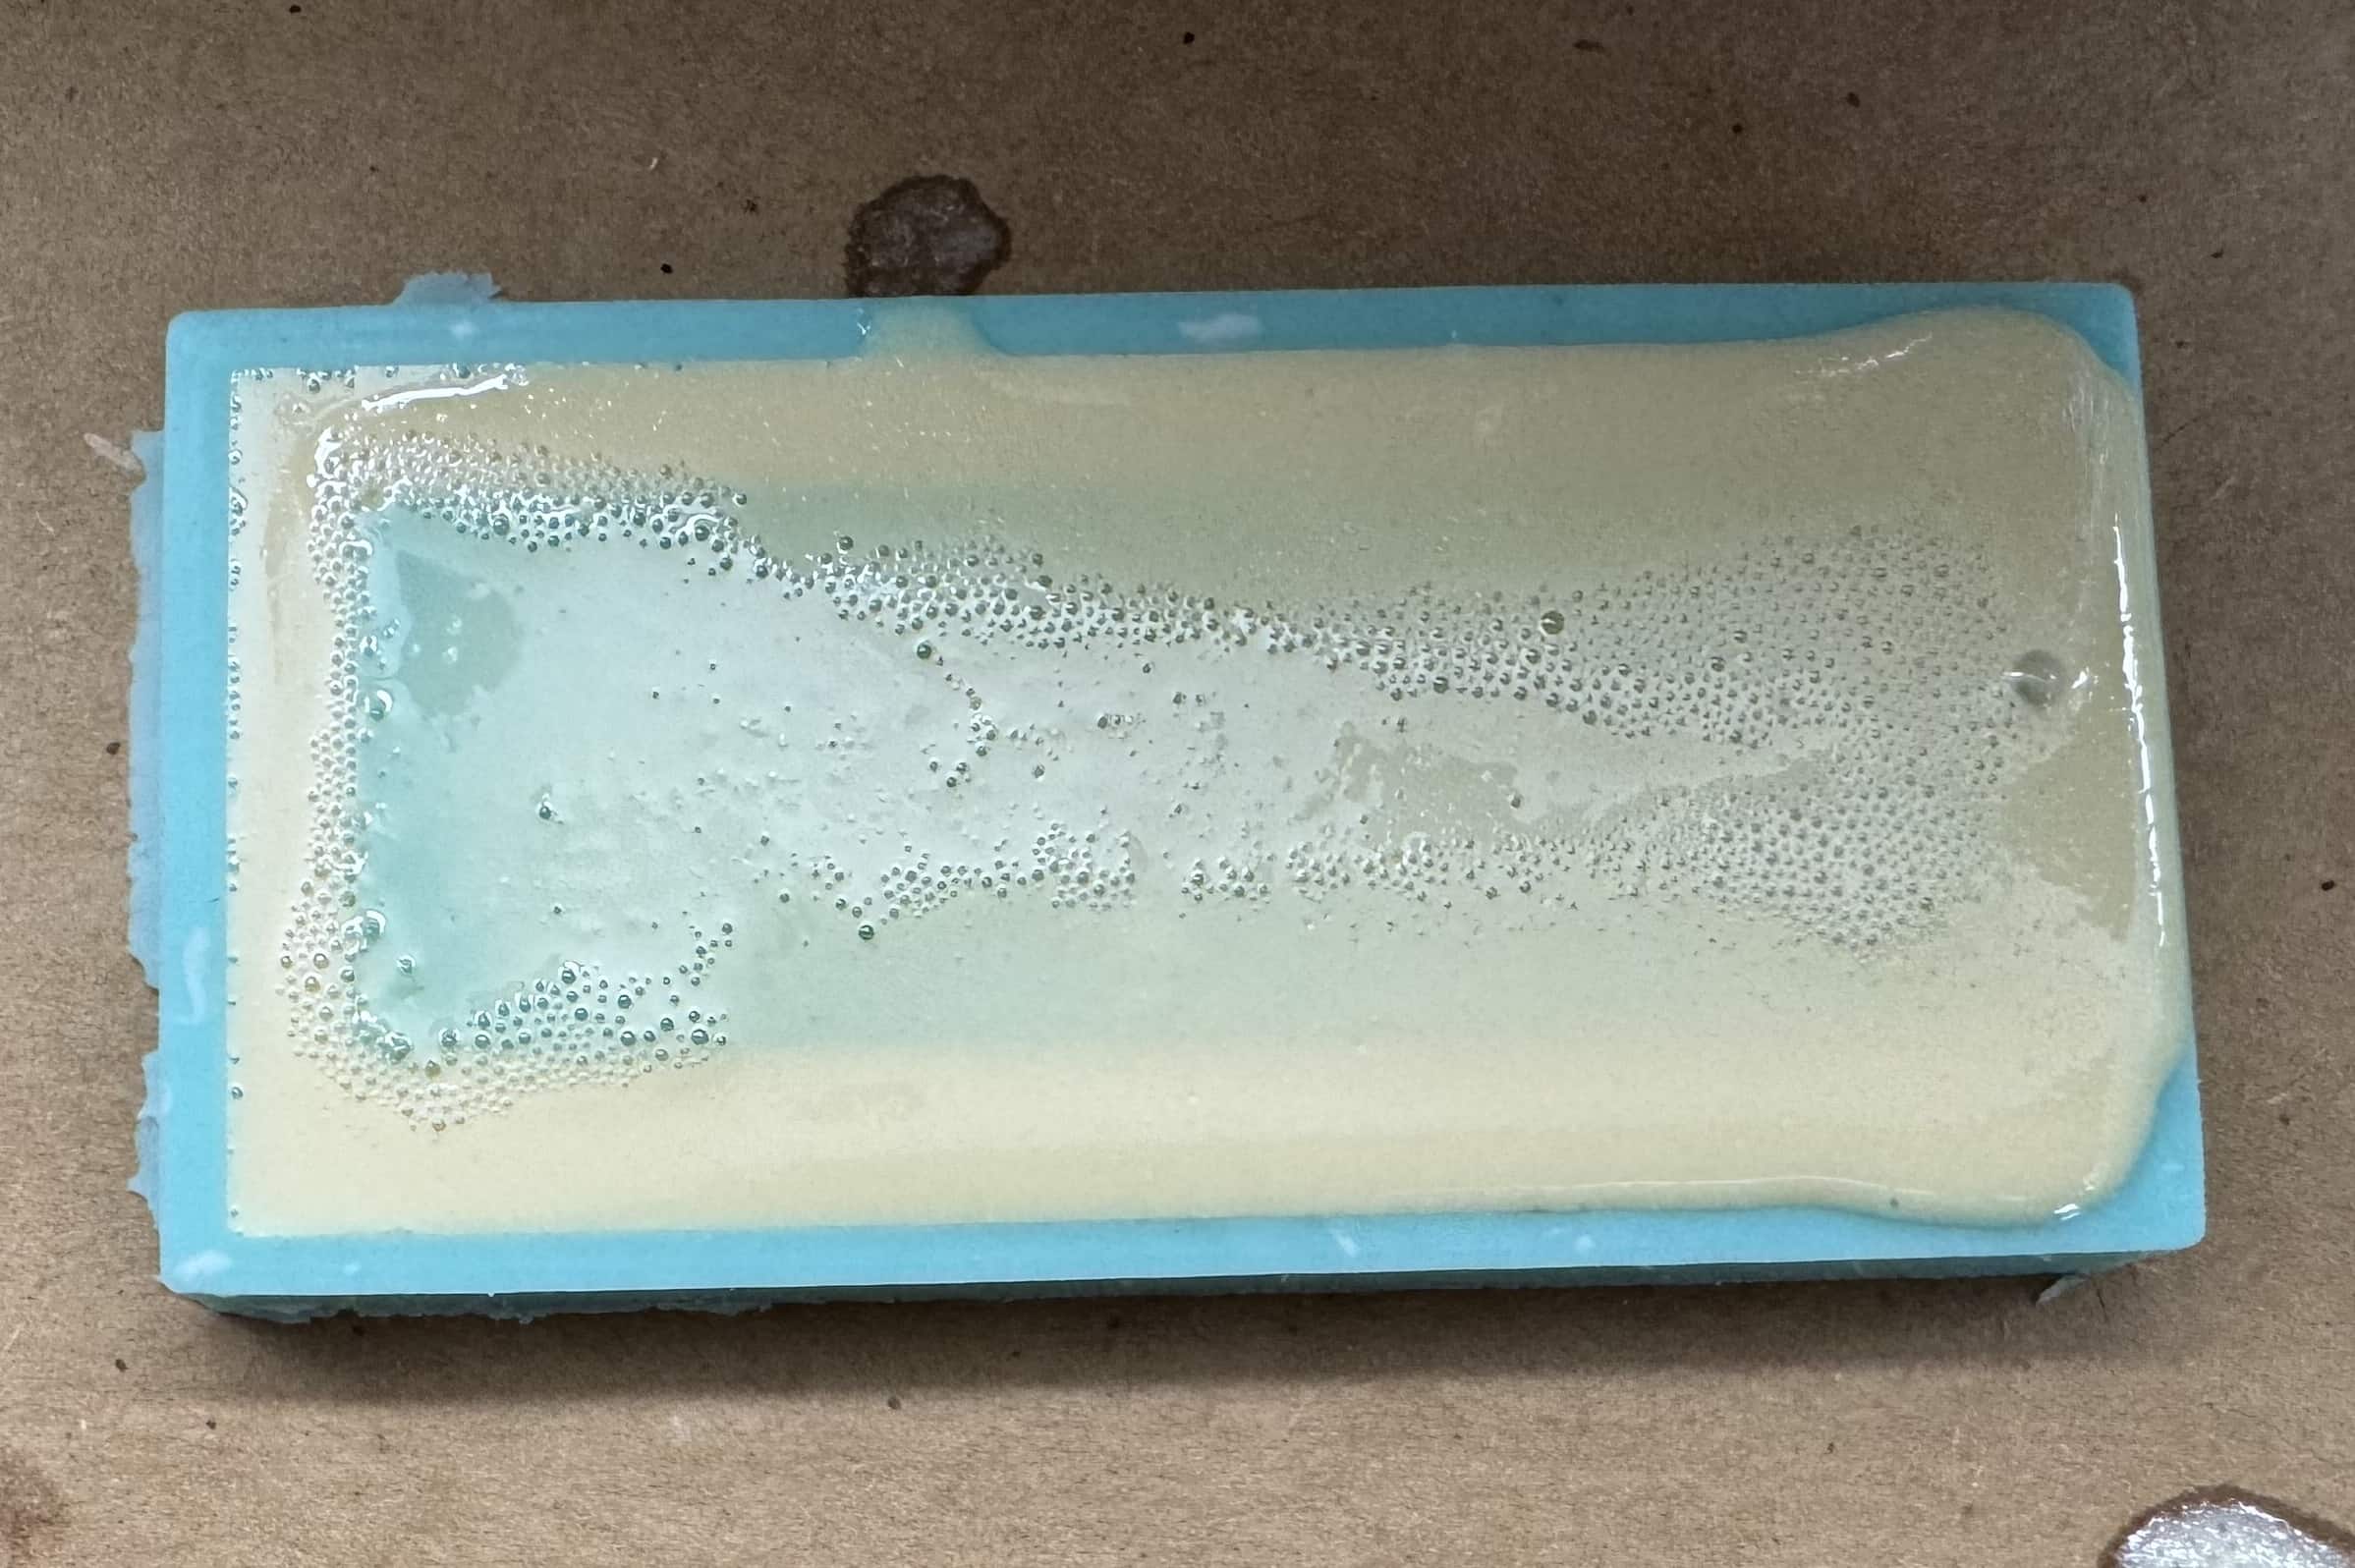
I then slowly poured the mix into the mold that was placed on a sheet of cardboard to protect the table. Once it was poured in, I carefully hit the mold on the table a couple of times to help remove bubbles.
Task 8 takes about 10-15 minutes to cure at 73 degrees Fahrenheit (23 Celsius) according to the technical data sheet. When I poured it, it quickly heated up and, after about 5 minutes, started to change from a translucent yellow to a more solid off-white. I let it cure for about an hour as I was working on other projects, however, I believe it would have been ready for use even sooner. The casts came out very well for the material and non of them were sticky, messed up, or hard to remove from the molds.
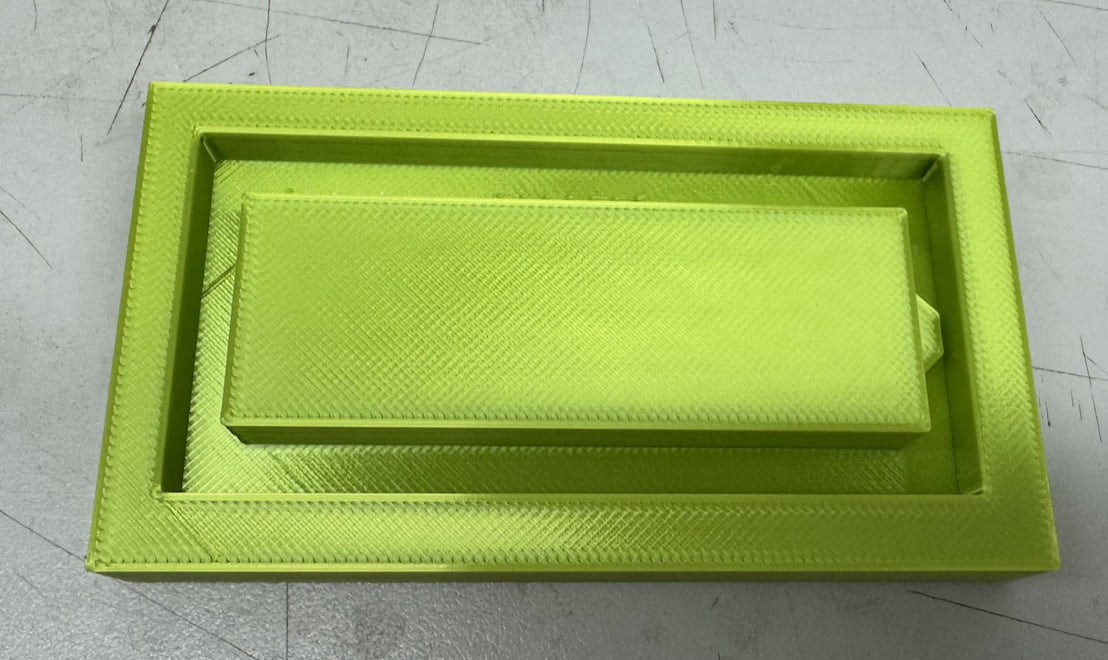
Prusa Mold
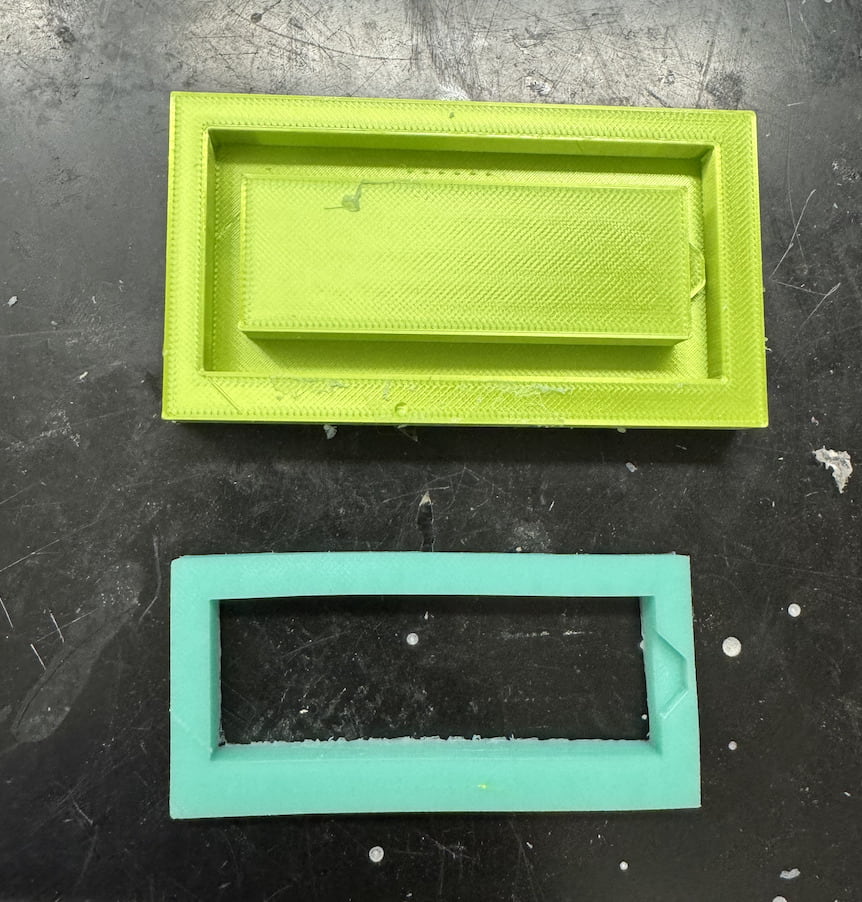
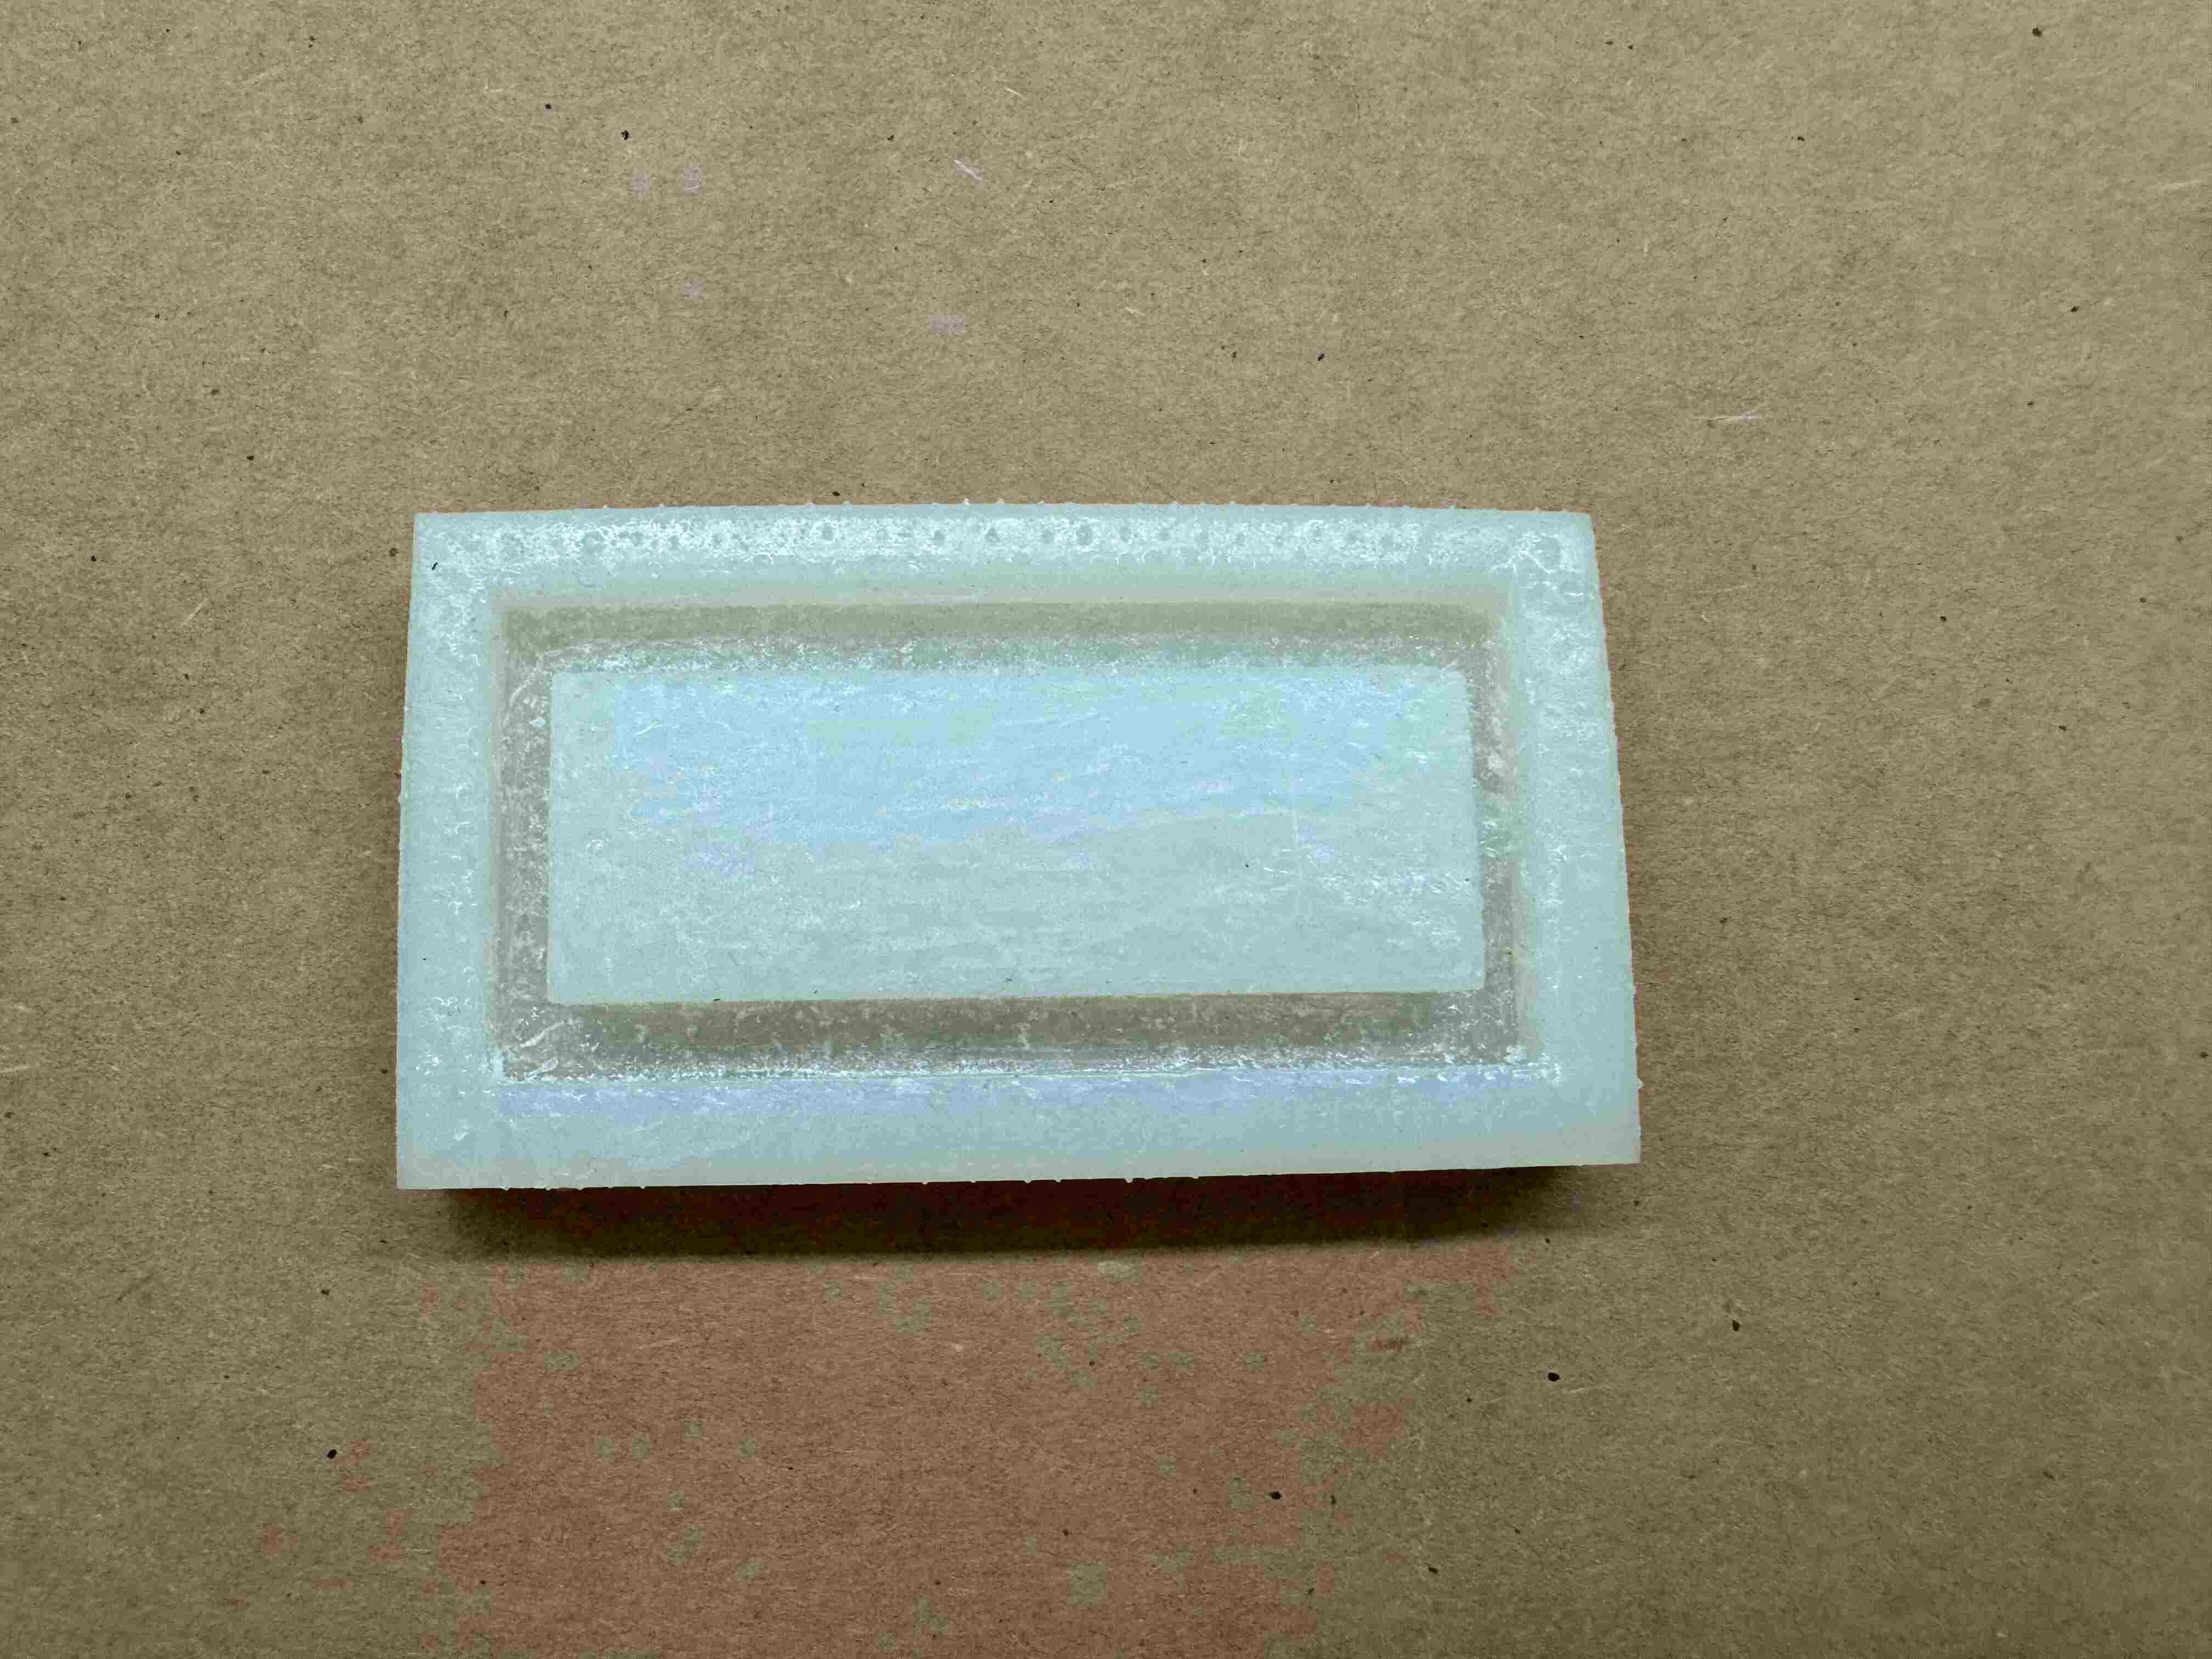
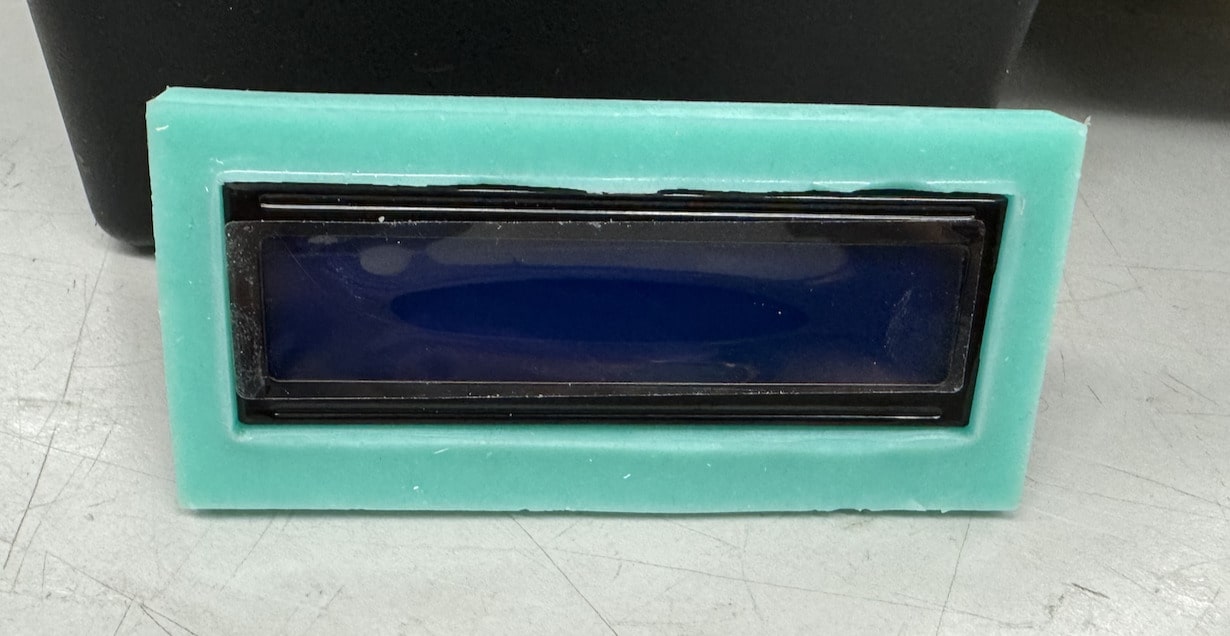
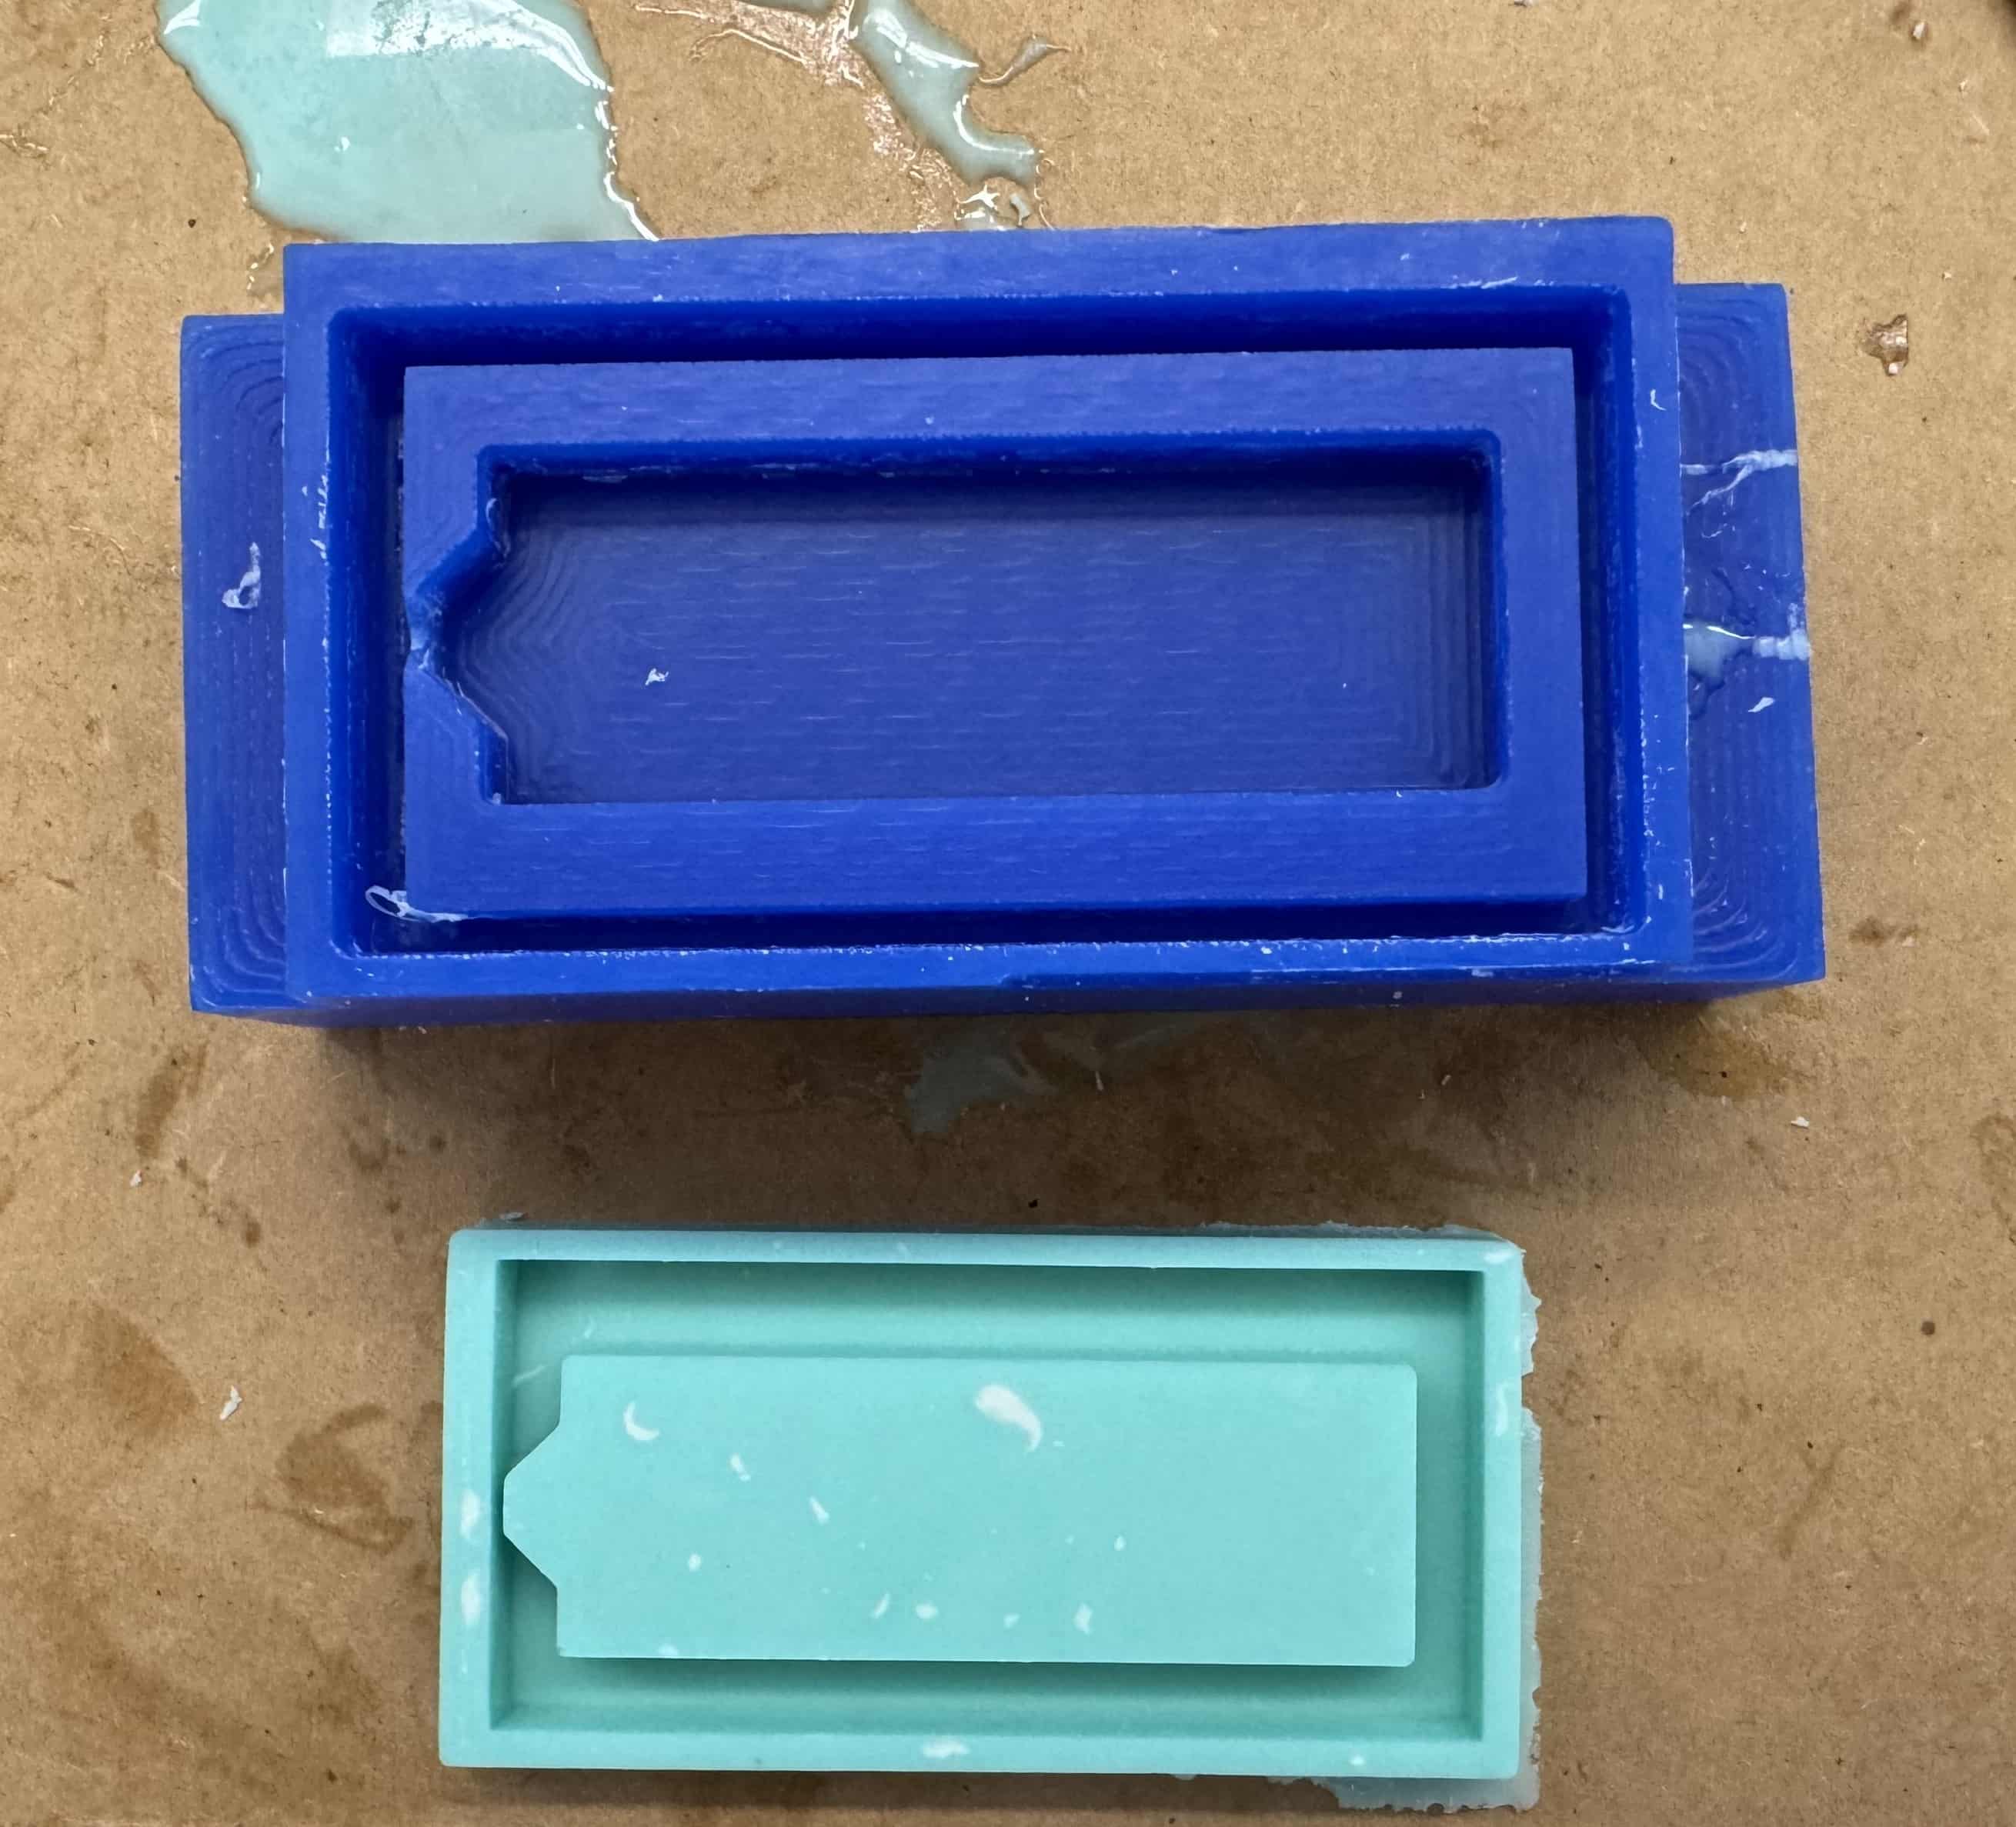
I then took a popsicle stick and carefully removed the cast from the mold.
Here’s it on the IC2 LCD; it worked perfectly!
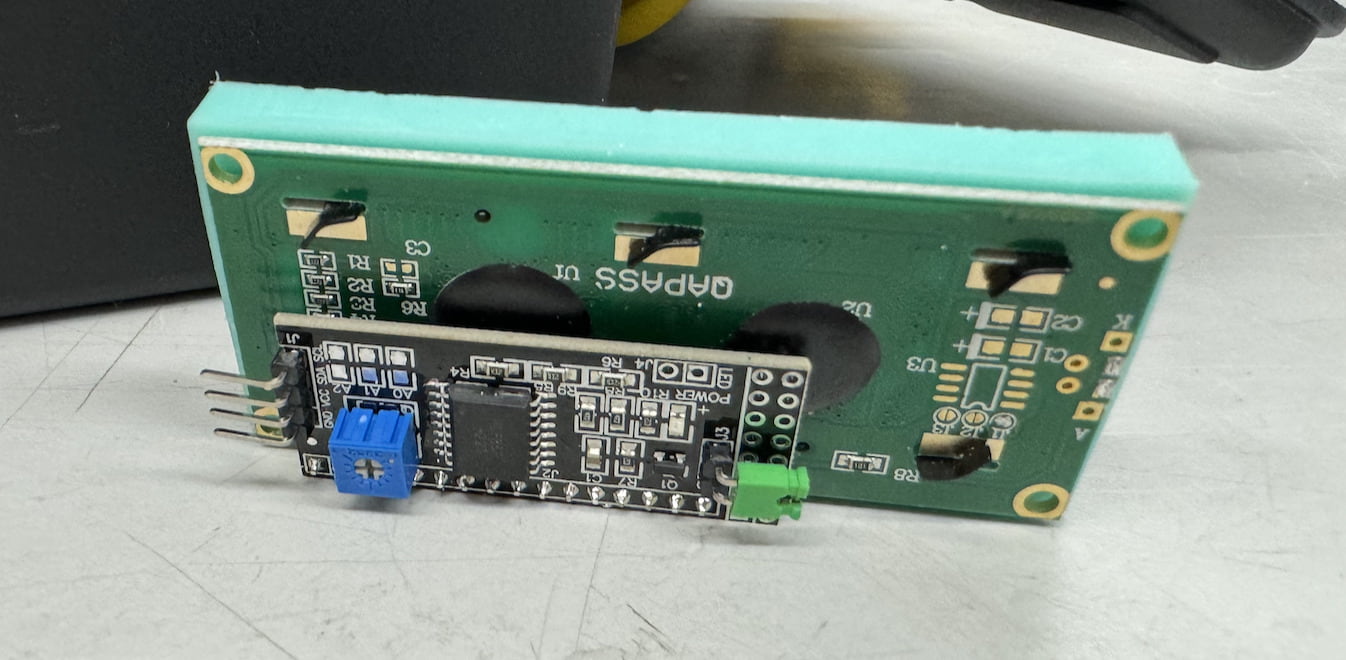
I wanted to see if I could put screws through the silicon so I tested it on this one. It worked well! I want to be able to protect the LCD and also secure it in my final project so this working was a big relief for me.
Formlabs Mold
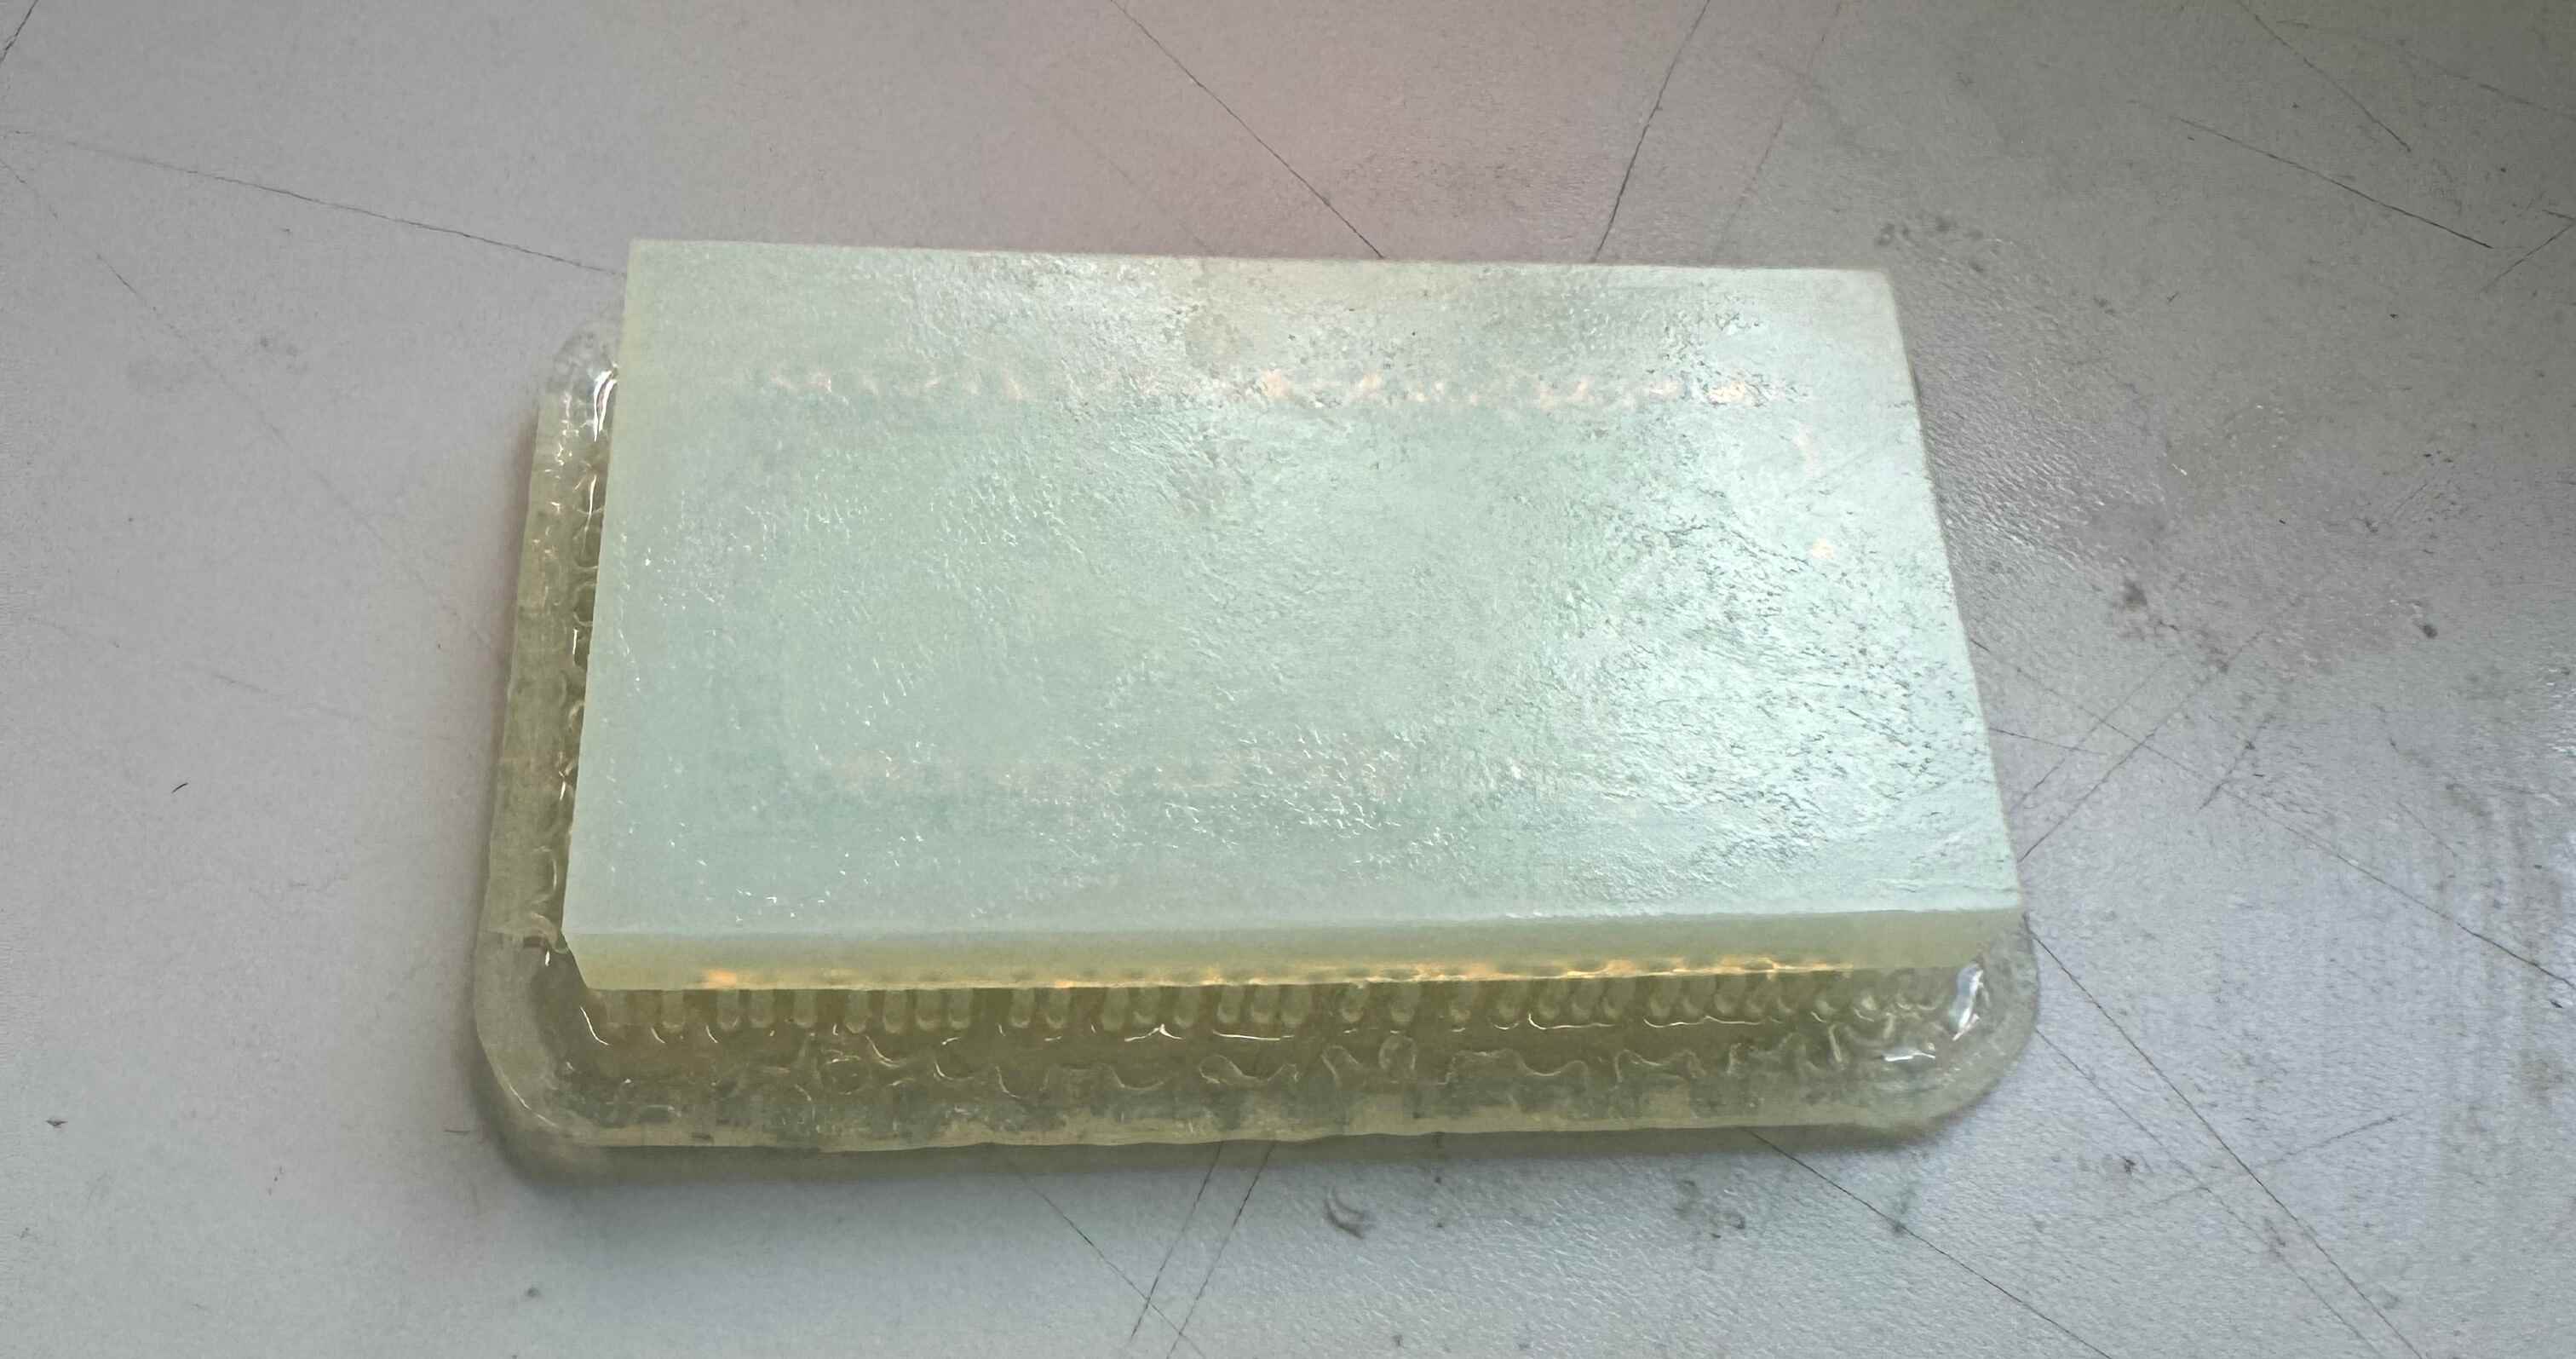
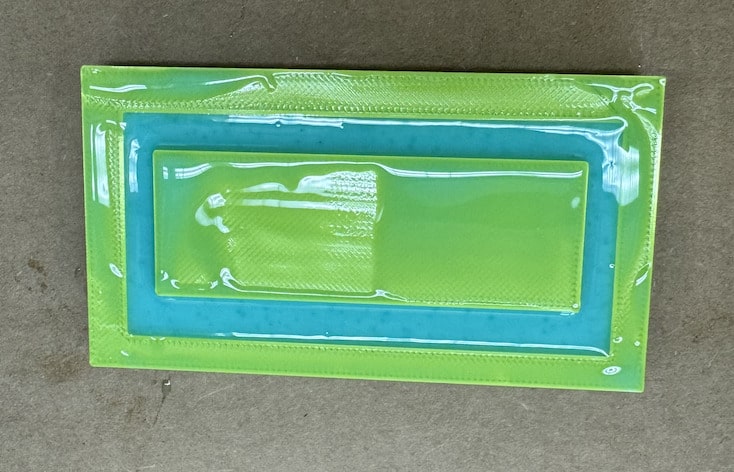
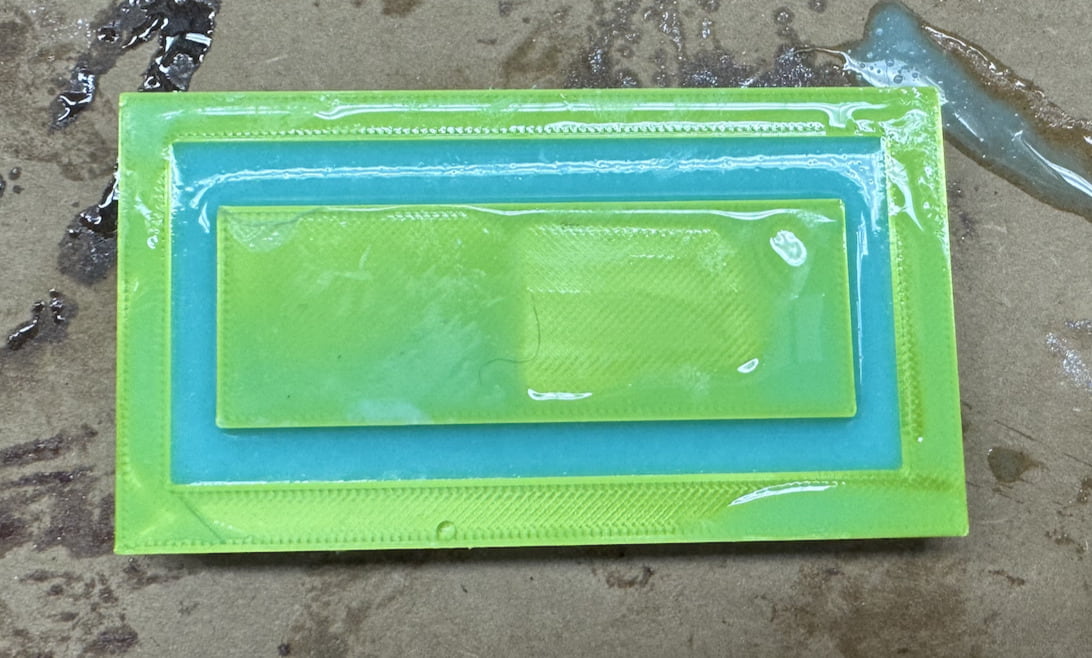
I poured the Moldstar into my resin print:
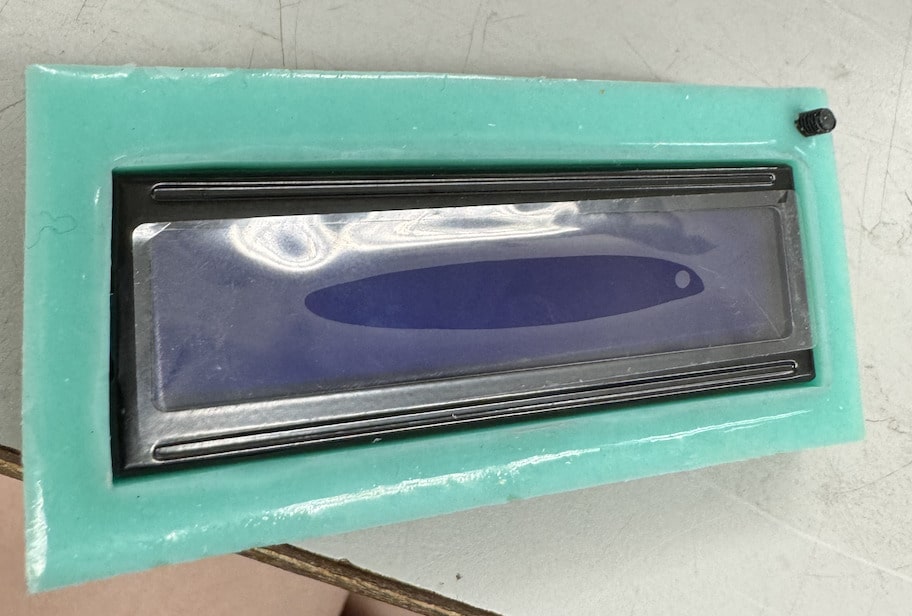
Using a popsicle stick to, again, carefully remove the cast from the mold, it looked as follows:
It was not nearly as good in quality when compared to the Prusa 3D printed mold, however, it was still usable. I decided to use the Prusa cast as it turned out better and was smoother. Perhaps with more adjusting of the resin printer’s settings I would have been able to achieve a higher quality print and, thus, cast.
I was made aware that not all resins are okay for casting silicone. I am not certain that the resin that we use is okay for casting, however, I do believe my lab has checked and put research into the types of resin/mold materials they use. I will have to talk with Mr. Dubick and others at my lab to see if others could recieve a decent result/if we are using the appropriate materials.
Bantam Tools Wax Mold
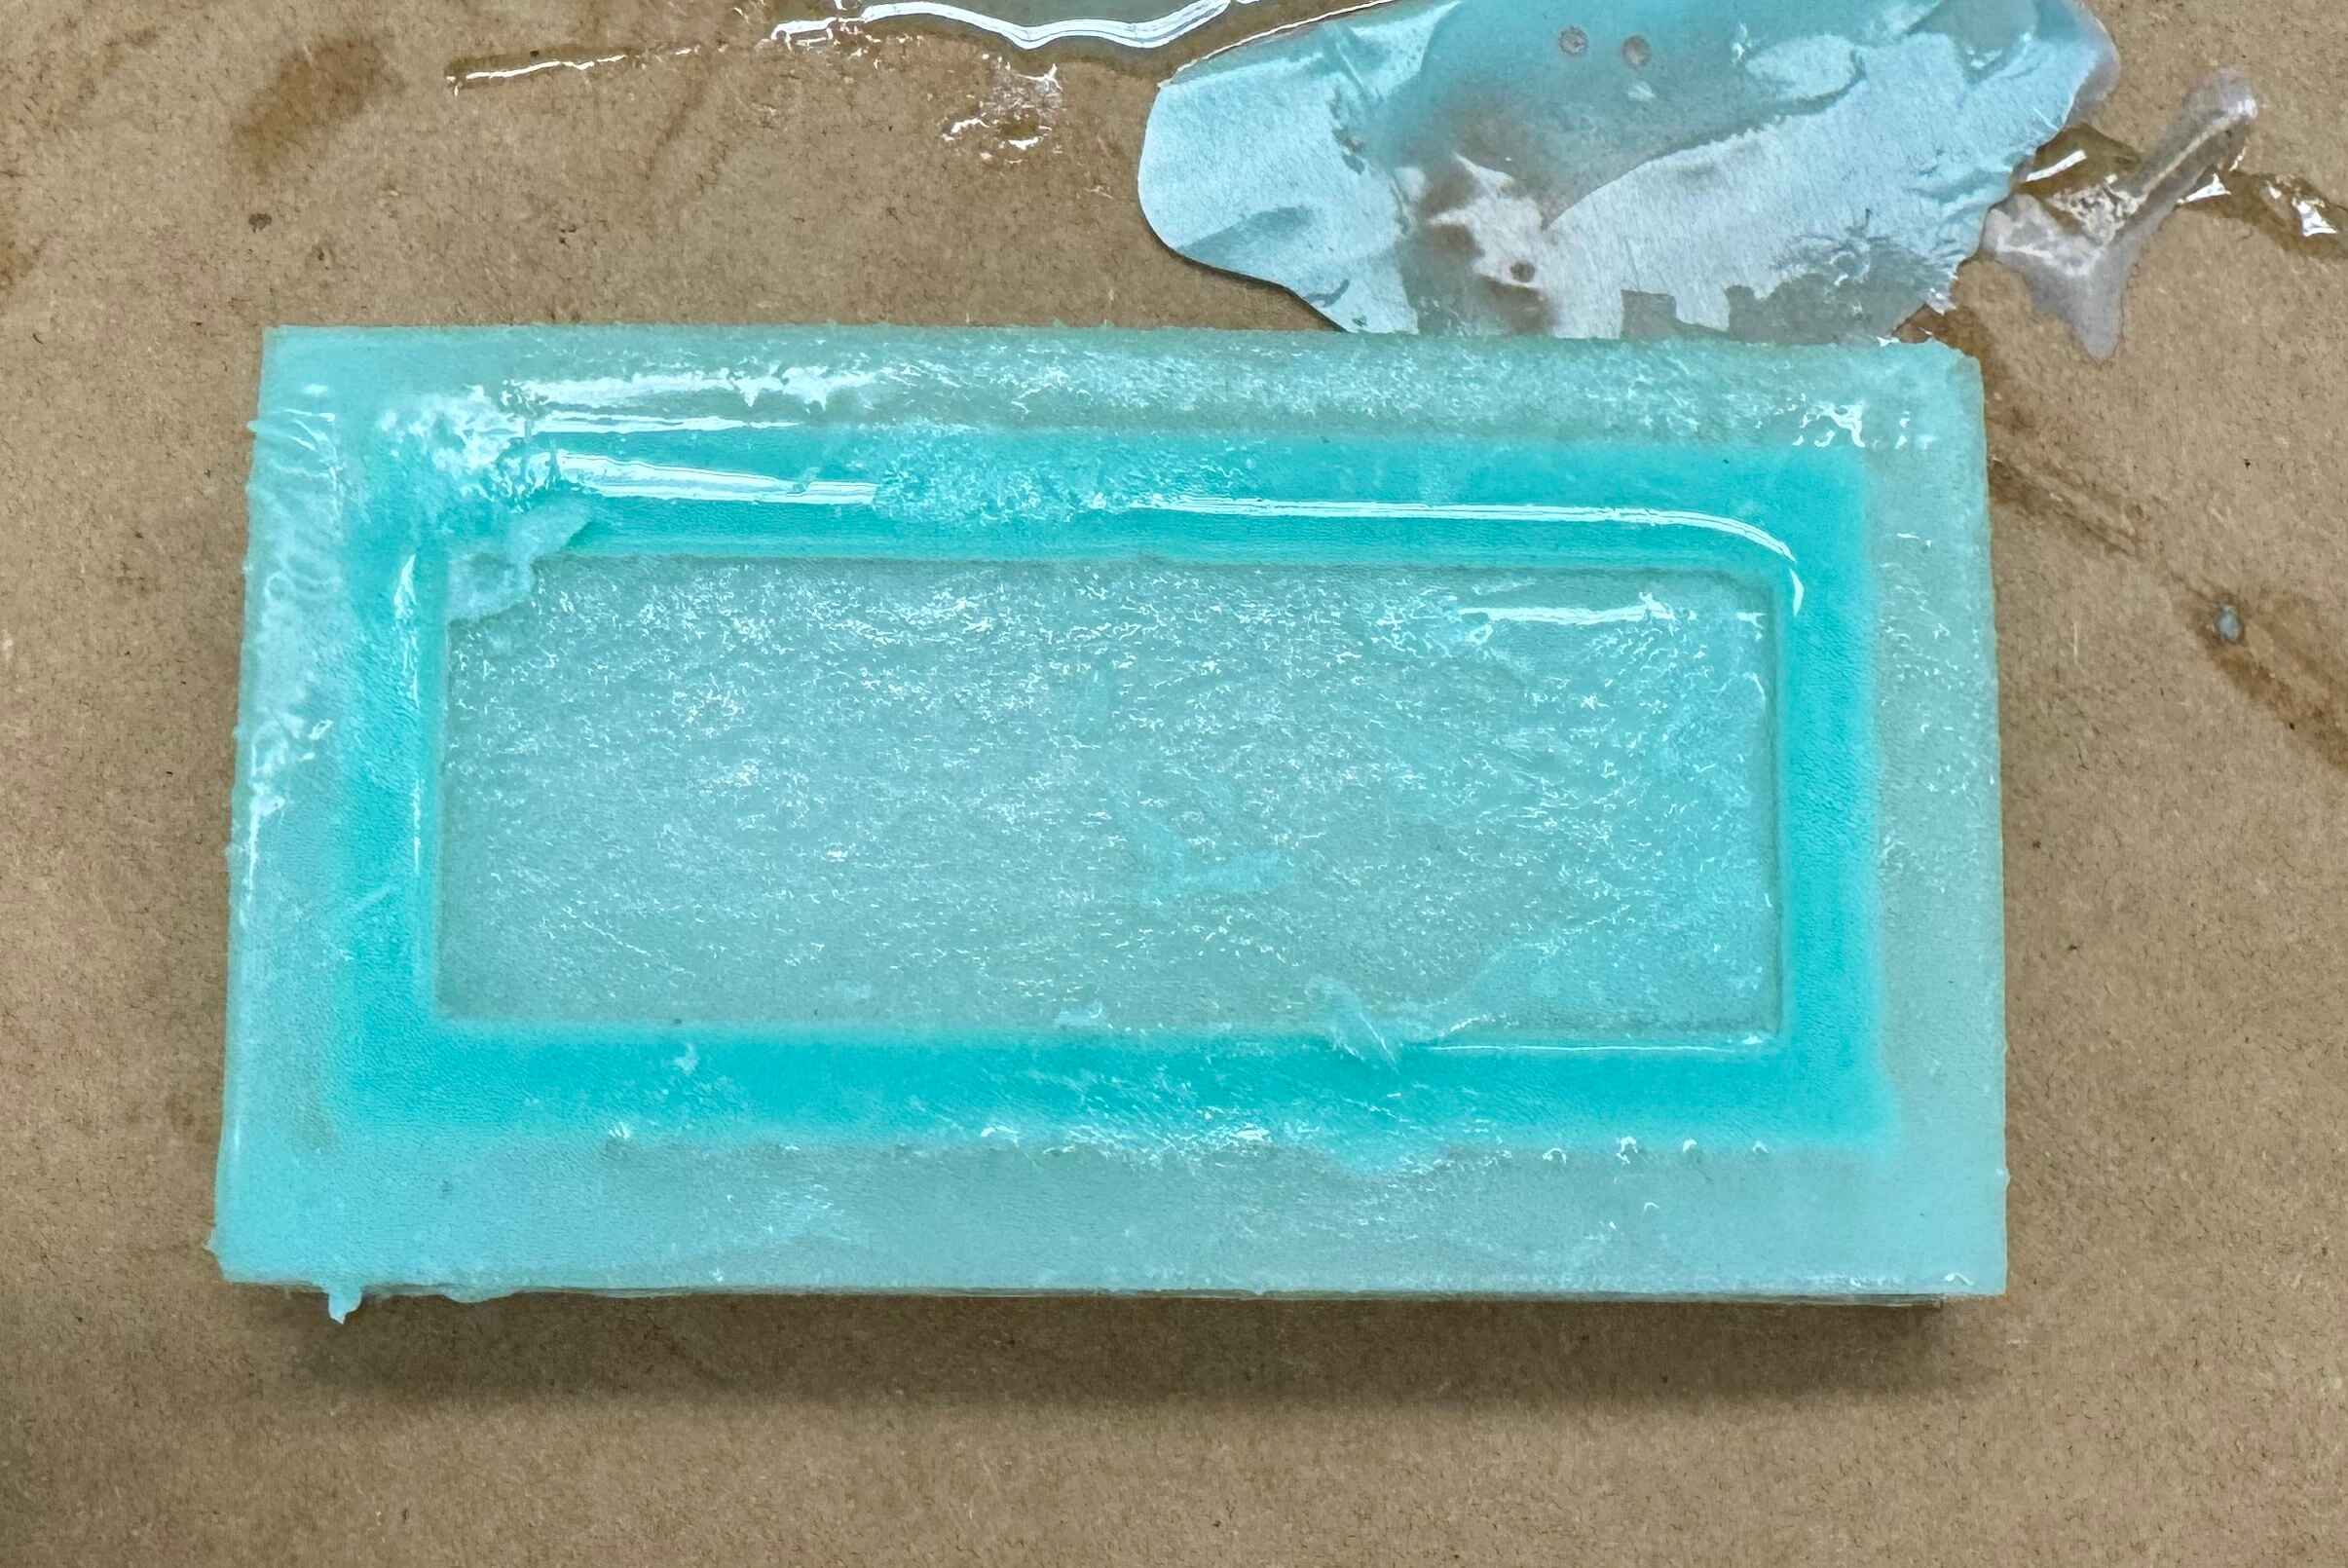
I poured the Moldstar into my wax mold:
Then, using a popsicle stick to, again, carefully remove the cast from the mold, it looked as follows:
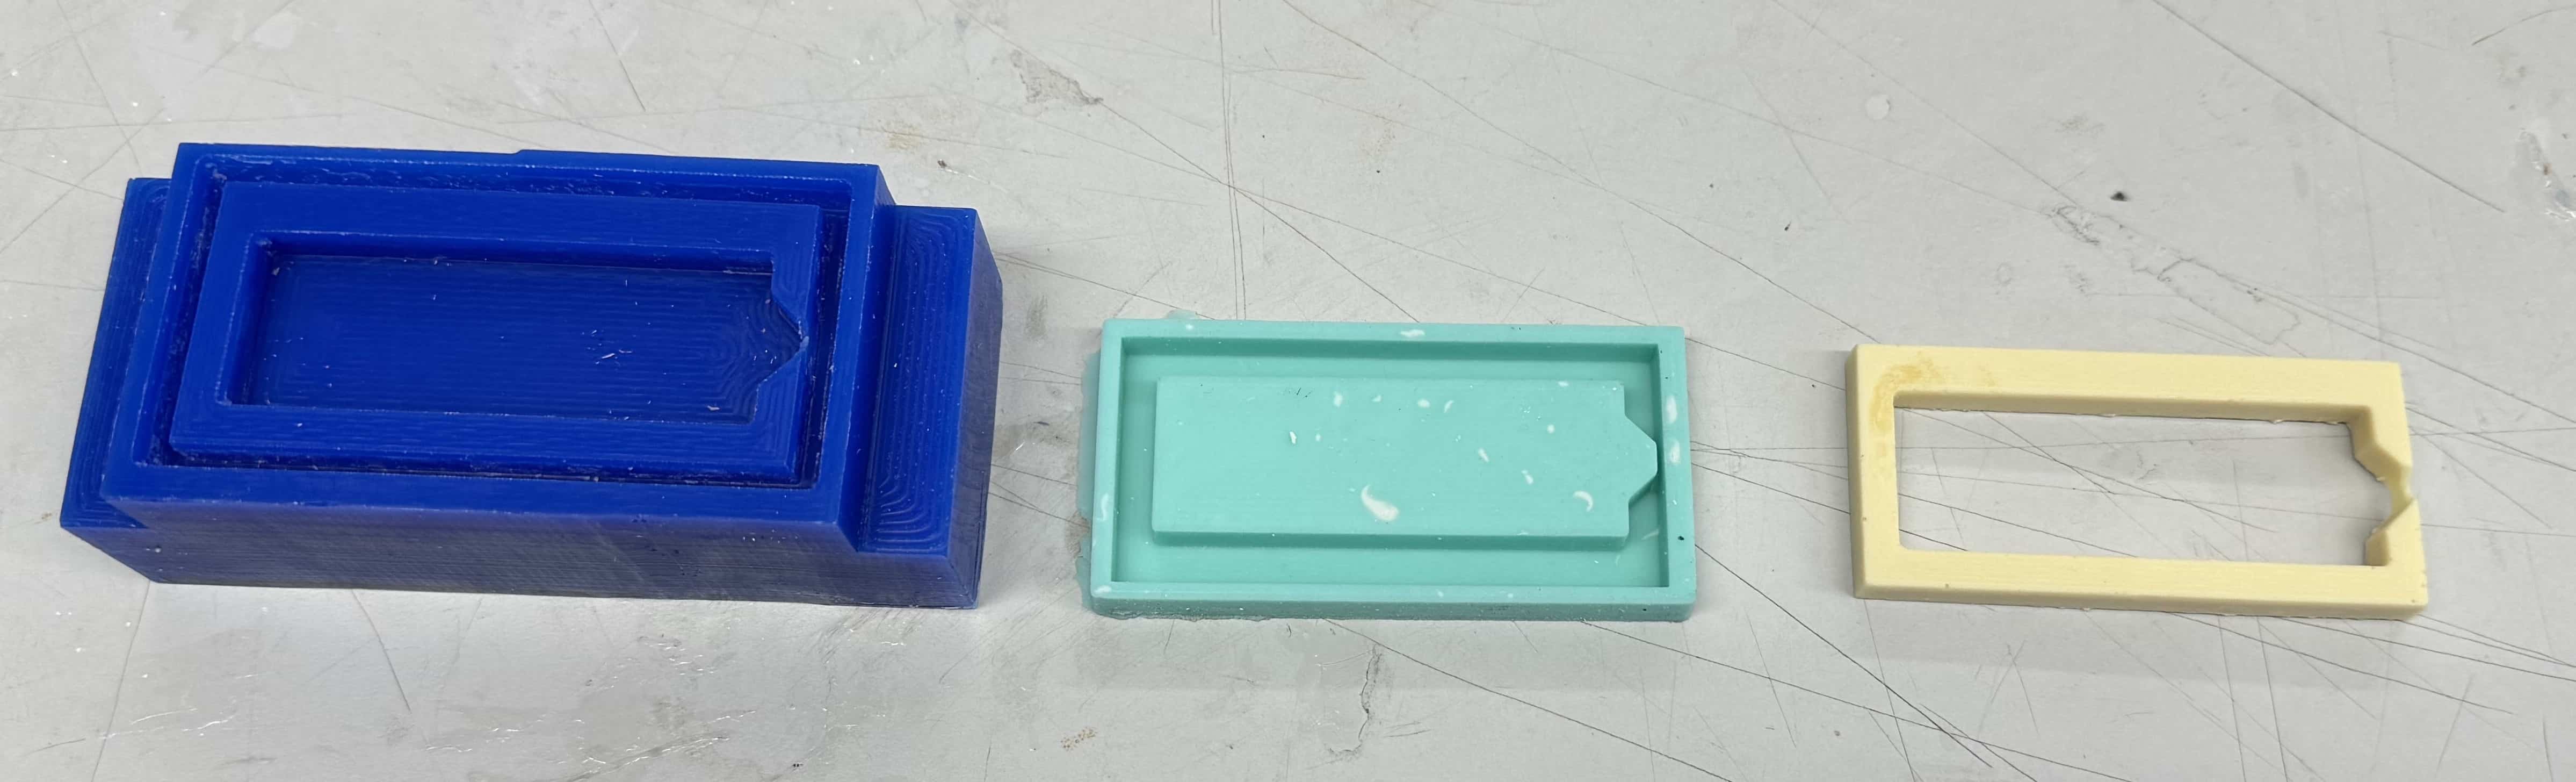
Moldstar Mold
I used the flexible cast from the Bantam Tools wax mold as a mold for the hard material, Task 8.
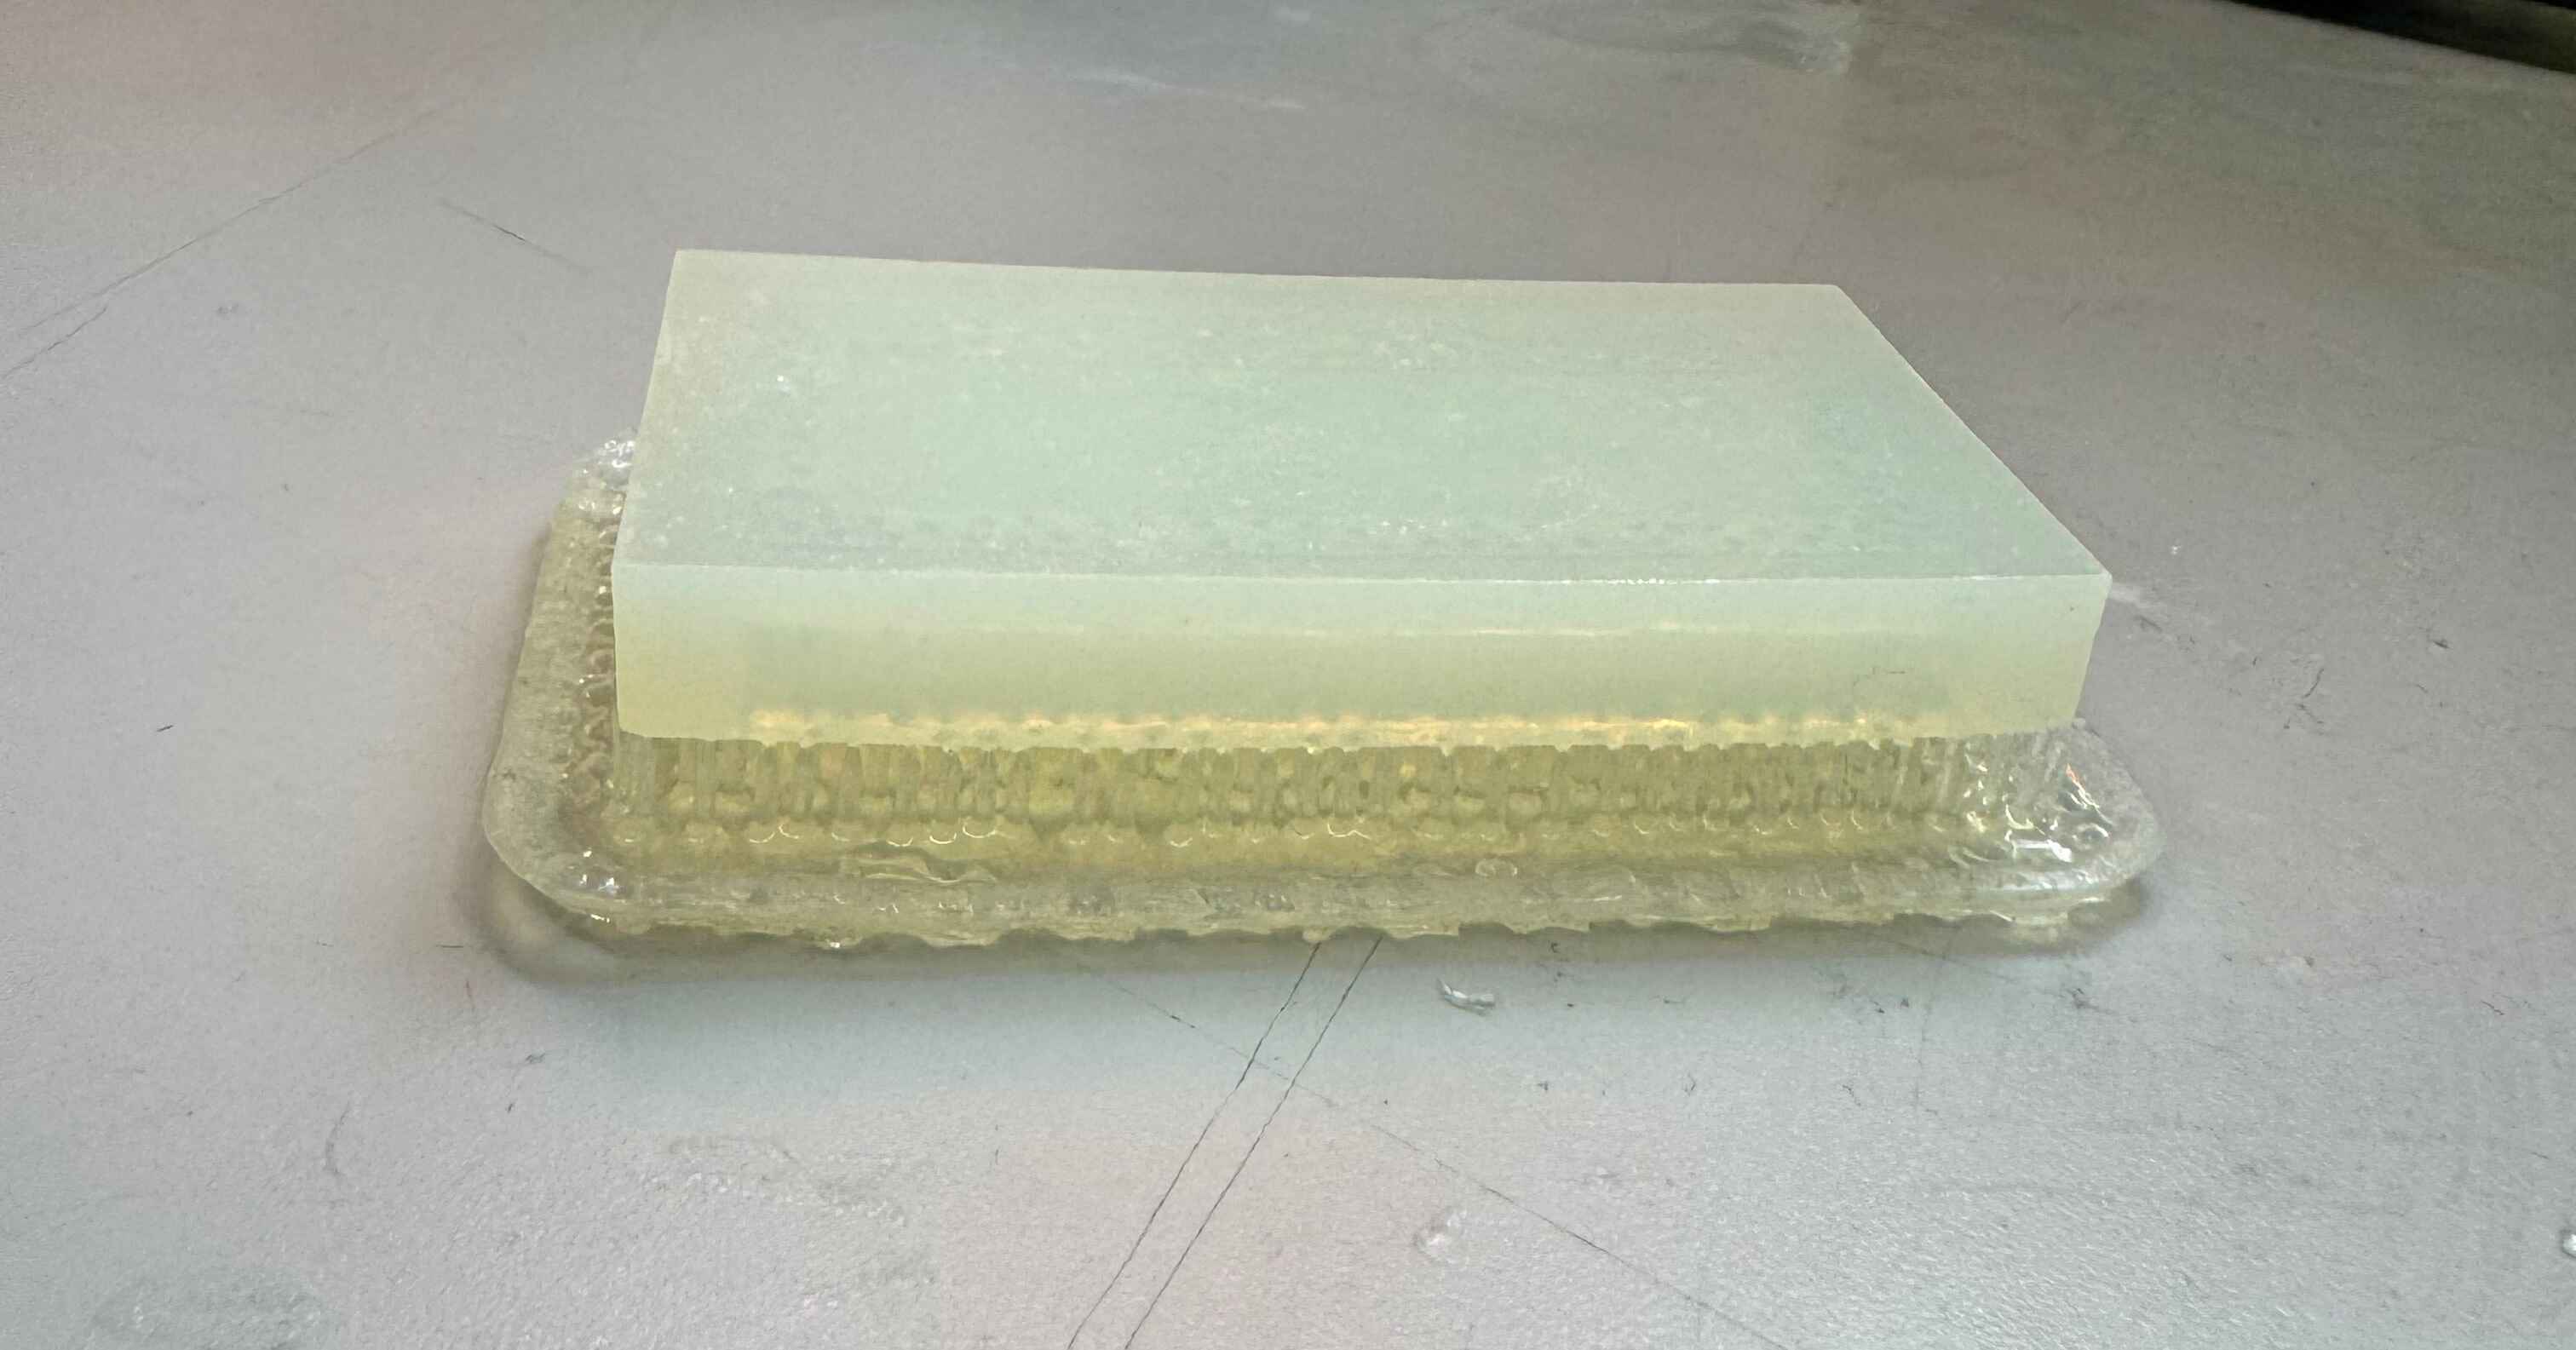
I poured the Task 8 into my Moldstar mold:
Opposed to the Moldstar, when the Task 8 cured, it was a different color:
I then removed the hard cast from the Moldstar mold by simply bending the mold as it was flexible.
When I poured the Task 8, a little stayed on the top of the Moldstar mold where the LCD shape is. I didn’t pay much attention to this because, with the Moldstar casts, I could just run my fingers over the little layer of Moldstar and easily remove it. This, however, was not possible with the Task 8 because it was a hard material. To fix this, I simply applied pressure with my hands and was able to pop out the thin layer of Task 8 where the LCD screen is supposed to be.
Reflection
This week definitely put me out of my comfort zone. The 3D printing I didn’t mind so much, however, the molding & casting materials made me rather anxious – I definitely caught myself feeling nervous to mess up the ratios or even, when I felt heat coming off the mold (because it’s an exothermic reaction), I was nervous that it was going to burn my hand or something. The concept of chemicals and things happening without a clear physical indication frightens me a bit… I think it’s cool, but scary. It’s a similar feeling to when there’s a flame so hot you can barely see it – it’s unnerving. But anyway, this week helped me push past that and feel more comfortable with the whole process – the resin 3D printer, molding & casting materials, and creating a mold through two or three-step process.
References
https://www.thingiverse.com/thing:3505029/files