Group Assisnment Week 13 - Molding and Casting
In this week, we are going to do these:
- Review the safety data sheets for each of your molding and casting materials, then make and compare test casts with each of them.
- Compare printing vs machining molds.
Materials we are going to use
Safety Rules for Paraffin Wax
The wax is used for modelling. When creating molds using paraffin wax, consider the following safety guidelines:
- Monitor Temperature: Ensure that you melt the paraffin wax at the appropriate temperature. Overheating can degrade the wax or increase the risk of burning or fire.
- Accommodate Shrinkage: Design your mold to accommodate the properties of wax, including accounting for shrinkage as the wax cools and solidifies.
- Well-Ventilated Area: Work in a well-ventilated area to minimize the inhalation of fumes that can be emitted from the melting wax.
- Wear Protective Gear: Always wear protective gear, such as gloves and eye protection, to prevent burns from hot wax.
- Smooth Mold Surface: Ensure the surface of the mold is smooth, as any imperfections will be transferred onto the casted object.
- Plan for Wax Removal: Make a plan for how you will safely remove the wax from the mold. This may involve melting it out, so consider the mold’s heat resistance.
- Appropriate Use: Ensure that the use of a paraffin wax mold is appropriate for the casting material and process, such as the lost-wax method.
- Prepare for Cleanup: Have tools and materials ready for cleaning as wax can become difficult to remove once solidified.
- Use Quality Wax: Use appropriate quality paraffin wax that is free from contaminants and designed for mold making to get a better result and reduce defects.
- Proper Storage: Store paraffin wax in a cool, dry place away from direct sunlight to maintain its quality and ease of use.
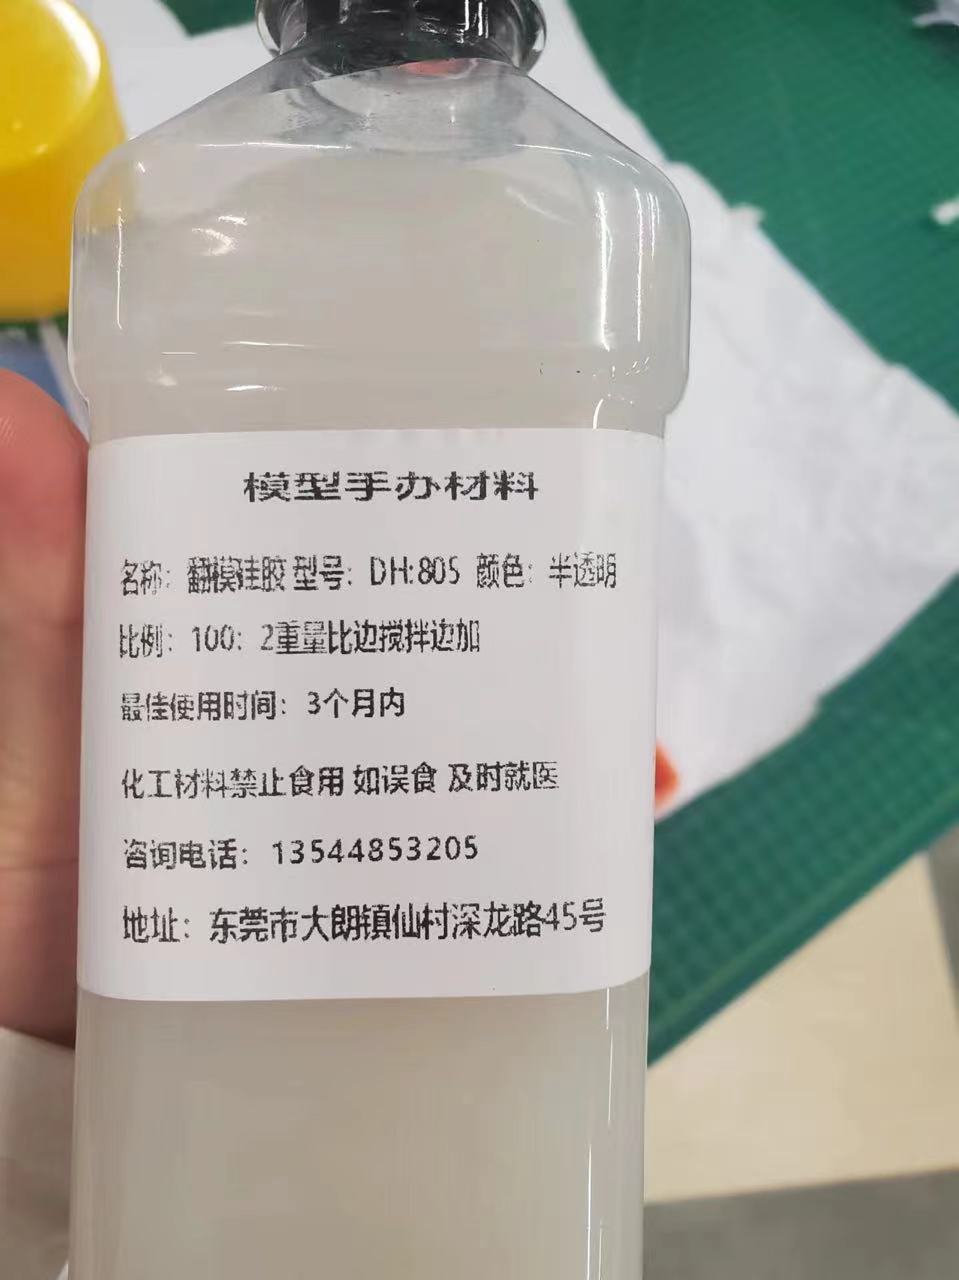
The Silicone materials in the Lab
We are making Silicone molds and here are the materials:
We have two different Silicone in the lab:
The brand of this is the HongDa
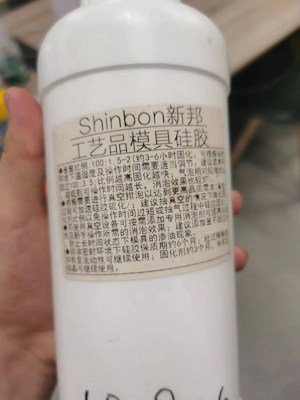
The brand of this is the ShinBon.
Safety Issues with Silicone
- Skin and Eye Irritation: Silicone can cause irritation if it comes into contact with the skin or eyes. It's important to wear protective gloves and safety goggles.
- Fume Inhalation: Some silicone products, especially those that cure using acetic acid, release fumes that can be irritating or harmful if inhaled. Use these products in a well-ventilated area.
- Fire Risk: Although silicone itself is generally non-flammable, the fumes can be hazardous near open flames or high heat sources. Chemical Sensitivity: Some individuals may have allergic reactions or sensitivities to the chemicals in silicone products.
Simple Preventative Measures
- Wear Protective Gear: Always wear gloves and goggles to protect your skin and eyes from direct contact with silicone. Ensure Good Ventilation: Work in a well-ventilated area to avoid inhaling any harmful fumes. Consider using an exhaust fan or working outdoors if possible.
- Avoid Contact with Sensitive Areas: Be cautious to prevent silicone from coming into contact with your eyes, mouth, and other sensitive body parts.
- Proper Storage: Store silicone in a cool, dry place away from direct sunlight and heat sources. Ensure containers are tightly sealed to prevent the product from degrading.
- Follow Usage Instructions: Carefully read and follow the manufacturer’s instructions for application and curing times to achieve the best results and maintain safety.
- Safe Disposal: Dispose of any excess silicone or containers according to local regulations, ensuring that you minimize environmental impact.
Bad Habits
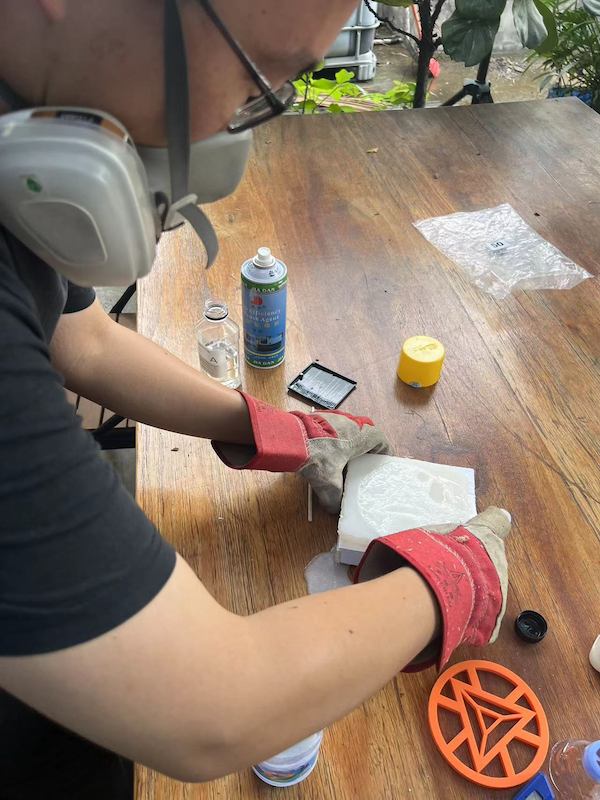
Not wearing any protection:
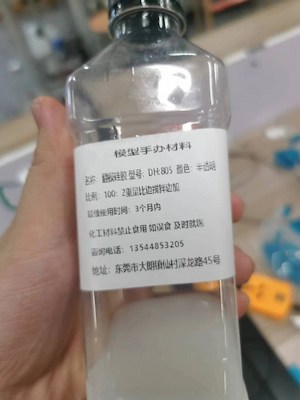
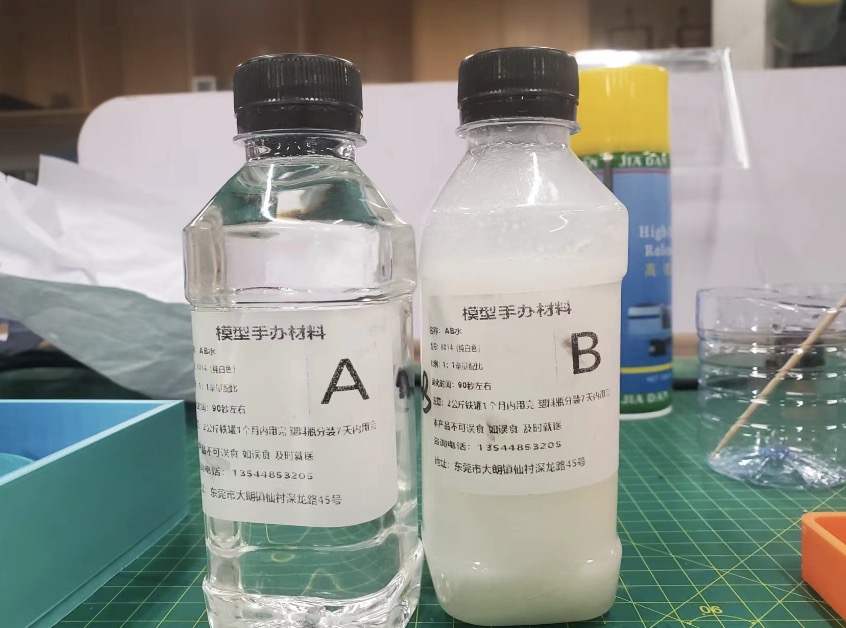
The AB Glue materials in the Lab
We are casting with AB Glue materials and here are:
We have two different AB glue in the lab:
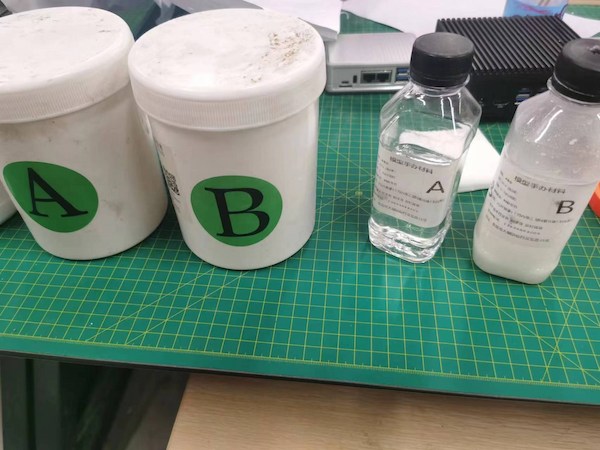
The one on the left is made by Silicon.
The one on the right is HongDa
Safety Issues with AB Glue
- Skin and Eye Irritation: AB glue can cause severe irritation if it comes in contact with the skin or eyes. Always wear gloves and safety goggles to protect yourself.
- Inhalation Hazards: The fumes from AB glue can be harmful if inhaled, especially in poorly ventilated areas. Use the glue in a well-ventilated space or wear a mask.
- Chemical Burns: Both components of AB glue can cause chemical burns upon contact with skin.
- Fire Risk: Some types of AB glue are flammable. Keep them away from open flames and heat sources.
- Toxicity: The components can be toxic, so avoid ingestion and prevent any food or drink from being contaminated during use.
Simple Preventative Measures
- Wear appropriate personal protective equipment (PPE) such as gloves and goggles.
- Work in a well-ventilated area.
- Keep the glue away from heat and open flames.
- Follow the manufacturer’s instructions for safe use and disposal.
- Store the glue properly in a cool, dry place and ensure containers are tightly closed.
Good Habits
Wearing protection:
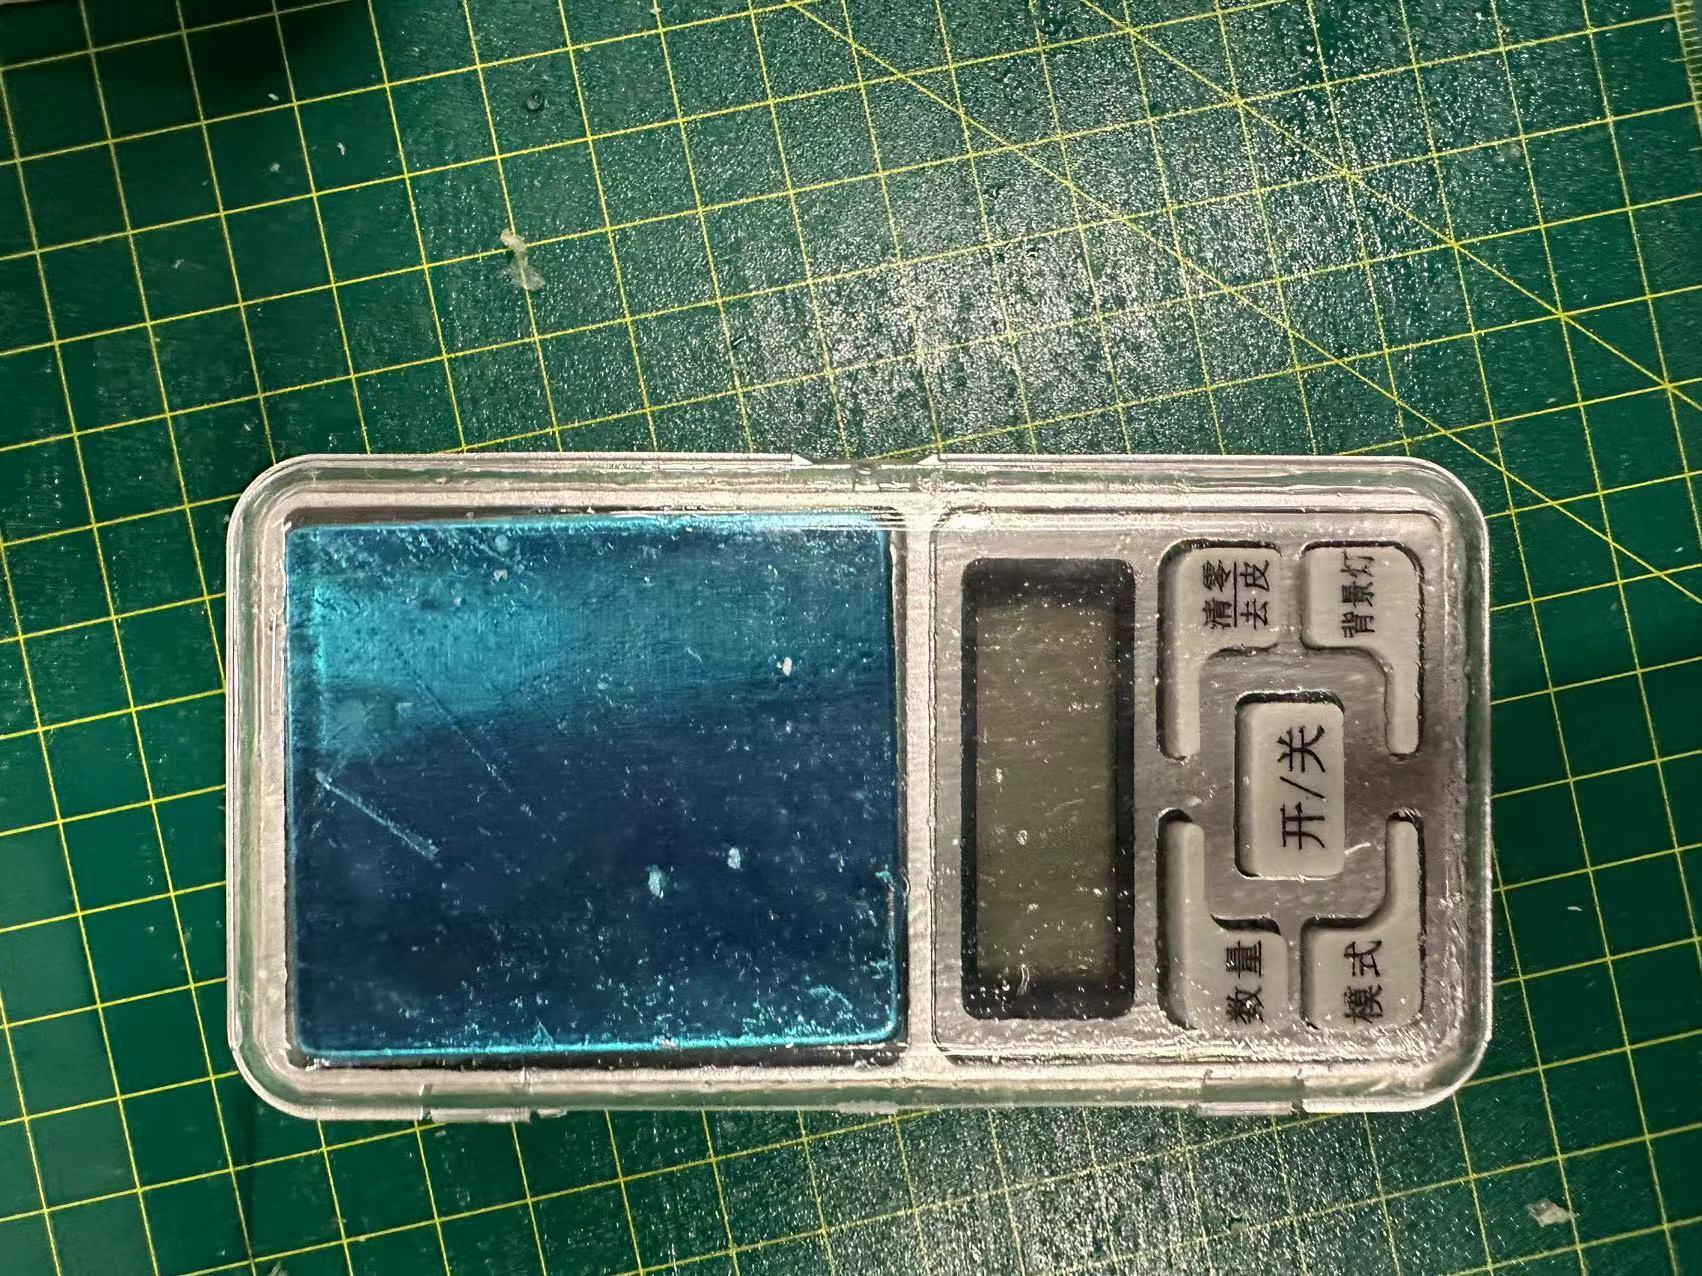
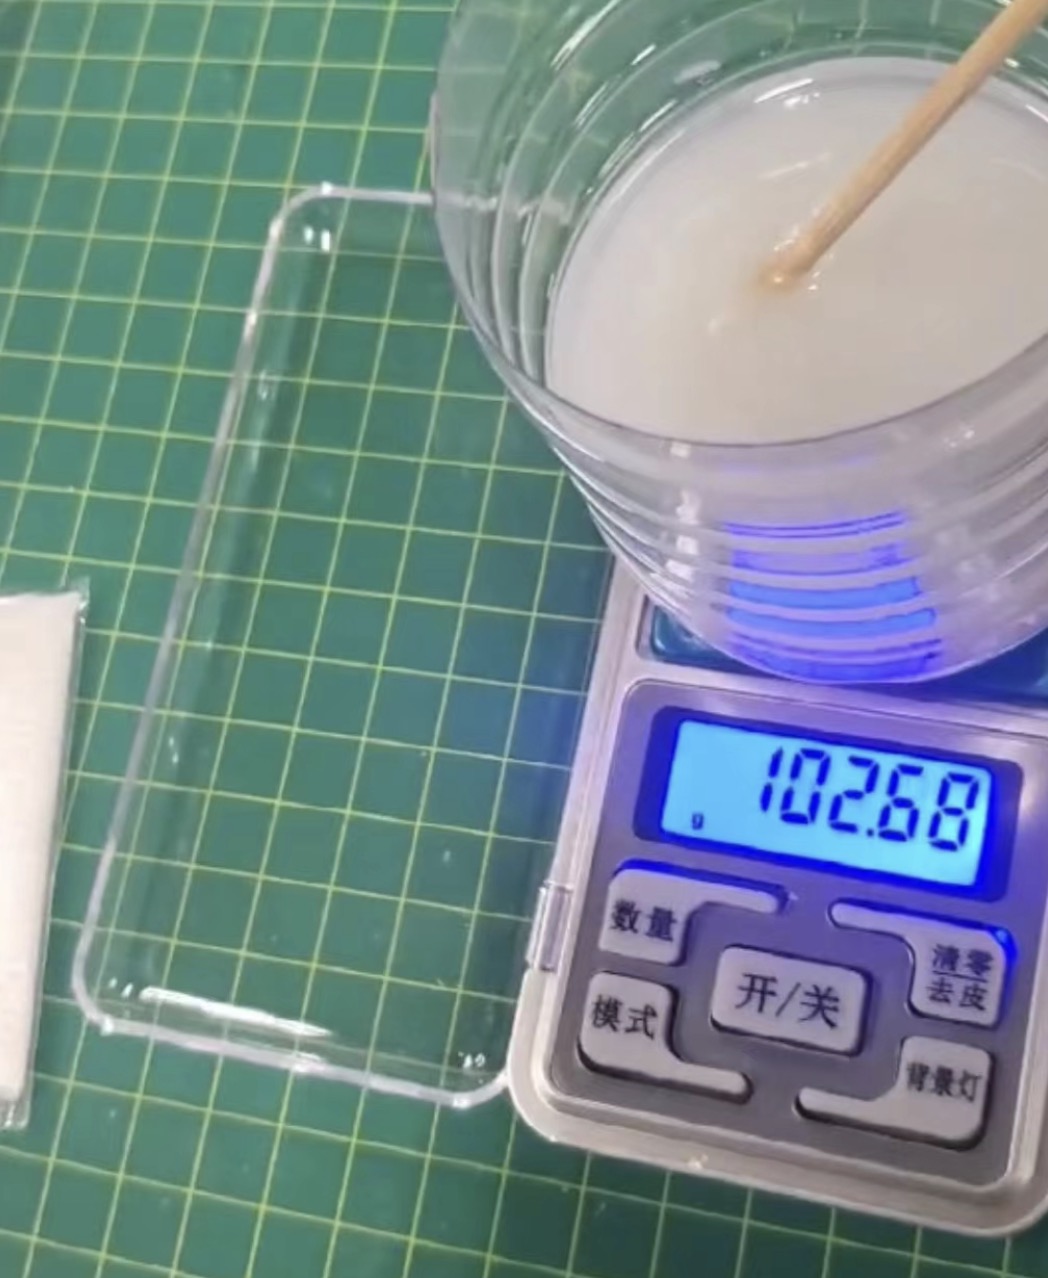
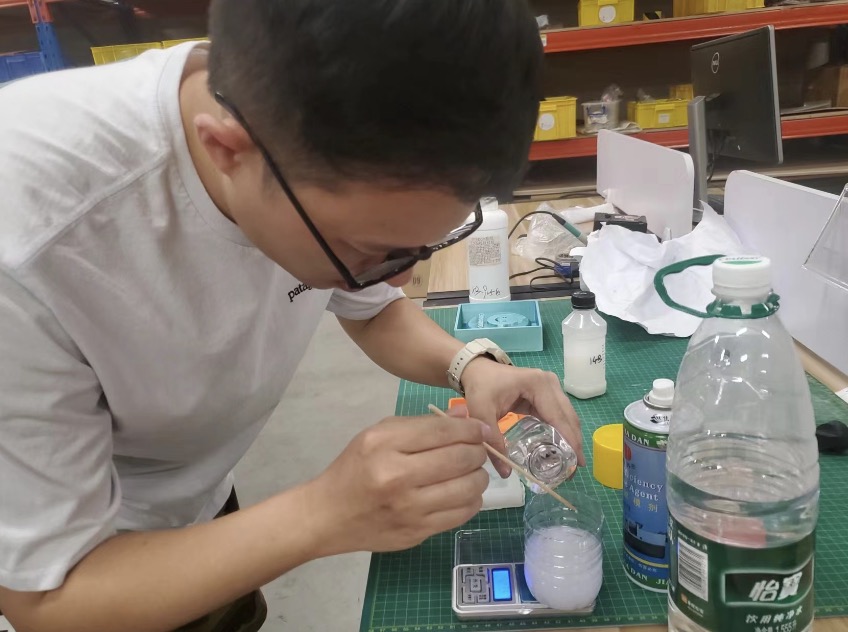
Small Digital Scale
In order to more accurately measure the weight of the materials needed for molding casting, we used a small digital electronic scale.
- High-precision measurement: This digital gram scale can perform precise measurements with an accuracy of 0.01 grams.
- Clear display: The electronic scale is equipped with an LCD screen that clearly displays the measurement numbers, making it easy to read the measurement results.
Methods of Modelling
Design the model
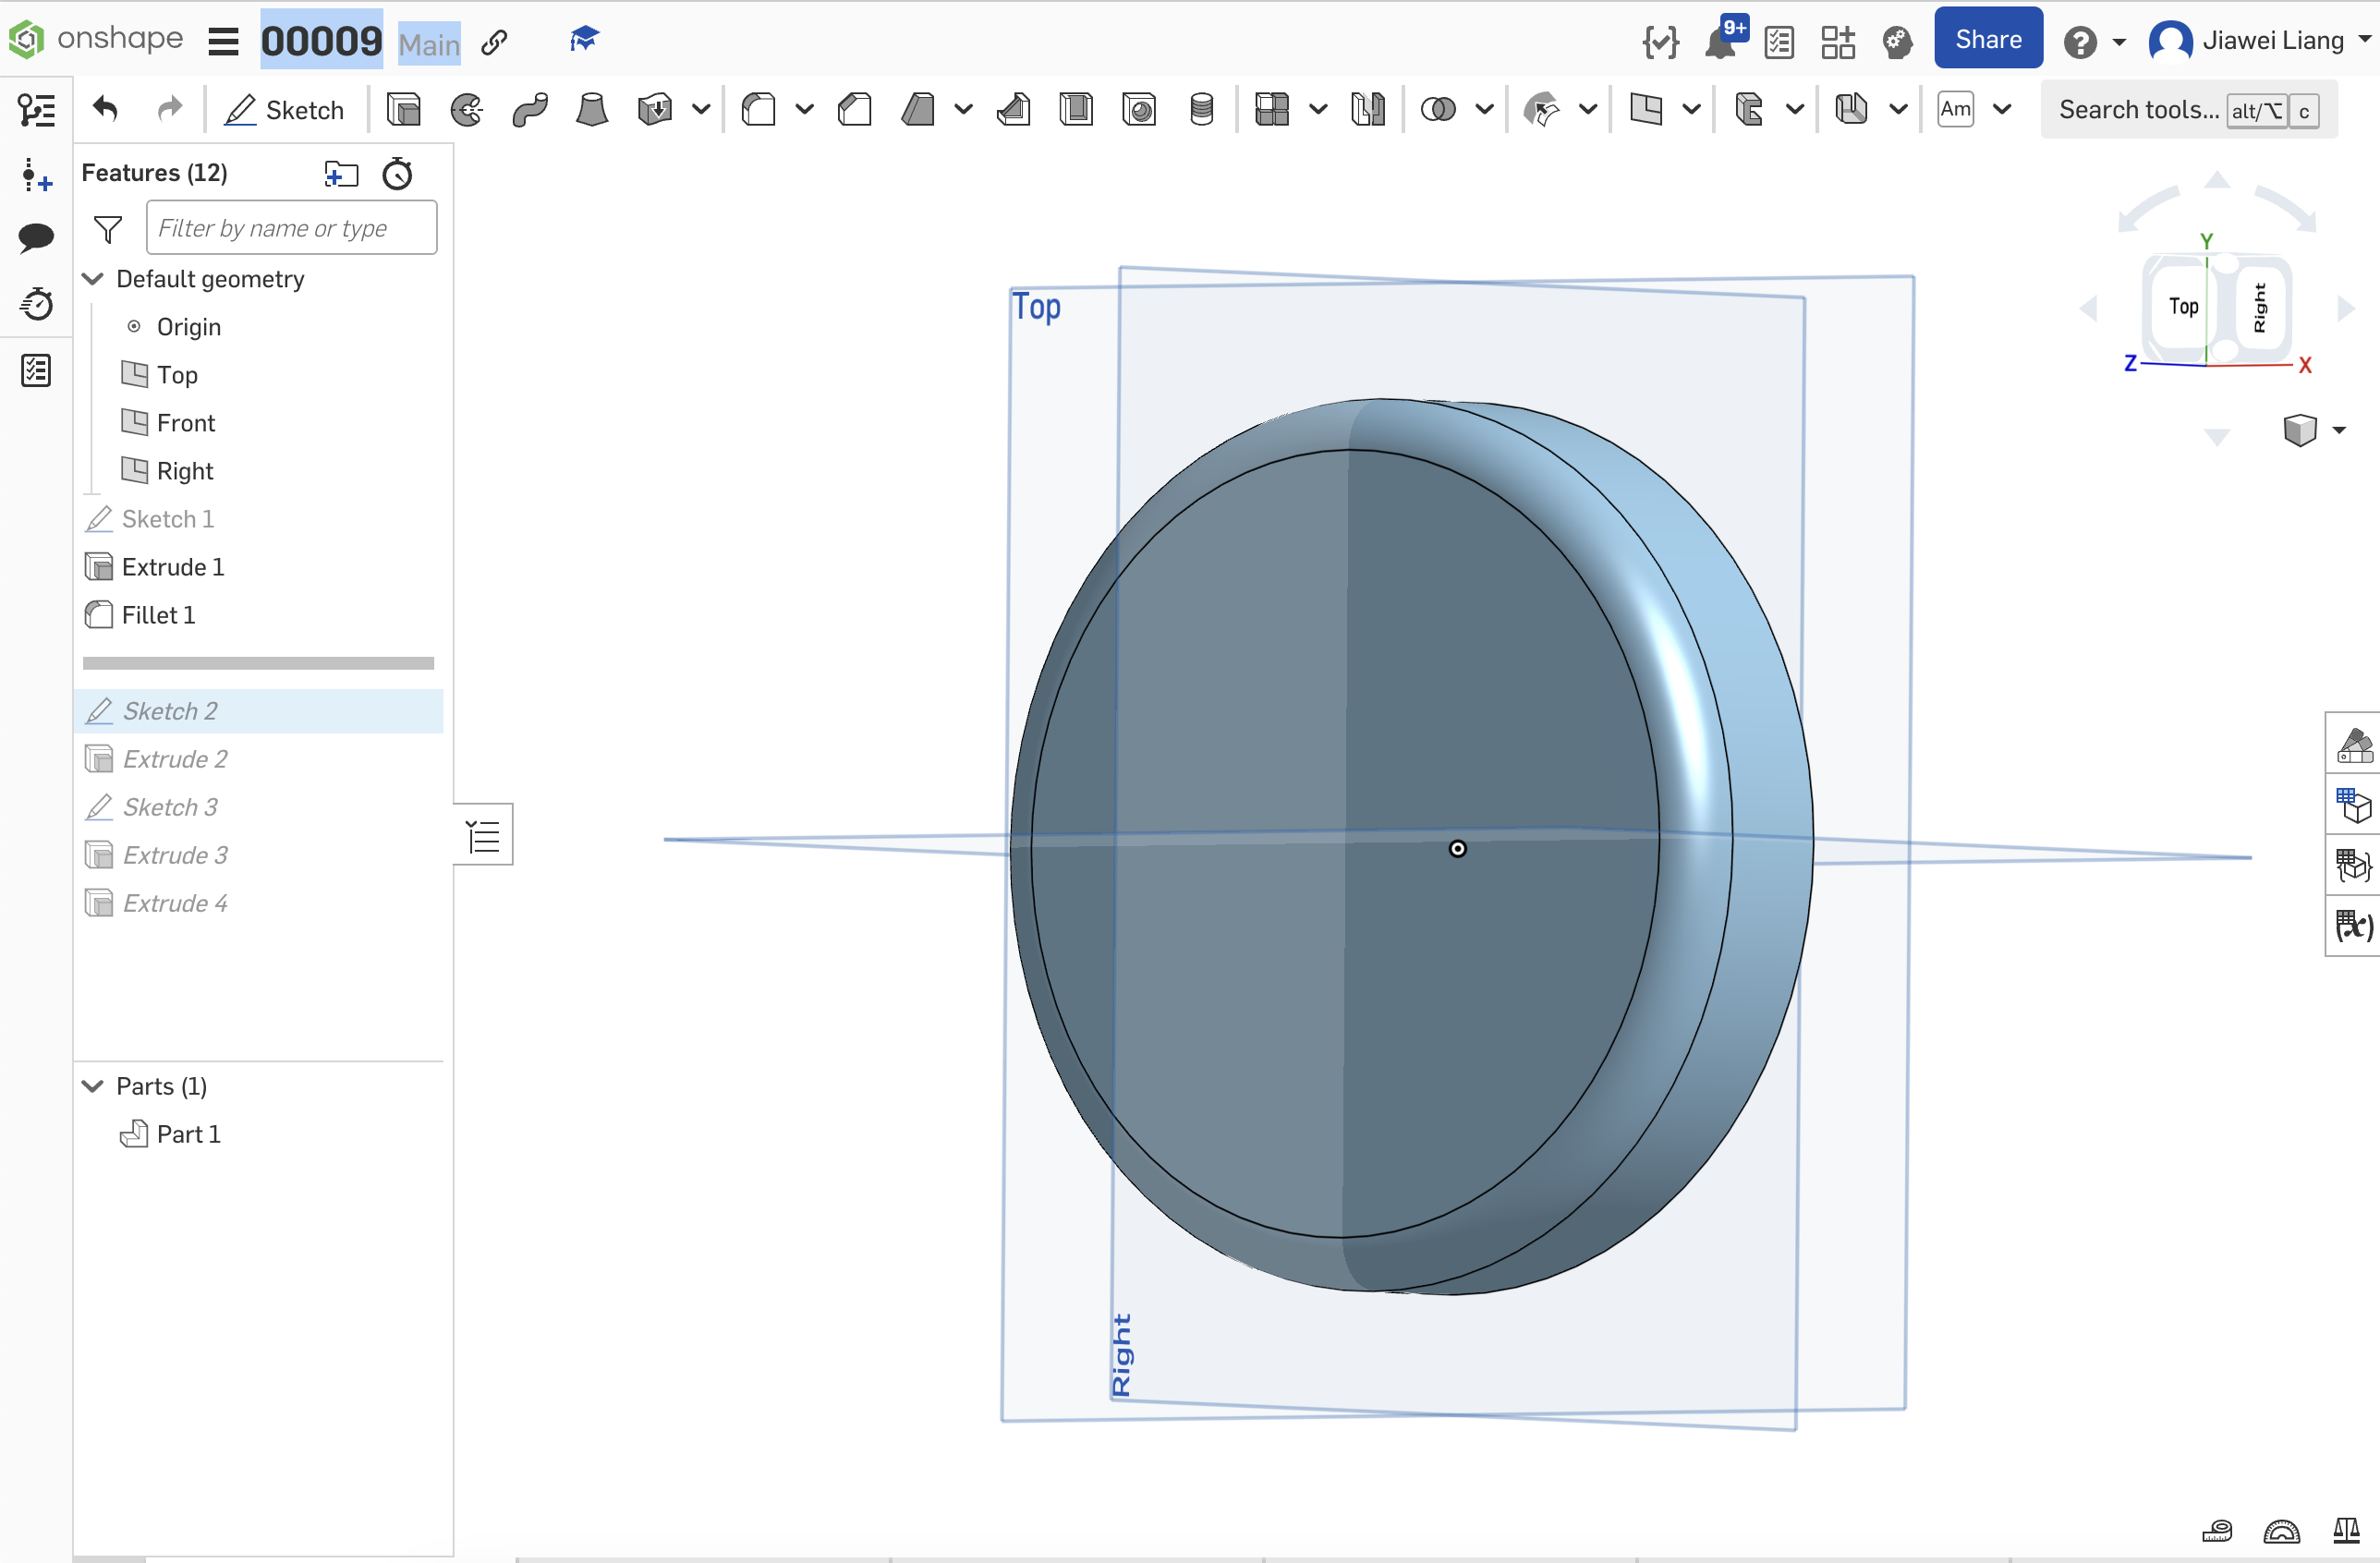
We used onshape to make the model. First, we created a circular base in the top view in the draft state.
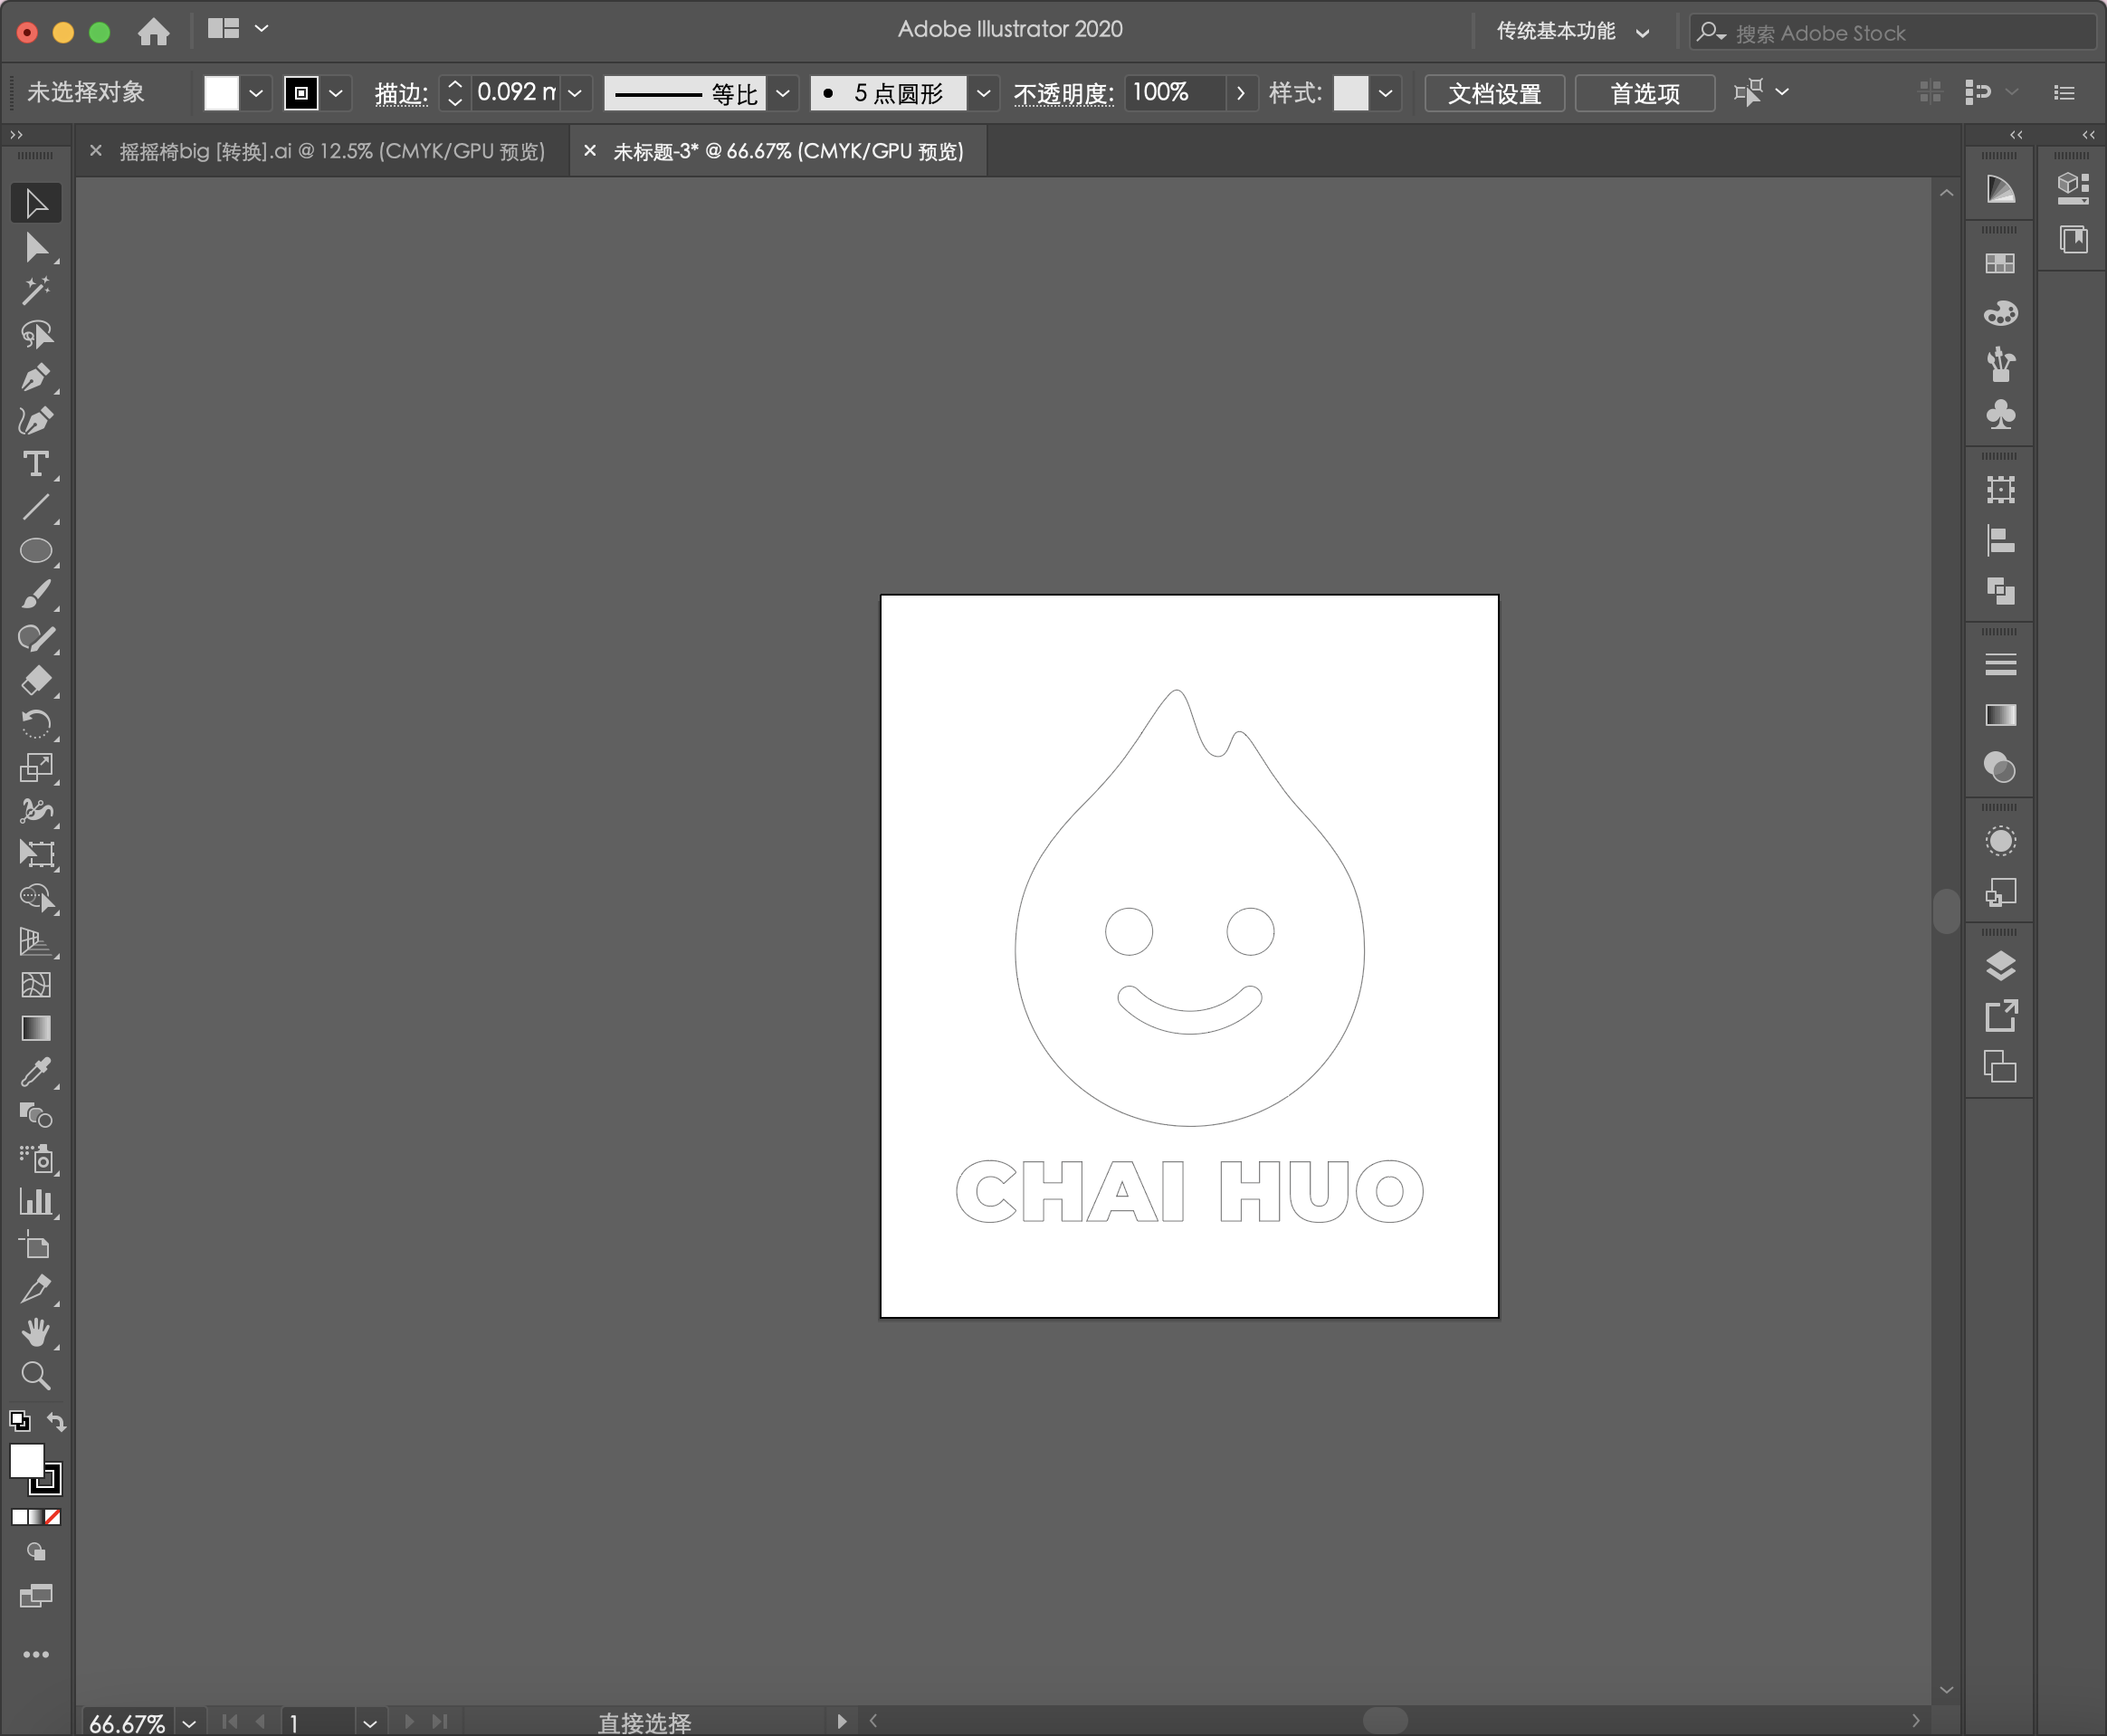
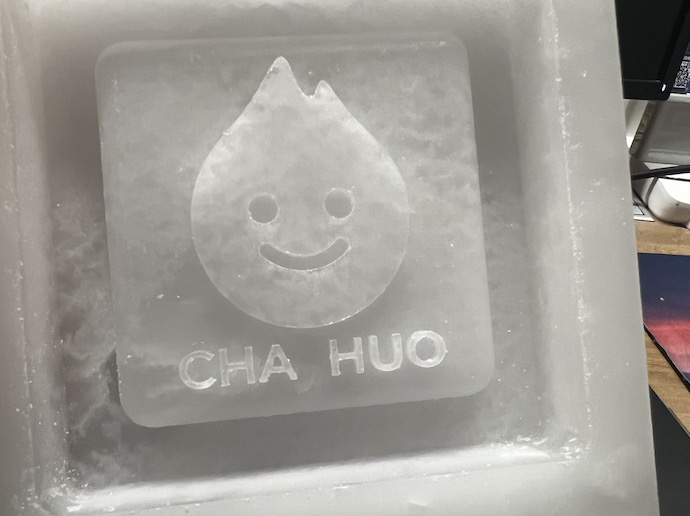
Next I want to design a CHAI HUO icon, because it is too complicated to draw on onshape, so I chose to use Illustrator to draw the icon, as shown below
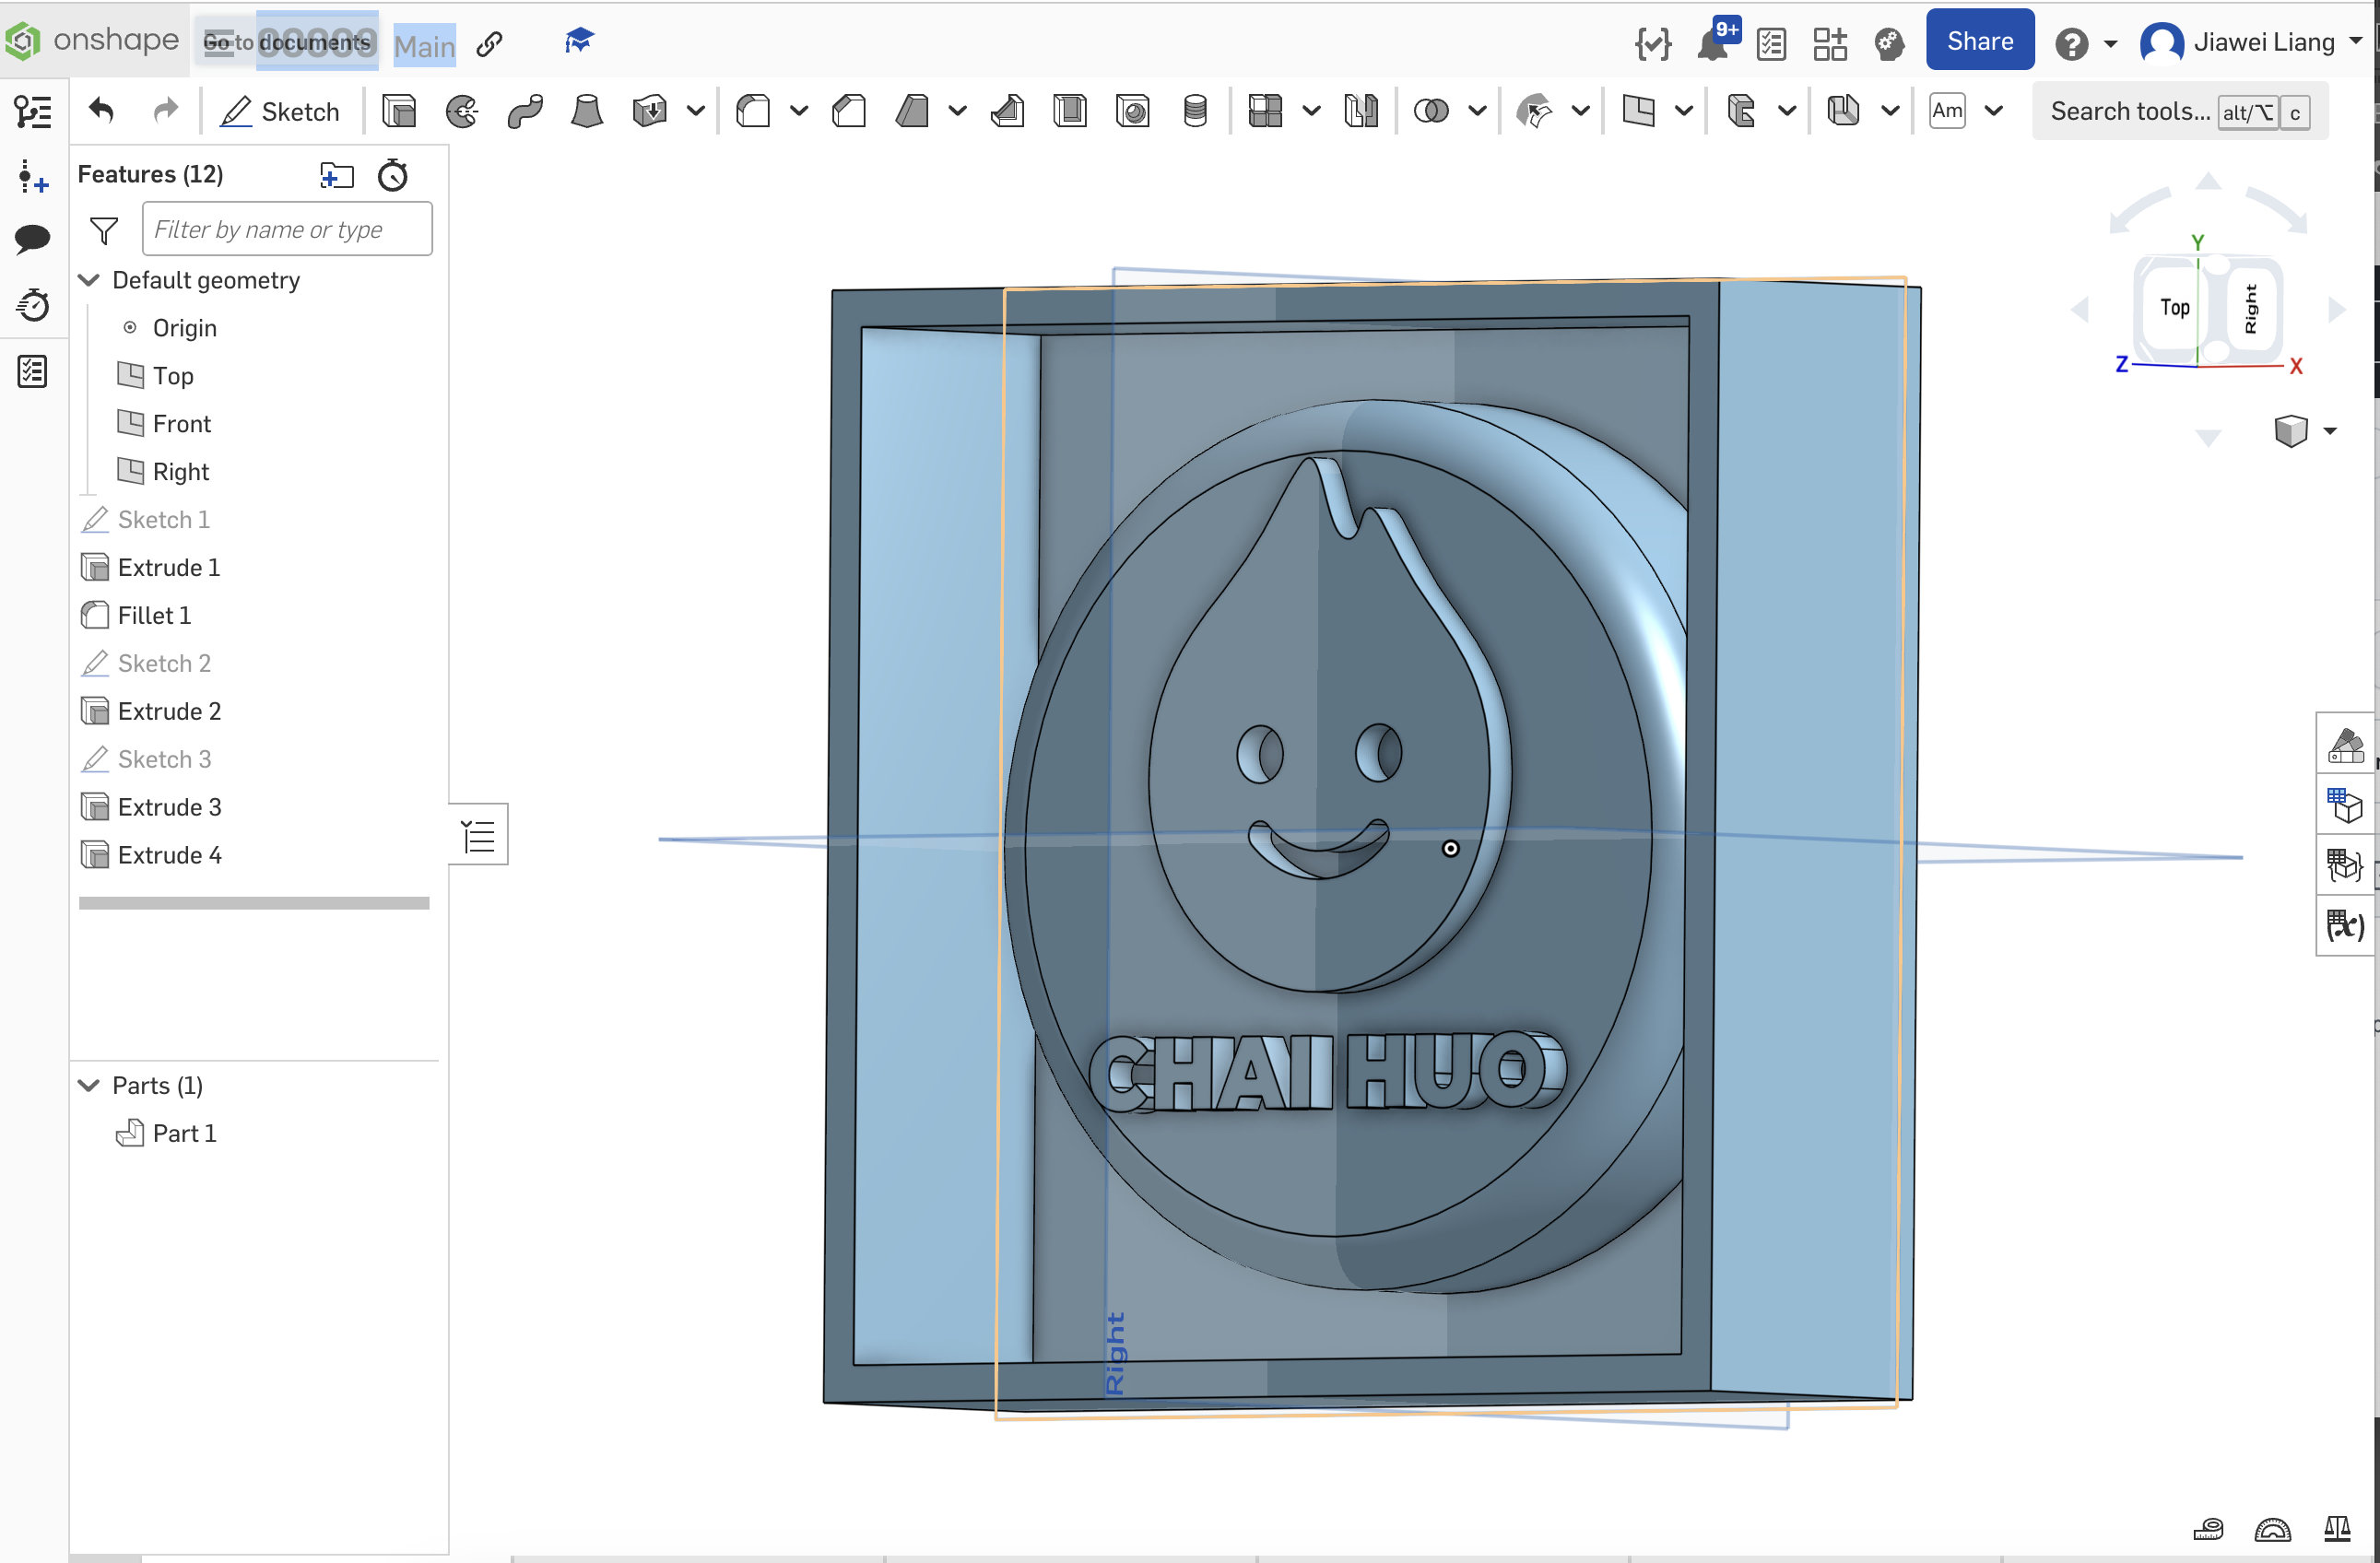
then export the DXF file, import it into onshape, and then give it performs an extrusion operation, as shown below

Next, I made a square container 1cm larger than the original size according to the size of the seal, as shown in the picture
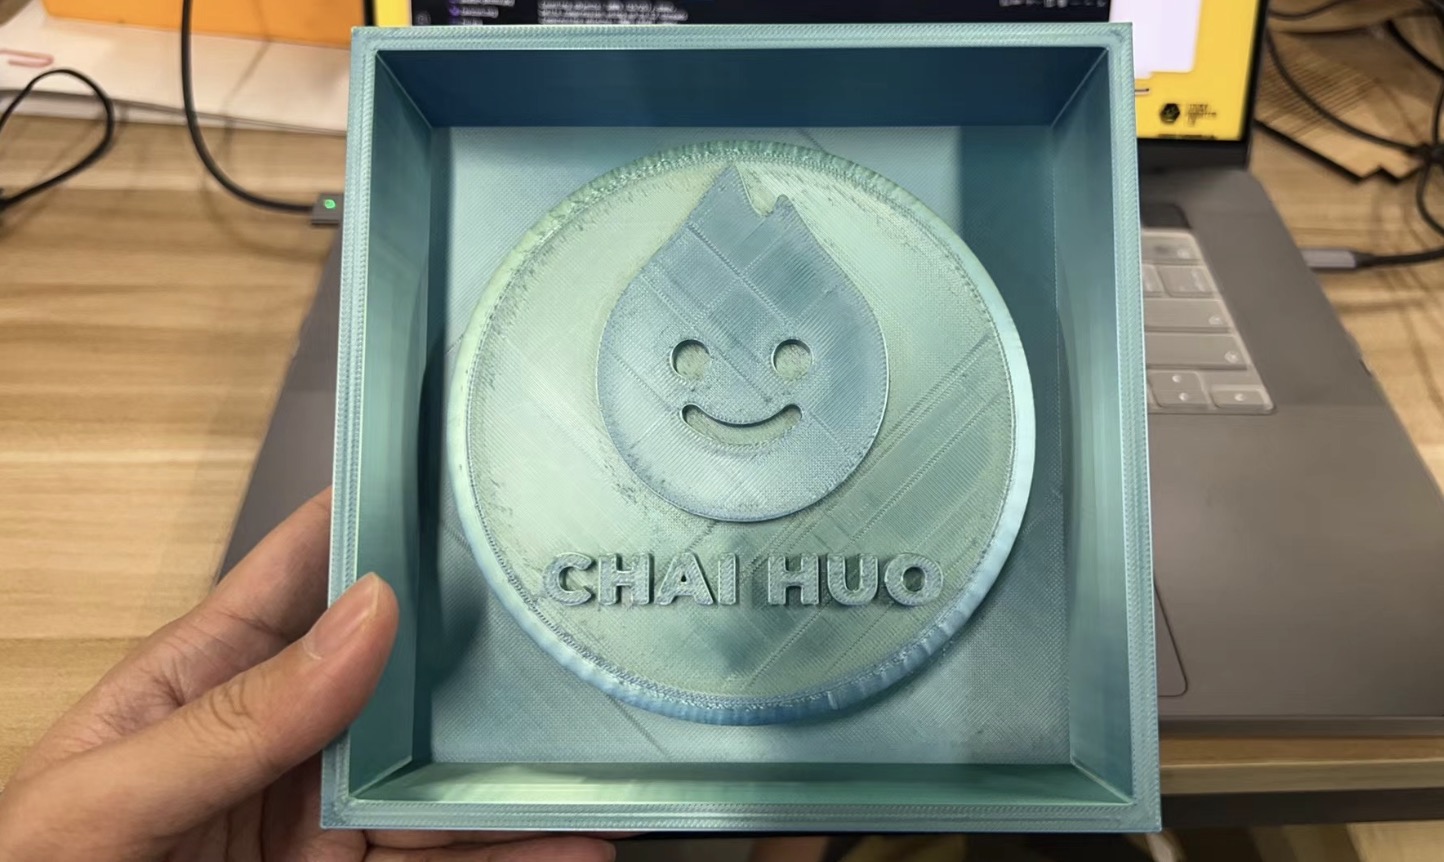
This is what it looked like after it was 3D printed for the first time, but we felt that the mold was too big and needed to be reduced.
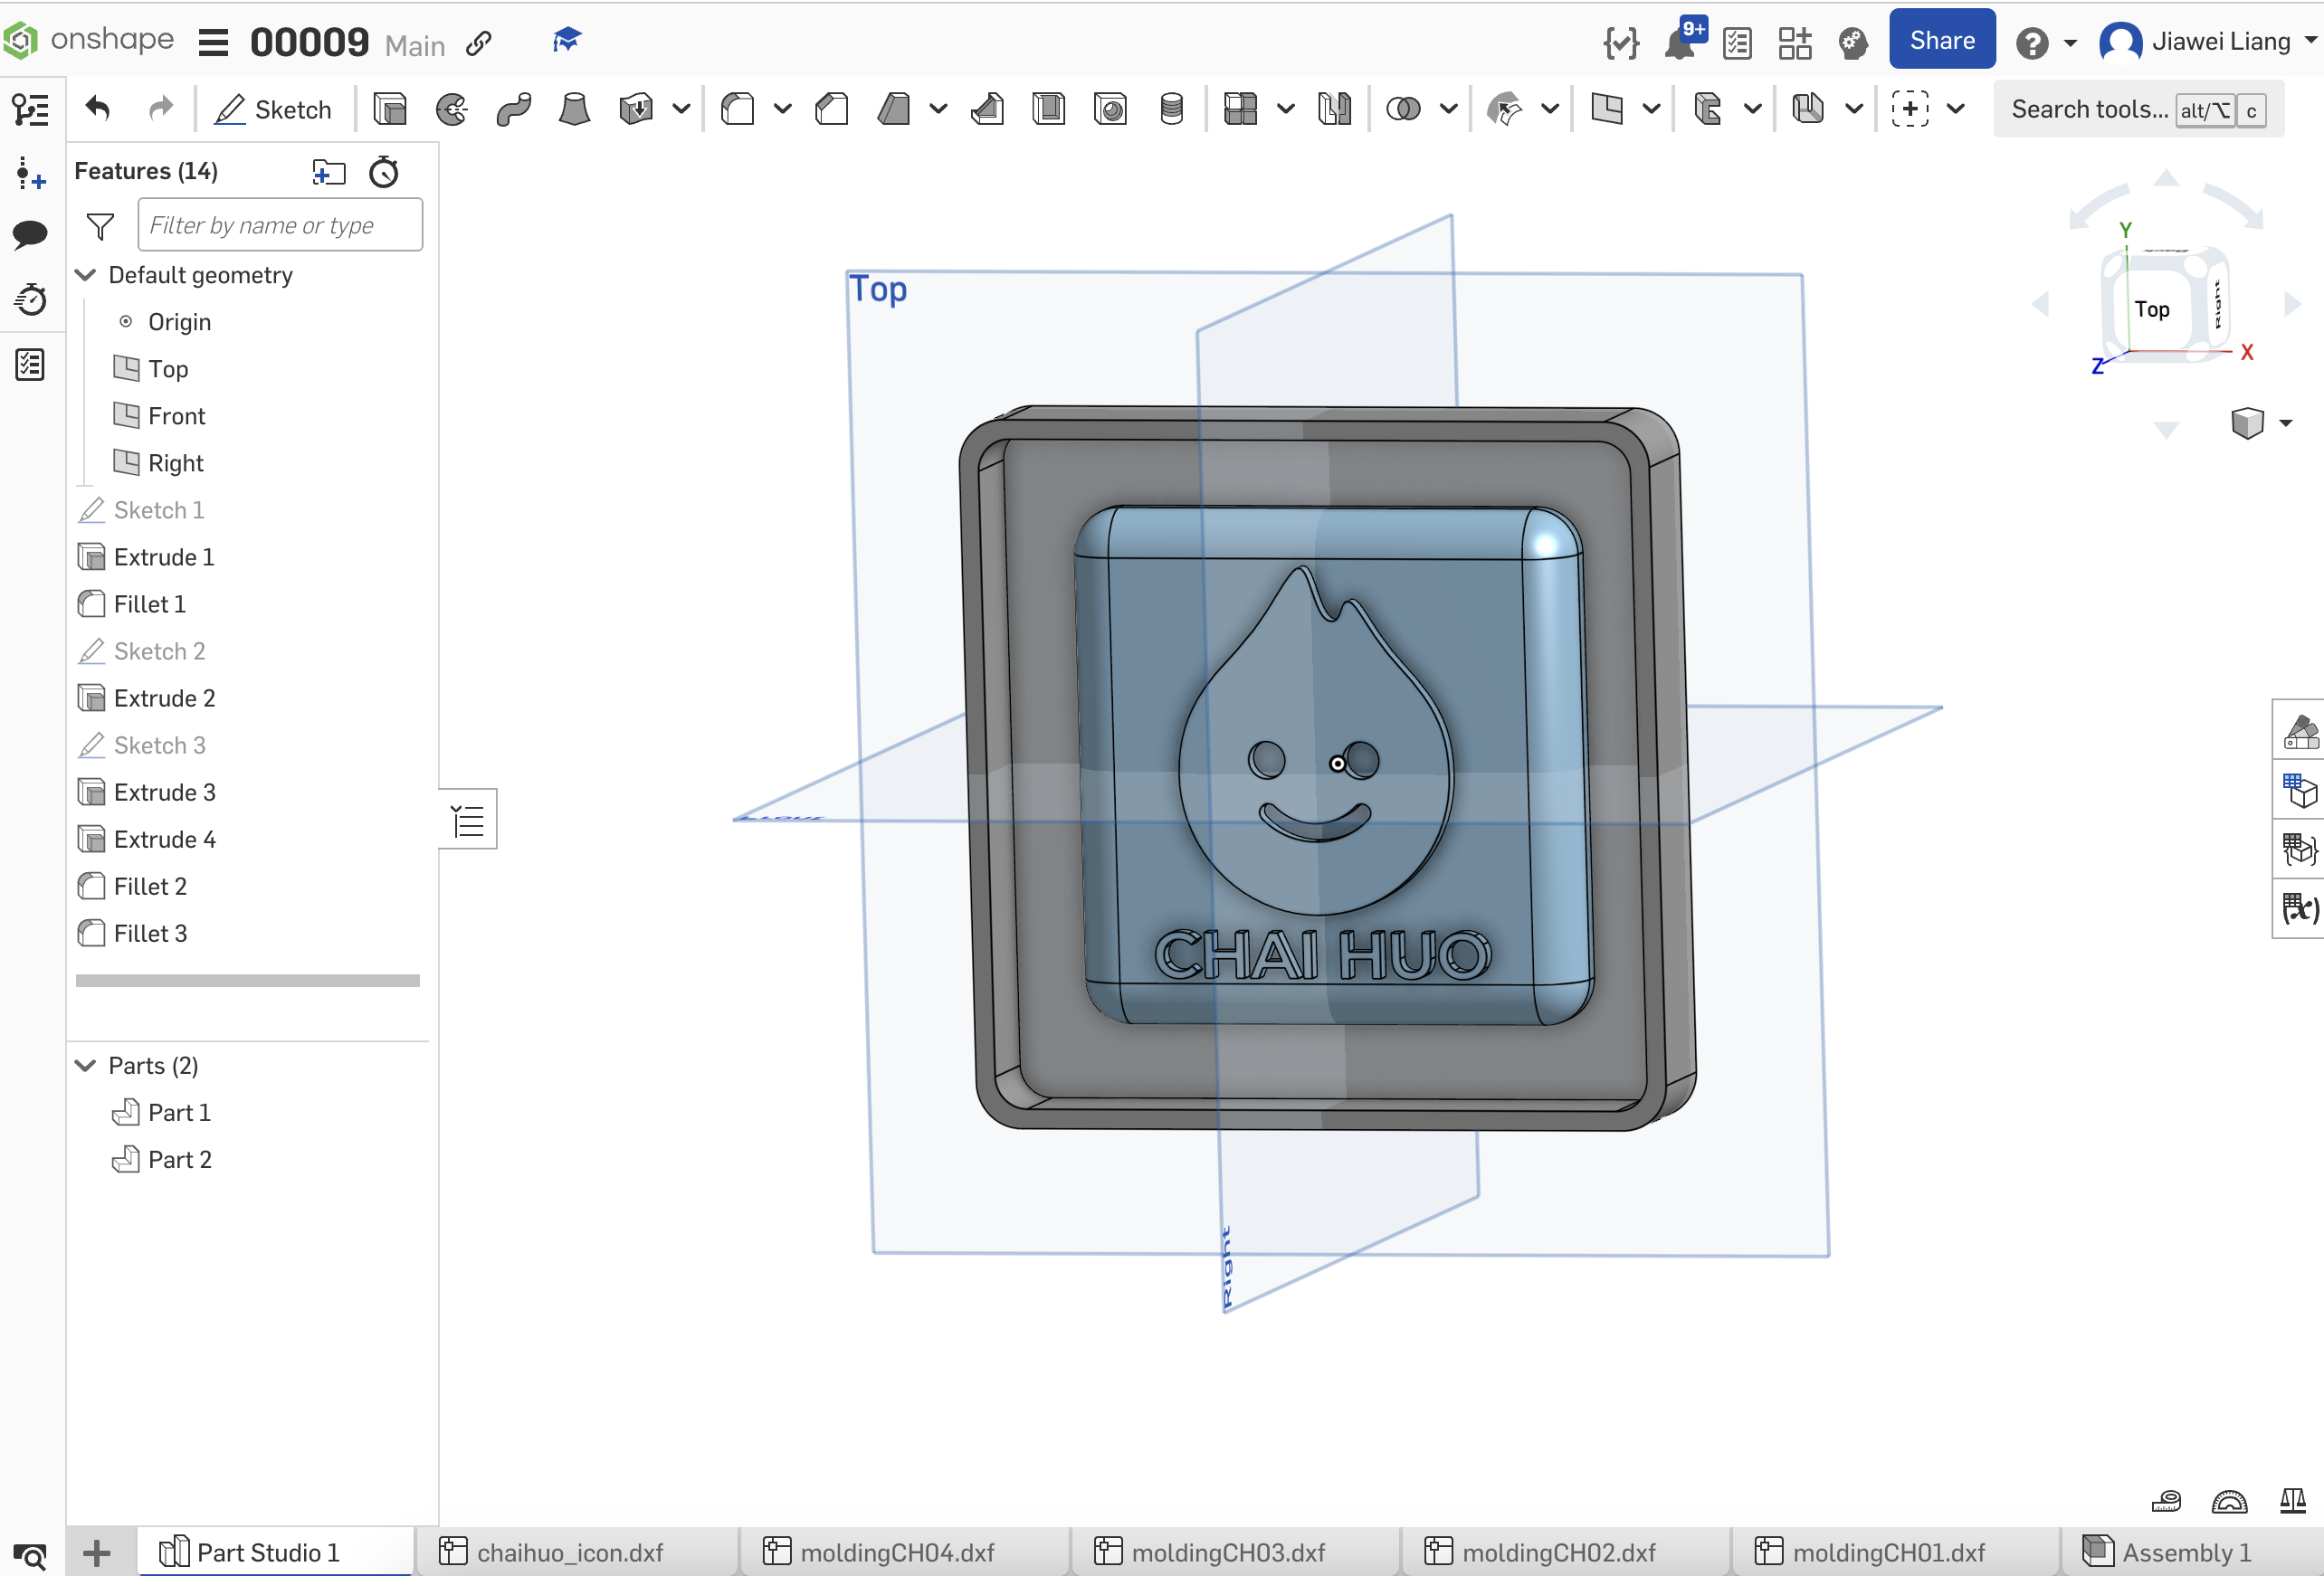
Redesign
3D Printing directly printing a mold
3D printing offers a contemporary approach to mold creation, excelling at producing molds with complex geometries. This method’s strength lies in its ability to construct detailed features layer-by-layer, achieving high precision. However, it also presents challenges; surfaces of the final products can display layer lines, reflecting the layered construction process. Additionally, 3D-printed molds may lack the necessary robustness for applications involving high temperatures or pressures. Thus, when choosing 3D printing for mold-making, one must weigh the complexity of the design against the required surface quality.
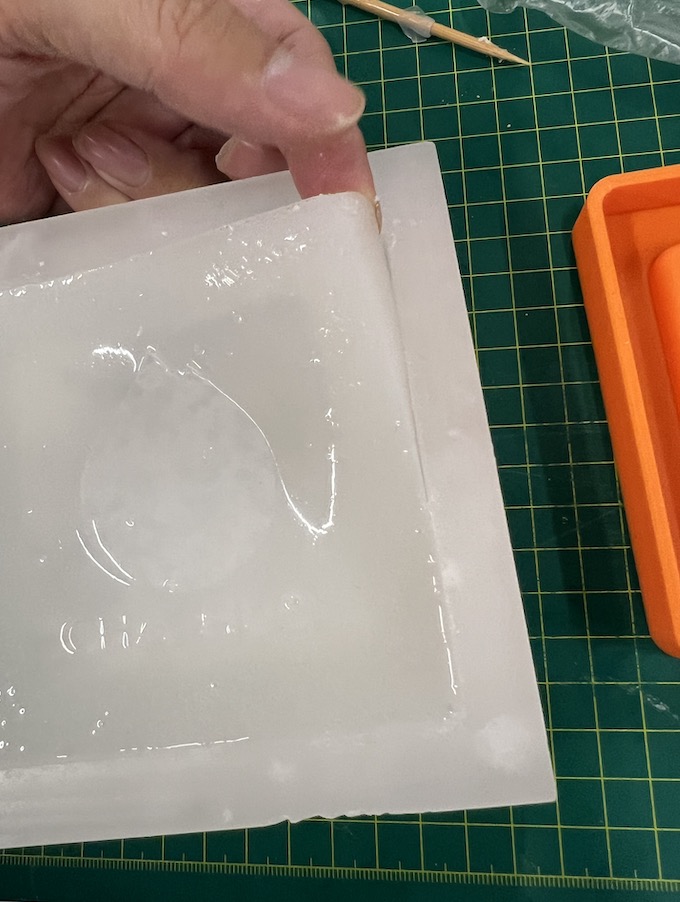
After finishing the 3D printing part, the next step is to make the mold. We chose this kind of silicone as the mold material because this kind of silicone is relatively common and cheap.
Before pouring the silicone, we spray the 3D model with a release agent
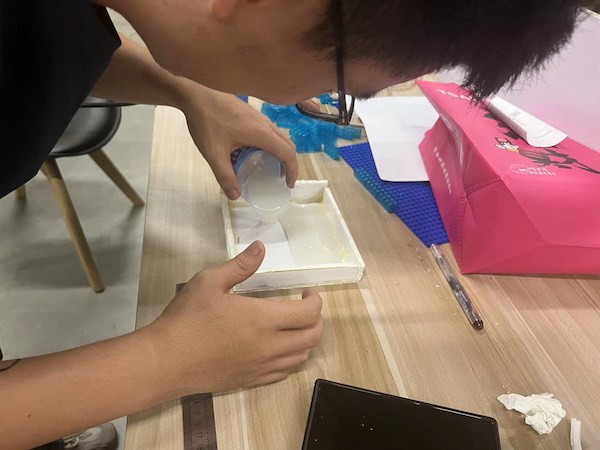
In order to accelerate the curing of silicone, a curing agent needs to be added. The silicone and curing agent need to be prepared in a ratio of 100:2.

Mix the silicone and curing agent evenly and pour them into the 3D printing mold.
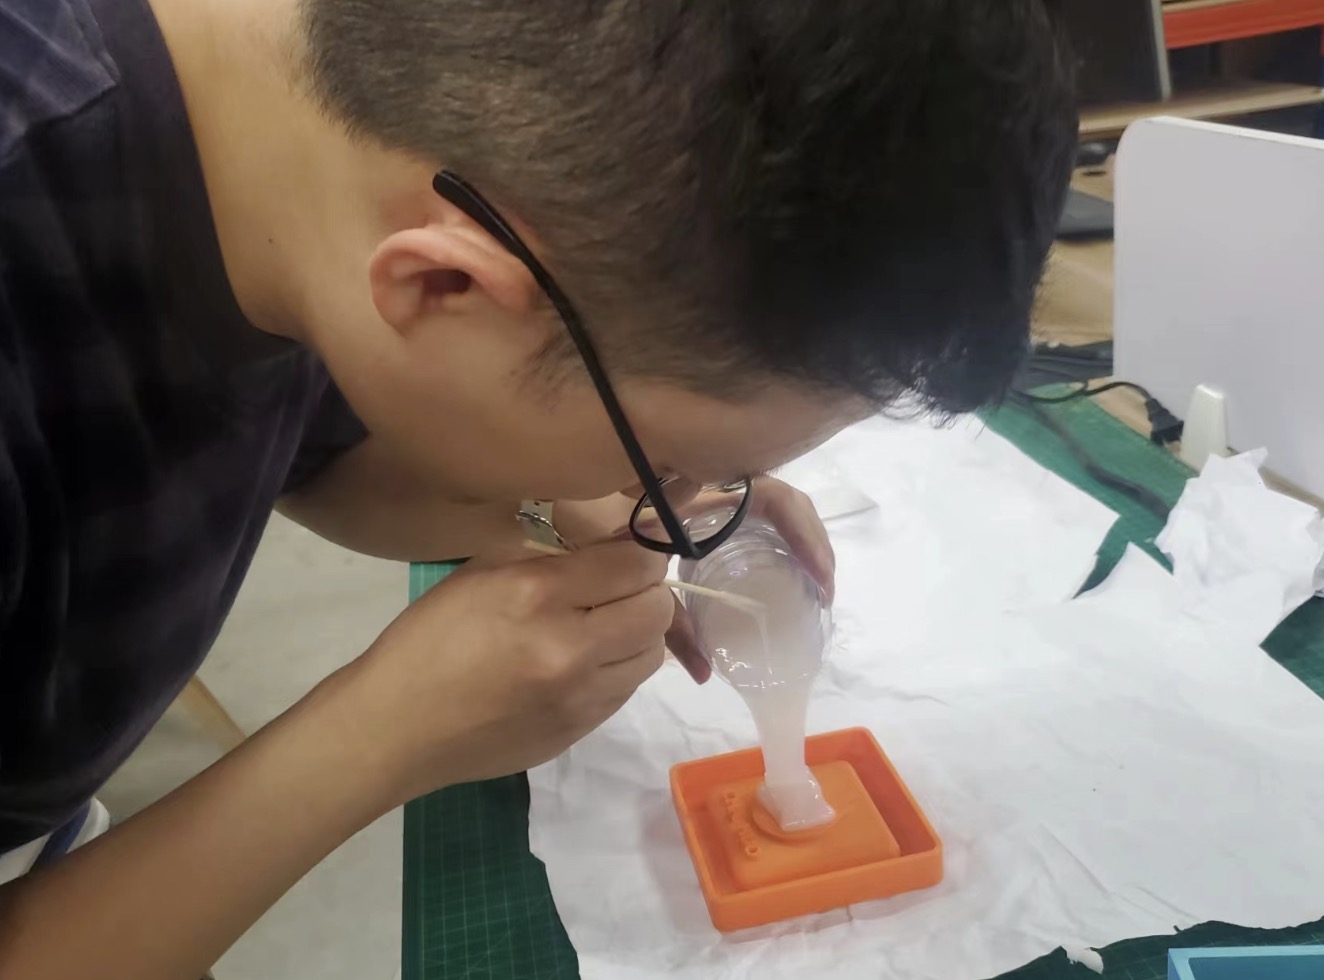
After pouring all the silica gel, many bubbles appeared on the surface, as shown in the picture
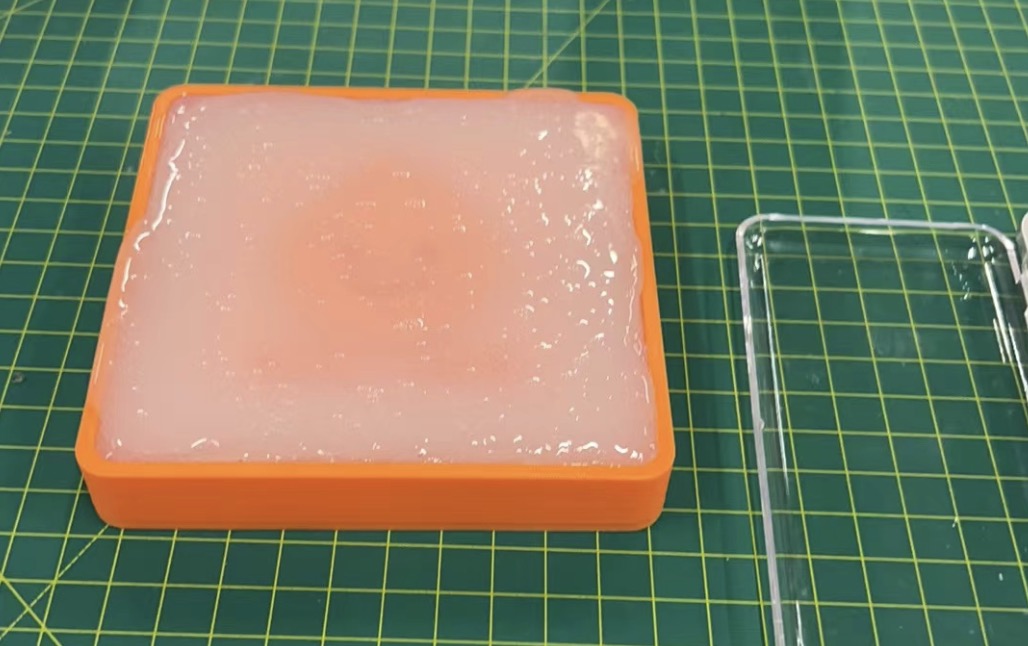
We popped the larger bubbles and let them sit for ten minutes, and the bubbles gradually disappeared.
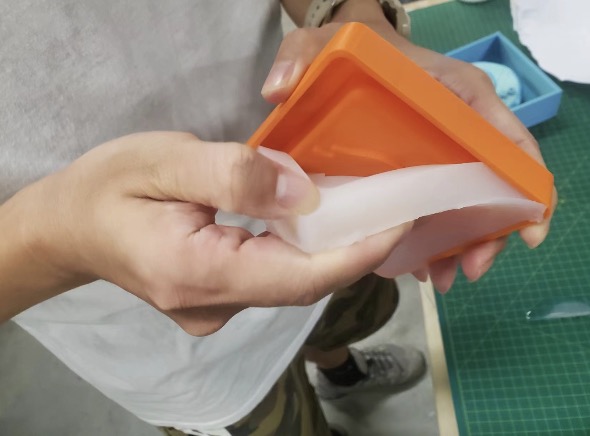
It looks good, we’re going to casting it

This time we need to use AB resin
First, spray the release agent first

Then mix the two liquids AB together in a ratio of 1:1.
AB resin solidifies very quickly and emits heat, so you need to pay attention to the time and be careful as it will burn your hands.
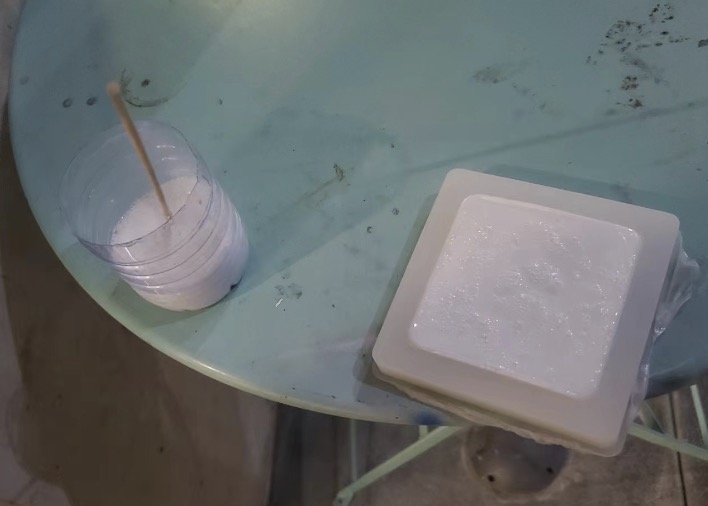
It seems that there are a lot of bubbles. The instructor said that if you do it again in the future, you can use a vacuum machine to eliminate the bubbles.
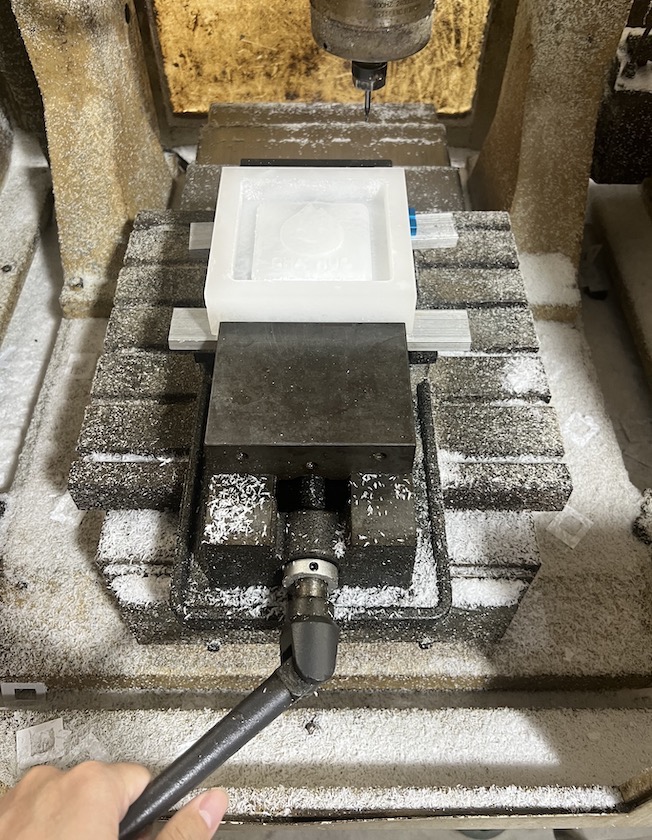
Milling directly milling a mold
Milling, a traditional technique in mold-making, is noted for its capability to produce molds with smooth finishes and sharp outlines, making it ideal for larger or simpler shapes. The key benefit of milling is its superior surface finishing and clear design depiction. Its limitation, however, is in handling intricate details that are smaller than the milling bit itself, making it less suitable for highly detailed or complex mold designs.
After completing our group assignment, we evaluated the merits and limitations of both milling and 3D printing for mold production.
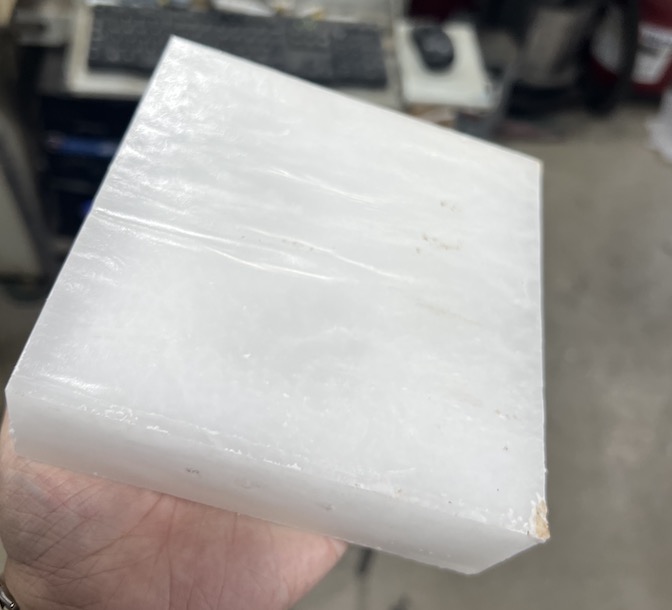
Purchased material is too big, so the size and flatness need to be processed before it can be put into CNC processing.
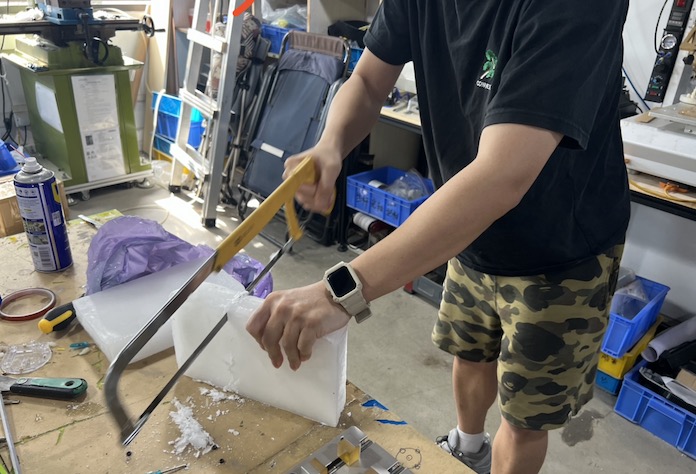
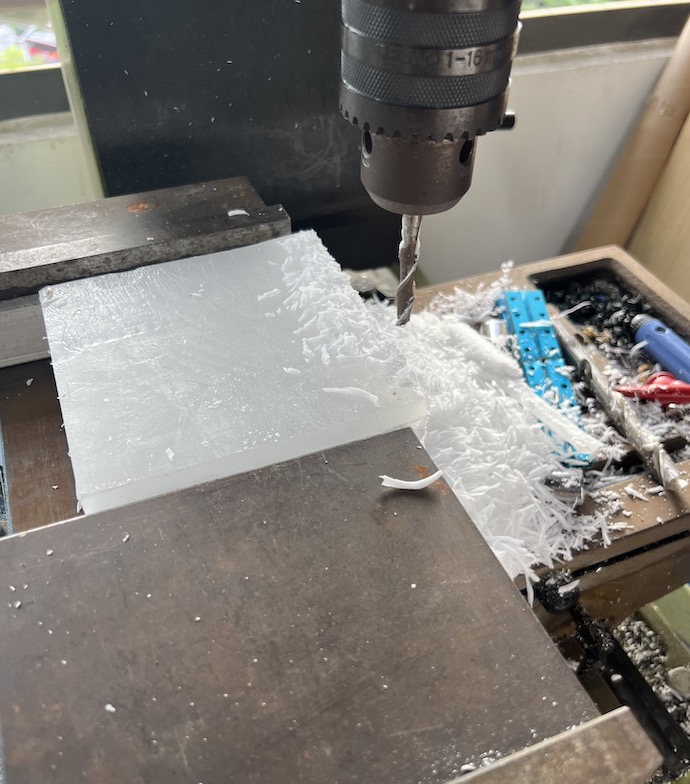
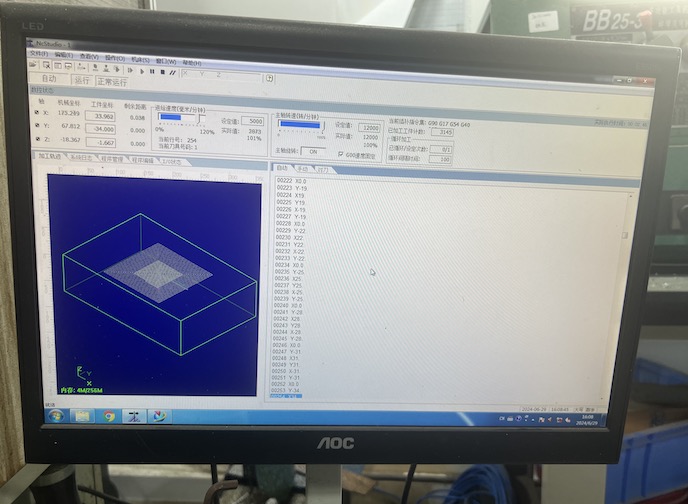
Start to mill:
Because the model we made this time involves small holes and curved surfaces, we chose three types of tools this time. The following one is for basic milling

the following one is for detailed cavity milling

Done and it looks good
Next, we will redo the molding and casting based on our previous operating experience.
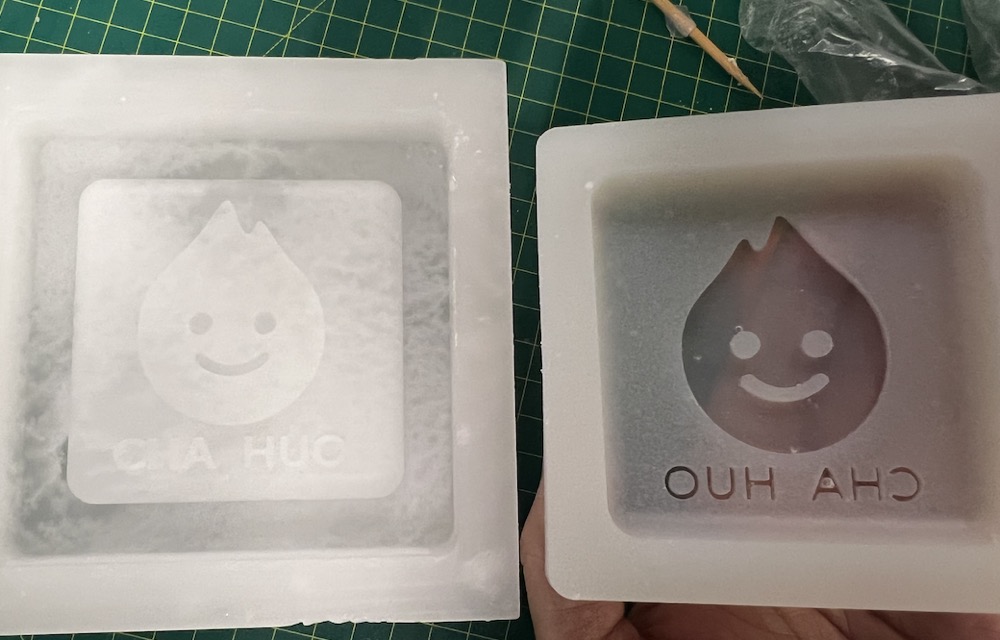

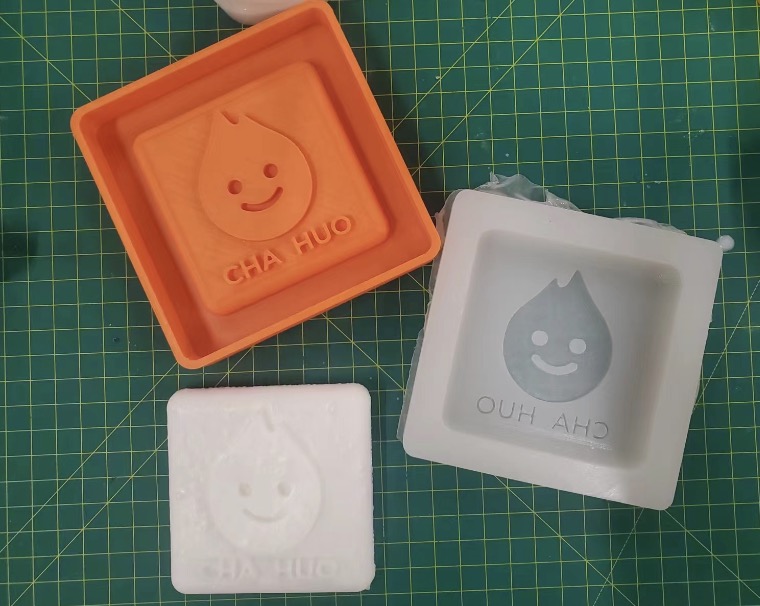
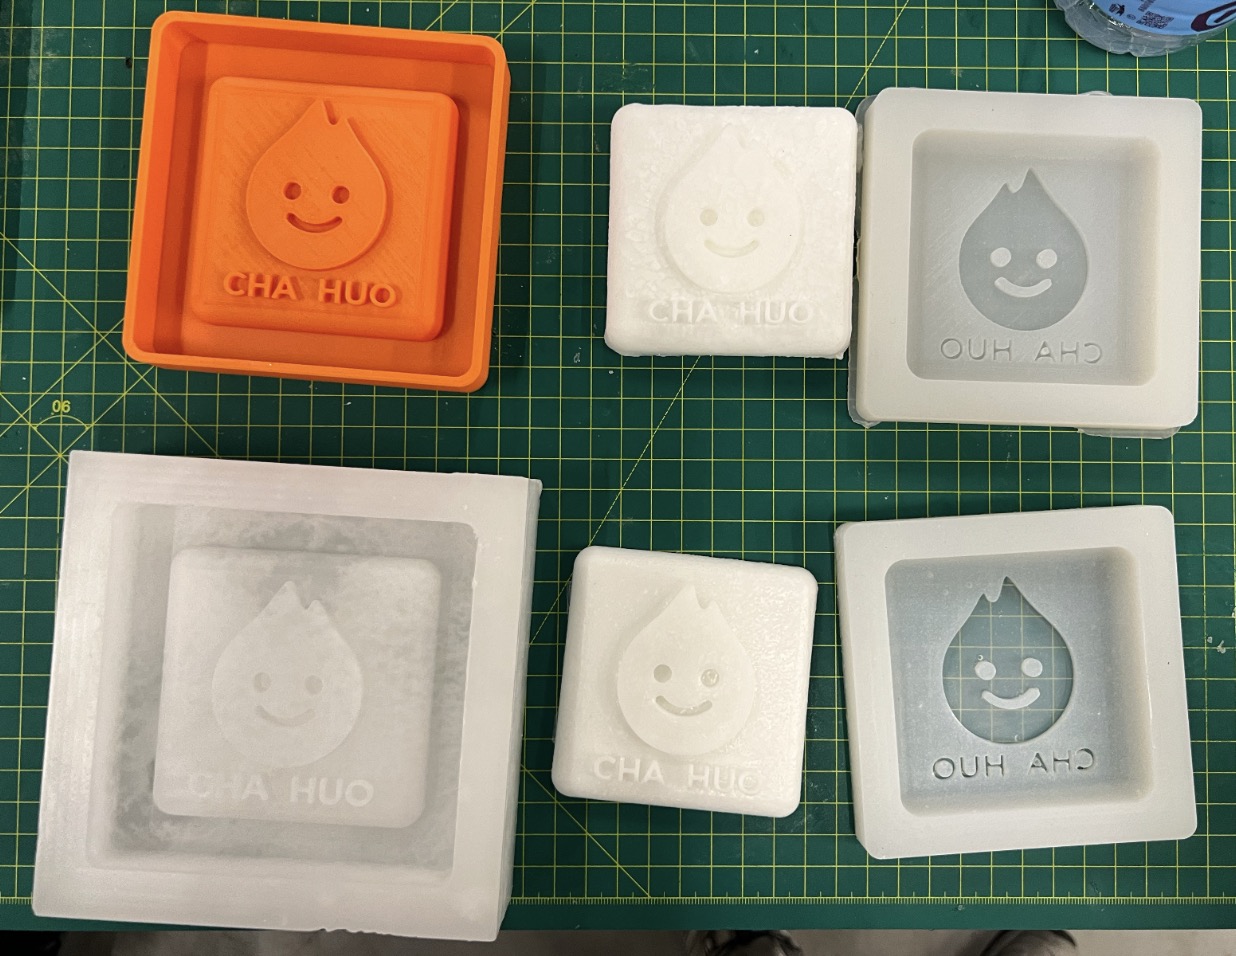
Final Result and Comparison of 3D printing and CNC Milling
Final result:

After completing the group assignment together, we discovered that both milling and 3D printing have their respective strengths and weaknesses.
-
Part 1: Advantages and Disadvantages of 3D Printing 3D printing represents a more modern approach to mold production. Its foremost strength is in fabricating molds with complicated geometries, with its layer-by-layer assembly process offering unparalleled precision in crafting minute details. The downside, though, is that the resulting product surfaces may exhibit stratified textures, a byproduct of the material layering during the printing process. Moreover, for applications that require withstanding high temperatures or pressures, 3D-printed molds might not possess adequate strength. When opting for 3D printing as a mold-making technique, one often needs to balance between the surface quality of the finished product and the complexity of the design.
-
Part 2: Advantages and Disadvantages of Milling Milling is a classic mold-making technique renowned for producing molds with high-quality, smooth finishes and crisp lines, particularly suited for larger or geometrically simpler items. The primary advantage of milling lies in its ability to create molds with superior surface finishing and clarity of design. However, milling falls short when it comes to intricate details that are smaller than the diameter of the milling bit. Hence, it may not be the go-to option for extremely fine or complex mold structures.
Both 3D printing and CNC milling are ways of making molds, but the manufacturing methods and principles of the two are slightly different.
Advantages of 3D printing: - The processing technology of additive manufacturing can better save the materials required to make molds and has lower costs.
- It can quickly restore some model details, and has corresponding advantages in restoring the details of tiny assembly structures.
Disadvantages of 3D printing: - Due to the printing accuracy limitation of 3D printing marks, layered textures will appear on the surface of the mold, and post-processing is required to restore the detailed surface.
- 3D printing cannot be used as a mold for some productions that require high-temperature materials.
Advantages of CNC Milling: - Traditional machine tool processing can make the surface treatment of workpieces and molds smoother.
Disadvantages of CNC Milling: - Subtractive manufacturing processes waste more material.
- Only suitable for manufacturing larger or simpler geometrically shaped workpieces and molds. The degree of detail restoration of complex workpieces is poor.