Group Assisnment Week 9 - Output Devices
In this week, I am going to test different types of output devices and document their specifications and behaviors. For doing this, we are going to:
- Measure the power consumption of an output device.
- Document the work on the group work page and reflect on the individual page what I learned.
Understanding the Functions of a Multimeter
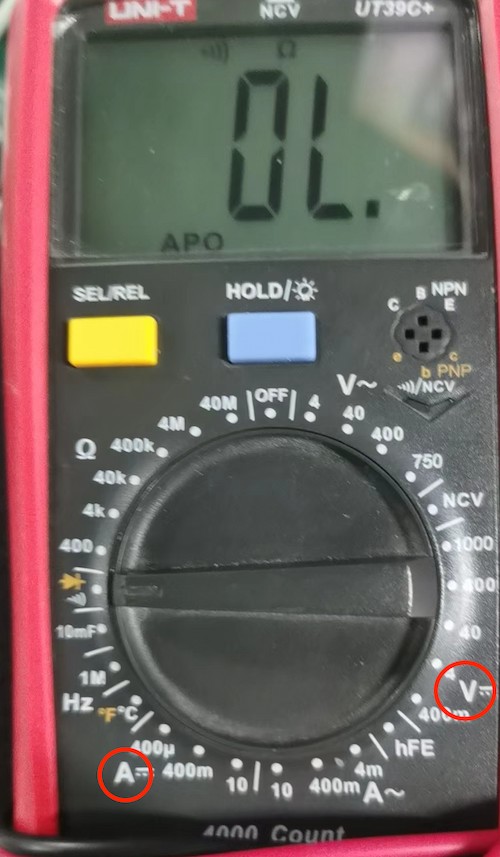
A multimeter is an essential tool for anyone working with electronics. Here's an overview of the typical functions found on most multimeters and what they're used for:
Voltage Measurement (V)
-
DC Voltage (V— or VDC)
- Purpose: Measures the voltage of direct current (DC) sources.
- Common Uses: Checking batteries, DC power supplies, and other DC circuits.
-
AC Voltage (V~ or VAC)
- Purpose: Measures the voltage of alternating current (AC) sources.
- Common Uses: Testing household outlets, AC power supplies, and other AC circuits.
Current Measurement (A)
-
DC Current (A— or ADC)
- Purpose: Measures the flow of direct current (DC) through a circuit.
- Common Uses: Monitoring current in DC circuits.
-
AC Current (A~ or AAC)
- Purpose: Measures the flow of alternating current (AC) through a circuit.
- Common Uses: Monitoring current in AC circuits.
Resistance Measurement (Ω)
- Resistance (Ω)
- Purpose: Measures the resistance of a component or circuit in ohms.
- Common Uses: Checking resistors, continuity of wires, and condition of switches.
Example Measurement
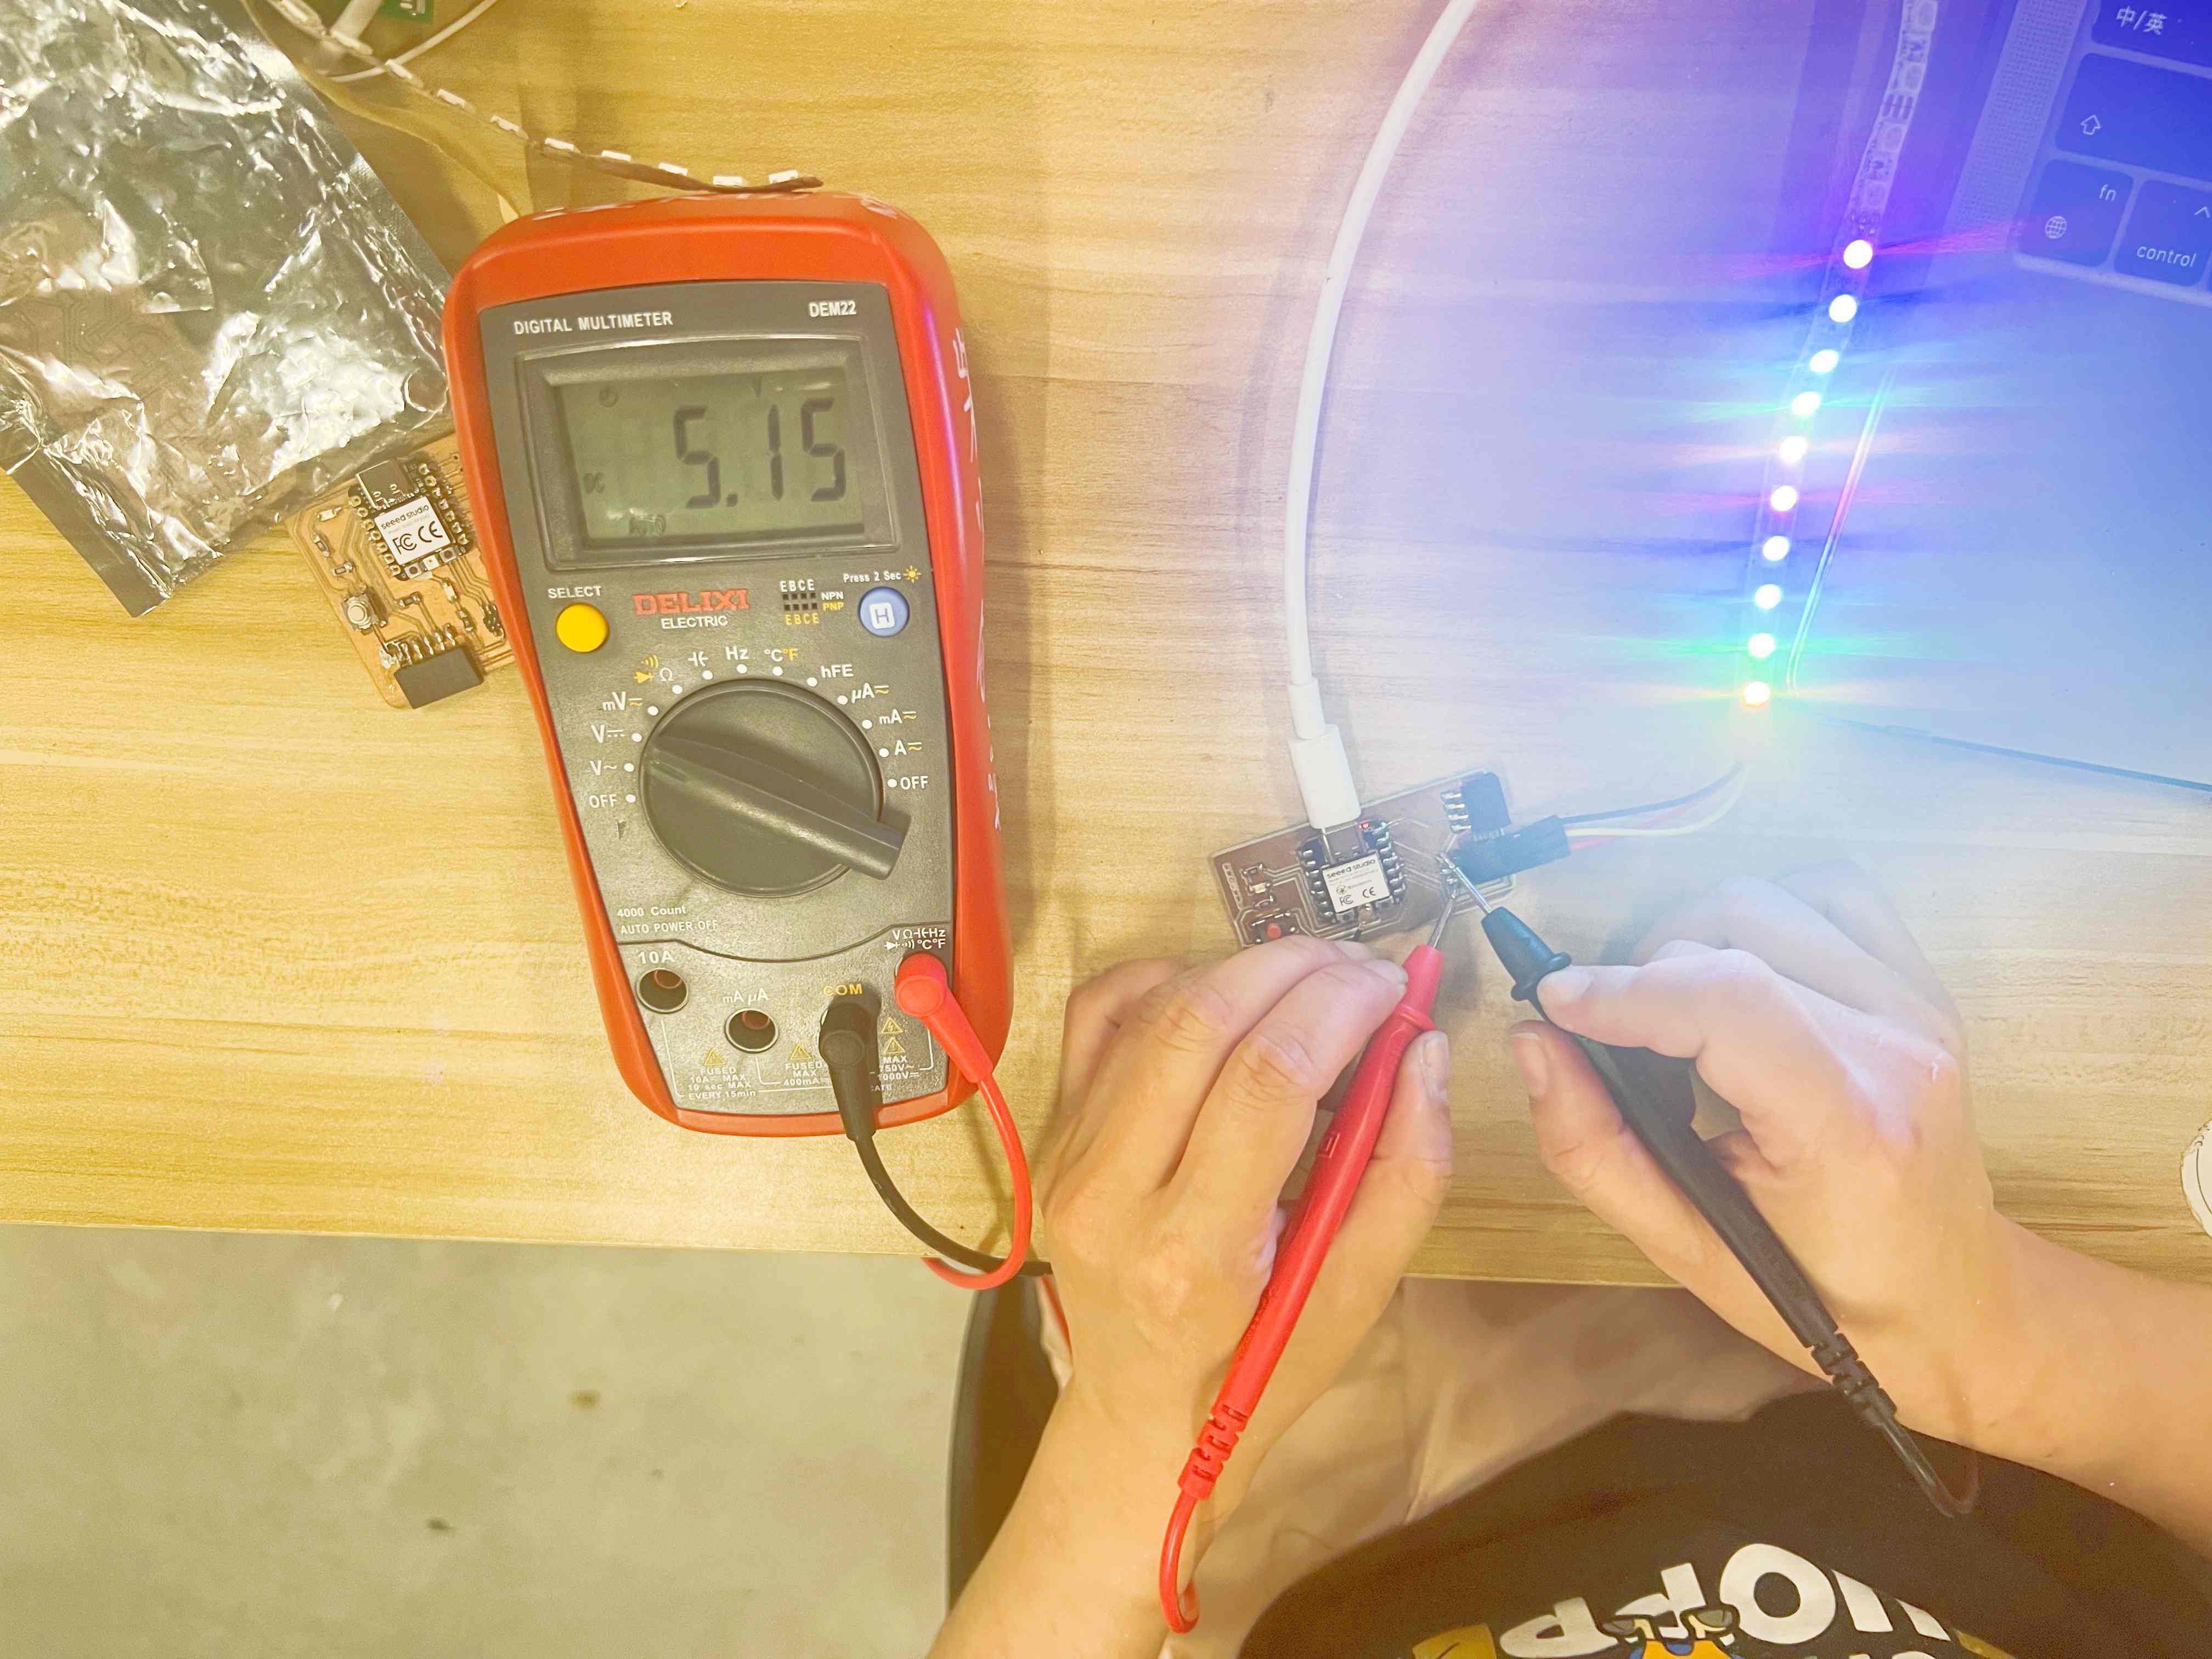
- Measured the power supply voltage to the microcontroller board: 5.1V, which is within the acceptable range.
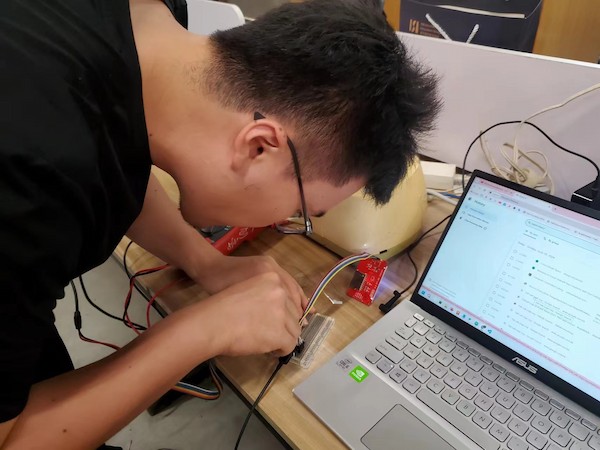
Using Multimeter to Measure Power Consumption of ILI9341 Display
I need to select the correct mode then connect the probes finally measure. For most measurements, connect the black probe to the common terminal and the red probe to the appropriate terminal (voltage, ohm, or mA).
1. Select the Correct Mode:
For measuring power consumption, I will measure current and voltage. Set the multimeter to the current measurement ("A" for amperes) mode to begin with. Then, for measuring voltage simultaneously, I will then switch Voltage after measuring the current.
2. Connecting the Probes and Measuring
- For Current Measurement: Connect the black probe to the common terminal of the multimeter. The red probe should be connected to the current terminal, often marked as "A".
Ensure the multimeter is capable of handling the expected range of current (check the maximum current rating on the multimeter).
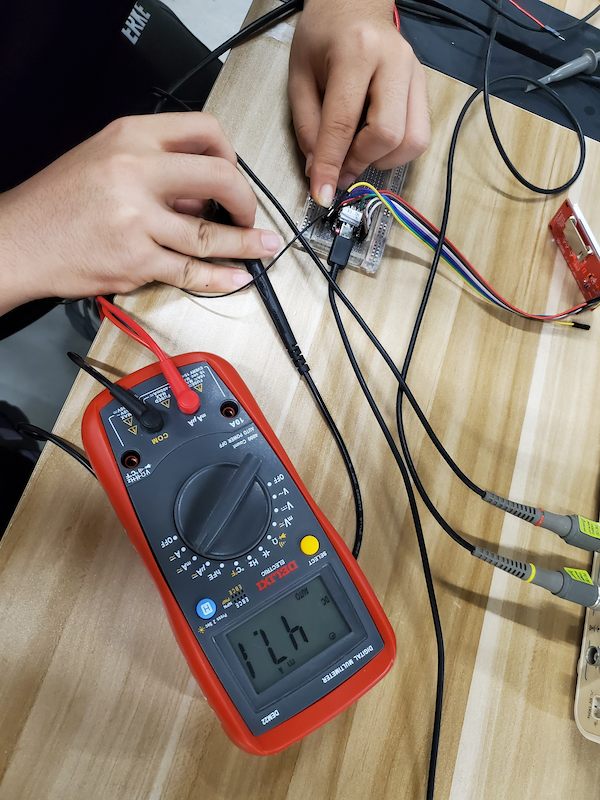
Here I have 47.1 mA.
- For Voltage Measurement: After I measure the current, switch the multimeter to the voltage setting.
Connect the red probe to the voltage terminal (often marked as "V").
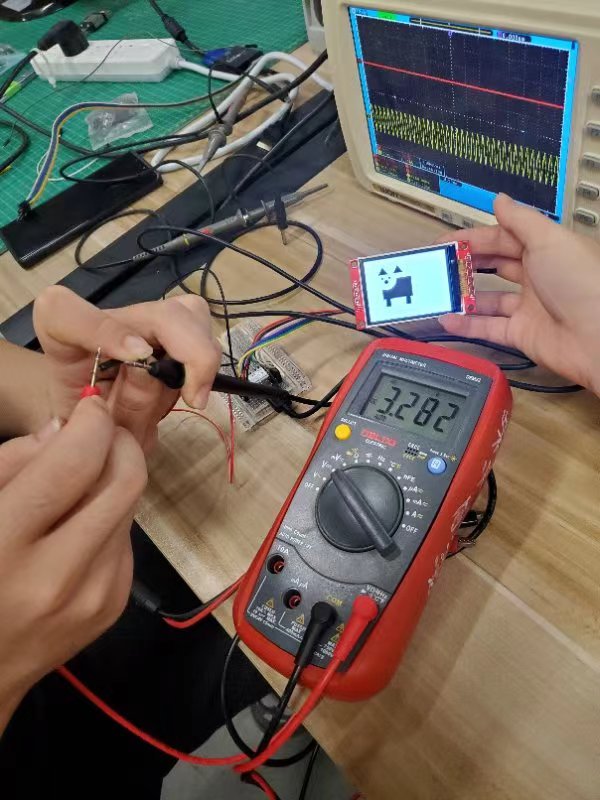
Here I have 3.282 V.
3. Calculating Power Consumption:
Once I have the current (in amperes) and the voltage (in volts), I can calculate the power consumption using the formula:
Power (Watts) = Voltage (Volts) x Current (Amperes)
Then my LCD screen power consumption is: 0.1545 watts.
Using Multimeter to Measure Power Consumption of RGB Lights
Measured the resistance of various components on the board to ensure there were no shorts or open circuits.
- Firstly, it's essential to select the appropriate range on the DC current setting of the multimeter. This should be based on the expected current magnitude. If you are unsure about the current range, it is a good idea to start with a larger one. This helps prevent damage to the multimeter and ensures accurate readings.
- Secondly, make sure to disconnect the circuit where the Neopixel is located. This action not only ensures your safety but also avoids any interference that could affect the measurement accuracy.
- Then, carefully connect the test leads of the multimeter in series into the circuit. The red lead should be placed precisely at the point where the current enters, and the black lead should be placed accurately at the point where the current exits. Incorrect connection can lead to incorrect readings or even damage to the equipment.
- After that, close the circuit to enable the current to pass through the multimeter smoothly.
- Next, pay close attention to observe and read the current value displayed on the multimeter. It's crucial to record this value accurately for your analysis or documentation.
- Finally, always be vigilant and avoid touching the metal parts of the test leads to prevent any potential electric shock. When measuring the current, ensure that the test leads are firmly and correctly connected to the to the circuit, and the range is selected appropriately to obtain precise and accurate measurement results. If you have any uncertainties or are unfamiliar with the operation, it is highly recommended to seek assistance from a professional to avoid any mistakes or risks.
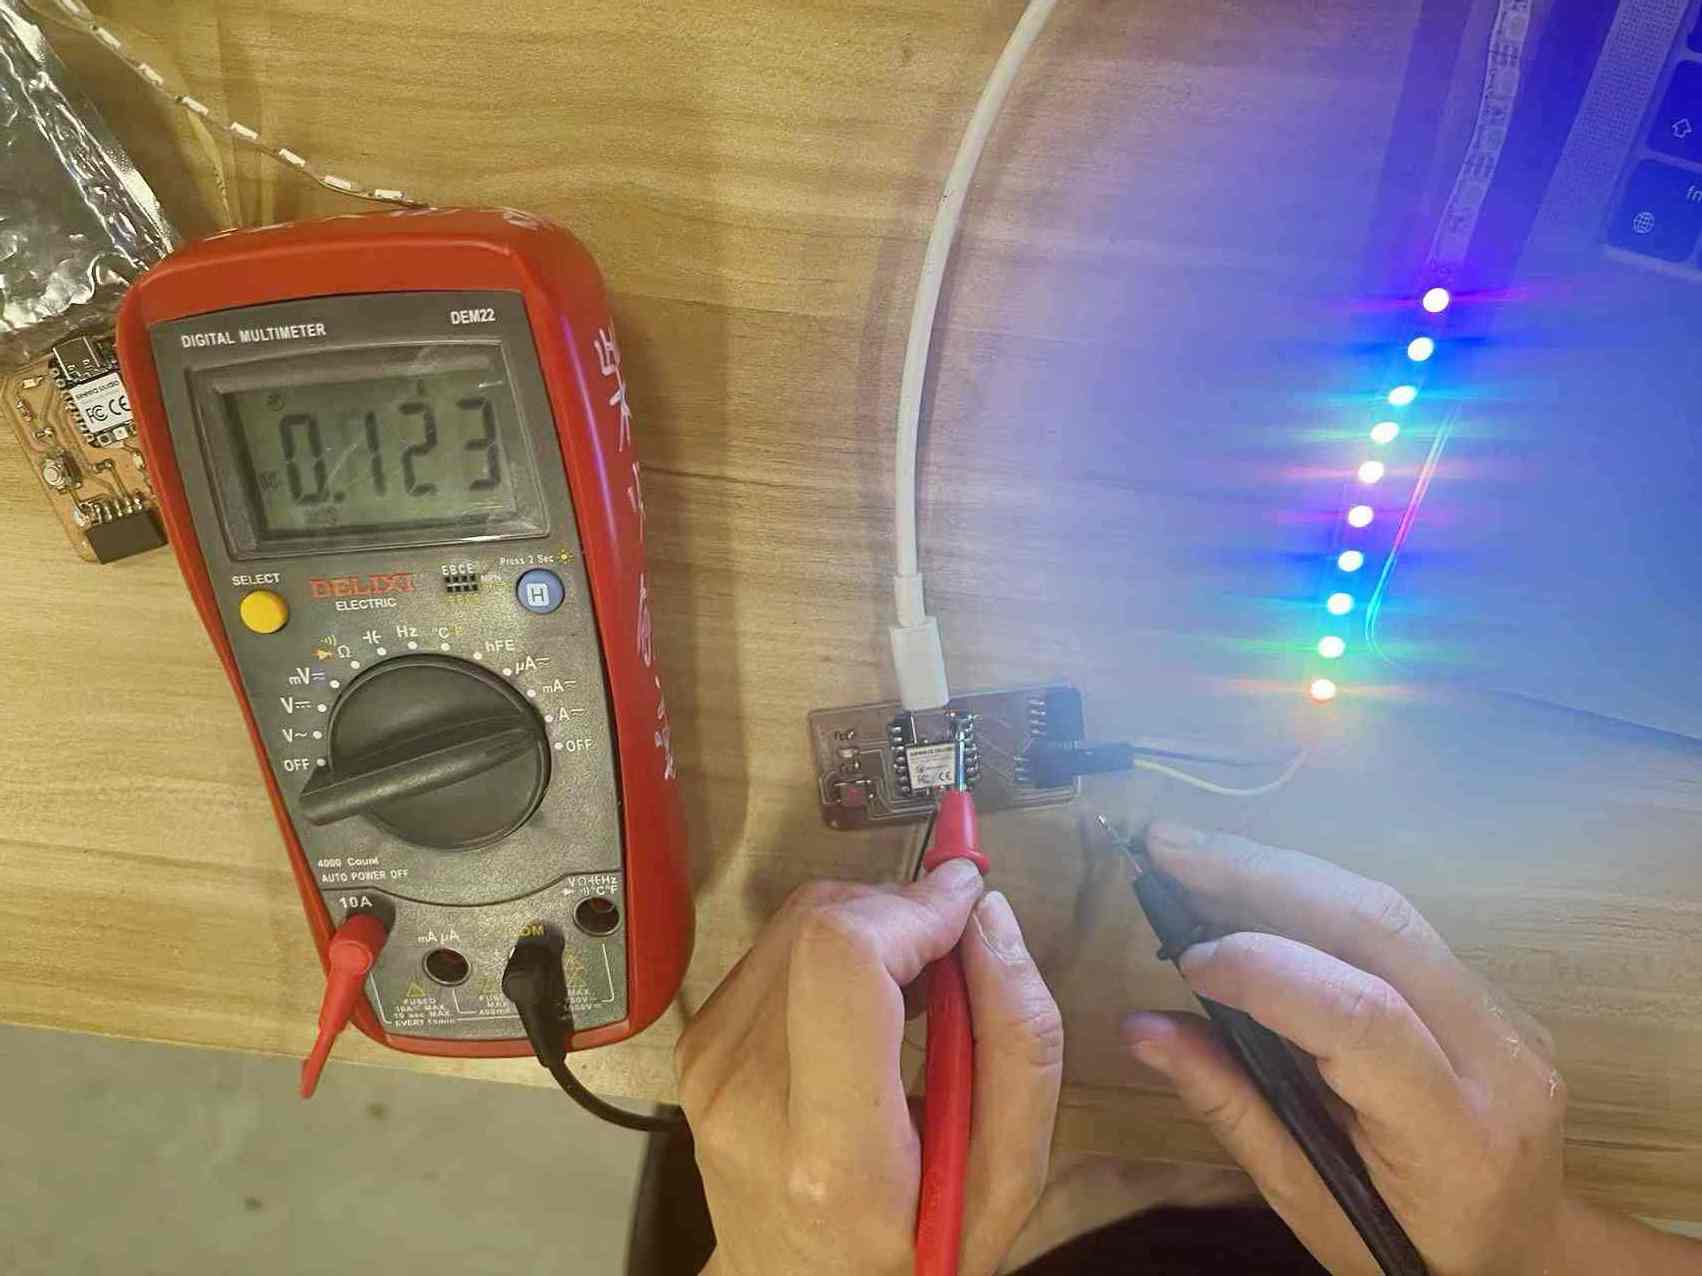
Voltage and Current of Neopixel lighting up 10 LEDs.
Voltage and Current of Neopixel lighting up 30 LEDs.


Voltage and Current of Neopixel lighting up 60 LEDs.


Calulation and conclusion
Calculate the power consumption situations of Neopixel lighting up 10, 30 and 60 LEDs.
- 10 LEDs : 5.1V * 0.123 A = 0.6273 W
- 30 LEDs : 5.1V * 0.250 A = 1.275 W
- 60 LEDs : 5.1V * 0.447 A = 2.4327 W
Based on the measured power consumption data for Neopixel lighting up different numbers of LEDs, it is evident that the power consumption increases as the number of LEDs increases. For 10 LEDs, the power consumption is 0.6273 W. When the number of LEDs rises to 30, the power consumption escalates to 1.275 W. And for 60 LEDs, the power consumption reaches 2.4327 W. This indicates a direct relationship between the number of LEDs and the power consumed. It is crucial to consider these power consumption values when designing circuits and power supply systems to ensure efficient and stable operation.