CAD in 2D & 3D,
File Compression
Assignment 2 - Fab Academy Barcelona

This week I:
CAD Software
I've been using 2D CAD software for years
I used Illustrator to create a rough mockup of my final project last week. I used to be pretty into graphic design, and so I have some limited experience with Illustrator and Photoshop. I also incidentally have a current Illustrator license because I used it to design a tattoo a few months back (which is now also on my arm).Note: I adapted ChatGPT code to place these pictures next to each other.
I made a pretty simple sketch in Illustrator - using curved paths to create connecting lines and bracelet to be worn on the hand and shapes (triangles, circles) to indicate where electronics and sensors might be. I used a image of a hand I found online to model around.
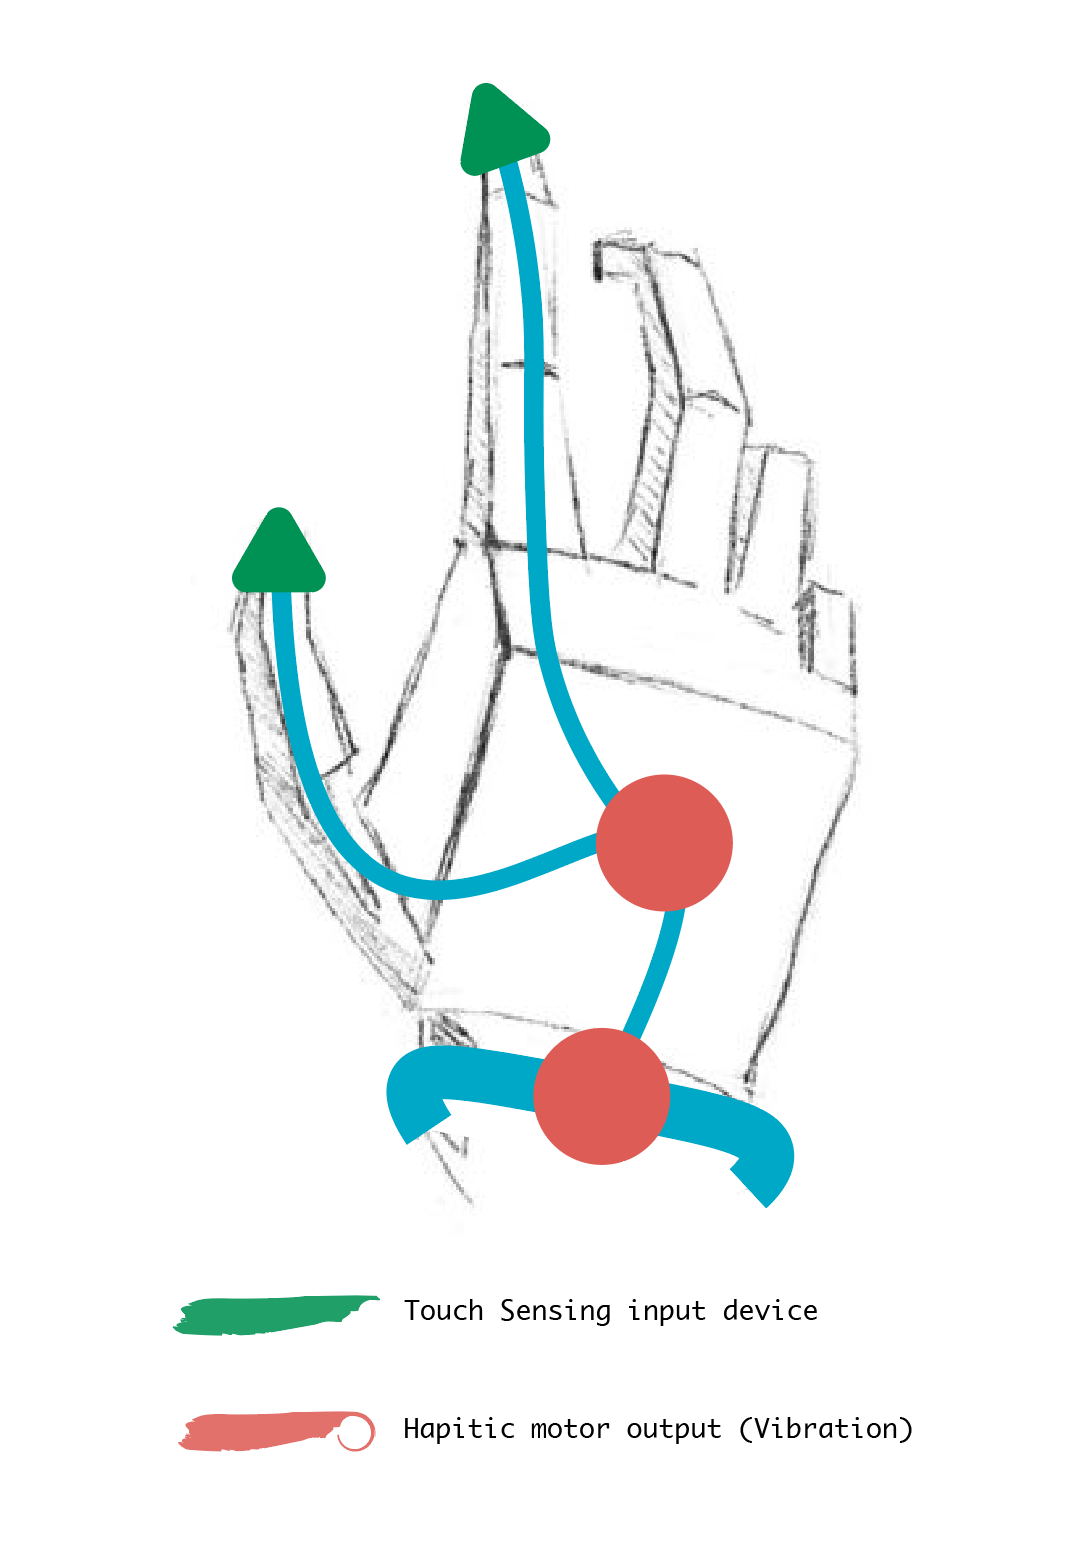
Working in Illustrator
SCREENSHOT
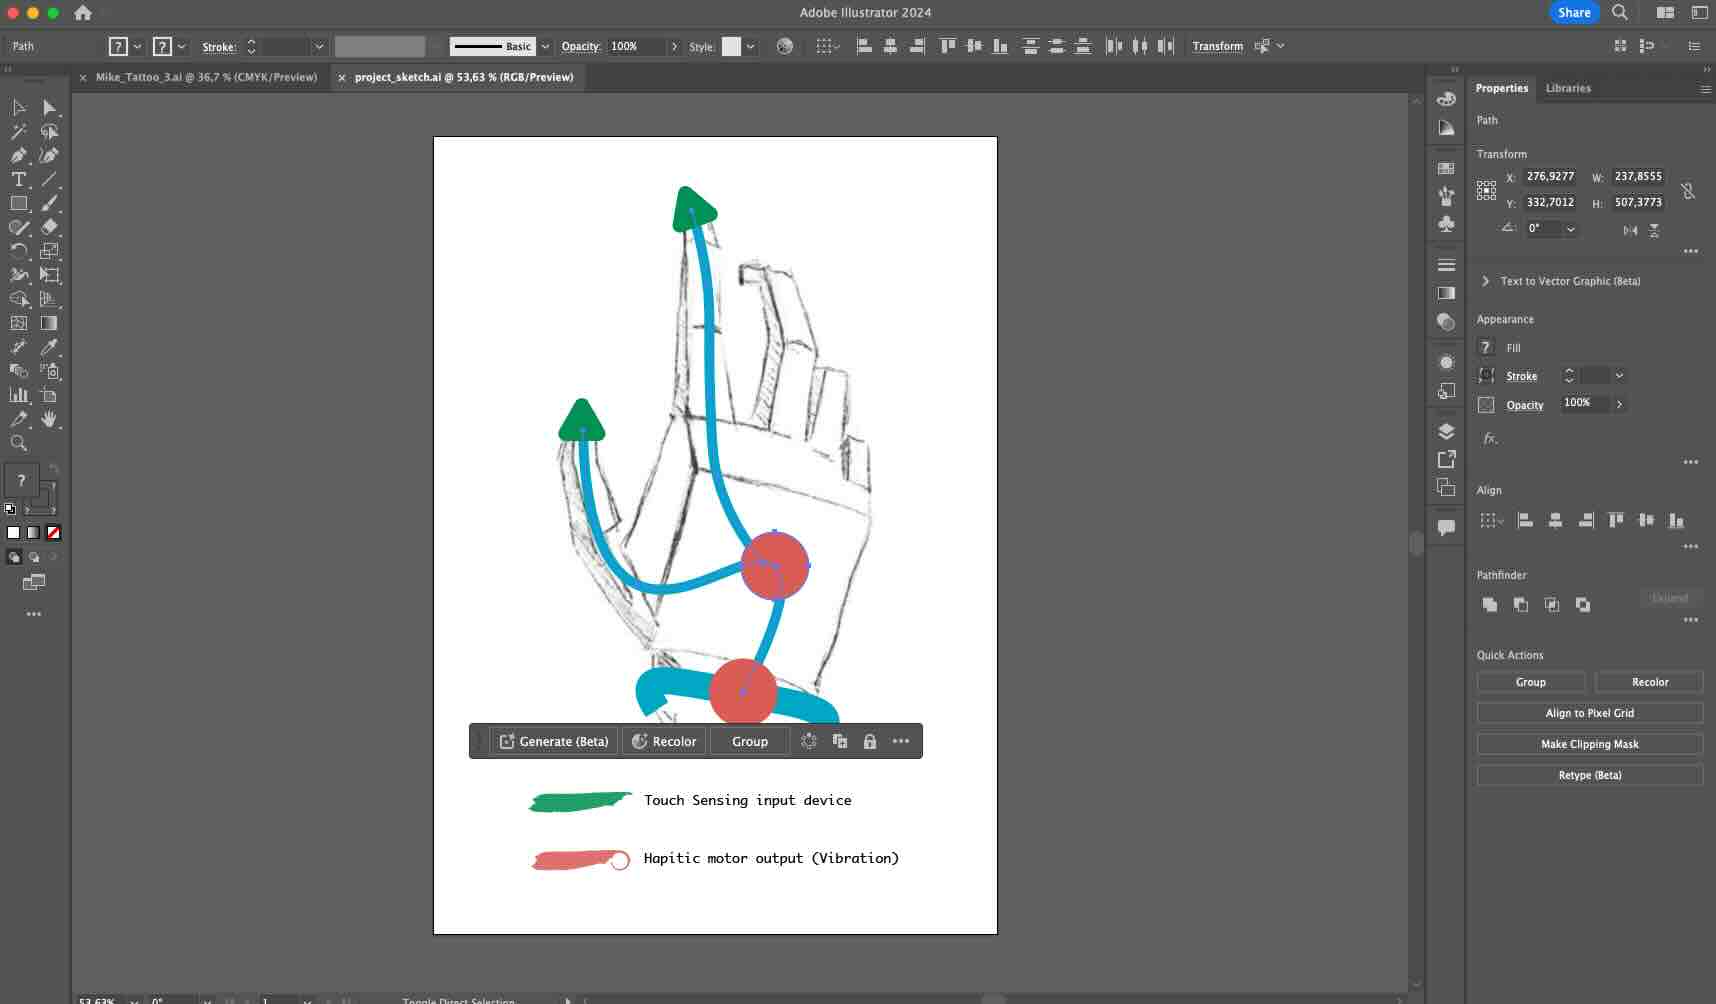
FINAL PROJECT SKETCH
TATTOO
I was overwhelmed by all the 3D CAD software options
In our local class in Barcelona we had a crash course in TinkerCAD, Blender, Rhino, And Fusion 360. I had to leave class early on Thursday and so missed the Fusion overview, but downloaded it and tried it out on my own.
Honestly, while the crash course was helpful, I didn't find any of the programs to be a clear standout. I did however like the fact that Rhino made its commands easily searchable and made it very easy to enter values directly (i.e. just type!) rather than having to use the mouse too much.

I also went away skiing this weekend in Switzerland. It was a lot of travel to get to the mountains and harder to work while plane and training than I imagined (skiing was still fun tho! Zermatt is beautiful, it was my first time there). Getting everything done was a real exercise in supply-side time management.
I decided to use Rhino given feedback & some quick testing
I'm not yet sure what my final project *should* look like - I need first decide on a use case and understand better the types of input and output devices I'll need/use. That said, I know they will be worn on the body, so it's important to have a software that is good at modelling organic shapes. And ideally one that can take 3D scans of organic shapes.
I described these requirements to the local teachers in Barcelona, and they recommended Rhino and Blender for organic modelling and 3D scanning (over Fusion and others). This was corroborated by Google and Reddit. For example:
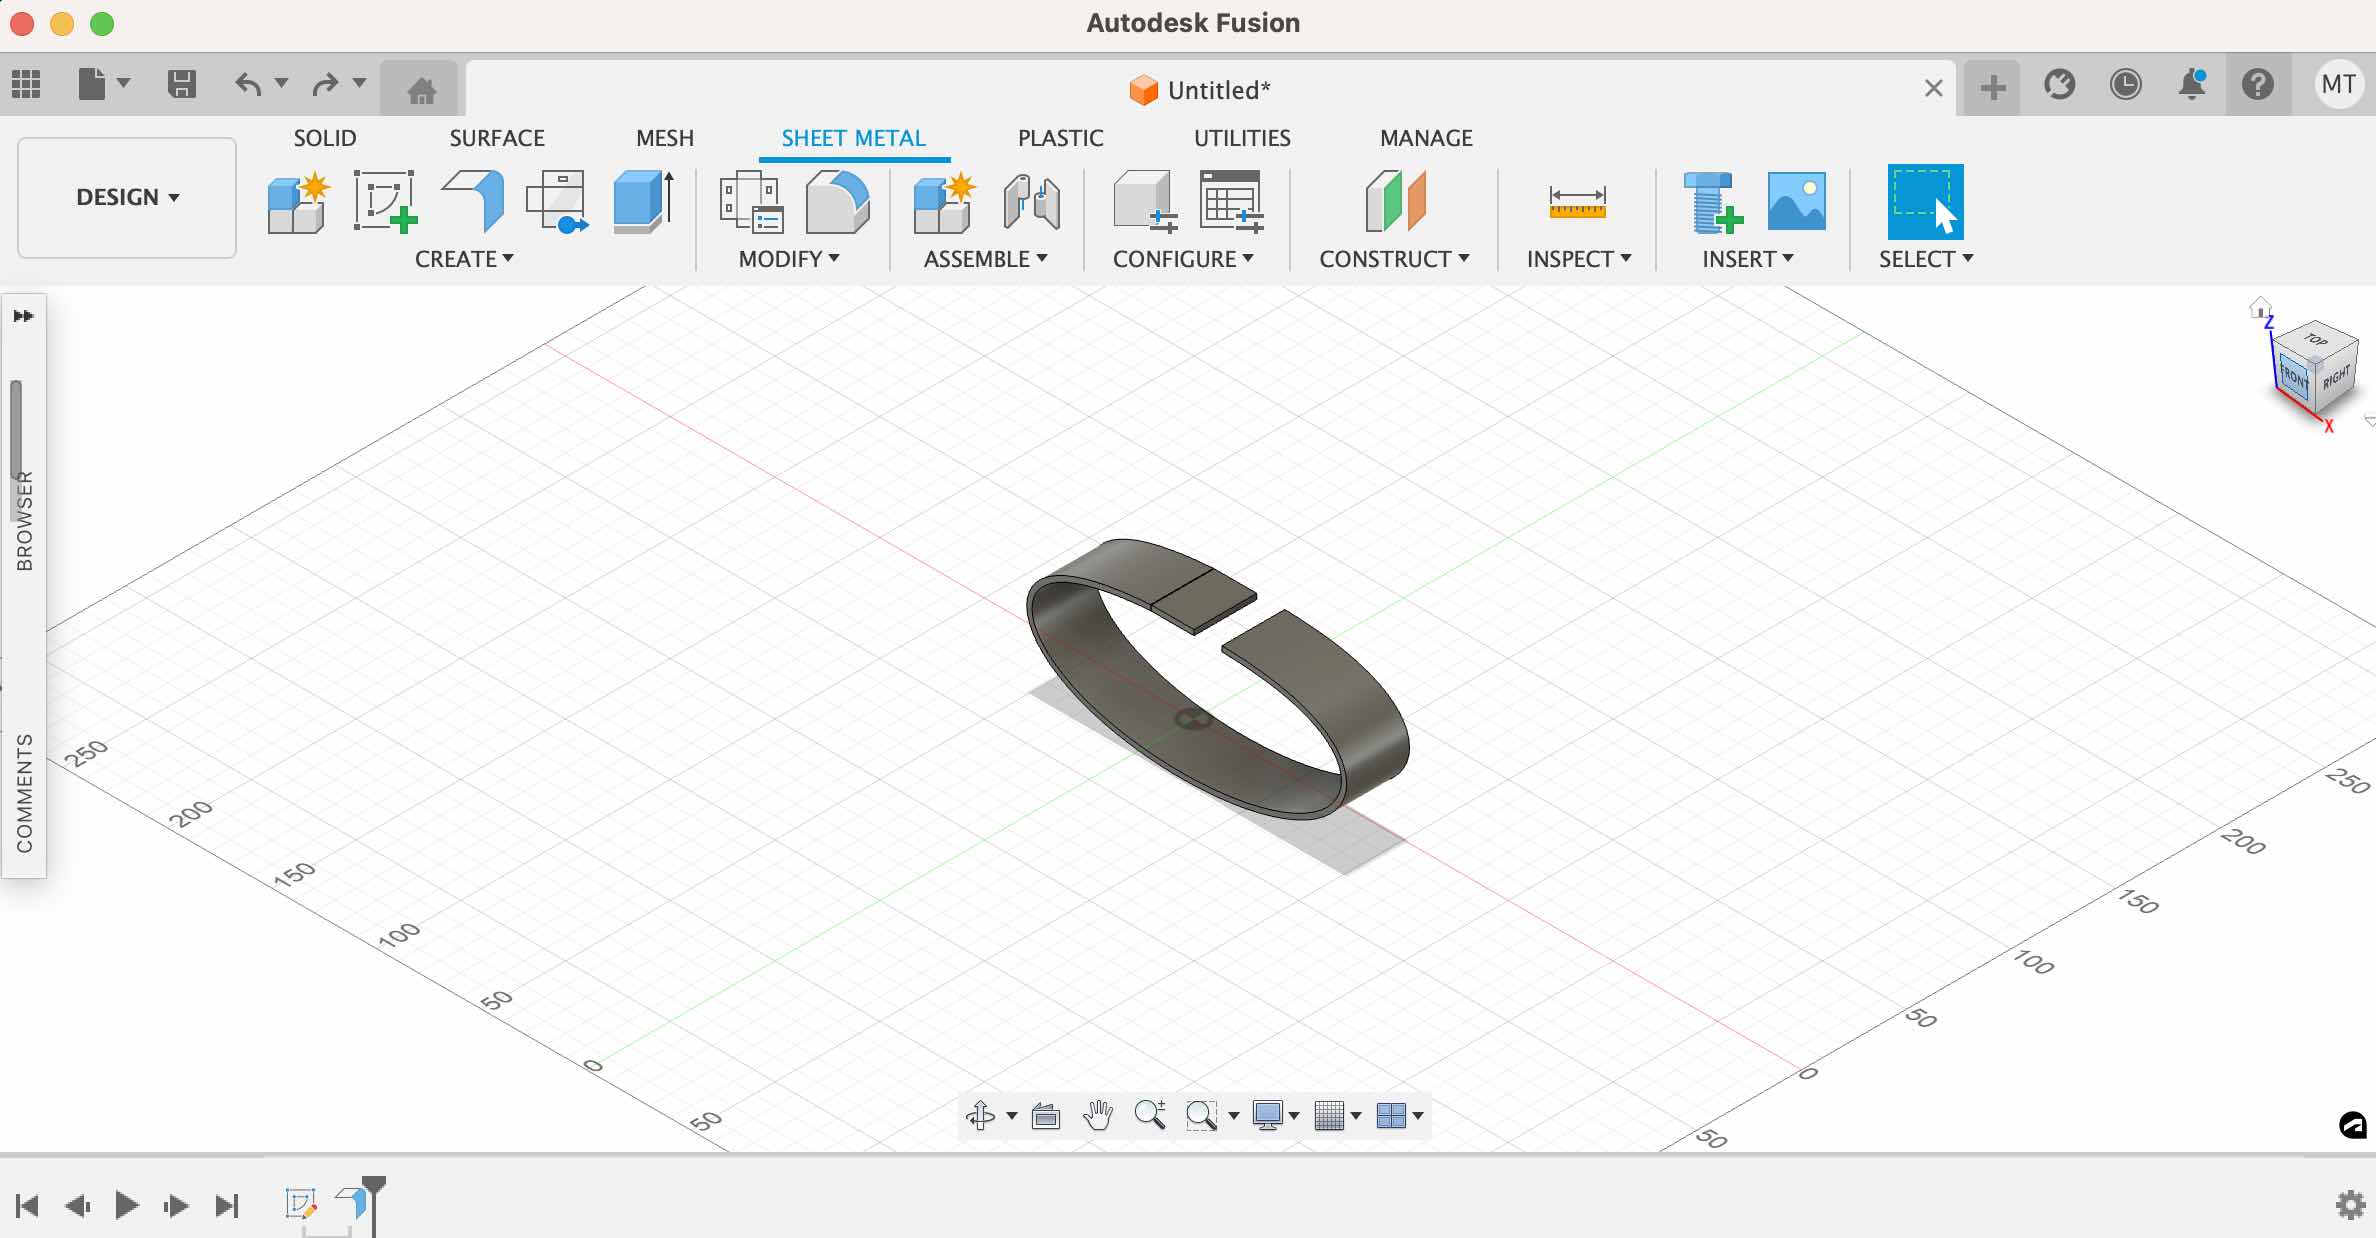
I discounted Blender because I found it less user friendly than Rhino (this was also corroborated by Google & Reddit - Rhino is apparently standard in Still, I tried out both software to make a simple bracelet. To do this I searched online youtube tutorials to make braclets for both (as a proxy for starting the wearable I plan to make). See screenshot from Fusion below. I was also encouraged that I liked the design in the Rhino tutorial more.
FUSION ATTEMPT
Final Project 3D Draft with Rhino
I adapted from a youtube tutorial to design a bracelet
I found an interesting tutorial to make an "organic bangle" bracelet on Youtube. I used this as the basis for my design. Note: I used ChatGPT to generate code to embed the Youtube video.
I started by creating a surface for the bracelet using the "sweep" function, then creating a flat "unwrapped" surface of the same dimensions to make the design. I placed a circle which was later extruded to represent a haptic motor output device. The curves holding it to the edge of the bracelet were based on the design recommended in the Youtube video. To make these 3-dimensional I converted the curves and the outer edge to piping. I extruded the circle in both z-directions. I then converted everything to a mesh and used the Smooth function to, well, smooth the edges :).
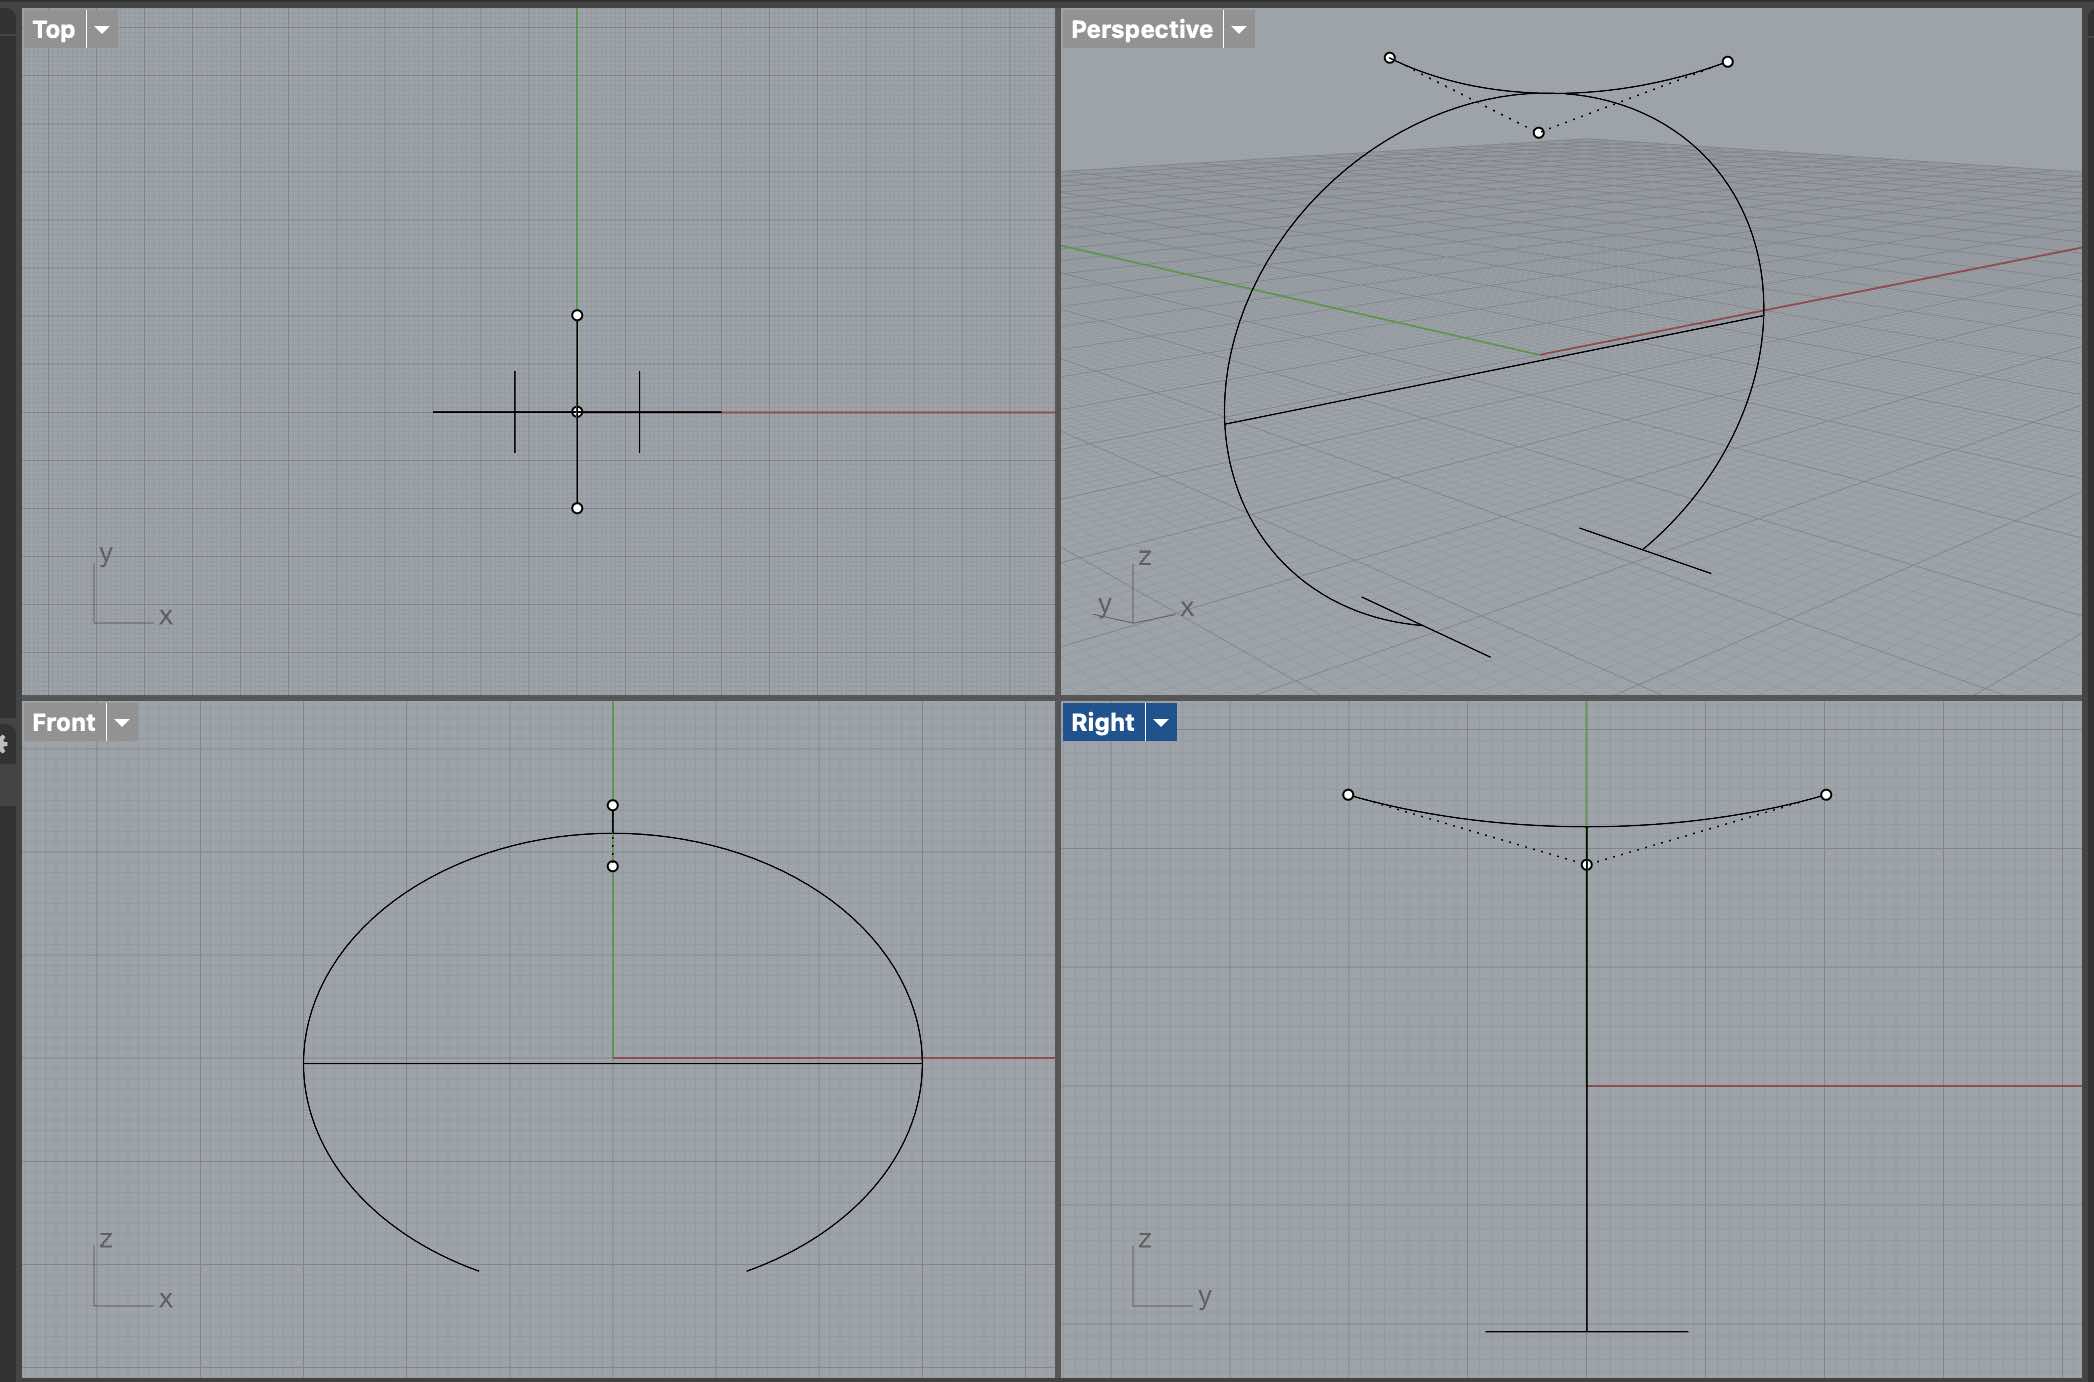
CREATE WIREFRAME
SWEEP TO FORM BRACELET SHAPE
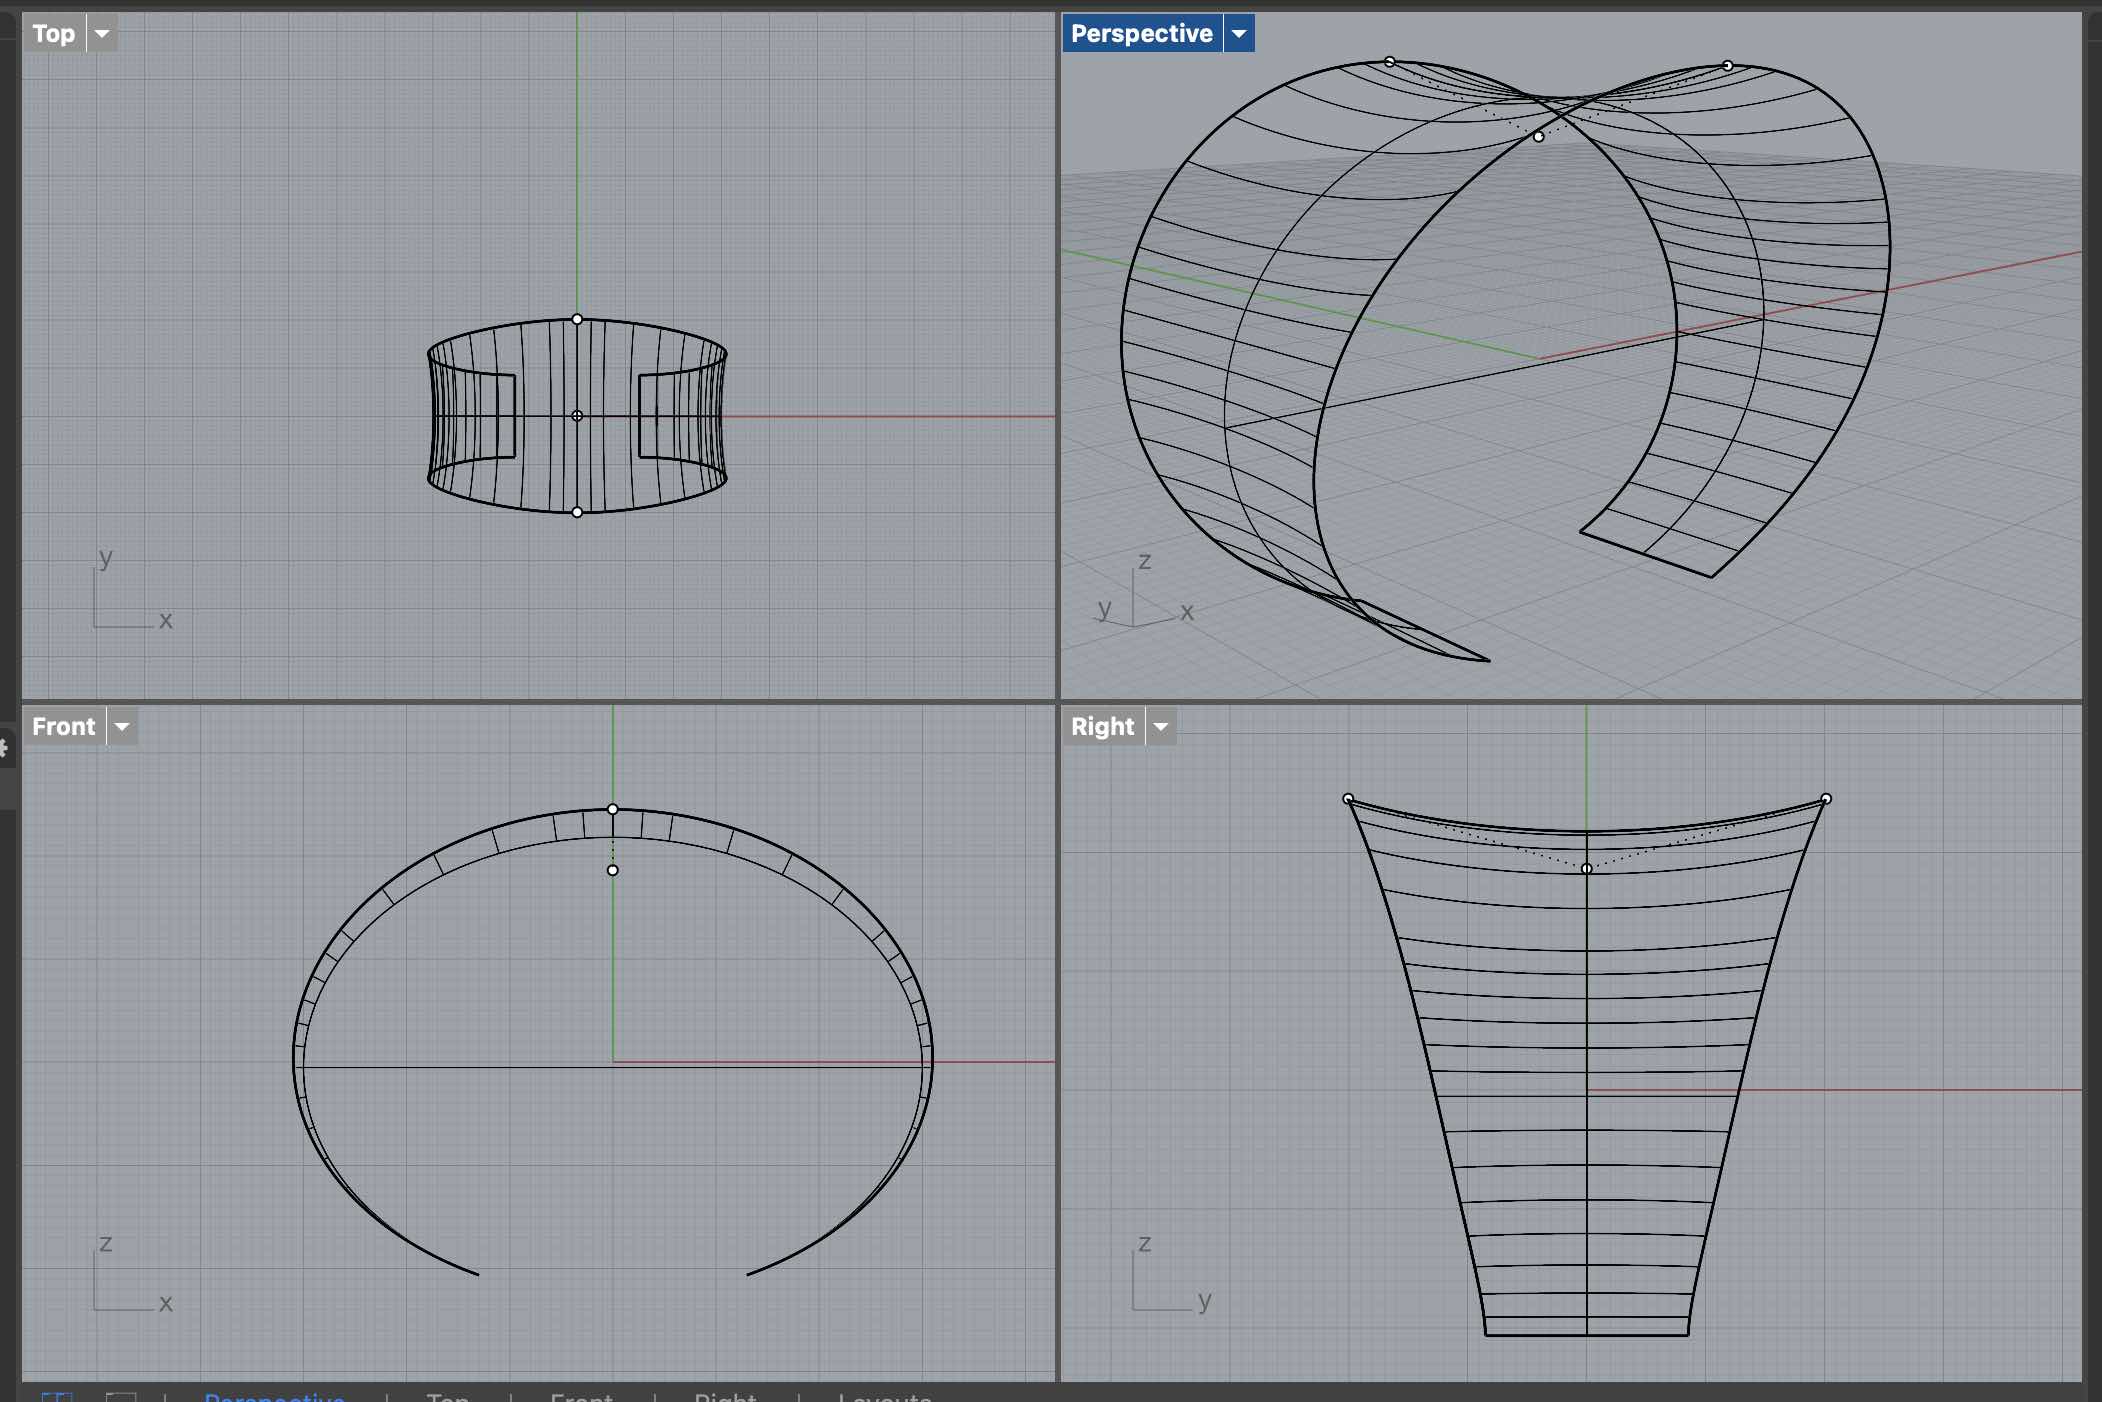
USE UV CURVE TO UNWRAP & CREATE BRACELET DESIGN
CONVERT TO MESH AND JOIN
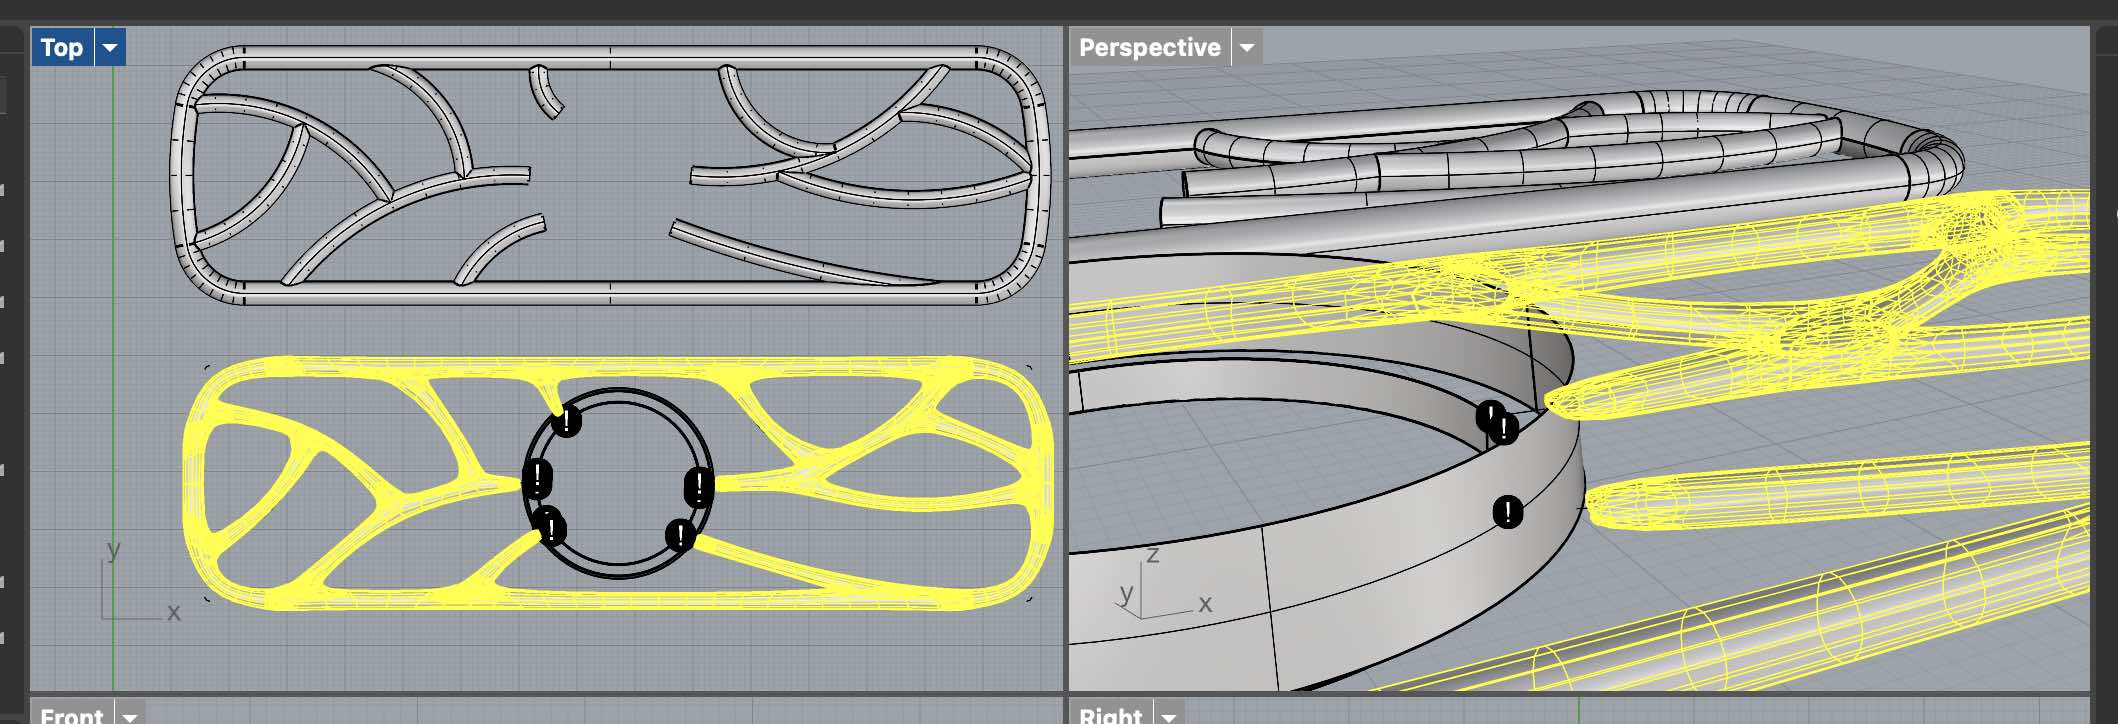
WRAP TO FORM BRACELET
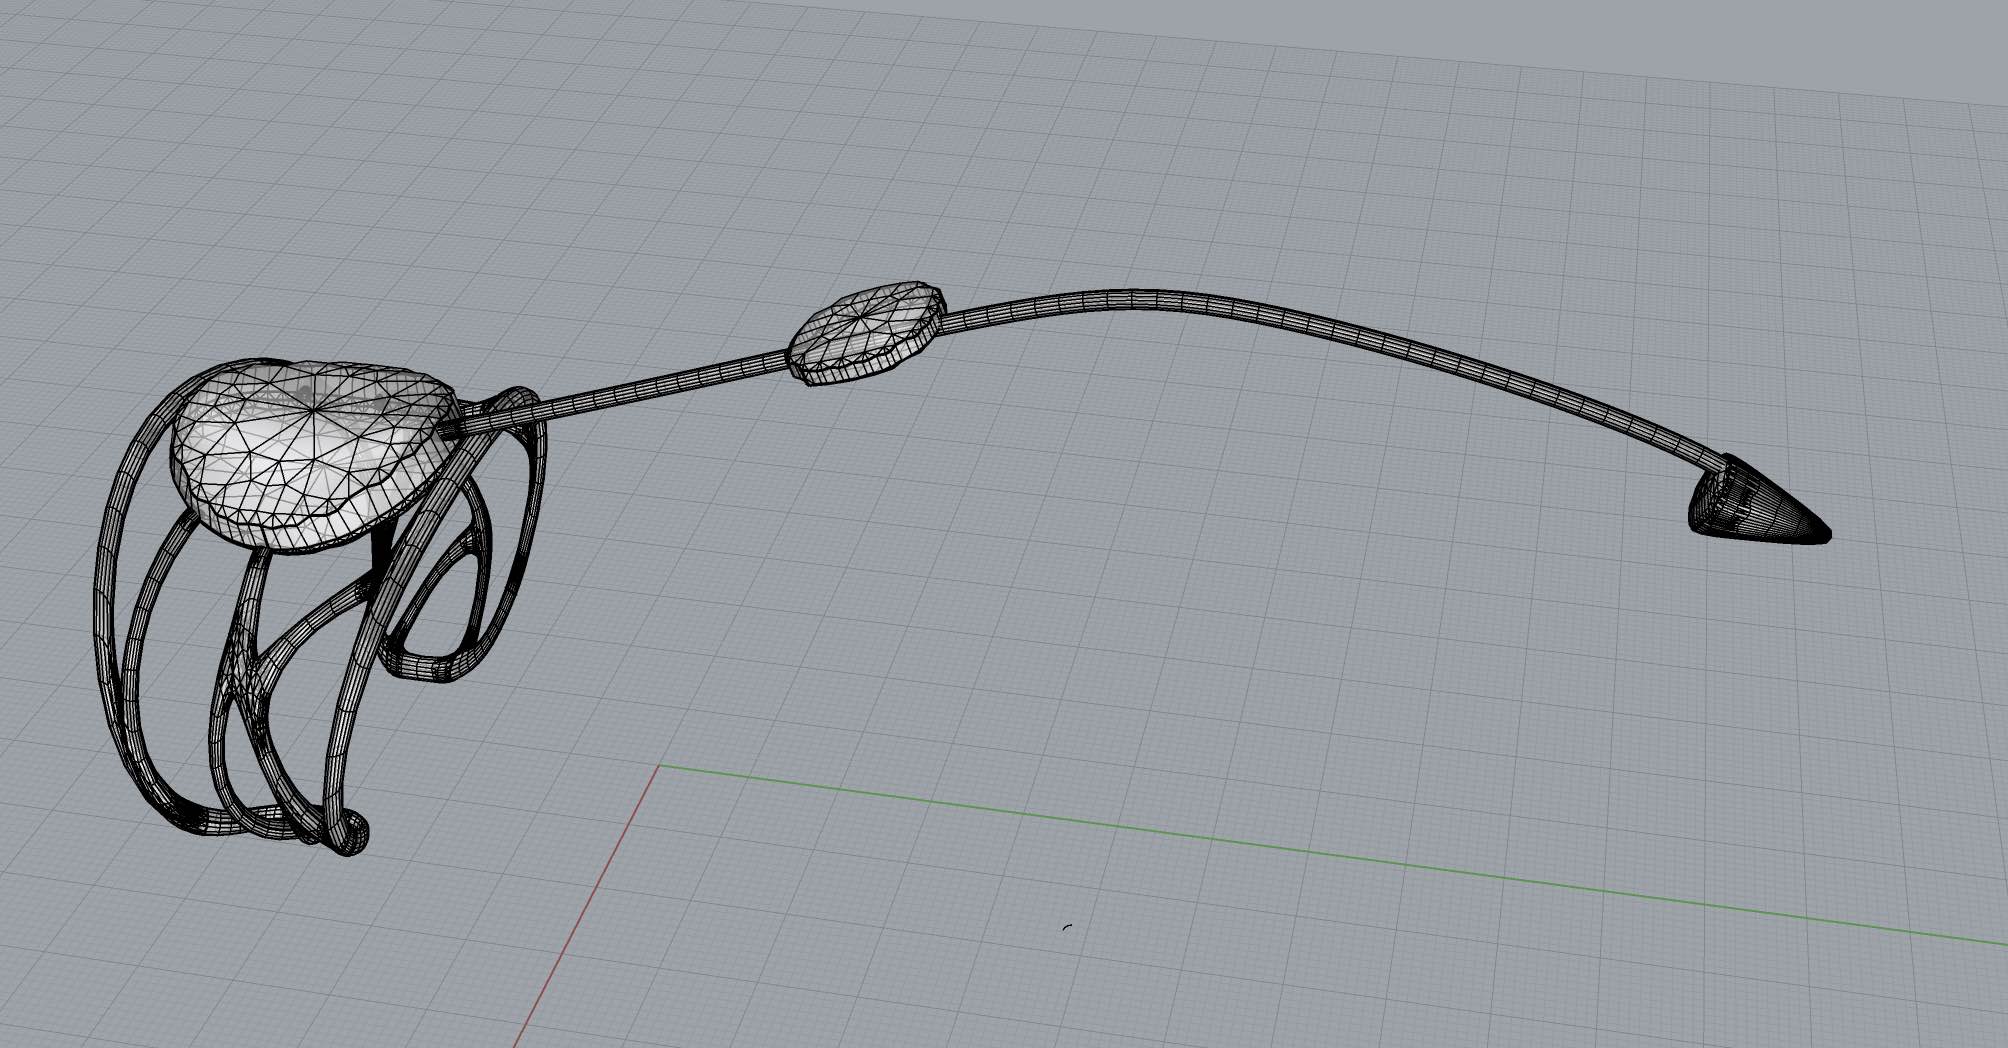
I then added a basic mockup for sensors on hand and finger
Ultimately it's likely I'll have sensors on multiple fingers, I just made a basic mockup of an extension of the bracelet piece over the hand and a single finger. In the future I'd like to make this more beautiful, with organic lines like the bracelet. I achieved the basic mockup by creating a curve (while snapping to a plane) and using it to create a pipe. For the fingertip piece I used a cone and for the sensor on the back of the hand. For the output device on the back of the hand I again extruded a circle. Finally I turned everything into a mesh and joined it together.
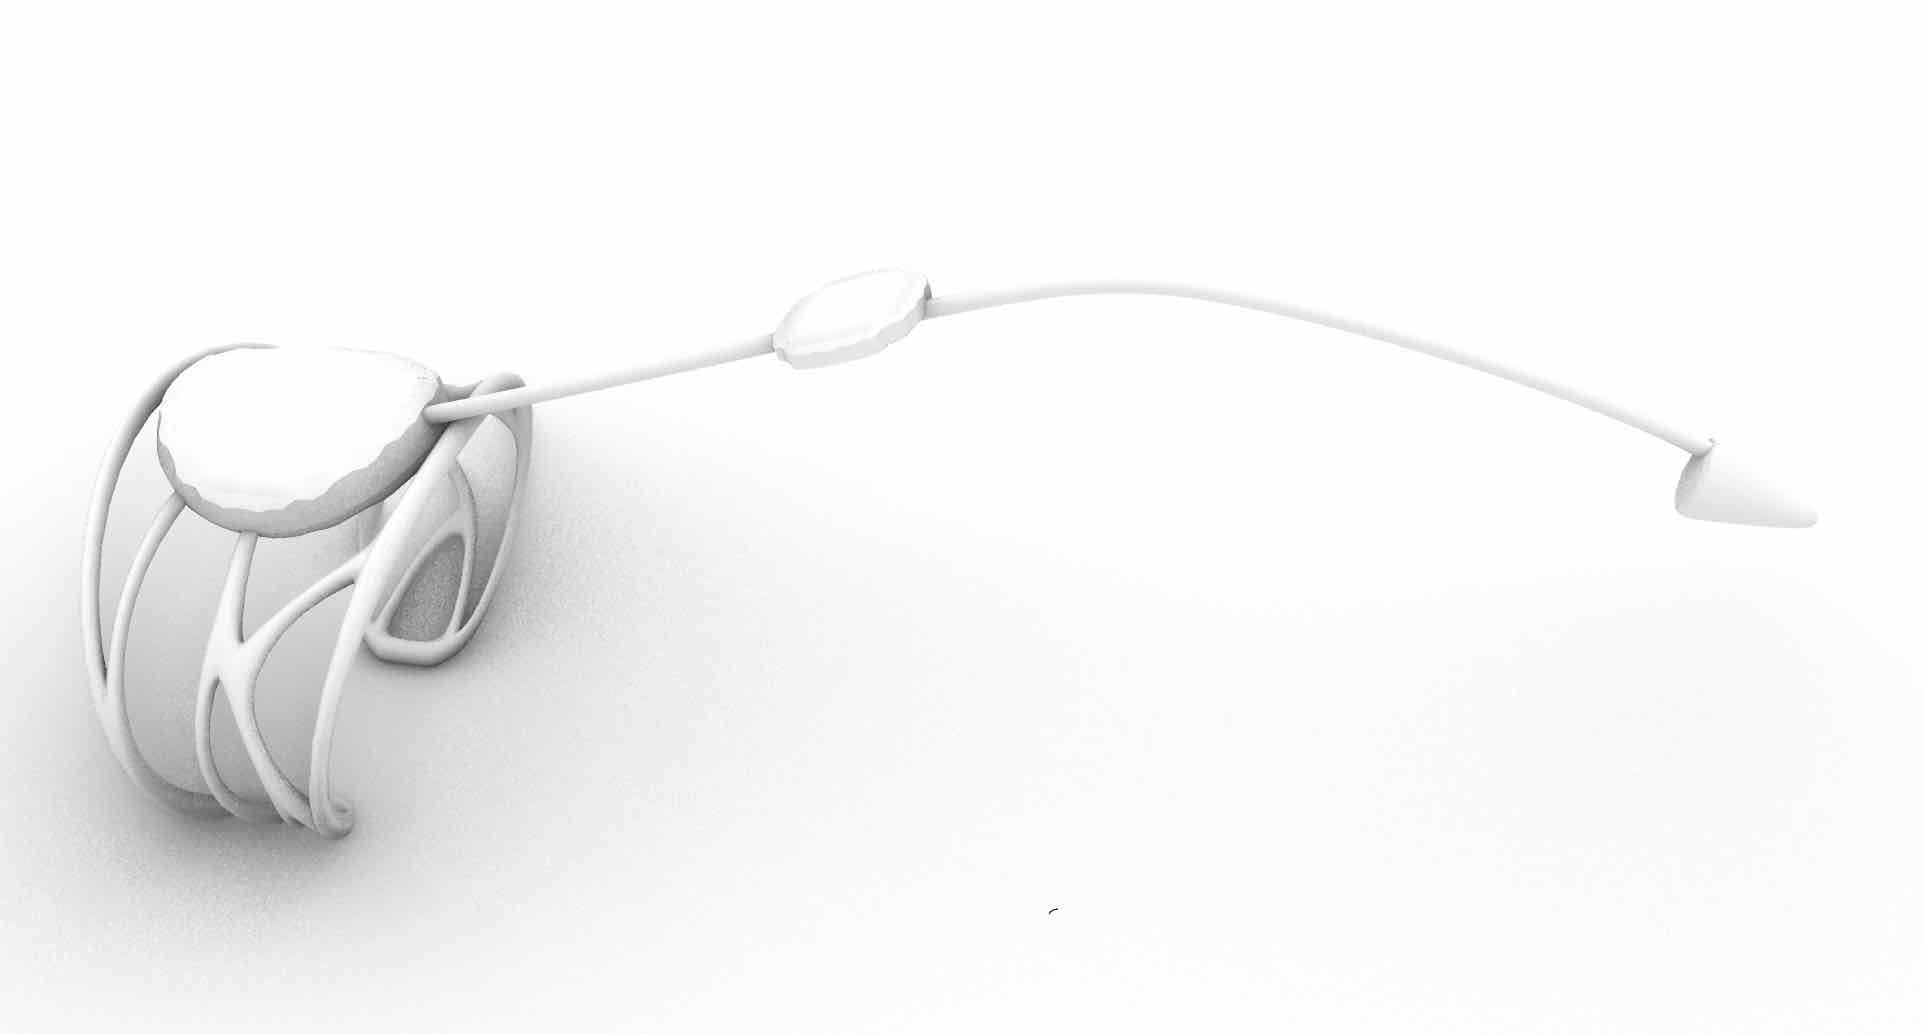
Here's the final product
WIREFRAME GHOSTED VIEW
RENDERED VIEW
Design Files
File Compression & Website Update
Honestly, I ran out of time here and so need to go back and further compress and possibly convert image files. For now I used mac screen recordings to create movies. I then trimmed and compressed them using Quicktime, but they were still large and I also wasn't able to get the .mov files playing in my browser. I downloaded ffmpeg and converted to mp4s, this significantly reduced the video size and got the videos playing on my site.
UPDATE: My push was failing so I HAD to compress files further. I also sped up two of the videos to improve watchability and reduce size. Finally I converted large PNG files to JPGs simply by exporting in Preview on Mac.