Git, HTML, and Project Planning
Assignment 1 - Fab Academy Barcelona

This week I:
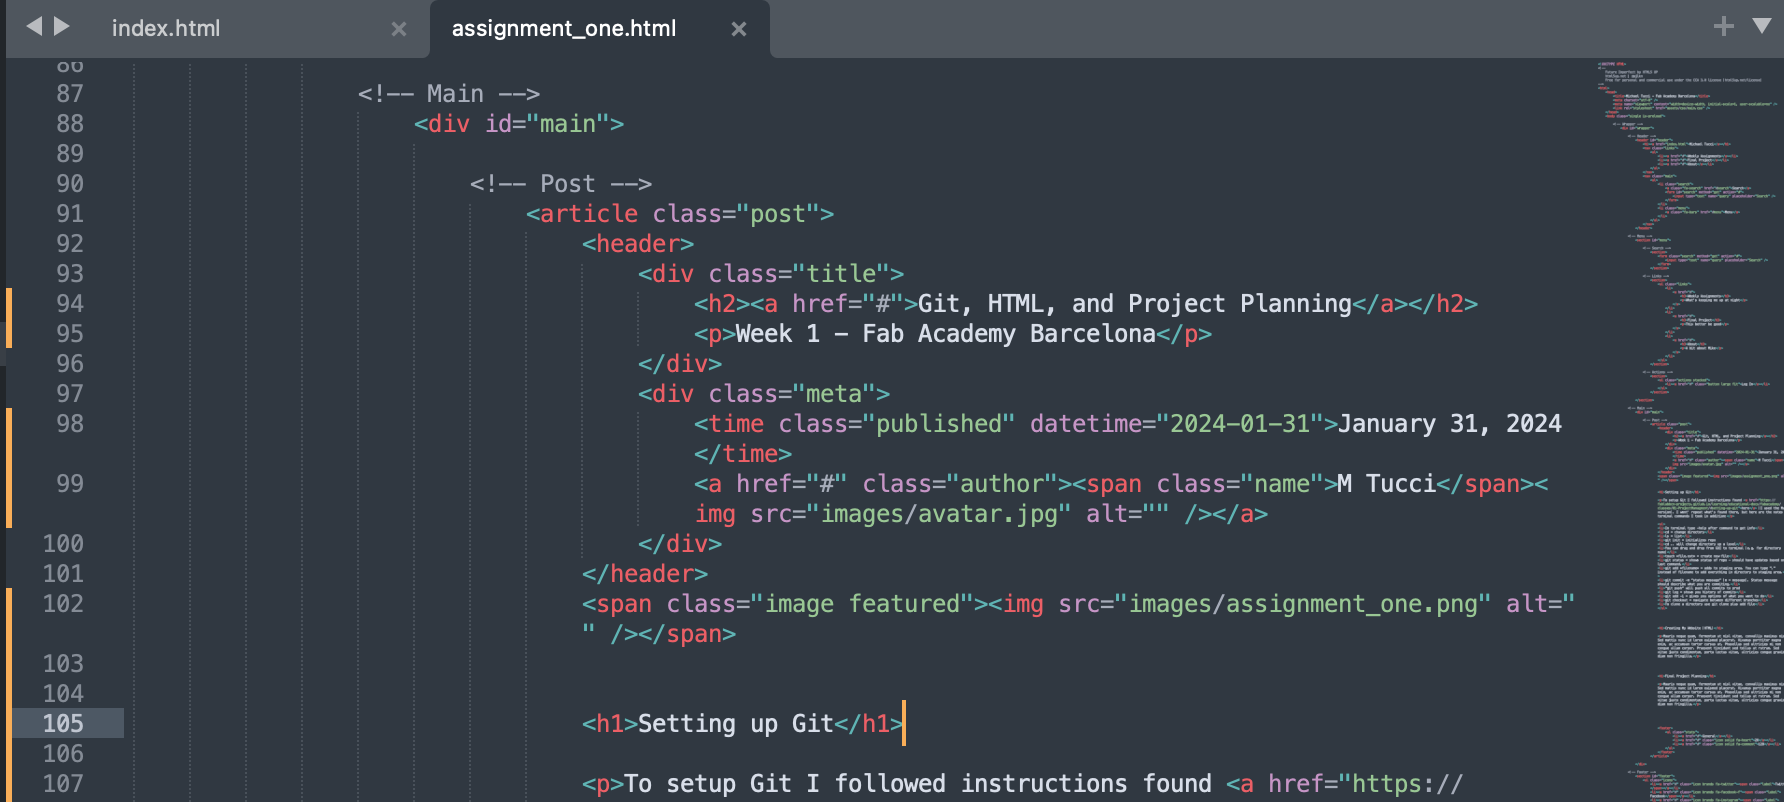
Setting up Git
Step one was figuring out how to access the terminal on my mac (spoiler: you just search for "terminal" - you can use search with spotlight, but I actually use a program called Alfred for search). This is the command line prompt interface used to install and setup git and other software.
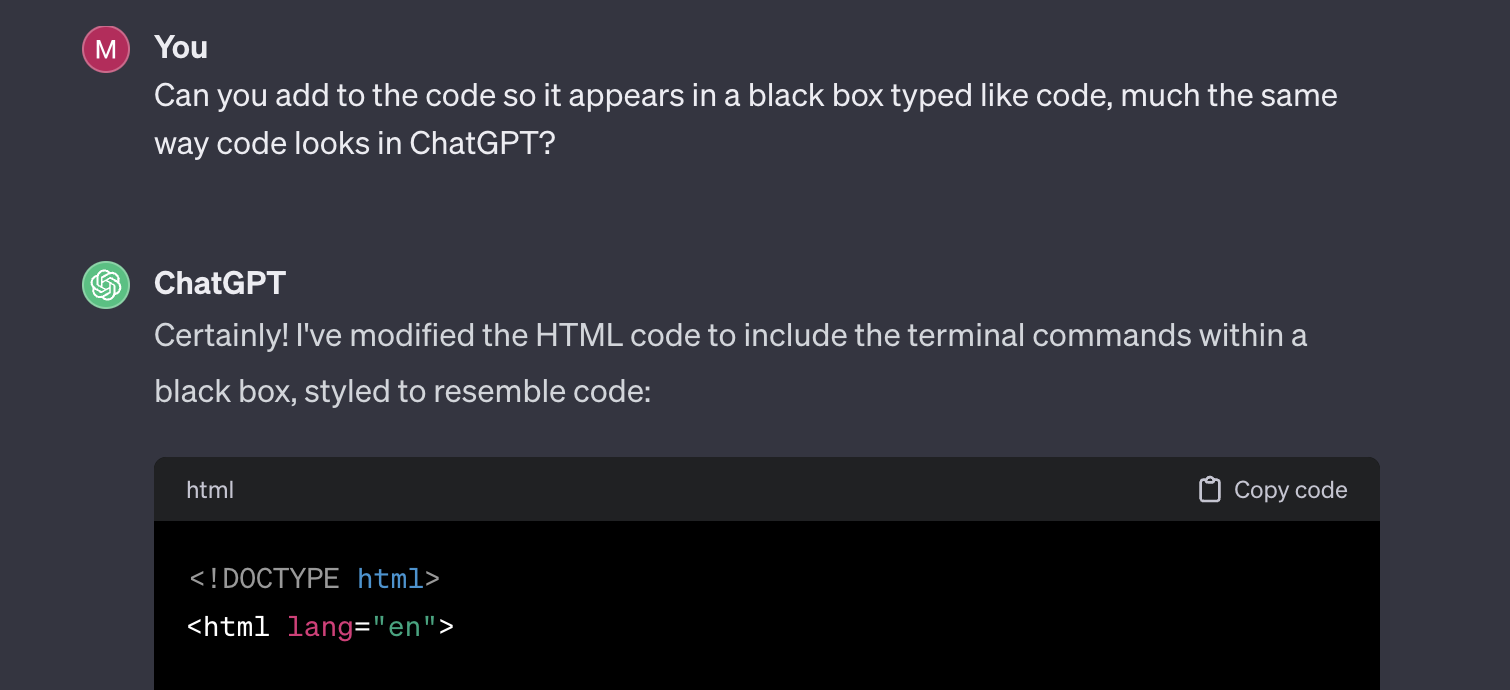
To setup Git I followed instructions found here (I used the Mac version, including installing homebrew). I won't repeat what's found there, but below have included notes on terminal commands I took in addition (most can be found in the linked page as well, but the ones included below were the most useful). I used Chat GPT to clean this up, convert to HTML, and add formatting:
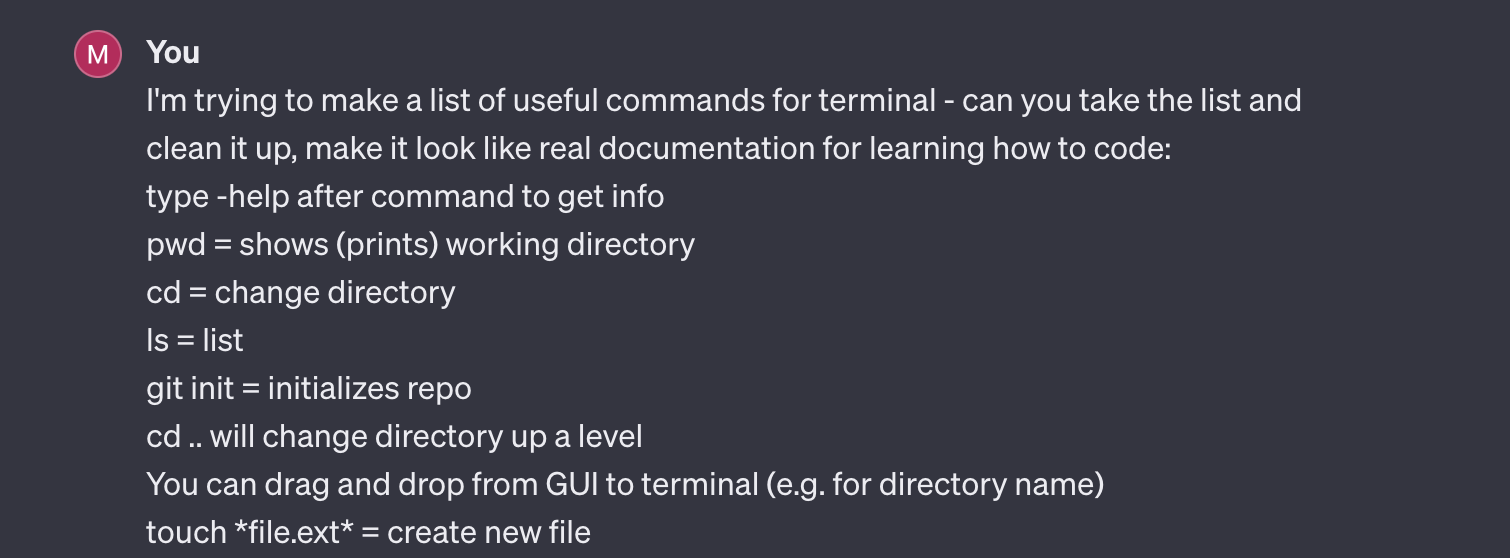
Chat GPT Code Prompts
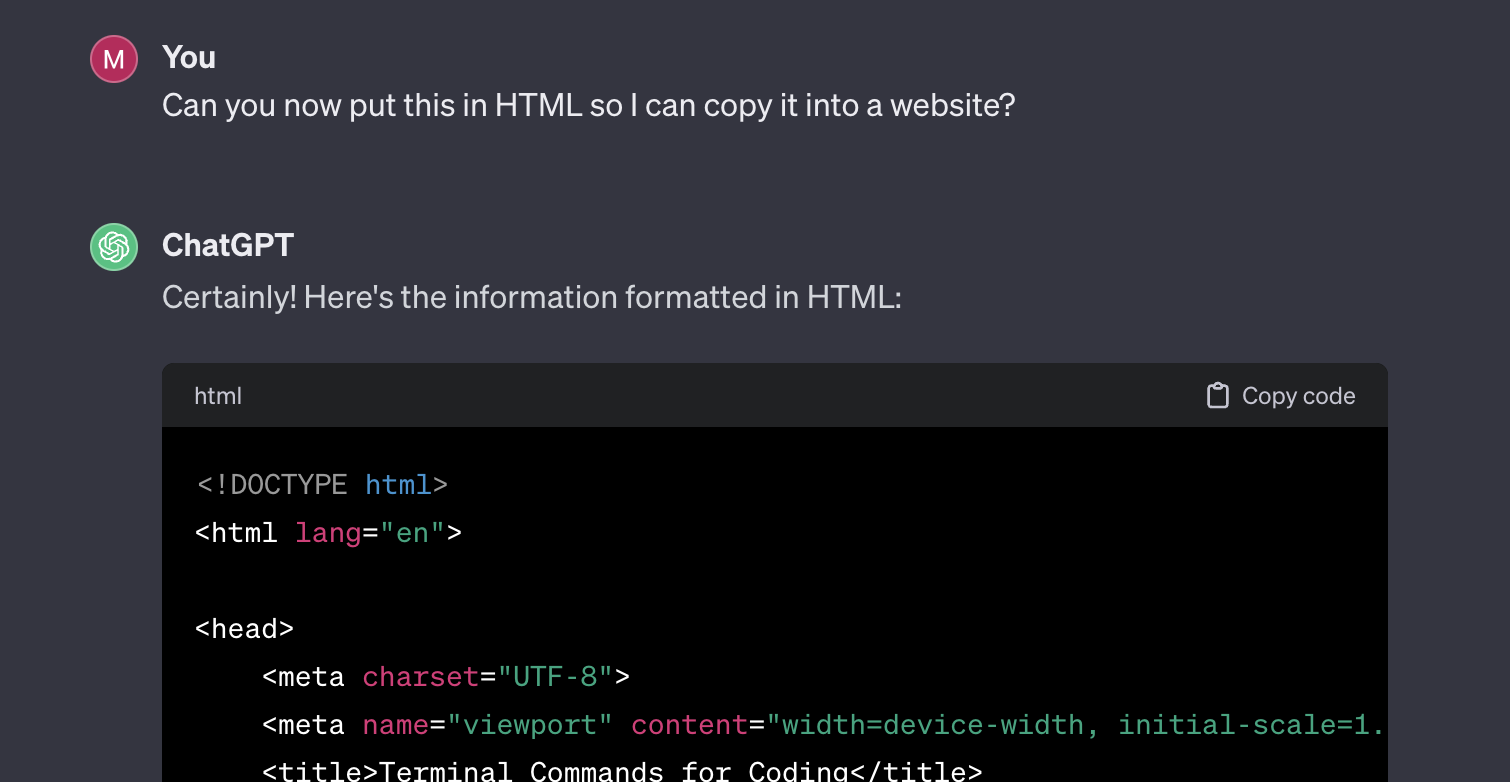
Terminal Commands for Coding
Basics
pwd: Print working directory
Type-helpafter the command to get more information.
cd: Change directory
Type-helpafter the command to get more information.
ls: List files and directories
Type-helpafter the command to get more information.
Git Commands
git init: Initialize a new repositorygit status: Show the status of the repository
Should have updates based on the last command.
git add <filename>: Add a specific file to the staging area
Use.instead of<filename>to add everything in the directory to the staging area.
git commit -m "<status message>": Commit changes with a descriptive status message
Use-mfor the message; the status message should describe the changes being committed.
git push: Push all commits to the production branchgit log: Show the history of commitsgit add -i: Interactively choose what changes to commit
Provides options for selective staging.
git checkout: Navigate between different branchesFile Manipulation
touch <file.ext>: Create a new fileAdvanced Git
git clone <repository-url>: Clone a directory from a remote repository
Use thegit clonecommand followed by the repository URL.
Additional Tips
You can drag and drop from the GUI to the terminal for directory names.
Creating This Website (HTML)
I needed to decide how to build it. Options were:
- Write HTML myself
- Download a template
- Use markdown and static site generator
Decision: I went with a template
- I’ve used HTML before (a long time ago) to build a site from scratch, so this wasn’t new to me, I wanted more of a challenge
- I’ve interacted with templates but they’ve always felt overwhelming, I thought I’d learn a lot by being forced to figure one out
- Static site generator was interesting (and new!) but felt I wouldn’t learn as much that was generalizable - HTML is the common language of the web so more useful to code in HTML directly
I needed to decide which template to use - I was overwhelmed
- Instructor recommended http://html5up.net - beautiful free templates!
- I was concerned that most only had homepages with fancy pop-up windows. They didn’t include stand-alone pages that could be added / adapted for weekly assignments.
- I went down a rabbit hole searching for other blog or portfolio templates but found it VERY overwhelming - many of the templates ultimately required you to pay or subscribe to download.
- Finally I went where I usually go when I feel overwhelmed by google: Reddit!
- HTML5 UP was also recommended there. So I went back and found one of the templates with a stand-alone page in addition to the homepage - Future Imperfect
I needed to implement the template
- Again overwhelmed by all these files in a folder on my computer, I asked fellow american-barcelona faber Tony (who is an engineer) how I get these into git.
- He suggested playing around with the index file in the downloaded template to make sure I could use as planned. I did this and tested locally - it seemed to work! So I copied the files over to my local repo (is this right word?)
- Side note: also on tony’s recommendation, I downloaded Sublime as a text editor to make edits
Finally I edited these and pushed to prod. I also played around with using ChatGPT to write some code as shared above.
- To edit the template I used the main template page as my index. I updated the post on the main page to link to the first assignment.
- I then used the static single page (essentially a post) as the basis for my assignment one page.
- Editing was fairly straight forward, updating text and playing around with different style elements including creating lists (both ordered and unordered, trying out different header styles, and reducing the width of the post to improve readability.
- For more complicated updates I experimetned using ChatGPT (again, as shared above).
Adding to git

Commit changes
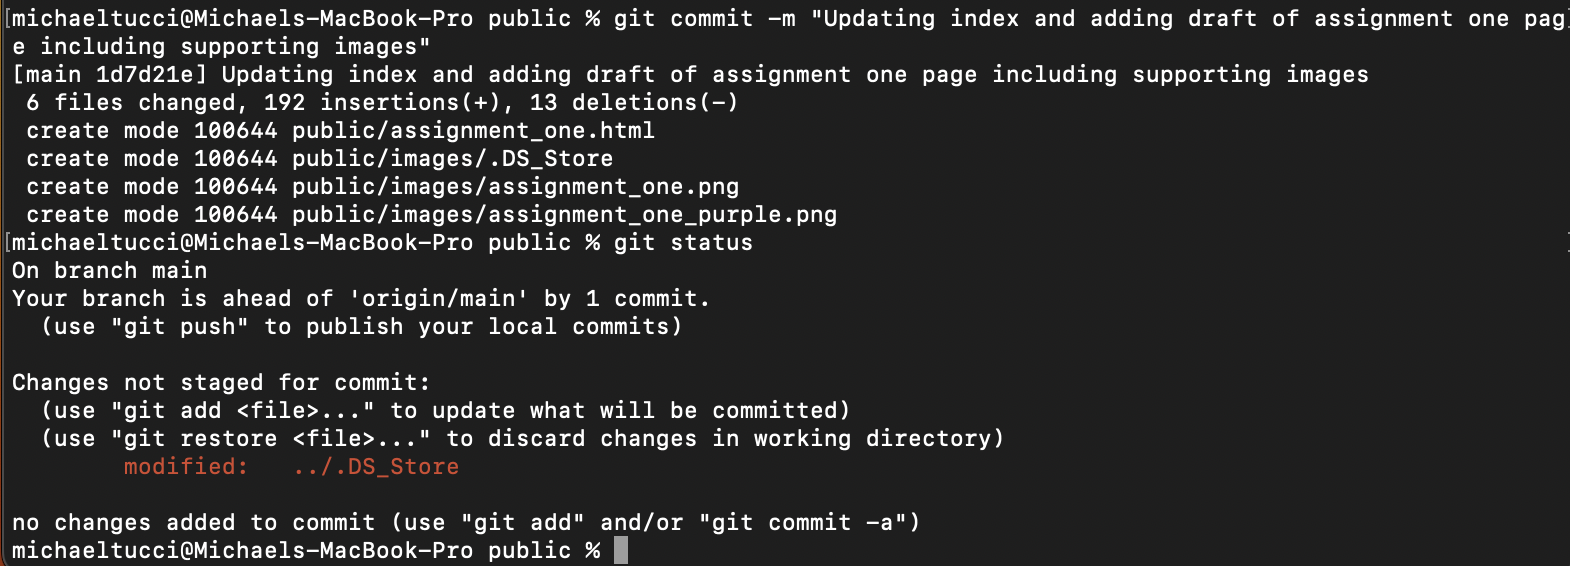
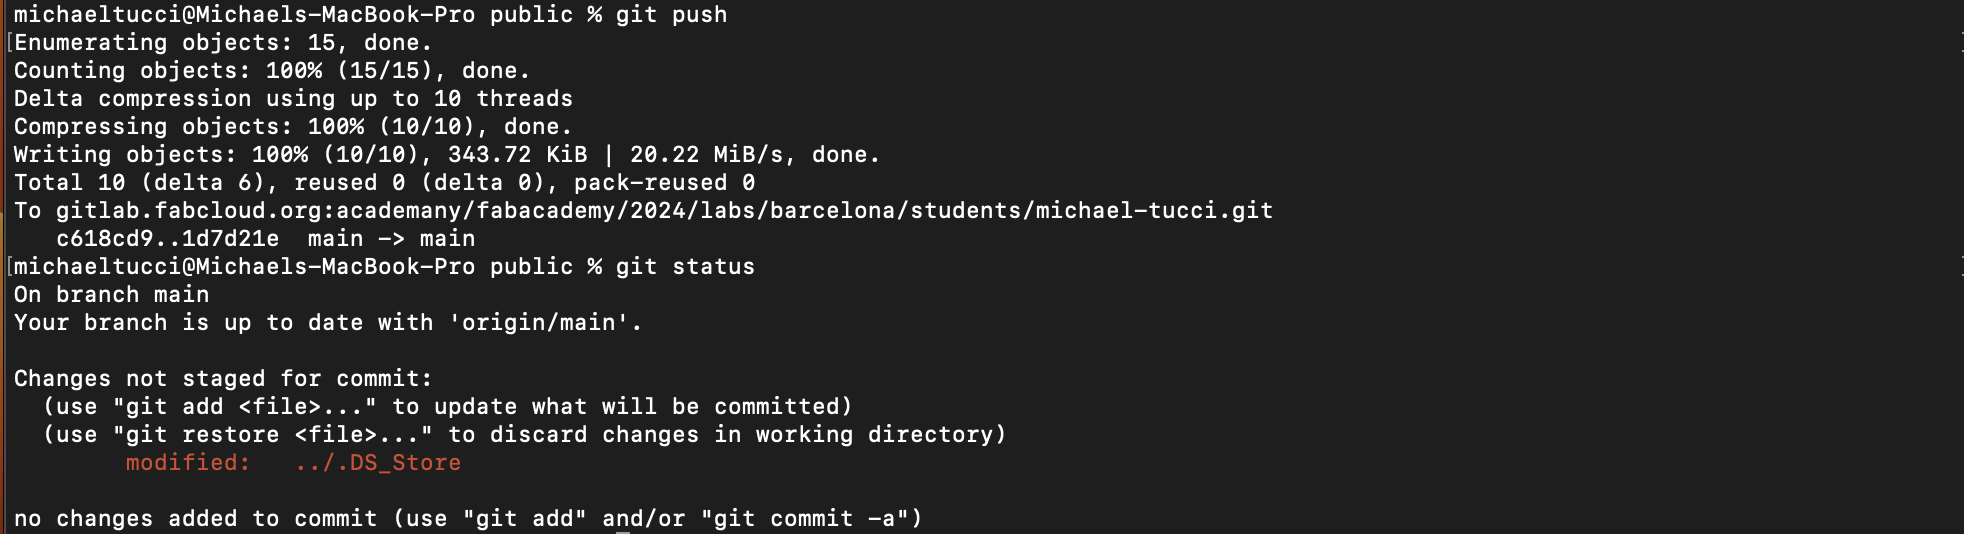
Push to prod
Final Project Planning
Objective:
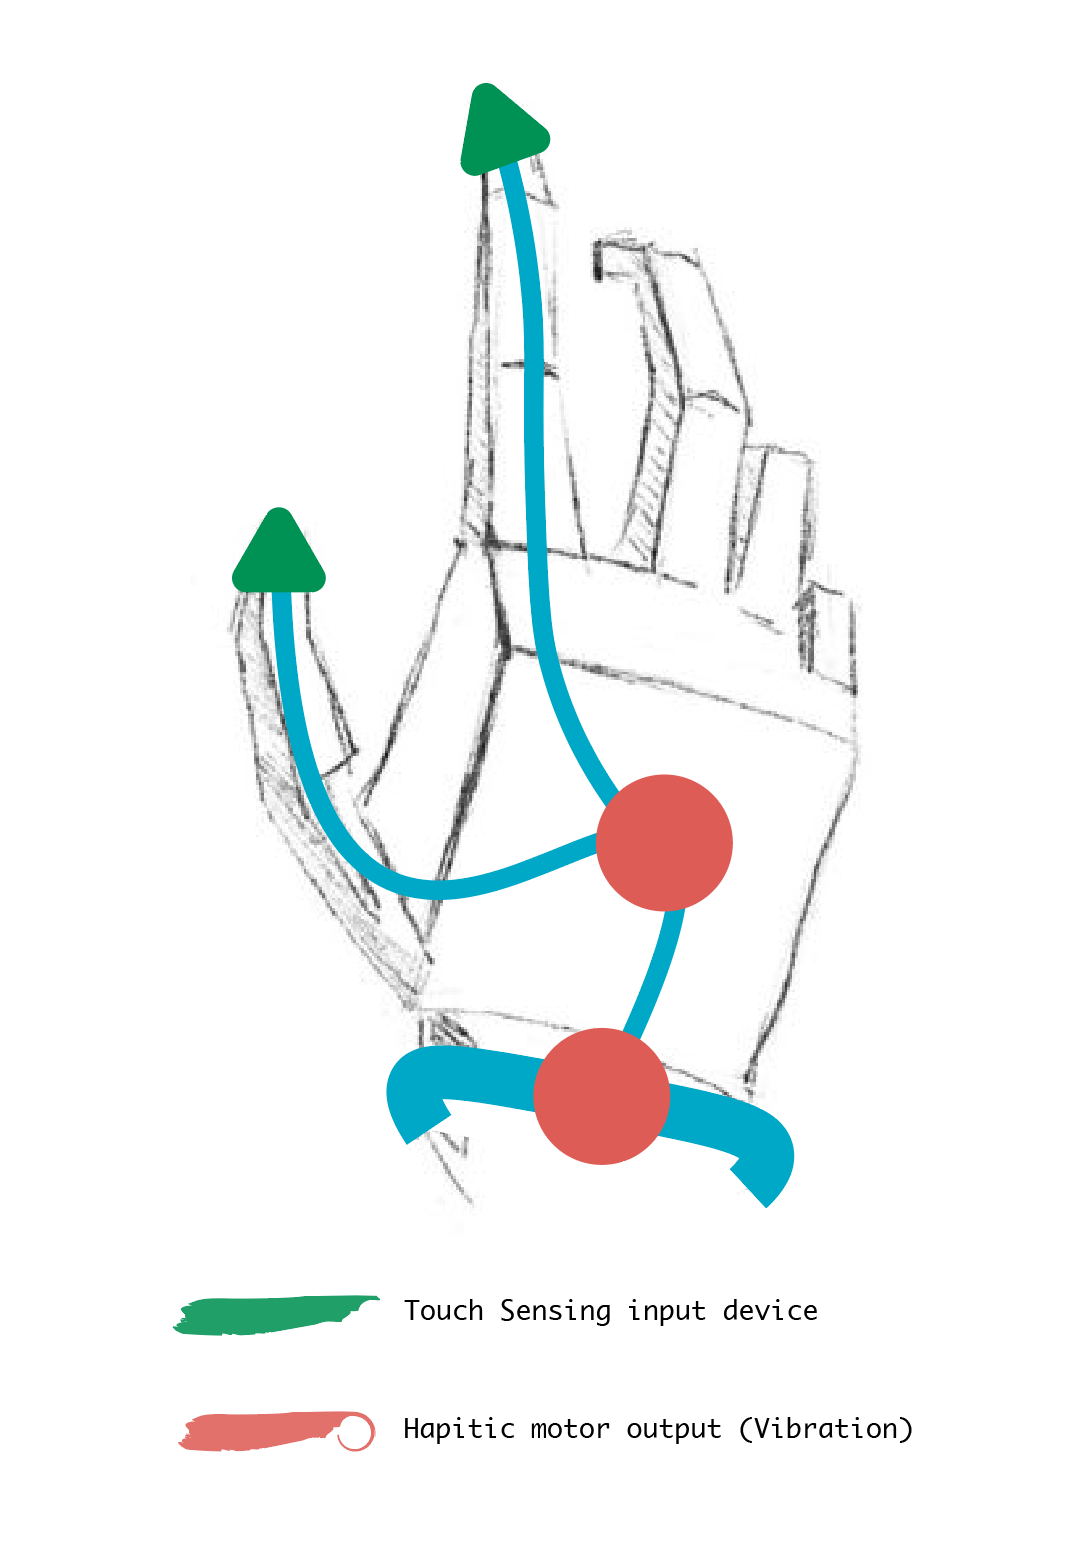
Design and develop a wearable device that provides novel, programmable interface capabilities leverage touch as a sense. This includes input (touch sensing) and output (haptic vibration) functionalities. The device should be capable of pairing with existing or new applications to enhance the user experience while on the go - replacing in whole or in part the need to look at screens, type, or listen.
Potential Use Cases (Illustrative):
- Google map directions delivered directly to your hands (keeping eyes and ears free).
- Touch typing - use a pre-defined pattern of tapping fingers together to type text (e.g. right hand thumb and index finger tapping together = "a".
- Infinite selfie stick - with your phone at a distance tap your fingers to trigger a photo taken.
- Sense of true north - pendant on necklace buzzes lightly every time you're facing north.
Rough Sketch - Possible Wearable Design
Key Tasks and Decisions:
The below offers initial list of key tasks, created with the help of ChatGPT.
Project Definition and Scope:
- Brainstorm possible use cases.
- Analyze existing, similar wearable devices and their features, including strenghts and weaknesses.
- Pick initial use case.
- Clearly define jobs to be done, including functionalities and features of the wearable device.
- Decide on the form factor (e.g., worn on hands) and user interface design.
Hardware Selection:
- Choose / test suitable sensors for touch sensing and haptic feedback.
- Select a controller or processor for processing and communication with app (if applicable).
- Consider power management and battery options.
Hardware design:
- Develop first prototype to test the selected hardware components (e.g. touch sensors, haptics).
- Design and test wearability (how will it stay on, comfort, etc)
- Design connectivity of individual components.
Development and App integration:
- Develop input integration with app, e.g. touch input
- Develop output integration with app, e.g. haptic feedback pattern design.
- User testing.
Documentation and User Guides:
- Prepare detailed documentation for the device's functionalities and features.
- Create user guides for both the hardware and software components.
- Include troubleshooting tips and FAQs.
Finalization and Presentation:
- Finalize the wearable device design and hardware components.
- Prepare final presentation summarizing the project, its objectives, design decisions, and outcomes.
- Demonstrate the wearable device's capabilities during the final presentation.