16 System Integration
This week's assignment to design and document the system integration for your final project.
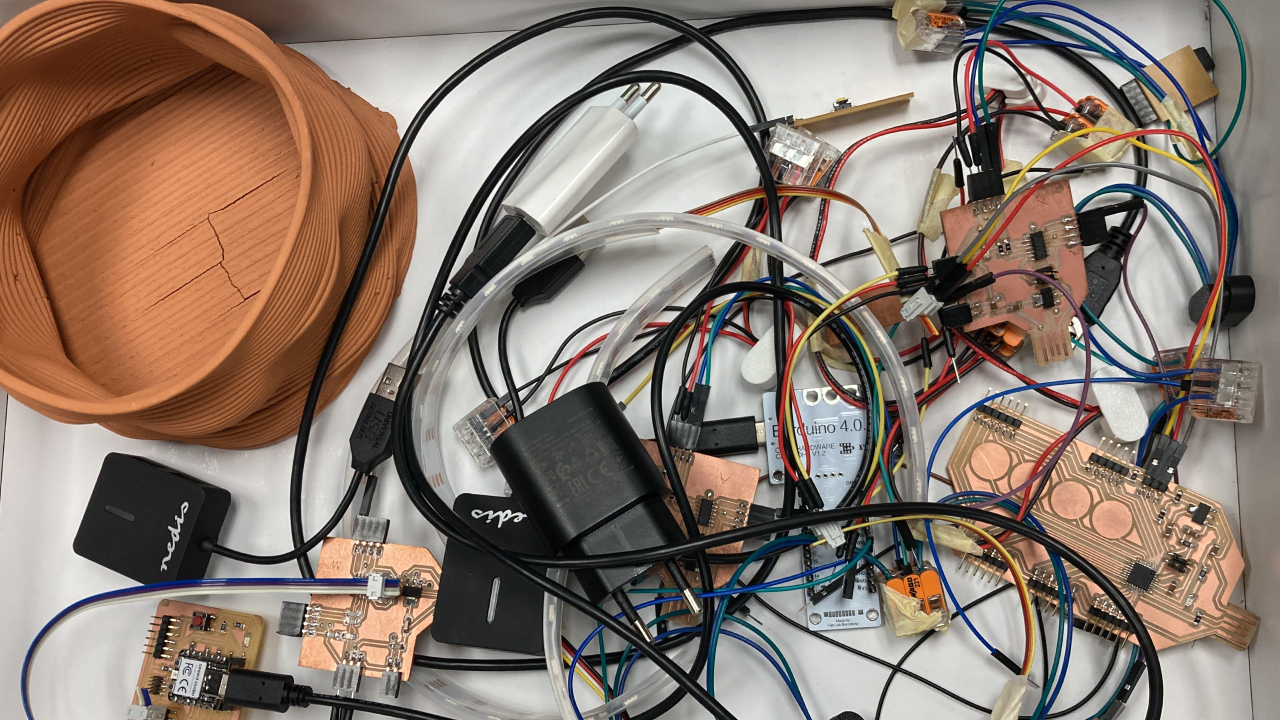
Get a hold of the mess

This week is about integrating the "brain" into a nice structure. Being trained as a product designer I love this part, also because I have been running
around with a huge box of cables for weeks. Thanks
Sketch

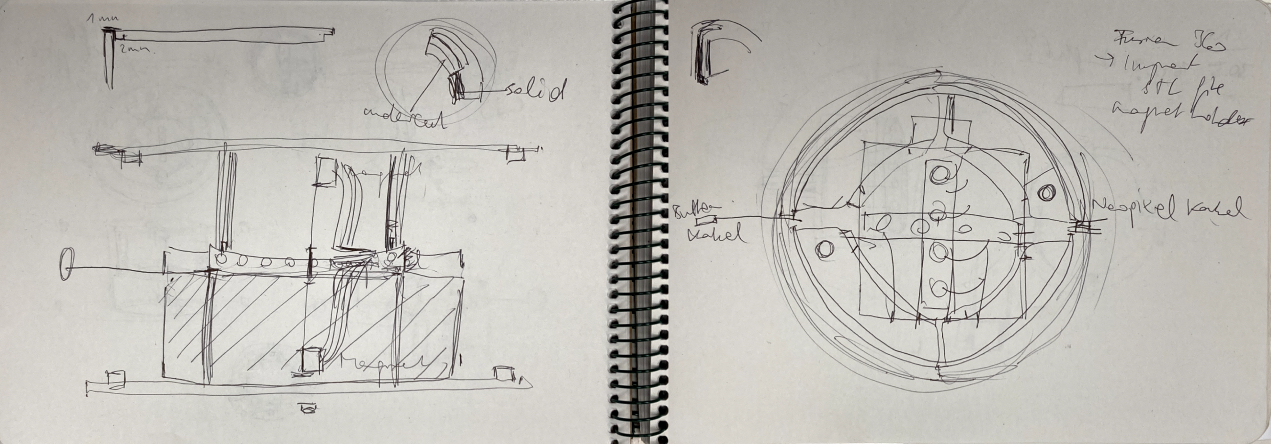
First I started to lay out some sketches and talked to
- replace the magnetic holders and keep the magnets in the exact same place to ensure a connection
- provide structure to hold the pcb
- hide and keep the GND, VDD, SDA, SCL cables from magnet-pcb-magnet in place
- keep the cable from pcb to button in place
- decide on the button shape and size
- provide a fixture for the shells
Design with Fusion360

I had initially started with Rhino to design the structure, but decided to swap to Fusion 360 because I needed to be more precise on the design. I took Inspiration from the magnetic holder to place the magnets in the top and bottom piece and designed the fixtures to be little poles, that would connect with magnets as well and can be easily opened with a little twist. The sketch appears overconstrained but it helped me keep in the margins of the clay shrinkage. Eventually I exported an .stl and got my little printing farm started.
Trial Print & Adjustments

The testprint turned out to be too thick, because I had not taken into account the base layers. Another fix I had to make was to add a holder for the shells on the sides and add a sunk in space for the pcb. Most likely the redesign of the pcb will only happen in version 1. Also I had to adjust the tolerances for the magnets. I only did that for the Bambu printer and not for the Anycubic Kossel nor the Creality Ender 3, which will backlash me in the assembly.

The slicing setting follow the suggestions used in 3D printing week but I wanted to point out that the Bambu prints at twice the speed than the Ender or Anycubic. It took me two full days to get all six pieces and start the assembly.
Please find the 3D-printed Structure file here.
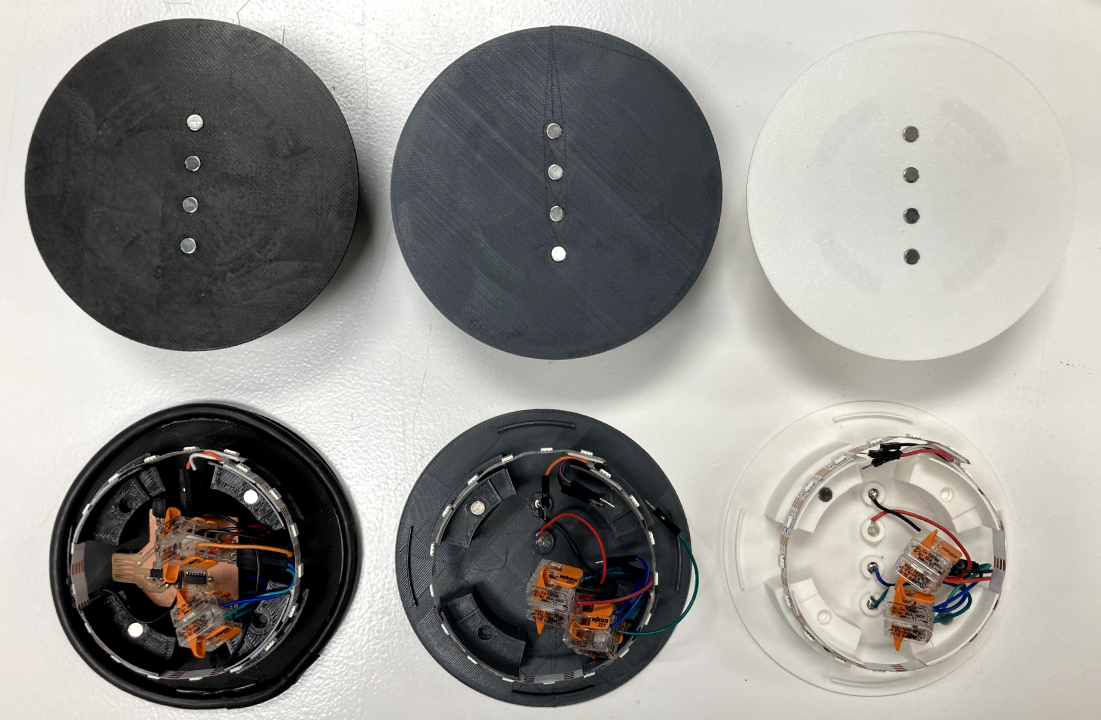
Final Prints

The final prints are black: Ender, grey: Anycubic, white: Bambu and increase in quality and precision in this order.
Assembly

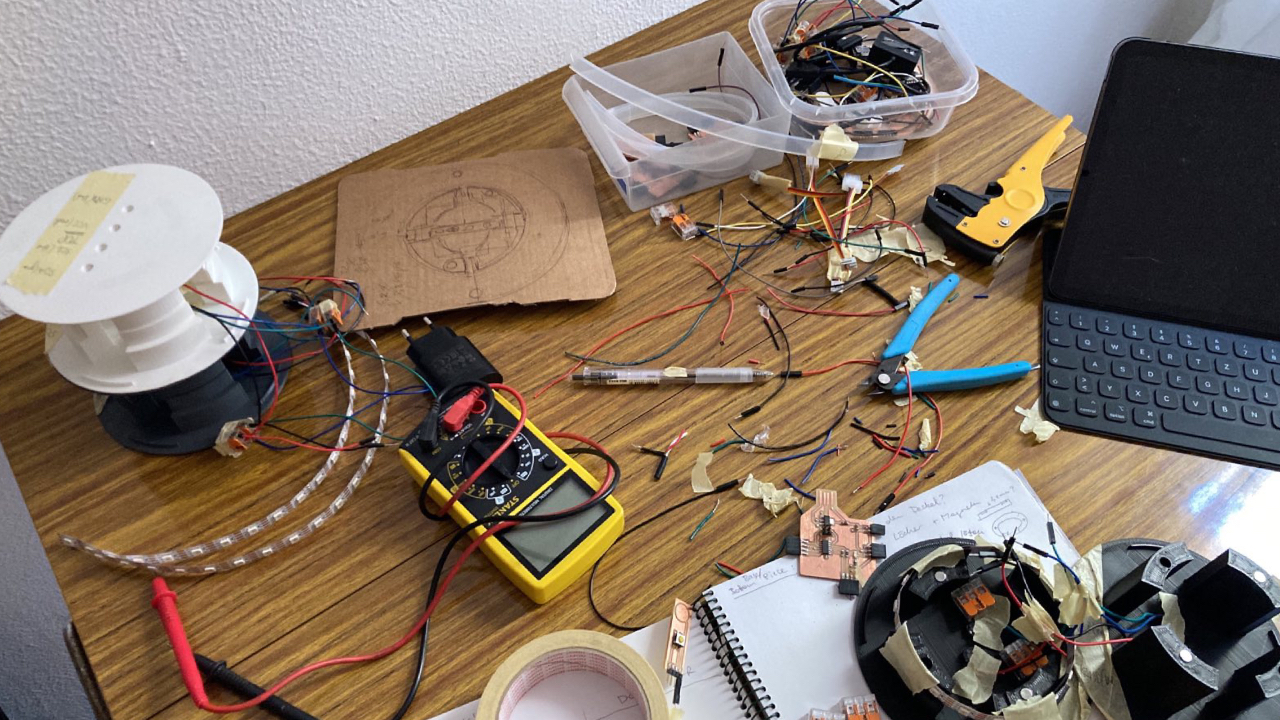
Once I had the final prints ready I started to figure out a system to easily stack the pieces in the right way: I alternated the polarity of the magnets for GND and the rest of the magnets. I used tape as a cheatsheet to not mix up top and bottom part as well as the different lines. I still had some mix-ups and needed force to retract the magnet as well. Another issue I faced was the 3D-printed tolerances - next time I definitely need to do them for all the printers. Since there was not enough time left to reprint all pieces, I grated the holes bigger with a drill.
Once I had the first prototype working with the magnets, I was superrelieved but still had to:
- cut the neopixel to the right size
- decide on the final button size
- cut and solder the cables shorter to fit the packaging
- since I will not have time to redo the pcbs, make space for the inline connectors

So from mess to a nice packaging was not an easy journey but worked out.

And it works :)
Lessons Learned
- check tolerances on all printers
- take printing time more into account
- magnet assembly needs a system