12 Molding and casting
This week's assignment is to review the safety data sheets for each of your molding and casting materials, make and compare test casts with each of them, compare printing vs milling molds and design a mold around the process you'll be using, produce it with a smooth surface finish, and use it to cast parts.
Group assignment: Moulding and Casting
The documentation for our group assignment from the Barcelona node can be found here.
Lessons Learned
- always check the working and curing times on the datasheet
- keep in mind to degas and try to pour slowly and with a thin thread to pop the bubbles
- choose printing vs. milling according to the final piece and the output you want to achieve
A "Doña Lechuga" treat
For this week's assignment I really wanted to try out the food safe silicon. Thanks to

Design the final piece
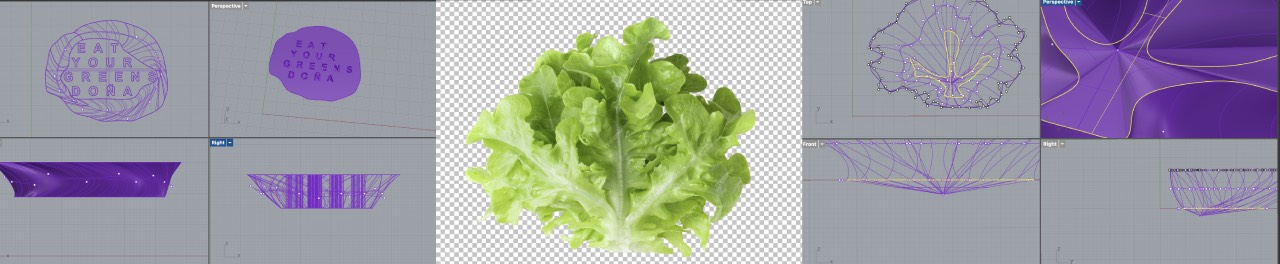
Initially I started to draw the lettuce piece freehand in Rhino and adding "Eat your greens" or "Mangia Lettuga" in letters to the shape, but wasn't really happy with the look and the letters would take forever to mill.
For that reaseon I decided to take some inspiration from freepik.com and craft the lettuce shape in 2D in Rhino.
to get the 3D shape I used Loft.
Create the mold
I followed
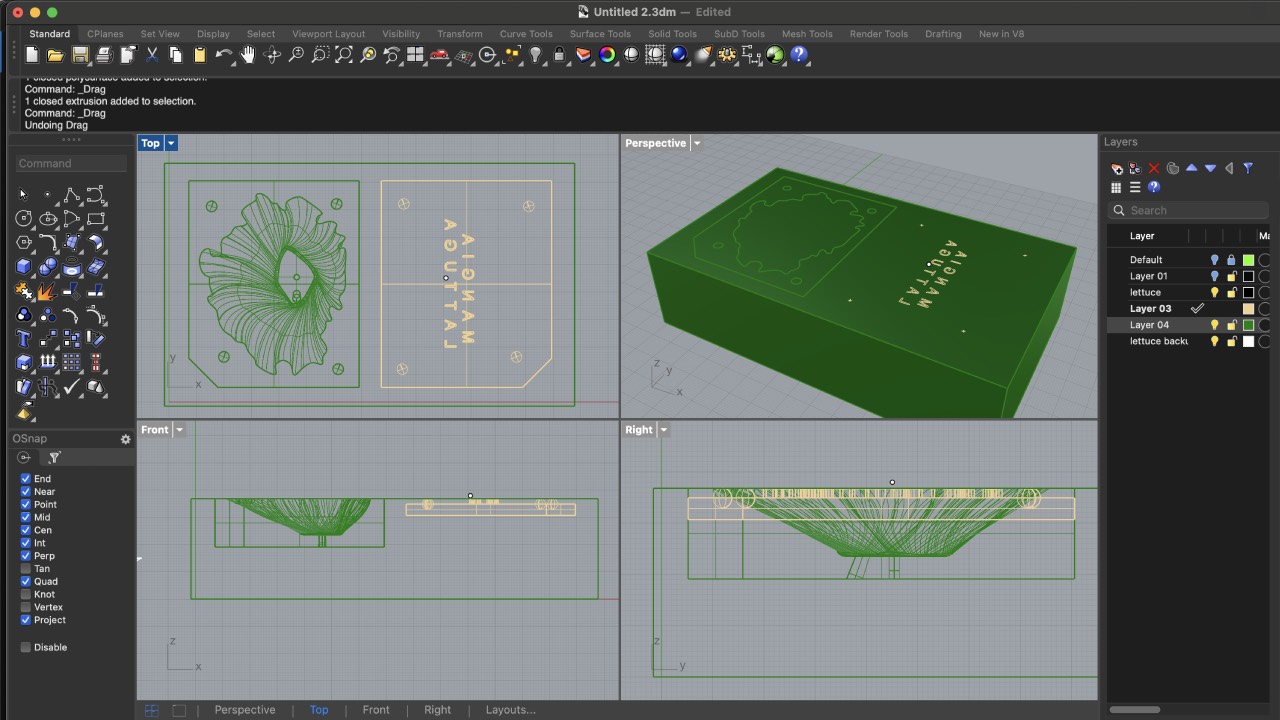
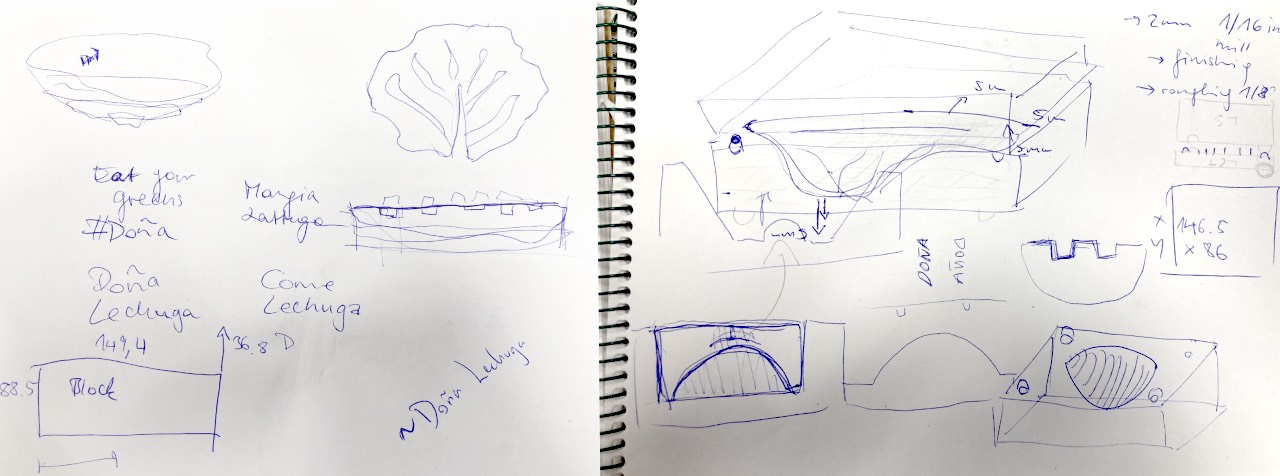
Secondly I had forgotten to measure the block, so I needed to scale the model down to fit the 149,4x88,5 cm block of wax.
Thanks to
- create a box in the shape of the block
- leave 5 mm from the edge of the block to the box of the edge of the mold box with one edge cut, to know where to align the two molds
- place and scale the lettuce to fit in the mold box with a distance of 5 mm to the edge
- tilt the box edges to make it easier to remove the silicon
- place and measure the connection spheres
- join to create one shape
- use
Boolean Differenceto remove the letters and the connection spheres on the second part - place the top left corner of the piece on X0/Y0/Z0
- Export as .stl
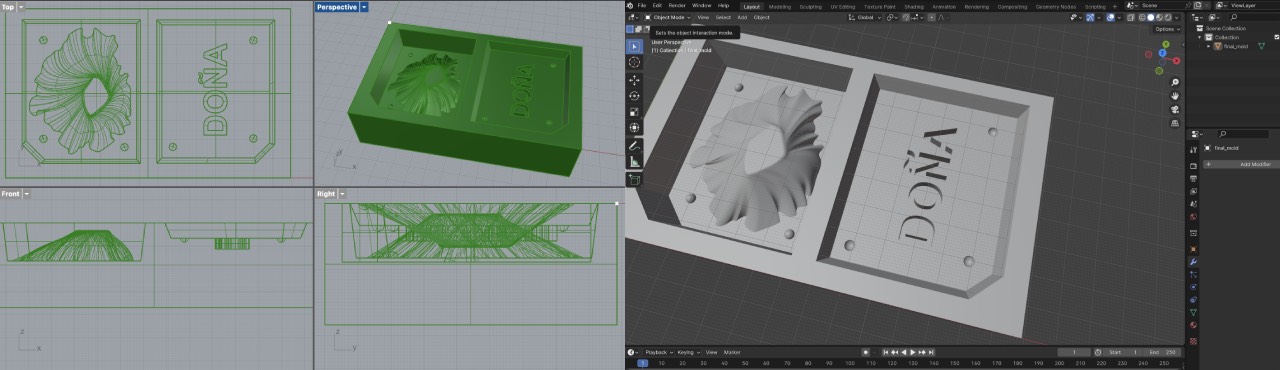
I prepared the whole file to fit the 1/8 inch endmill and had changed the font to "Doña" only to fit with this endmill, but eventually it only worked with the 1/16.
Due to this I had to increase the size of the accent and for time reasons we did it in Blender. Thanks
Please find the final file here.
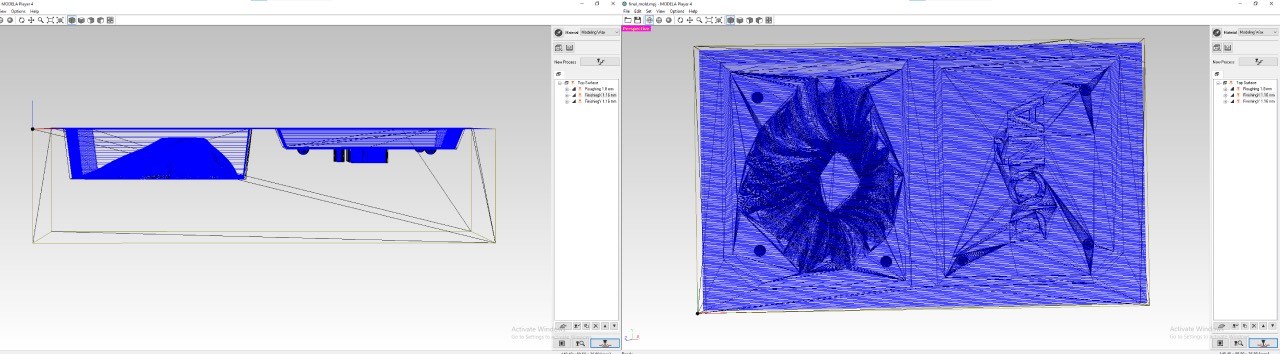
Create the toolpath in MODELA Player 4
Because Modela player 4 only runs on Windows I used our labs pc to create the milling toolpath for the Roland SRM 20, our labs milling machine.
- File/Select machine: SRM 20, Spindle should be standard
- Set the origin of the piece to Top/Lower Left Corner (keep in mind to align the piece correctly in Rhino with the X-axis as the "long" side)
- change to no margin to the block
- choose the material: Modeling Wax
Open Options/Add/Remove Tool and add tool and name it significantly (Tool Name). Choose the Tool Type, in my case Square and select High Speed Spindle as Tool Material.
In oder to enter the collet's measurement in mm, convert inch to mm (e.g. 1/8 inch = 1:8x25,4 = 3.175mm). Open Cutting Parameters and choose Modeling Wax. Hit Set Parameters
to calculate the parameters (calculated parameters can be trusted). And finally click Register to save the parameters.
Next add a new cutting process:
- Choose Top
- Select respective tool (1/8 flat end mill for roughing and 1/16 ball end mill for finishing) and check settings
- choose a "partial" cutting area and adjust the area to fit your piece
- Contour Lines: Up Cut (always, because all tools for our machine are up-cut tools!)
- Click Output to save
I checked the toolpath with the Preview Option, which gives you a little animatio of the cut and very importantly the cutting time.
Last but not least save the .rpn files to the cloud to be able to open them from the machine's pc.
Mill the waxform
In order to mill the wax the process is very similar to milling a pcb board, which I described in detail in Electronics Production Week.
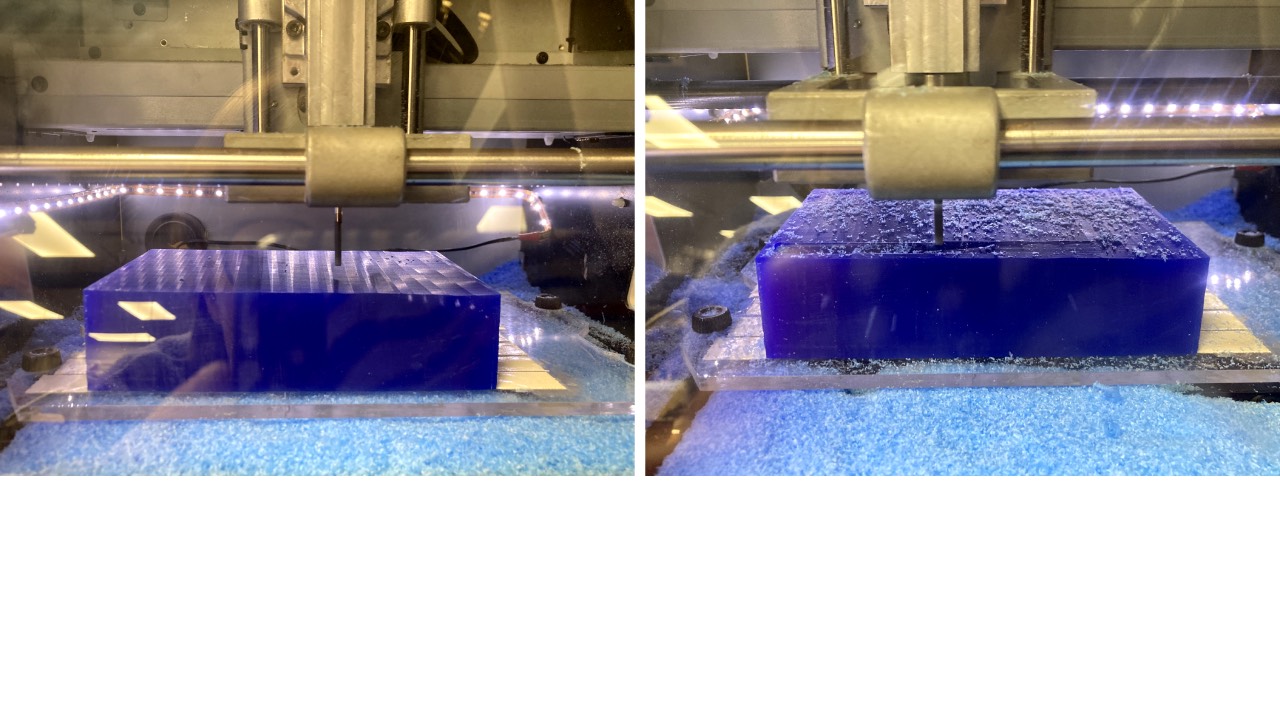
On the first attempt, when I launched my file the end mill was cutting air, because the block was not completely straight. So I had to reset the Z
- keep in mind to do that at the lowest part of the block.
Second learning was to keep in mind the cut depth, when setting the spindle in order not to crash the collet holding the spindle into the block, when it cuts the edges.
Thanks
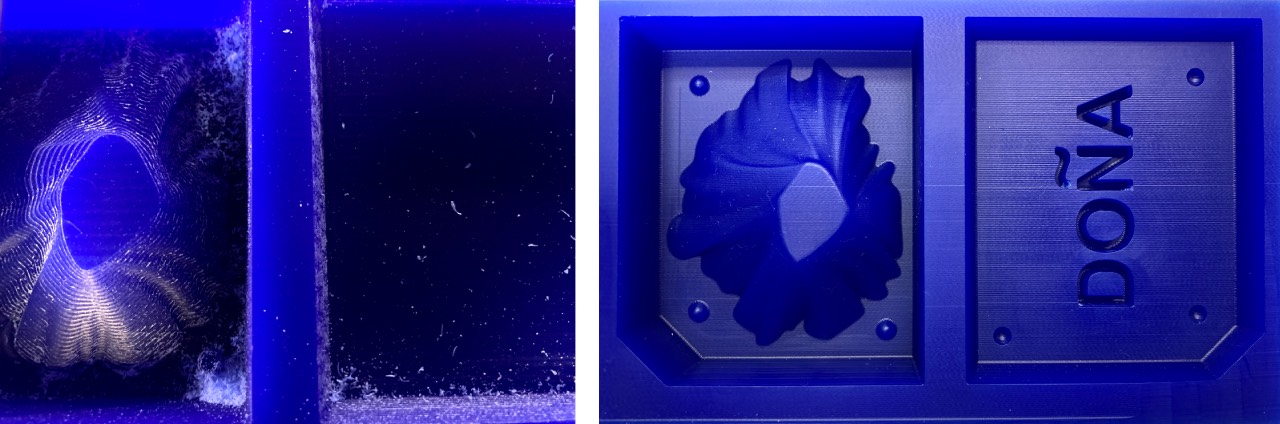
After 1,5 hours the rough cut was done and I launched the X finishing milling. After another 1,5 hours I was satisfied with the quality and and I could clean it from the scraps with air compression and start to create the silicon mold.
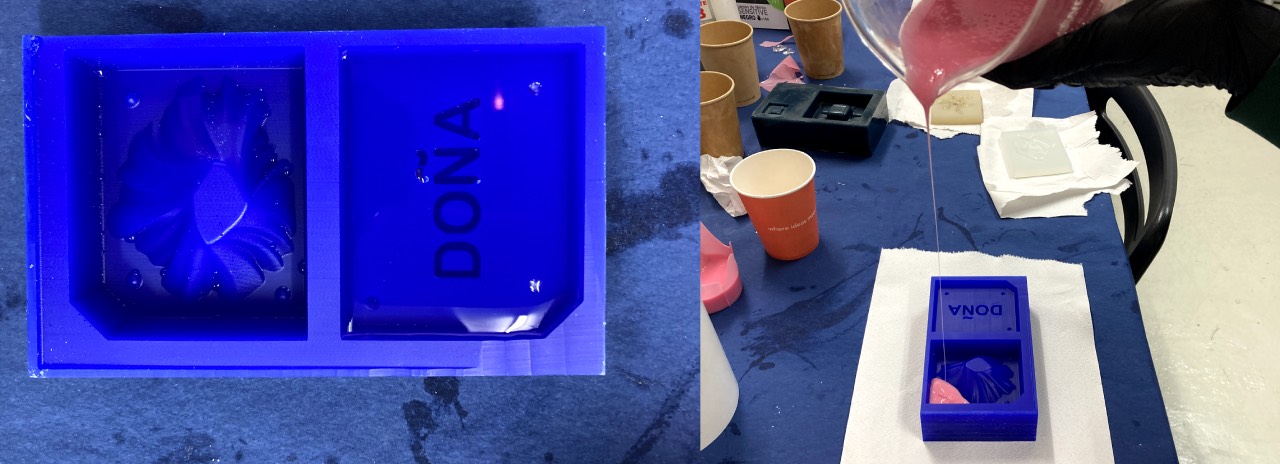
Cast the silicon mould
I teamed up with
- measure the amount of necessary liquid of your mold - simply pour water into it and measure it's amount (200 ml)
- prepare the silicon according to the instructions (in our case 1:1 - A:B)
- measure part A in a mililiter indicating jar on a scale
- pour the same amount in weight of part B into the jar
- mix the parts for 5 minutes with a wooden stick
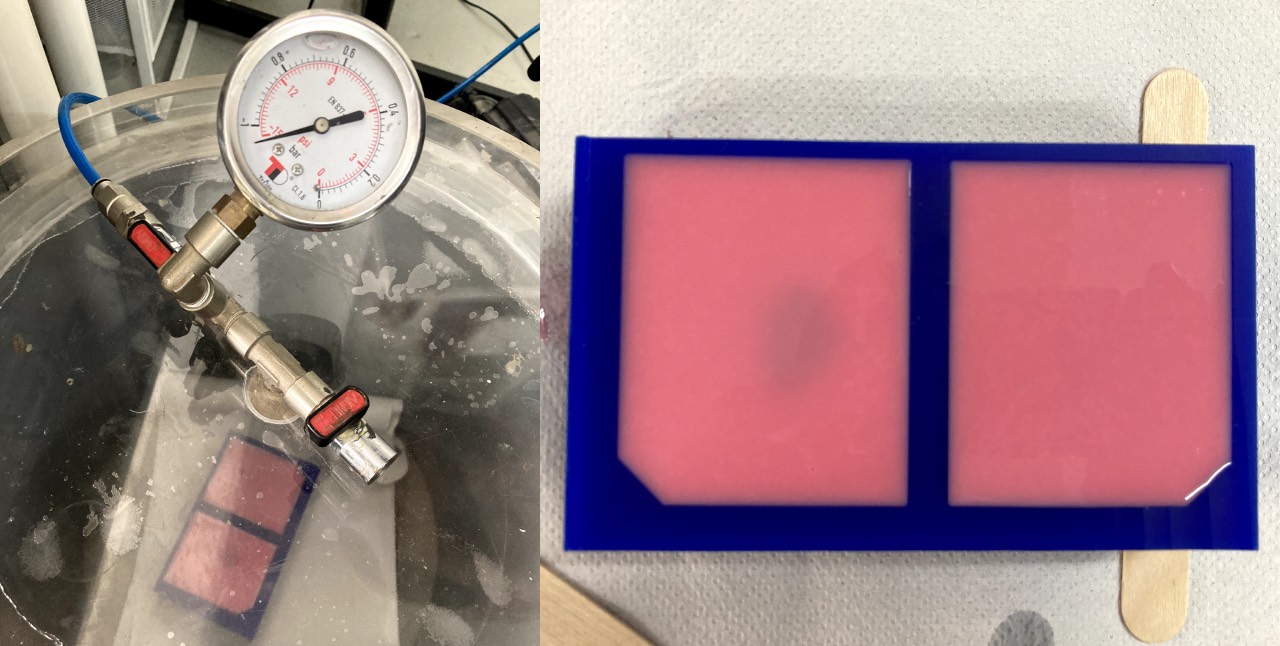
- degas the silicon using a vacuum compressor - we had a lot of bubbles, thus did it 5 times
- pour the silicon in the mold (keep a very small string on the edge of the piece to avoid bubbles)
- degas the poured mold again
- wait for the silicon to cure: in our case 4 h
We cured the silicone over night and than put it in the oven for 4 hours at 100° to make the silicon truly food save.
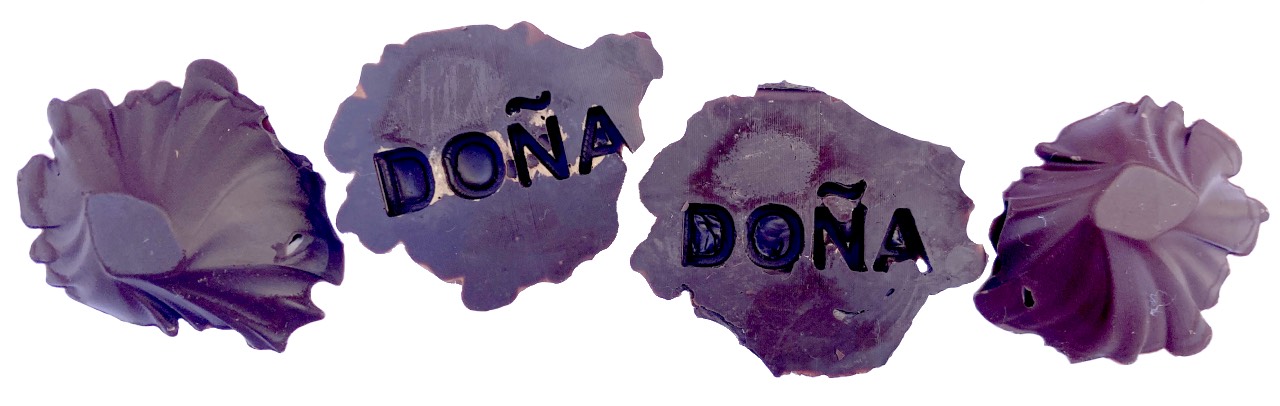
A final chocolate treat
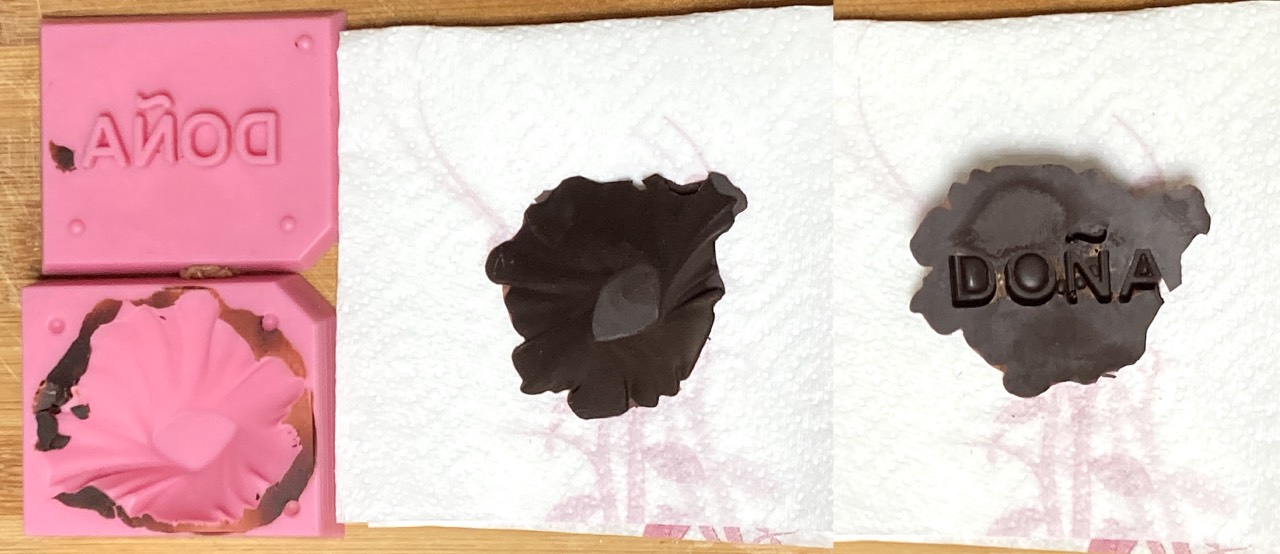
The first time I tried the mold, I was lazy and wanted to avoid the granny way of melting chocolate in the hot water without butter, but learned my lesson because the chocolate did not harden. On the second try I made the effort and it worked out fine. Mangia lechuga!
Lessons Learned
- it's not only smart but also necessary to ask someone to double-check your mold approach
- degas, degas, degas!
- keep the fat ration in mind when mixing the chocolate or it will not cure