Wildcard Week
Individual Assignment
This week we are tasked with: Design and produce something with a digital fabrication process (incorporating computer-aided design and manufacturing) not covered in another assignment, documenting the requirements that your assignment meets, and including everything necessary to reproduce it. Possibilities include but are not limited to wildcard week examples.
Link to our PAST Innovation Lab Group Page.
Individual Assignment
For my assignment this week, I knew exactly which machine I wanted to use. Prior to this week, I had not yet gotten the opportunity to use our embroidery machine in our makerspace. This seemed like the perfect opportunity!
Step 1 - Design
To begin embroidering, you need to first know what design you want to use and which file types are compatible with your embroidery machine. The machine I am using is the Brother PRS100 Single-Needle Embroidery Machine. Some of its features include: 7" LCD display, built-in memory, 8"x8" wide embroidery workspace, and speeds of up to 1,000 stitches per minute.
Accepted file types:
- .pes
- .dst
- .phc
- .pen
To create a design, you can start with any image really. I ended up using a .SVG file that my job had already created. It won't matter too much because we will be importing our image or file into Inkscape. Inkscape is an application you can download on your laptop. It is fairly simple to use after some practice. You can create a design in Inkscape if you desire.
You also need to download an extension, specific to use in embroidery projects. The extension is called InkStitch. This extension has the capabilities to add stitch/machine toolpaths and essentially translates the design into a language that the machine can understand.
Some options for creating your design from scratch include, but are not limited to, Canva, Adobe, or any other design application or website that you can generate images or files through.
My PAST Foundation SVG Download
Once you have your design and are ready to import it into Inkscape, open the application. Once it is open, it will open to ask you to load or start a new document.
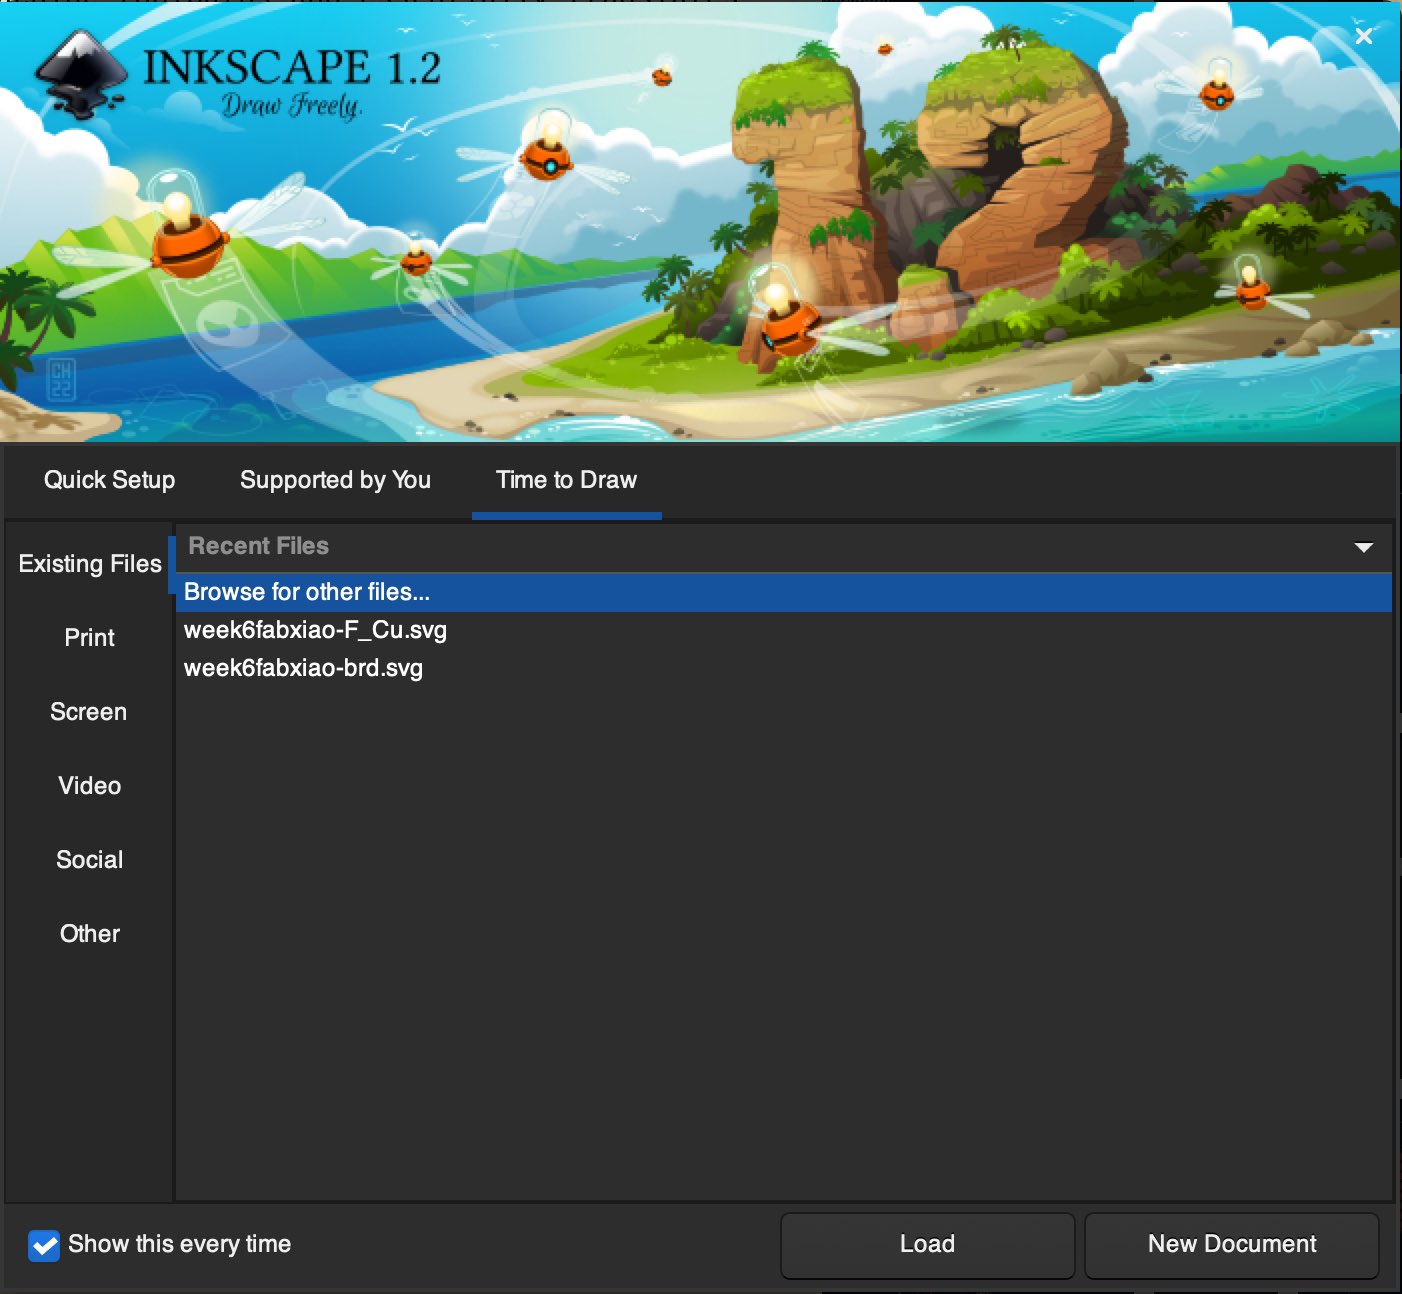
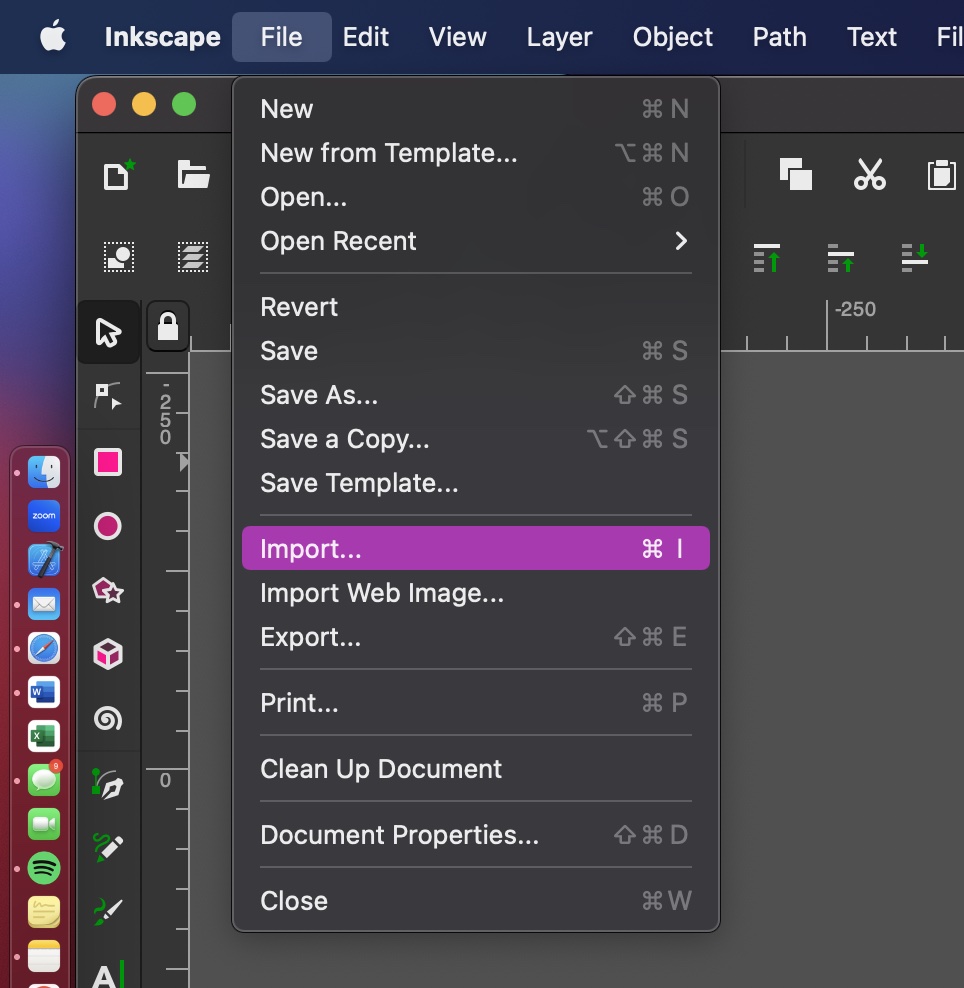
I selected the "New document" option in the bottom right. Next, I selected "Import" from the File dropdown menu. I found my desired file and opened it into the document. You can adjust your desired size now or later.
Once your design is imported into Inkscape and you have your desired size, select all components of your design and select "Extensions" from the top menu bar on your computer. Then, hover your mouse over "InkStitch" and select "Params". This will bring a pop up screen.
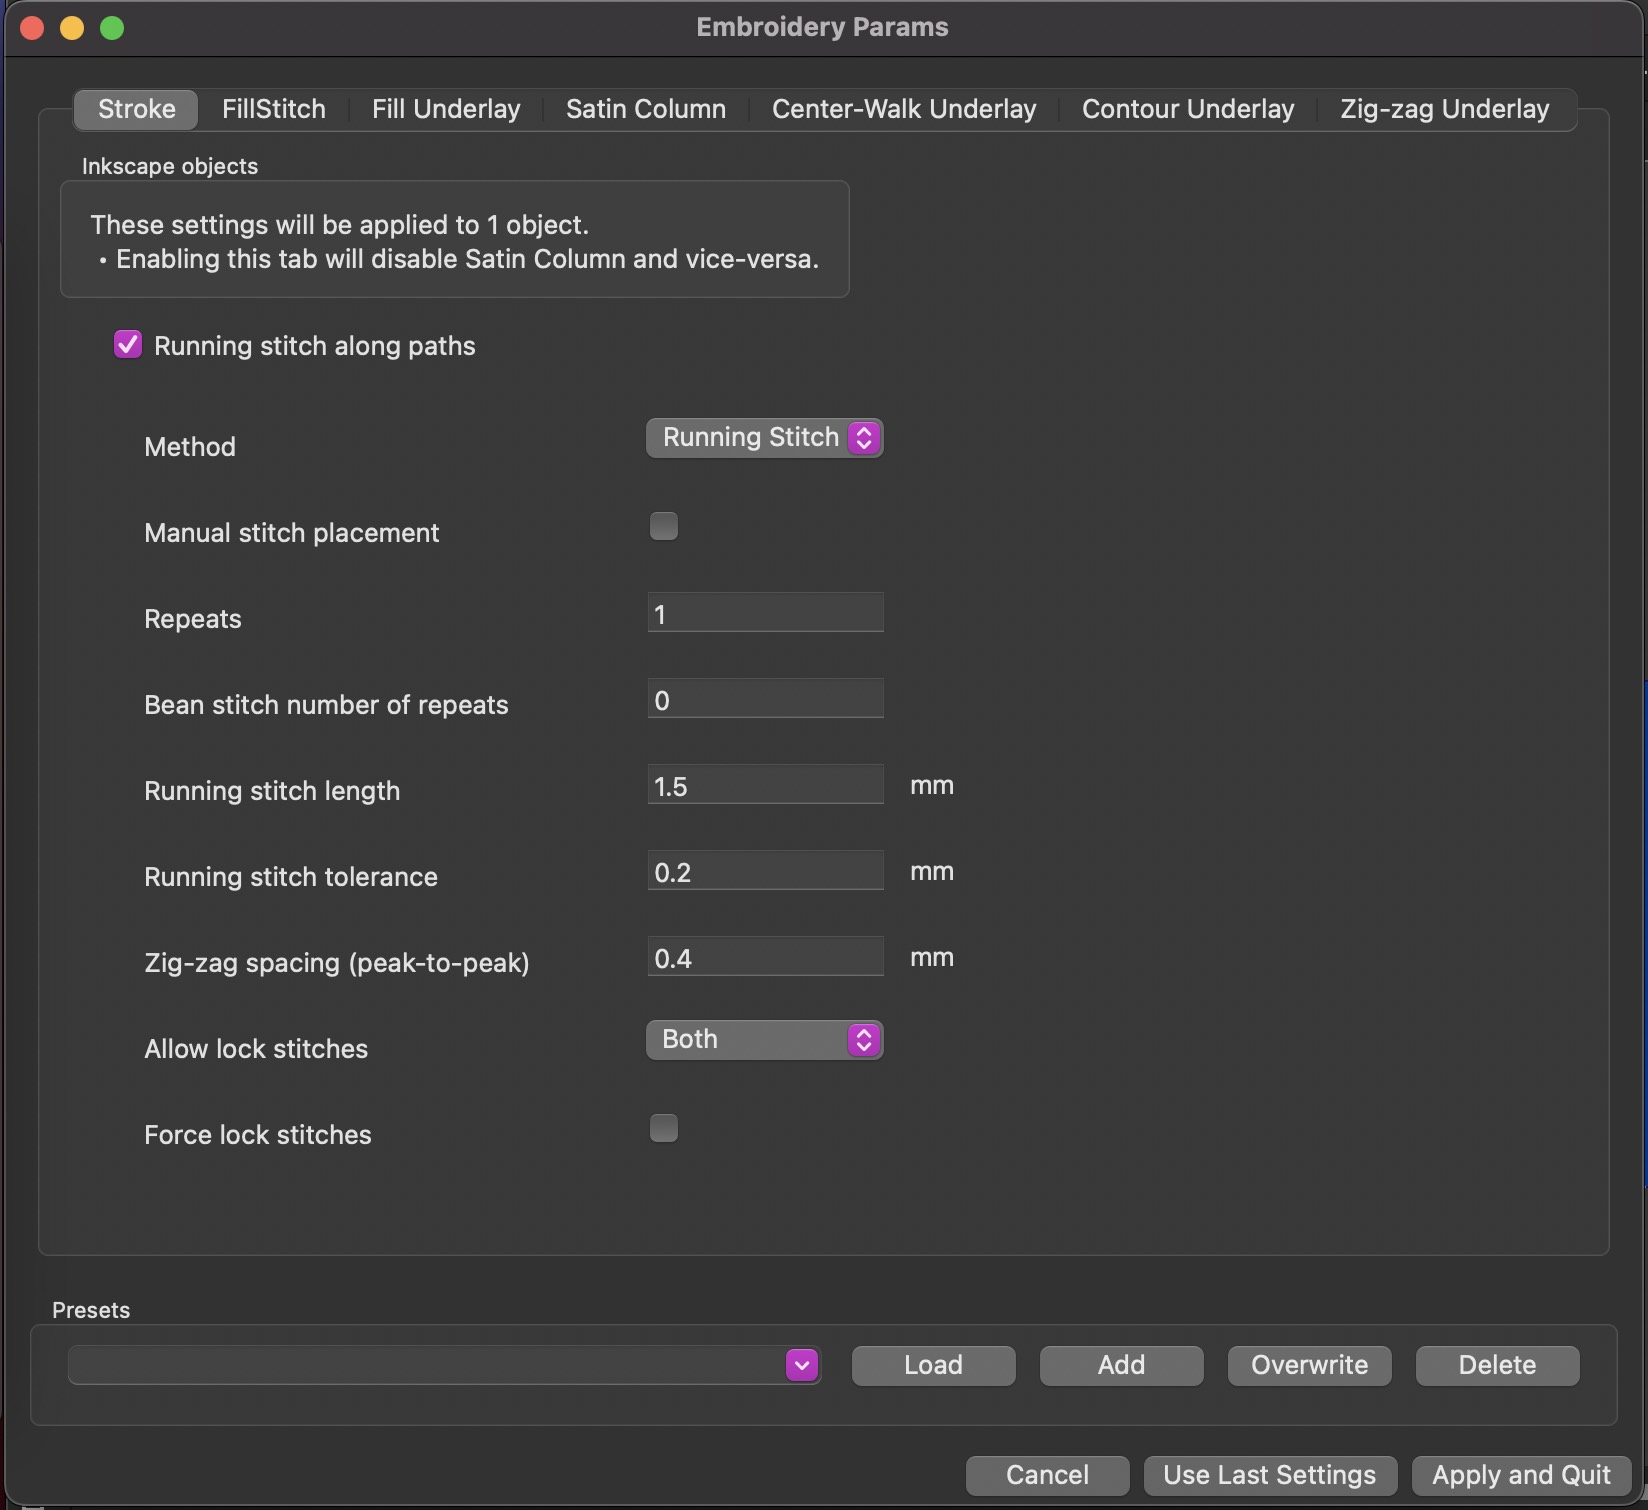
I did not adjust anything on this screen in my final design, but I did play around with some functions to figure out what they do/change on the design. I ended up reverting back to the original, suggested settings. Sometimes Inkscape is a bit slow and won't bring up a preview of your design right away. You can close out of the Inkstitch Params screen and reopen it and it should generate a preview of your toolpath overlayed on your design.
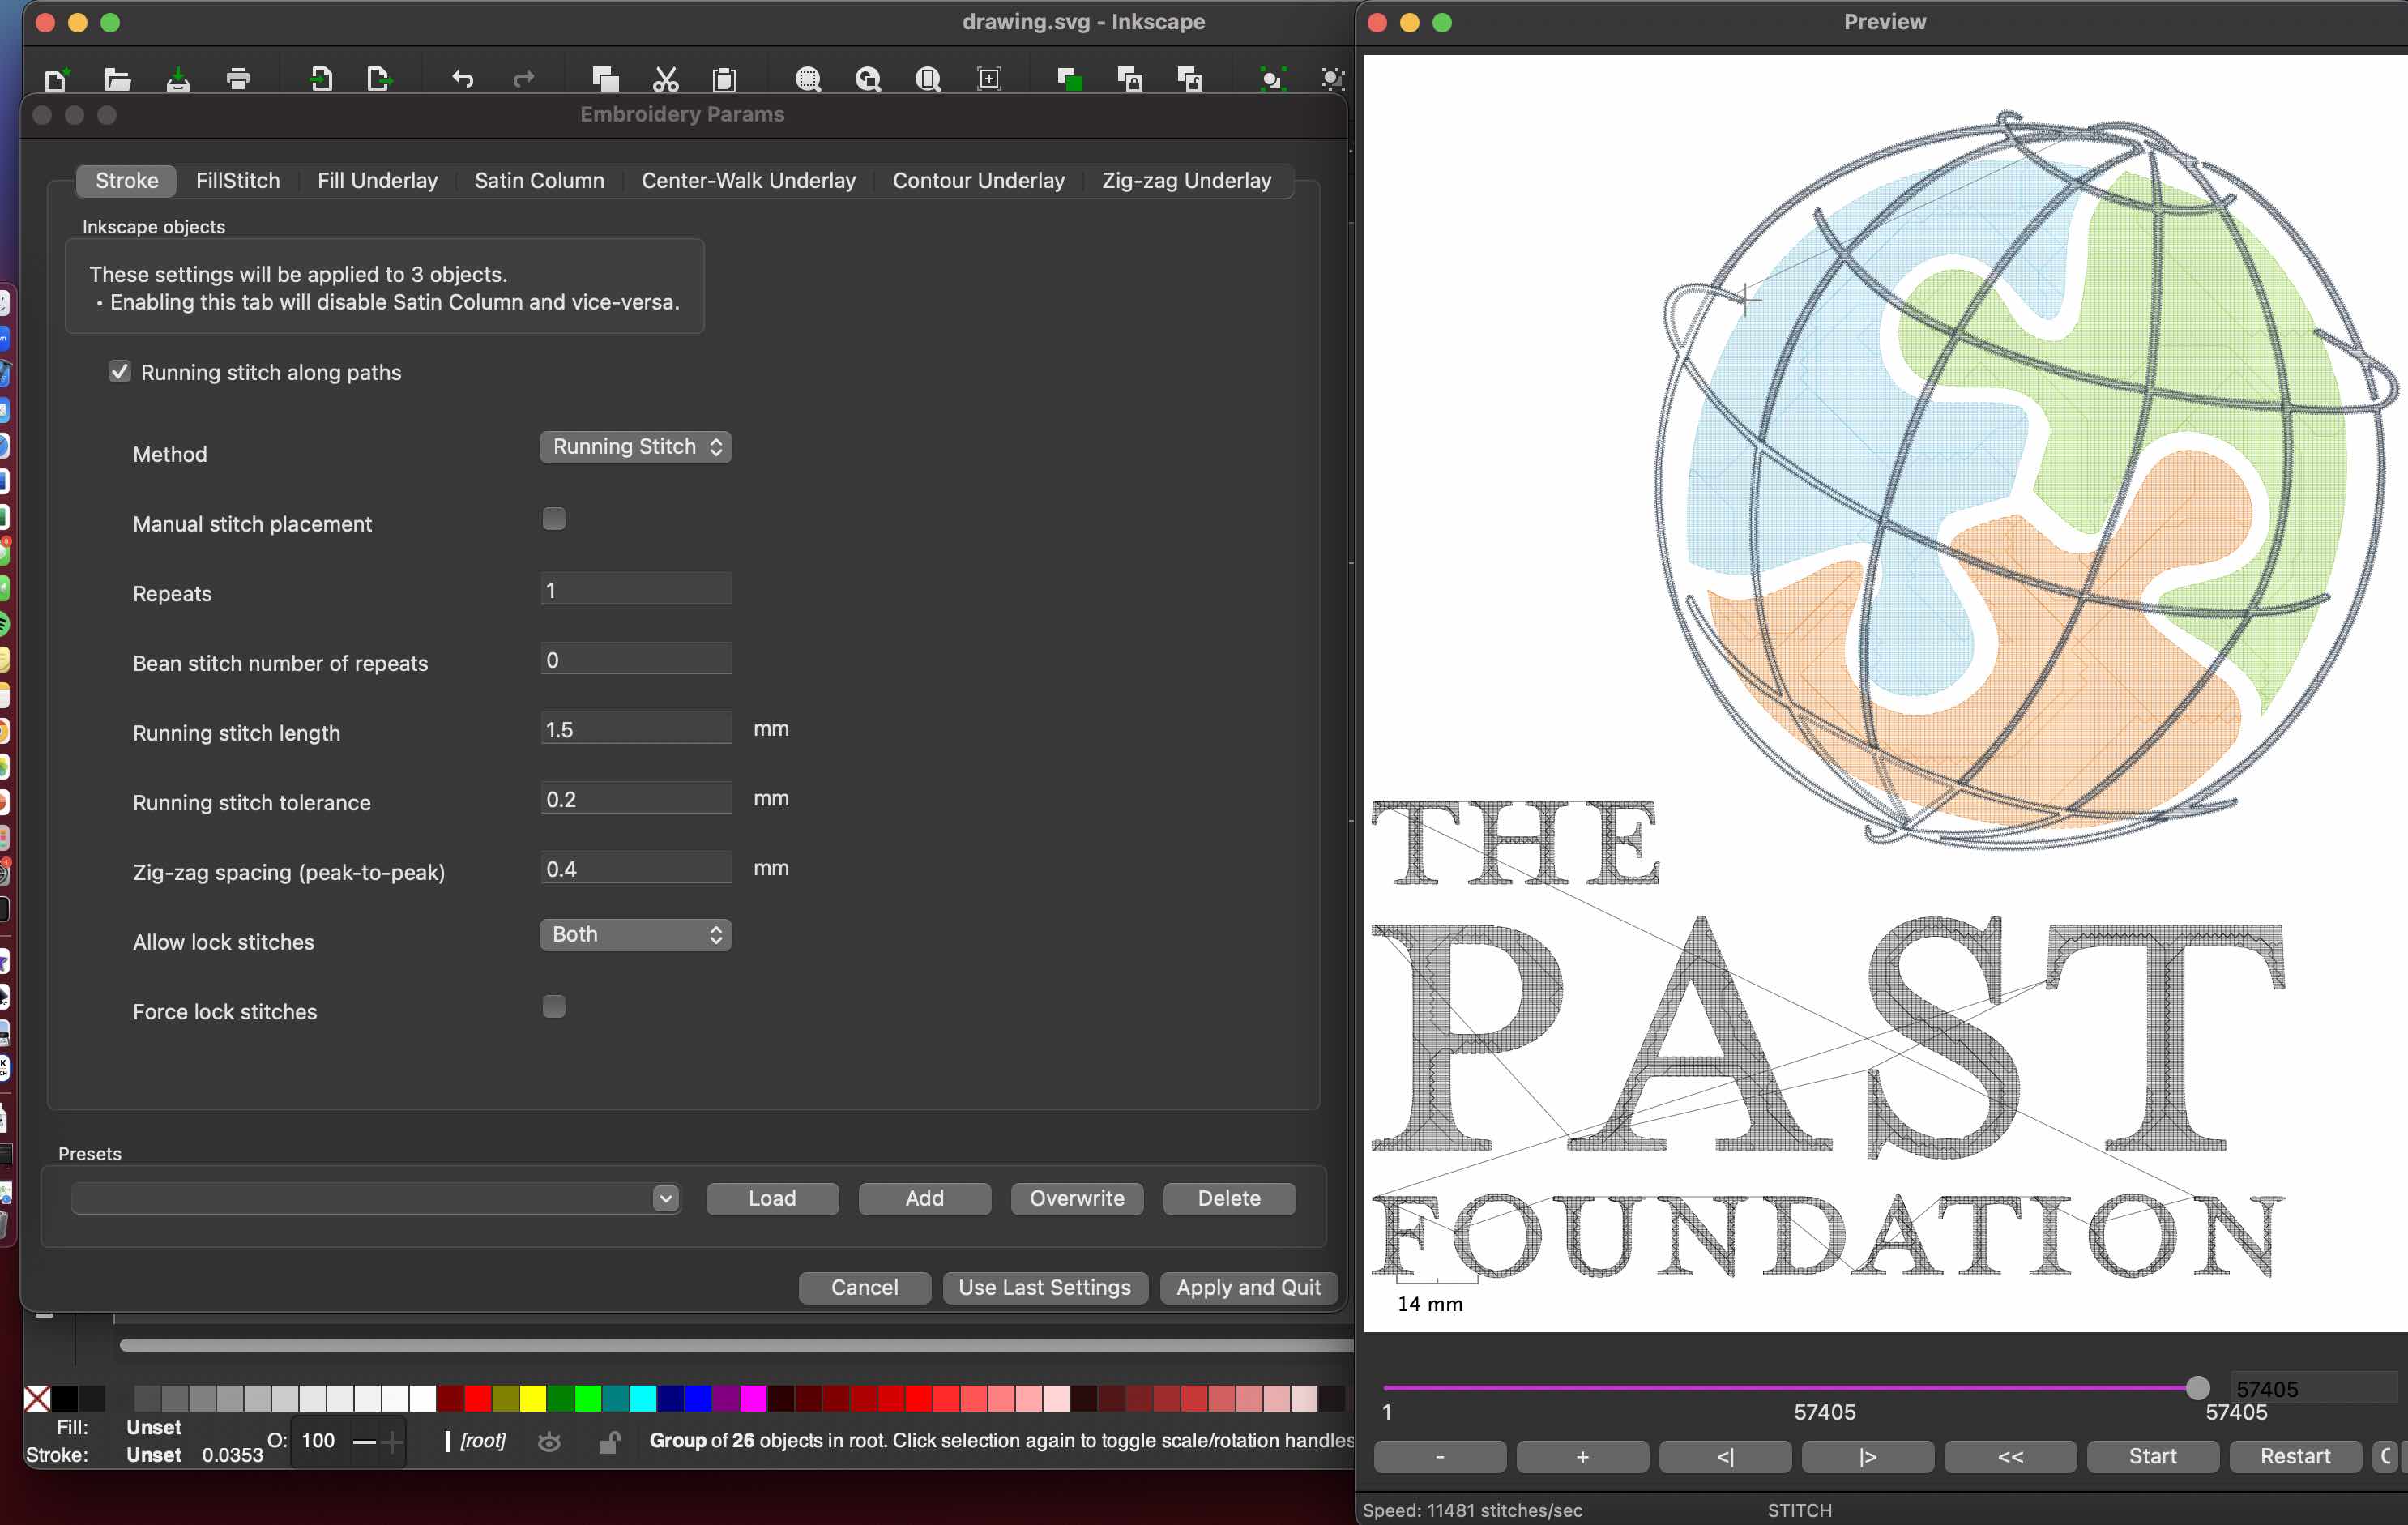
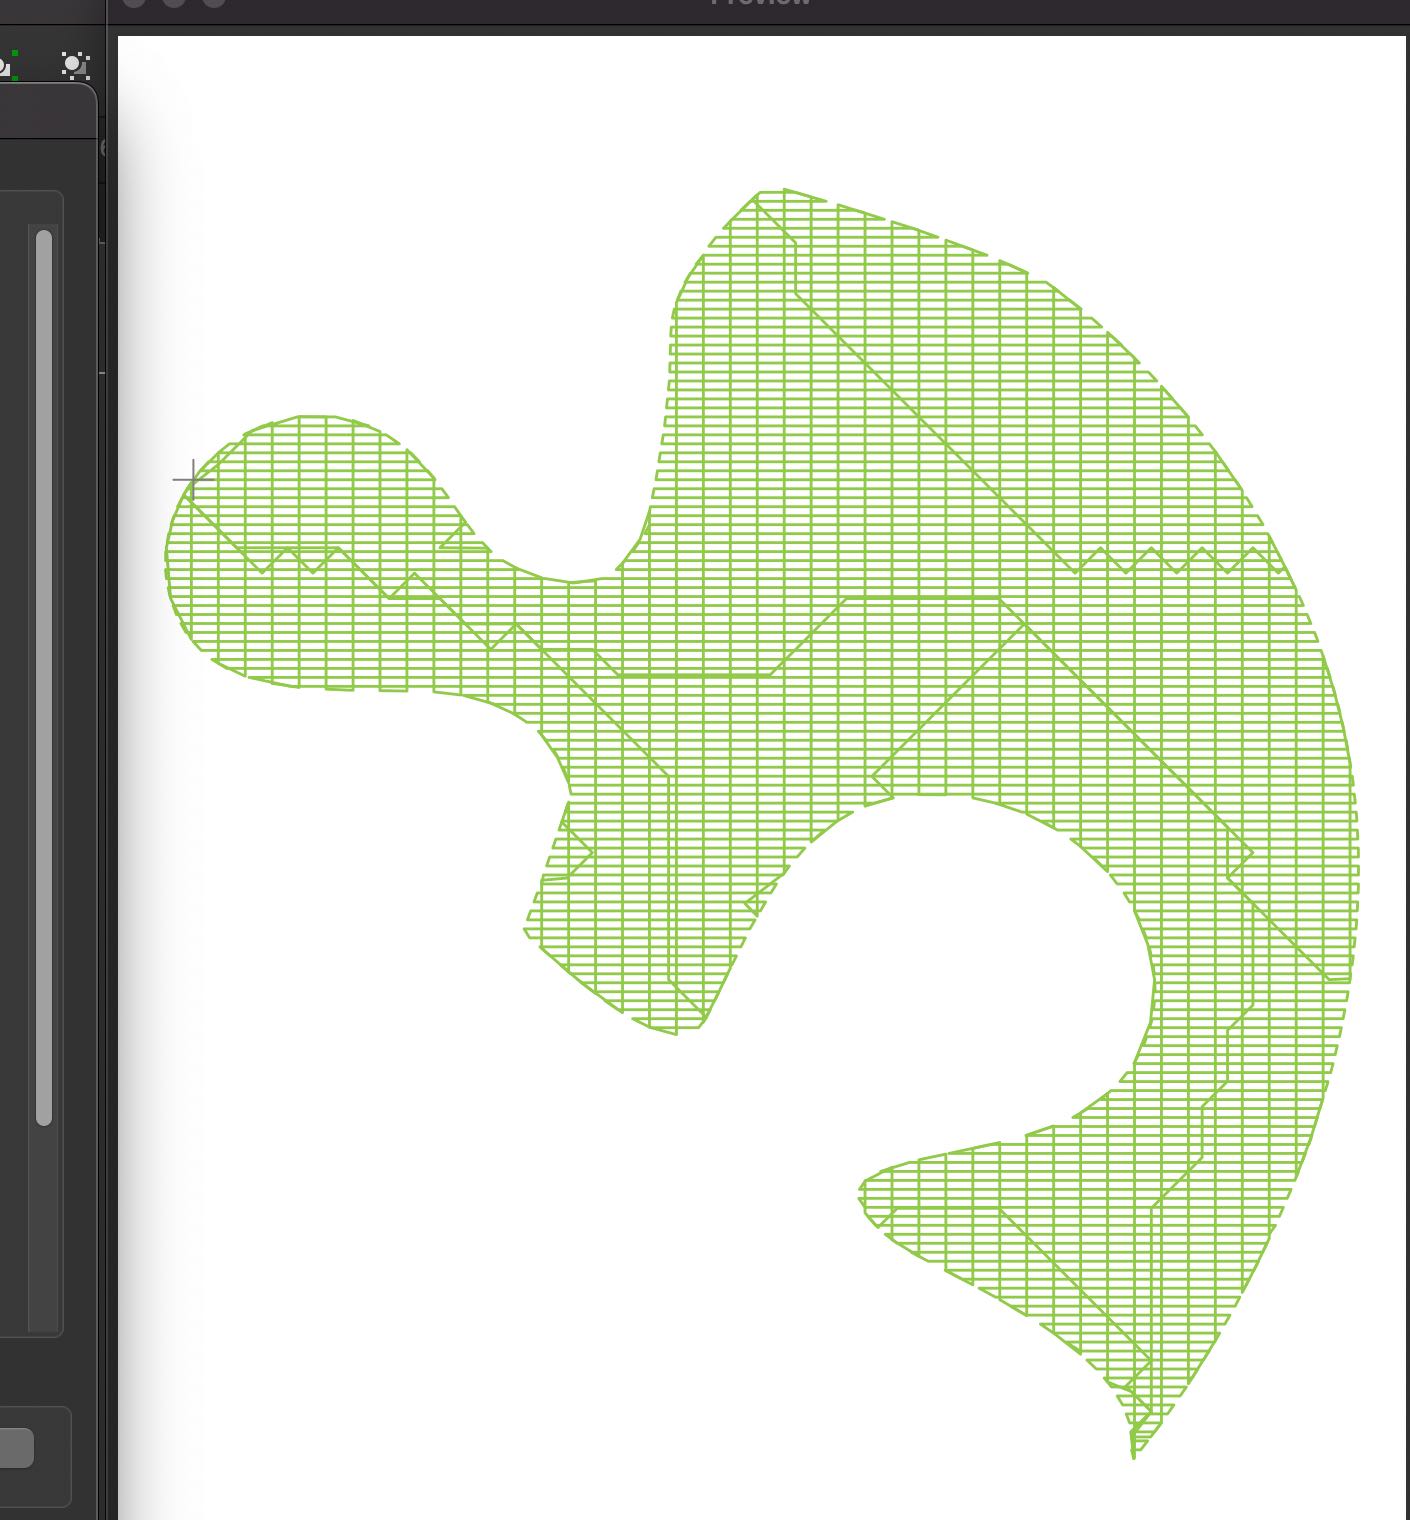
Once you are happy with the params, you should select "Apply and quit". This will generate the toolpath overlay on your original workspace.
Now that there is a toolpath for my embroidery machine to follow, I can export now. To do this, select "File", then "Export". Select the proper file type (from the list at the beginning of this documentation), I selected .pes file. Rename to your desired name, and save it. Export this onto a USB.
Step 2 - Embroidering
First, select the appropriate size hoop and follow the machines instructions to loading your shirt. My hoop requires one part of it inside the shirt(the hoop part with the metal twisting fastener, this tightens the circumference of the hoop), and then you place the other part inside the first part, but over top of the shirt. (See Image and Explanation Below). This essentially pins the shirt between the two parts of the hoop. Use the tightening tool to make sure the shirt is securely attached and will not move during the embroidery process. If your fabric is relatively thin, such as mine, I used a thicker backing in between the first part of the hoop, within the shirt. The second part secures it between so it does not slide around and get misplaced.
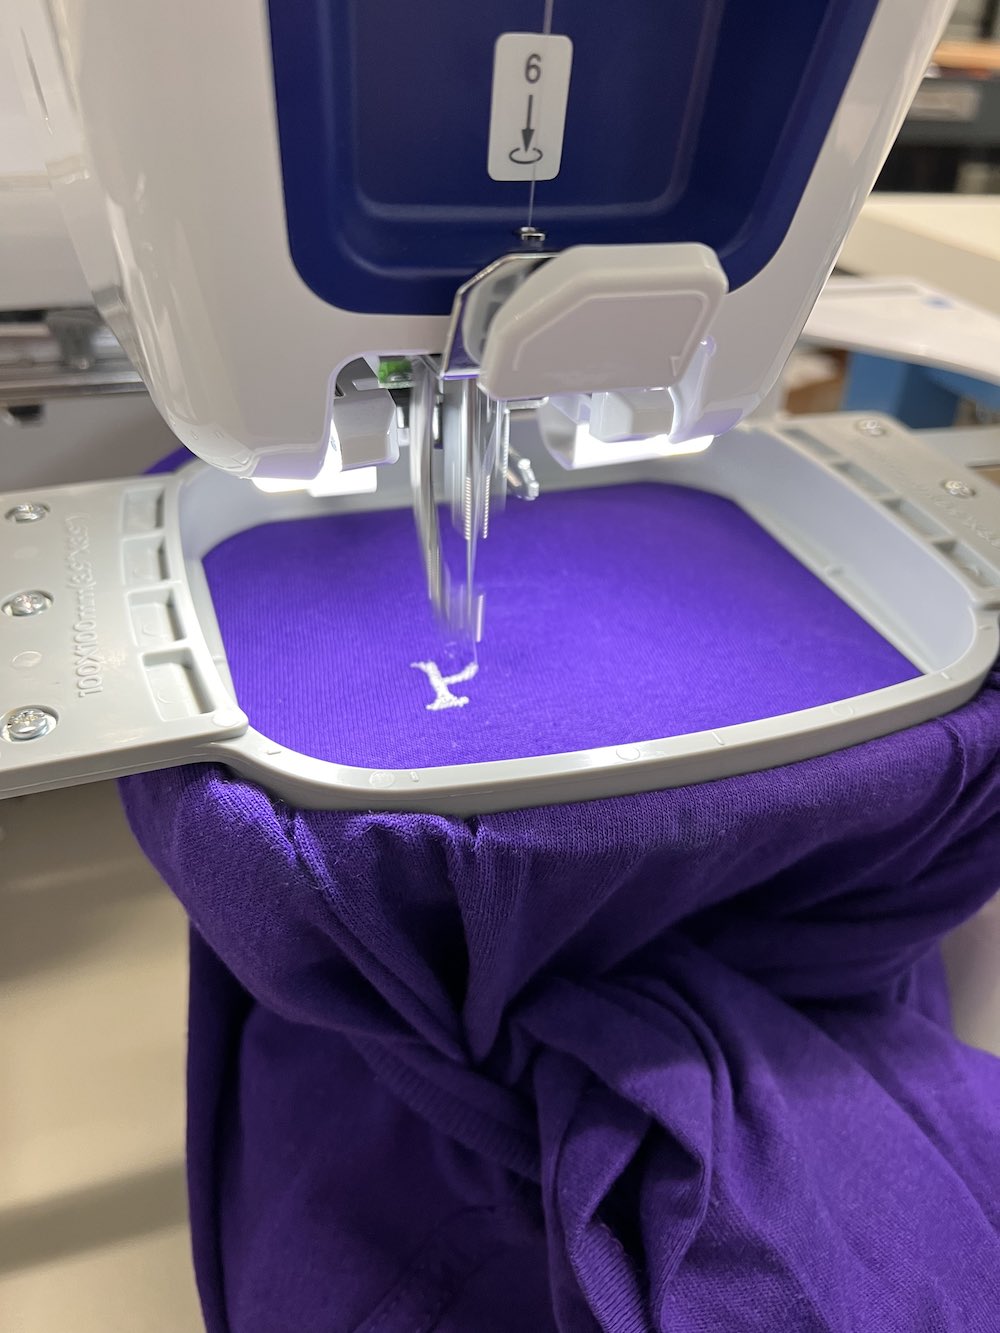
I unfortunately forgot to take a picture while I was loading my shirt into the hoop but I think I will be able to explain a little more detail here. In the image, you see the purple shirt, with a grey rounded-square hoop on it that has two thick gray "wings". This is the second part of the hoop. The first part is inside the shirt, but on the exterior of the hoop part you can see.
Once you secure your fabric into the hoop, slide the hoop arms onto the embroidery machine feet that protrude outwards. There are two holes and slots on the sides of the hoops that will slide in and match two prongs on the machine.
Load your thread, and follow along the numbers on your machine to ensure your thread is threaded properly. Load your thread color onto your bobbin and secure in place. When you are threaded, and your project is loaded into the hoop and foot on the machine, you are ready to go!
One thing to watch is your fabric on the foot. Make sure only the desired area is in between the needle and foot attachment with the bobbin. If the front and back of your shirt is in between, your machine will embroidery your shirt closed. Doesn't make for a very functional shirt...
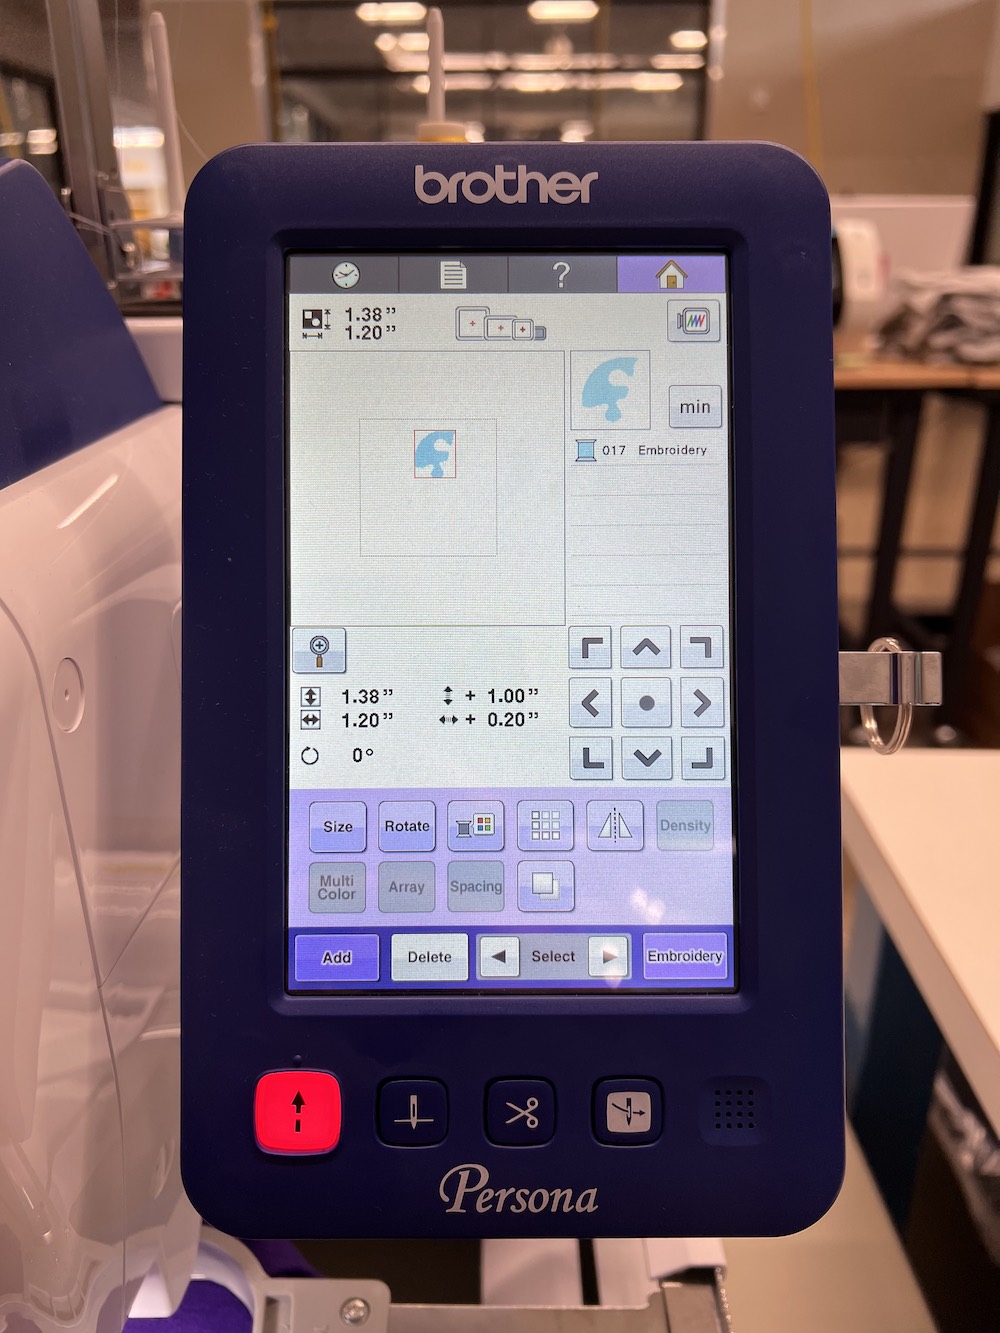
Plug your USB with your file into your machine. Follow the prompts to view your files, then select which one you would like to do. You can further adjust size and location now. When you are all set, double check your threading and press the go button. Your machine will start your embroidery.
PAST Logo PES File Download