Molding and Casting
Assignment to be done:
1.Group Assignment:
Review the safety data sheets for each of your molding and casting materials,
then make and compare test casts with each of them
Extra credit: try other molding and casting processes
To be found here
What I have learned from group assignment
In our group assignment, We separated the materials and tested their properties.They are variety of materials and among them I can say HydroStone, Silicon Rubber, FlexWax, Machinable Wax, Epoxy Resin, and Paraffin Wax.

Above photo shows some of the materials
While molding and casting, they are different parameters to be considered such as Room temperature cure,viscosity,mechanical properties and chemical resistance.
Mouldsil-15 PLUS contains constituents that have been found to be safe. Hence special handing precautions except general industrial hygiene need to be followed. Catalysts (CAT-24, CAT-16 and CAT-04) contain organo-tin compounds and are flammable and might cause irritation upon contact with eyes and skin. Adequate protective measures are recommended. Refer to Material Safety Data Sheet (MSDS) for safe use of the product Material safety data sheet
Design a mould around the stock and tooling that you'll be using, mill it (rough cut + three-axis finish cut), and use it to cast parts
Extra credit: use more then two mould parts
Safety Data Sheet of molding and casting materials to be used
I used a Wax to form a mould and Beeswax to be melt or liquefied so that will be putted into mould to shape my designed model.
1. Wax(Matt wax bars)
Wax is a type of organic compound that is solid at room temperature but can be melted by heat.
Wax is commonly used in molding and casting processes. It can be employed in different forms depending on the specific technique and desired outcome.
Here I can say: 1. Avoid direct skin contact with hot wax. Wear heat-resistant gloves or use barrier creams to protect your skin,
2. Properly store wax materials in a cool, dry place, away from direct sunlight or sources of heat, 3. Be cautious of the temperature of the molten wax. Hot wax can cause severe burns. etc for more information on safety data sheet of Matt wax bars refer to Safety data sheet of Matt wax bars
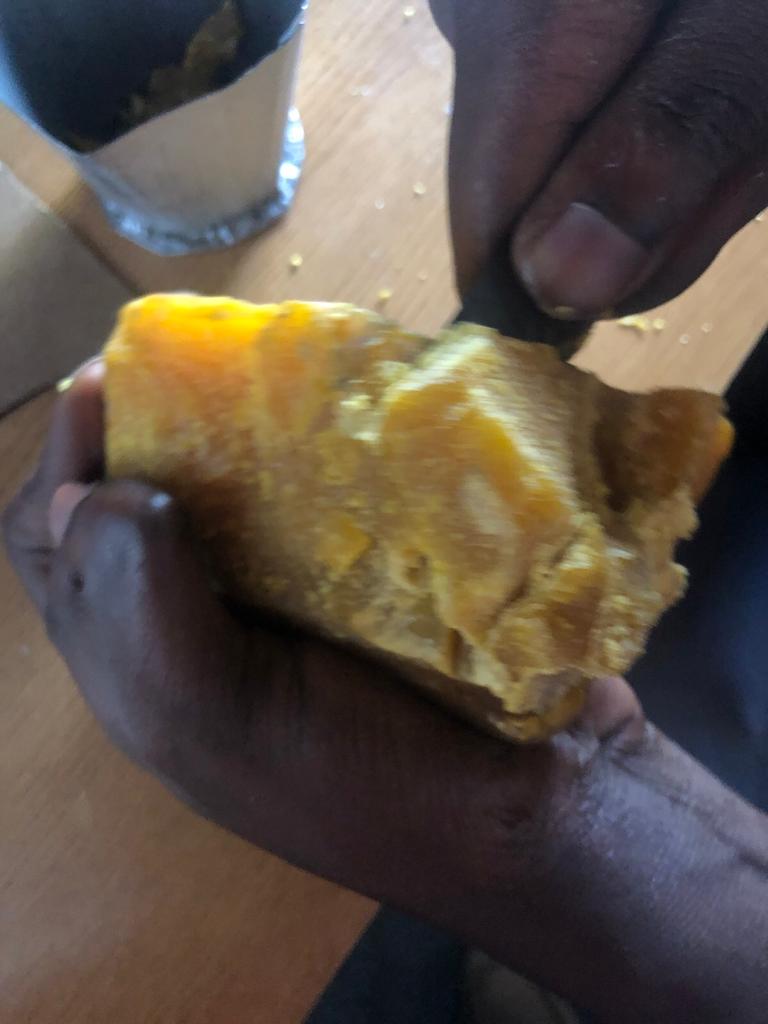
2. Beeswax
Beeswax, a natural wax produced by honeybees, possesses several unique properties that make it useful in various applications.
Beeswax has a relatively high melting point, typically ranging between 62 to 64 degrees Celsius (144 to 147 degrees Fahrenheit). This property allows it to remain solid at room temperature but melt easily with moderate heat. For more information about safety and data sheet of BeesWax refer to Safety and datasheet of BeesWax
The following Image is of BeesWax to be used:
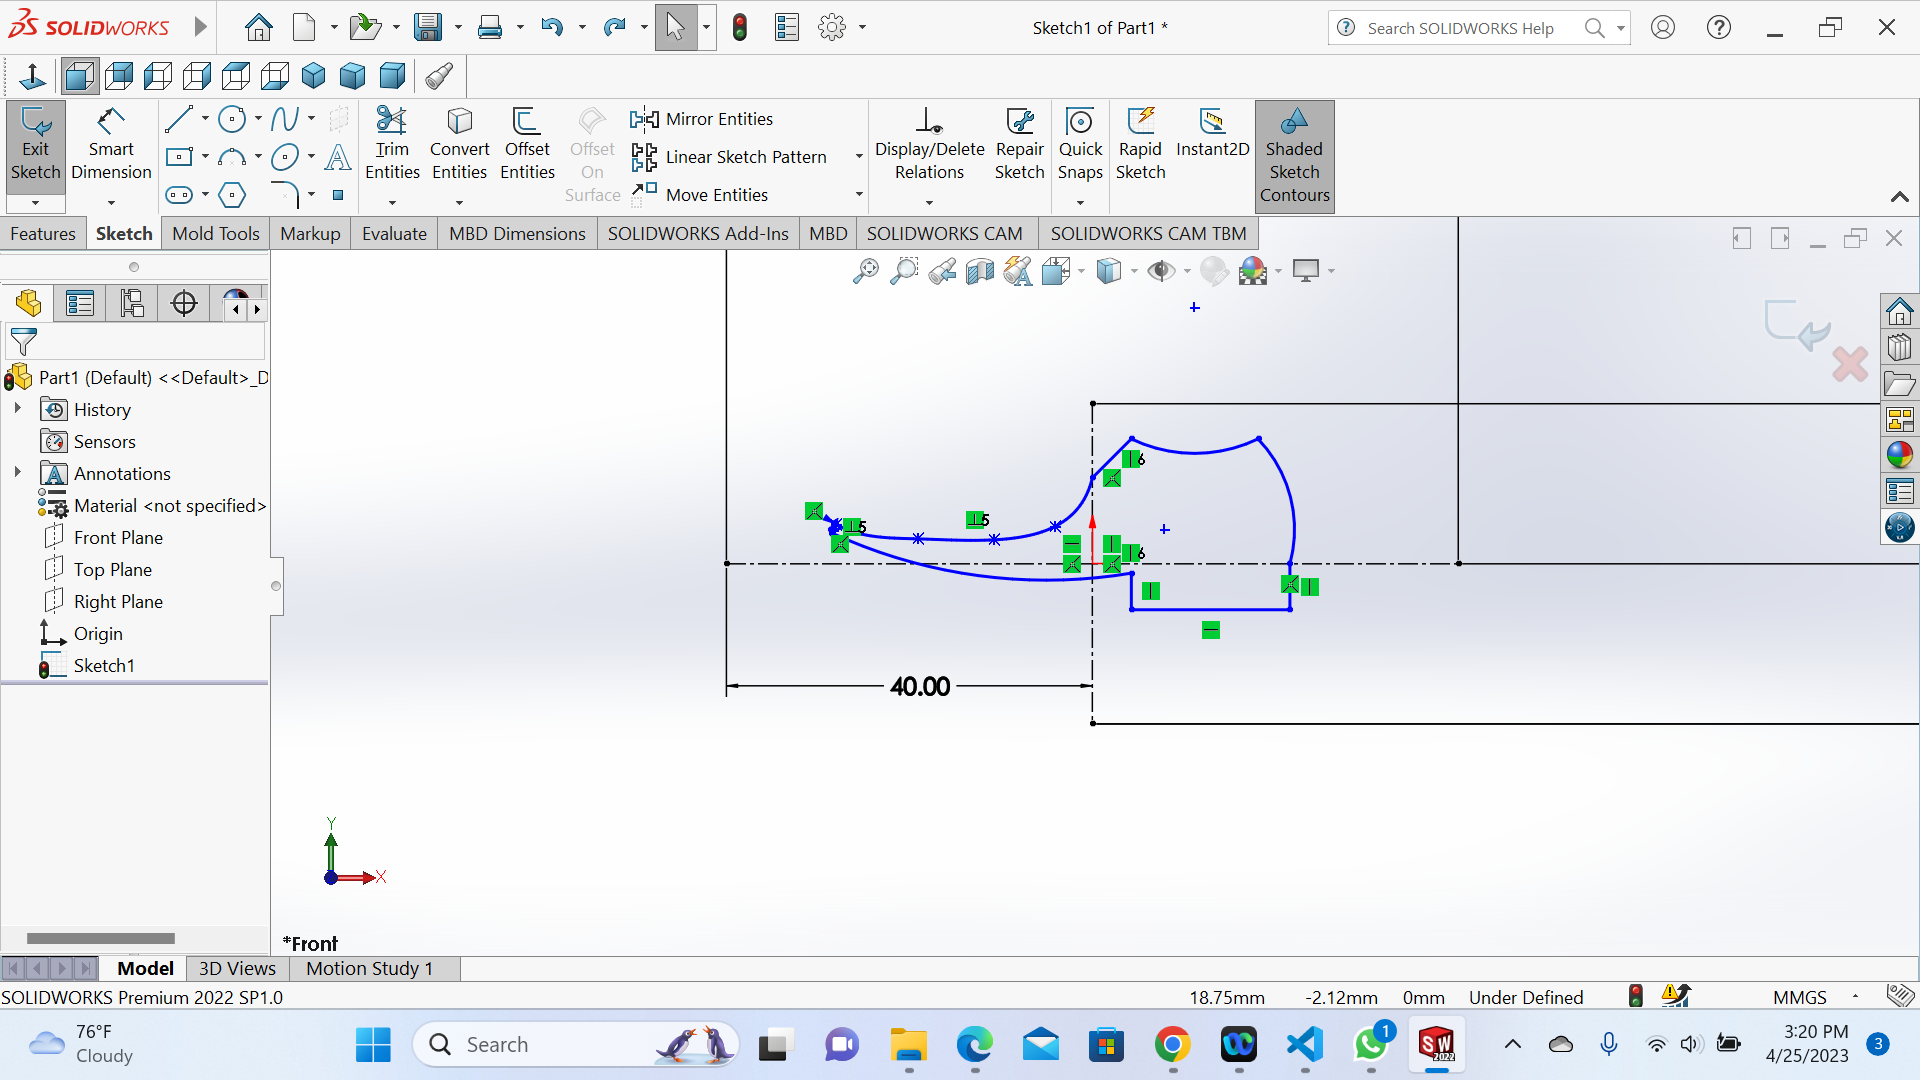
I have been inspired by the shoe and I started designing it in solidworks.Image below shows the dimensioning my shoe
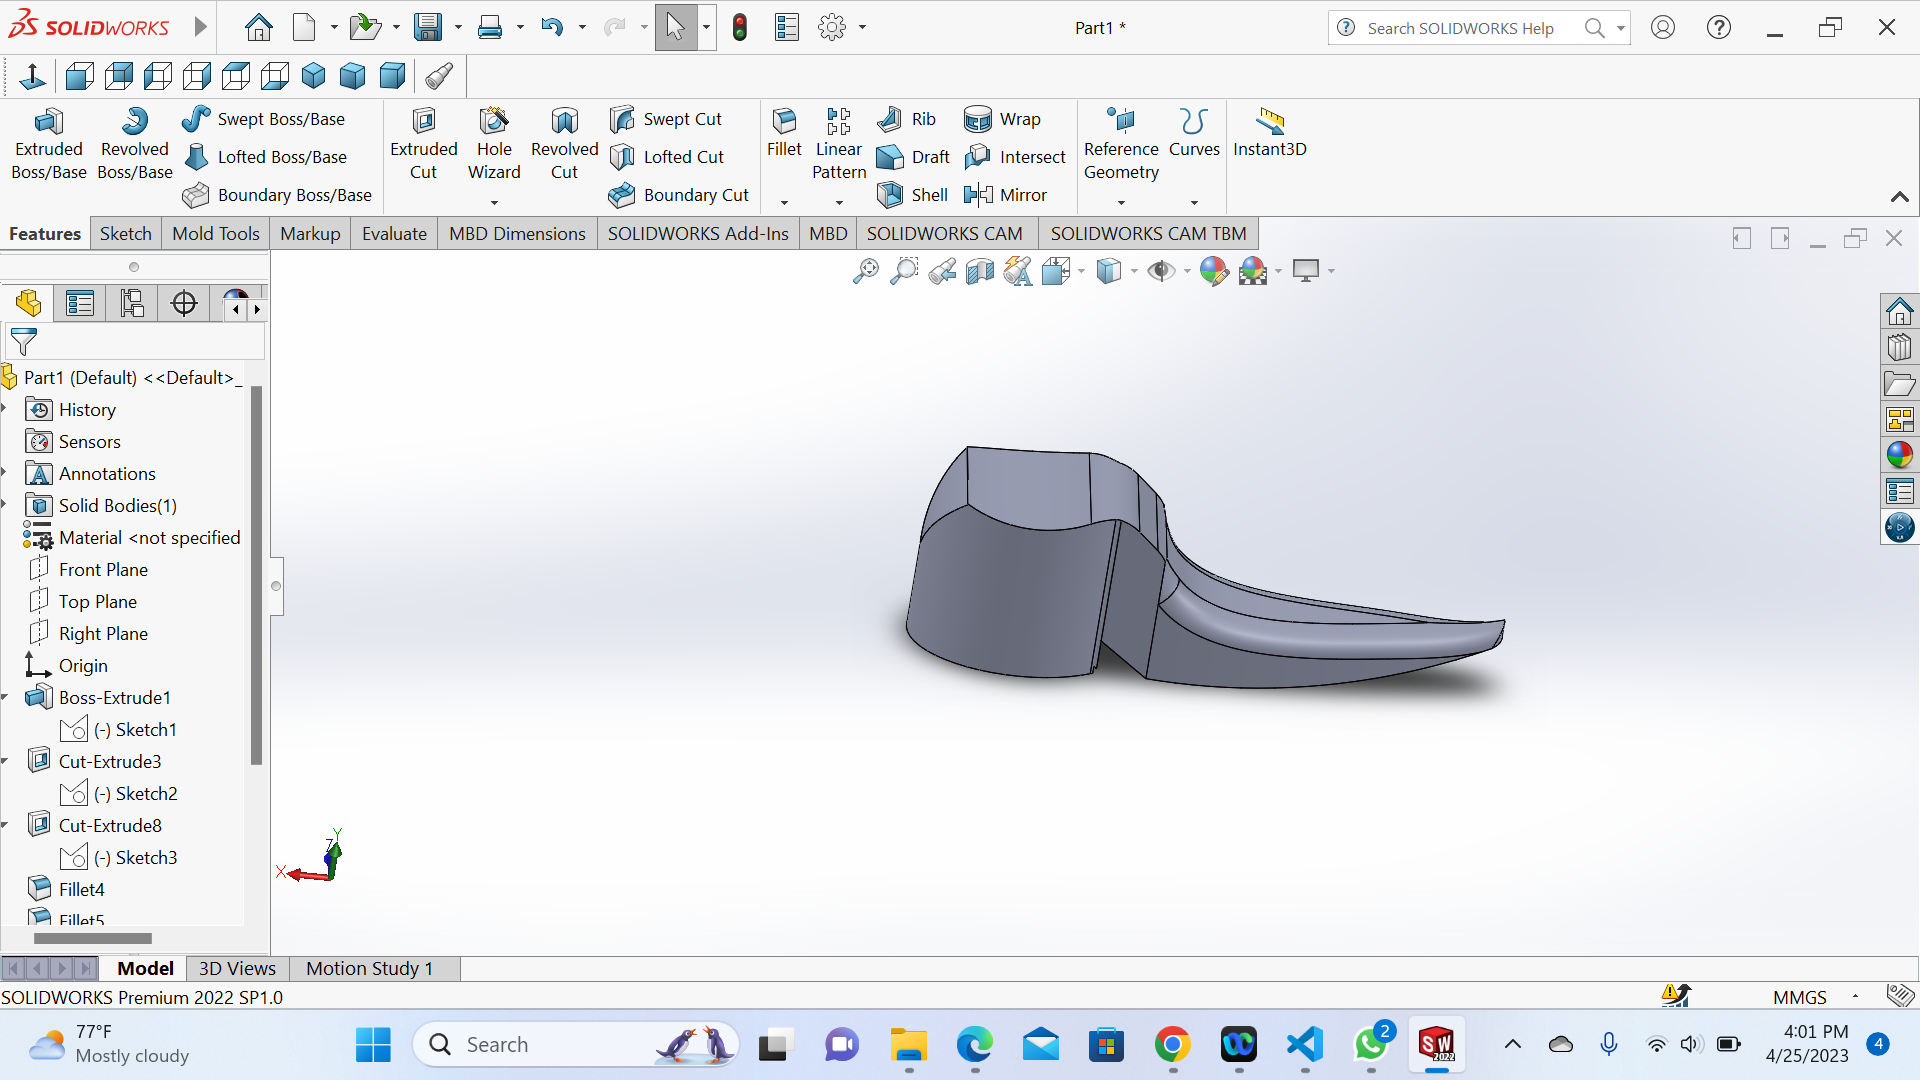
After givinging it the dimensions, I extruded it to see its shape in 3D or to see how it looks like as shown below


Then my final shoe in black colored out and with an other color inside is designed. The next step will be the design of the molde where the melted material will be inserted to form my shoe!!!


As I want to molde my pattern, the two parts of molde will cover it both side equally, that is why I cutted my pattern into the middle in order to make the two sides of molde which will be brought together like in opposite, this is shown in the following image

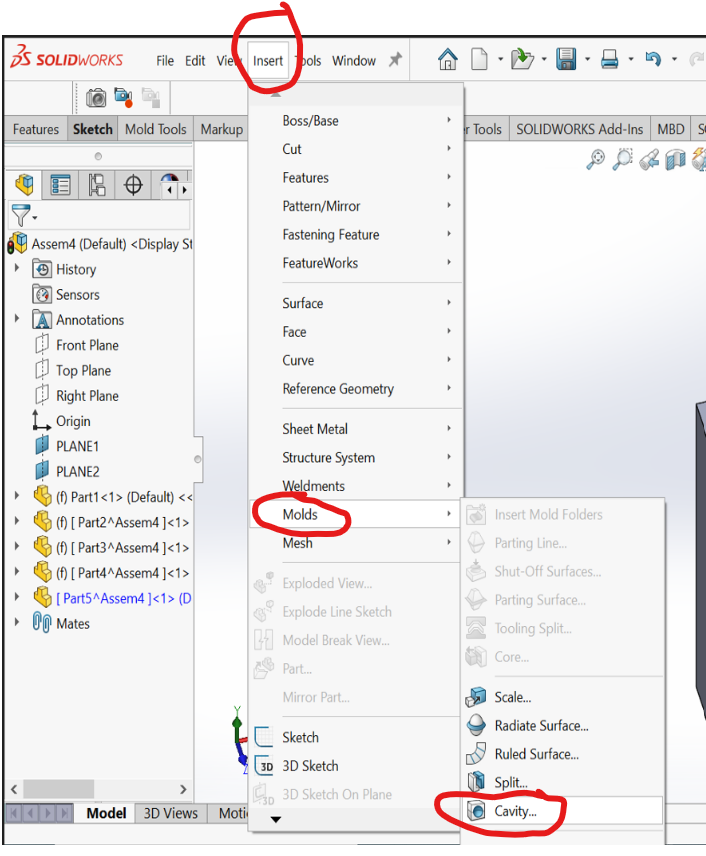
After inserting the cavity on my part, I positioned my pattern into the middle of the molde's part,and draw the holes on both sides where the slots from other part will be inserted or fitted. And the one big hole where the liguid will be inserted.
Image bellow shows after insterting the hole with extrude boss

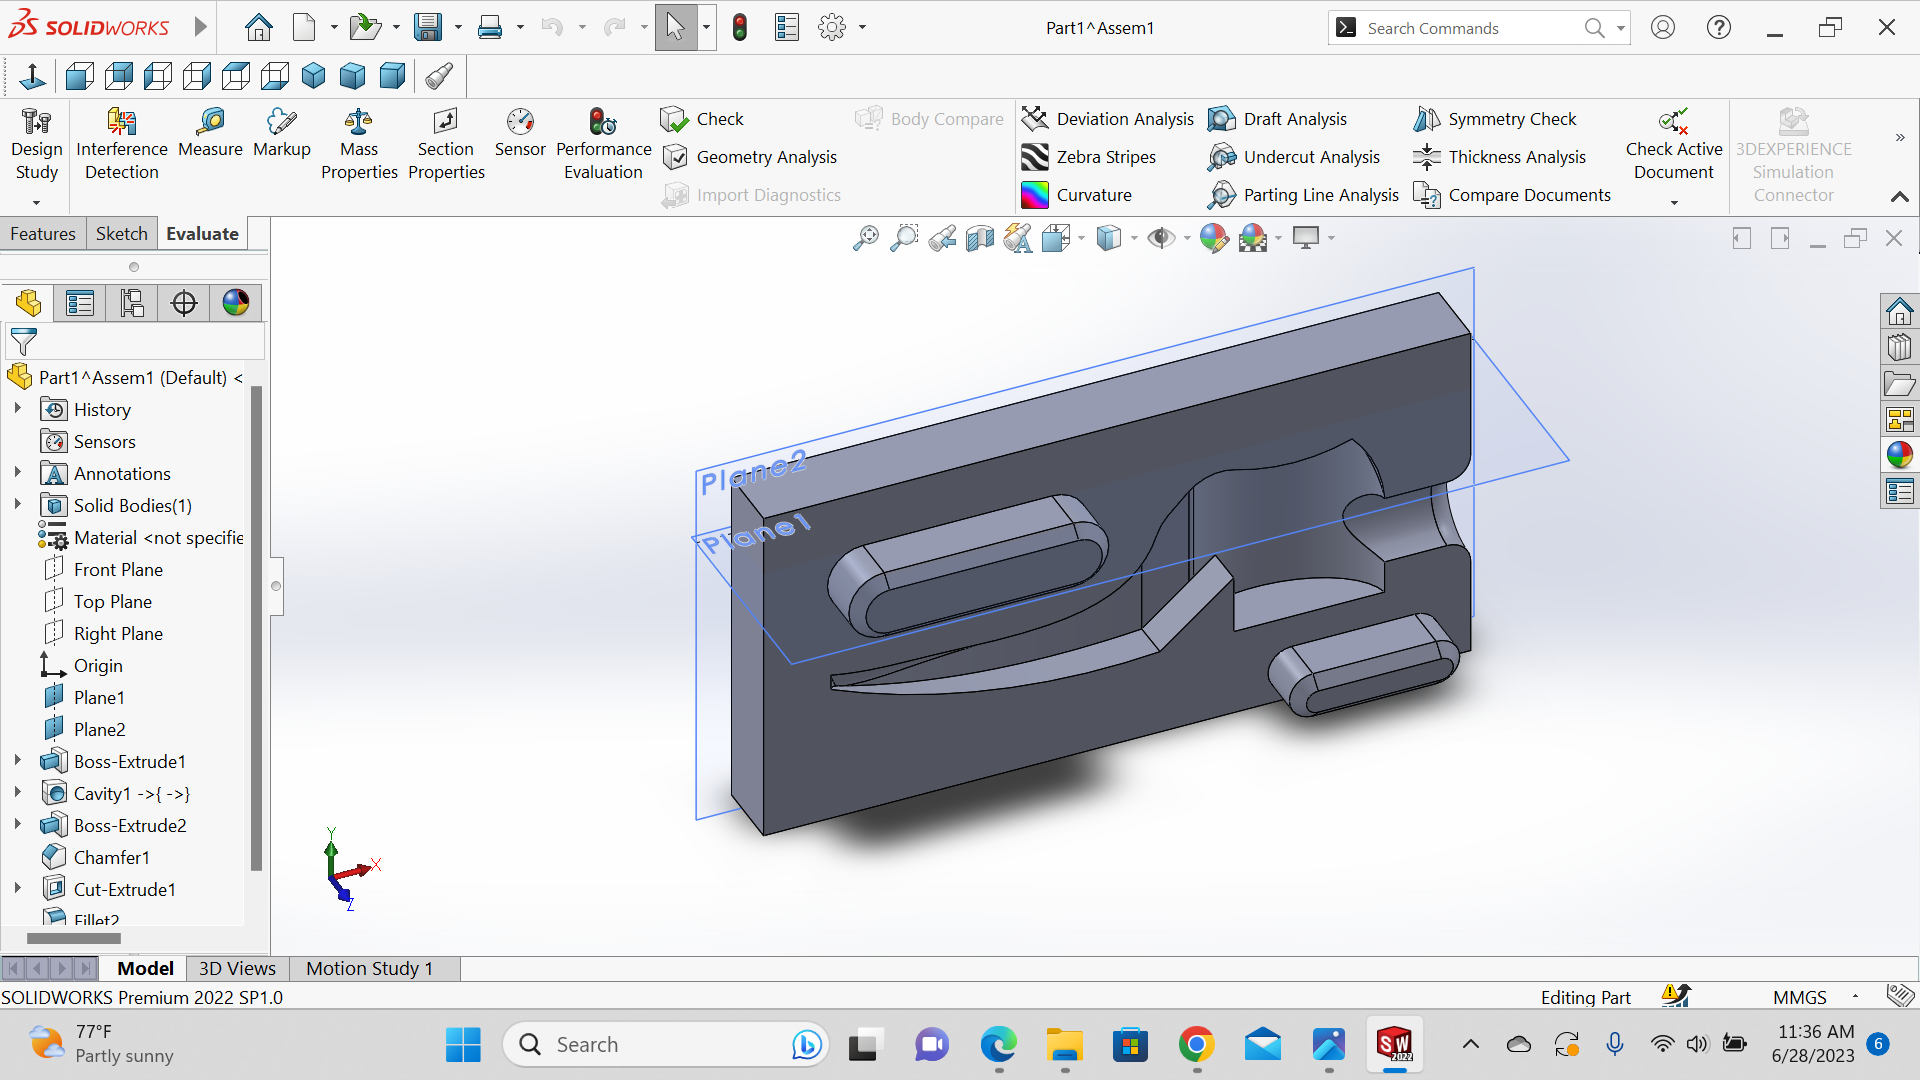
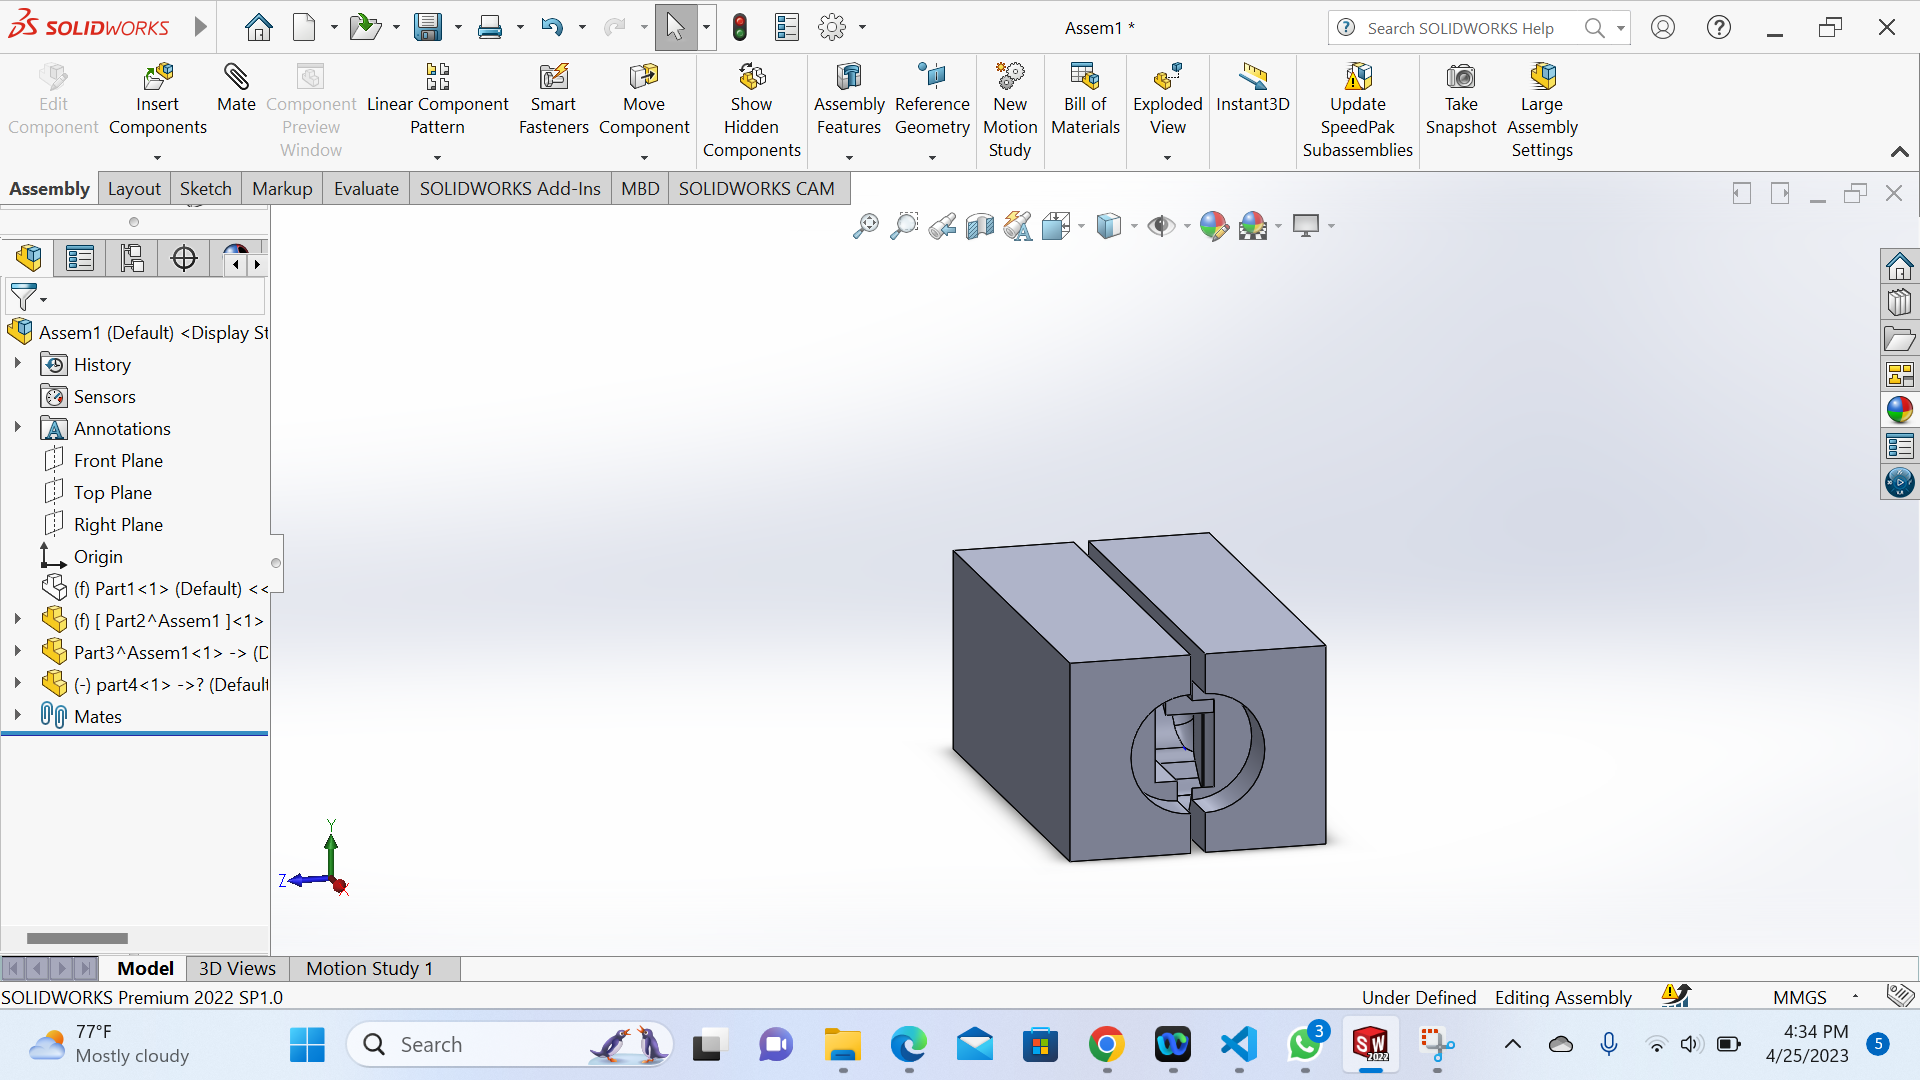
And then I assembled the two parts of my mould with the big hole on the top where melted liguid will be flowing to form my pattern.
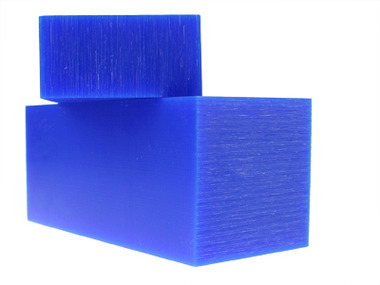
Wax Material
Waxes are a diverse class of organic compounds that are hydrophobic, malleable solids near ambient temperatures. They include higher alkanes and lipids, typically with melting points above 40°C, melting to give low viscosity liquids.
Because the surface of the wax was not smooth, firstly I started by leveling its surface
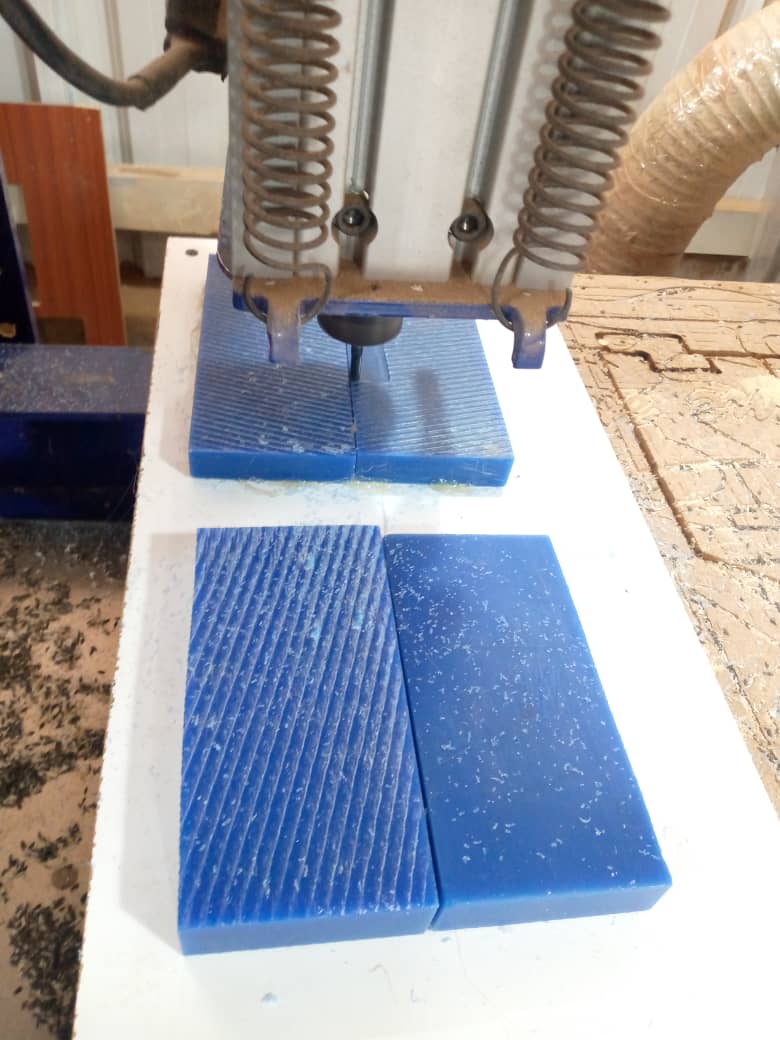
After design, the next is creating the designed cavity of my pattern by cutting with CNC milling machine
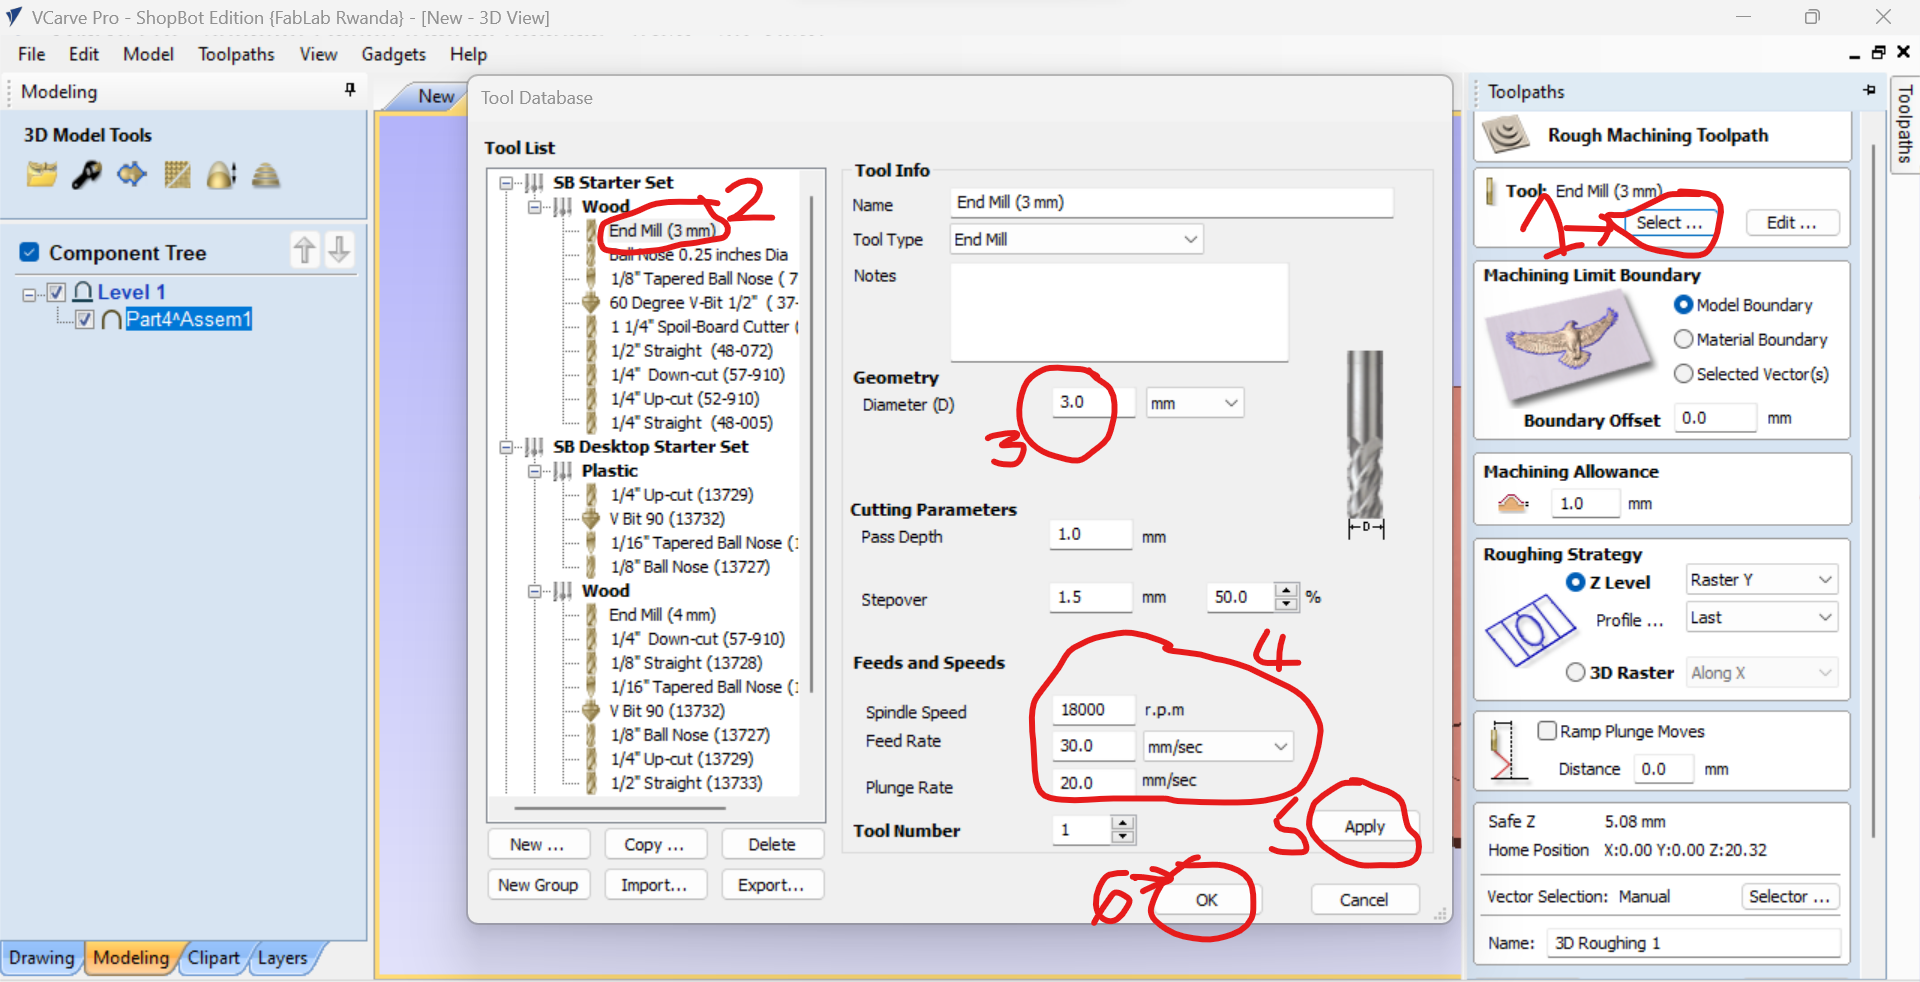
Firstly, I saved my model's file with stl extension to be read by the machine

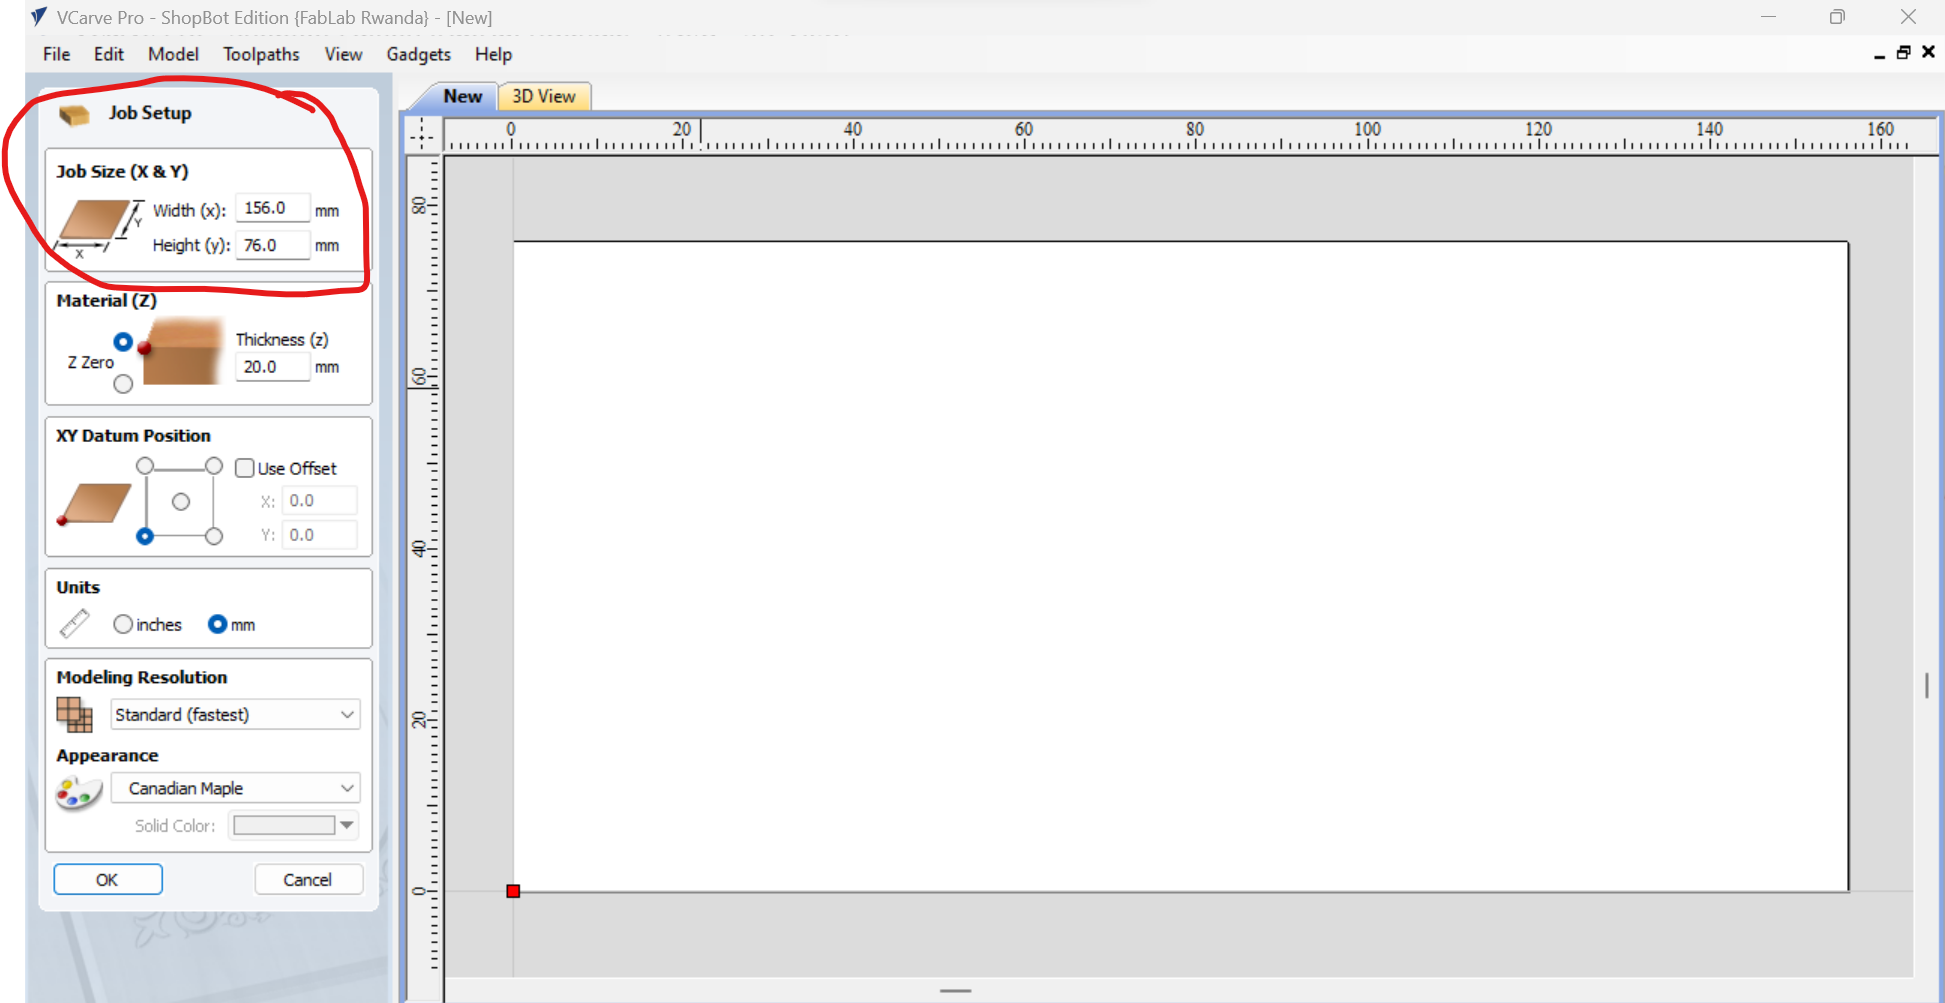
By openning the file, the firt step is to set the job size or the size of my work piece(wax) as shown with the image below
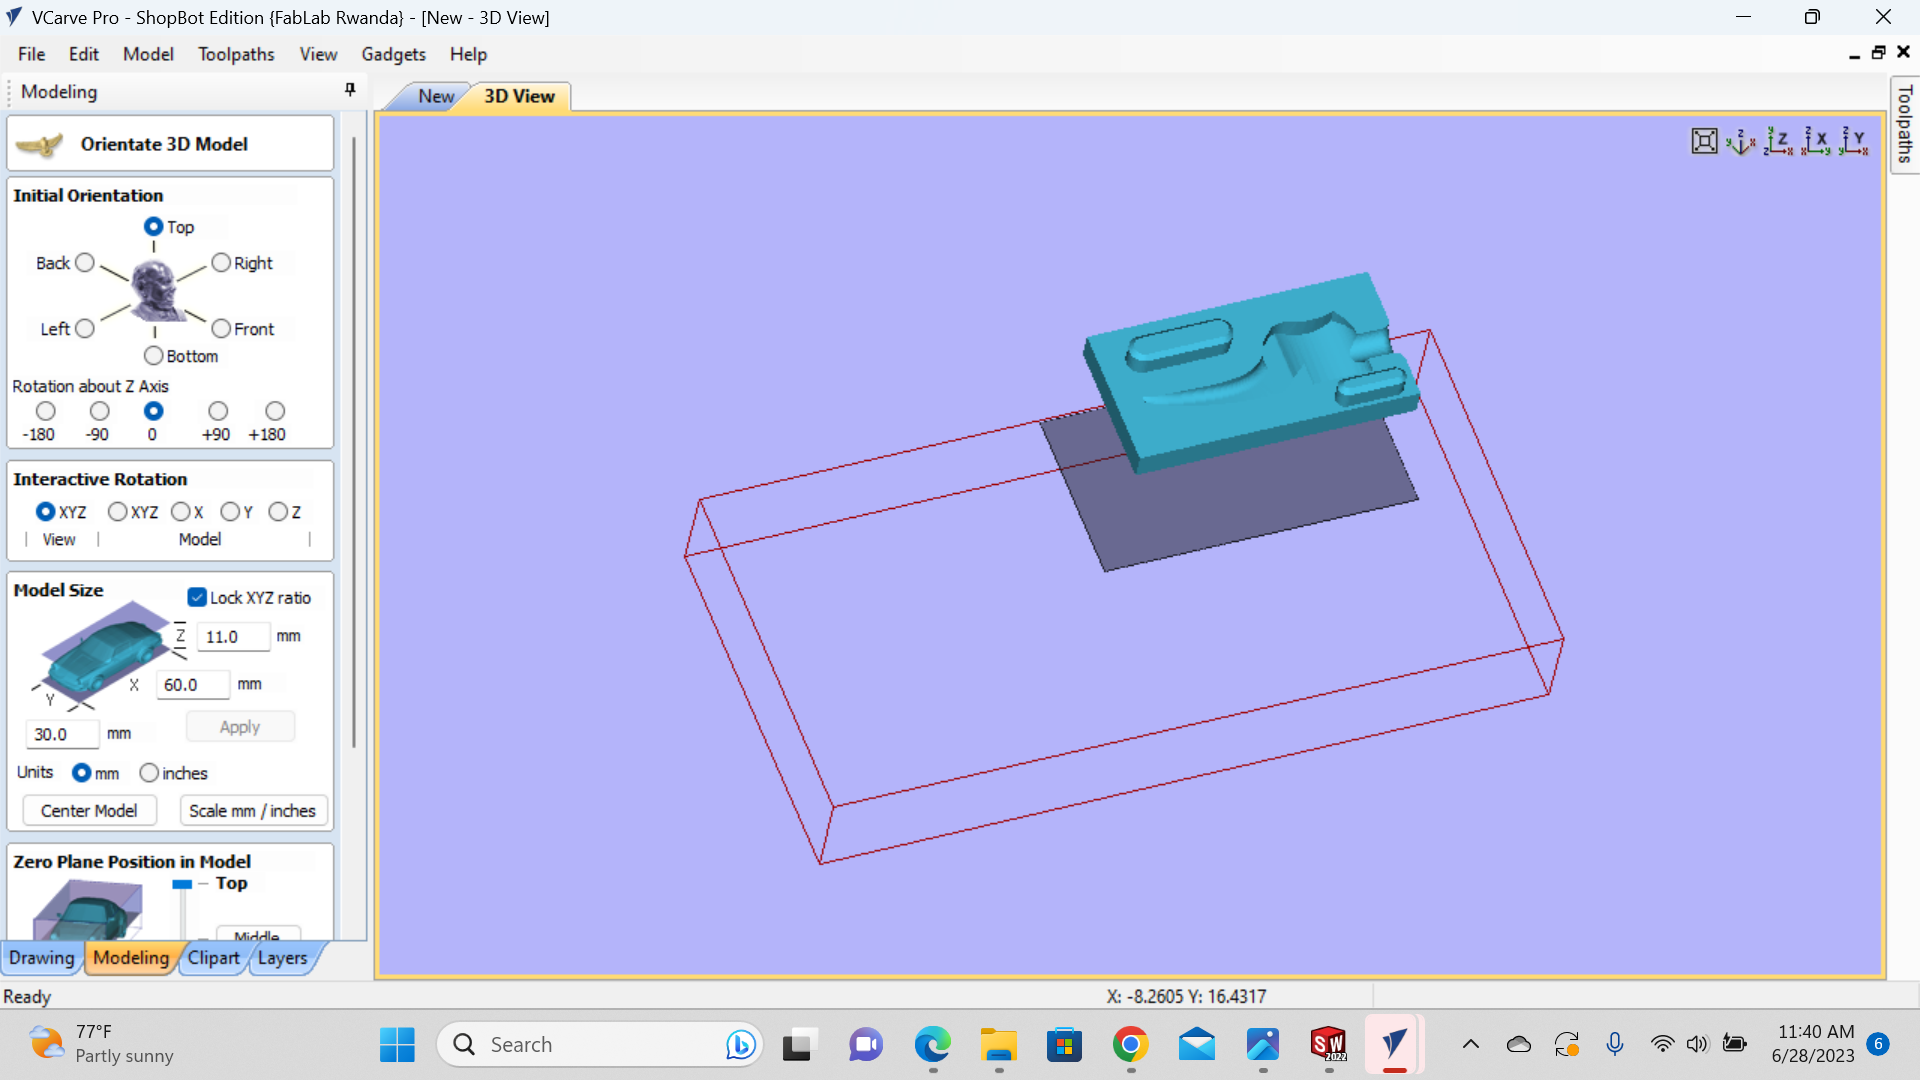
Then I import my 3D model file and stetting its toolpath

After opened, you model it however you want and the click ok
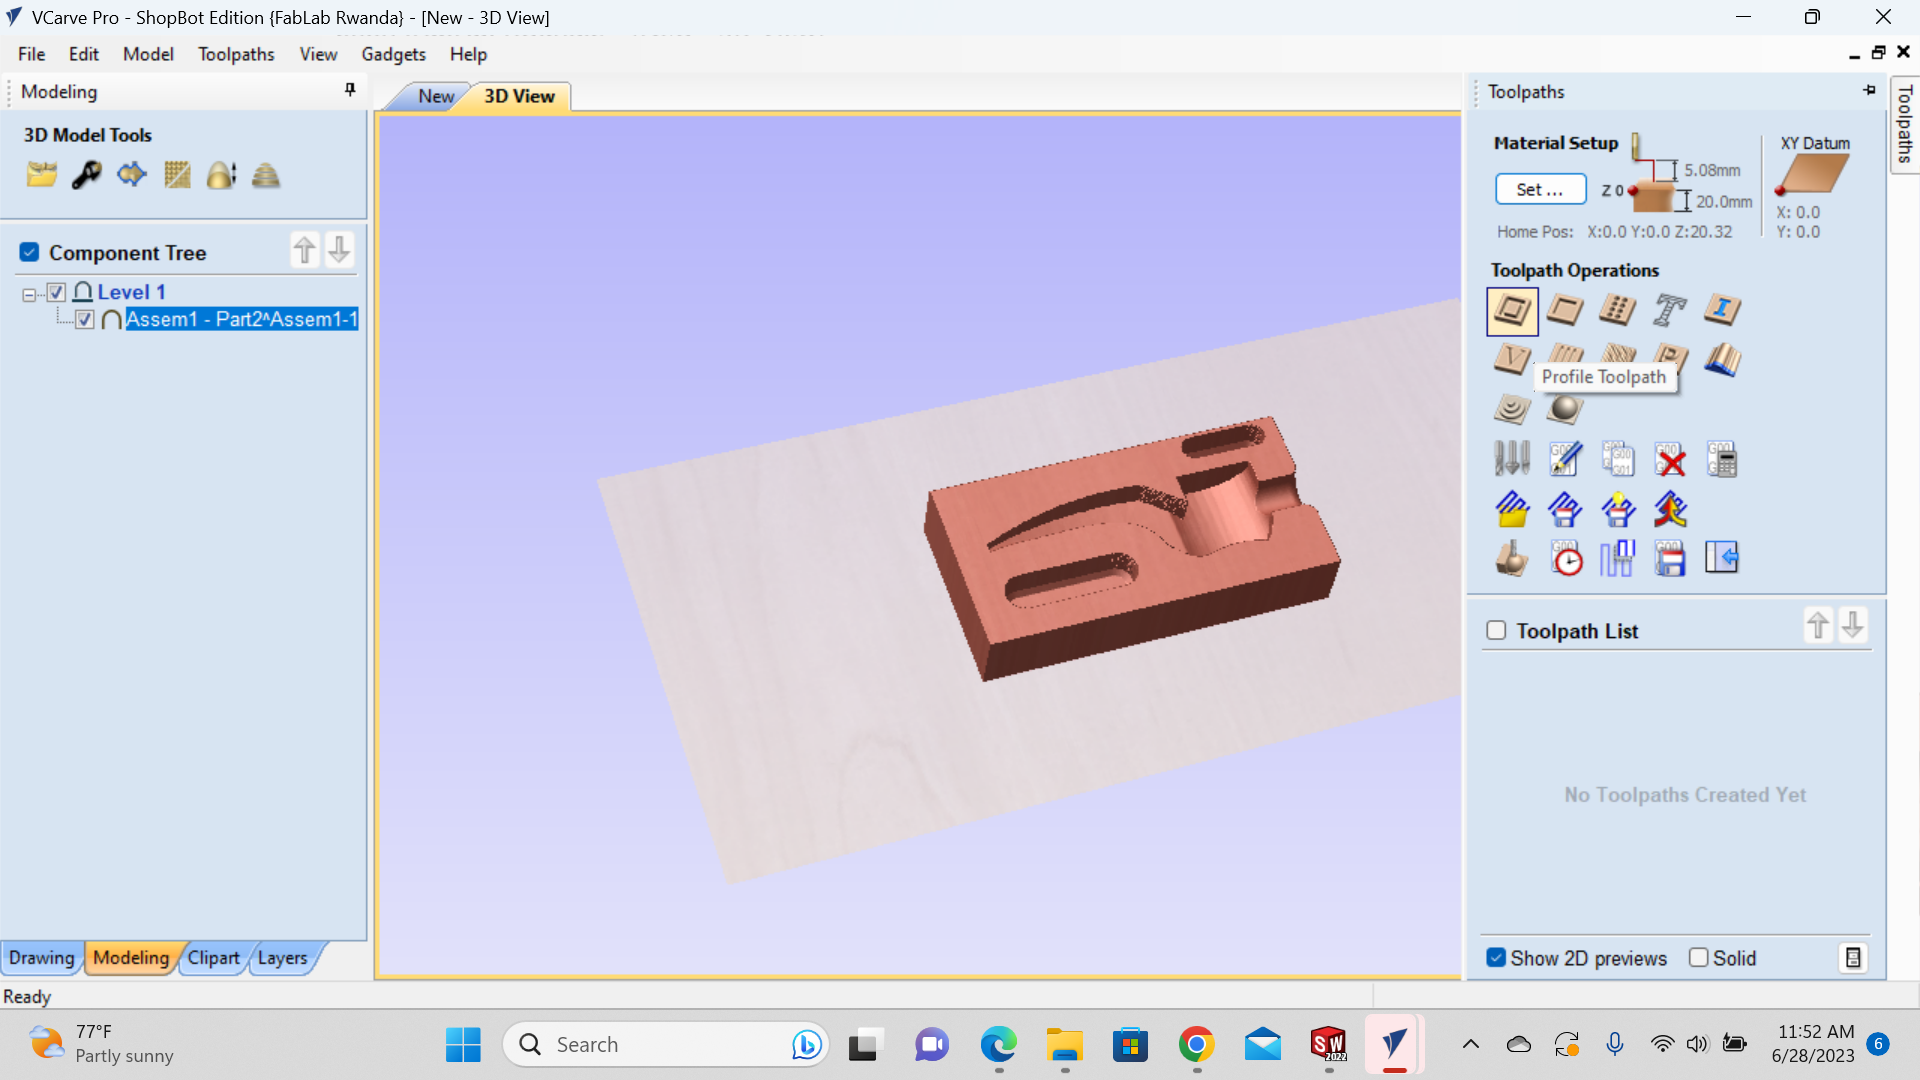
The next is setting the toolpath by clicking on the toolpath in the up corner as we are dealing with the 3D model, you choose 3D roughing toolpath as shown in the image below

In the material set up, you set the thickness then click ok
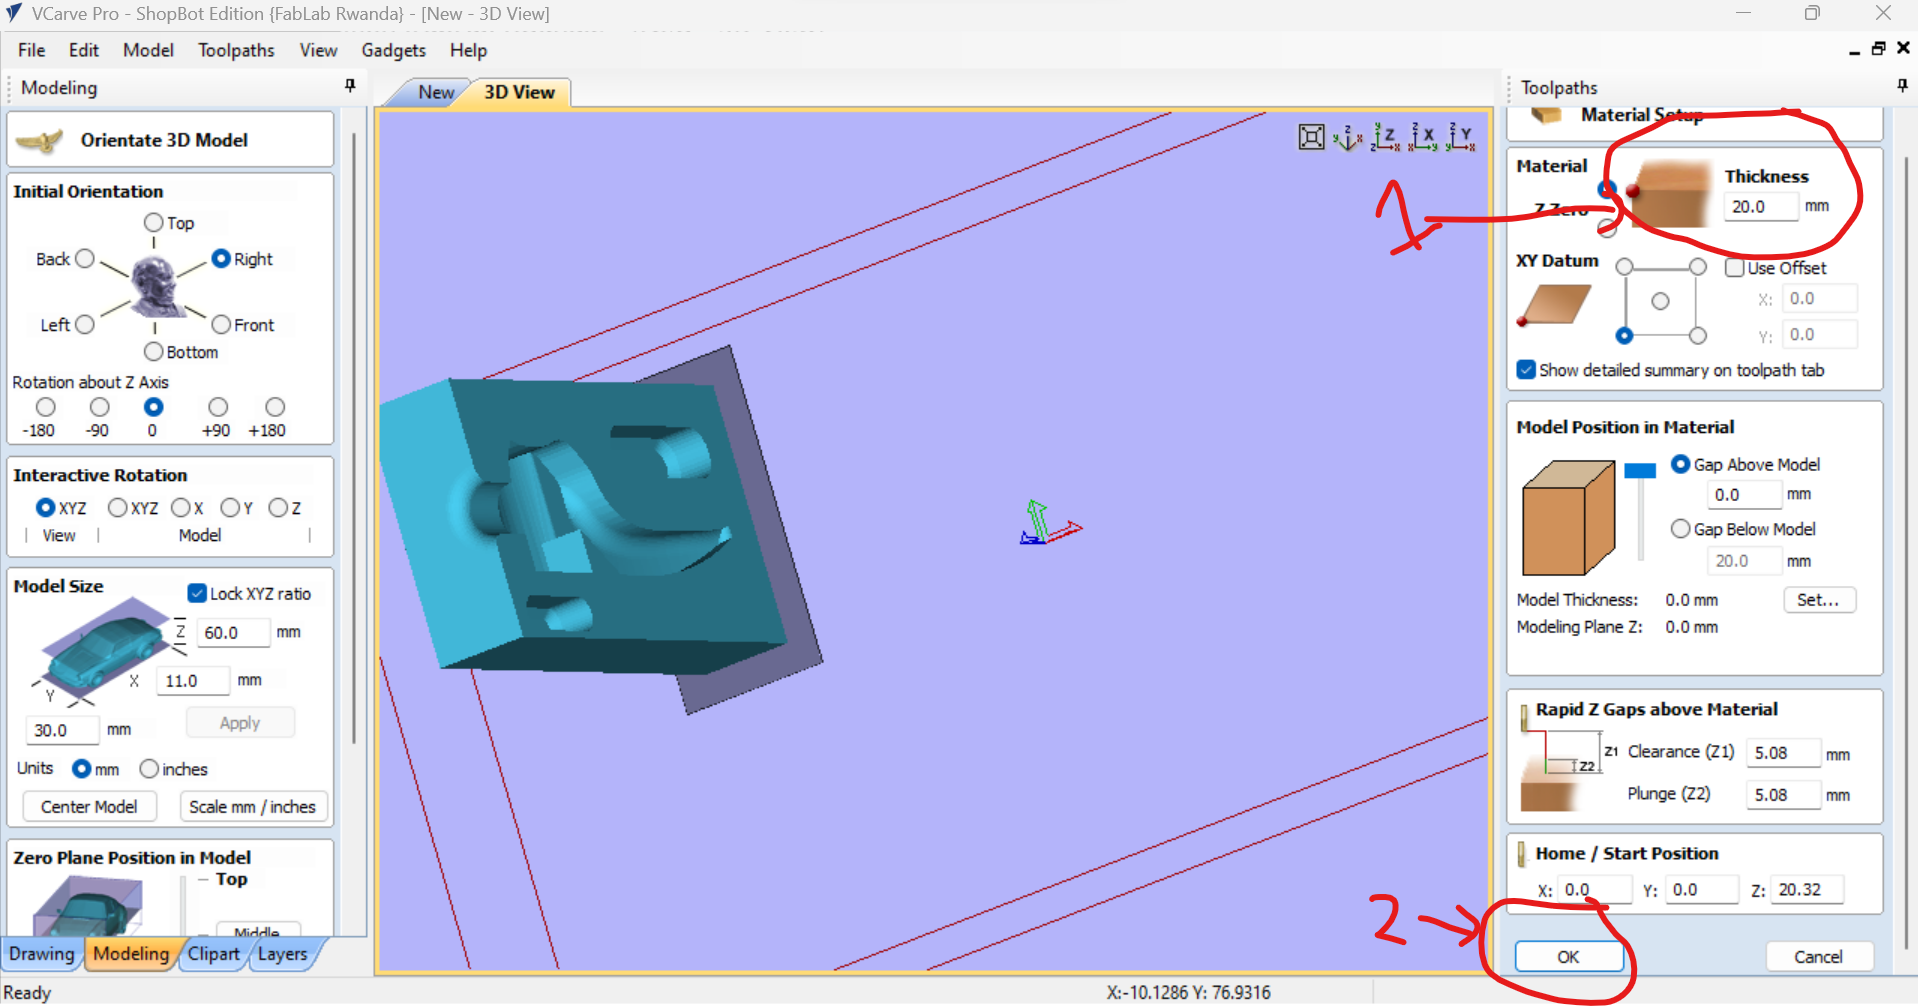
After this, you select the milling tool size(diameter),feeds and speed rate, then click on apply and ok, then click on calculate in the down right corner and save the toolpaths to file

The higlighted parts in the following image shows the molds:

Oven to heat the wax in order to be liquified
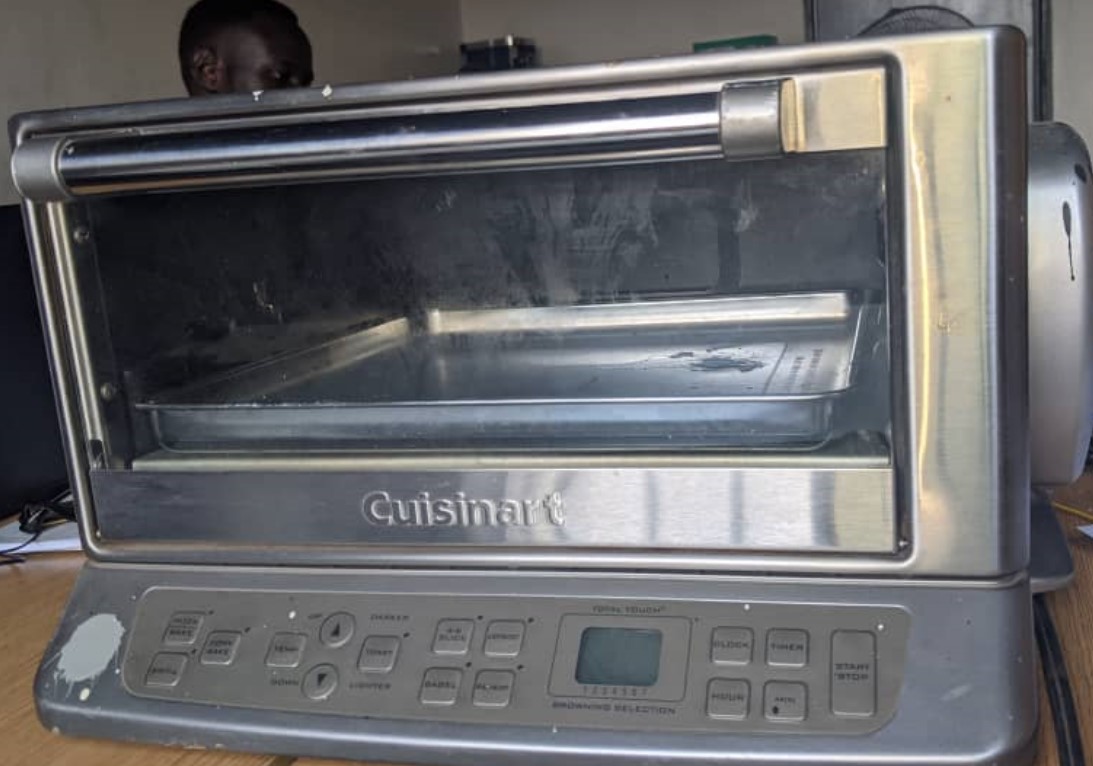
Wax to be melted

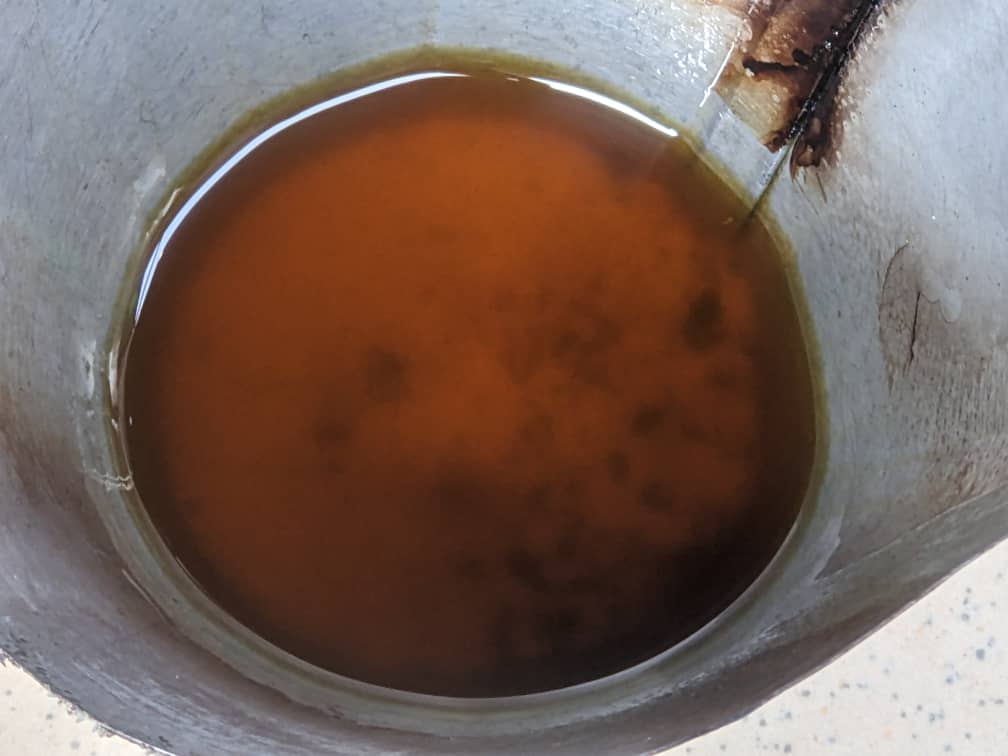
Liguid of wax which has been liguidified to be used:
Video when putting the melted wax(liquid) into my mould
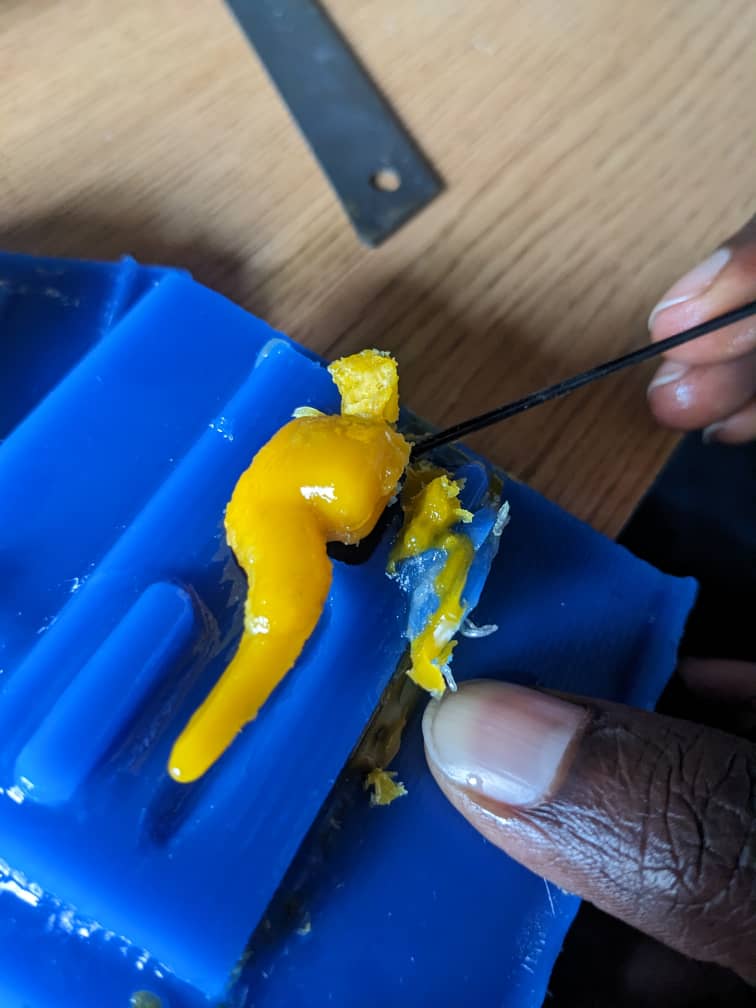
Down here is when opening the mould in order to remove my casted shoe!!!
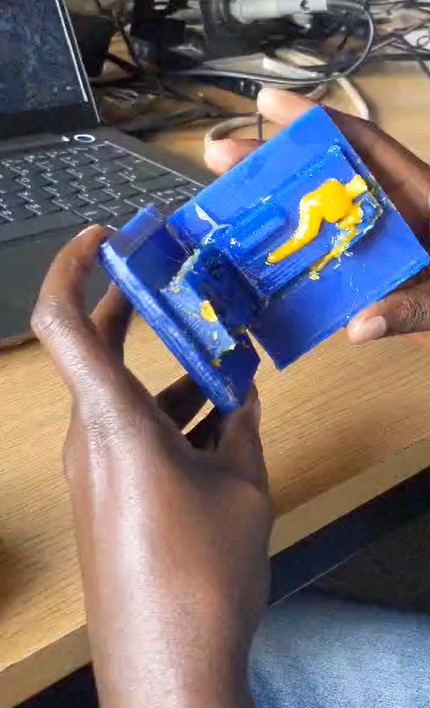
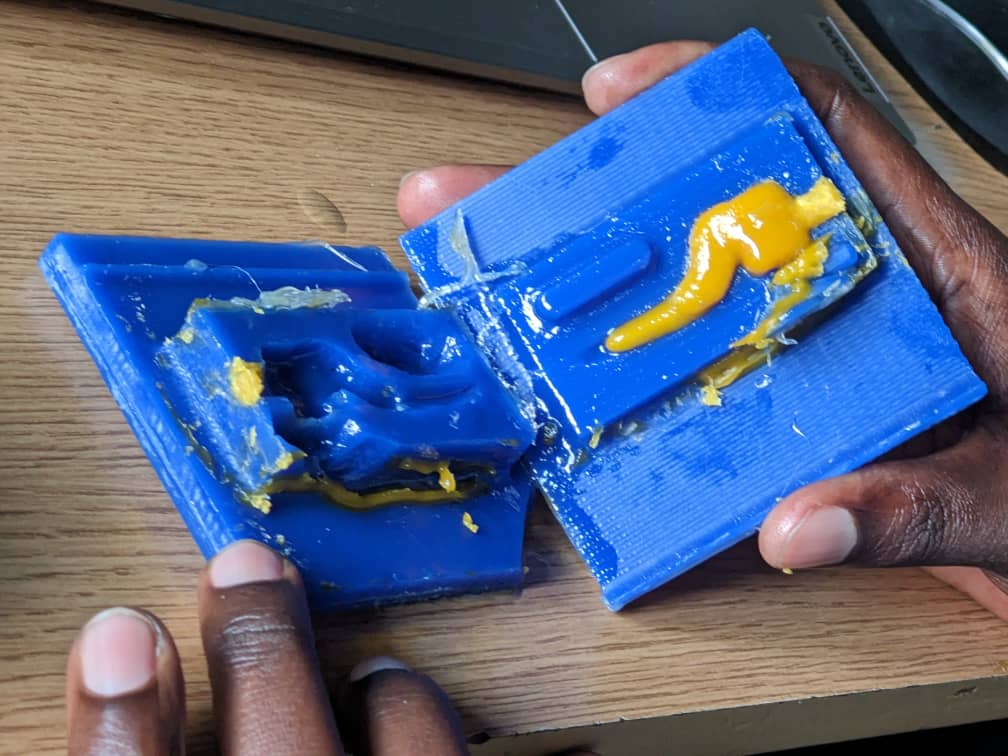
Removing the shoe into mold
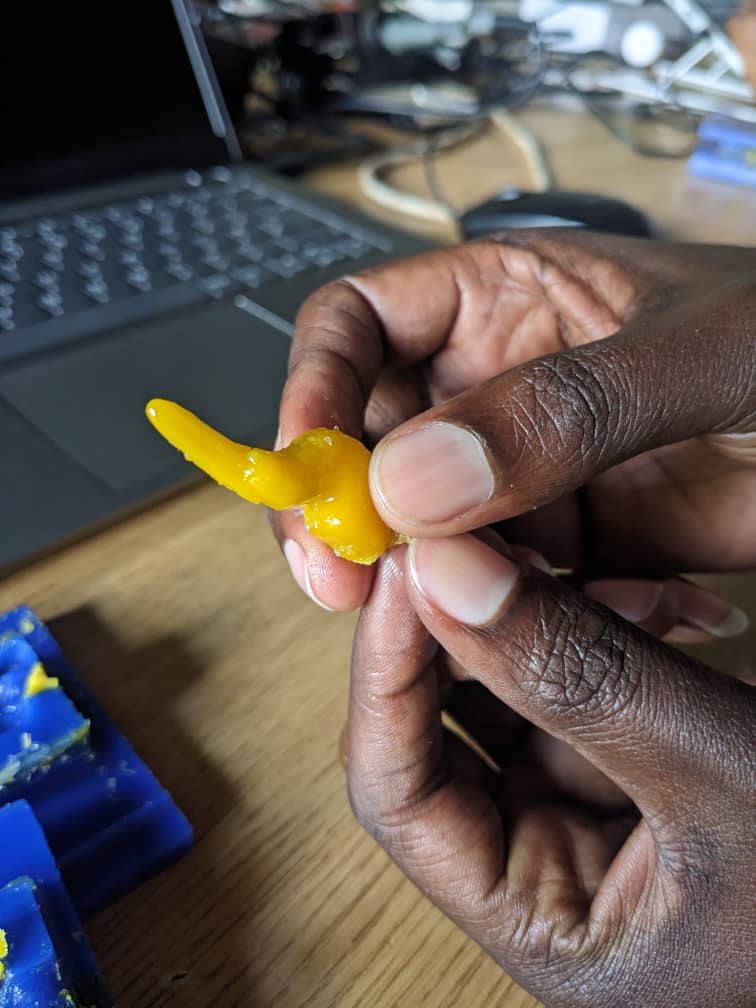
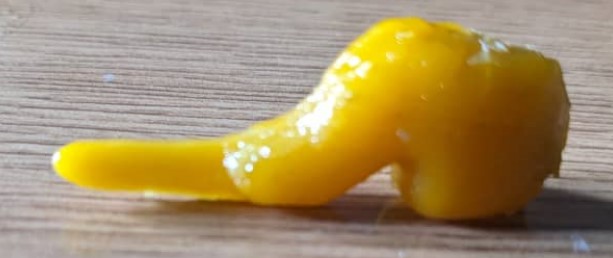
And down here is the final result of my moulded shoe!!!!!!!!!!!!!!!!!!!!!!!!!!!!
All those works(designs) done have been saved as files and they can be accessed and downloaded as a whole zipped folder via here