Week_02: Computer Aided Design (CAD)
For this week's assignment the task is to design our final project with the help of CAD software. In my particular case I used SolidWorks since I am very familiar with the interface
and tools, however, for the next weeks assignments I will be using Autodesk Fusion 360 as a personal challenge to learn new software for the FabAcademy.
First things first, I couldn't decide on a particular design so I borrowed some inspiration from the AI Design Platforms StableDiffusion and
Dall-e 2 with some interesting results.
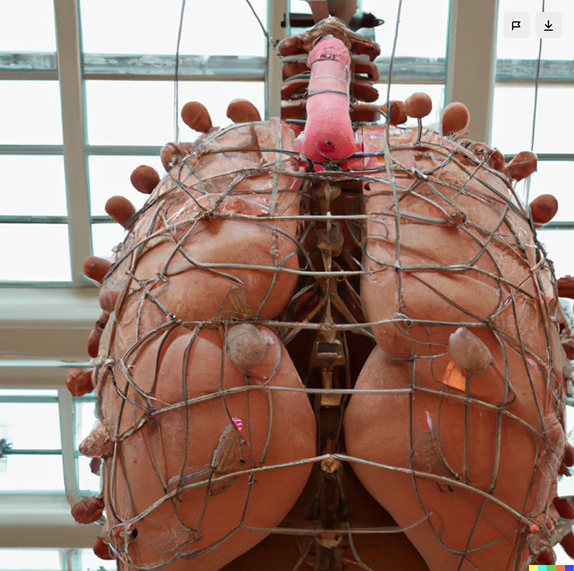
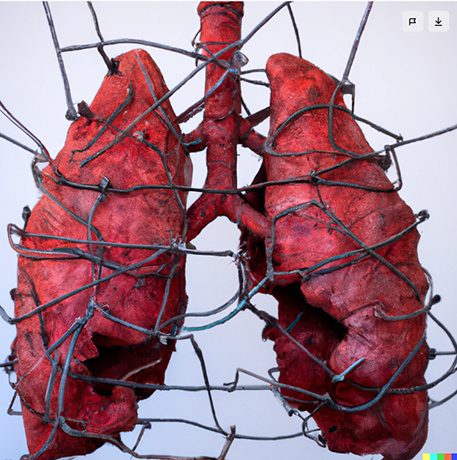
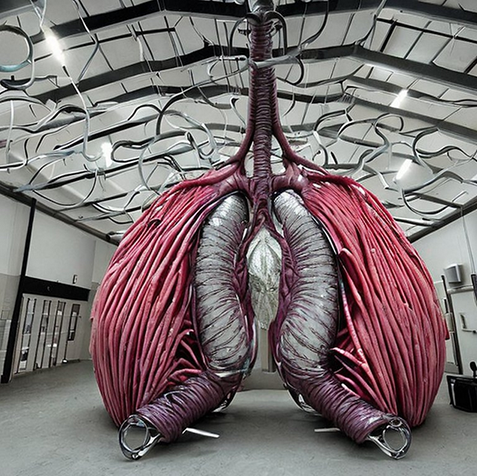
Dall-E 2
The prompt I entered was: Ribcage sculpture with massive, sick lungs made out of balloons.
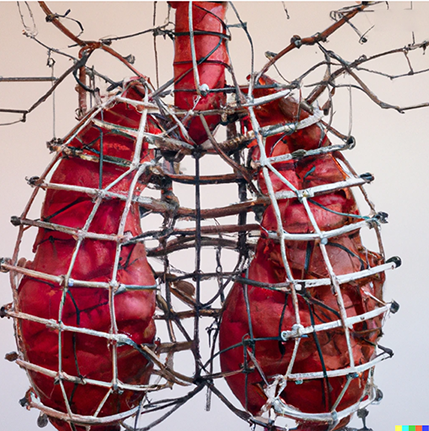
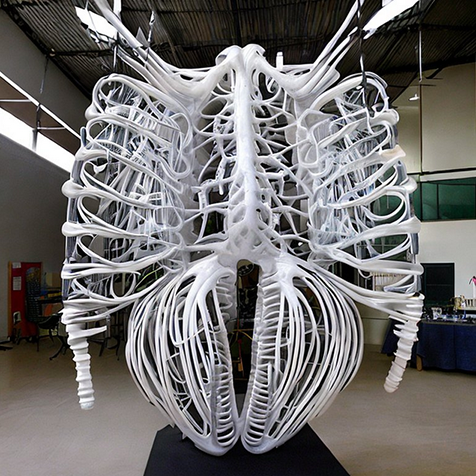
StableDiffusion
The prompt I entered was: Ribcage sculpture with massive, sick lungs made out of balloons, modern art installation

Solidworks
SolidWorks is a solid modeling computer-aided design and computer-aided engineering application.
According to Wikipedia, which roughly translates as a 2D and 3D design software with engineering accuracy and applications. It is particulary
square in terms of object design, because of its parametric constrains not a lot of organic and fluid design is possible. However I found some
loopholes for designing the pieces in my project.
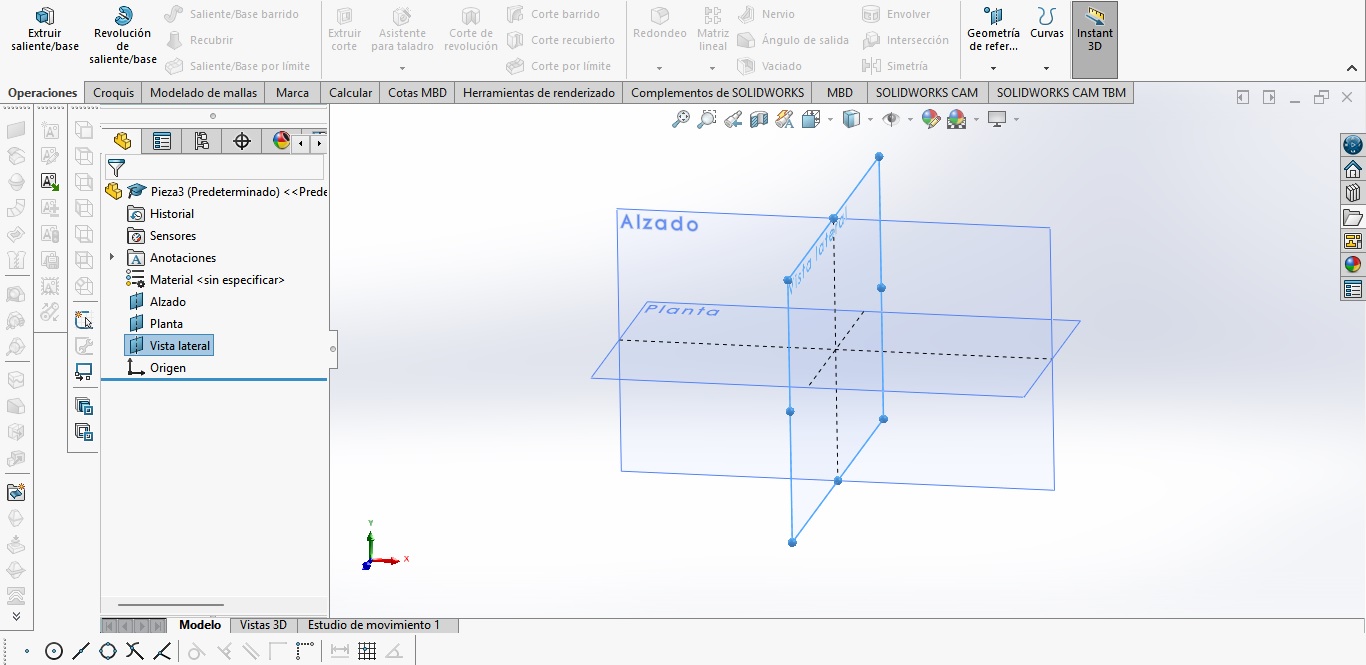
Starting from the beginning, the interface is a bit non-intuitive so it took a while to grasp the function and steps for using the different operations, but first
one has to start by drawing a Sketch on any of the reference planes in the Z, Y, X axis. Then this sketch is transformed into a solid 3D object by any of the
operations, which in my case were the following:
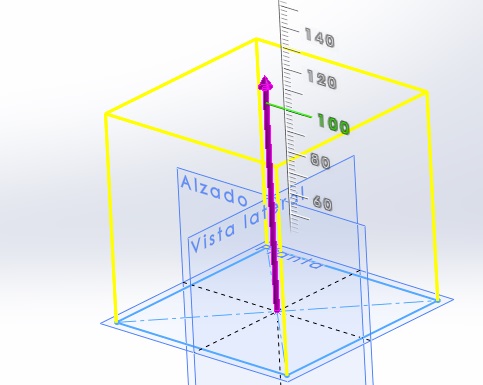
Extrude That gives volume to a drawing in a particular direction. For this operation it is only needed a closed drawing and the distance and direction it is to be extruded.
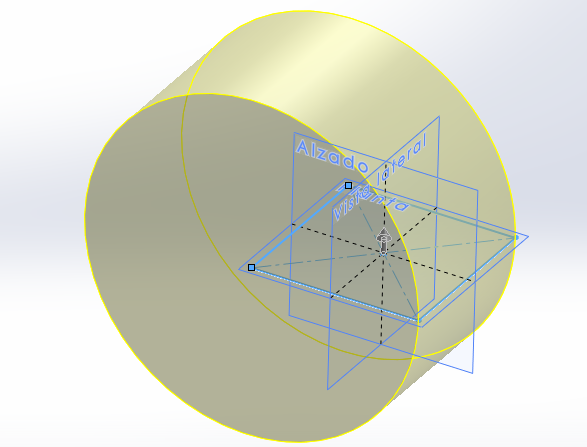
Revolve This creates solids of revolution, a plain figure which then is rotated and generates volume. For this operation one needs a curve that is going to be revolved, and a axis from which one revolves said figure.
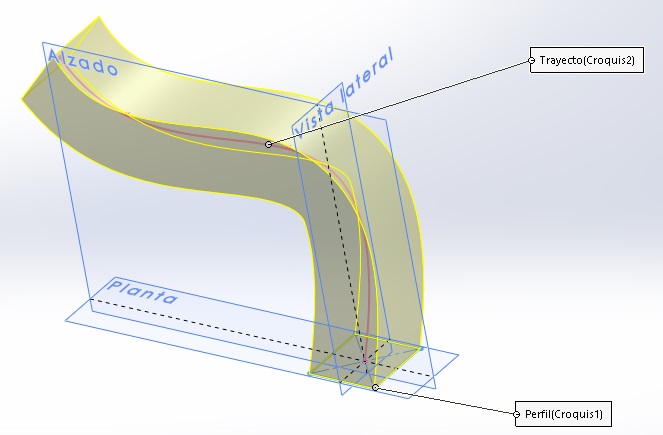
Sweep It creates a solid somewhat like pipeline. This operation needs a path, which is an open line, and a profile that is swept through said path, that creates a volume.
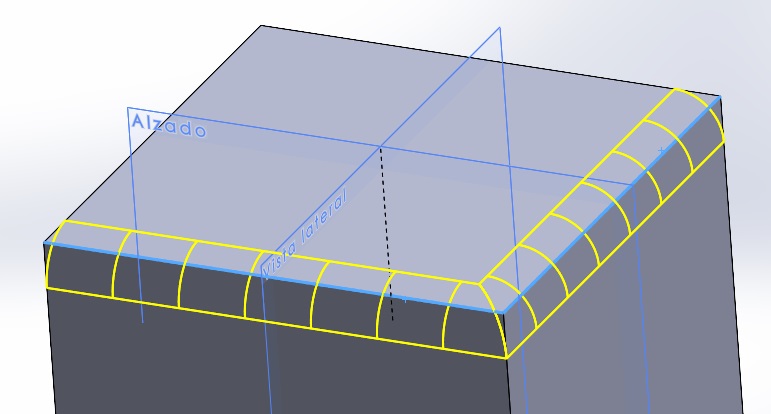
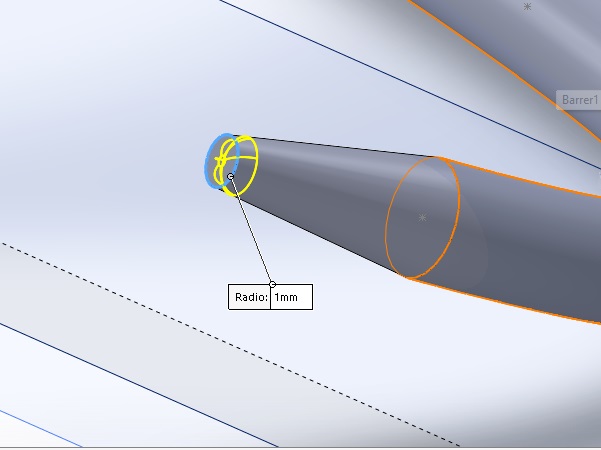
Fillet It turns an edge into a rounded corner, with a determined radius.
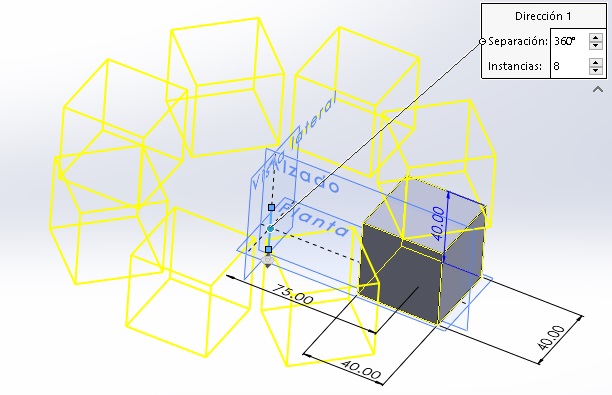
Circular Matrix This tool copies the solid already created, and reproduces it circularly around a determined axis, which can be a perpendicular line or a circular face on another volume.
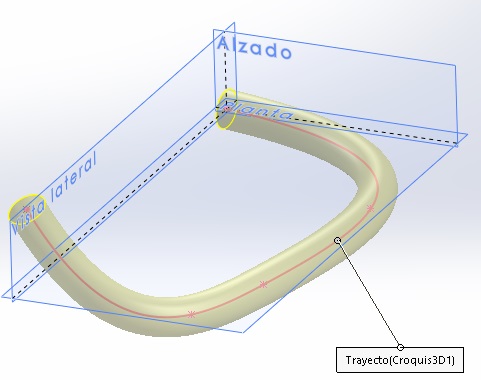
The begining of my modelling path started with a line that somewhat resembled a rib, it has a pronounced curve and a small tail that protrudes vertically. All of the parameters are defined
using the Smart Dimension tool, which can constrain distances, radii, angles and sizes. I started by plotting points on the Top Plane (the one parallel to the floor) for the first part of the ribs.
Then I plotted more points on the Top Plane (Perpendicular to our starting plane). Afterwards, a 3D Sketch was created in order to join these points with a fluid curve.
Then I Swept through that line with a circular profile with 9mm in diameter.
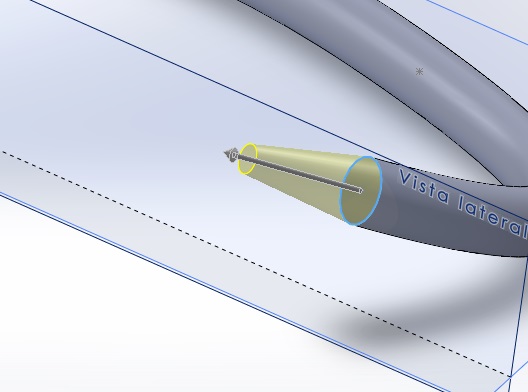
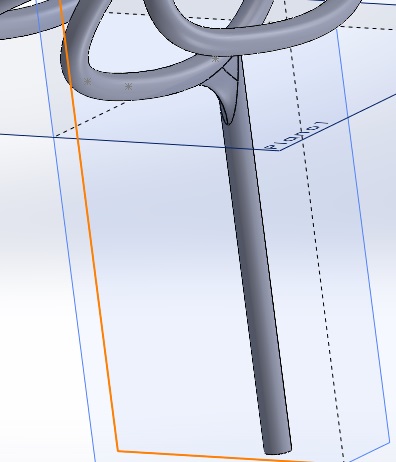
Since the profile is tubular, the caps had to be rounded and made pointy, so first I used the extrusion tool and added an angle so it went conical instead of cilyndrical. After that I used the
Fillet
tool to give it a more aesthetic look.
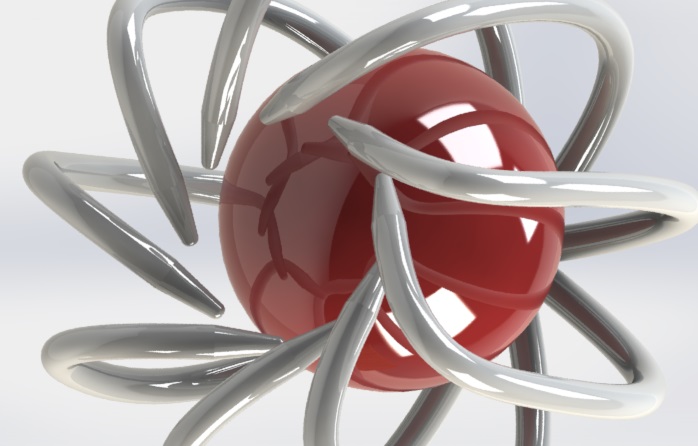
That gave us a Rib-like solid, which then was multiplied through the
Circular Matrix tool.
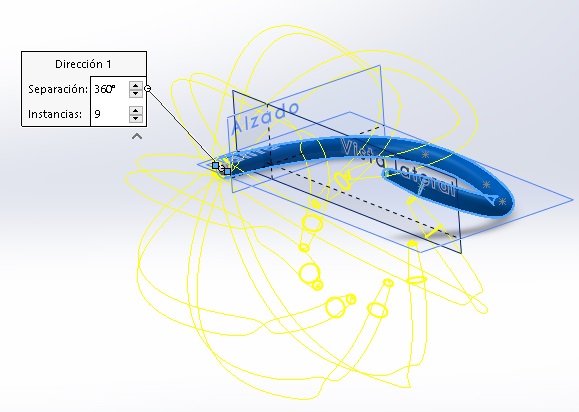
We ended with a weird alien-looking ribcage. Then I added a base through a cilynder, and the intersection was filleted for a more organic look.
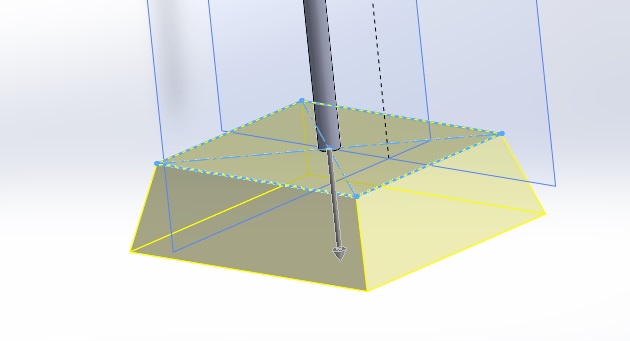
The next part was to design a base for the sculpture, where all of the electronic and mechanic components would be encased. This started as a rectangle and then it was extruded with a 16° exit angle.
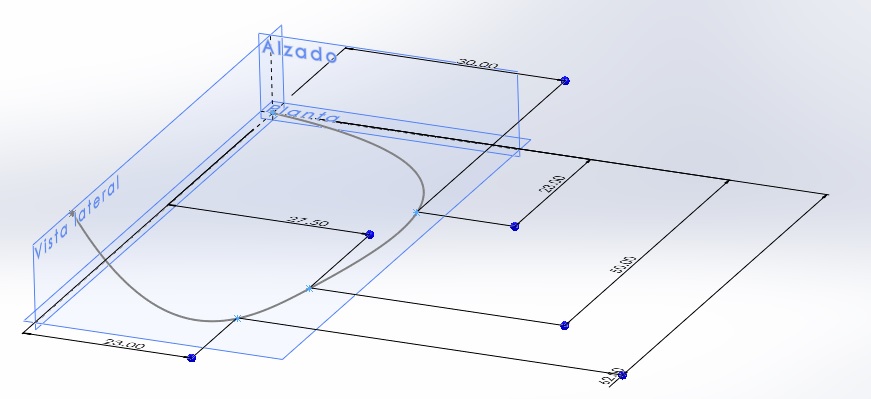
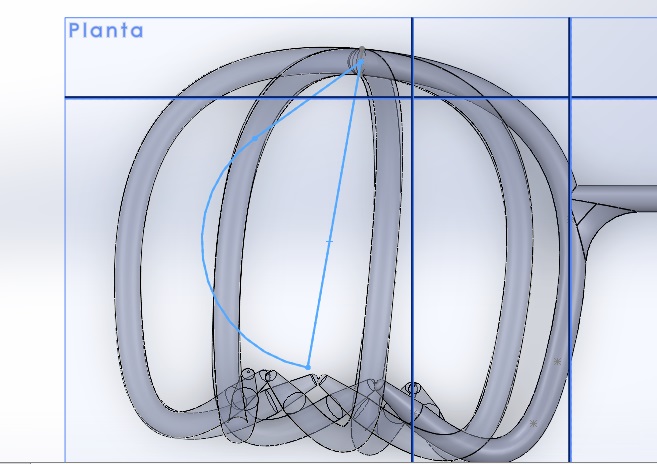
And lastly, the very lung had to be designed, and thanks to the AI's input, the balloon shaped lung was a posibility. The general shape of the balloon was a pointy curve with a straight line cutting it right in the middle, this line is the revolve axis.
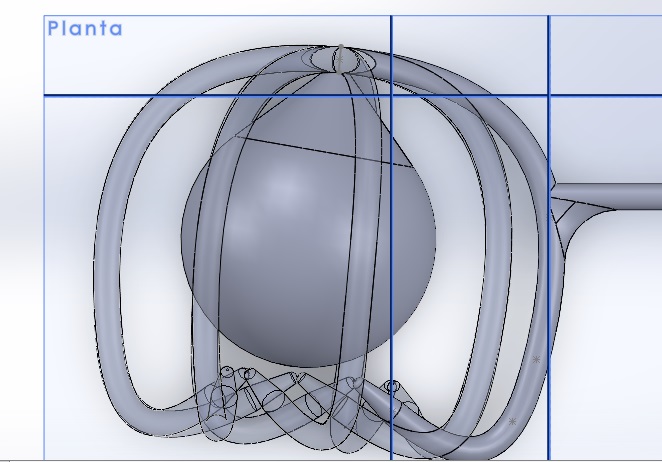
And thus we have a 3D model of the possible appearance of the project. I uploaded this model in *.stl* format at the Downloadables webpage.

The ribcage is designed to opress the breathing lung, which will be deformed and constrained with each breath, it is meant to surprise the viewer and keep them guessing if the lung/balloon will burst with the sharp bones. This may not be the final design for this project because I want to explore more shapes and materials, but as a first draft it fulfills its purpose.