Version Control and Project Management
For this first week's assignements we needed to design and implement our website, learn this smart repository tool called: Git. What Git basically
do is update projects for a proper version control, but instead of uploading Gb of data on each iteration, it modifies the online repository with only
the bytes that have changed (If I undestrood correctly).
I had done some really basic html coding back in high school, but nothing like this. Fortunately for me, both my local instructor and tons of documentation
and templates online, made this process doable.
First I found a template I liked, called Hyperspace from the list that was provided through the FabAcademy resources. Then I downloaded and read all (some) of the documentation
about it.
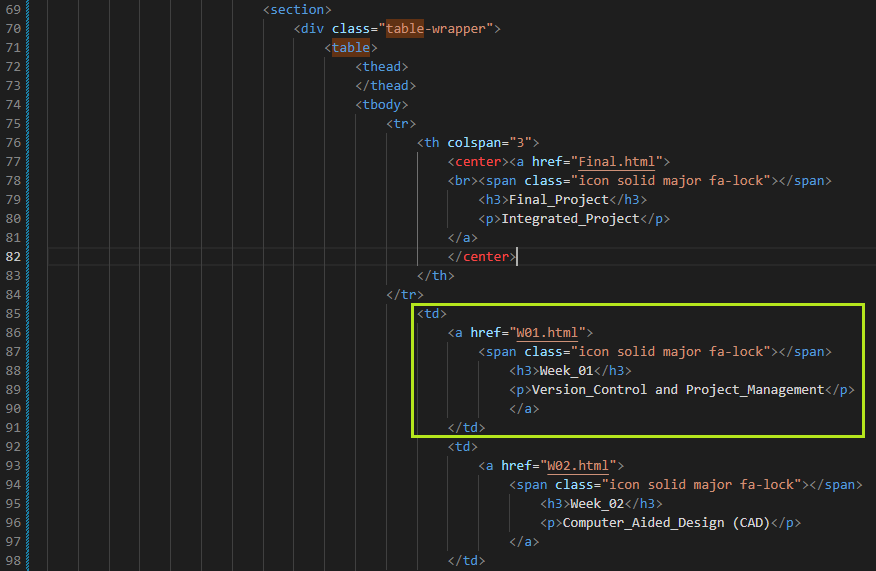
Afterwards I opened it with VisualStudio, which was recommended by Rafa, my instructor, which is a visual and simplified software for text editing, that can also help
me by givinig me recommendations about what to write and some auto-complete tools; to try and modify the template. It was a long process of try and error, but at the end i could (kind of) understand
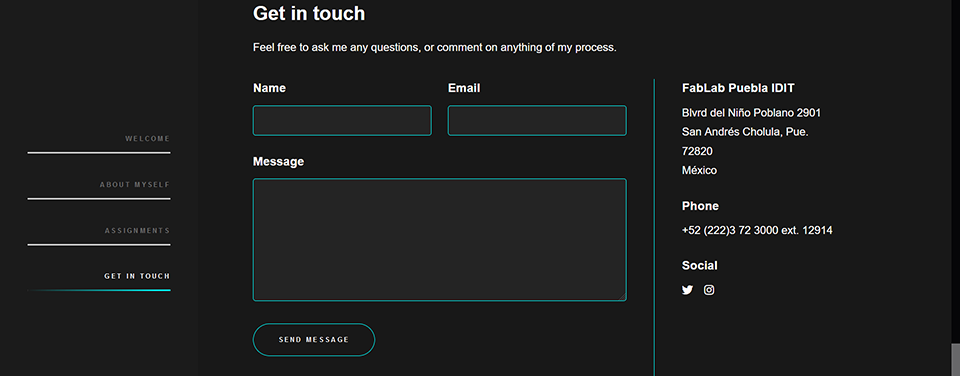
what most of the command lines meant. For example, the buttons are awesome on this template, so I copied them and tweaked the code for them to be integrated on the webpages, so you can move forward to the
next week's assignment, go to the final project or return home. The code for the buttons that was tweaked is:

Which gave as a result:

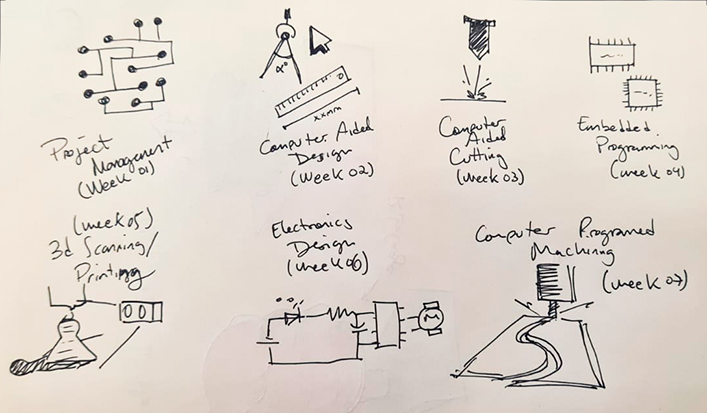
I didn't like any of the icons i found online so I gave myself the task to design the myself, which is a work in progress at the moment, but some examples of the aesthetics I am looking for on my icons is:
I changed parts of the code from different features so it matched the design I had in mind. Most of it was about colors, from
Color: RGB(255,255,255) to the Cyan I am using Color: #FF0000
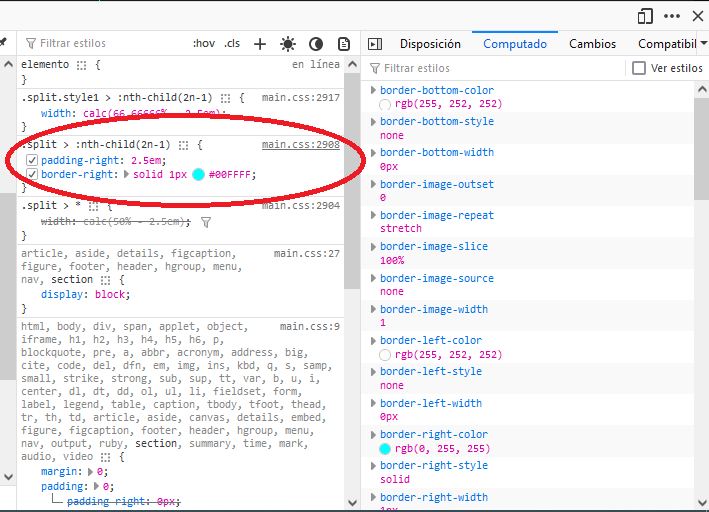
Which showed me which line should I look for on the Styles file (the one with the .css format).
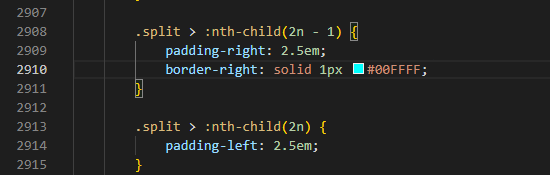
So now I could see some change on the final product.
Before
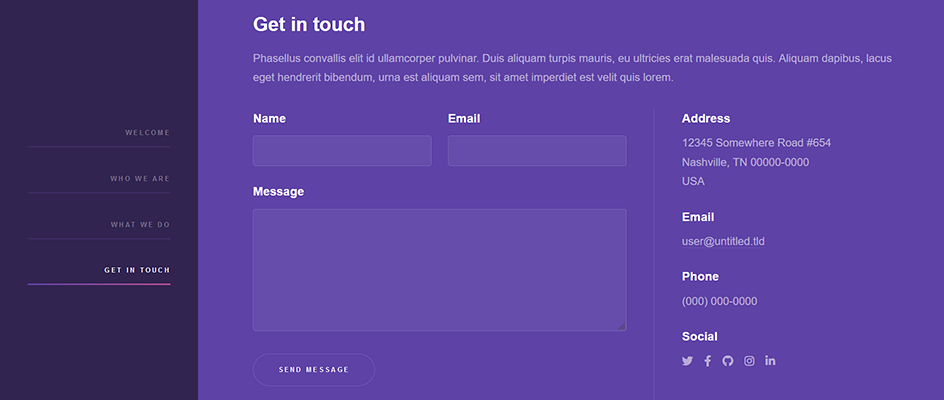
After
This was the not so complicated part of the process, since we were only getting started with Git.
What (the $%#&/$ ) is Git?
Free and open source distributed version control system designed to handle everything from small to very large projects with speed and efficiency.
(According to their website),Which I understood as a tool for having a precise control over the iterations that happen on a project. Either
for knowing what went wrong, correcting mistakes, updating information or general modifications. So it is very helpful with the FabAcademy program.
It works as a terminal
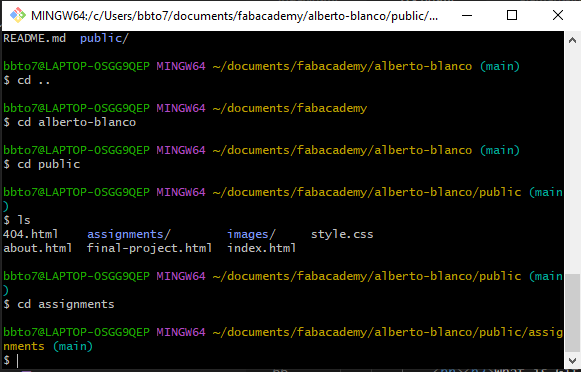
The process for using git starts with cloning the online repository we were given in the GitLab website, from where all of the changes we do in the development of the website
will be reflected.
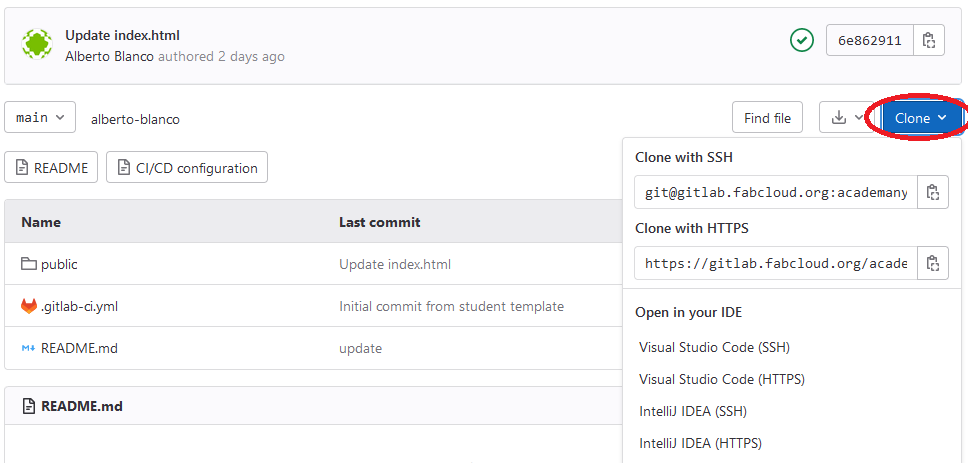
Then we transfered this repository to our local computer for editing with the command git clone URL which creates a local repository
with the information from a remote repository in the given route, in this case is the URL of the cloned repository on GitLab.
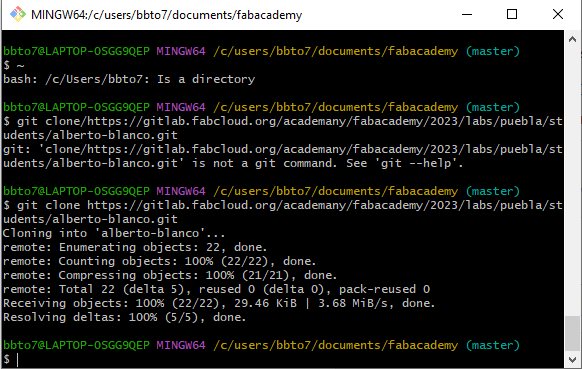
This process created a folder on my computer with the exact data and files that exist on the online repository in GitLab. The commands we learned on this session
are:
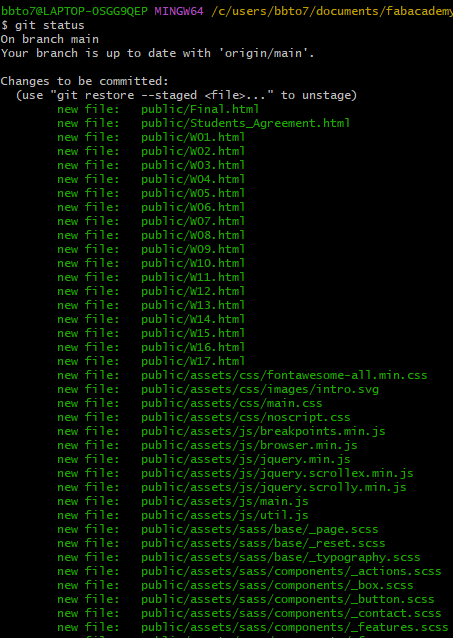
git branch Which creates a branch for the project. This is useful when several people are working parallelly.git push Which sends the changes made locally to the online repository.git init Creates a new repository locally.git remote add origin Links the local repository with the online one.git status Shows the status of the current branch, whether it's changed, or pending update.git commit Which is somewhat like a snapshot of the entire repository.git checkoutUsed to change between branches.
In theory, the changes done to the index.html, style.css and .js files on VisualStudio, followed by the correct commands on Git, would have my website
updated, without the need for manual drag and drop process.
I prepared the files for remote update through Git, using following process:
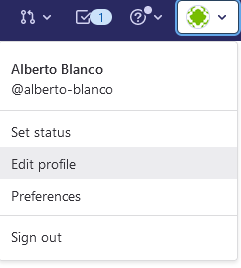
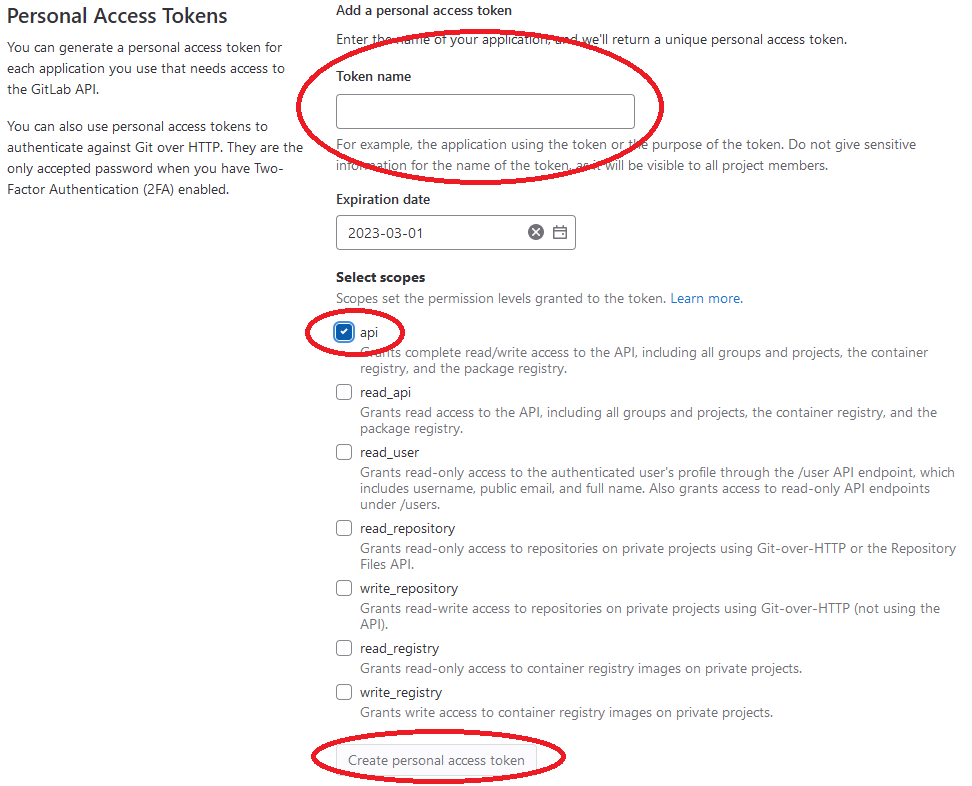
First I created a token to modify the files through Git, from the GitLab dashboard (User>Edit profile>Access tokens>Create Personal access Token), which
promted me to select an appropiate name, the scope (it means what kind of actions can be done with this particular token) and then create it.

Afterwards i had to login from the Git app using this personal access token. Which gave me authorization to push and commit the
changes I did on the index file. On the recitation today there was this very visual diagram (Thank you very much Julian) on how the main commands on Git are used:
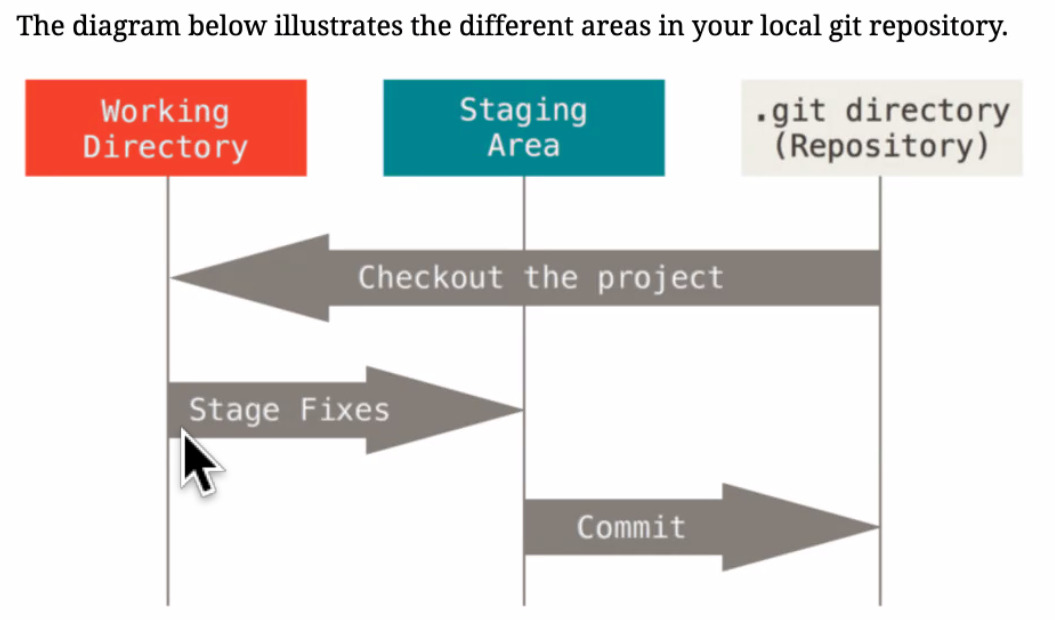
Which gave me a lot of clarity on the next steps I did:
git addWhich adds the changes to the pipeline for them to be uploaded to the online repository.

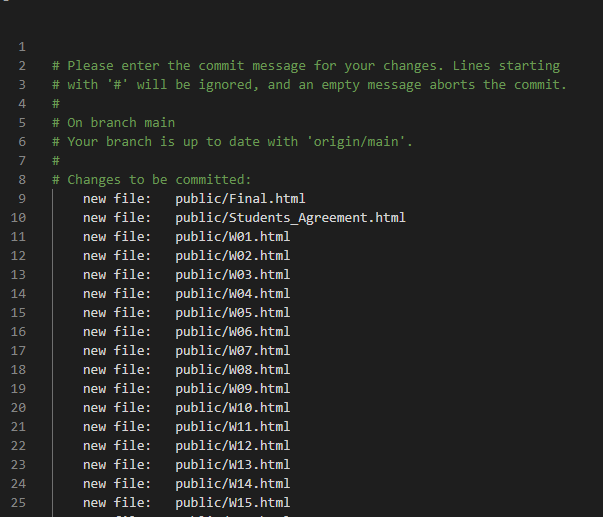
git commitOnce the changes are added, then they are commited to the next process. The full command can be writen as Git commit -m "Name of the commit"
git pushThe push command "saves" the changes and sends them to the online repository.
Final Project
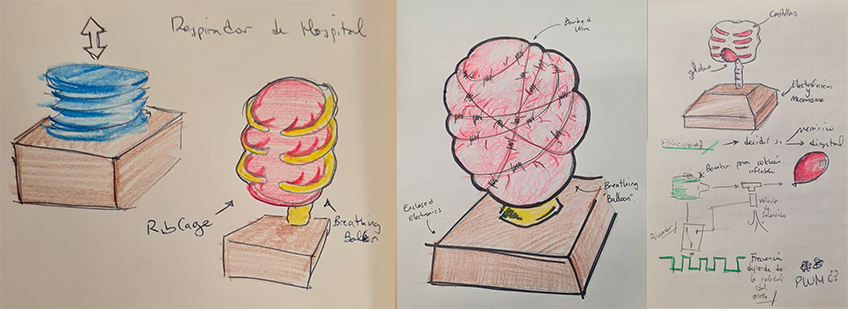
For my final project, I want to build a kinetic sculpture that works somewhat like a pair of lungs, with the rhythm of breath taken directly from the air quality, either using embedded sensors or connecting to the internet
and downloading data from real-time sensors around cities. This is the basic principle for the project, a kind of aesthetic and artistic display for the Air Quality Index from any given city.
Thank you very much for reading and see you next week!
This was the not so complicated part of the process, since we were only getting started with
Git.
What (the $%#&/$ ) is Git?
Free and open source distributed version control system designed to handle everything from small to very large projects with speed and efficiency.
(According to their website),Which I understood as a tool for having a precise control over the iterations that happen on a project. Either for knowing what went wrong, correcting mistakes, updating information or general modifications. So it is very helpful with the FabAcademy program.
It works as a terminal
The process for using git starts with cloning the online repository we were given in the GitLab website, from where all of the changes we do in the development of the website
will be reflected.
Then we transfered this repository to our local computer for editing with the command
git clone URL which creates a local repository
with the information from a remote repository in the given route, in this case is the URL of the cloned repository on GitLab.
This process created a folder on my computer with the exact data and files that exist on the online repository in GitLab. The commands we learned on this session are:
git branchWhich creates a branch for the project. This is useful when several people are working parallelly.git pushWhich sends the changes made locally to the online repository.git initCreates a new repository locally.git remote add originLinks the local repository with the online one.git statusShows the status of the current branch, whether it's changed, or pending update.git commitWhich is somewhat like a snapshot of the entire repository.git checkoutUsed to change between branches.
In theory, the changes done to the index.html, style.css and .js files on VisualStudio, followed by the correct commands on Git, would have my website
updated, without the need for manual drag and drop process.
I prepared the files for remote update through Git, using following process:
First I created a token to modify the files through Git, from the GitLab dashboard (User>Edit profile>Access tokens>Create Personal access Token), which
promted me to select an appropiate name, the scope (it means what kind of actions can be done with this particular token) and then create it.
Afterwards i had to login from the Git app using this personal access token. Which gave me authorization to
push and commit the
changes I did on the index file. On the recitation today there was this very visual diagram (Thank you very much Julian) on how the main commands on Git are used:
Which gave me a lot of clarity on the next steps I did:
git addWhich adds the changes to the pipeline for them to be uploaded to the online repository.
git commitOnce the changes are added, then they are commited to the next process. The full command can be writen as Git commit -m "Name of the commit"
git pushThe push command "saves" the changes and sends them to the online repository.
Final Project
For my final project, I want to build a kinetic sculpture that works somewhat like a pair of lungs, with the rhythm of breath taken directly from the air quality, either using embedded sensors or connecting to the internet and downloading data from real-time sensors around cities. This is the basic principle for the project, a kind of aesthetic and artistic display for the Air Quality Index from any given city.
Thank you very much for reading and see you next week!