Week 8
Mar 15: Electronics production
List of task this week
Group assignment
To see the group assignment go here.
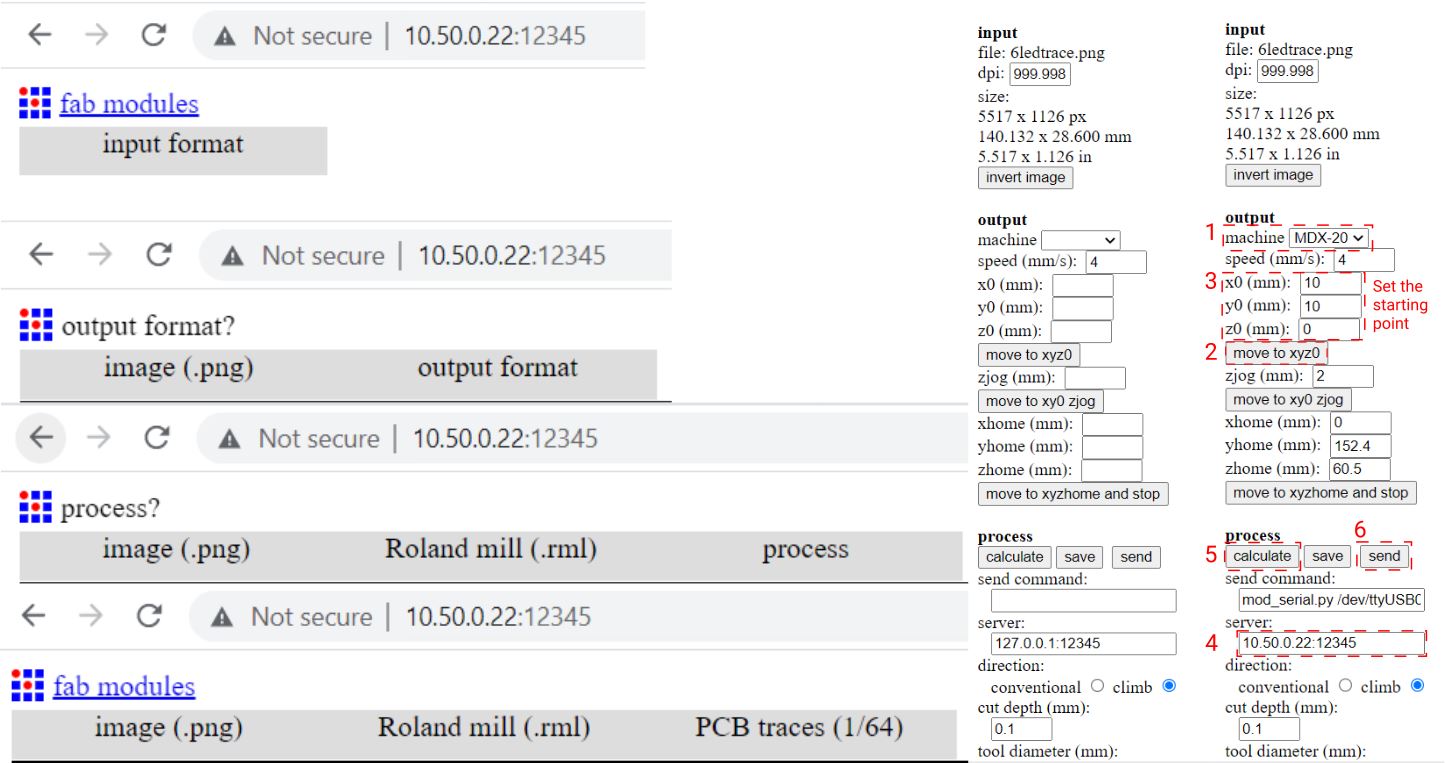
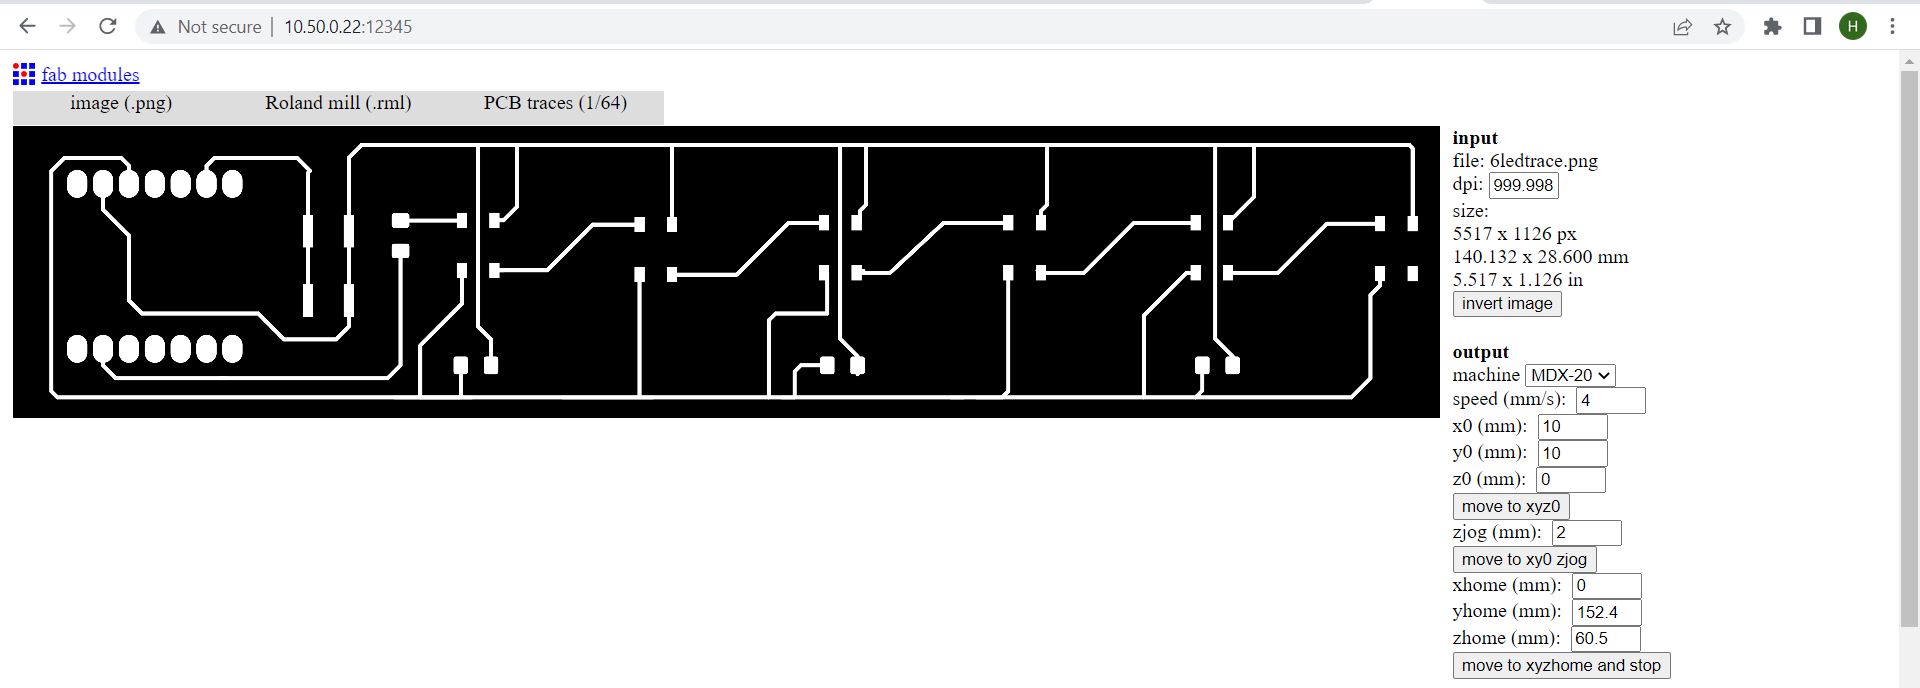
My thoughts on this week’s group assignment, characterize the design rules for your in-house PCB production process: This was an important week for me, I had never used the MDX-20 before and was always a little intimidated by it, but it turns out it is really simple and after using it a few times I have gotten really comfortable with it.A short demonstration more on the group page. Open 10.50.0.22:12345 - set input format to png. - Output format to Roland mill - process to PCB traces if you are doing traces and outline for milling through the board. On the picture below you can see how we set the output and process. But before you do number 2 move the z up a little, change the milling bitt if the wrong one is in. After you set the starting point make sure the bit is flush to the board.
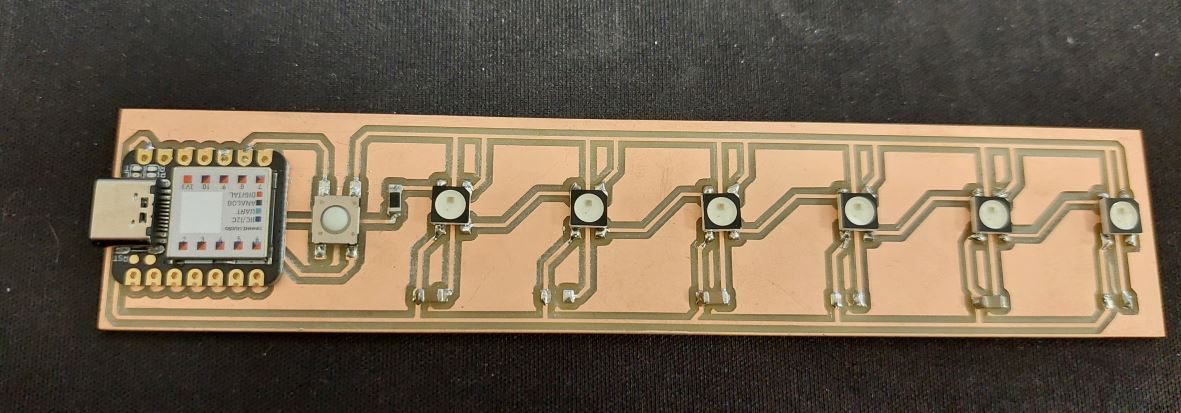
Make and test the development board that you designed to interact and communicate with an embedded microcontroller
To see how I set up the milling machine look at the group assignment.
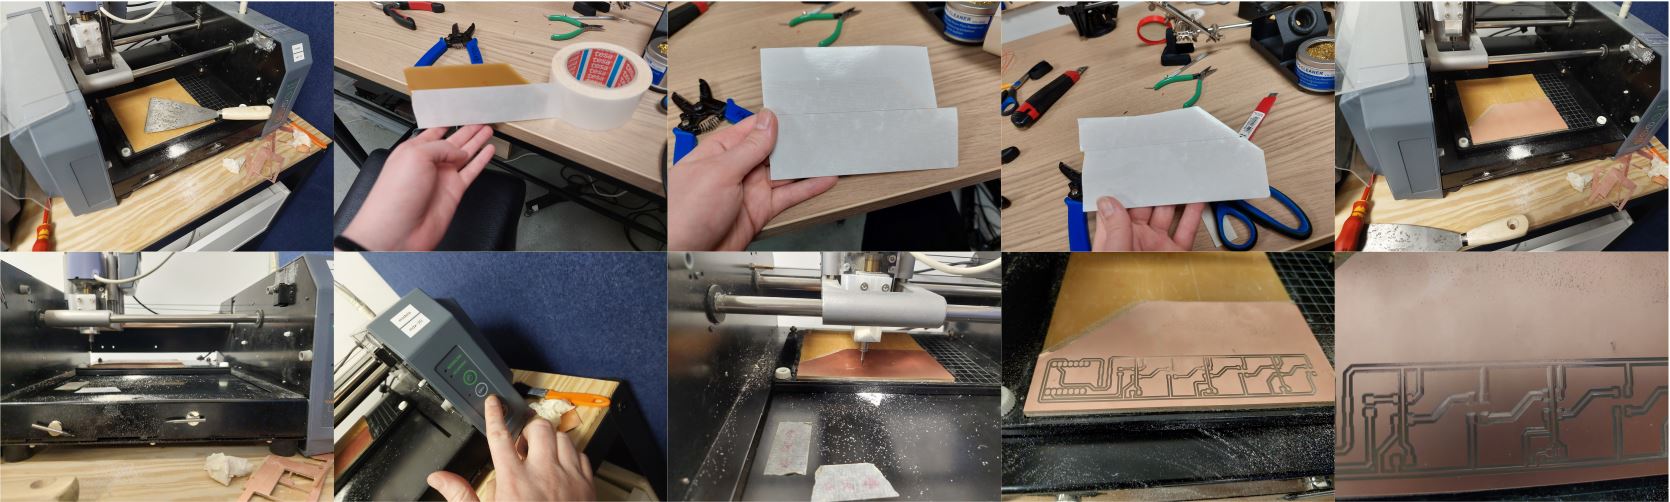
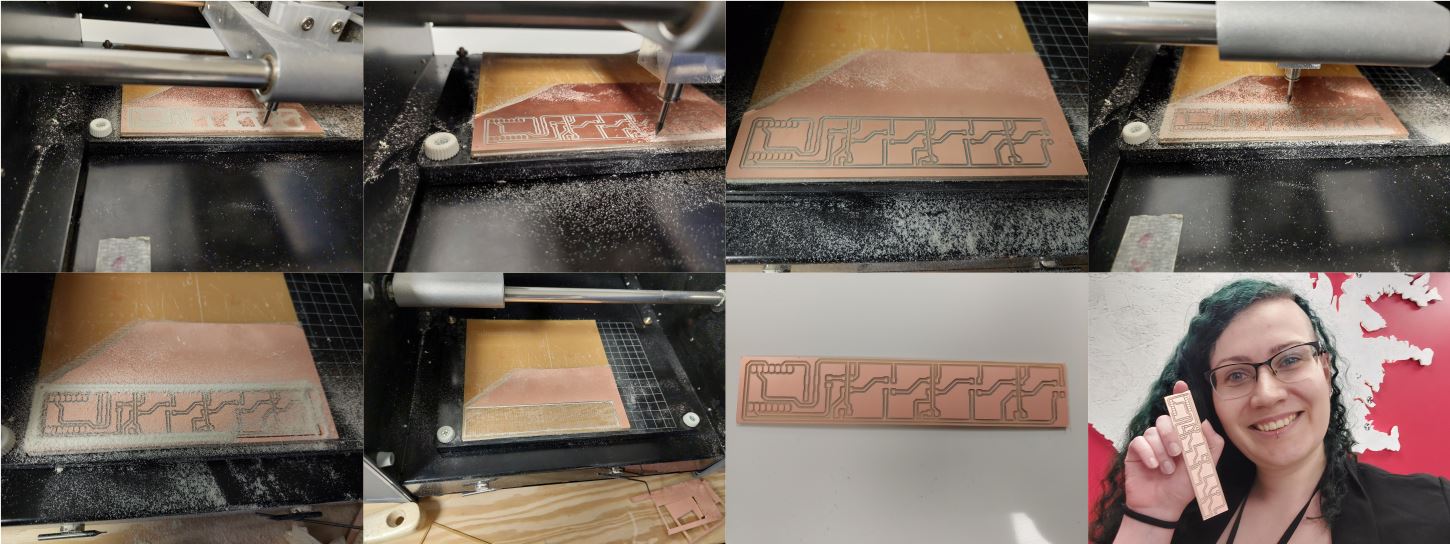
I milled again and that went through. I changed the bit and milled the border. I took it off and it looked really good.
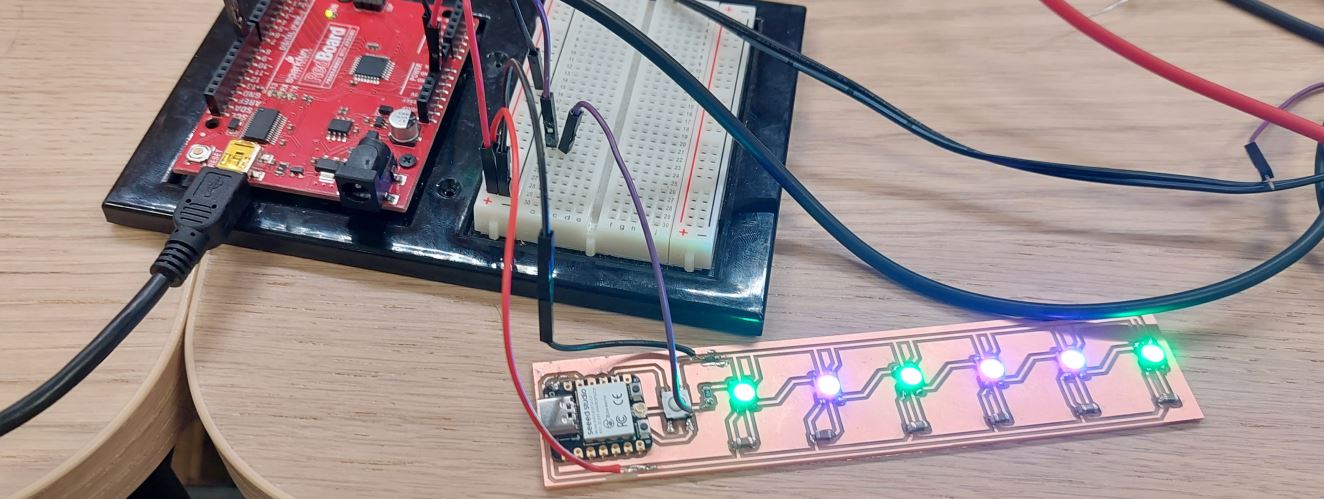
I took some vinyl sticker and put on the back of the XIAO ESP32-C3 so the bottom connectors don’t touch anything then I soldered on all the pieces. The soldering was no problem for me a year or two ago I took a 2 hour class on it and it reminds me of wielding which I learned in upper secondary school, it’s kind of the same just smaller, its just a hot tip and a metal thread, I do recommend to have good tweezers around to hold the small components in place. To get a good soldering I also recommend holding the tip on the tin for a little bit, it sometimes seems good right away but if you hold it there a little longer it will be a better result. Unfortunately, this did not work. To see if it was the XIAO or the pieces, I disconnected the XIAO and connected it to an Arduino and everything worked perfectly so it was not the pieces or the code.

I saw the letters SPI a lot when I was looking for an explanation, so I tried to having the led pin on a SPI pin so I moved it from pin 1 to pin 9. At first when I connected it, it worked and then not… I don’t really know why so I thought maybe the XIAO ESP32-C3 is busted so I put a new one on but that did not make a difference.

I had my college help me try to find out what was wrong with the board, we checked with the oscilloscope but again no luck. I thought I might have tried too many things on that board so I made another one and changed the led pin to pin 9 on the board, no luck. I also tried to disconnect the 3.3V and connected it to 5V.
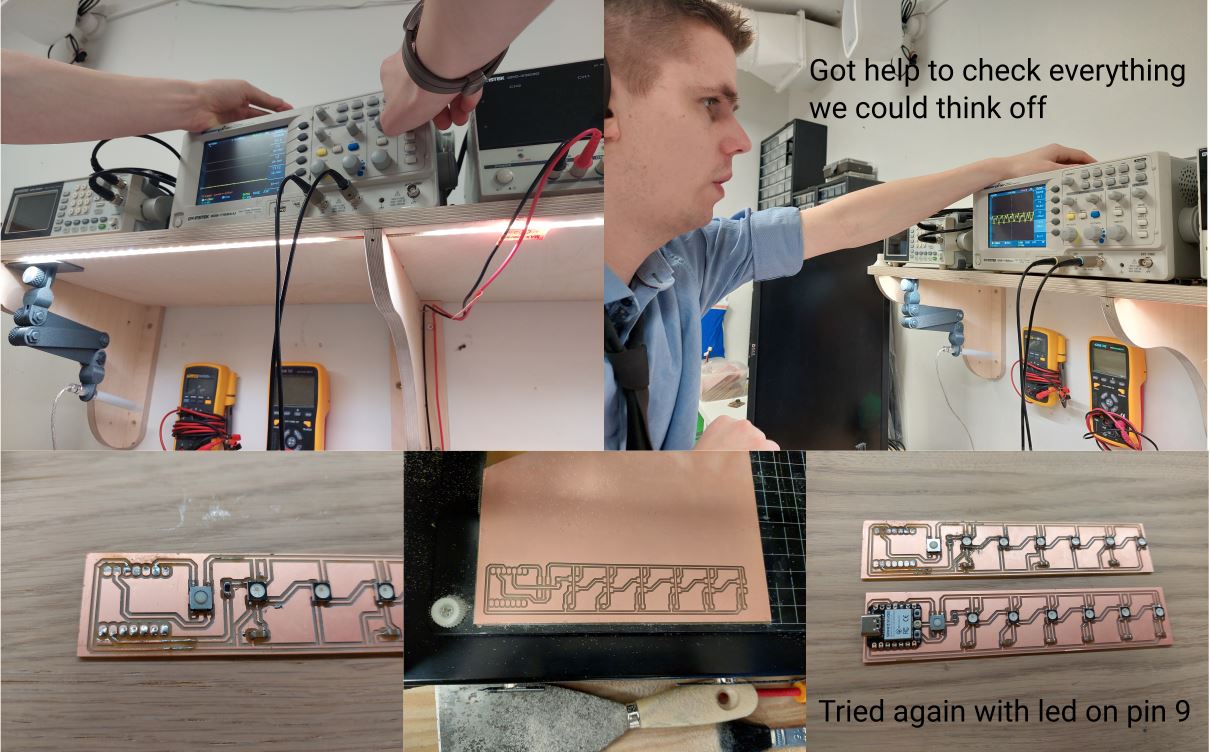
With all the versions of the board I made I tried them with all three XIAO that I had, in hope that something would work.
As pictured: XIAO SAMD21, XIAO RP2040, XIAO ESP32-C3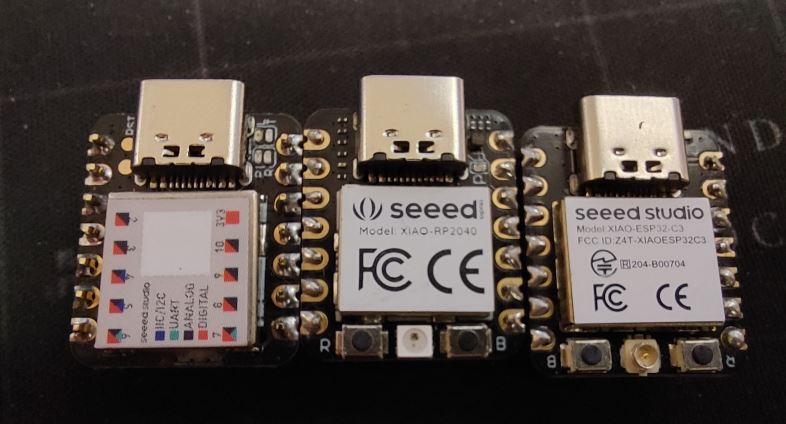
I made a third version with the 5V connected and like always it worked perfectly if I disconnected the XIAO and connected it to the Arduino and then I was told that the Arduino has 5V data pins and the XIAO has 3.3V data pins so at this point I needed to stop spending time on this board and move on, I had had a brake down and just needed to go to the next weeks I was already 2 weeks behind because I spent SO MUCH time on this board trying to make it work.
As a last resort I went over my college Andris board that he made before the Fabacademy and made mine with everything the same and still it didn’t work. So it was time to move on.
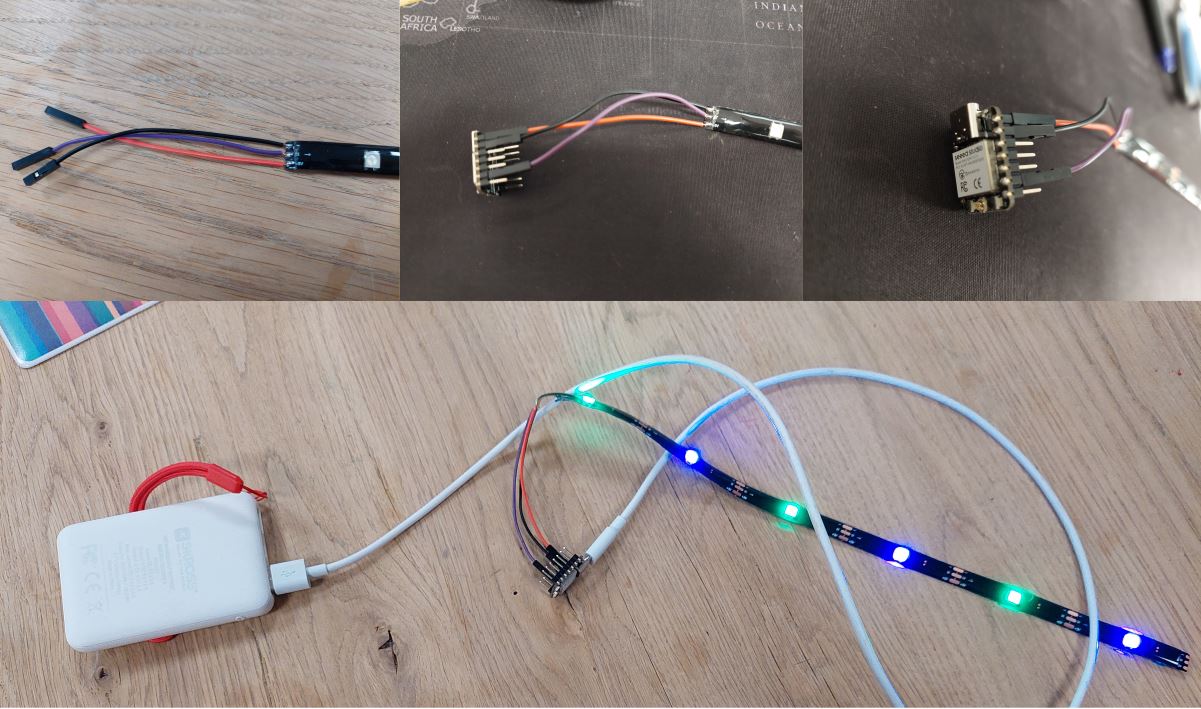
Later I got the led strips I’m going to use for the final project and tried connecting it and it went like a dream, so turns out I can use the XIAO just not on the board I made but with the led strip no problem.