12. Molding and casting
1.1 Assignments of the Week
- Group assignment:
- Review the safety data sheets for each of your molding and casting materials
- Make and compare test casts with each of them
-
Individual assignments:
- Design a mold around the stock and tooling that you'll be using, mill it (rough cut + (at least) three-axis finish cut), and use it to cast parts.
1.2 Group Assignment
This is the link of our group assignment.
1.3 Individual Assignment
1.3.1 Hero Shot
This week, I created a small tray infused with the landscape of my hometown, suitable for holding screws, nuts, and other accessories.

1.3.2 Design
Final shot of 3d model:
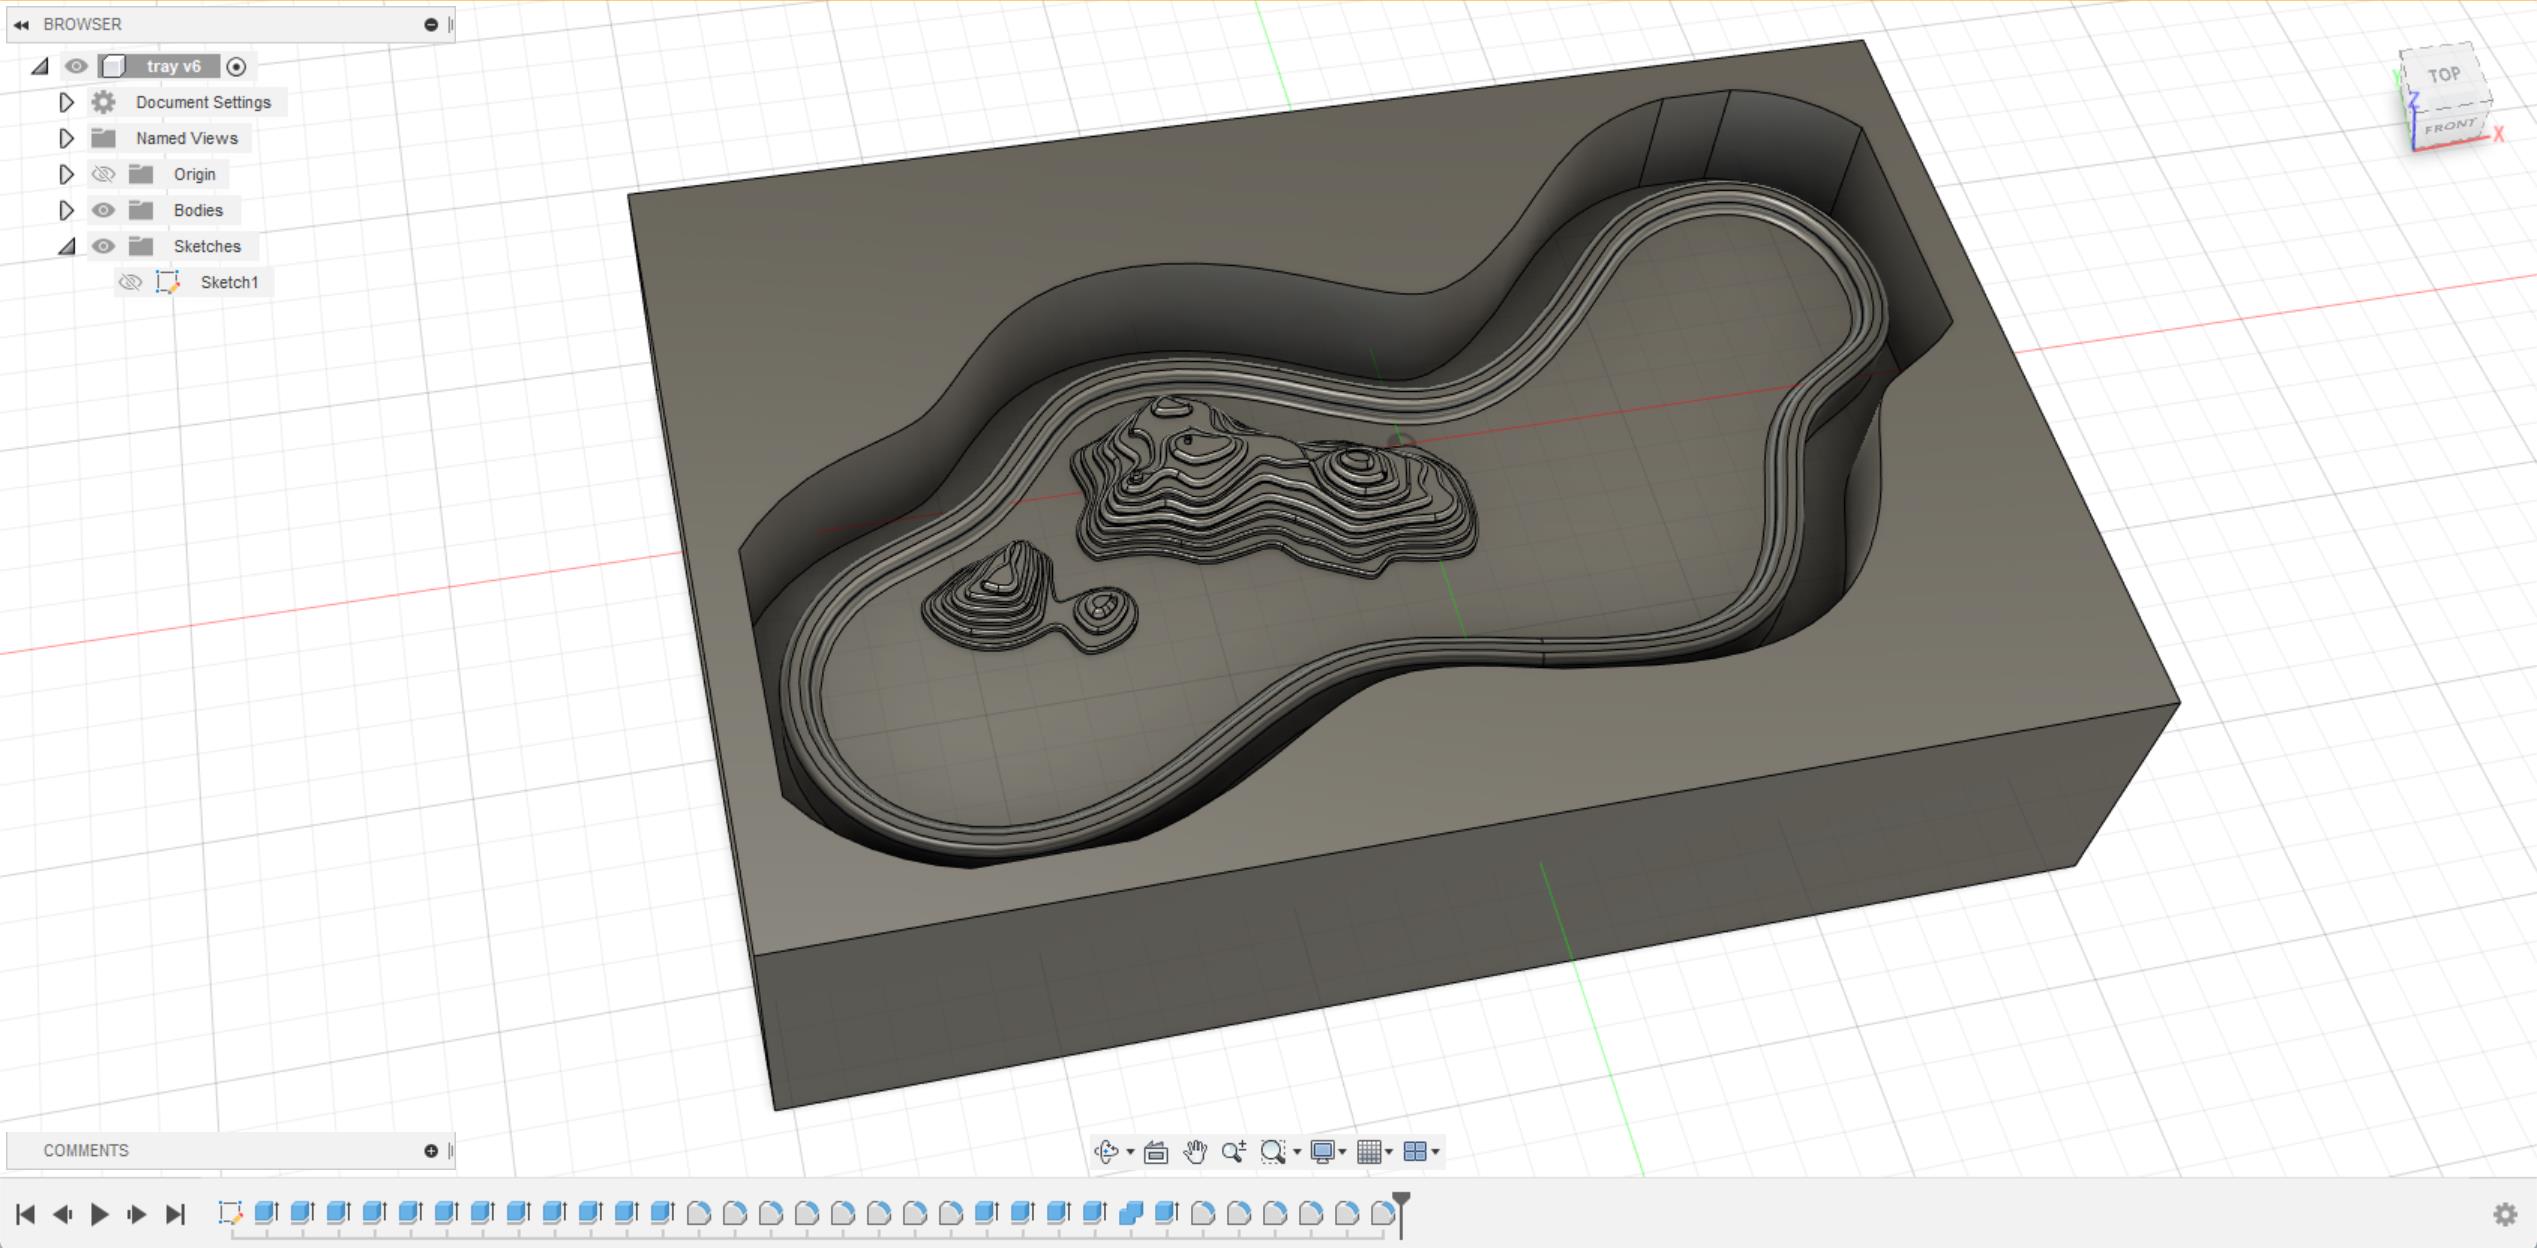
The contour is a mountain from my hometown.


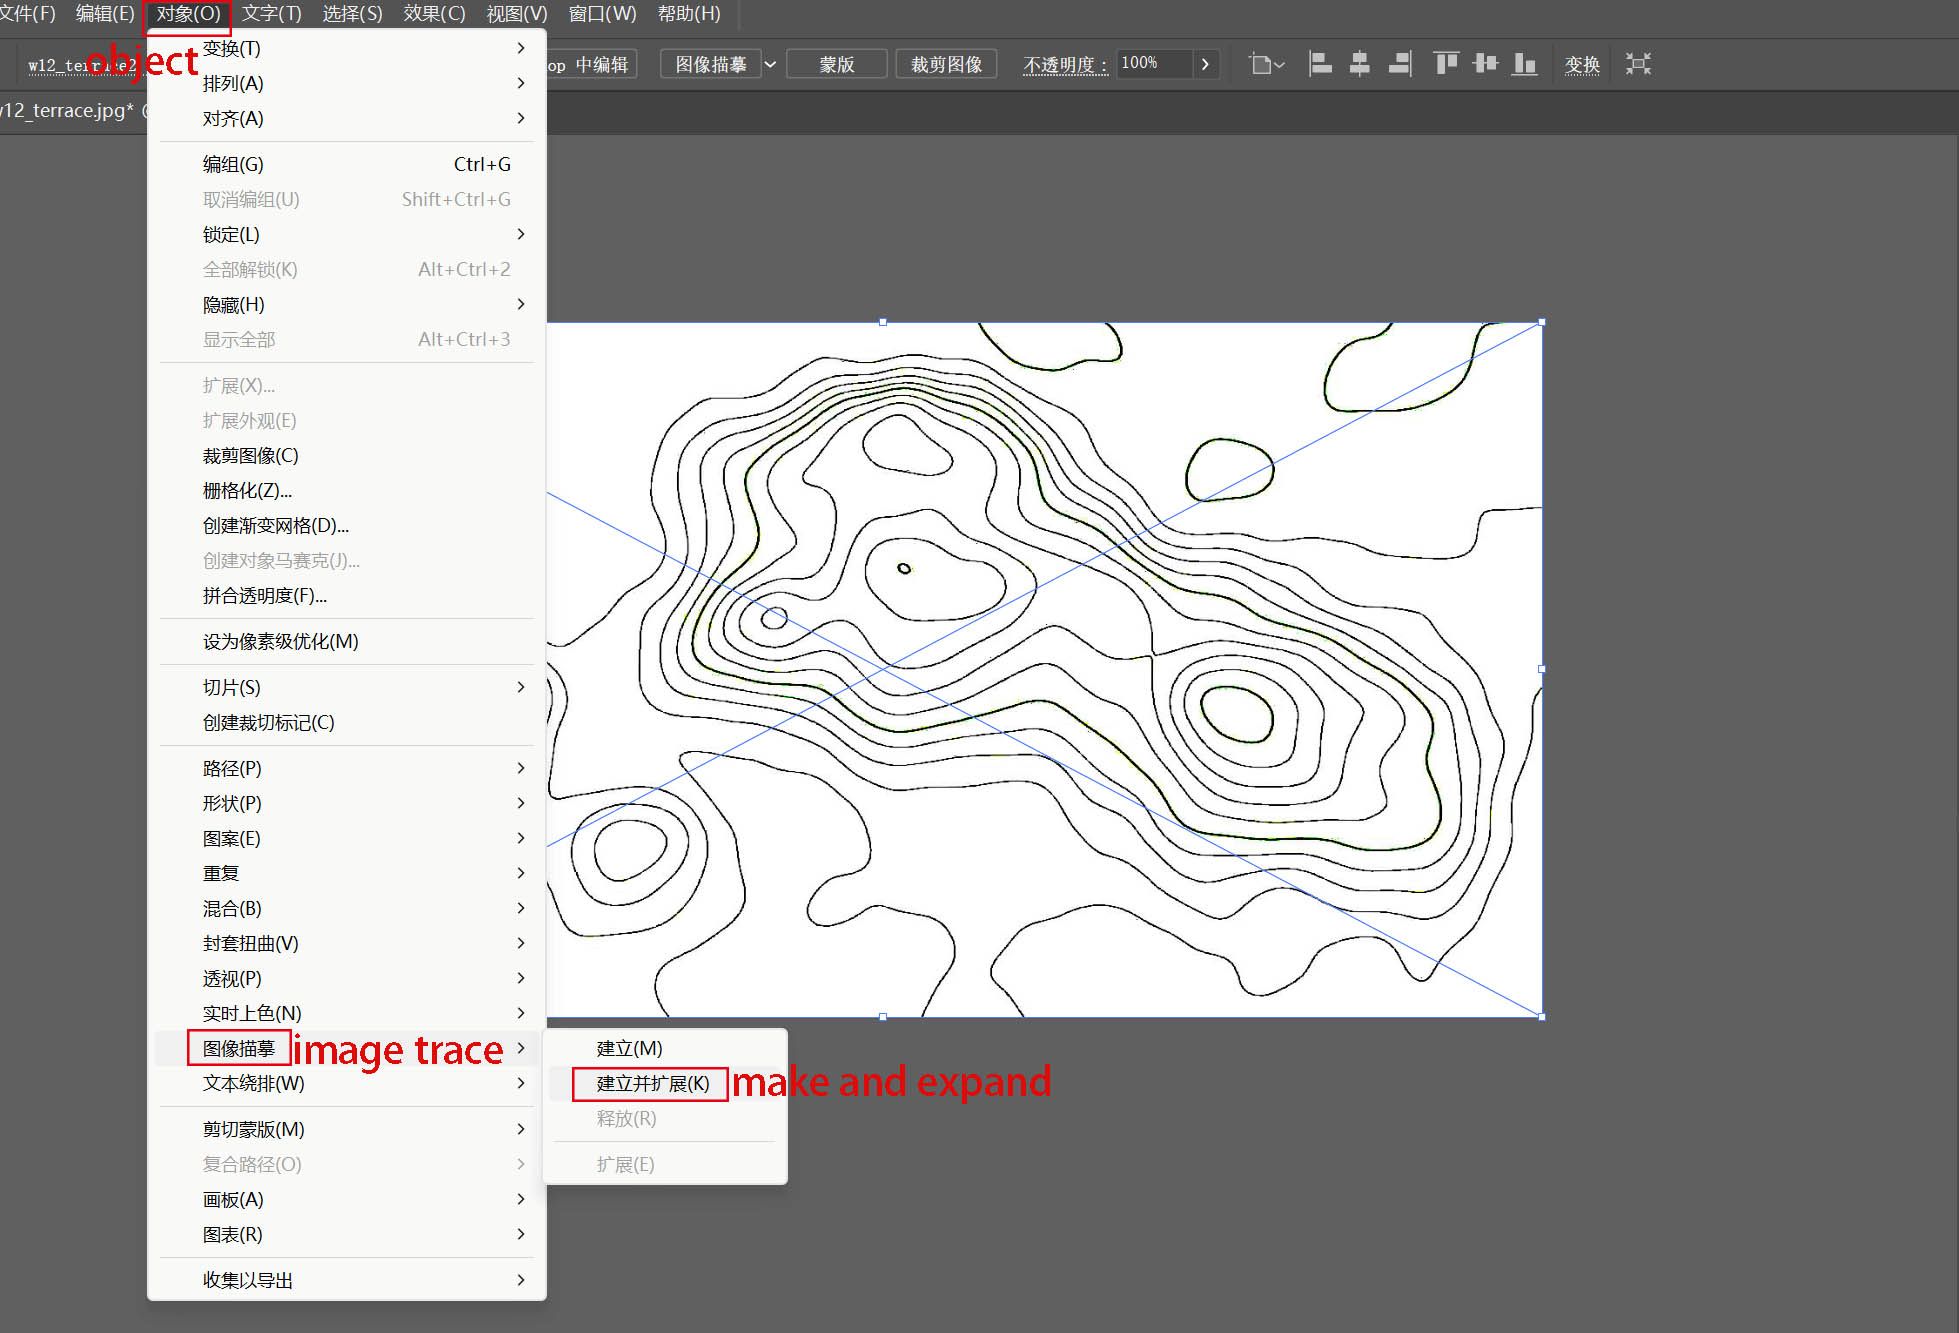
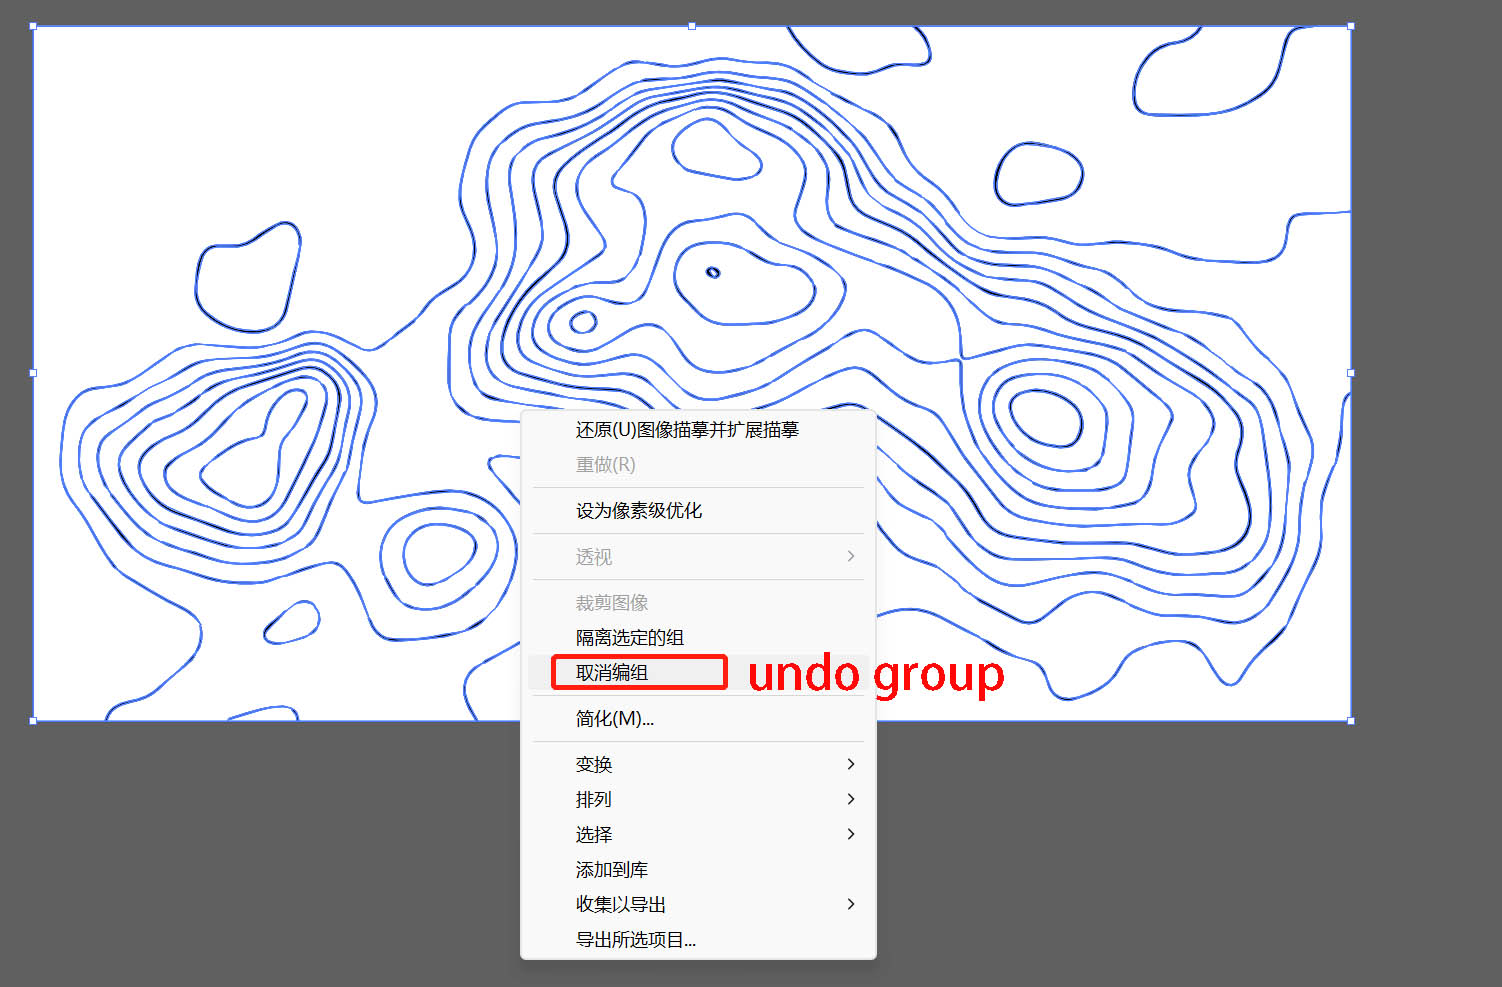
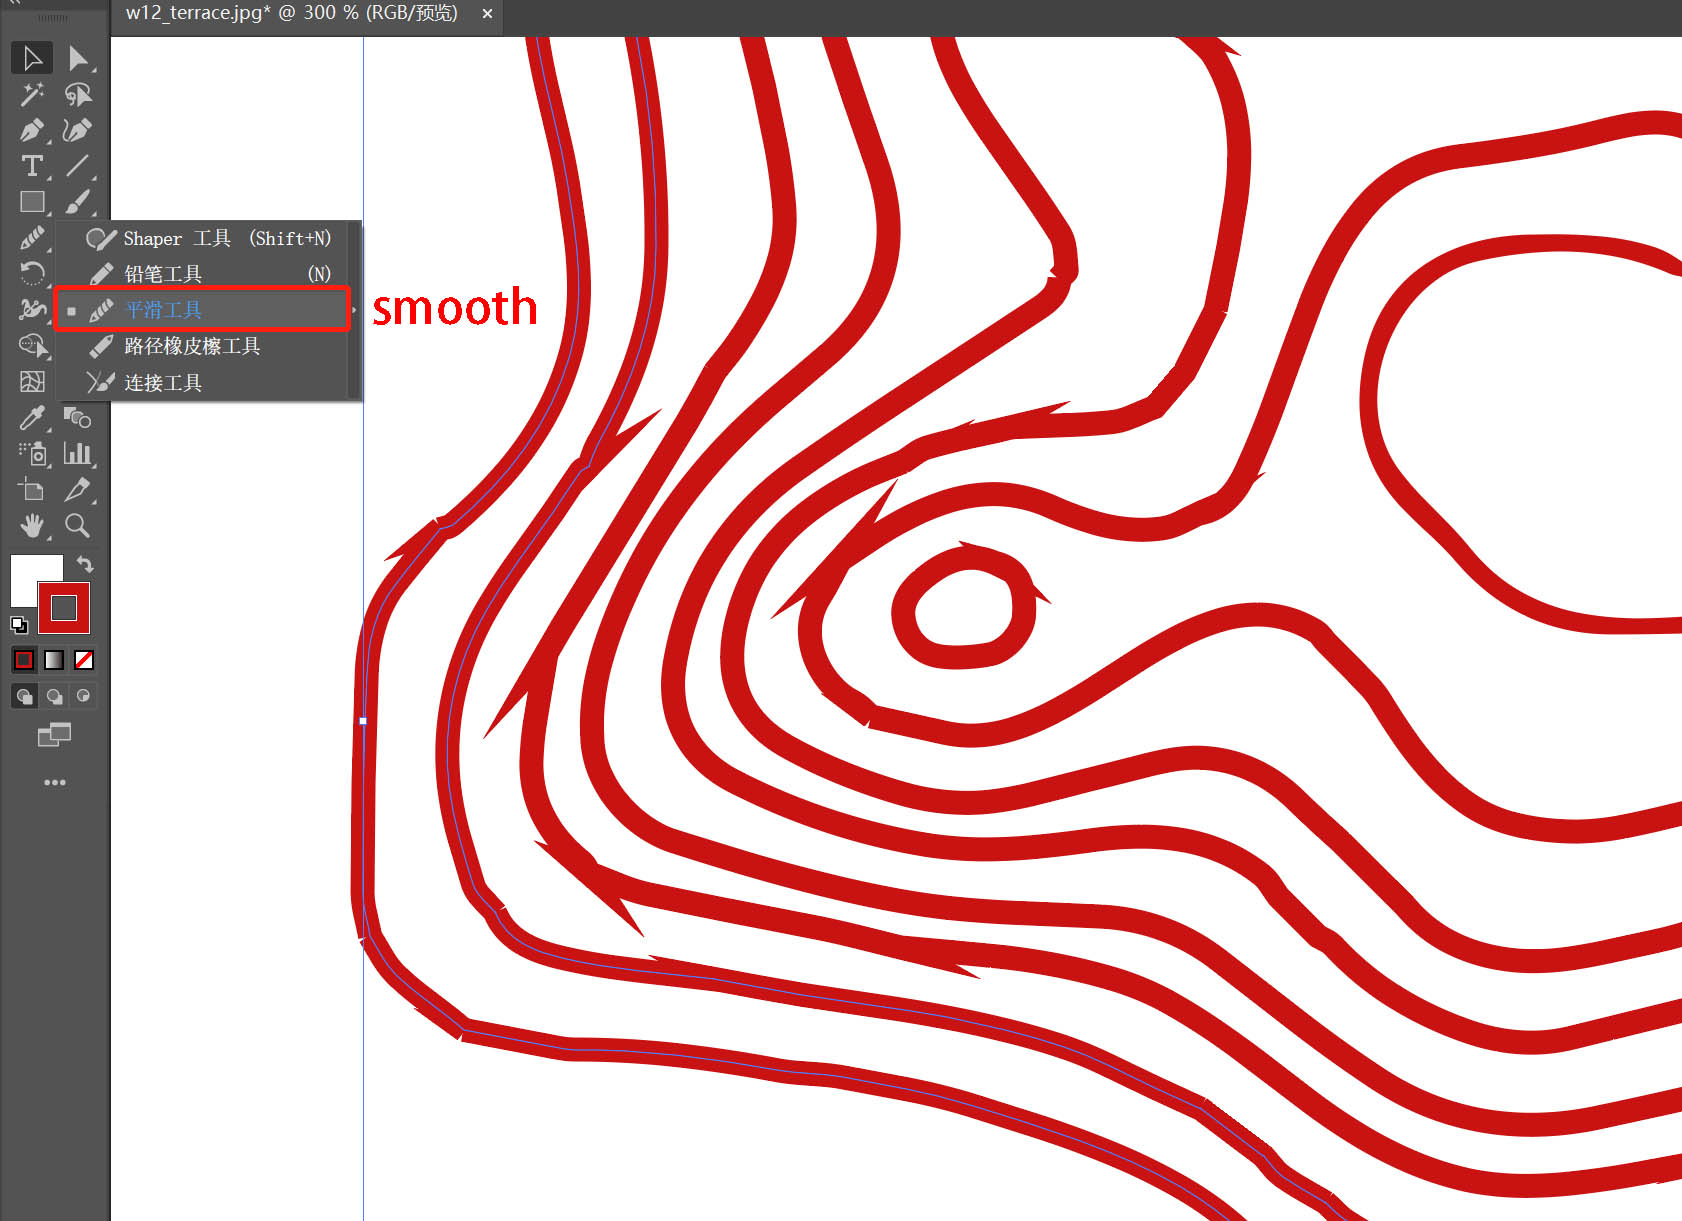
Step1: Convert the contour into path in Adobe Illustrator:
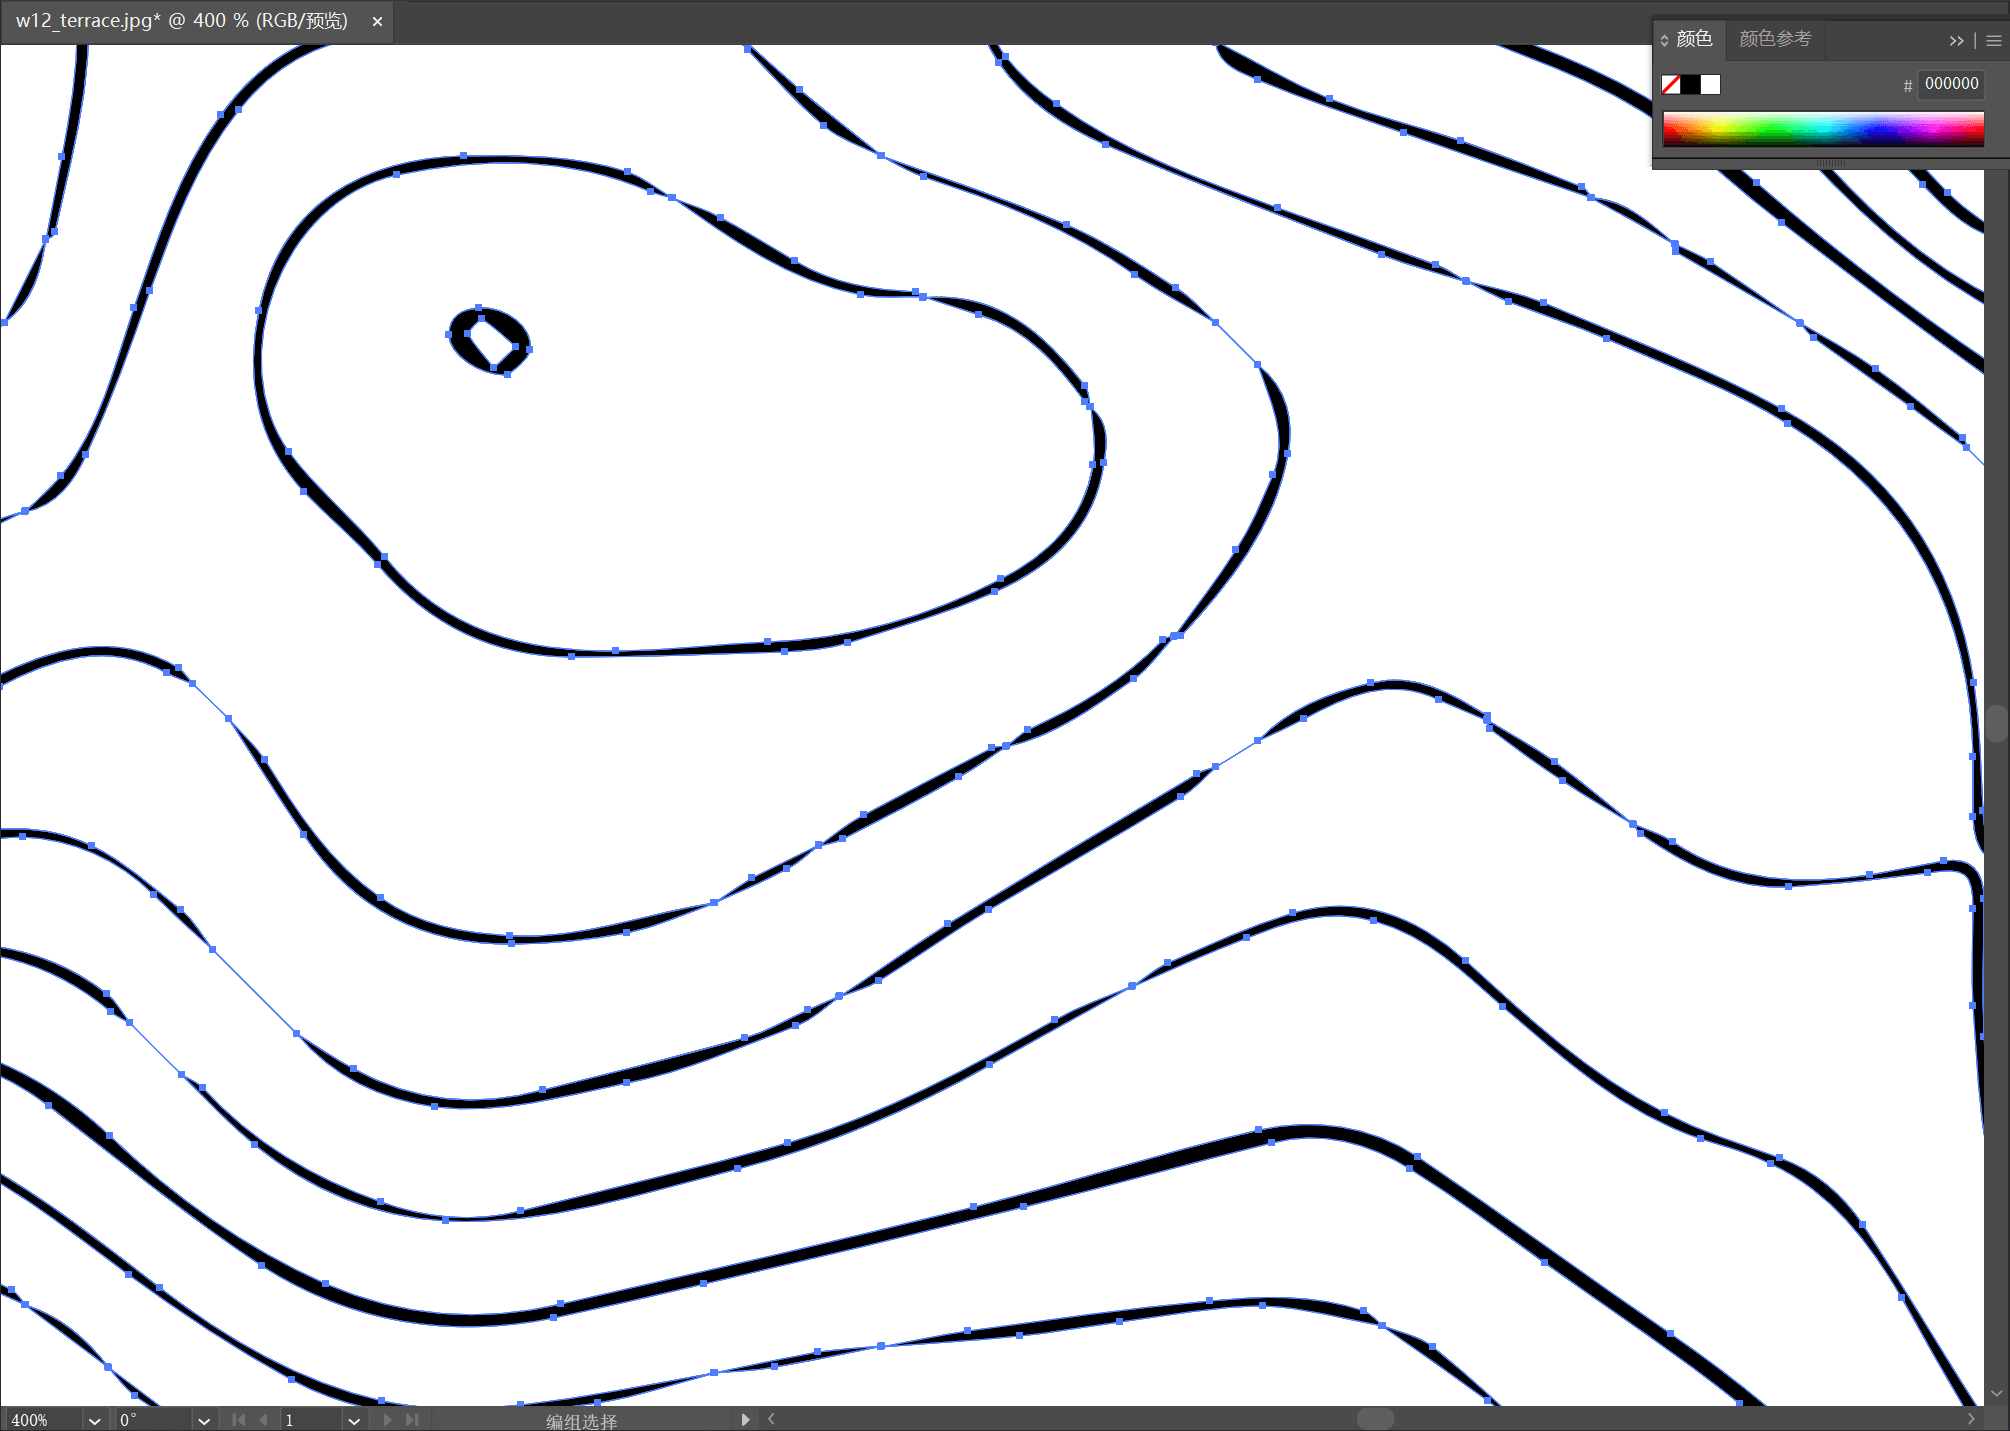
Step2: Smooth the paths:
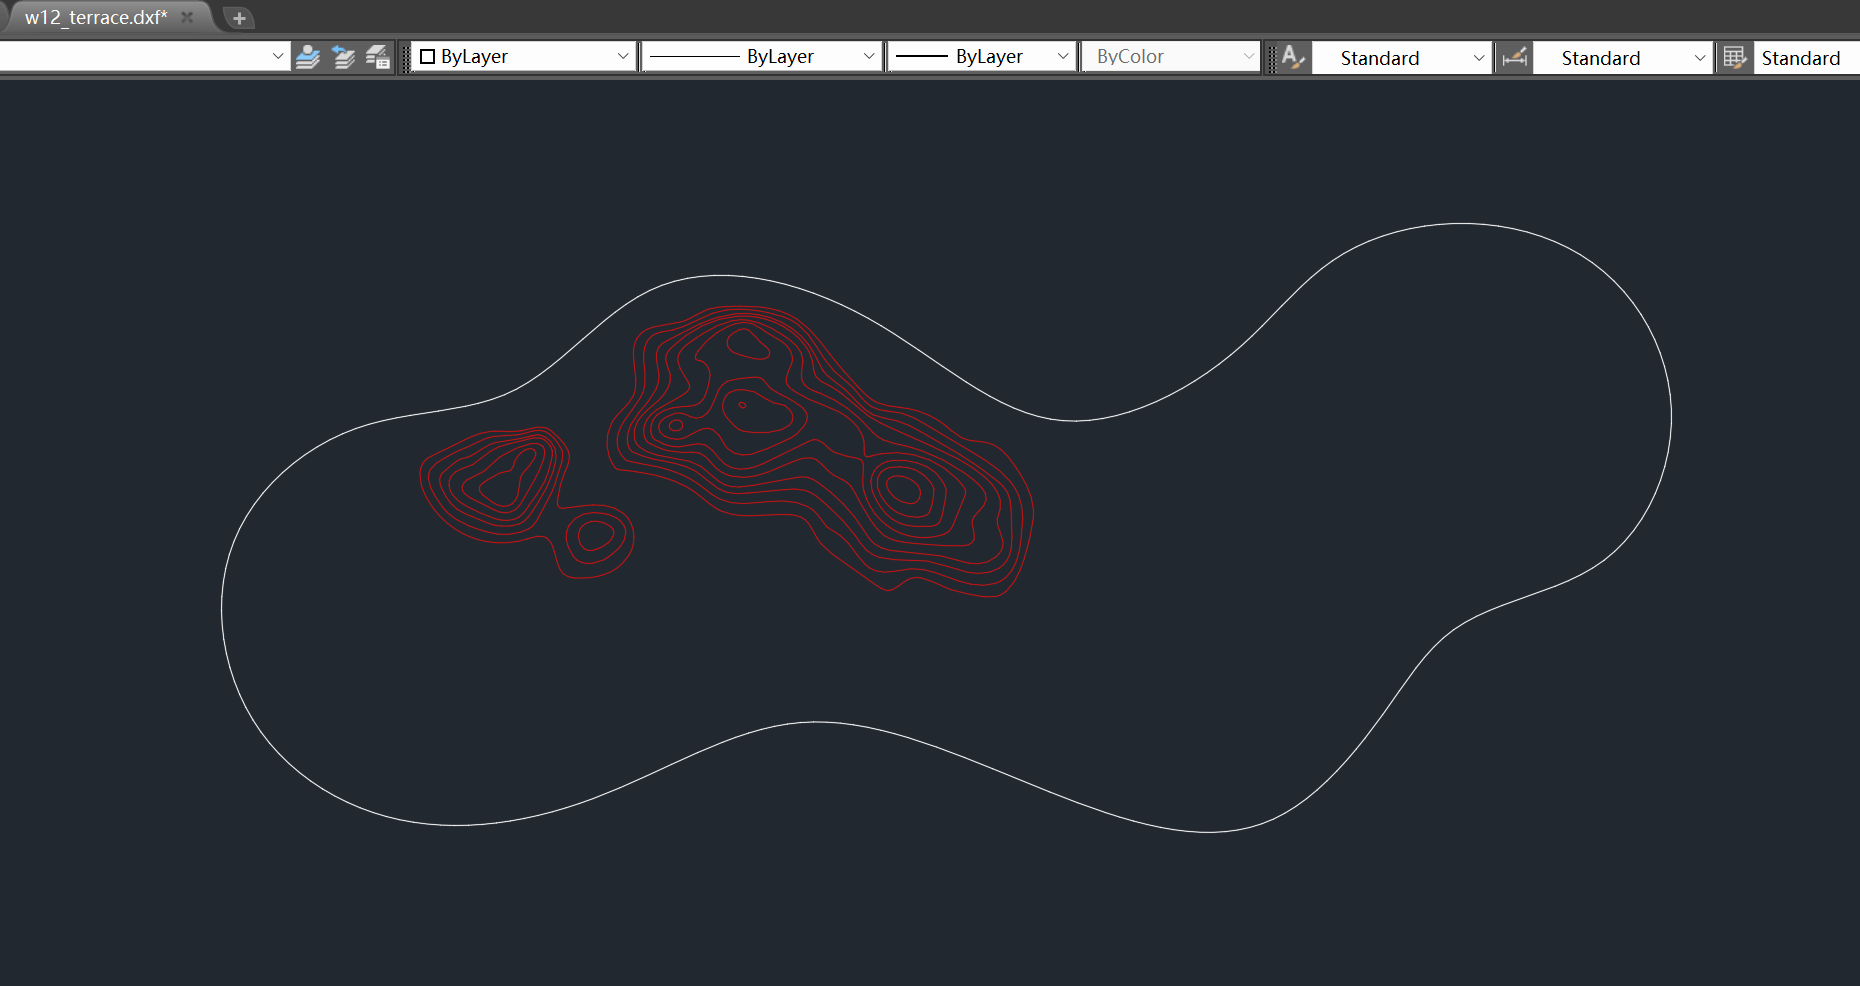
Step3: export dxf file and edit in Autocad:

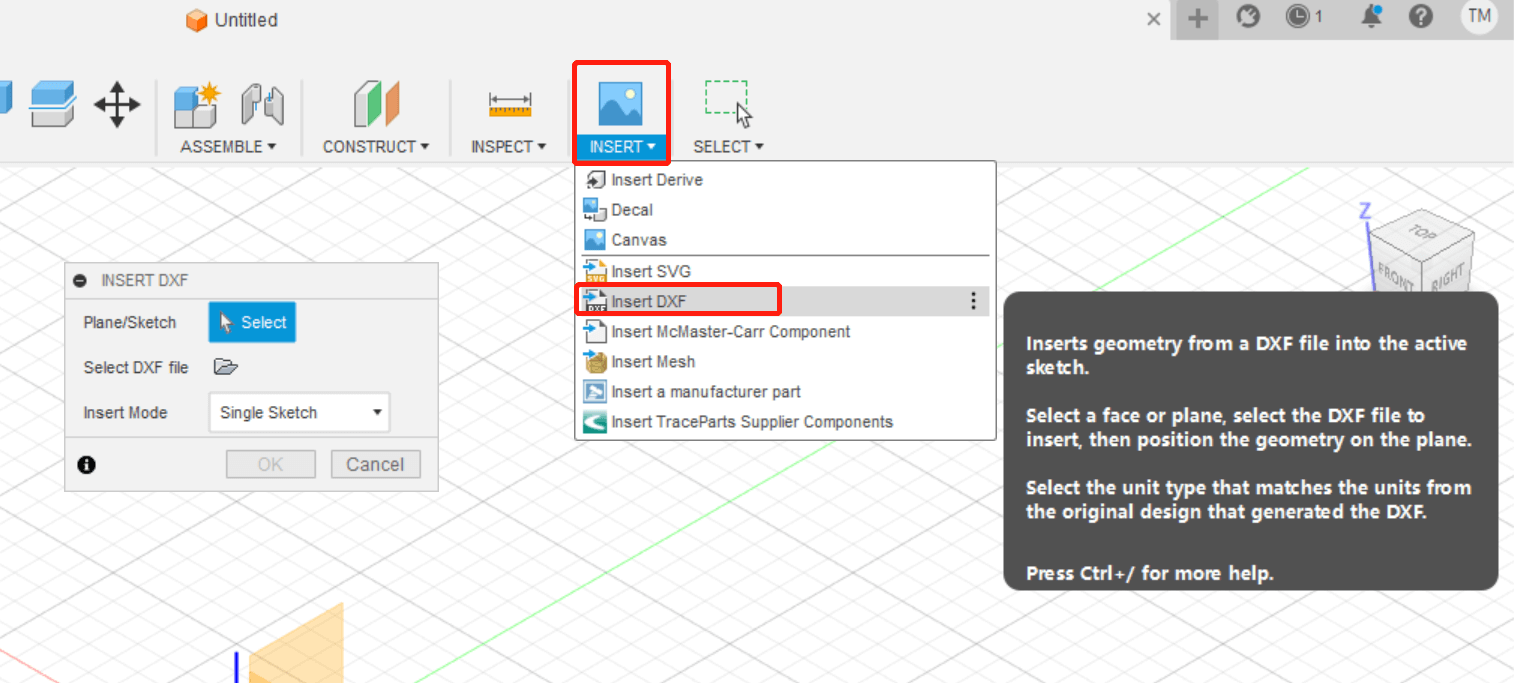
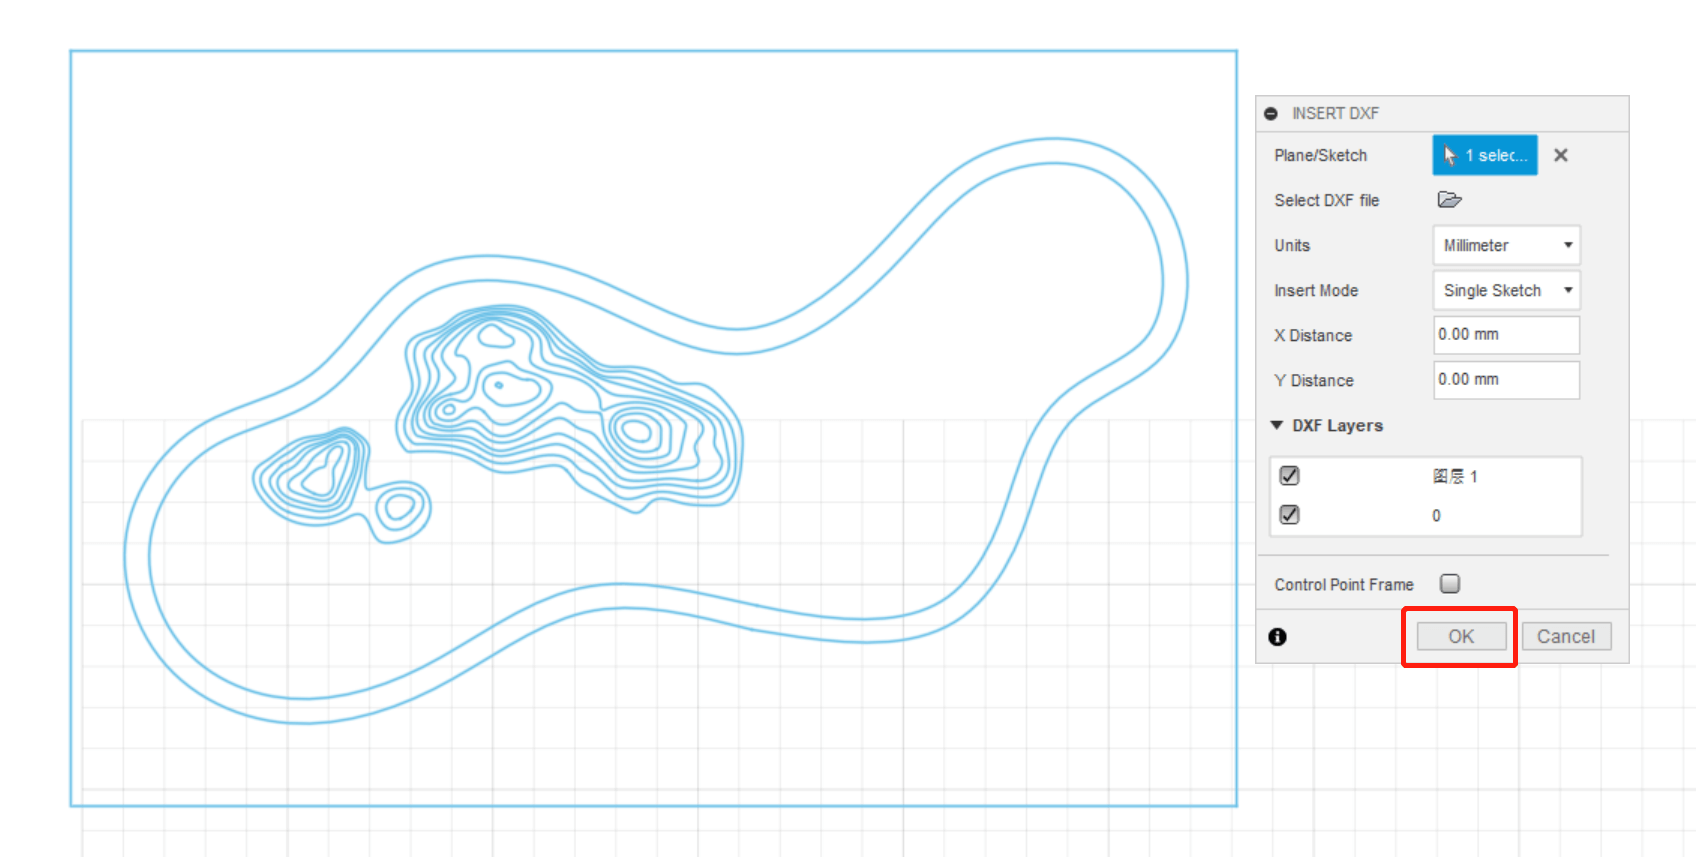
Step4: insert the dxf file into fusion 360:
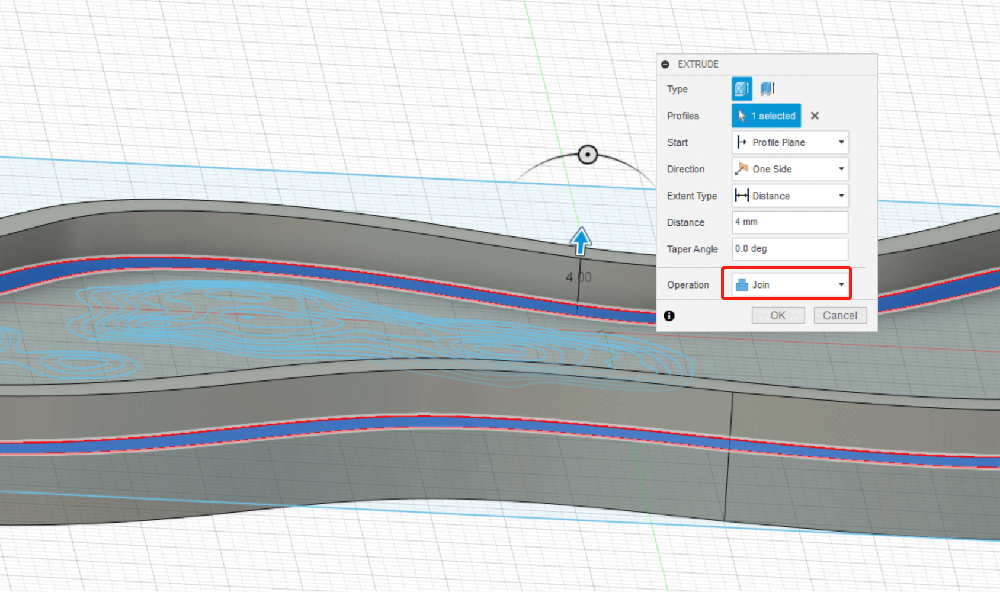
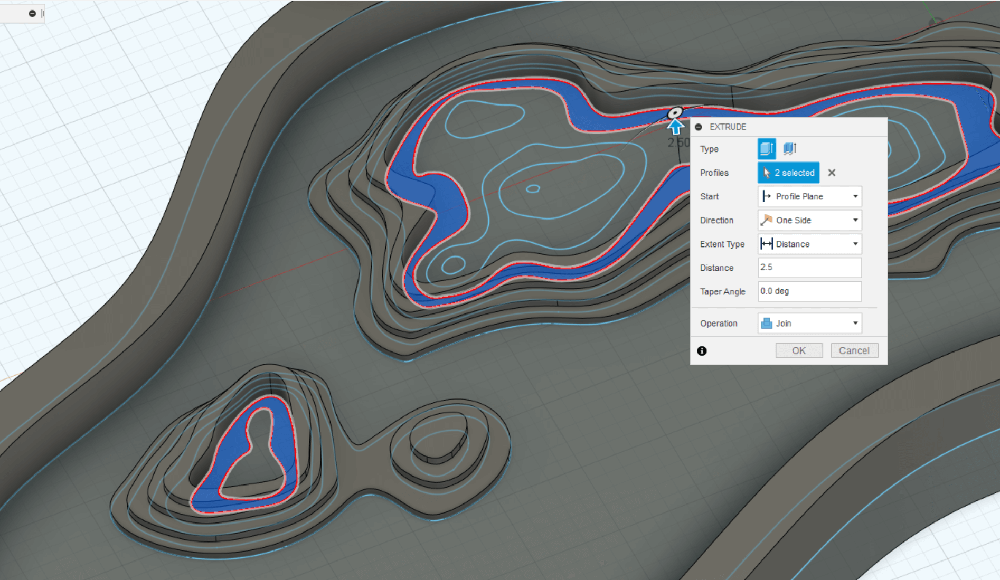
Step5: extrude:
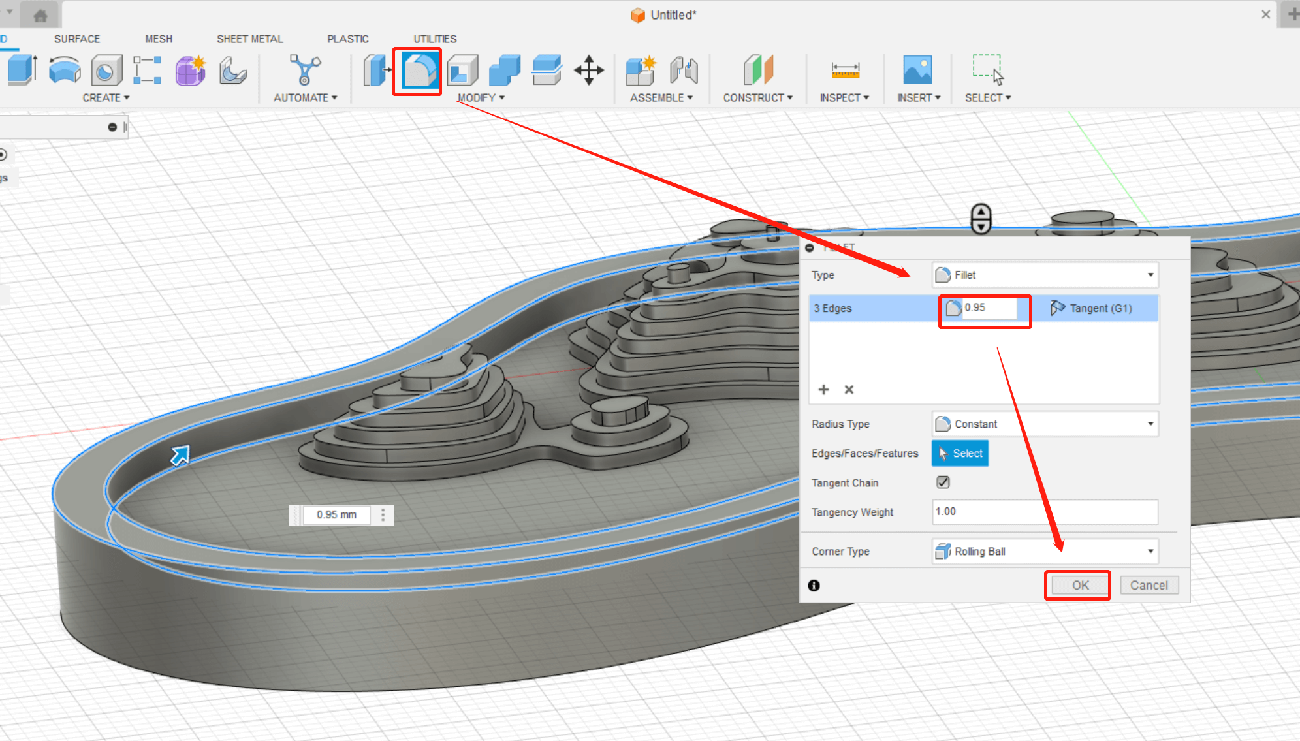
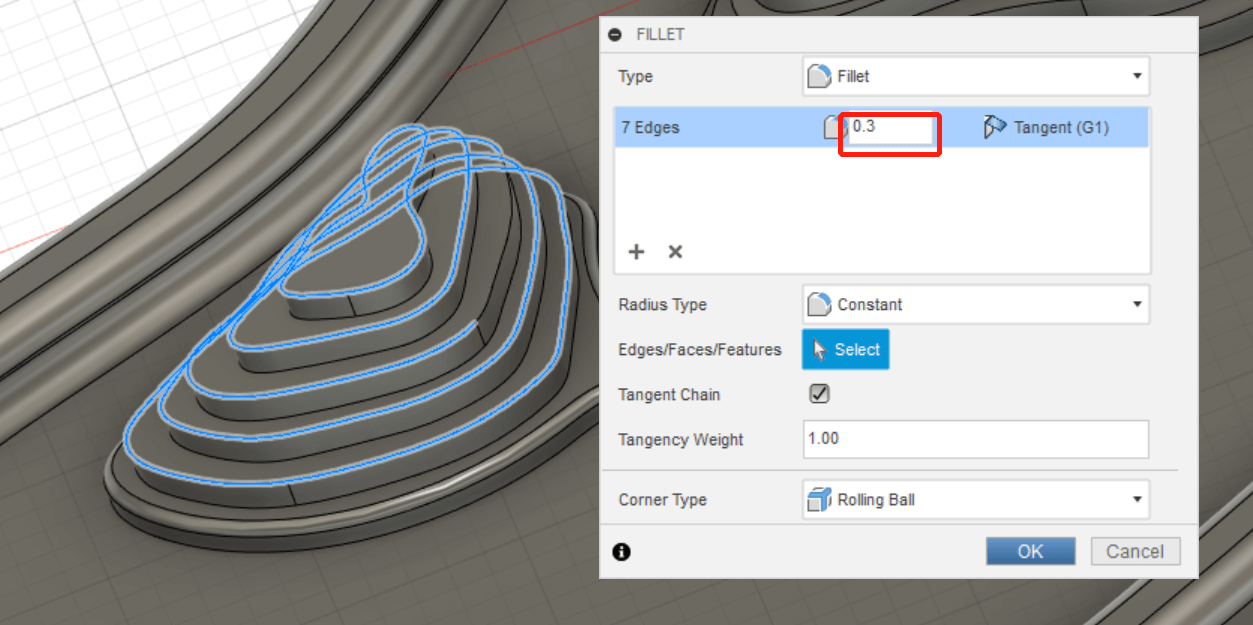
Step6: fillet:
1.3.3 Set up the Toolpath
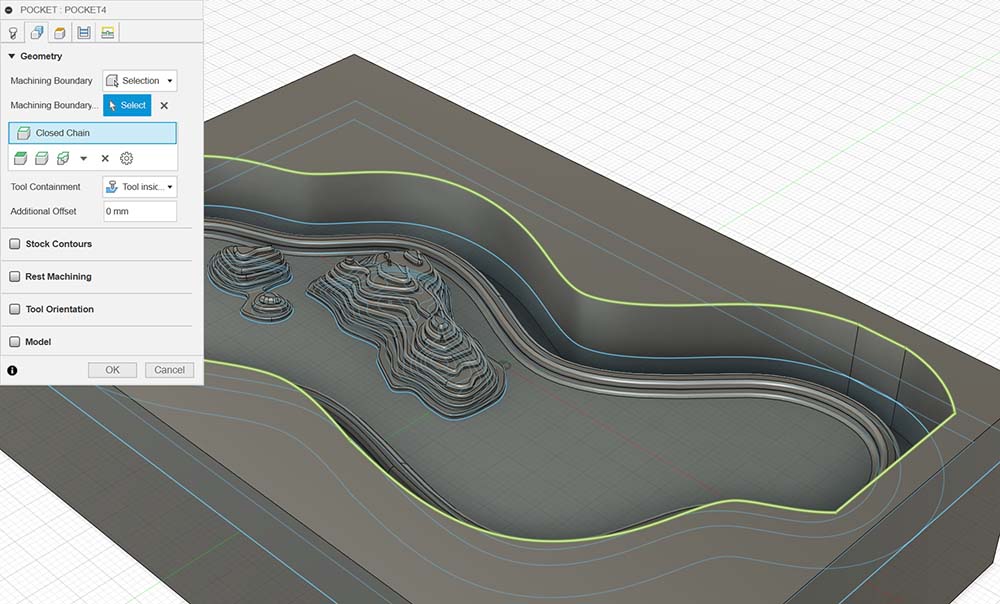
Rough Toolpath: create a new setup and chose pocket cleaning for generate rough toolpath.

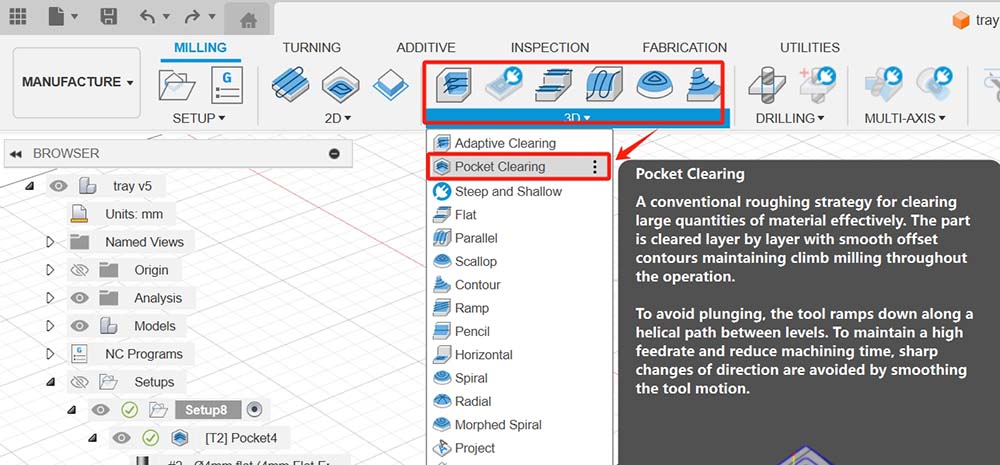
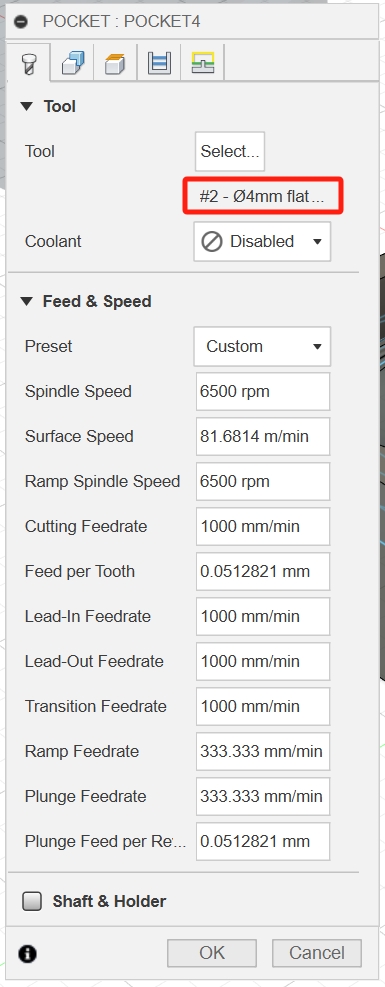
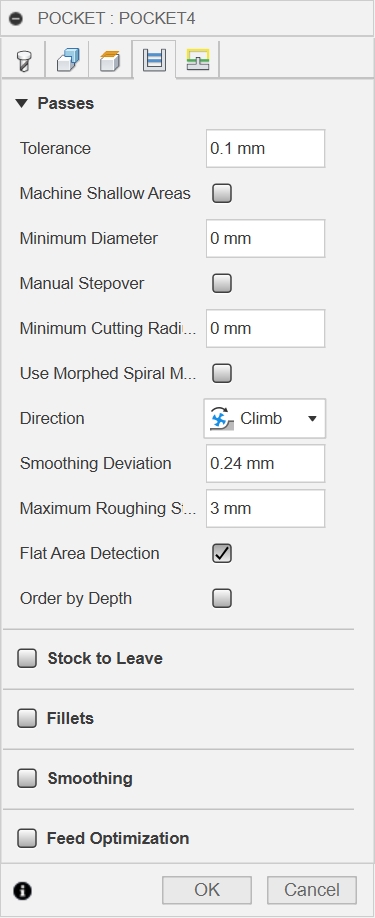
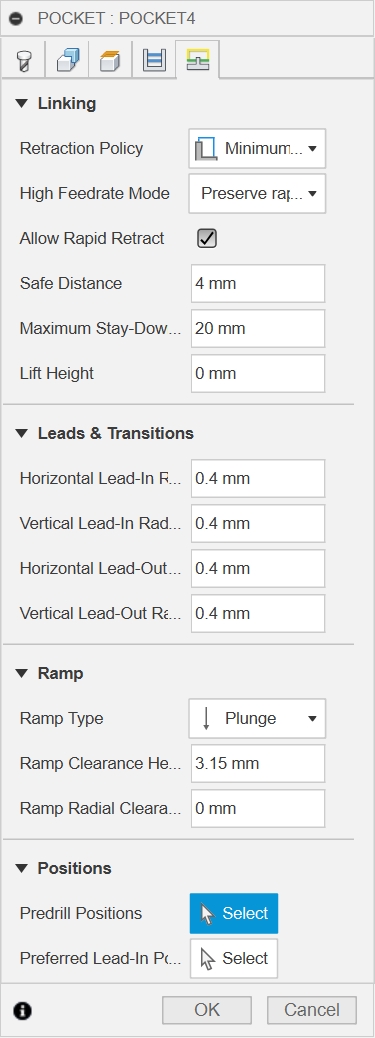
Choose 4mm flat end mill and set the parameters as below and export the nc file.
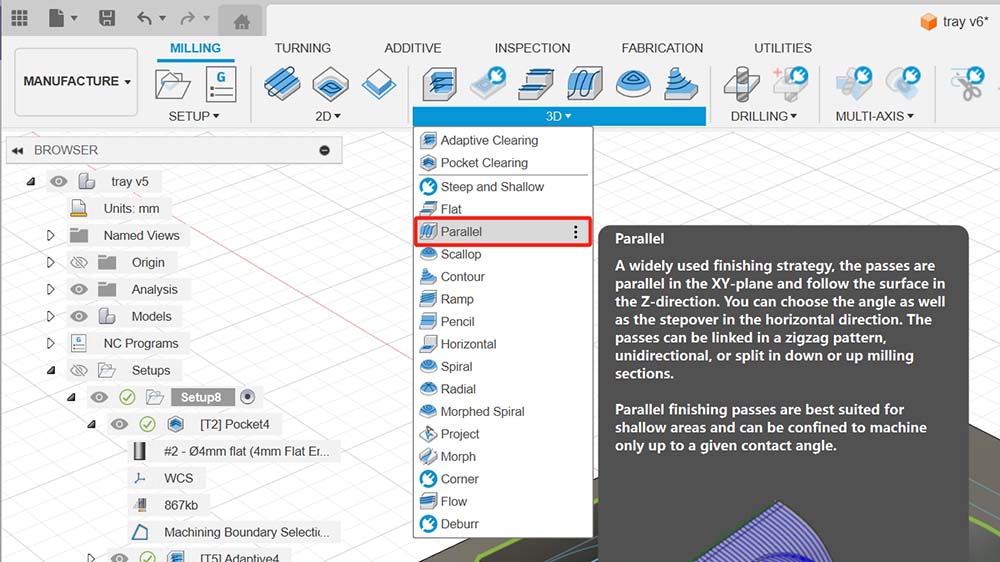
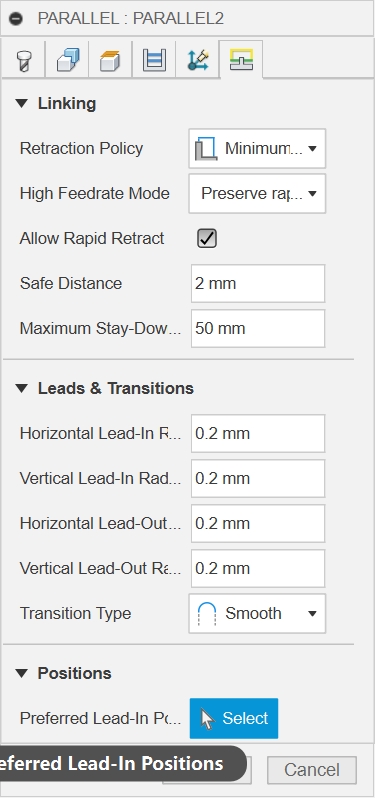
Finish Toolpath: chose parrallel for generate finish toolpath.
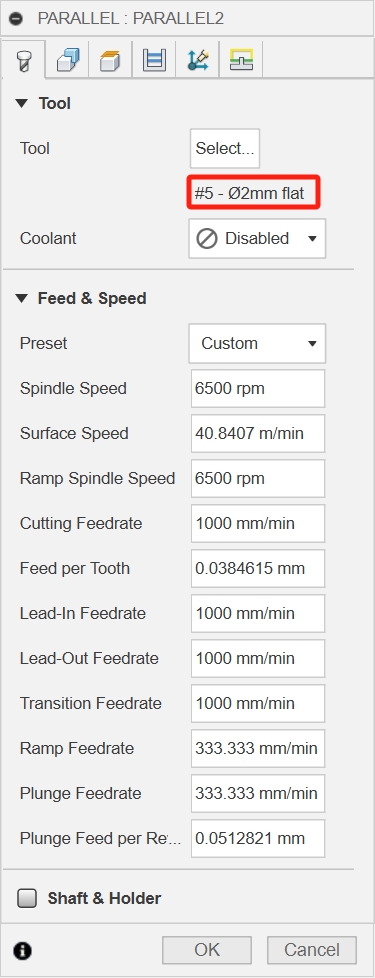
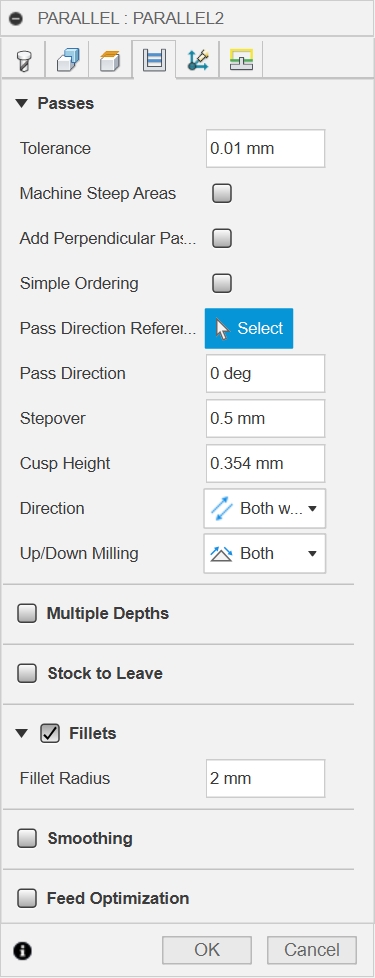
Choose 2mm flat end mill and set the parameters as below and export the nc file.
1.3.4 Milling
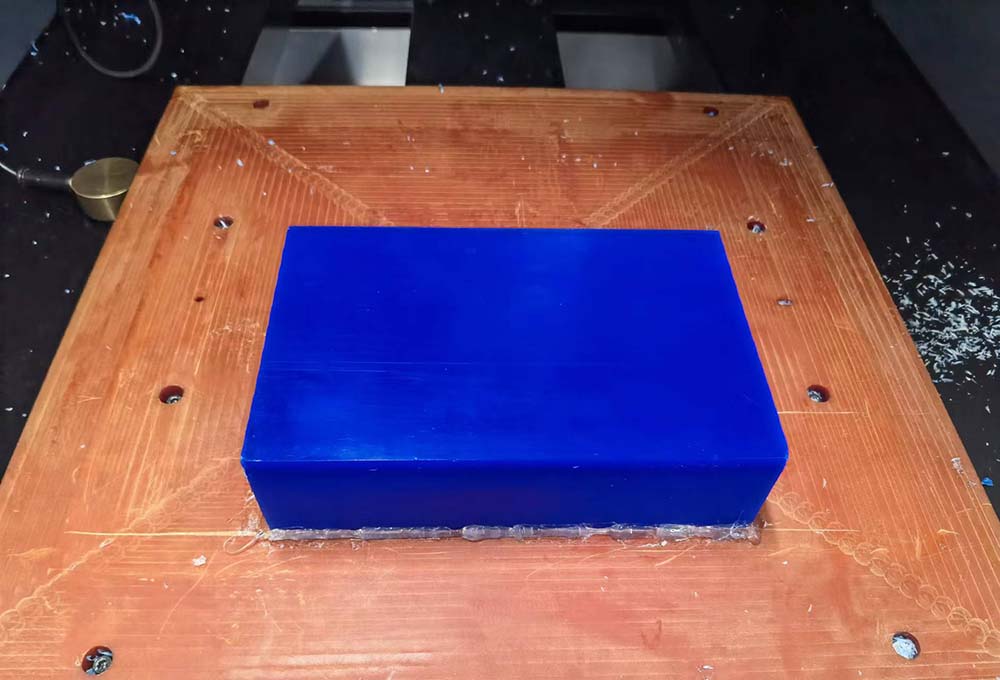
Fix the wax block and zero the z axis of the machine.
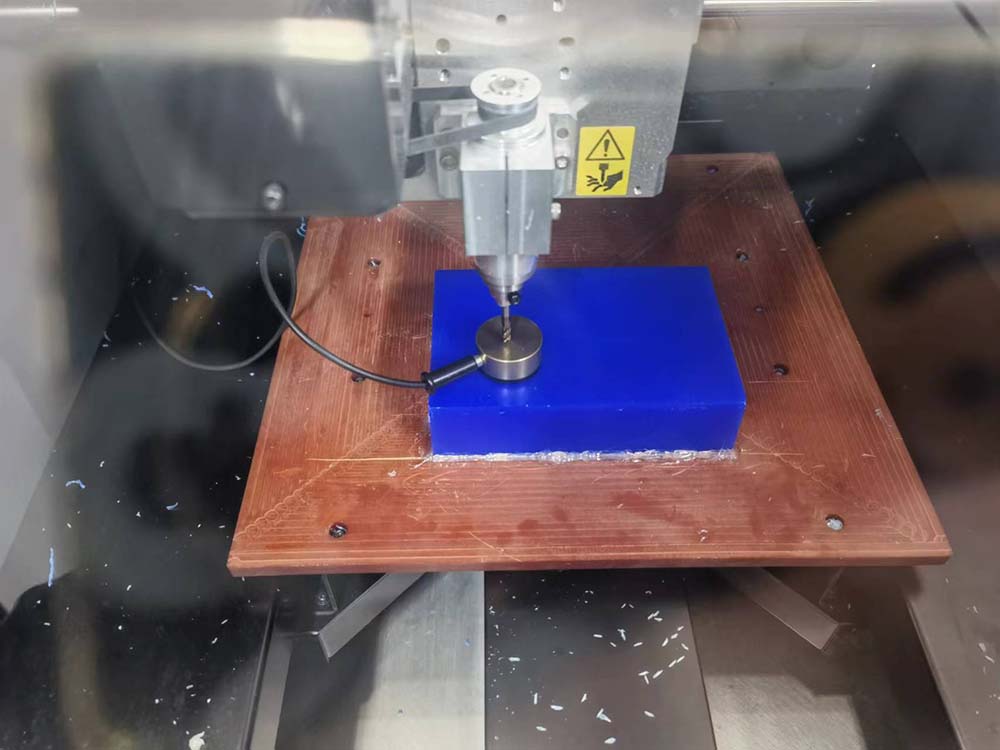
Rough Cut: I used 4mm flat end mill to do the rough cut, with spindle speed at 6500 RPM and feed rate is 50 mm/sec.


tips: The spindle speed should not be set too high. Otherwise, there is a possibility that the wax block may melt and stick to the end mill, resulting in a failure.

Finishing Cut: I used 2mm flat end mill to do the Finishing cut, with spindle speed at 5500 RPM and feed rate is 45 mm/sec.
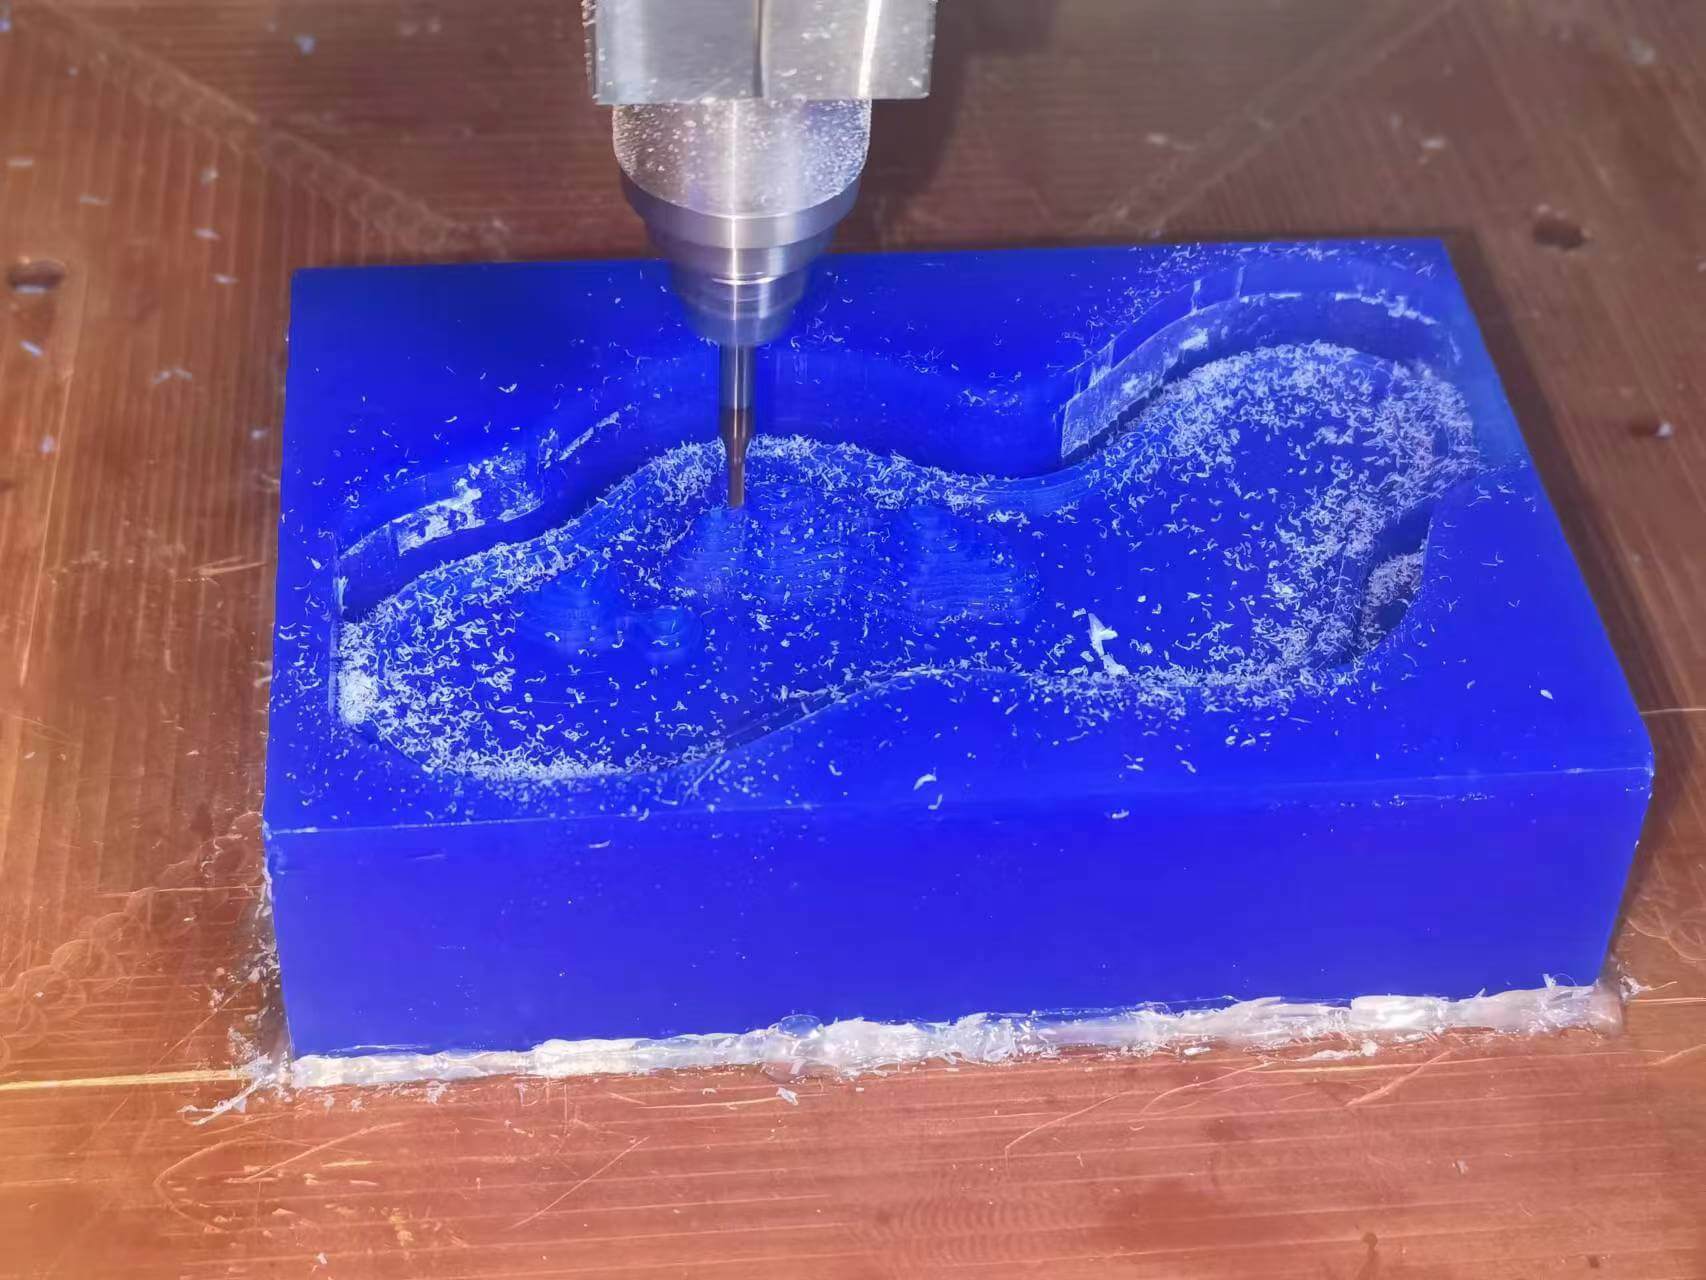
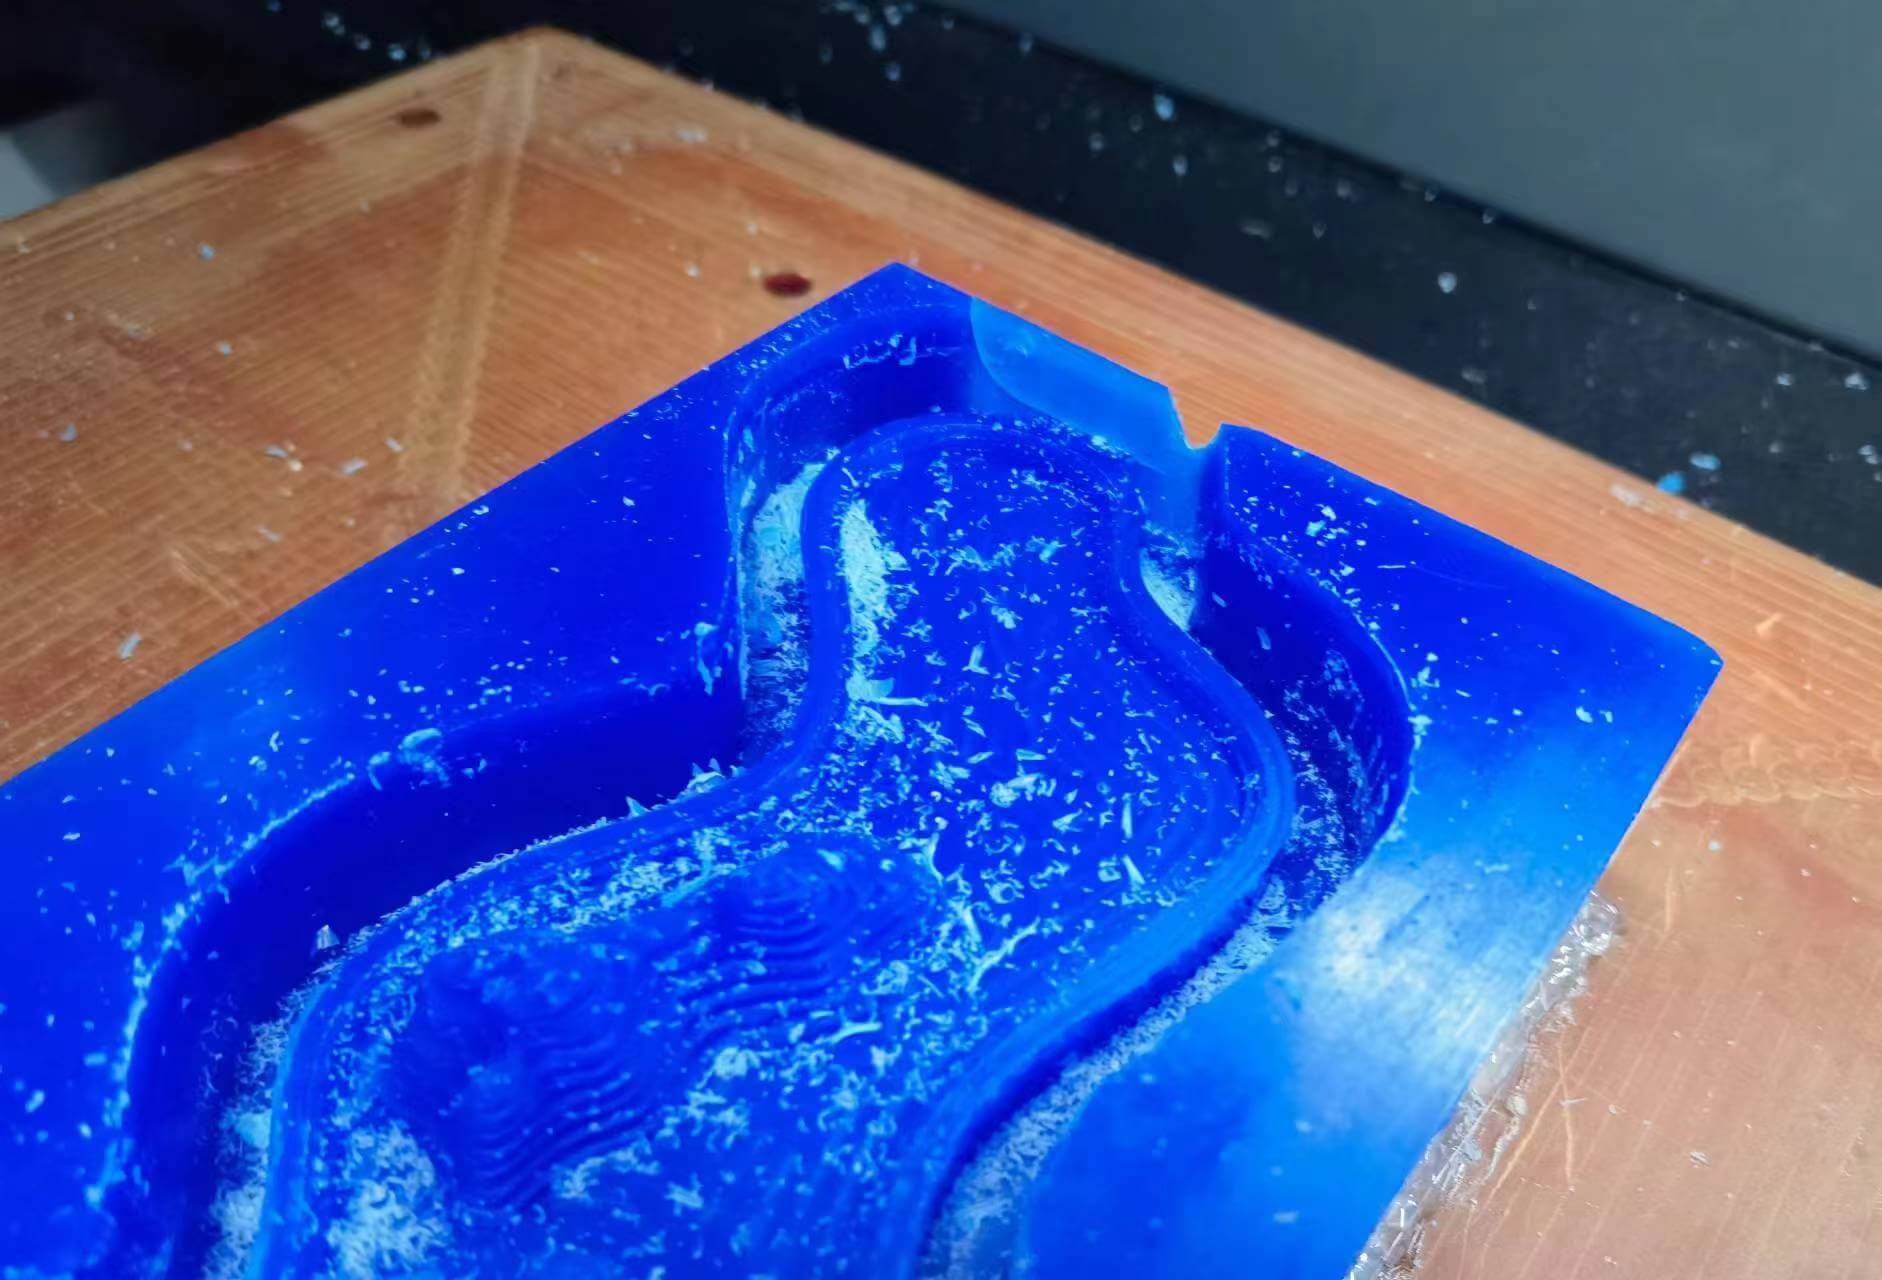
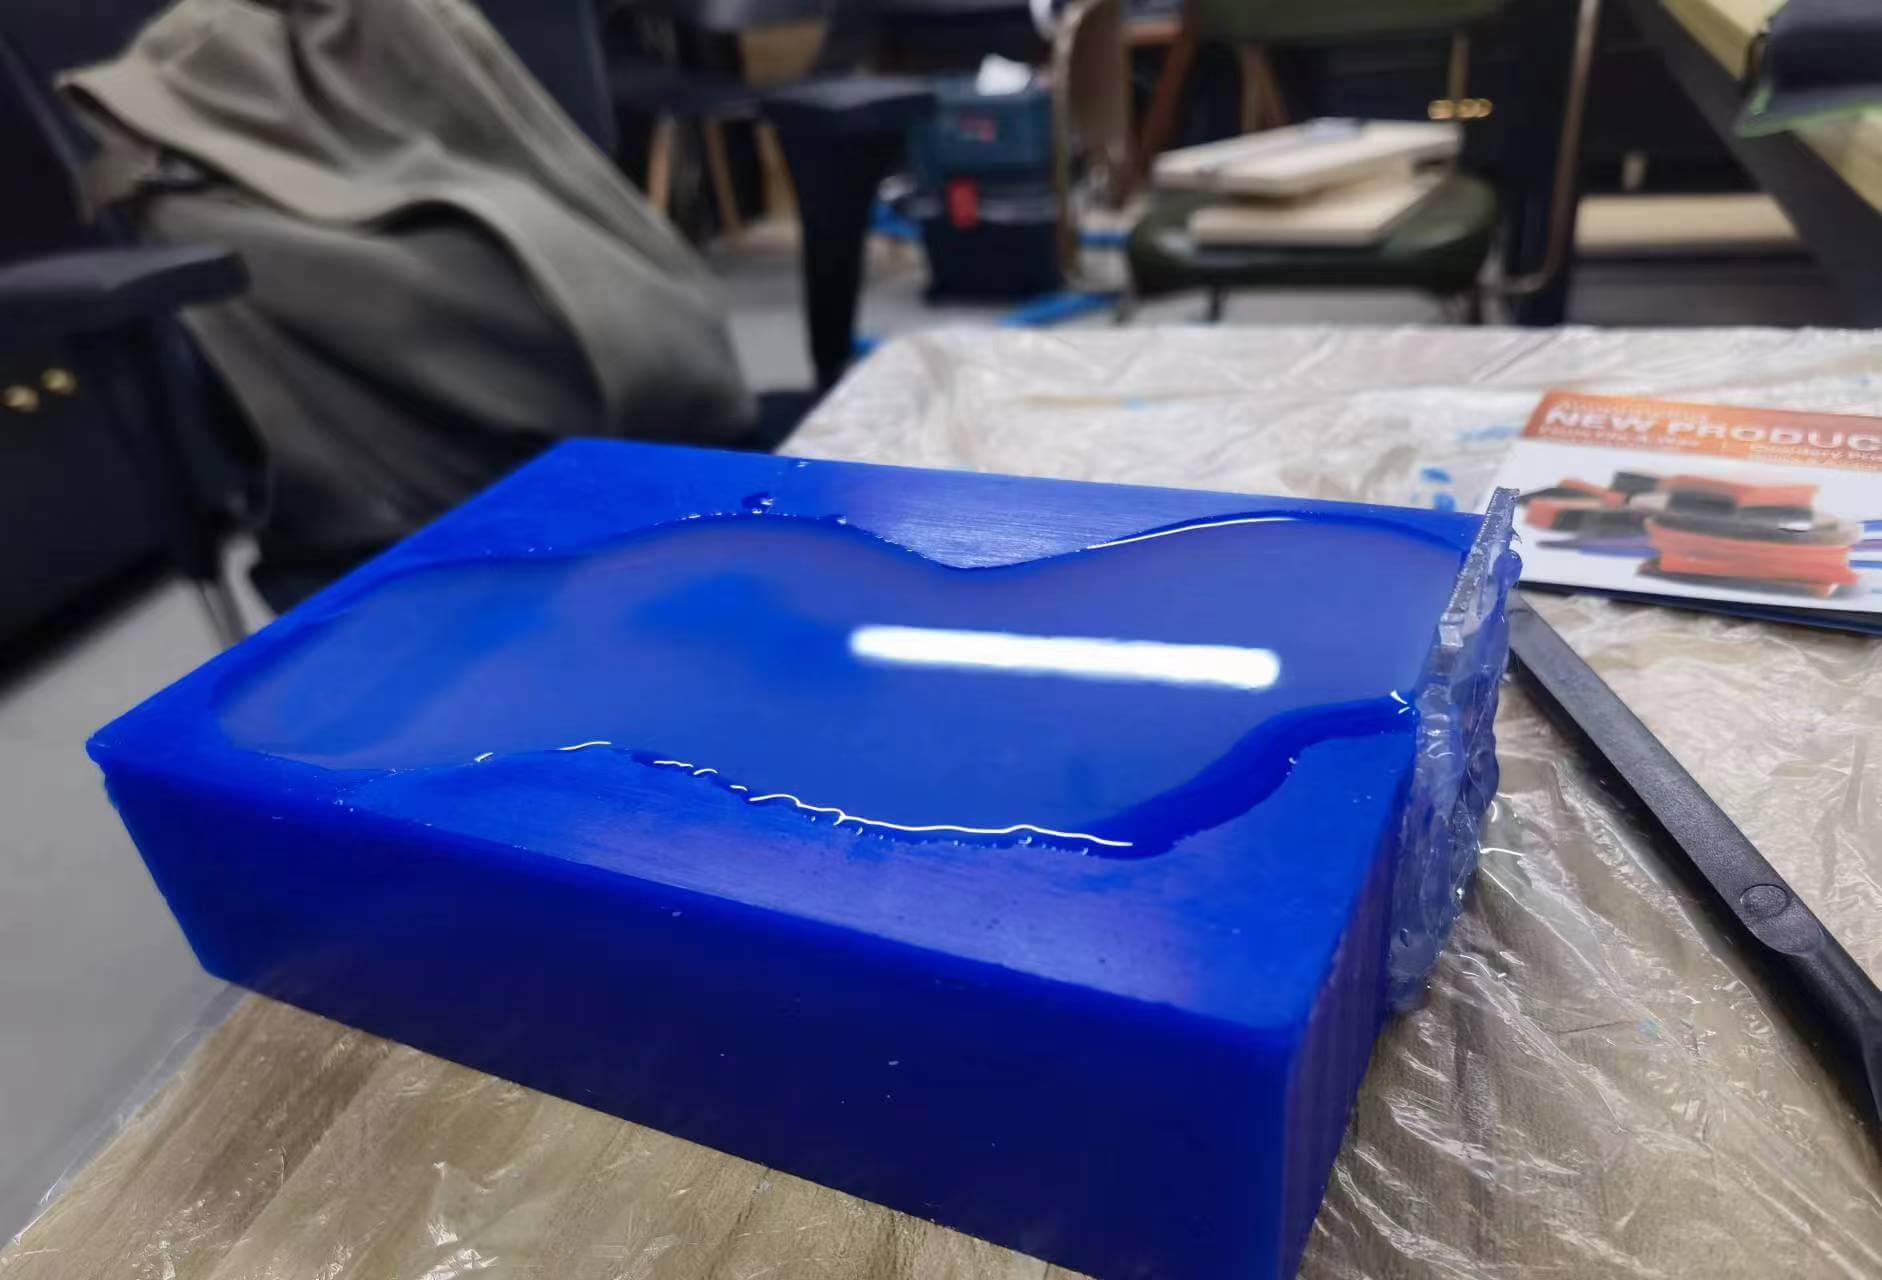
During the finishing cutting process, the thin edge of the wax block I reserved (5mm), combined with some initial error when setting the XY axis origin, resulted in the shank of the end mill colliding with the thin outer wall of the wax block. Luckily, this doesn't significantly impact my silicone mold, and it doesn't affect the final casting result. Therefore, I let it complete the entire finishing cutting process.
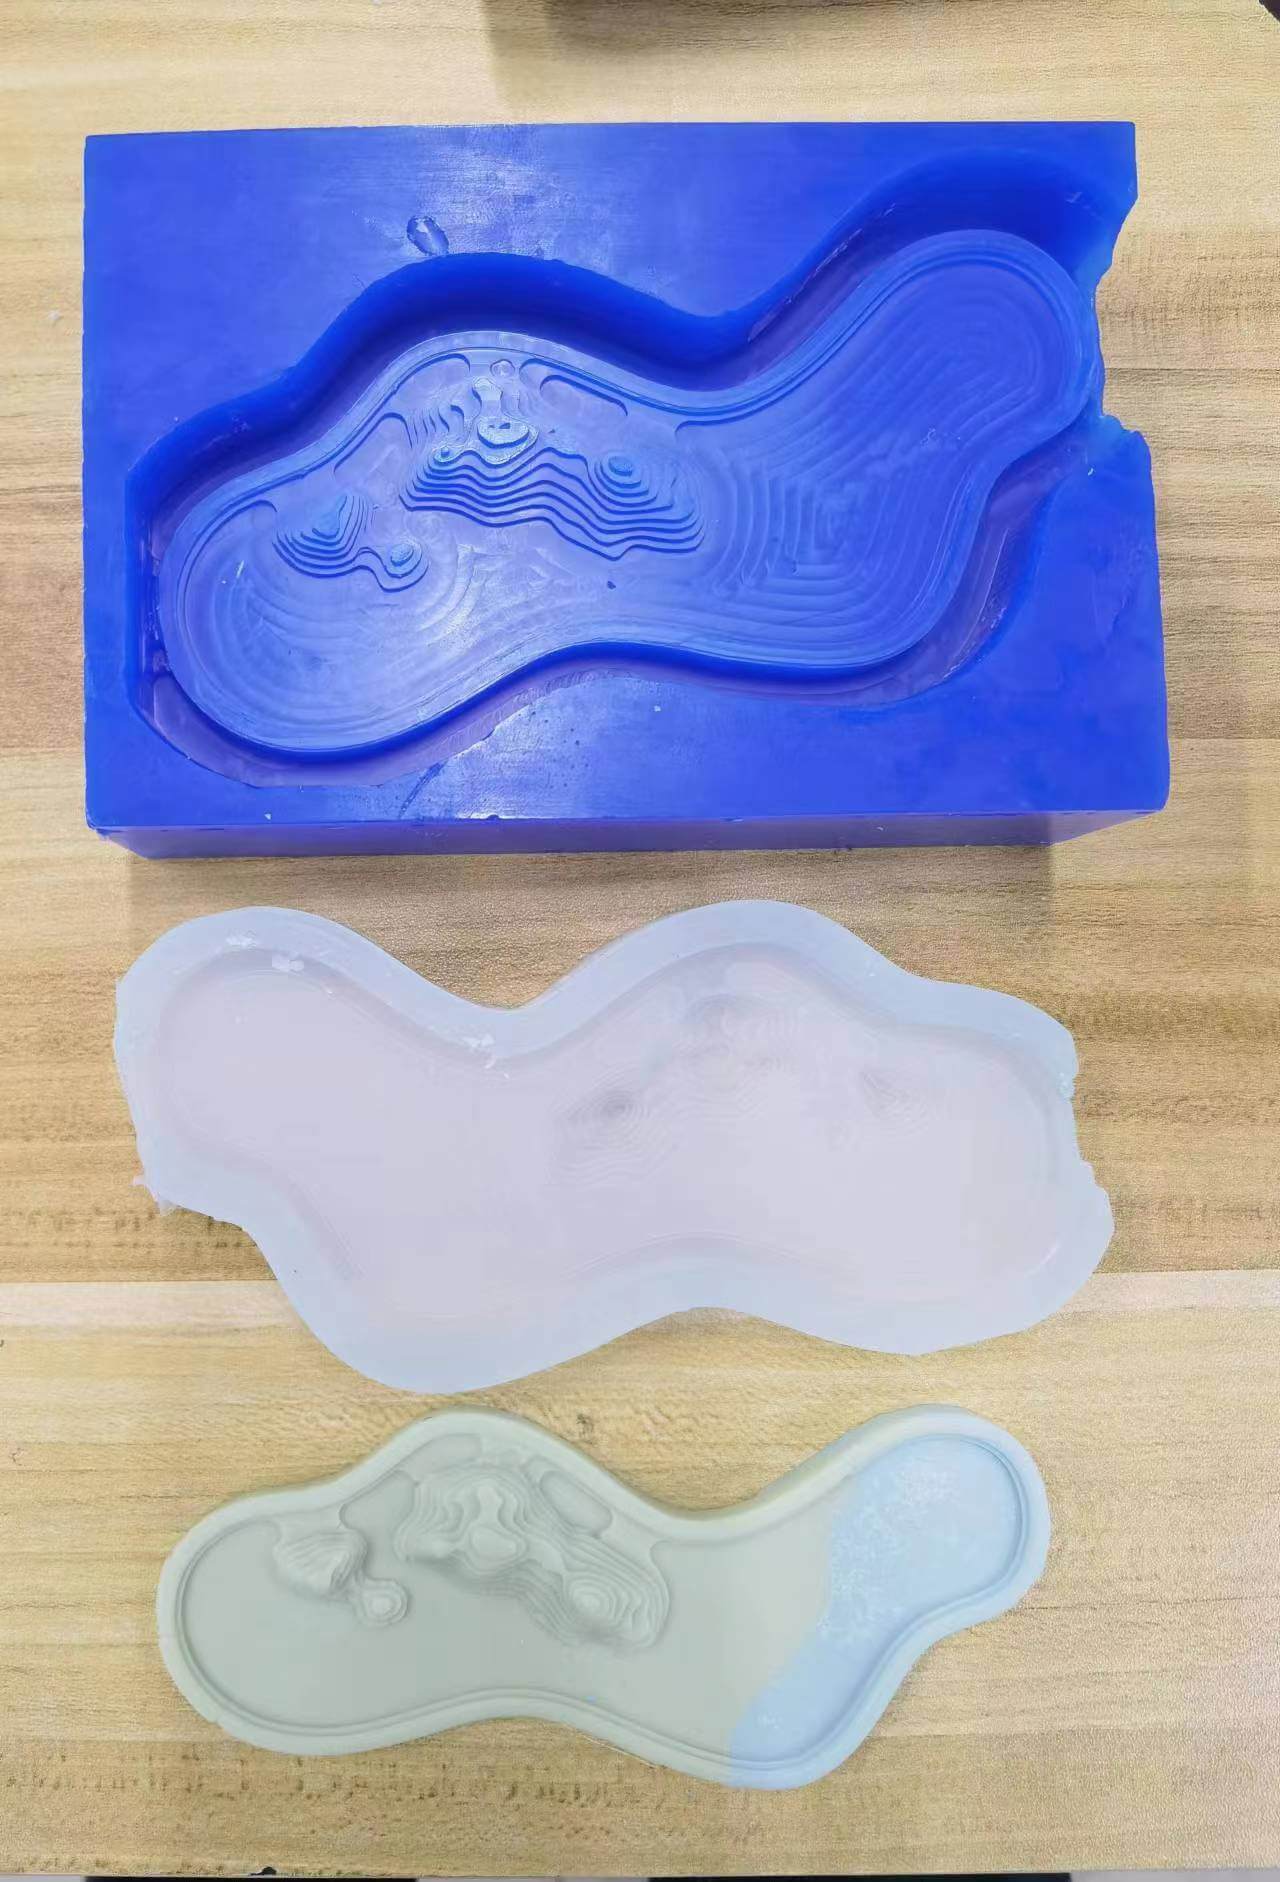
1.3.4 Molding and Casting
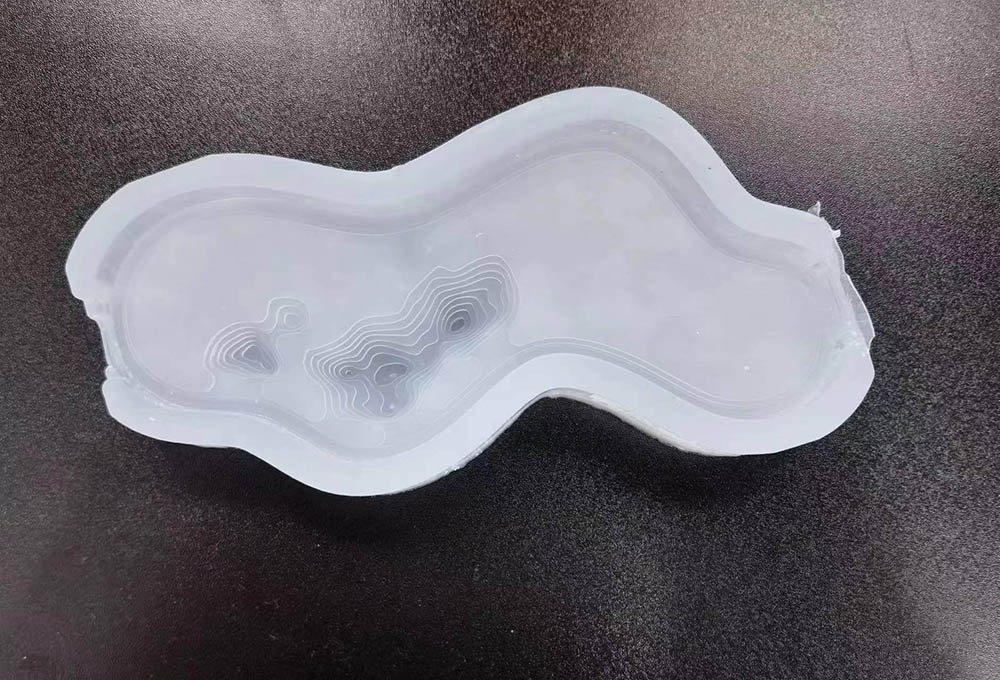
I repaired the damaged wax block mold using a piece of acrylic and then poured silicone. After mixing the silicone A solution with the B solution in a 1:1 ratio and pouring it into the wax block, I let it stand for 12 hours, and I obtained my silicone mold.
Casting Wax: To quickly test whether this silicone mold is usable, I decided to cast a wax model. I melted the wax, added a few drops of dye, stirred it evenly, and poured it into the mold. After about an hour, the wax solidified, and I was able to demold it successfully.
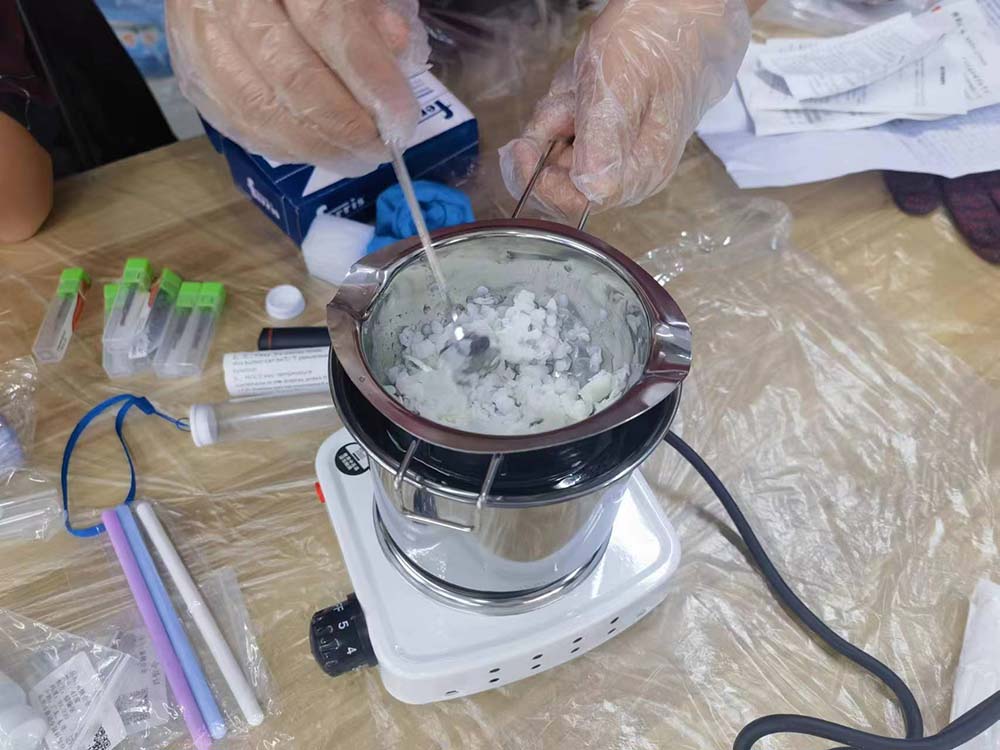

Casting Resin: The epoxy resin's A solution and B solution were mixed in a 3:1 weight ratio, a few drops of dye were added, and after stirring thoroughly, I tapped the mixture on the table to release any air bubbles. Then, I poured it into the mold. I also added some colorful shredded paper into it. After waiting for 12 hours, I was able to demold it.
1.3.5 Files
model - f3d file rough toolpath - 4mm flat end mill - prn file finishing toolpath - 2mm flat end mill - prn file