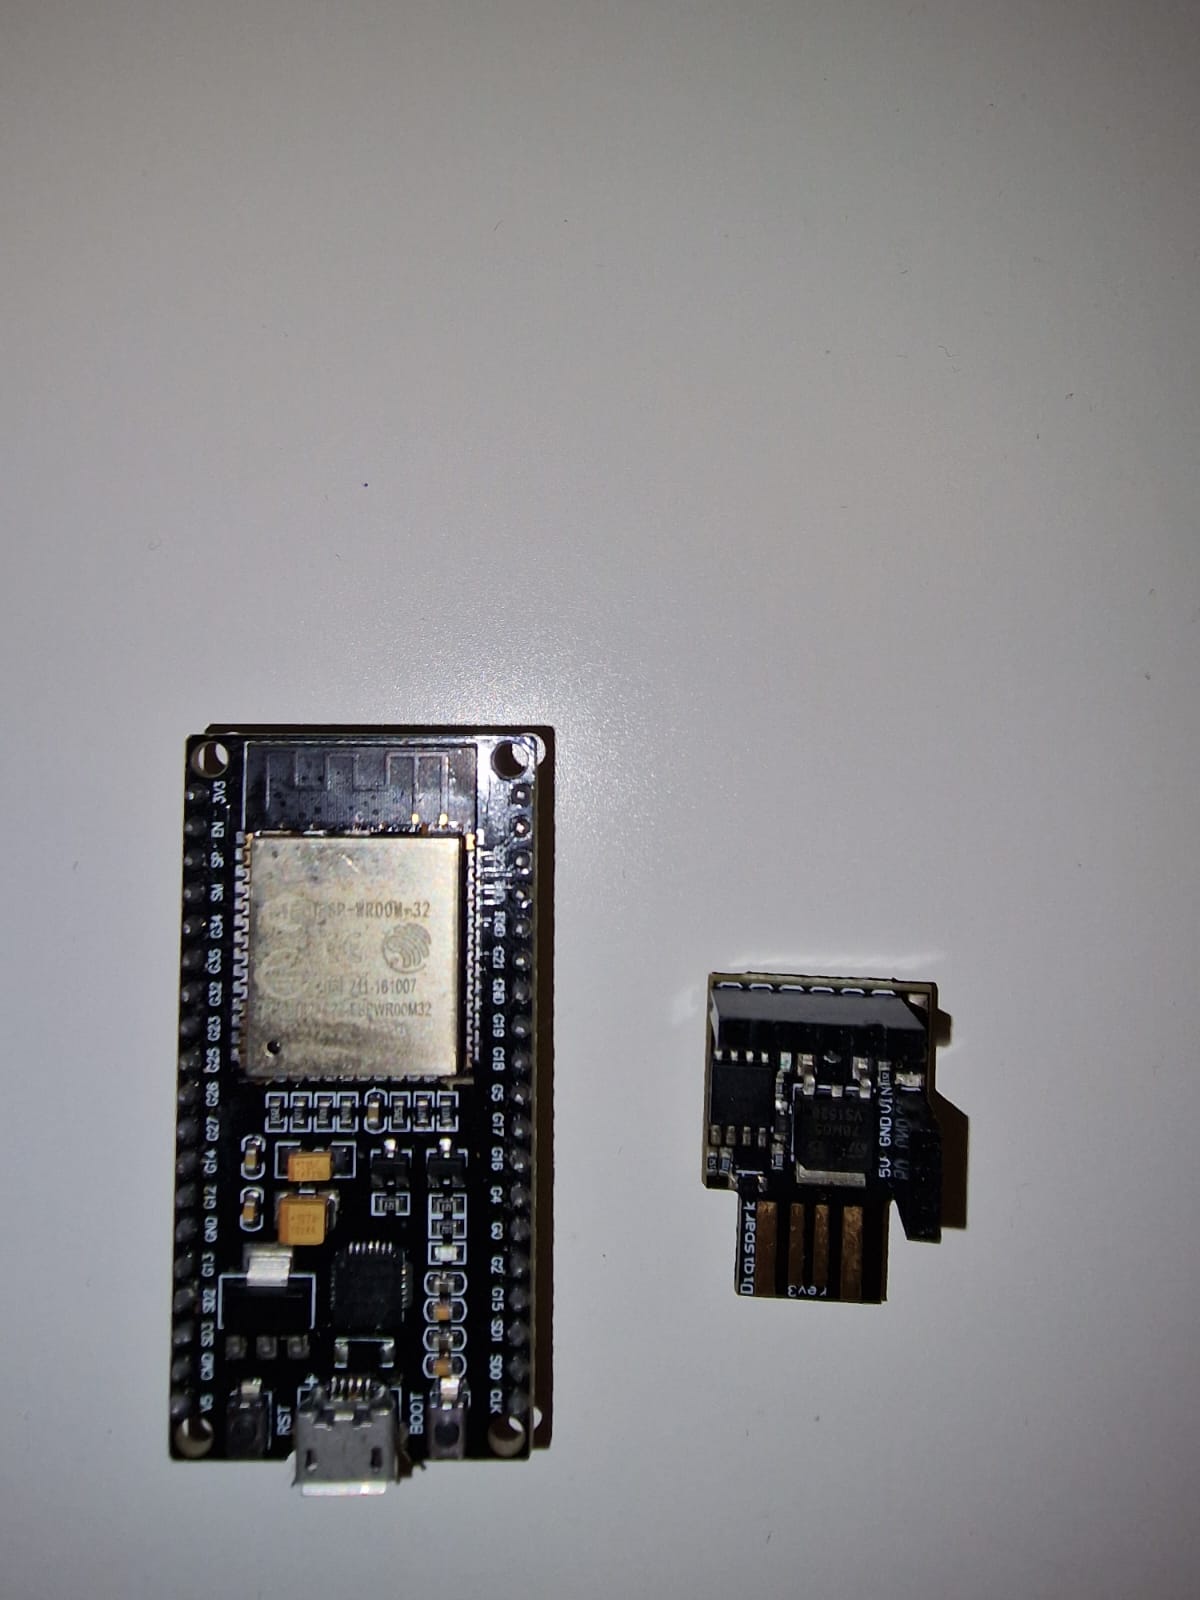
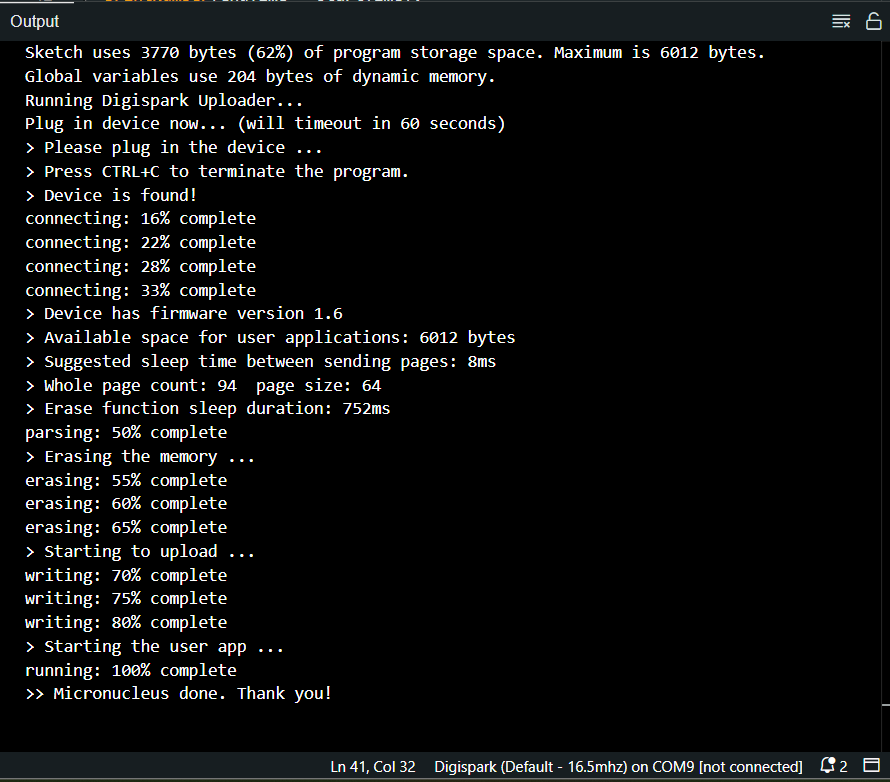
Code for Performance Testing on ATtiny85 (Digispark)
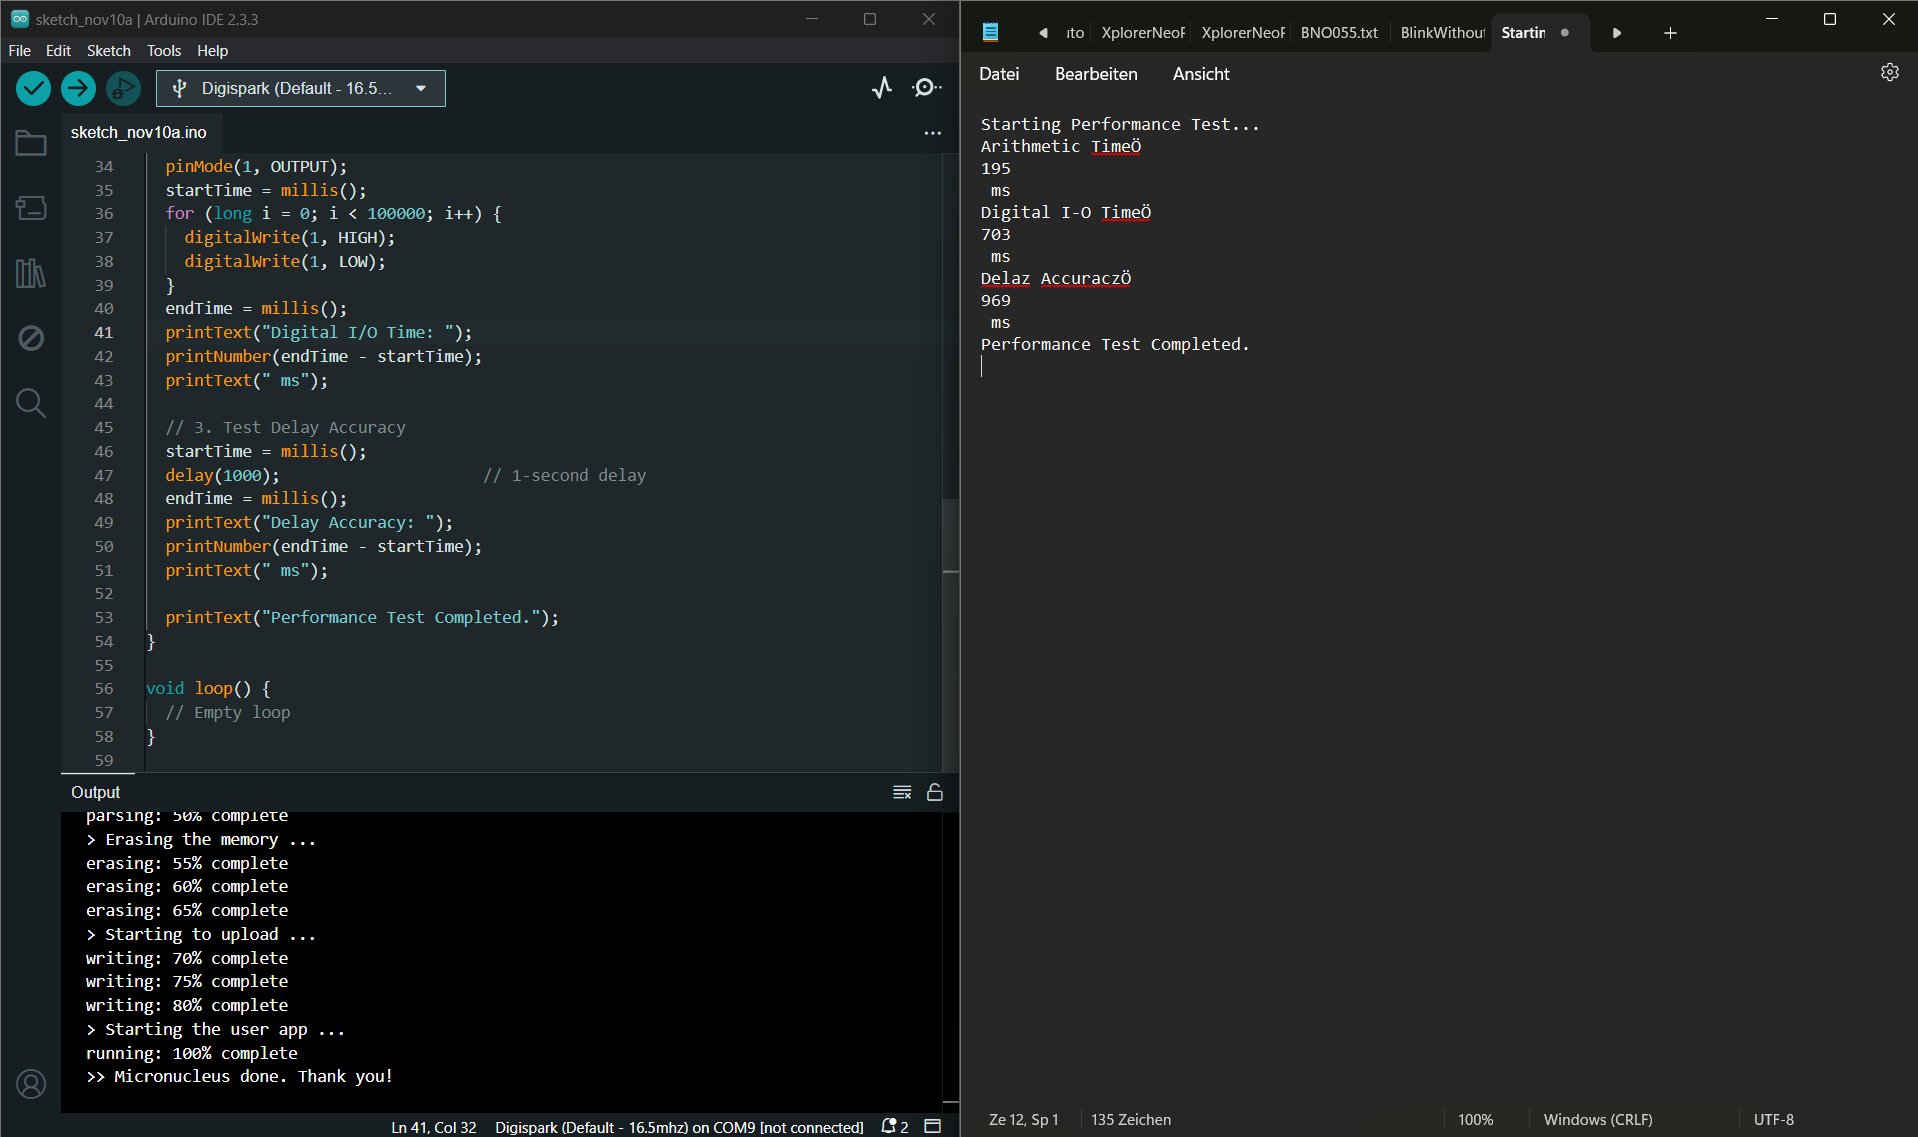
            #include <DigiKeyboard.h>

void printText(const char* text) {
    while (*text) {
        DigiKeyboard.write(*text++);
        DigiKeyboard.delay(60);
    }
    DigiKeyboard.println("");
    DigiKeyboard.delay(400);
}

void printNumber(unsigned long number) {
    char buffer[10];
    ltoa(number, buffer, 10);
    printText(buffer);
}

void setup() {
    DigiKeyboard.delay(1000);  // Time to open a text editor
    printText("Starting Performance Test...");

    // 1. Test Arithmetic Speed
    unsigned long startTime = millis();
    volatile long sum = 0;
    for (long i = 0; i < 100000; i++) {
        sum += i;
    }
    unsigned long endTime = millis();
    printText("Arithmetic Time: ");
    printNumber(endTime - startTime);
    printText(" ms");

    // 2. Test Digital I/O Speed
    pinMode(1, OUTPUT);
    startTime = millis();
    for (long i = 0; i < 100000; i++) {
        digitalWrite(1, HIGH);
        digitalWrite(1, LOW);
    }
    endTime = millis();
    printText("Digital I/O Time: ");
    printNumber(endTime - startTime);
    printText(" ms");

    // 3. Test Delay Accuracy
    startTime = millis();
    delay(1000);
    endTime = millis();
    printText("Delay Accuracy: ");
    printNumber(endTime - startTime);
    printText(" ms");

    printText("Performance Test Completed.");
}

void loop() {}
Expected Output on Text Editor (via DigiKeyboard)
Starting Performance Test...
Arithmetic Time: 195 ms
Digital I/O Time: 703 ms
Delay Accuracy: 969 ms
Performance Test Completed.
Summary of Performance Testing Code
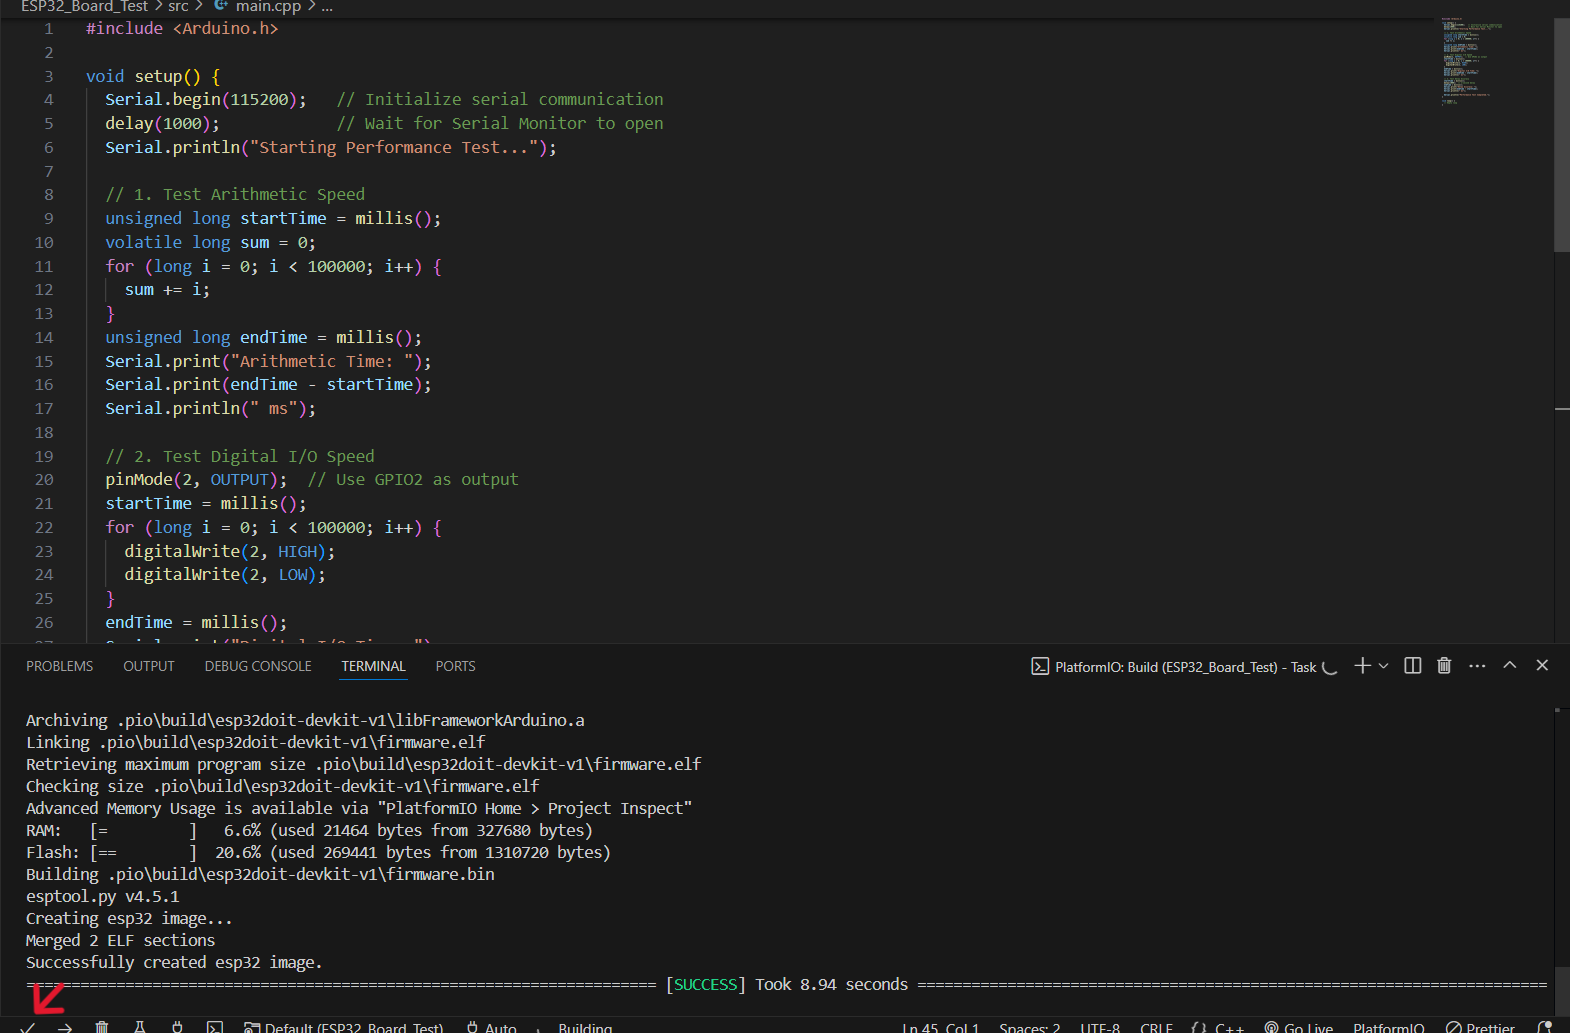
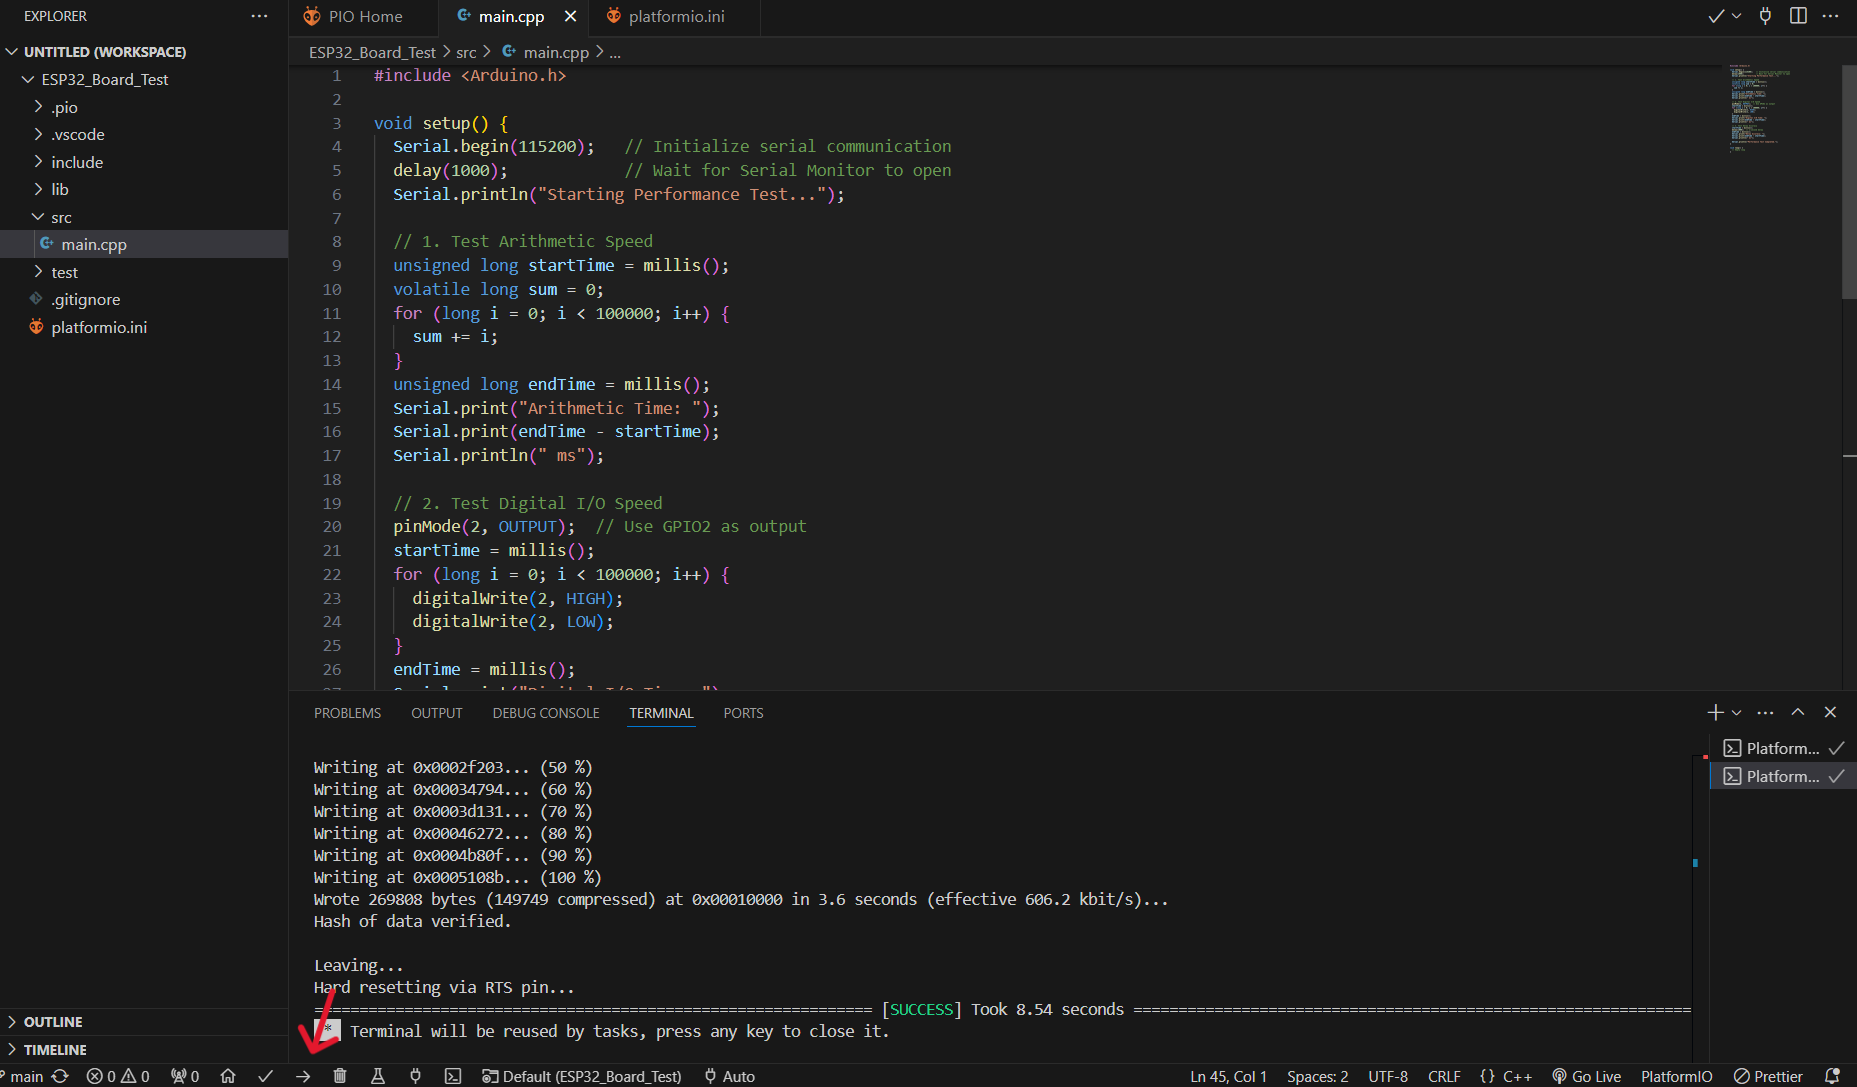
The performance testing code for both the ATtiny85 (Digispark) and ESP32 microcontrollers is designed to
evaluate basic processing and operational capabilities by conducting three performance tests:
- Arithmetic Speed Test: Measures the time taken to perform a simple summation of
numbers, testing the microcontroller’s processing speed.
- Digital I/O Speed Test: Measures how quickly the microcontroller can toggle a digital
pin on and off, which reflects its ability to handle I/O operations.
- Delay Accuracy Test: Evaluates the accuracy of the delay function over a specified time
(1 second), which is important for timing-critical applications.
Performance Comparison: ATtiny85 vs ESP32
| Test Type |
ATtiny85 (Digispark) |
ESP32 |
| Arithmetic Speed |
195 ms |
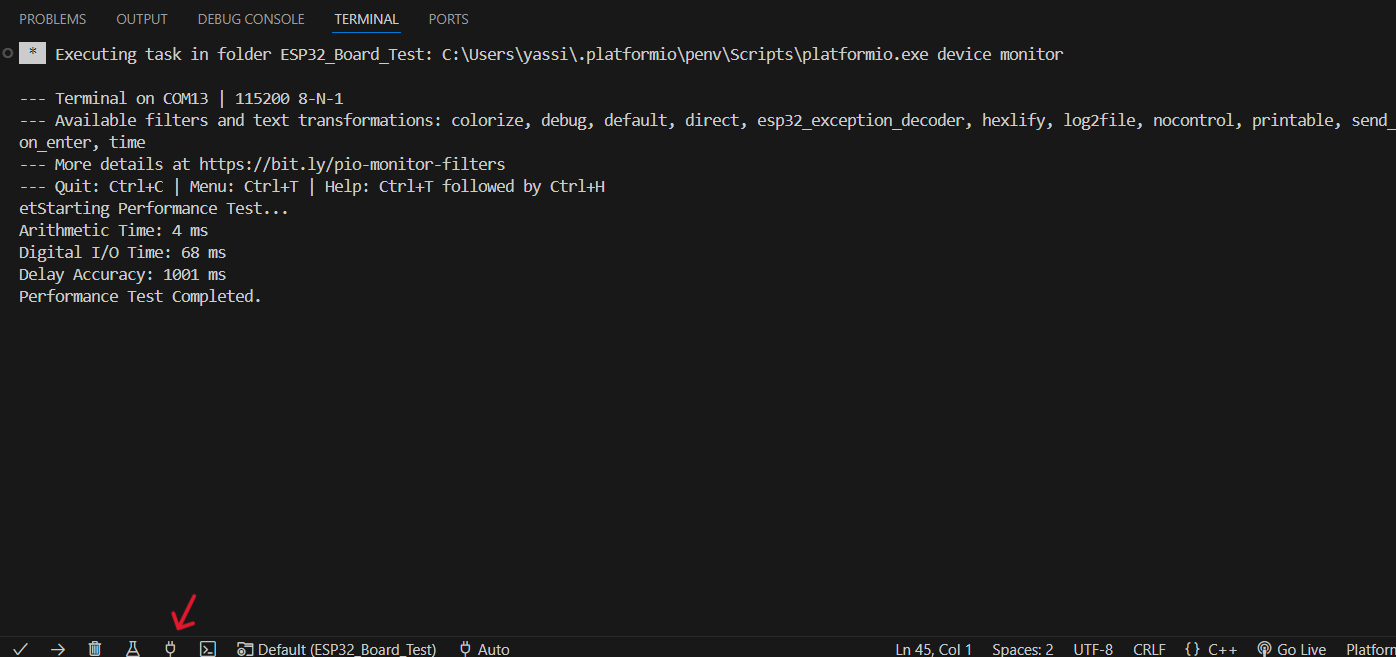
4 ms |
| Digital I/O Speed |
703 ms |
68 ms |
| Delay Accuracy |
969 ms |
1001 ms |
Suitability for Applications
The ESP32 outperforms the ATtiny85 in terms of processing power and speed. With
significantly faster arithmetic and I/O operations, it is well-suited for applications requiring complex
calculations, real-time data processing, IoT capabilities, and networked applications due to its integrated
Wi-Fi and Bluetooth.
The ATtiny85, while slower, is highly efficient for simple tasks and consumes less power.
It is ideal for low-power, isolated applications such as small embedded systems, simple sensors, or tasks
where only basic digital I/O control is needed without connectivity or intensive processing.
In summary, choose the ESP32 for high-performance, connected, or real-time applications and
the ATtiny85 for basic, low-power, standalone projects.
Download Links:
Link to the code for testing the Digispark-ATTINY85-Board: Download
Link to the code for testing the ESP32-Board: Download
I have tested other boards with Michael Bennemann: Link
