3D Scanning and printing
For this week, as an individual assignement, an Object should be designed and 3D-Printed, which could not be substractively made.
Research
There are many objects that can be made using additive 3D printing that would be difficult or impossible to create using subtractive methods like CNC machining or carving. Here is an example of an object that would be challenging to create subtractively, but could be easily designed and 3D printed.
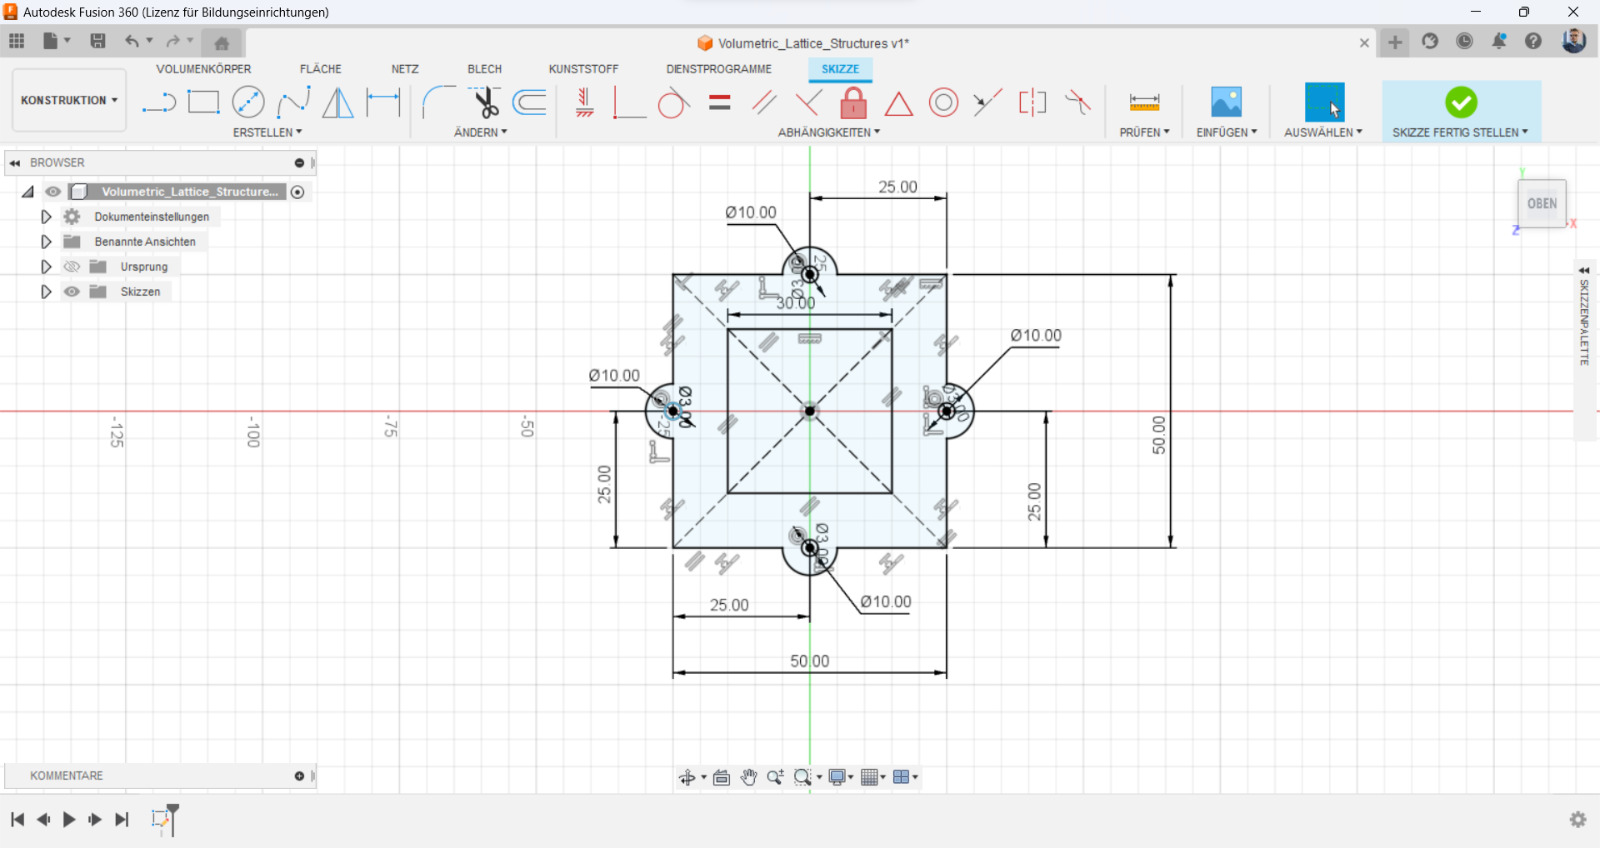
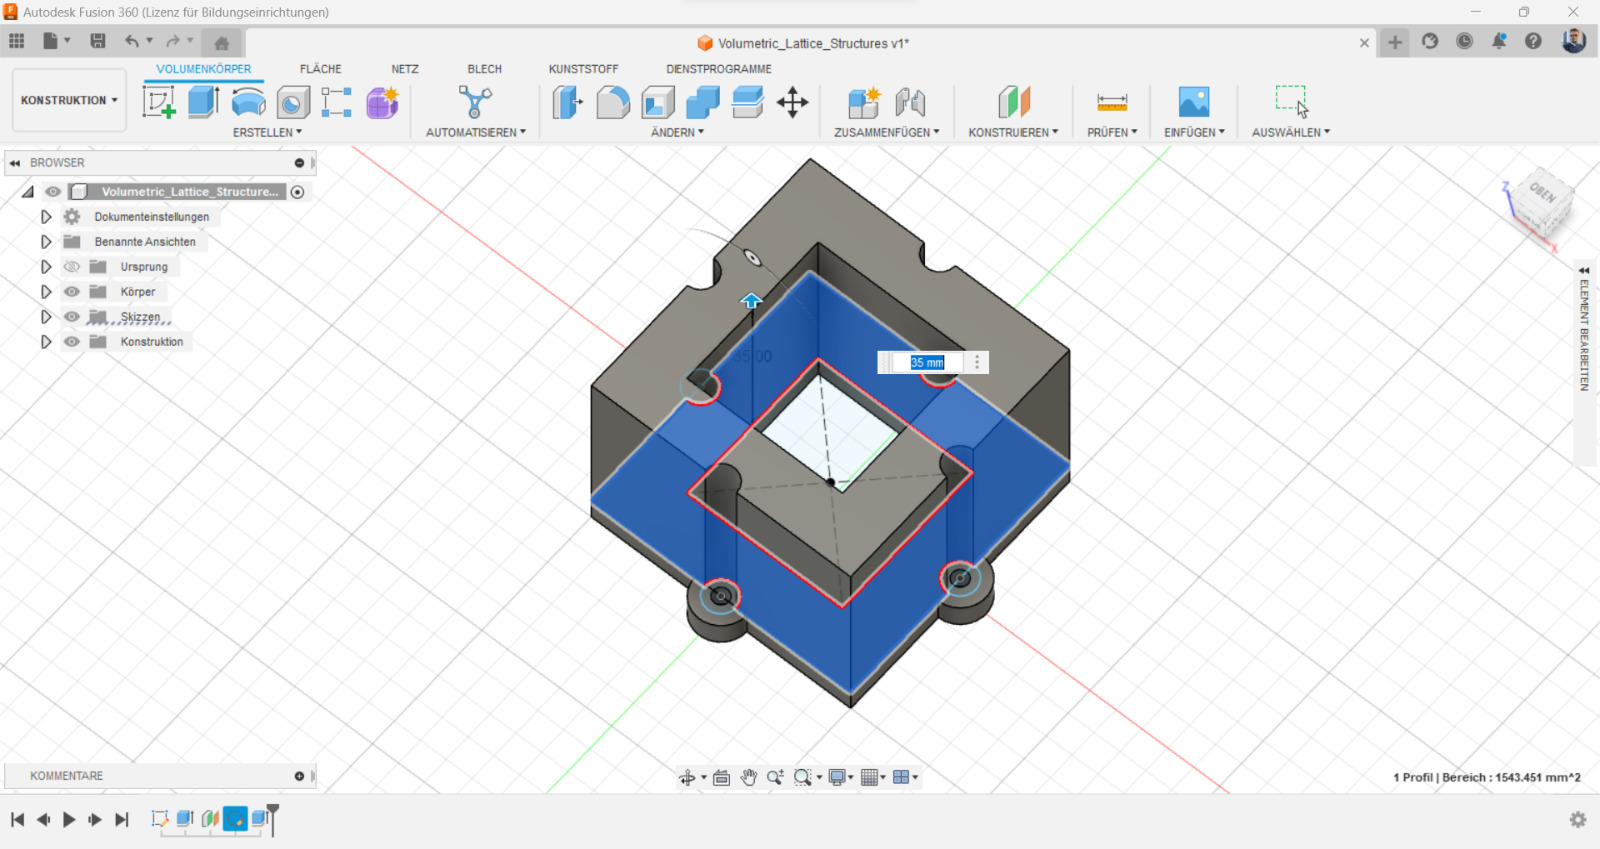
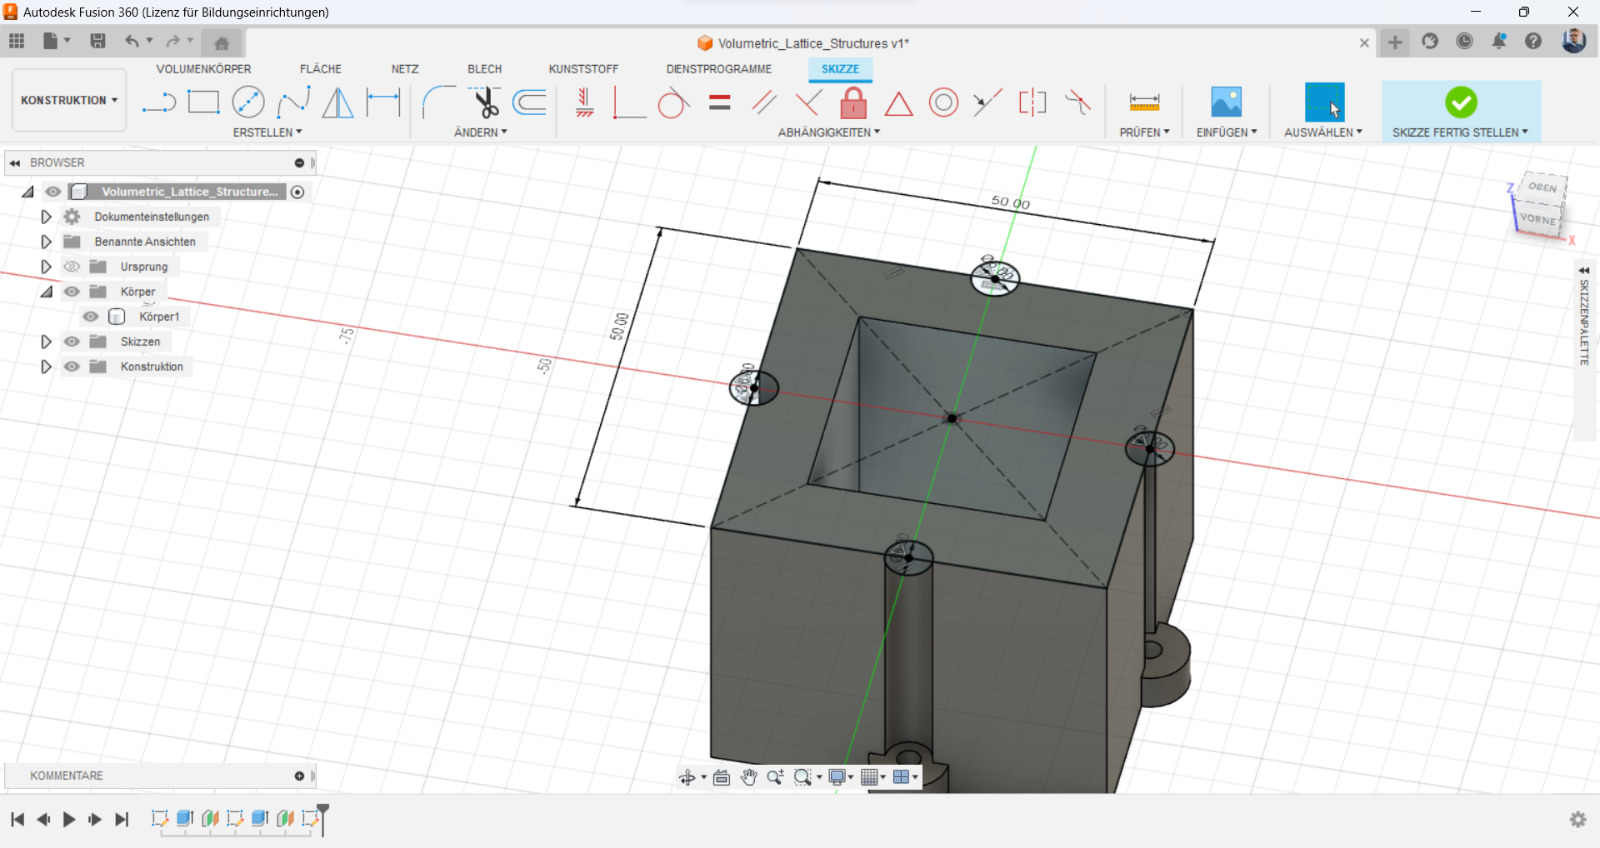
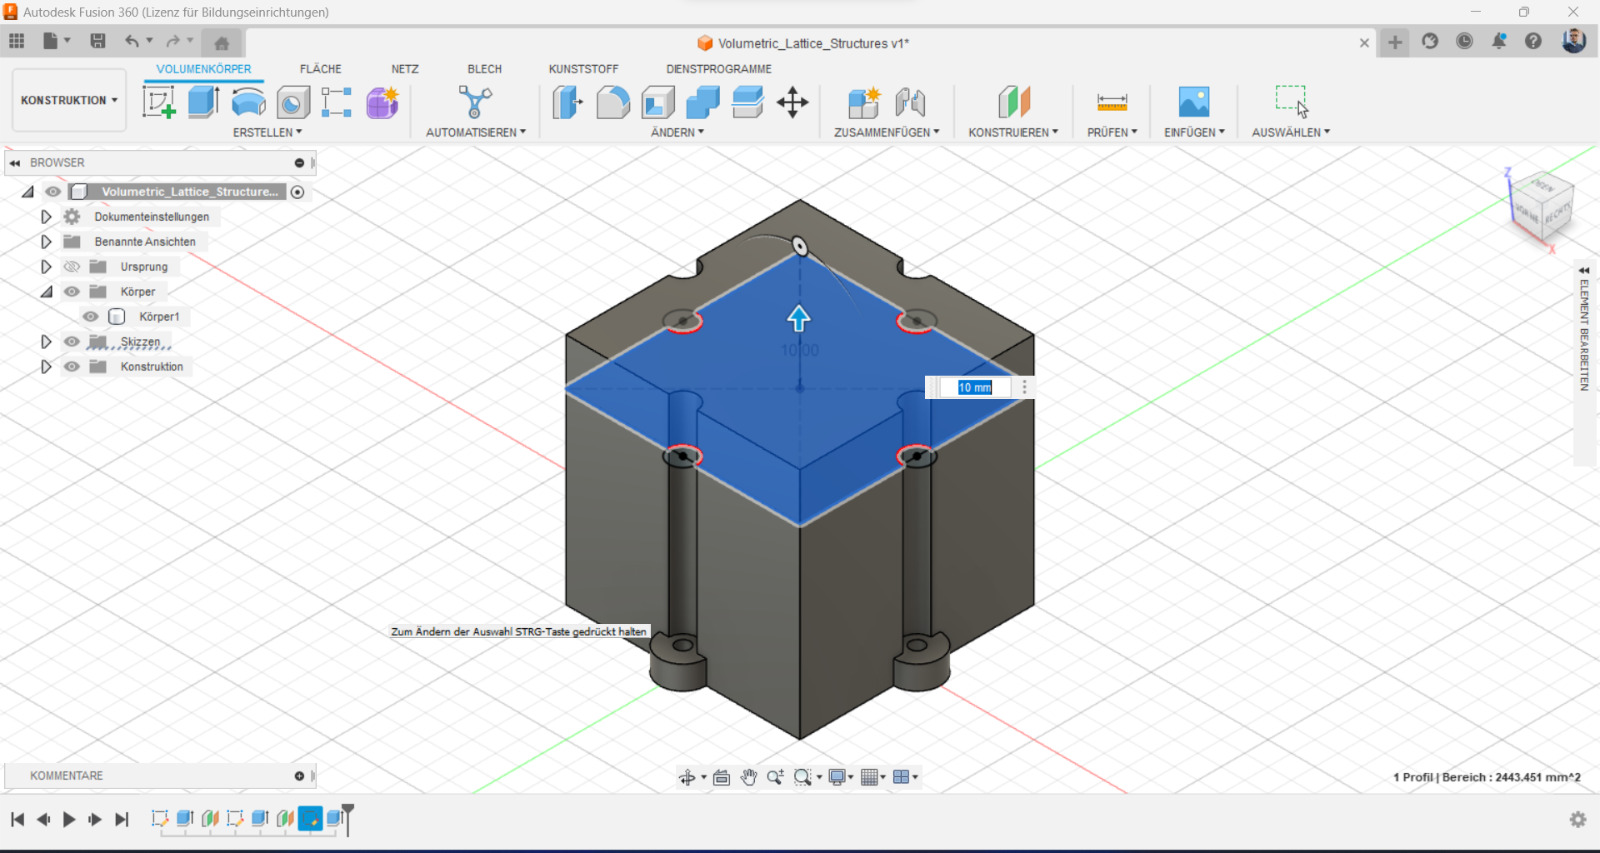
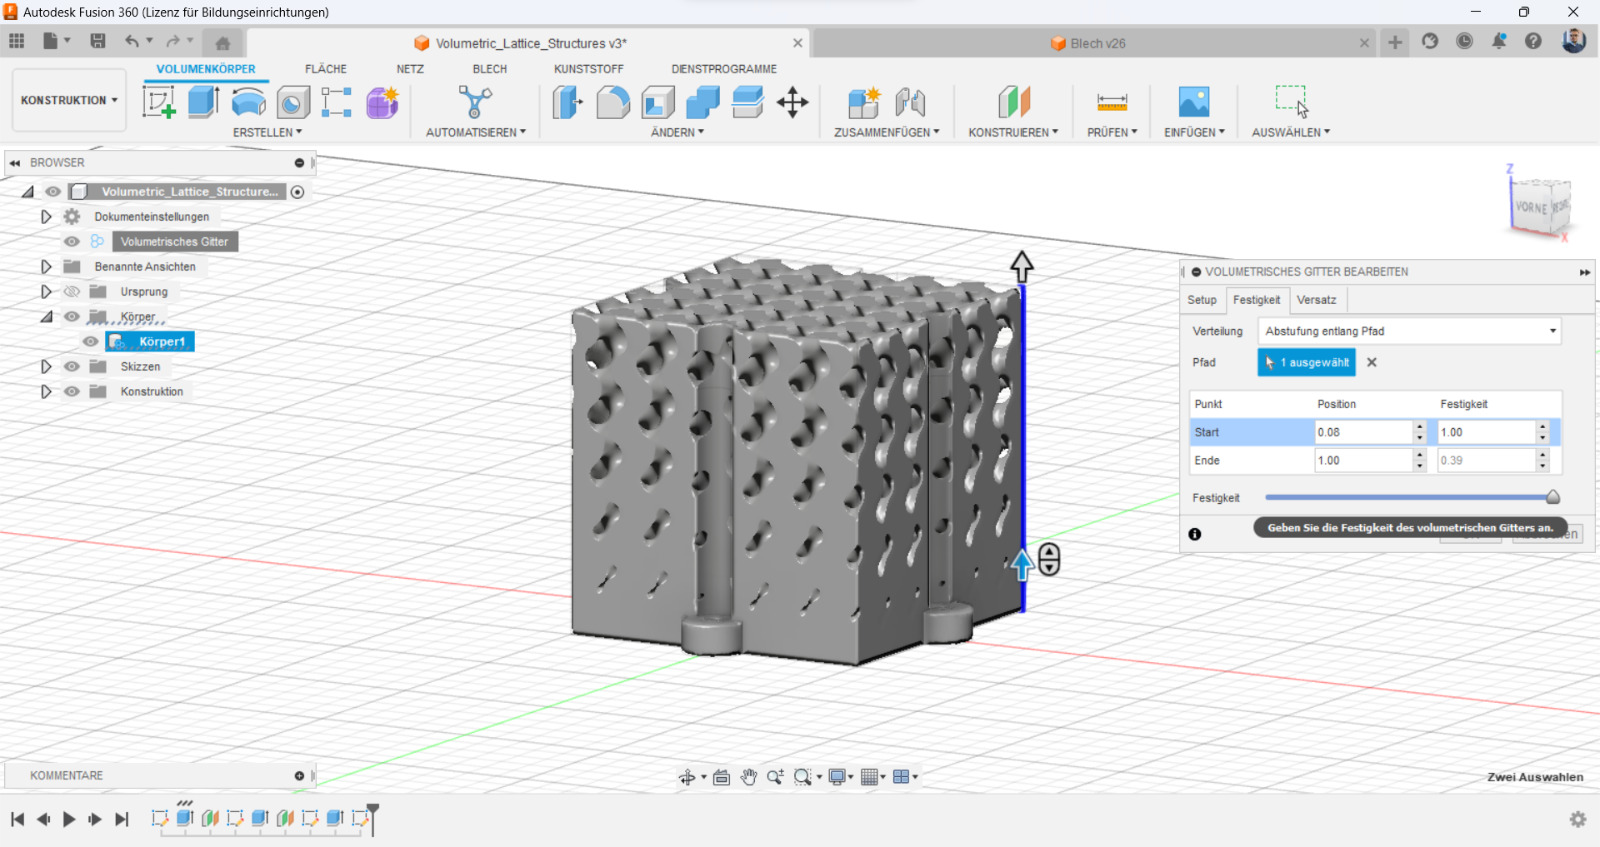
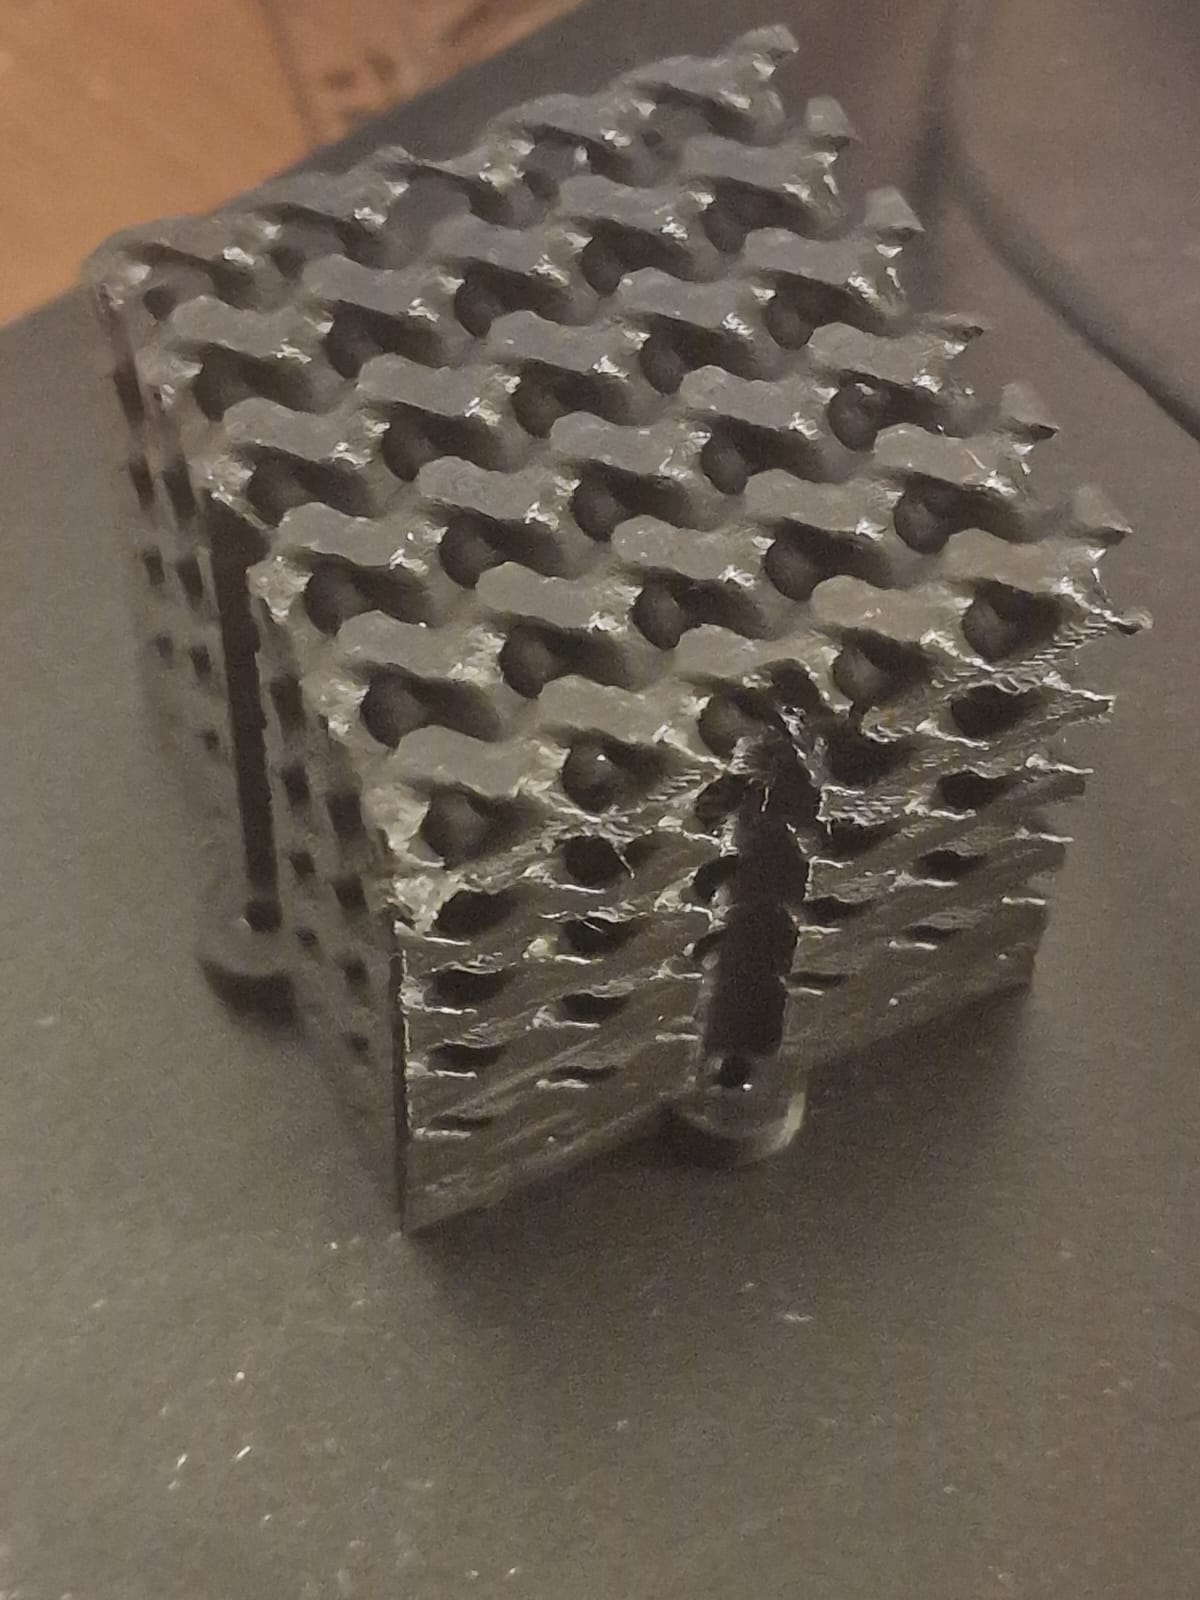
Design: A small, intricate lattice structure
One advantage of 3D printing is the ability to create complex geometries that would be challenging to create using traditional subtractive methods. One such geometry is a lattice structure, which consists of a network of interconnected struts and voids. A lattice structure can be used for a variety of applications, including lightweight structural components, filters, and heat exchangers.
To design a lattice structure, a 3D modeling software like Autodesk Fusion 360 or SolidWorks could be used. At the begining a cube or sphere with the desired dimensions should be created, then could the lattice feature be used to create the structure. It's possible to experiment with different lattice patterns and densities to achieve the desired mechanical properties.
Workflow for Printing: Using an FDM 3D printer
Fused Deposition Modeling (FDM) 3D printers are a popular and affordable option for creating small objects. To print the lattice structure, a material that can create thin, strong struts and handle the small details of the design should be choosen. PLA (polylactic acid) or PETG (polyethylene terephthalate glycol) are good options for this.
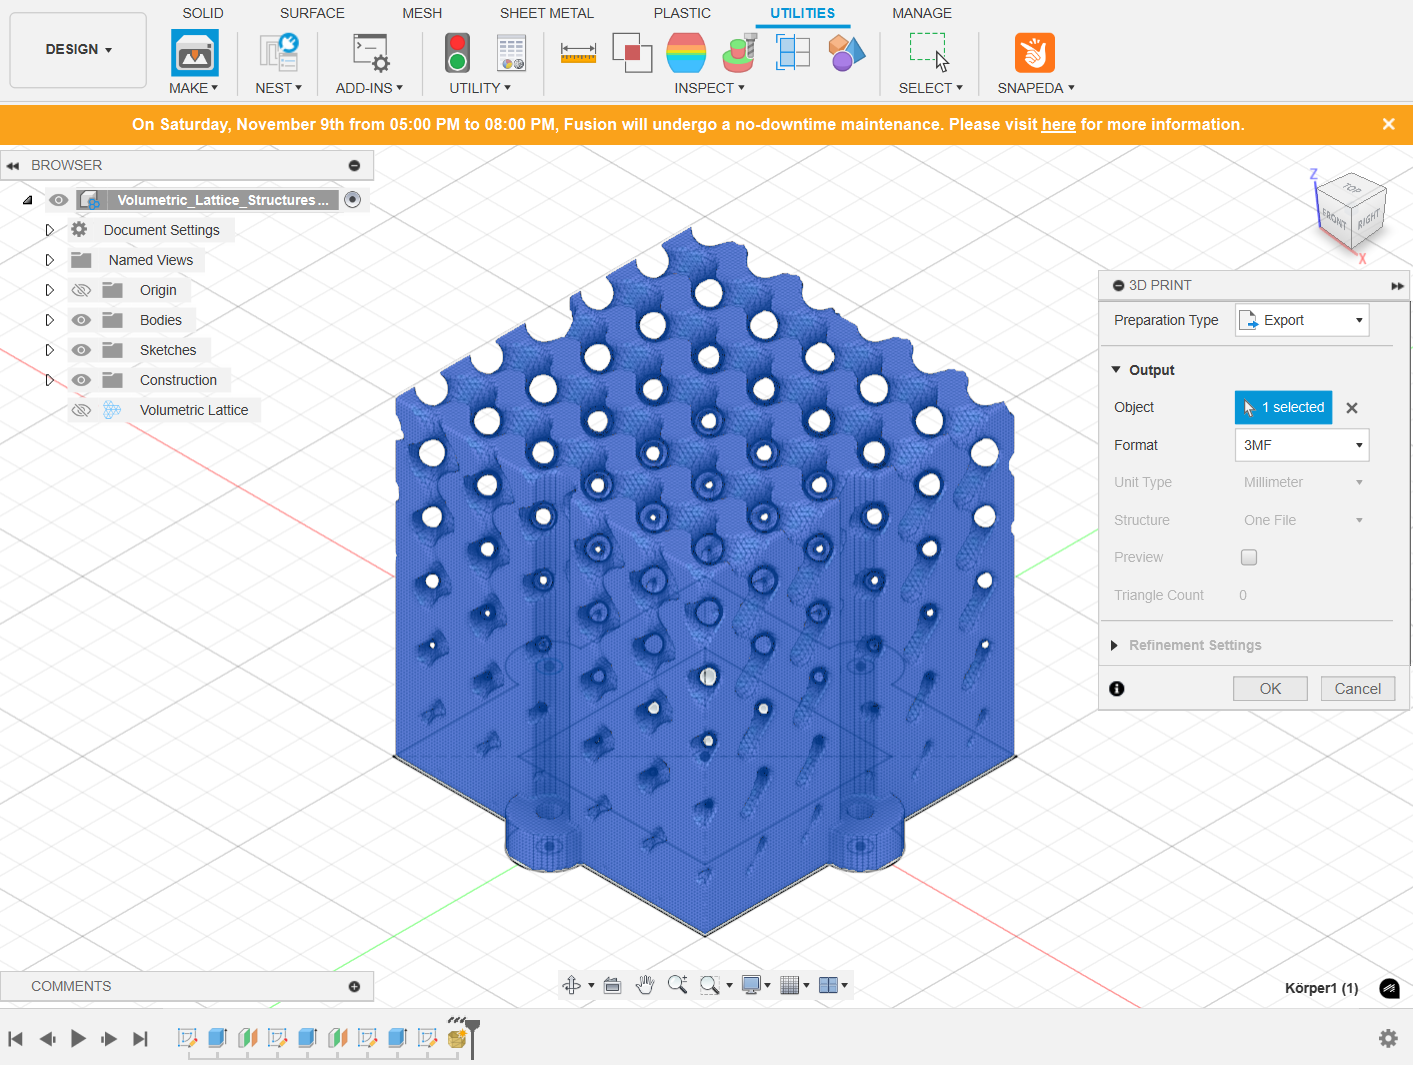
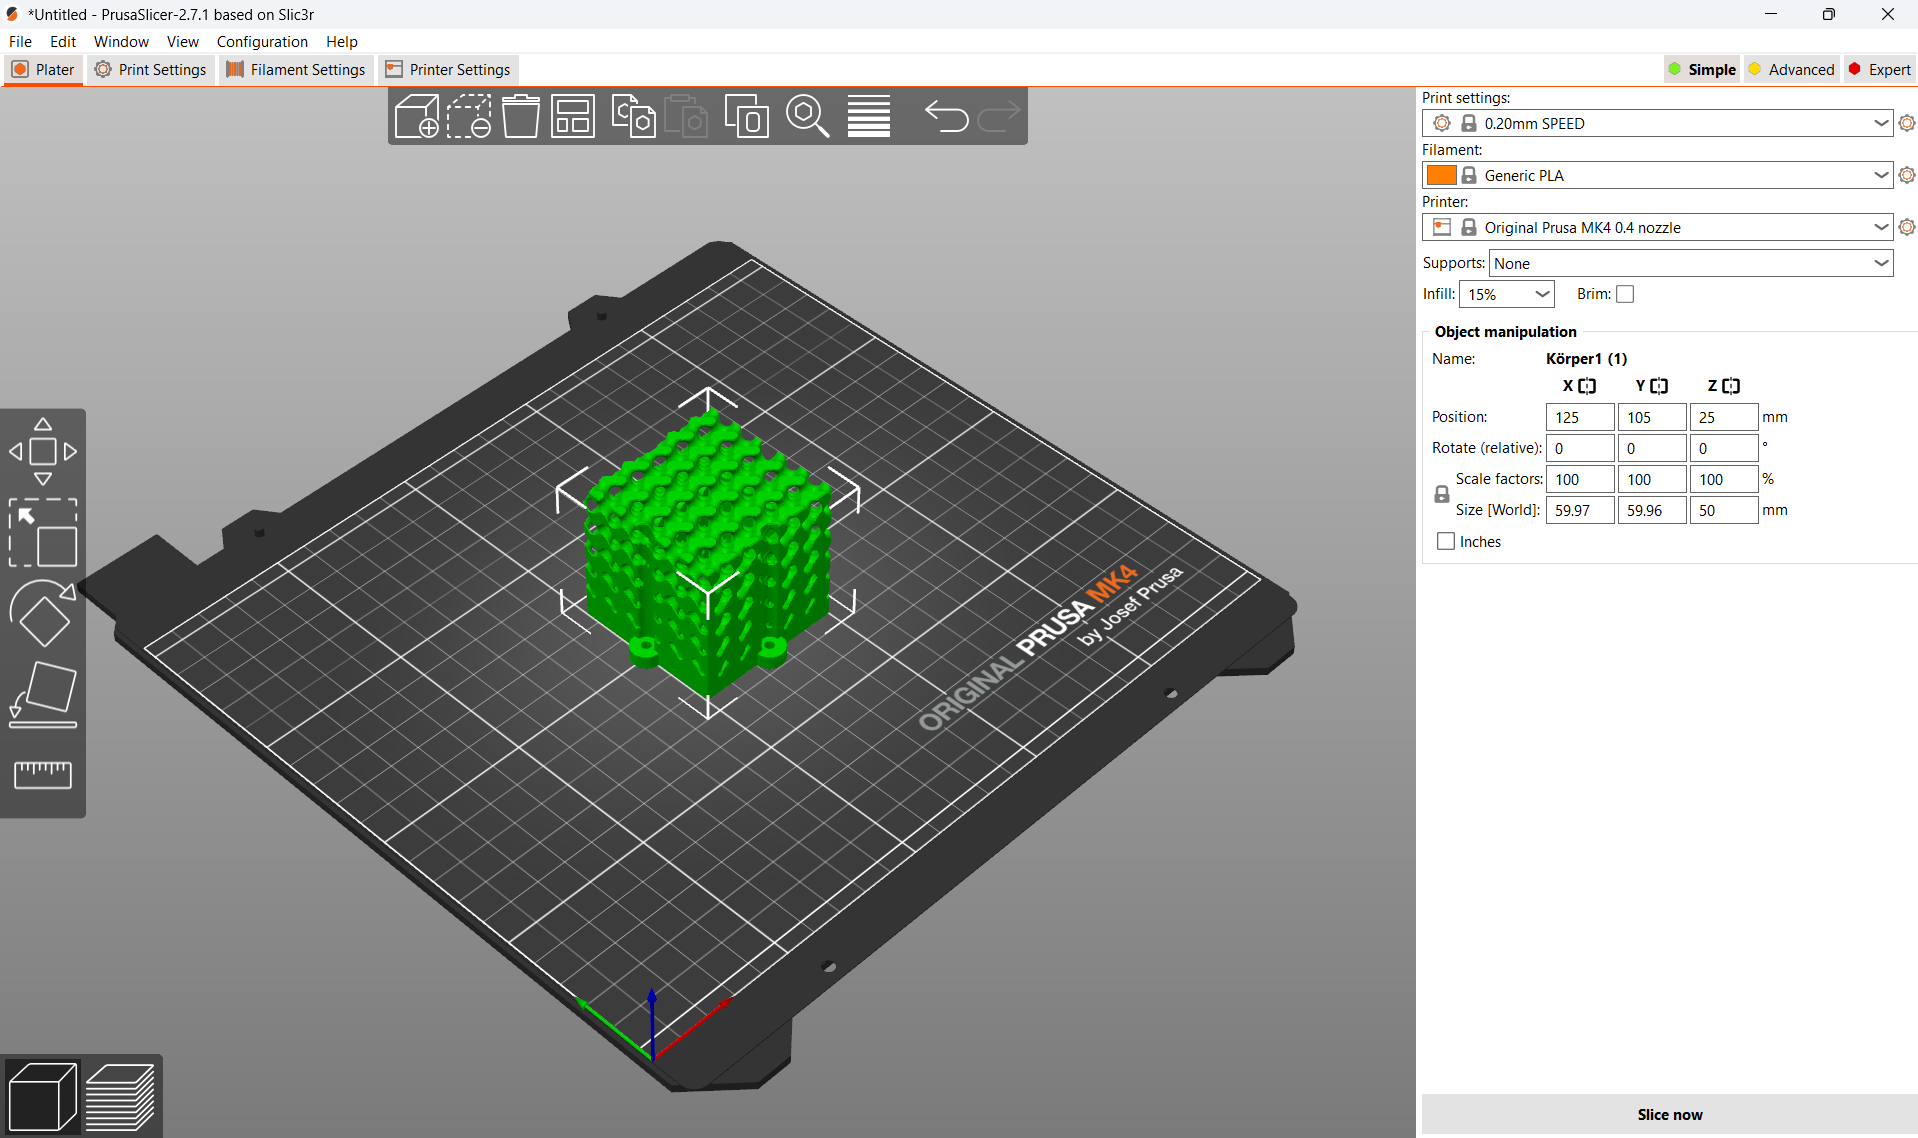
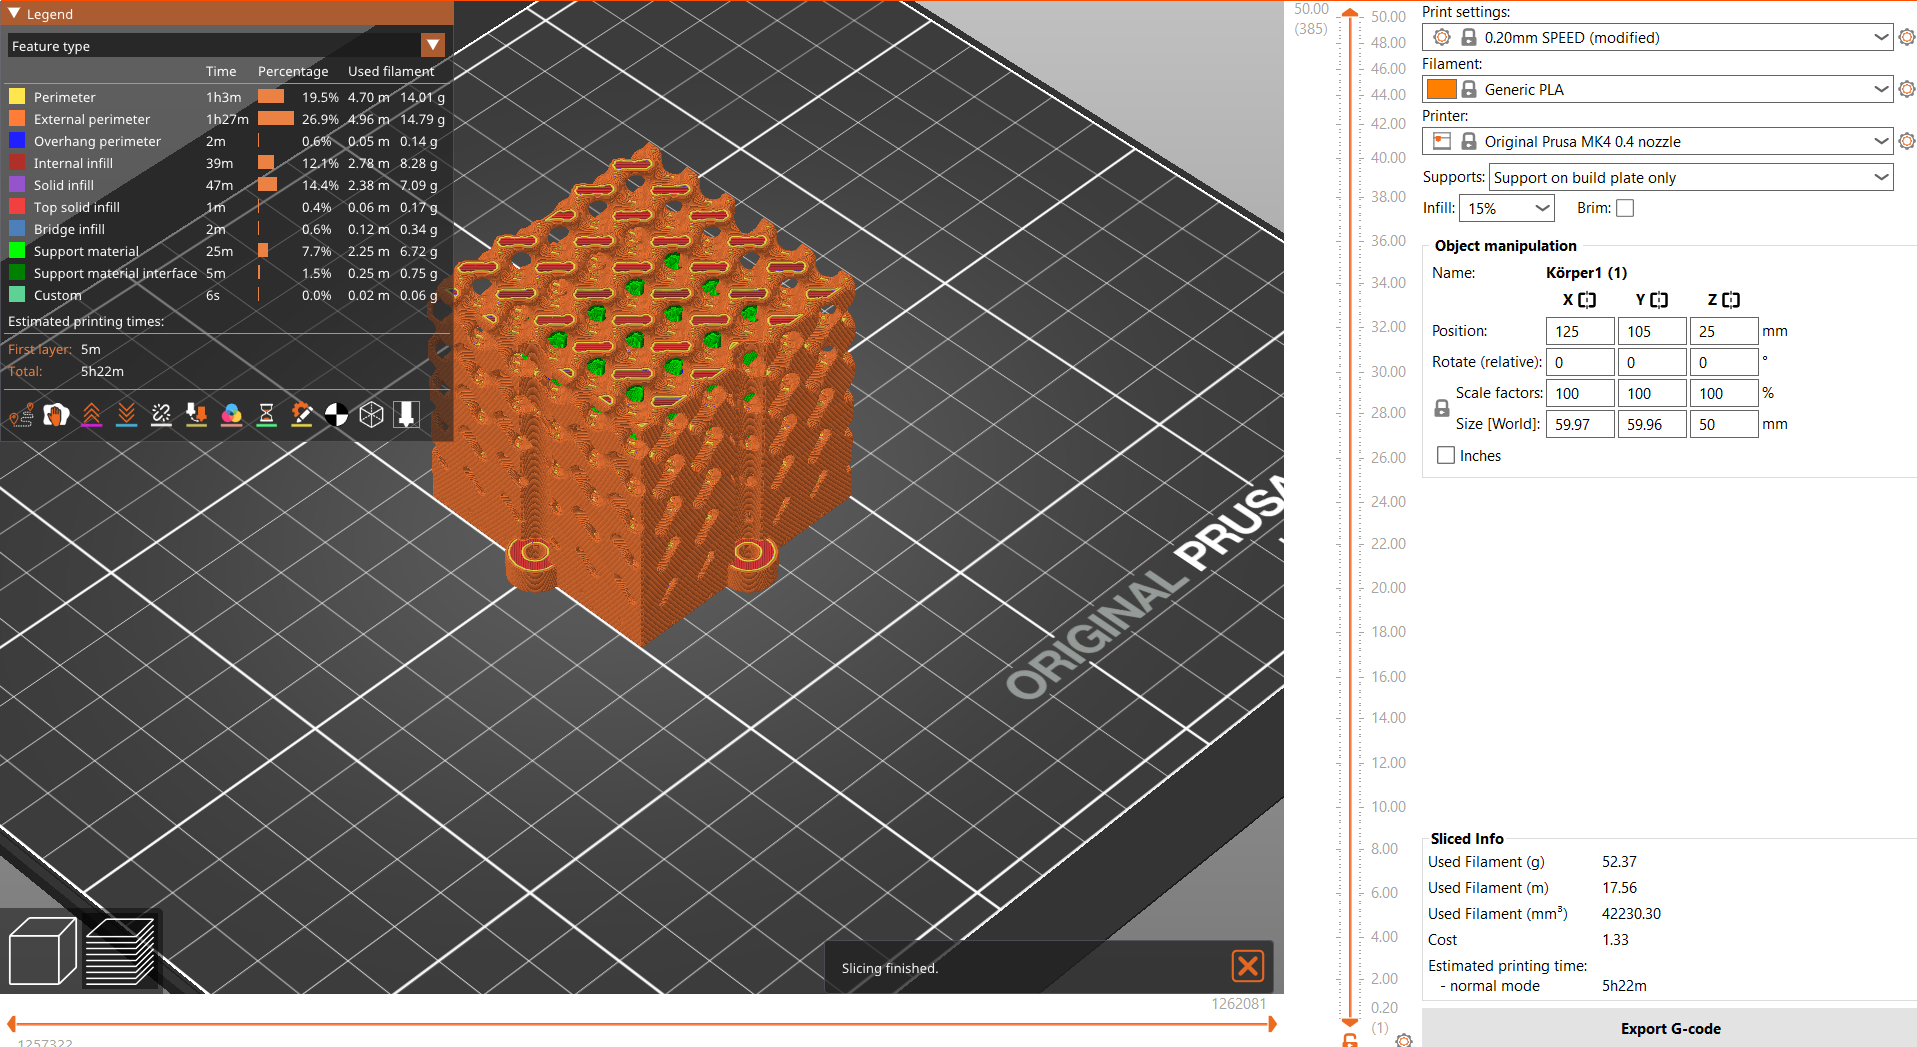
Once the lattice structure is designed, it is now possible to export it as an STL file and import it into the slicing software. In the slicing software, the settings for layer height, infill density, and support structures could be adjusted. For a lattice structure, it's better to use a low infill density to maximize the open space in the design.
After slicing, the file is now ready to be sent to the 3D printer and start the print job. Depending on the size and complexity of the lattice structure, the print time may range from a few minutes to several hours. Once the print is complete, the support structures could be removed and the object cleaned to reveal the intricate lattice structure.