Week 2. Computer Aided Design
Introduction 🖊
This week relates to 2D and 3D modeling. Everything in Digital fabrication is about this practice, so learning how to properly work with different 2D and 3D programs is a key part of the Fab Academy course. Specially, learn how to work with parametrics models will help you to create amazing projects.
Since my background is Industrial Design, I don’t think this week will be as challenging as the previous one. 😋 Still, I want to learn how to use new programs that I never used before, like Blender.
Fab Assignments 📚
- Model (raster, vector, 2D, 3D, render, animate, simulate, …) a possible final project ✔️
- Compress your images and videos ✔️
- Post it on your class page ✔️
My Goals 🎯
-
What I think I already know
- I have experience working with 2D and 3D programs. I previously worked with: Autocad, Inventor, and Rihnoceros. Those programms work in a similar way as Fusion 360 or Free Cad.
- Working with parametric design.
-
What I want to learn
- 3D modeling blender. I will follow some lessons in the course and try some stuff by my own.
- Learn How to use “Slicer Studio 360”.
Process 🏊♀️
1. Fab Academy lessons
During this week, we have been introduced to this programmes:
2D development:
- GIMP: this a open source program similar to Photoshop
- INKSPACE: this a open source program similar to Photoshop
3D development:
Since I wanted to learn how to use Blender, I followed the “initiation to blender lessons” by Feadi. You can find his website with lots of blender tutorials over here. If you want to learn about Blender’s origin, be introduced about how to use it, and find some artworks made by the blender community, I would recommend you to take a look of his page.
Following Feadi’s course, I learnt plenty of info about blender and commands. I will not post everything, just what I found handy:
-
Learning the difference between “Nurbs” and the “Polygonal Mesh.”
-
The blender view is divided in 4 “screens” which you can configure in base of your preferences.
-
The three main commands which everybody should know:
- ZOOM: rotate mousewheel.
- ORBIT: press mousewheel and move mouse.
- PAN: press ⇧ + mousewheel and move mouse.
-
View short commands:
- 1: Front View
- 3: Right View
- 7: Top View
- 5: Toggle Perspective/Orthographic
- 0: Camera view
-
Cursor shot command:
- shift + S: Select where you want to put your cursor
-
Modifie short commands (In this commands, you can also press: X, Y or Z to restrict the movement in one direction. ):
- G: Move the cube.
- R: Rotate the cube
- S: Scale the cube.
2. New final project idea
I have been thinking about what I want to develop as my final project during this past week, and I came up with a new idea. This new ideas is a “Folding lighting Screen made of biomaterials”.
I feel atracted to the idea of developing a project which is something in between: art, design and technology. In this project, I will learn about developing biomaterials, the colors psicology, lighting, electronics, …
The idea is to be able to play with light both at night and during the day with this “interactive folding screen”. In order to do that, colors will play a key role during the day - with the natural light - and shapes and shadows will play the role during the night.
3. Working with Illustrator (2D)
In order to put this idea down to earth, I firstly researched inspiration about some current folding screens. Once I had a few photos of different styles and shapes, I did a moodboard using Illustrator.
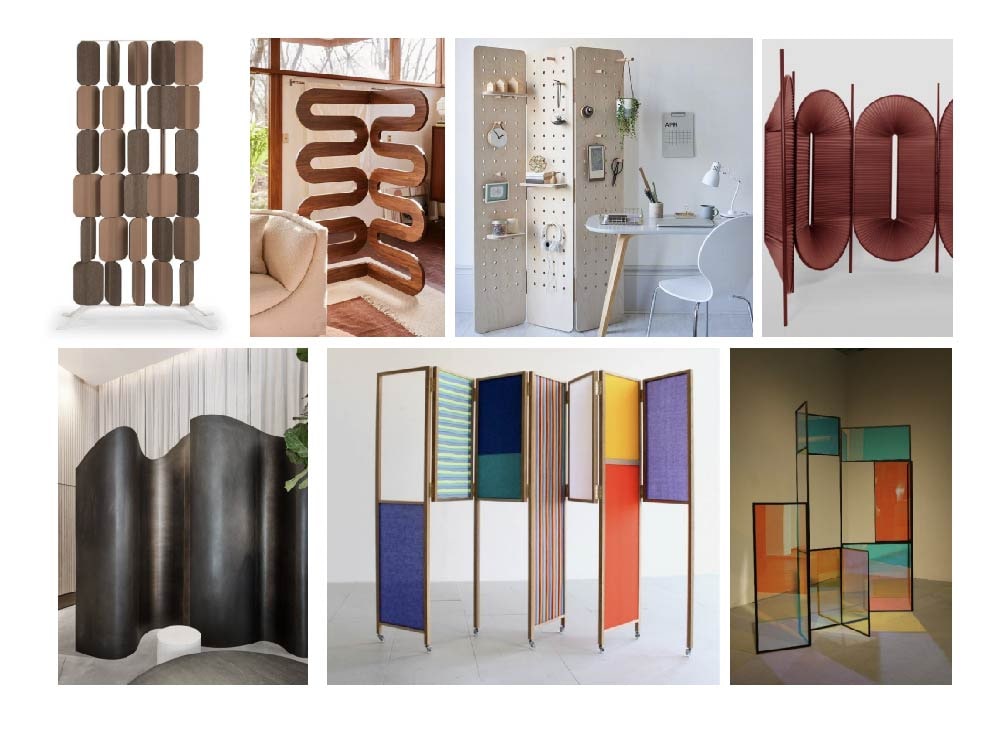
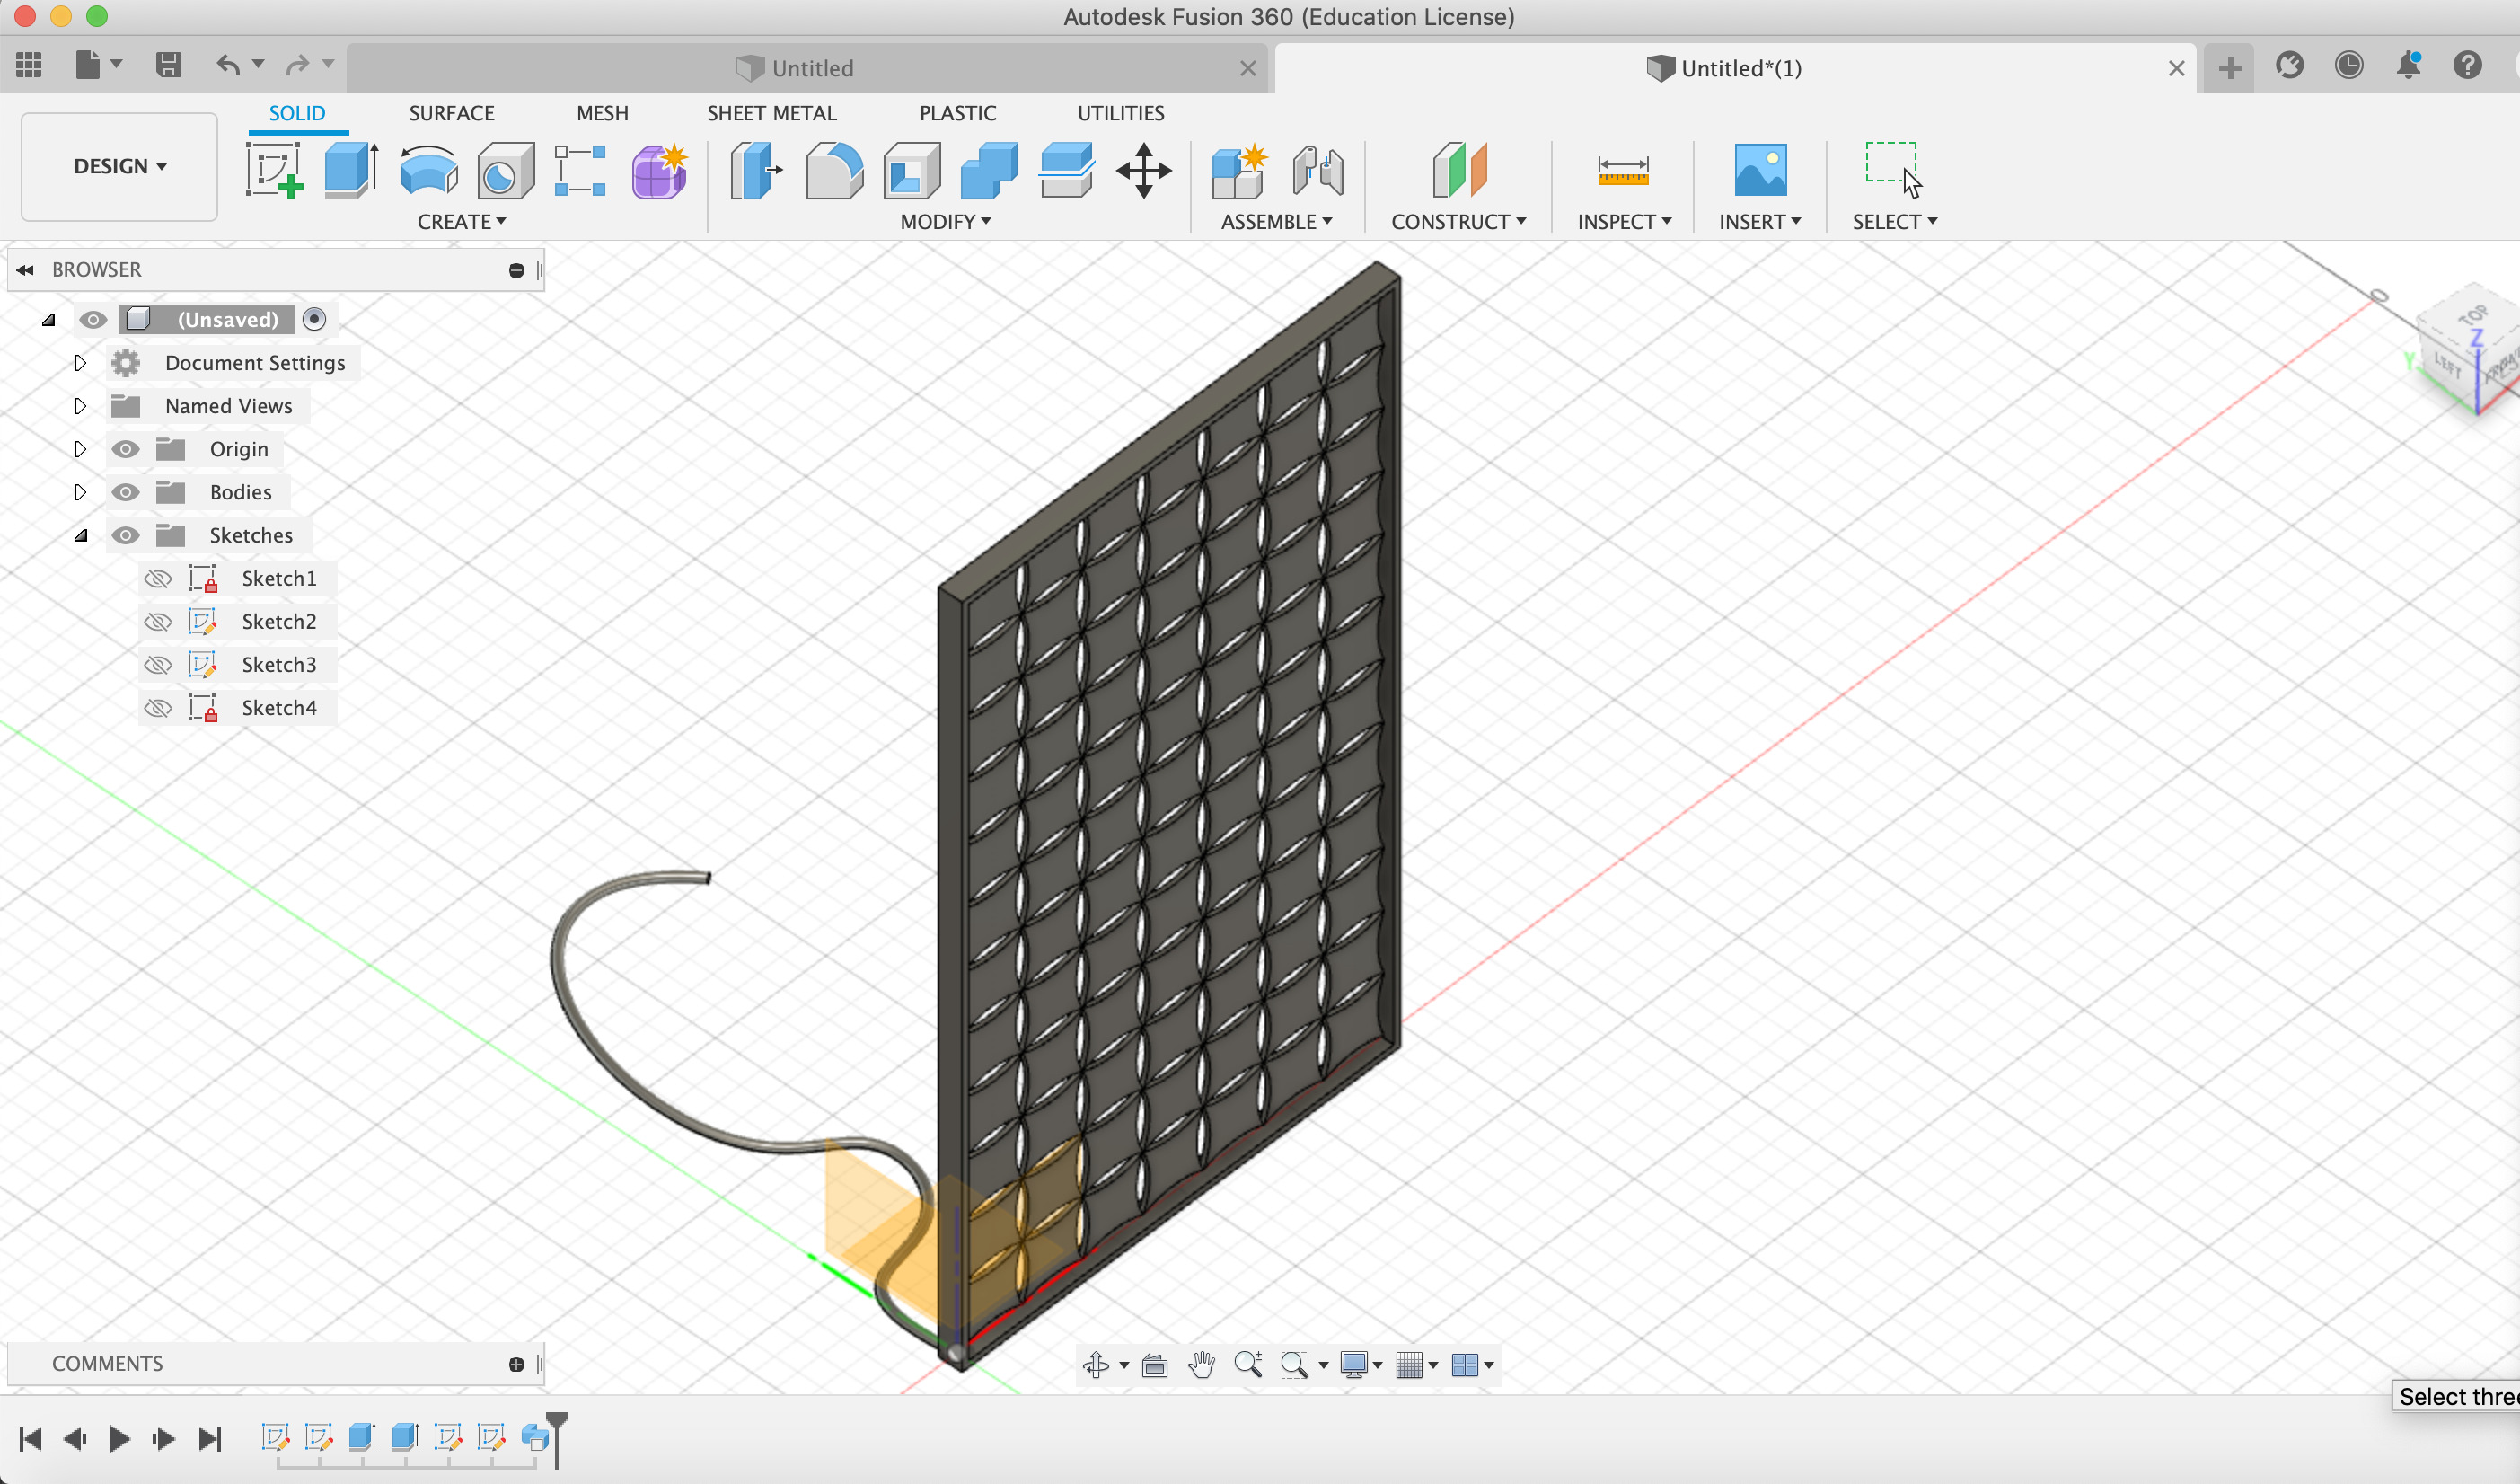
I want to make a parametric screen, using the tools and materials from the fablab to make the skeletron, and the biomaterials to make repeated modules in different colors through which natural light can pass.
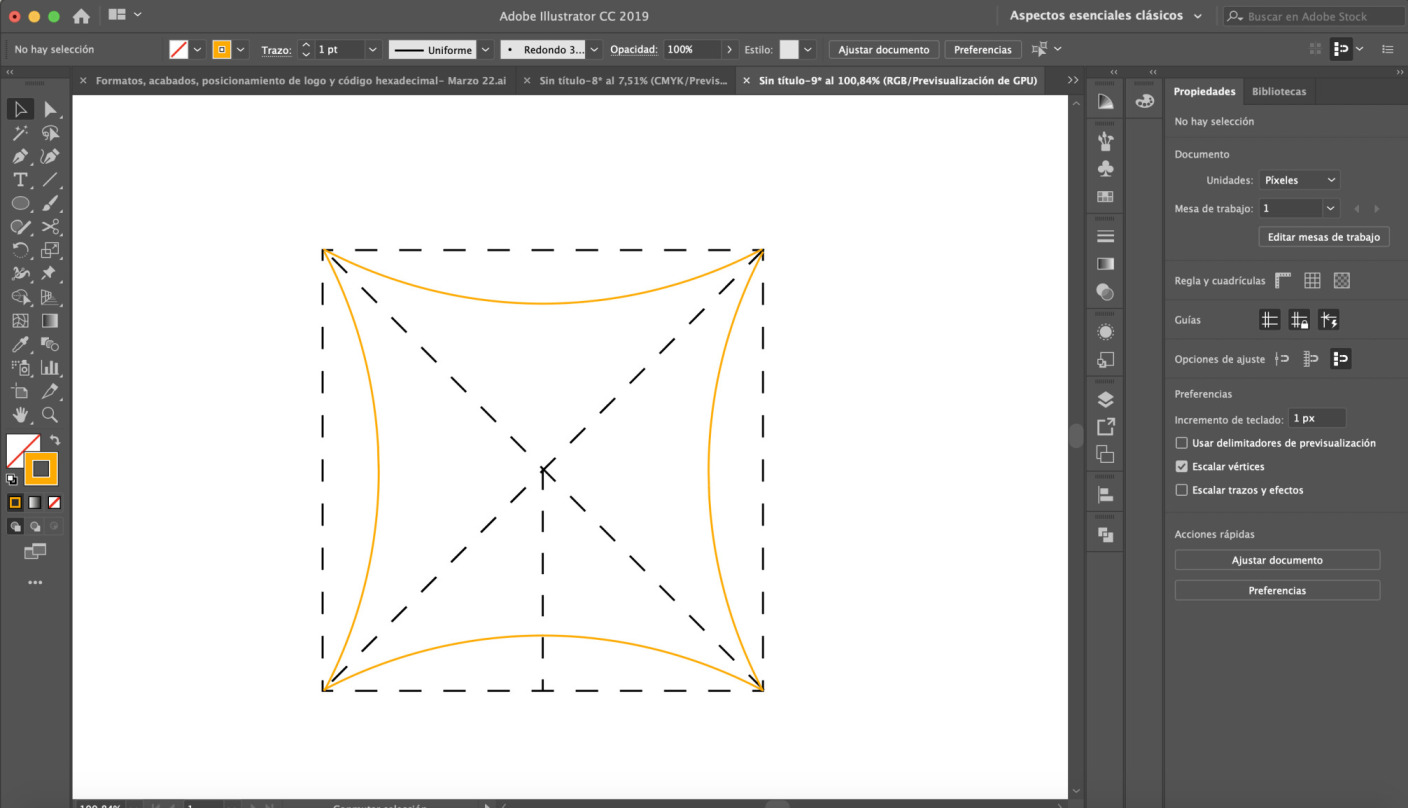
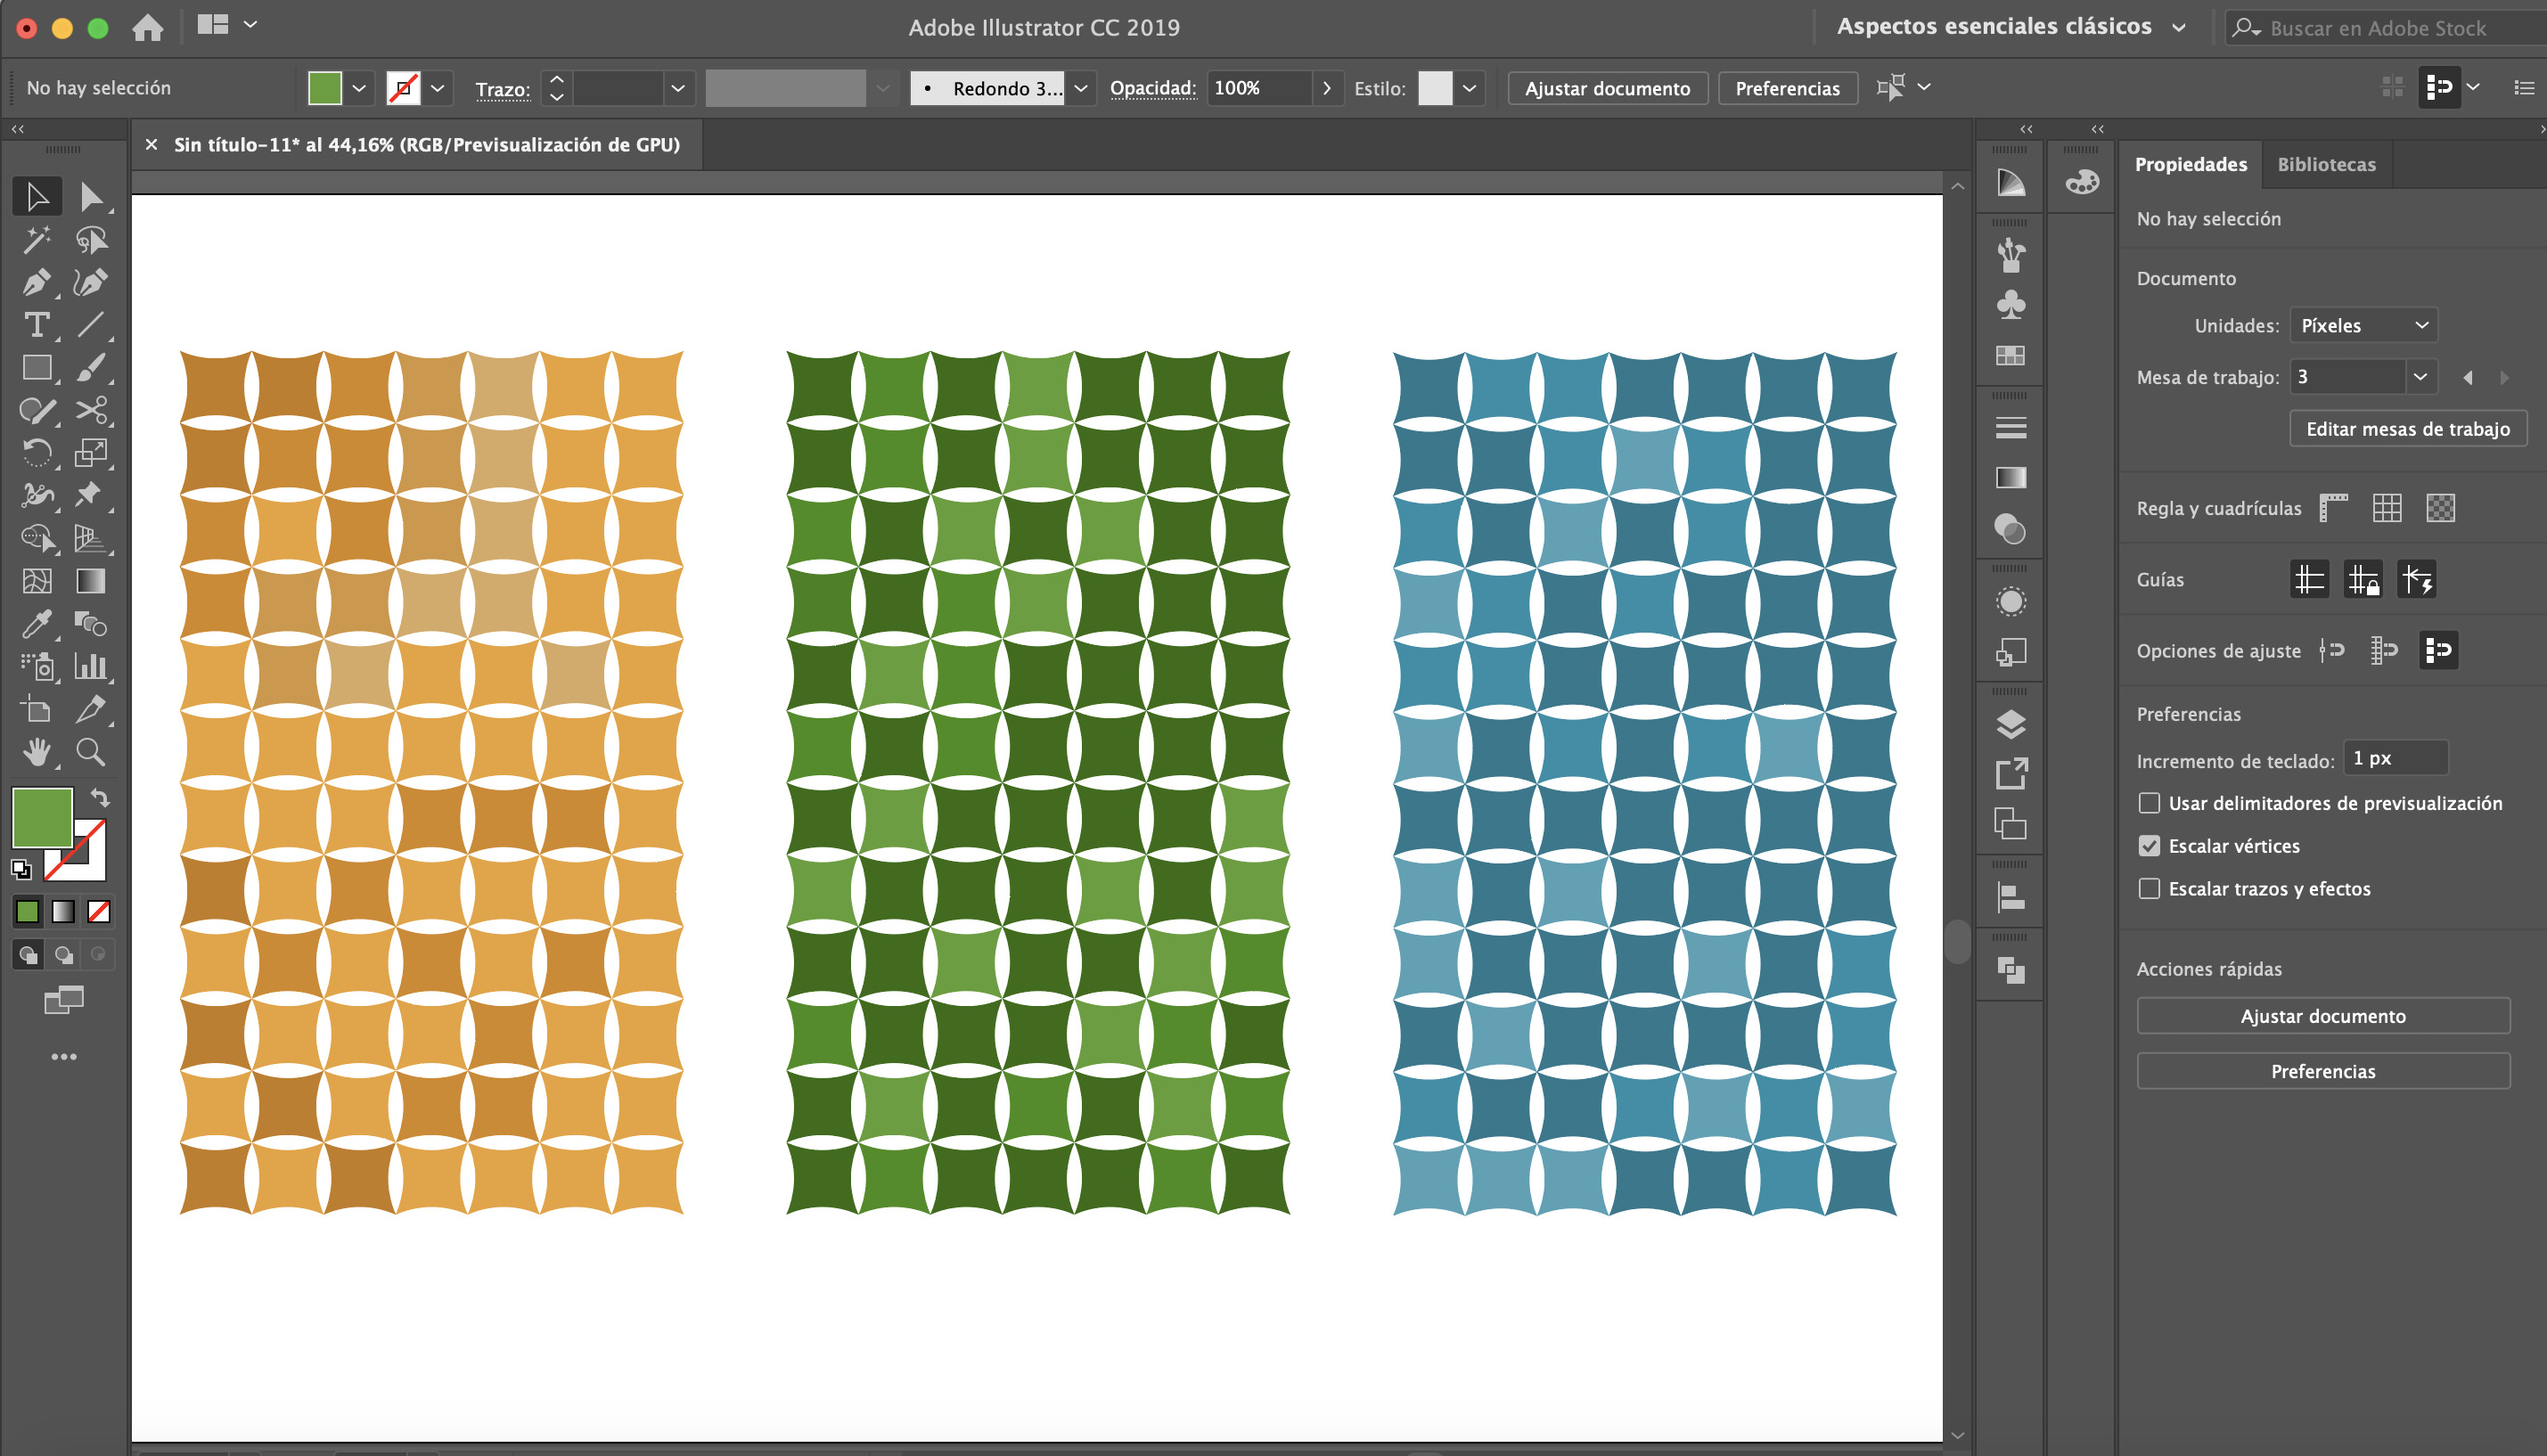
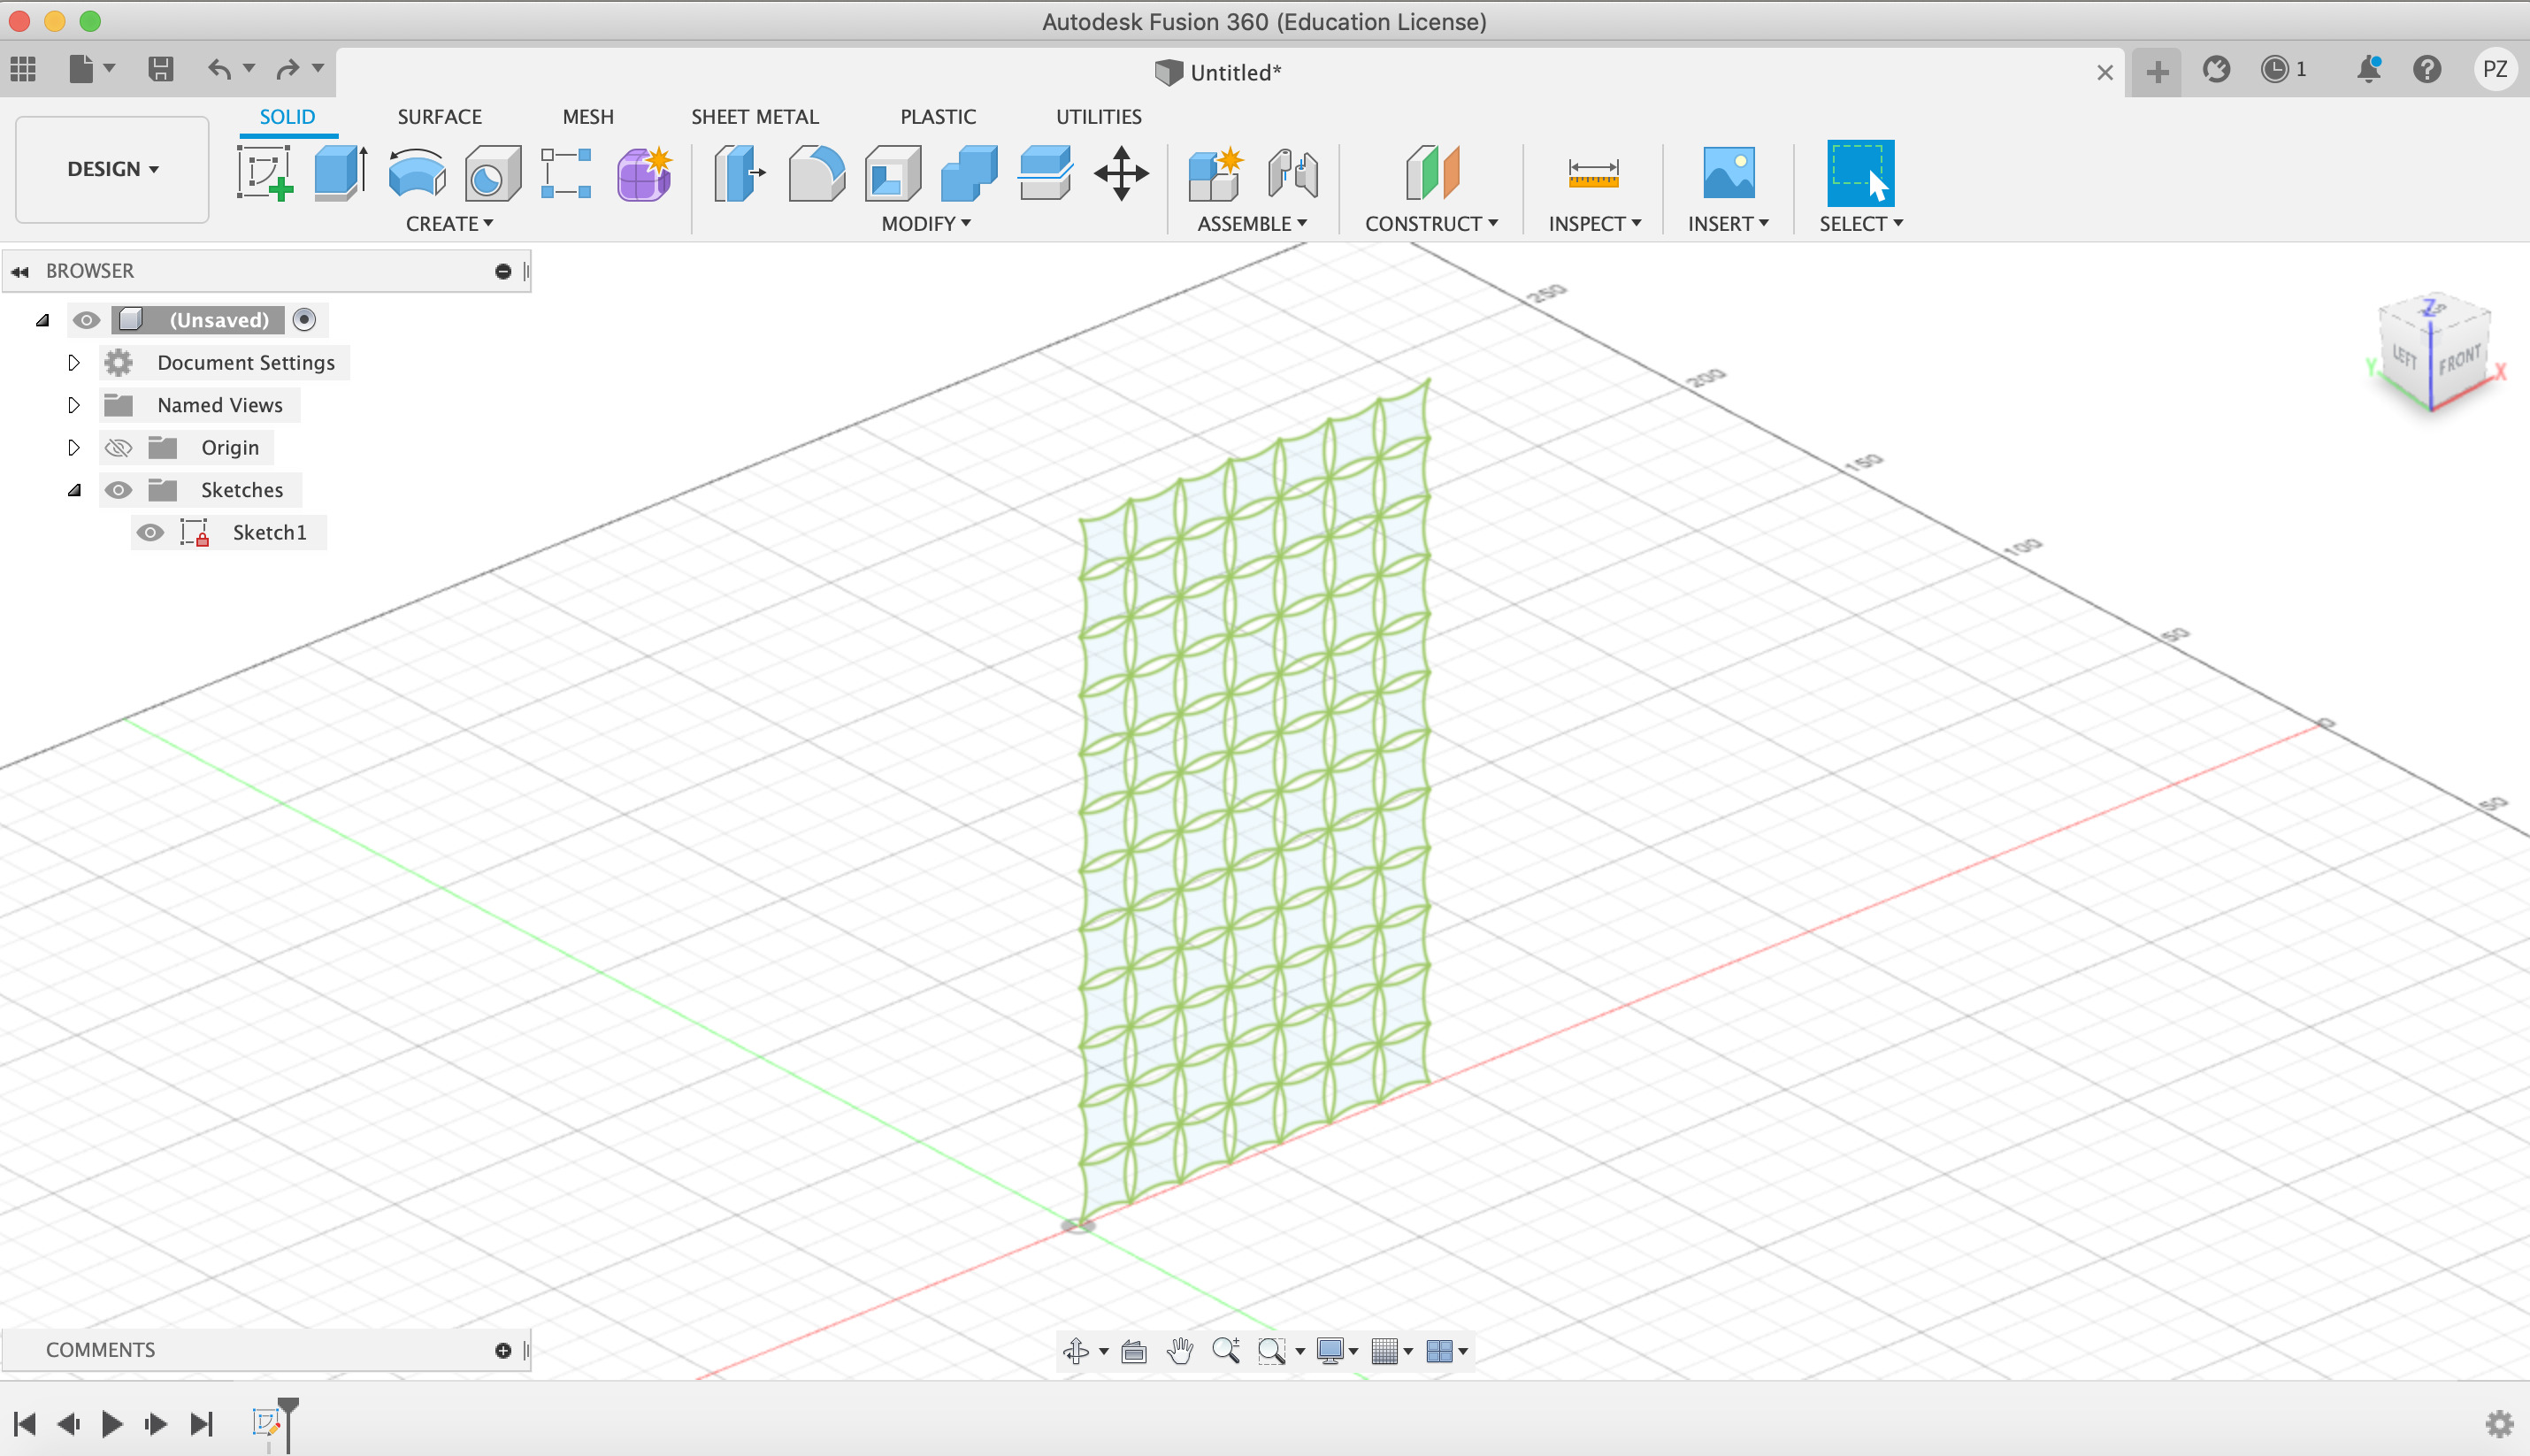
I sketched in illustrator a pattern for the biomaterial moduls which I would like to use.
Then I played a bit with different compositions of colors. I found a big interest on the multiplicity of colors. Why always follow the same color pattern? When you can actually play with an infinitive variants of them? One of the multiple reasons why I want to work with biomaterials is exactly because of that: the infinite spectrum of natural colors offered.
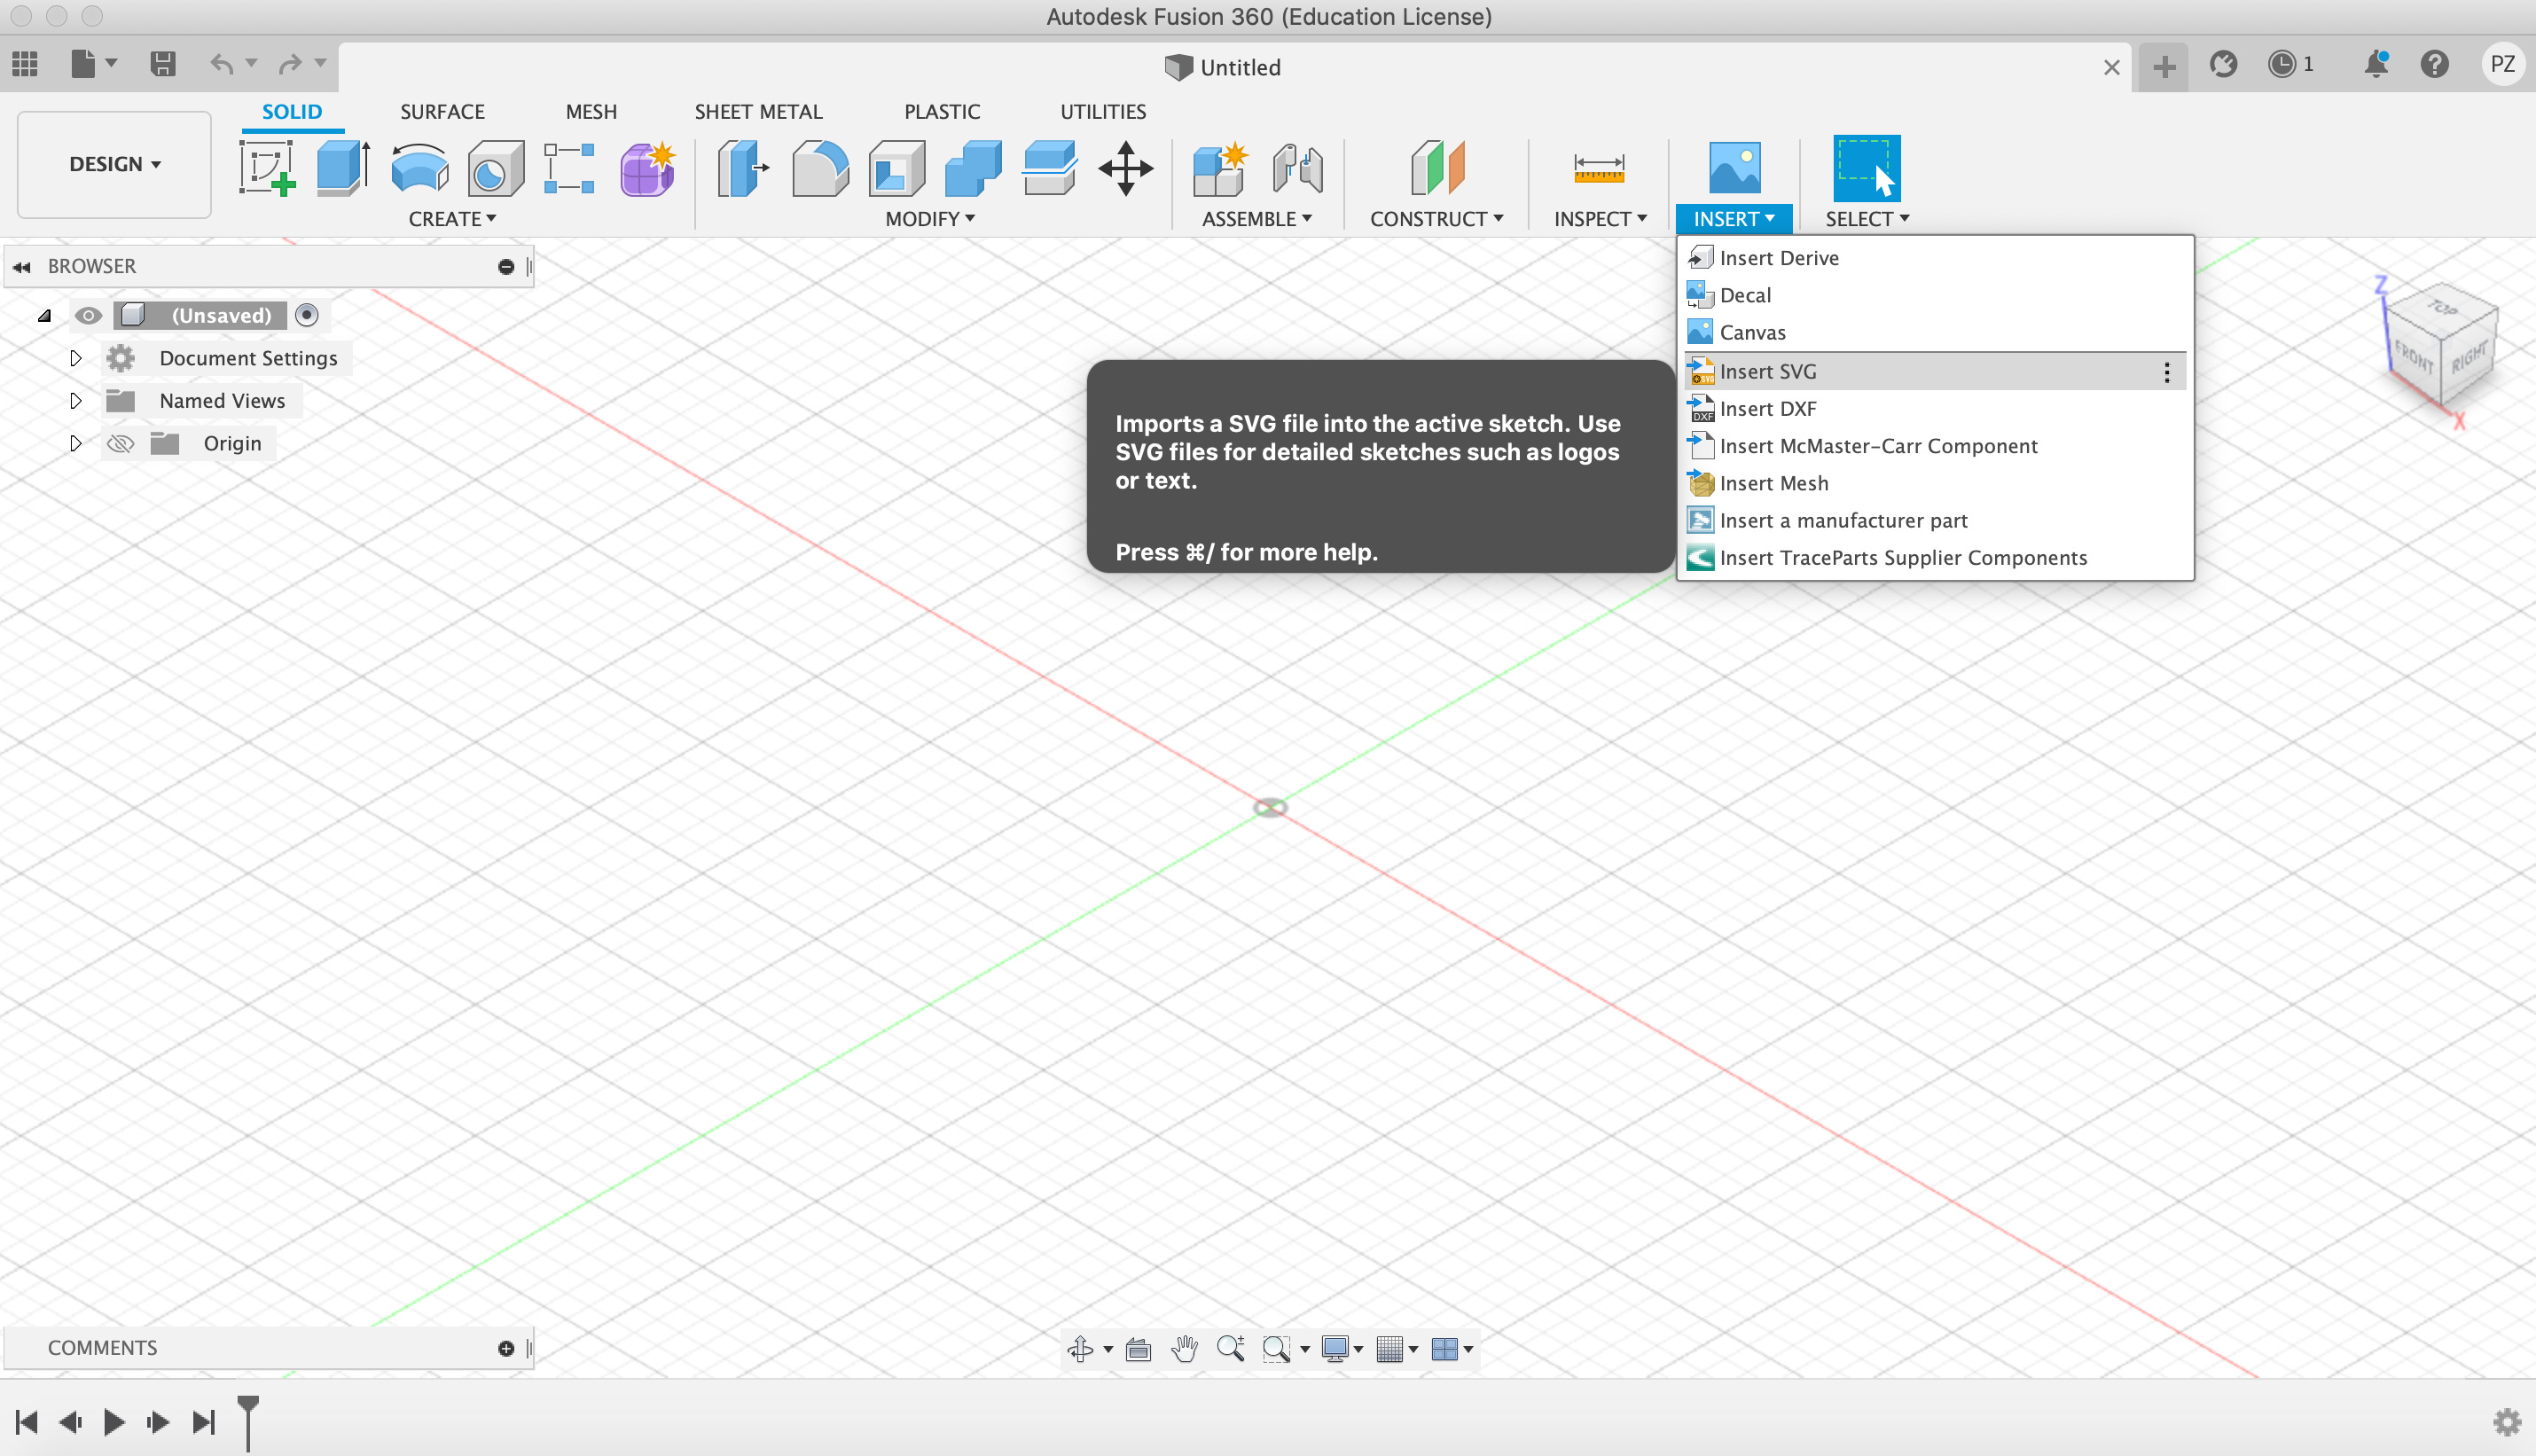
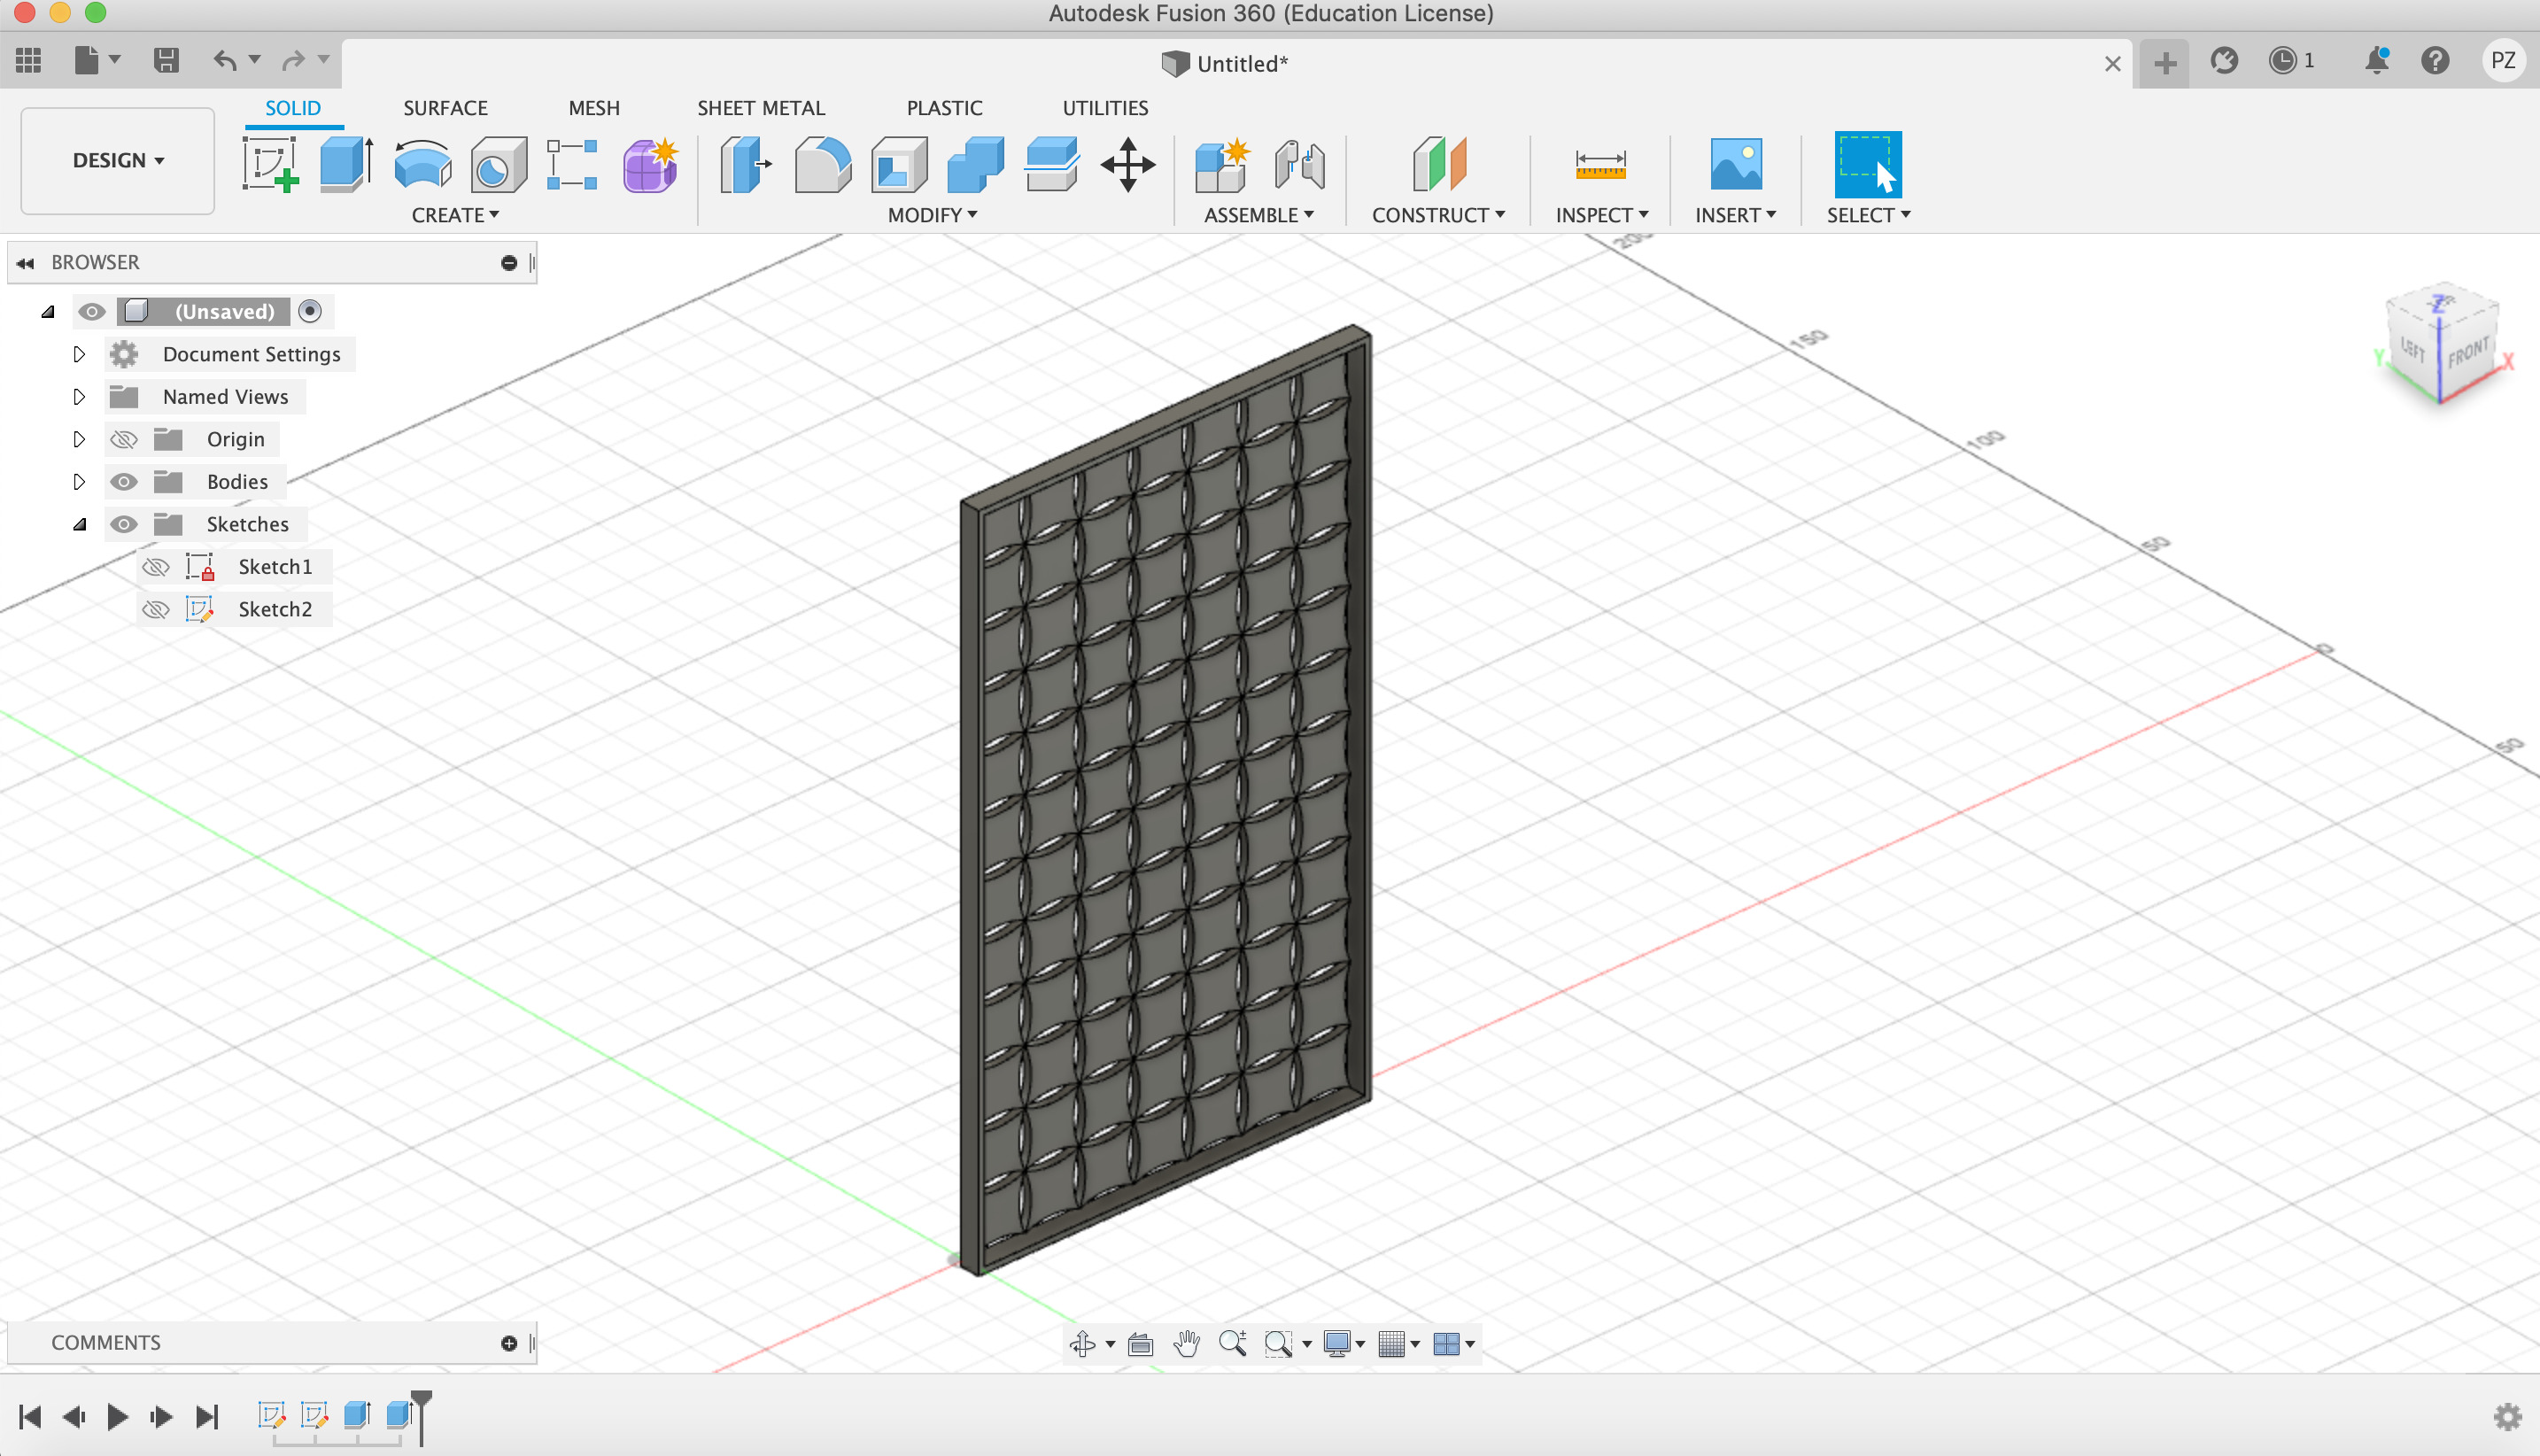
Once I had a possible biomaterial module pattern in mind, I save it as .SVG, and then I went into Fusion 360 to model it and its skeleton.
3. Working with Fusion 360 (3D)
Steps which I followed using Fusion 360:
- Open the SVG. with the biomaterial modul and locate it in the Fusion 360 space.
- Extrude the pattern in both directions: 1 mm each side.
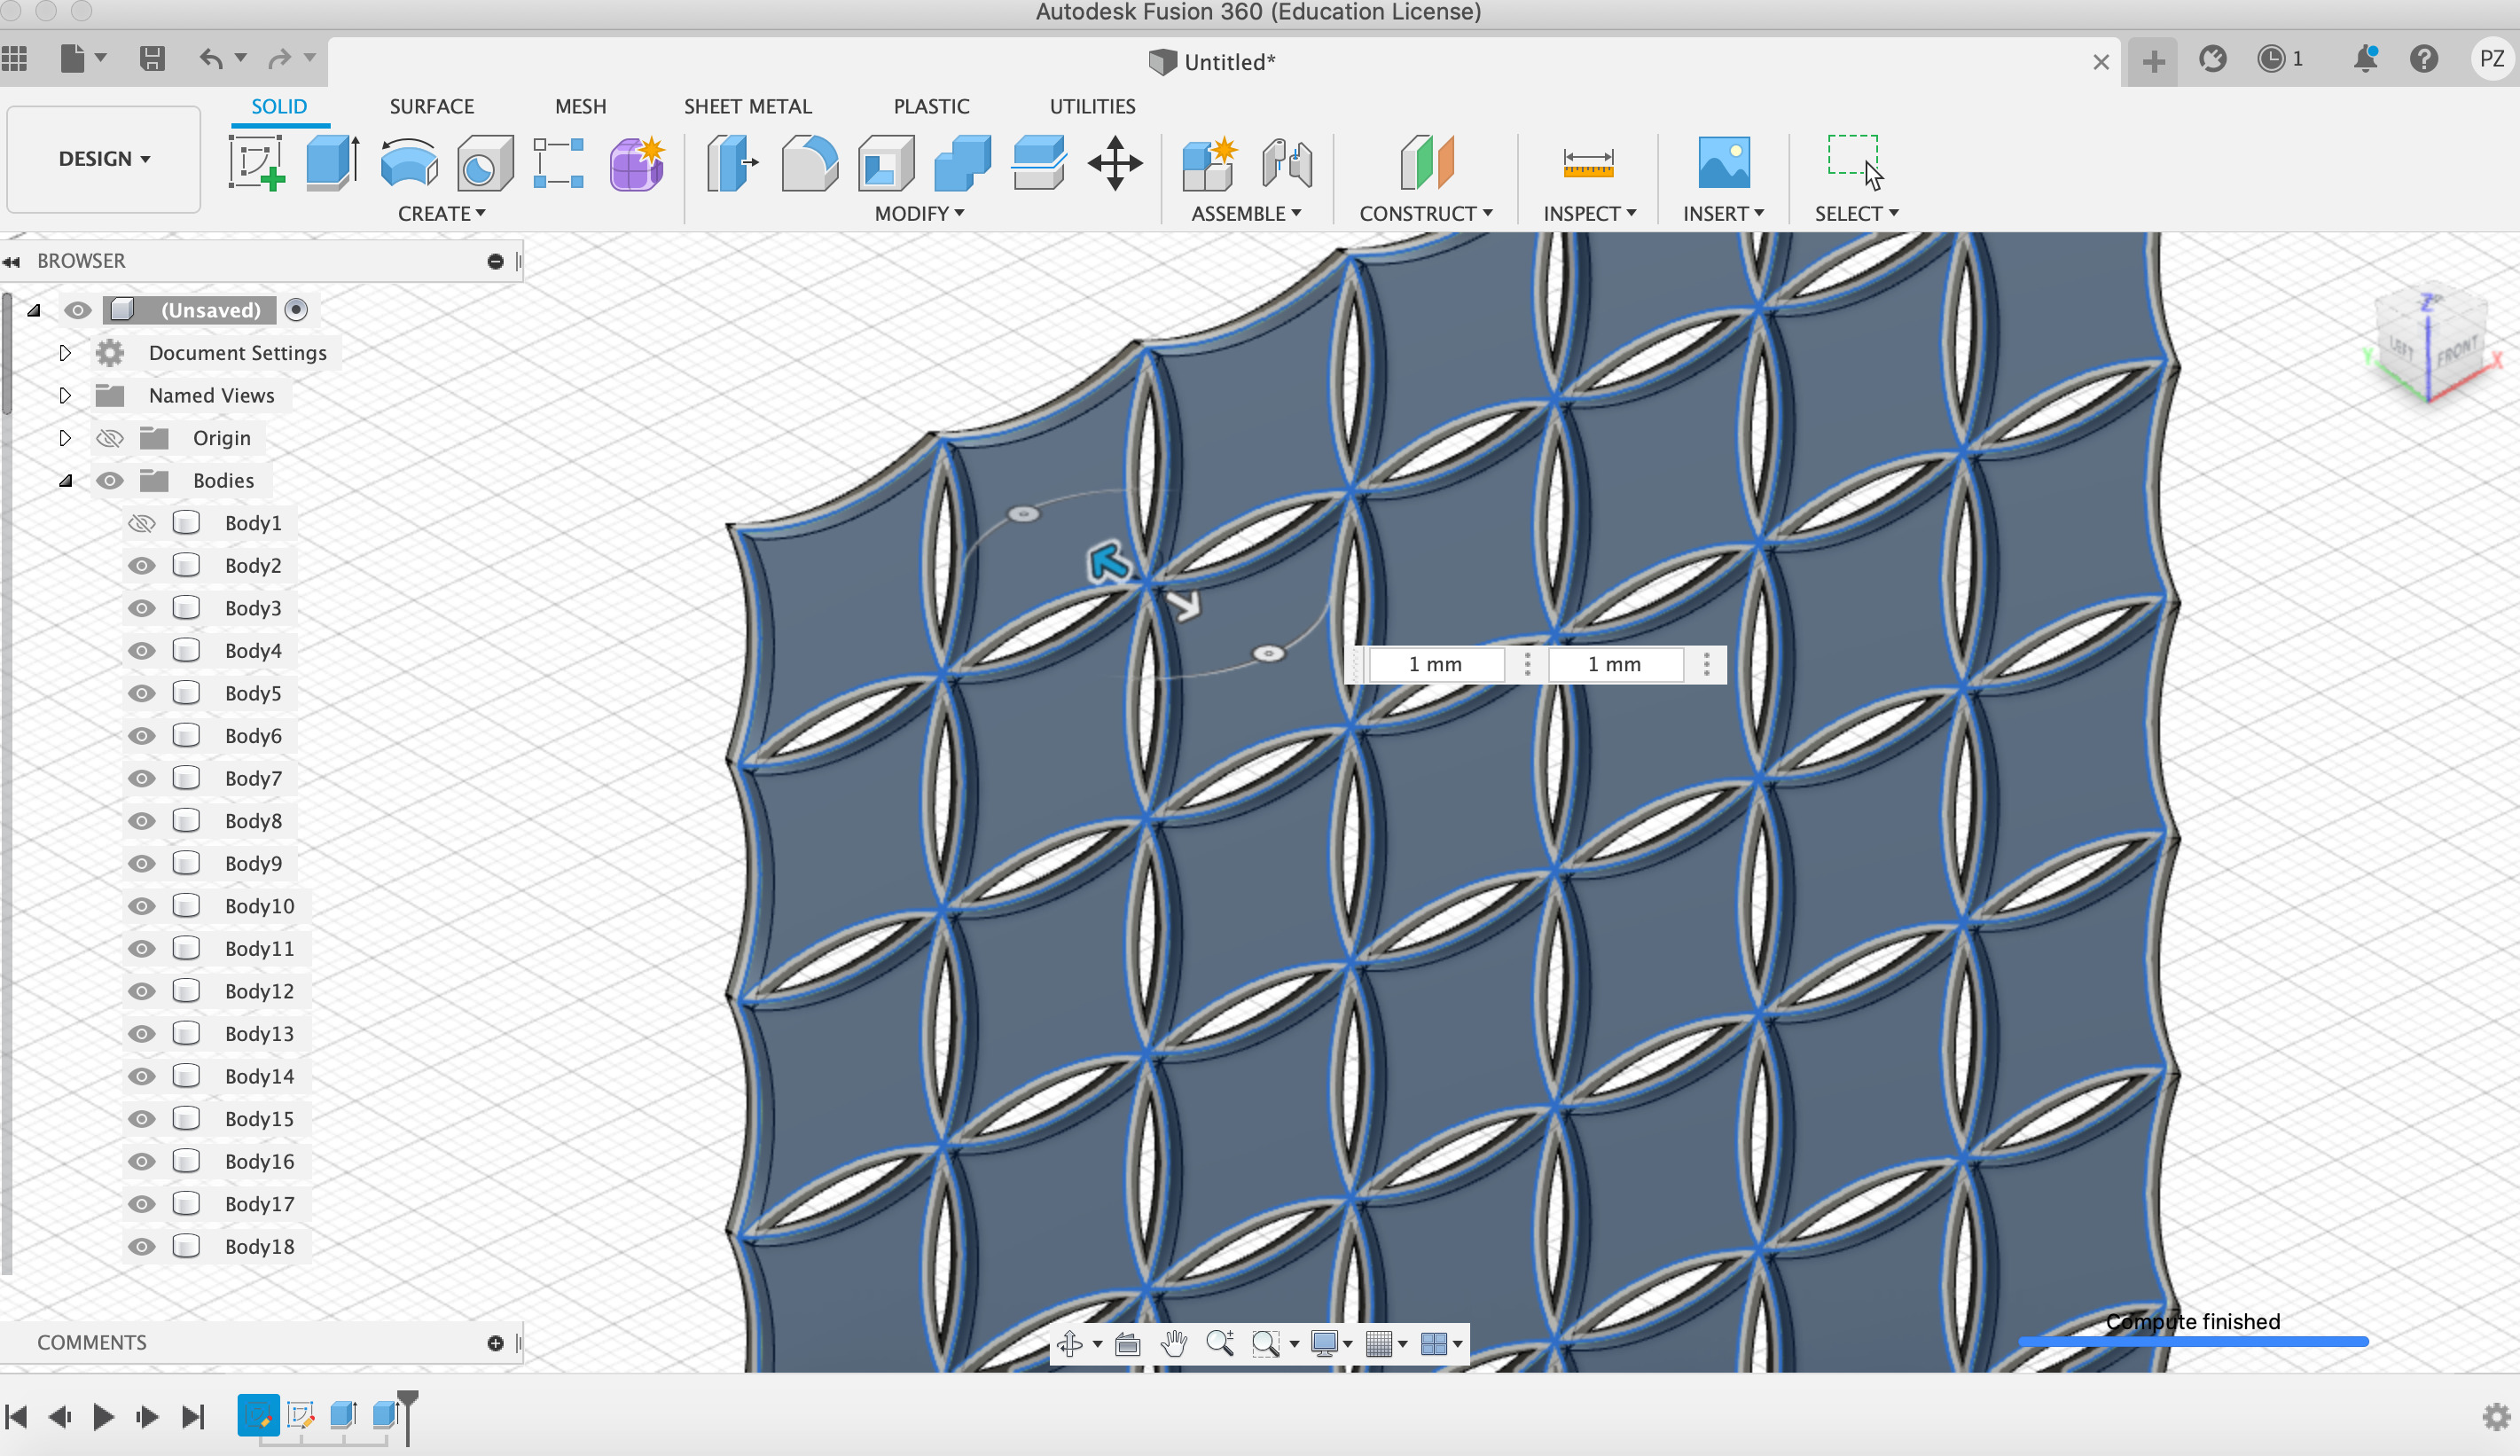

- Start a new sketch to make the folding screen’s skeleton.
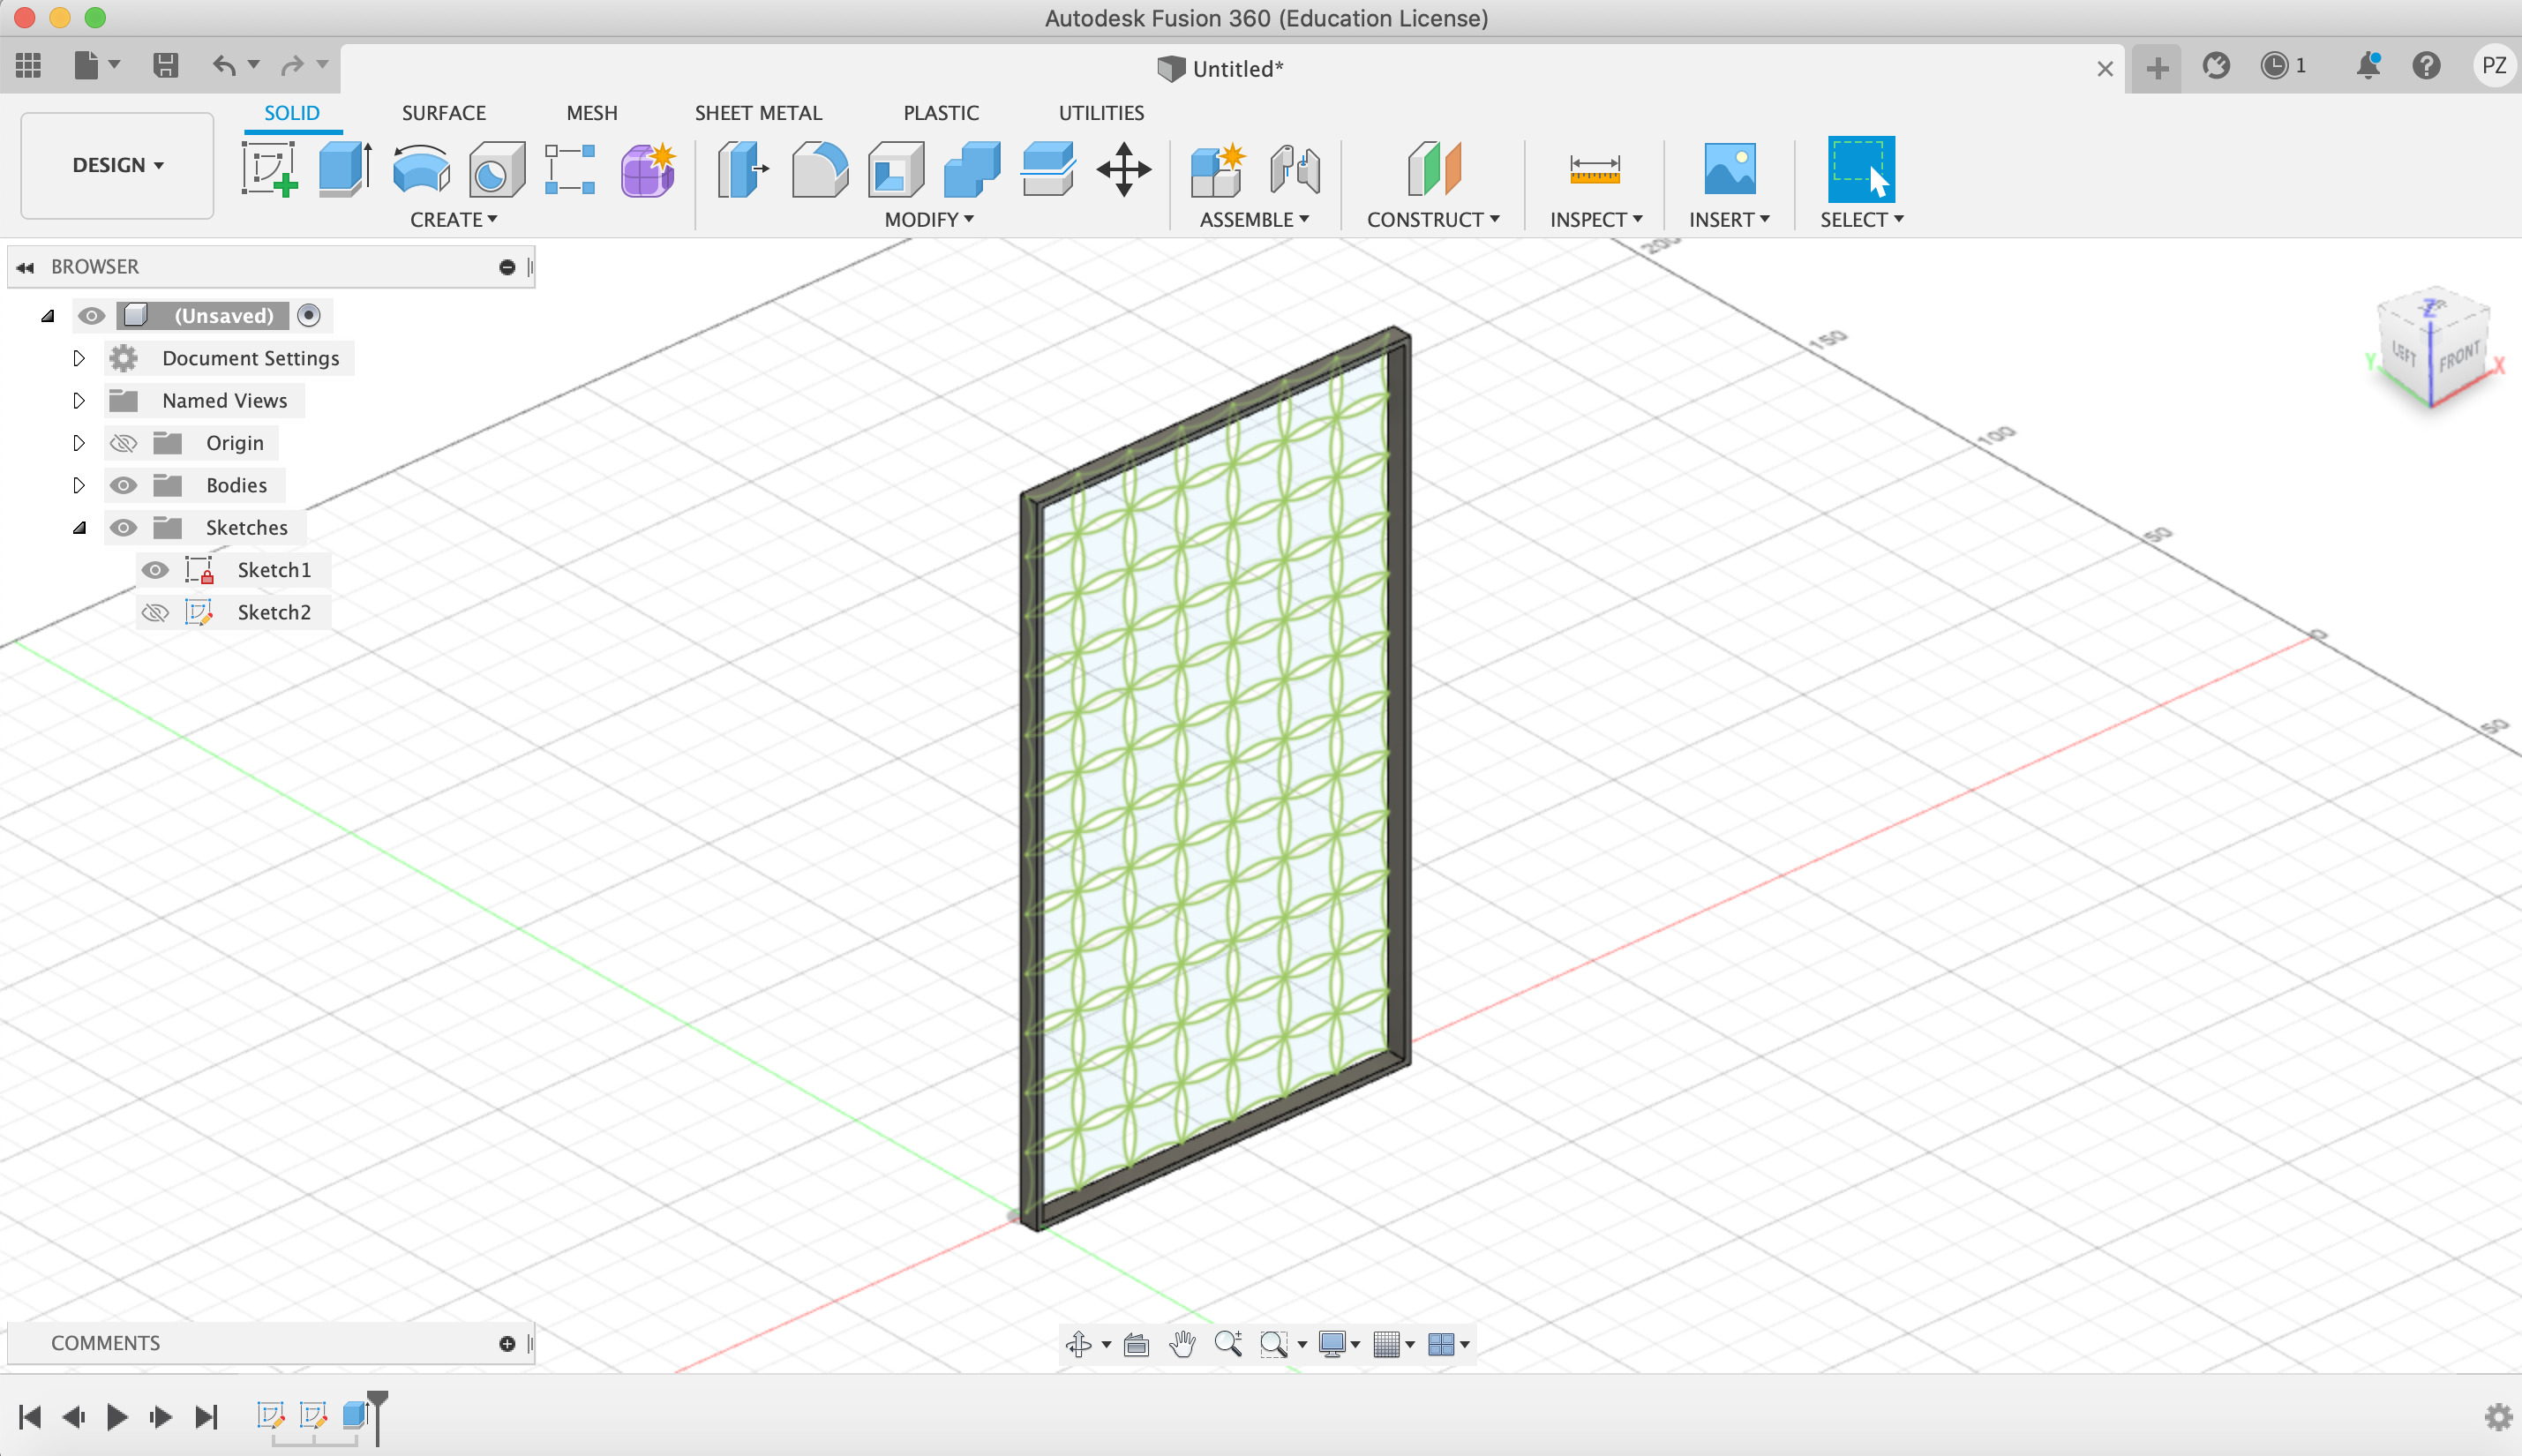
- Extrude the moduls pattern in both directions: 2.5 mm each side.
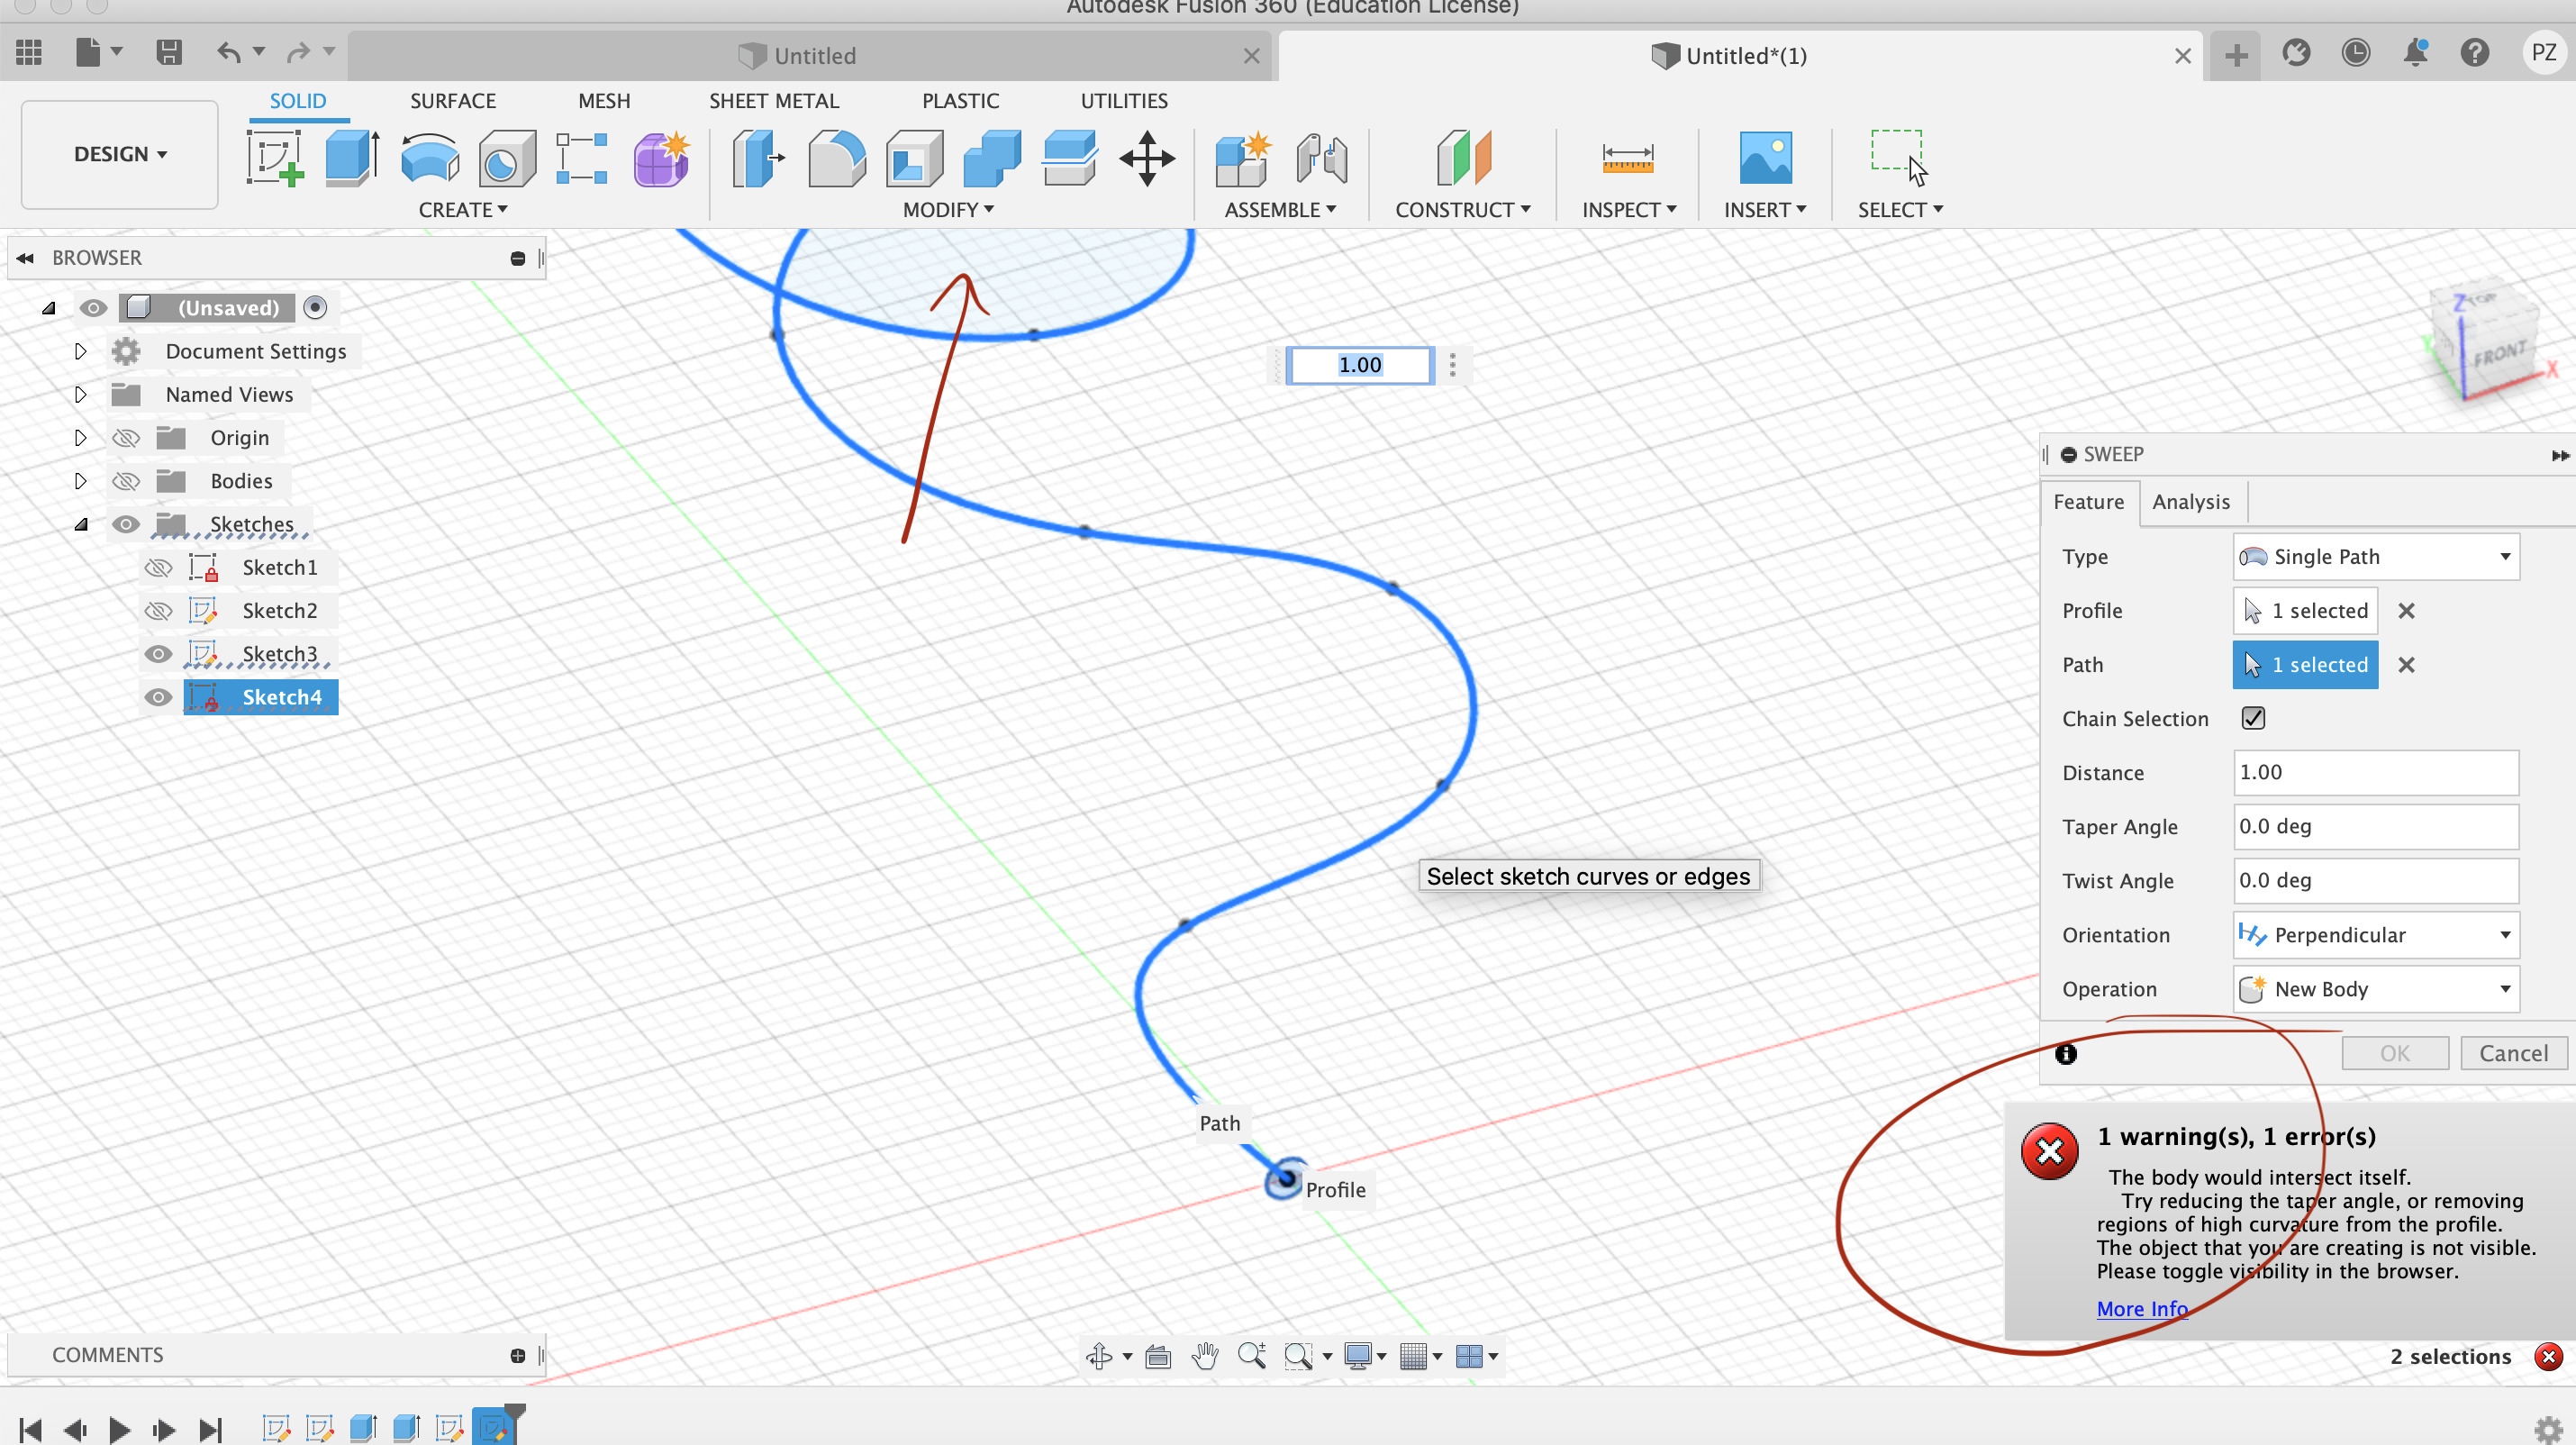
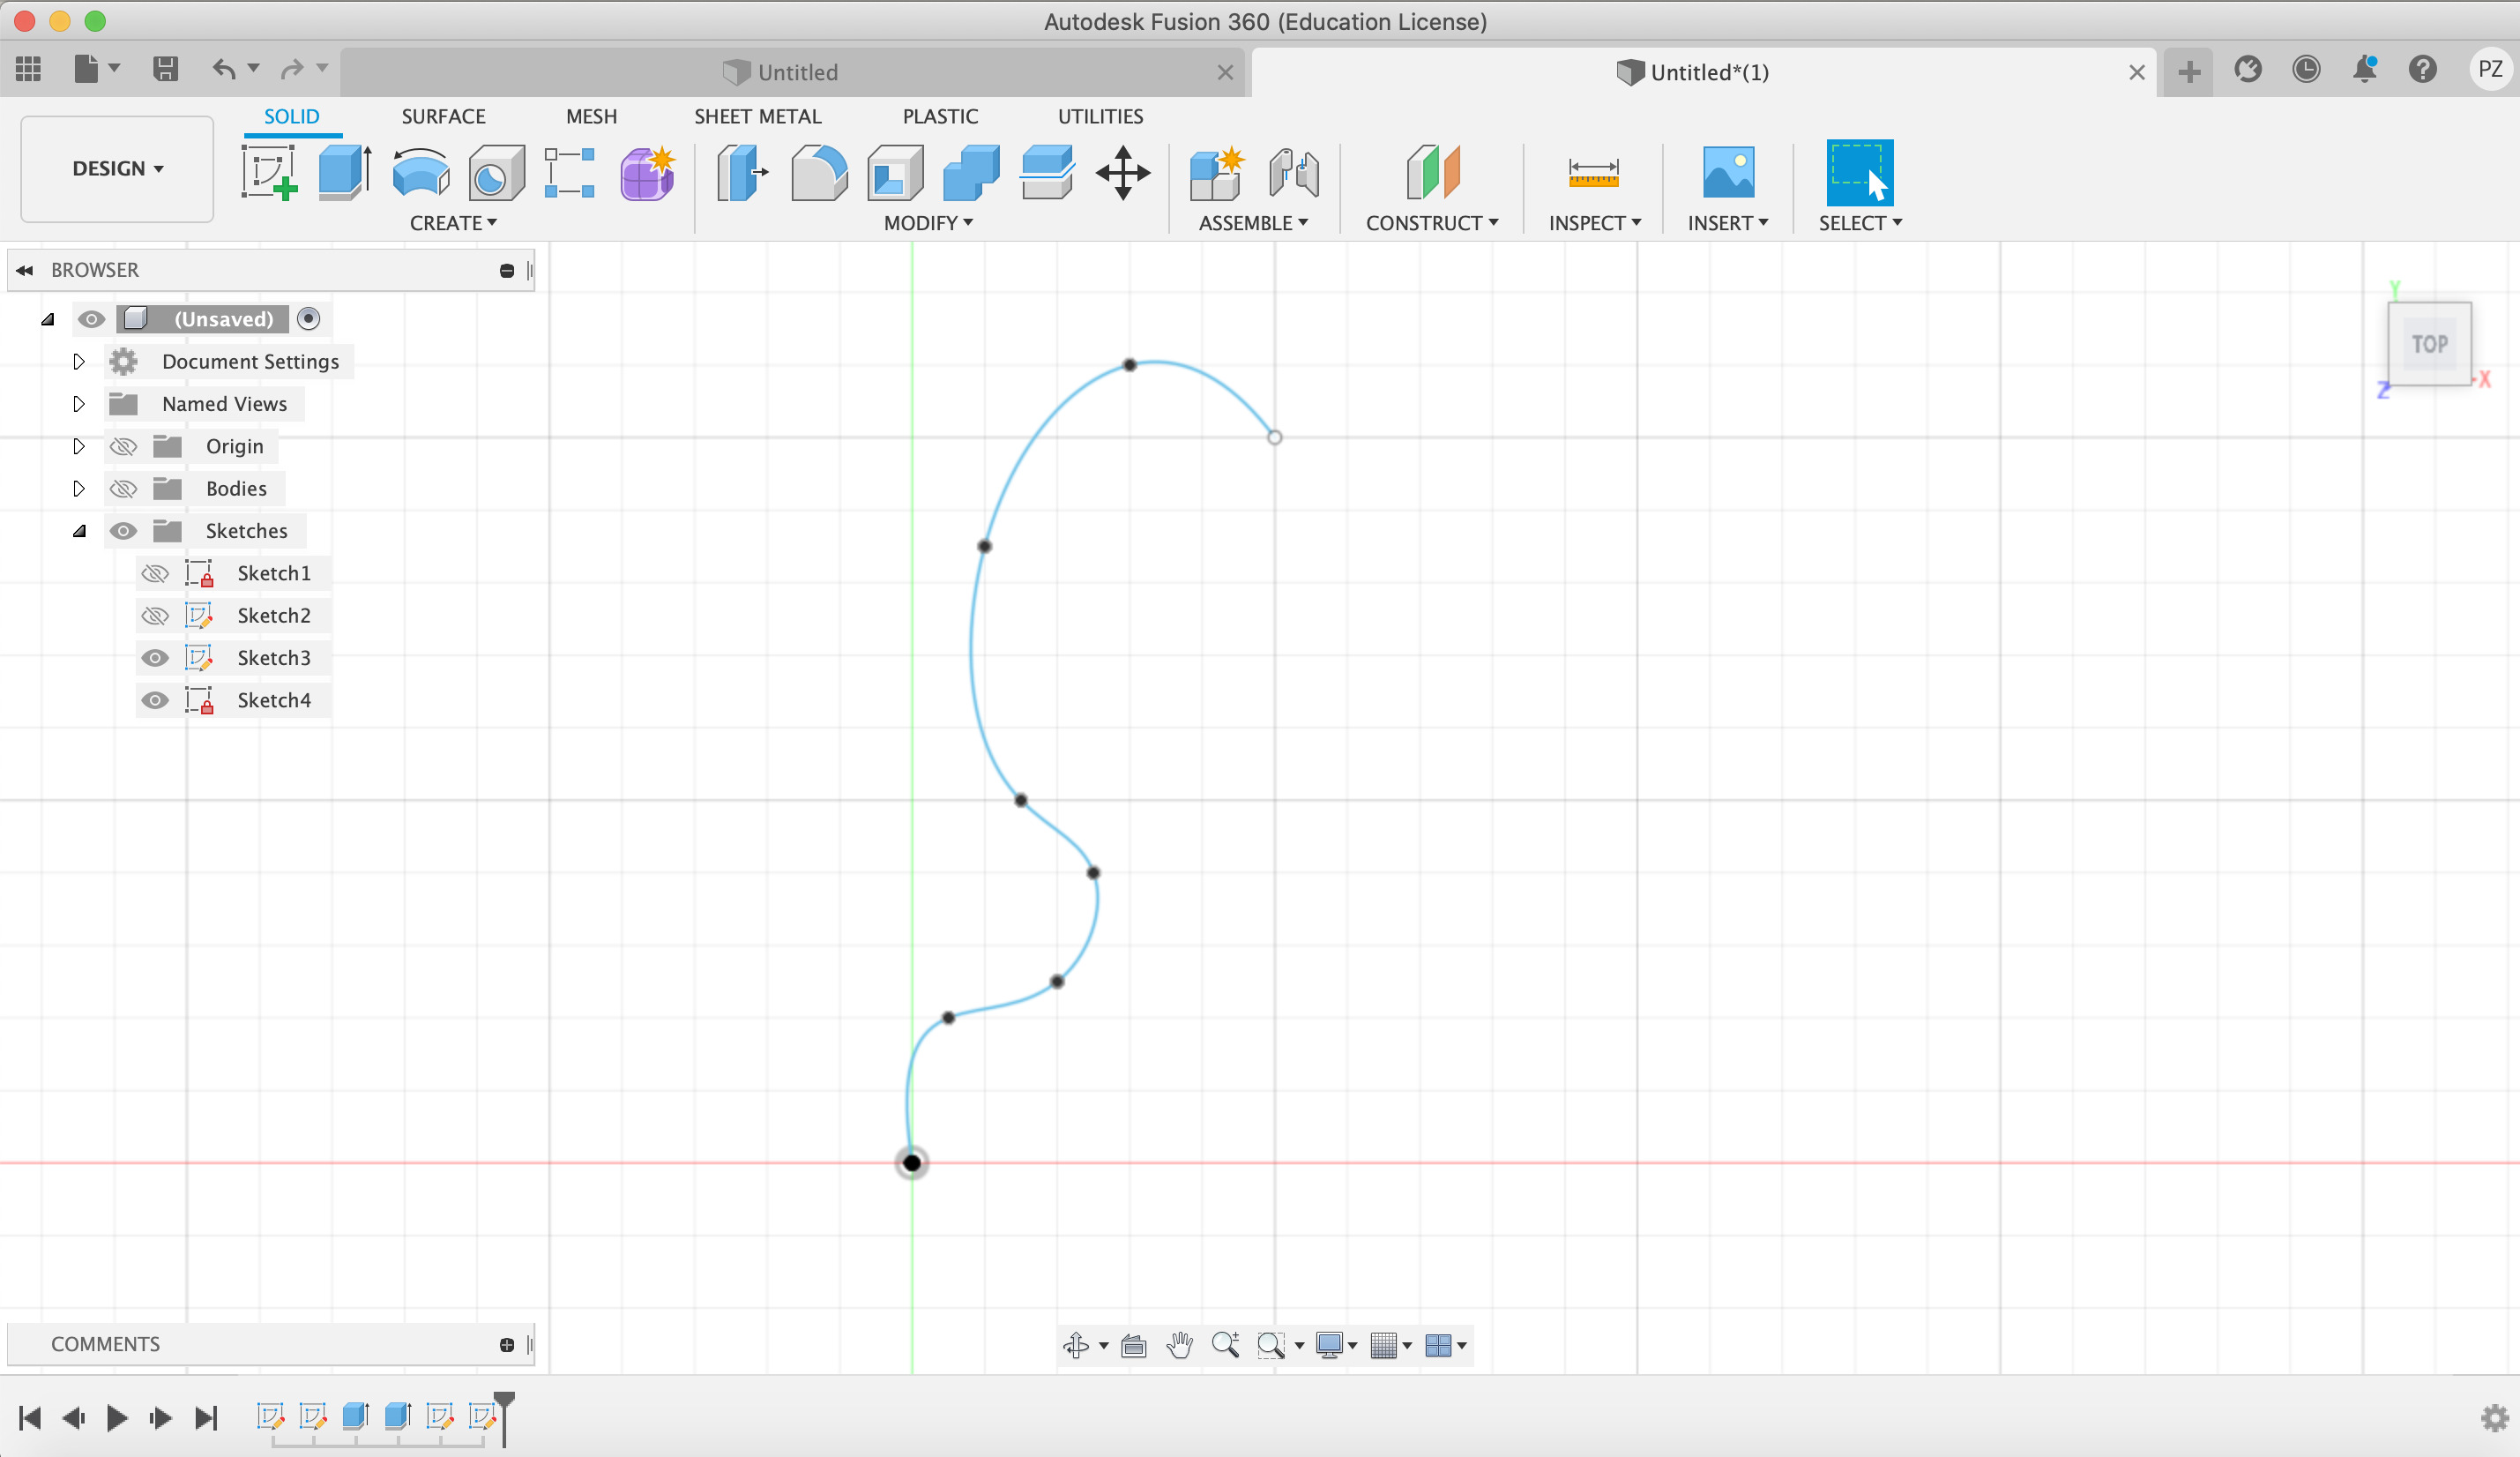
- Start a new sketch and draw a cable path.
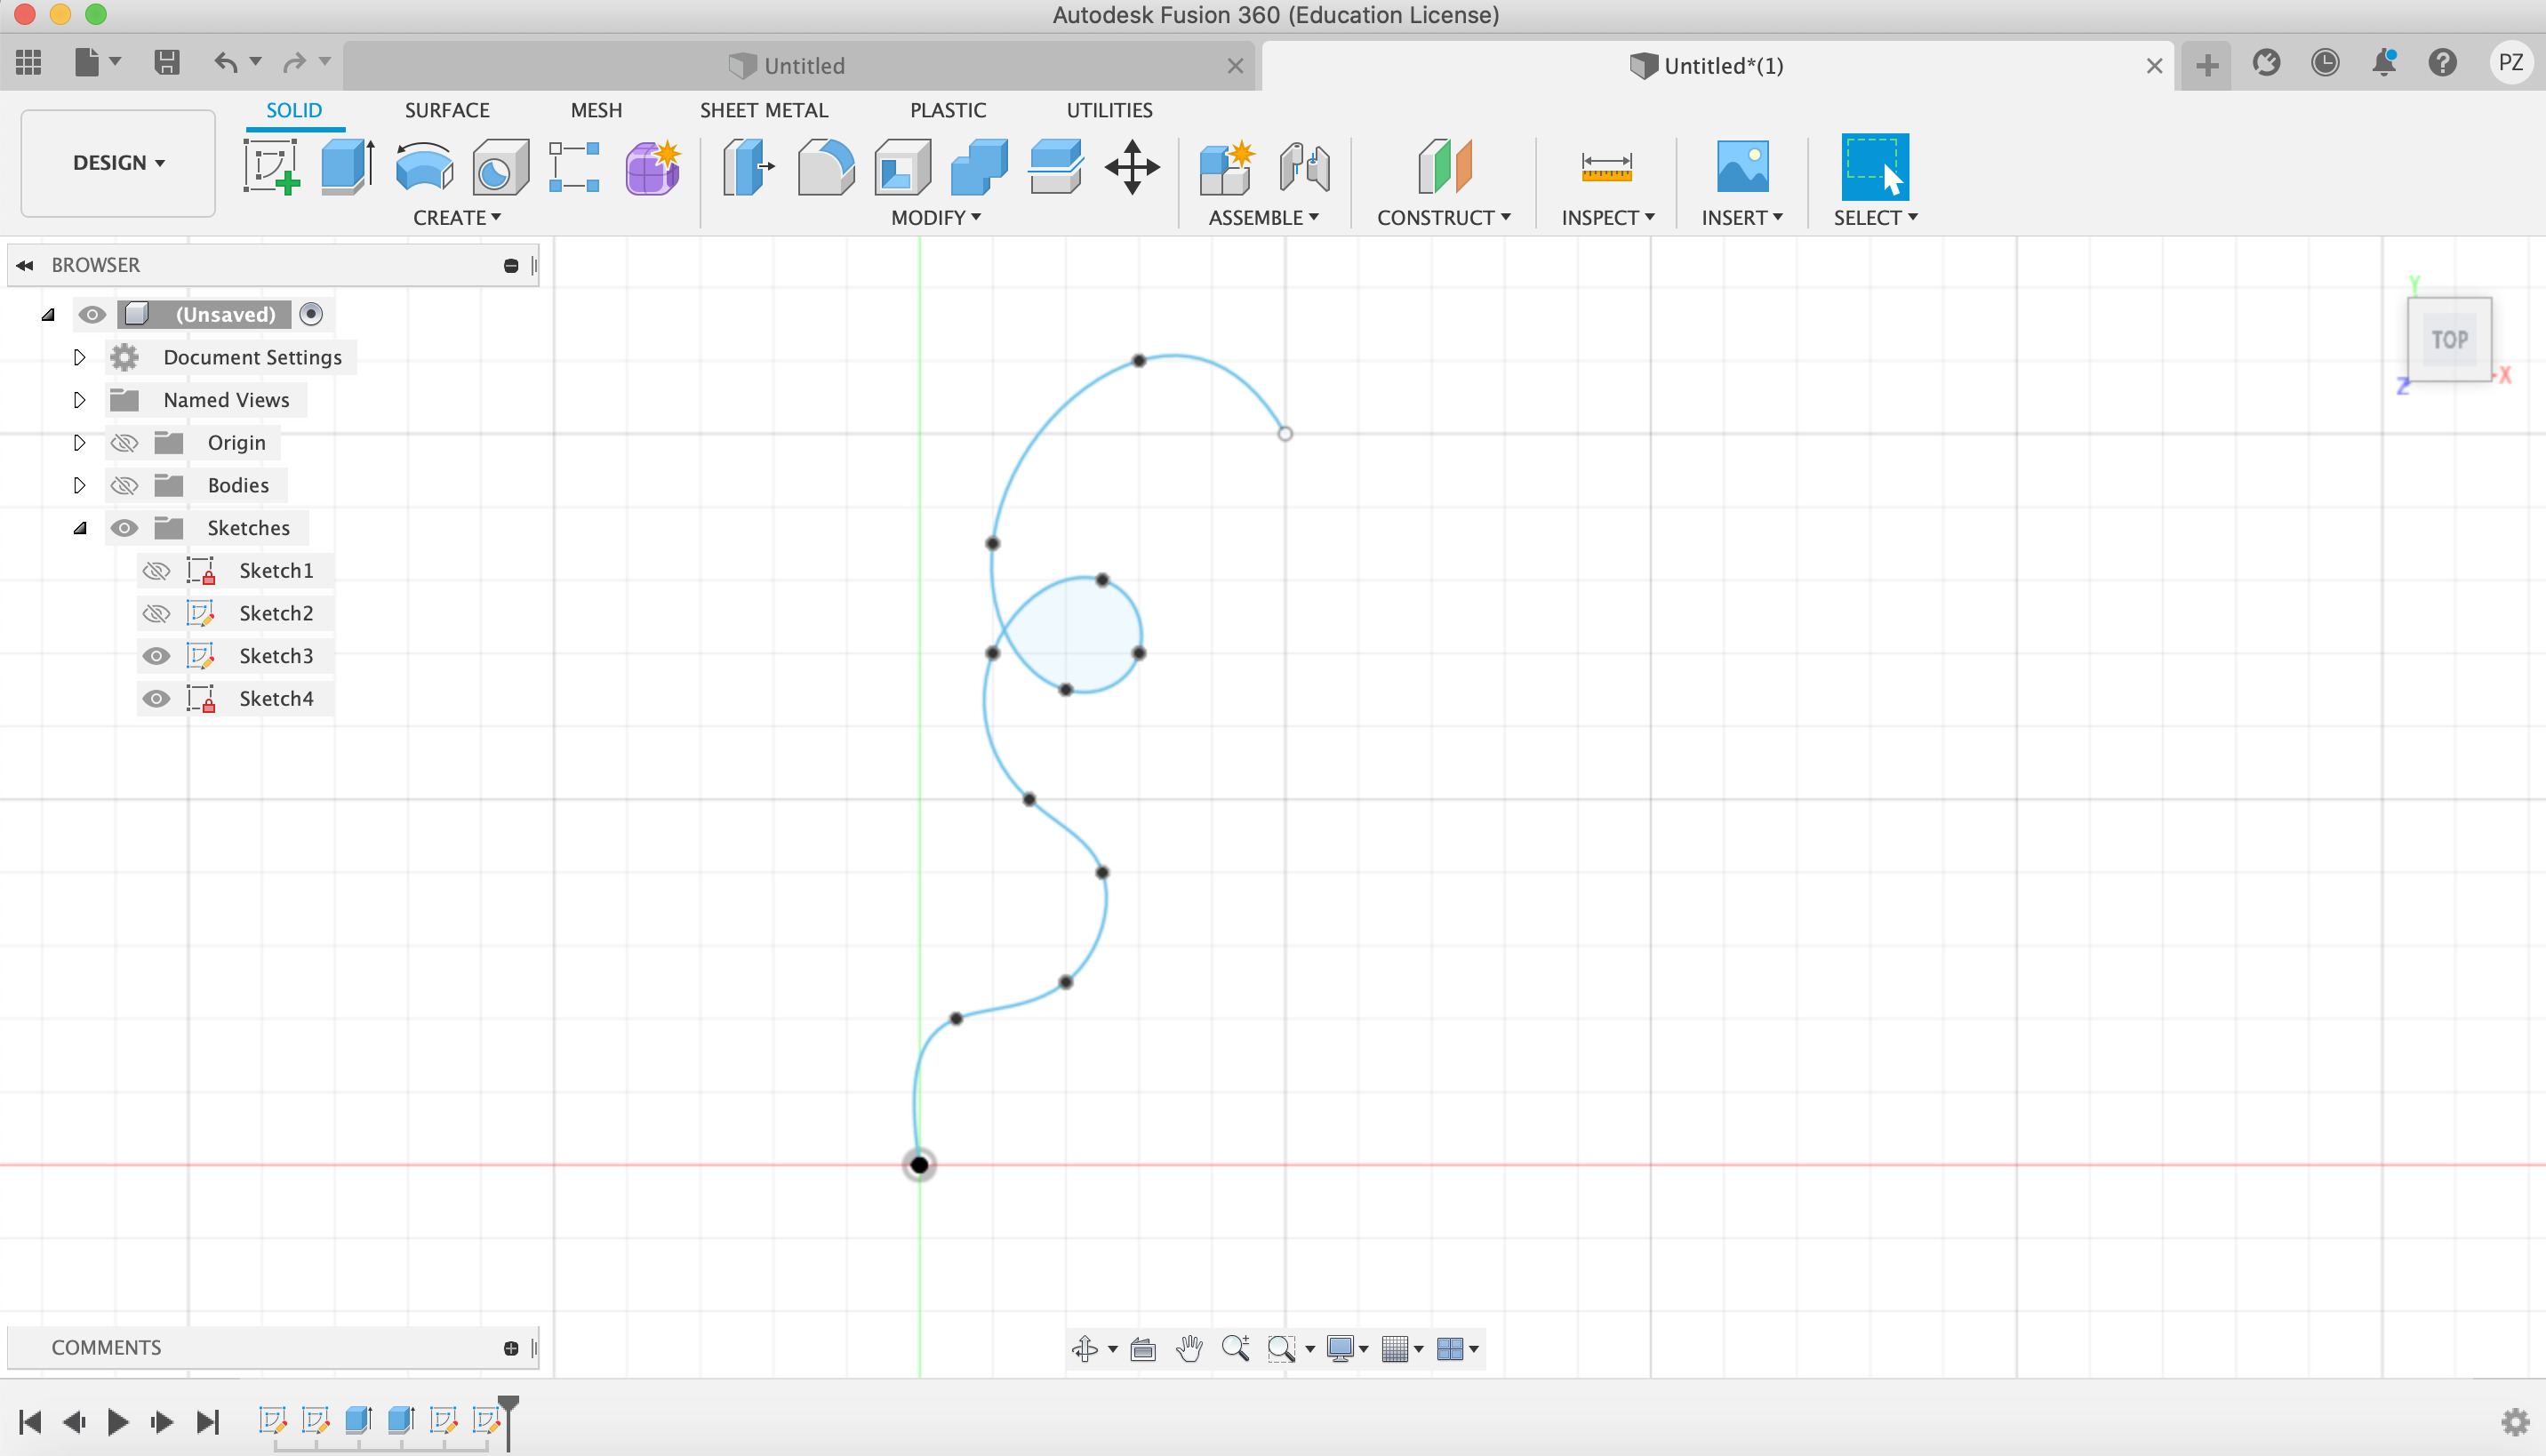
- Use the comand “Sweep” to extrude the cable.
Here I had a problem. Since I did the draw of the cable with an intersection of it, the program was not able to read it. I had to change the design in order to be able to sweep it.
- Make a new sketch and draw a lamp. Here I did the draw of the lamp and then I moved it where the cable begins.
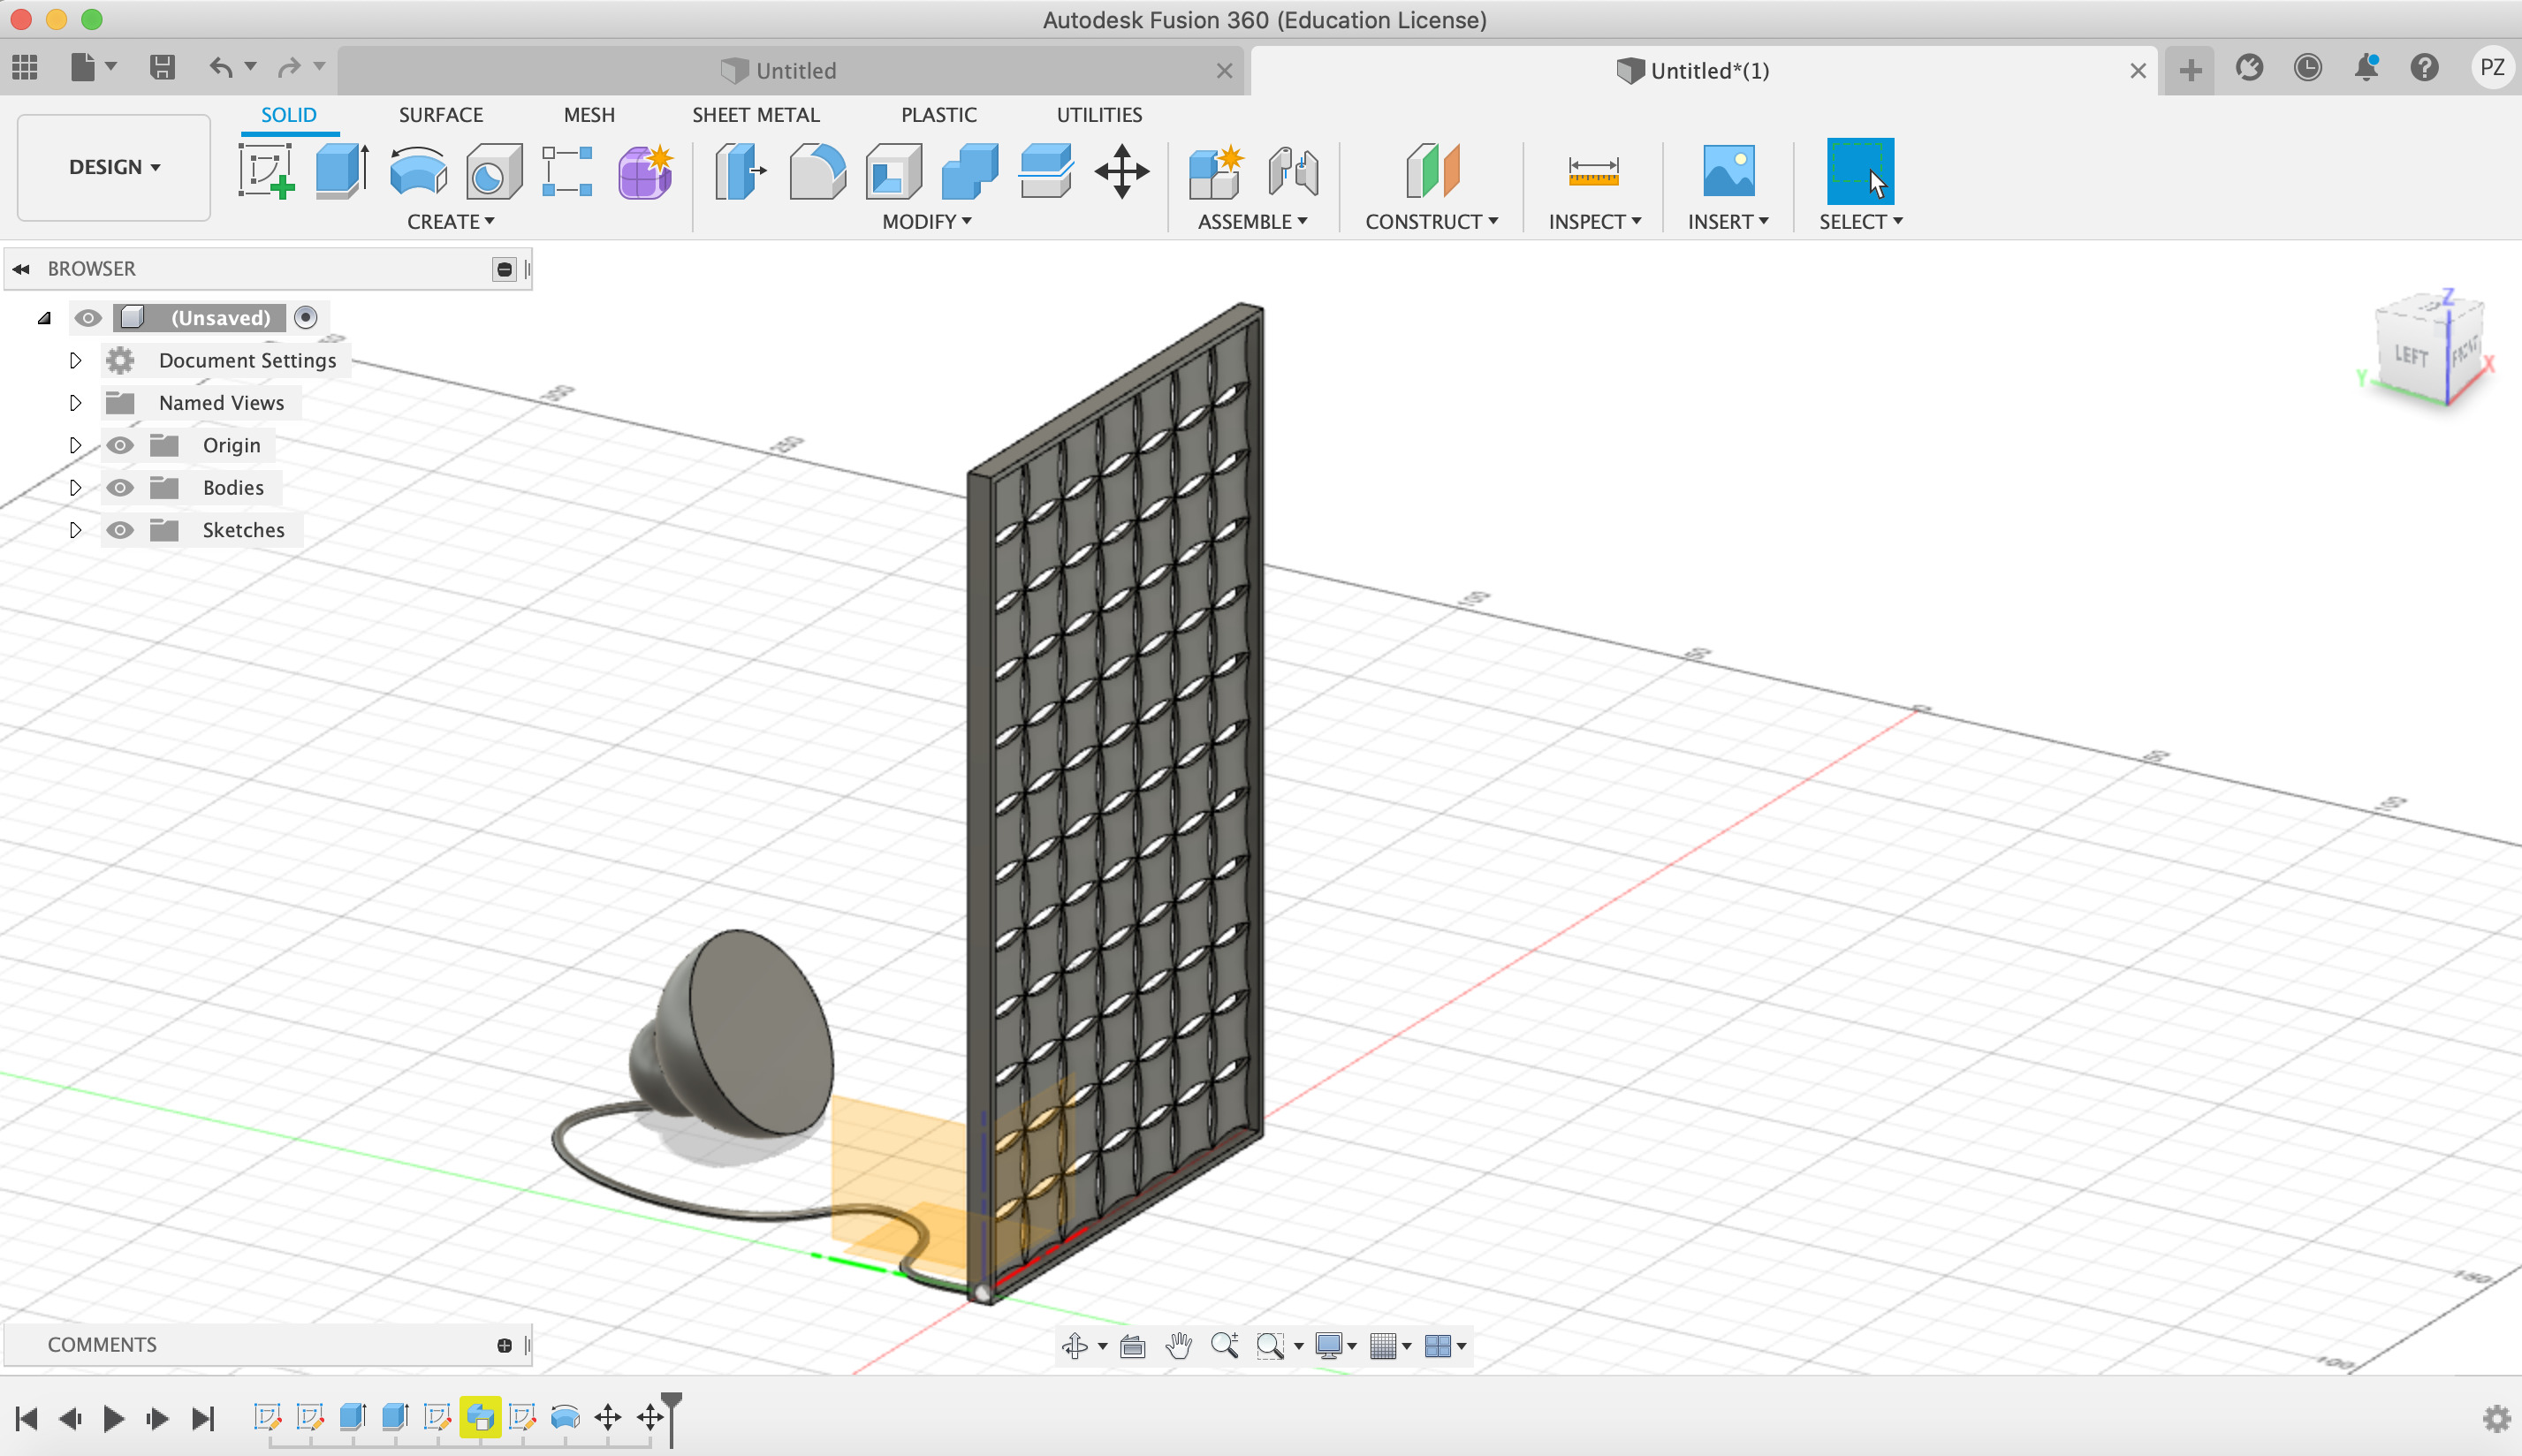
- Use the “Shell” command to empty the lamp.
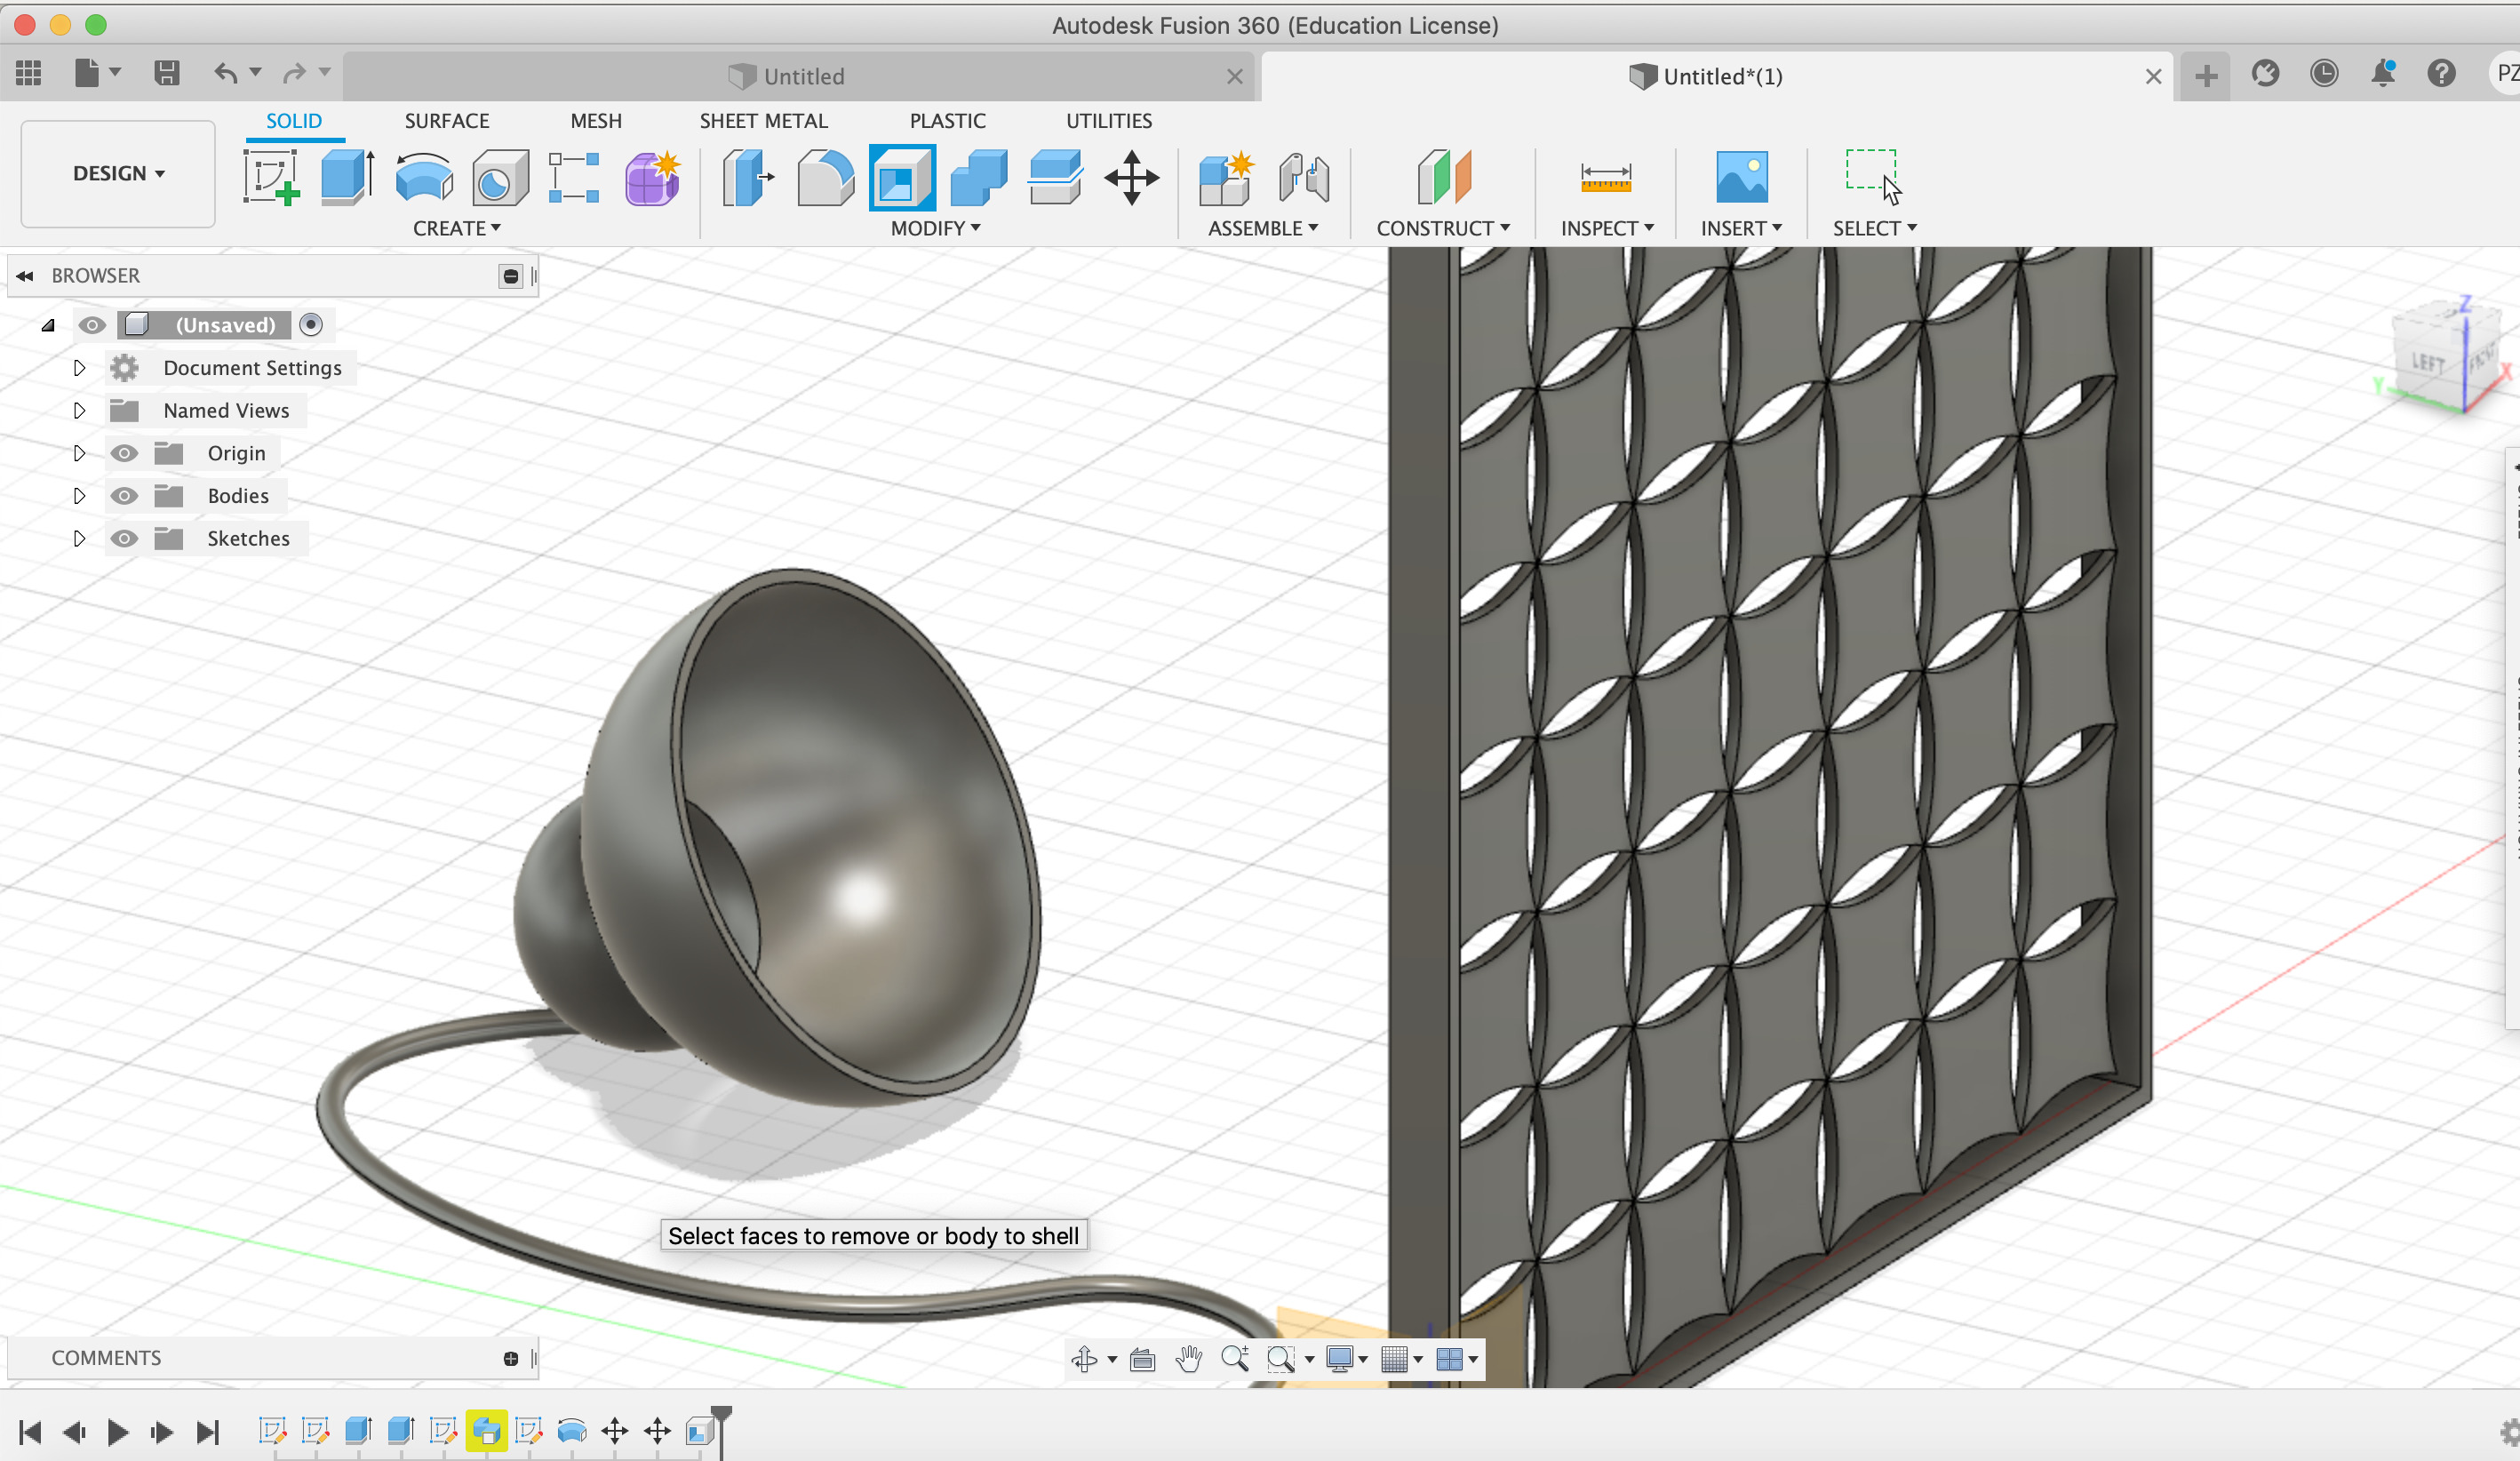
- Add a light.

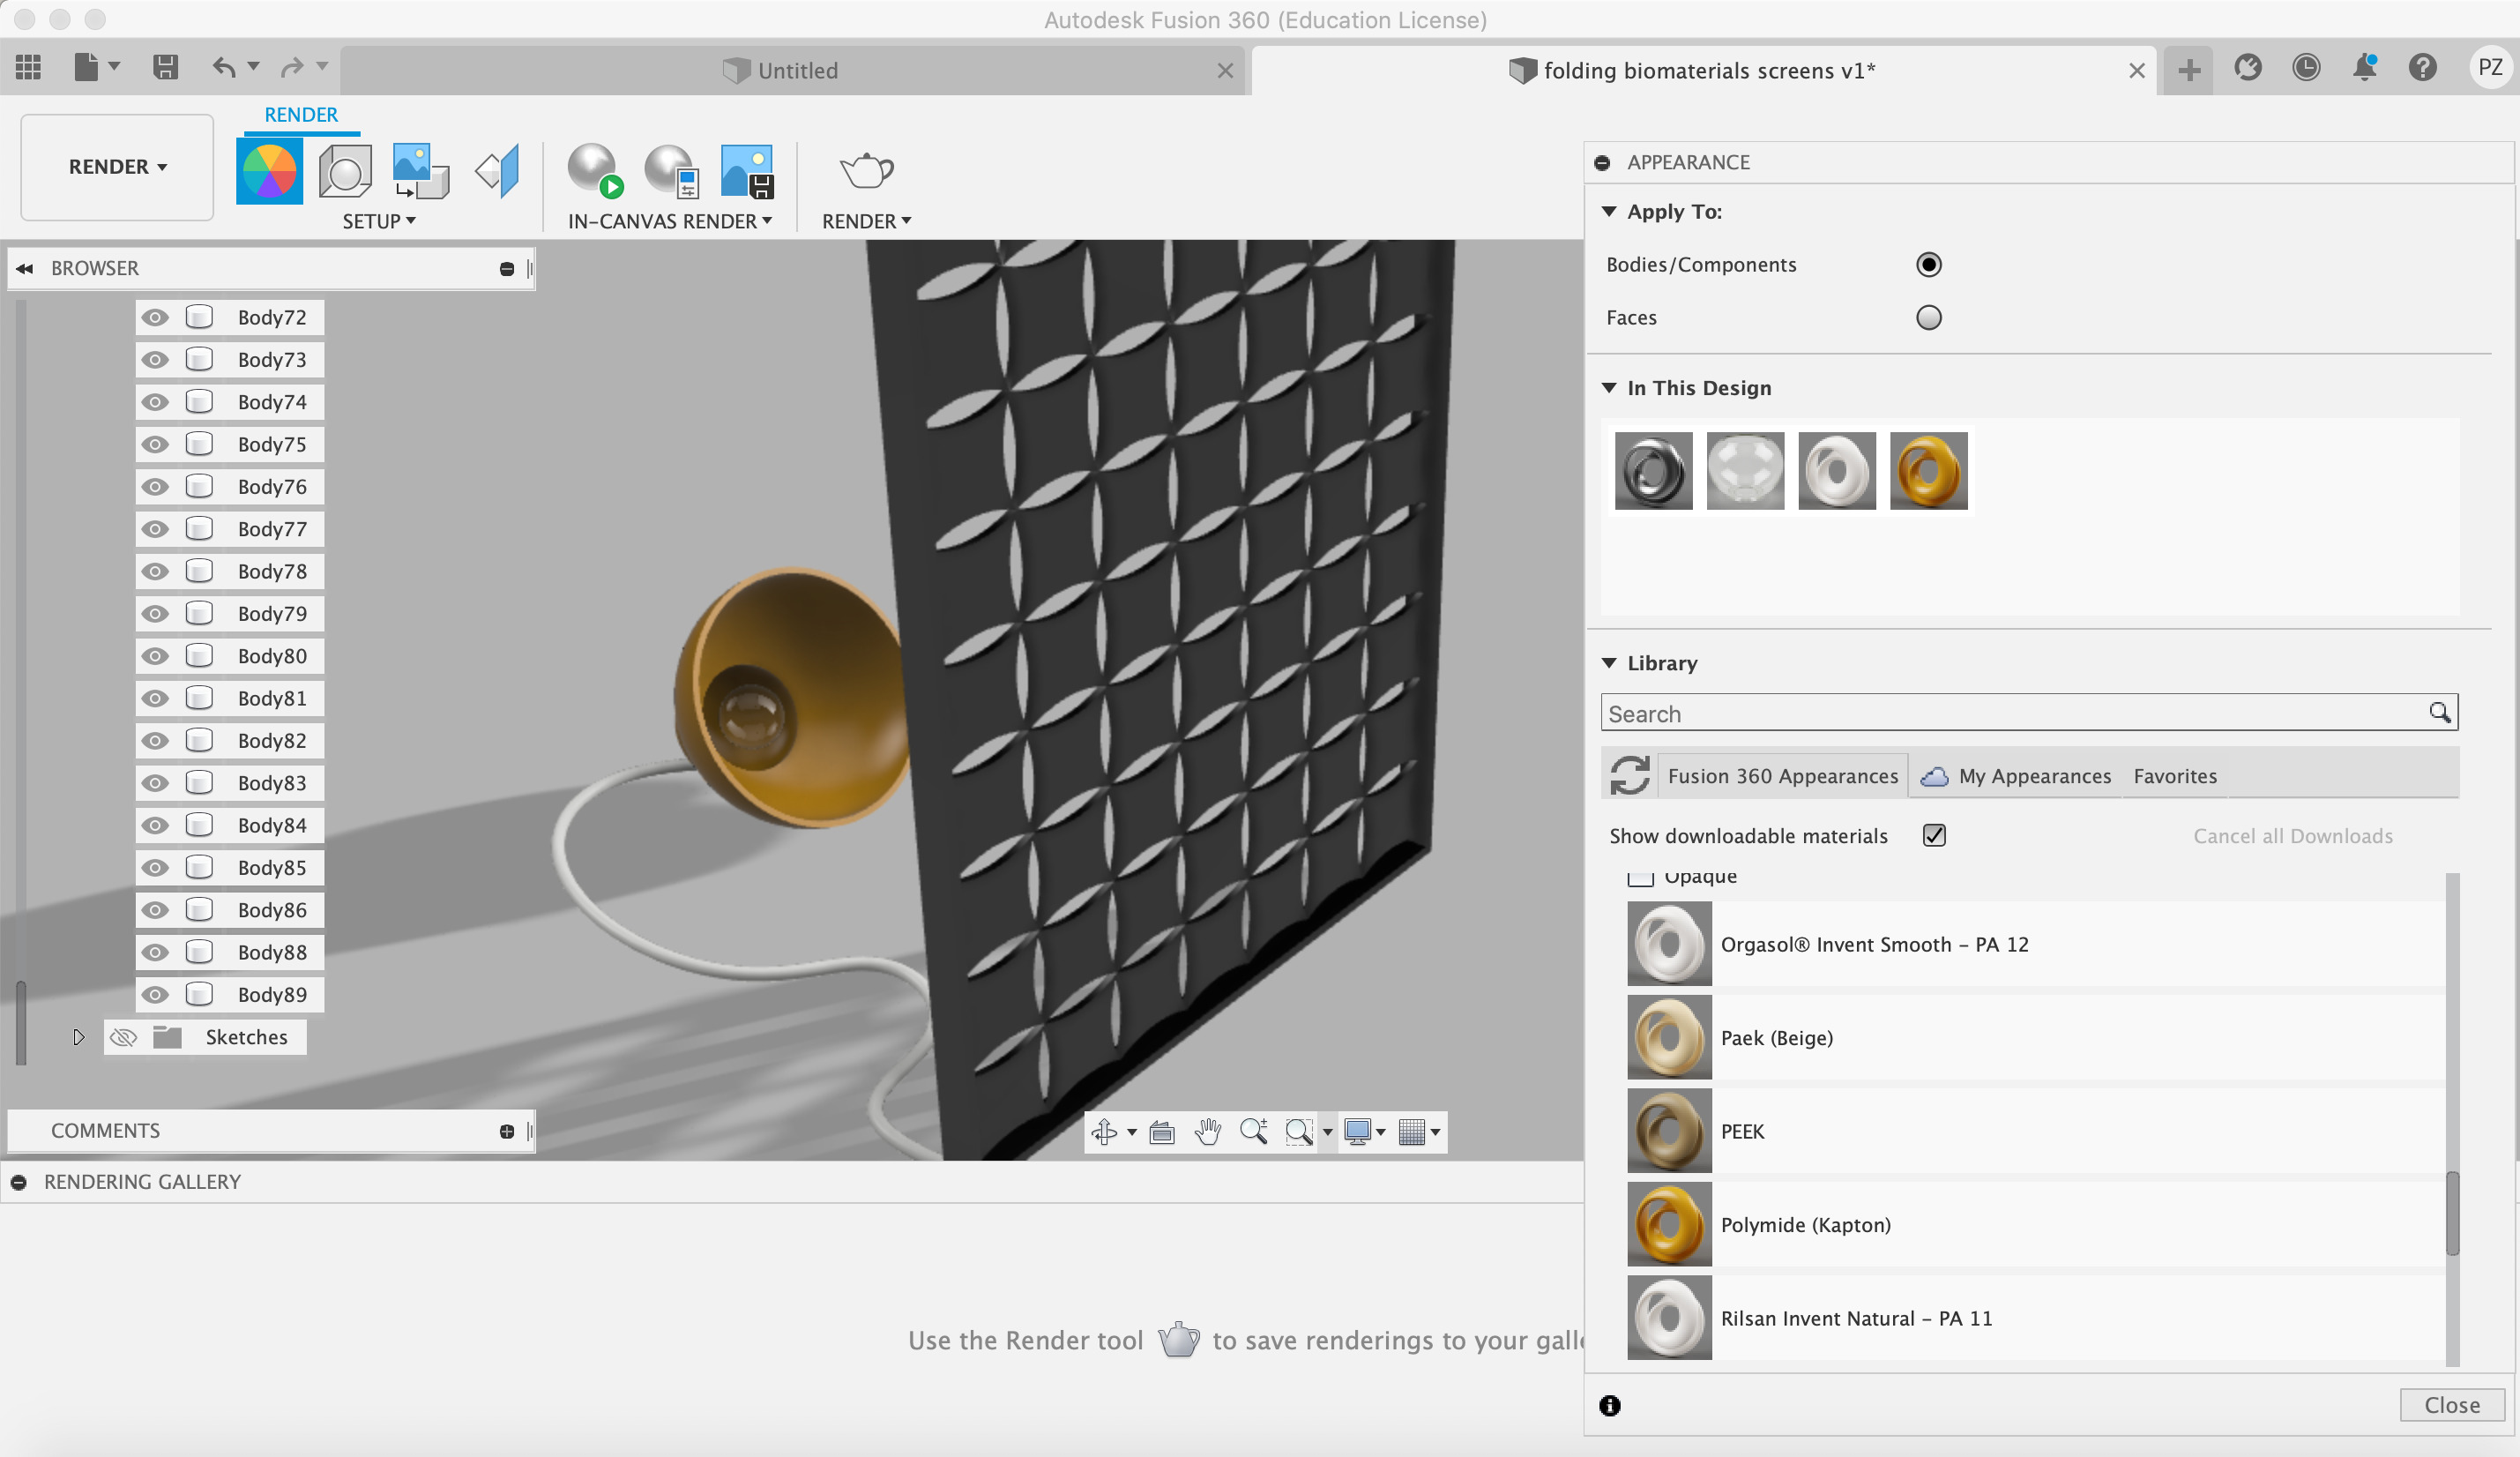
3. Start a render with Fusion 360
-
Start a render at Fusion 360.
-
Add the materials to each part of the 3d folding screen model.
- Light: glass
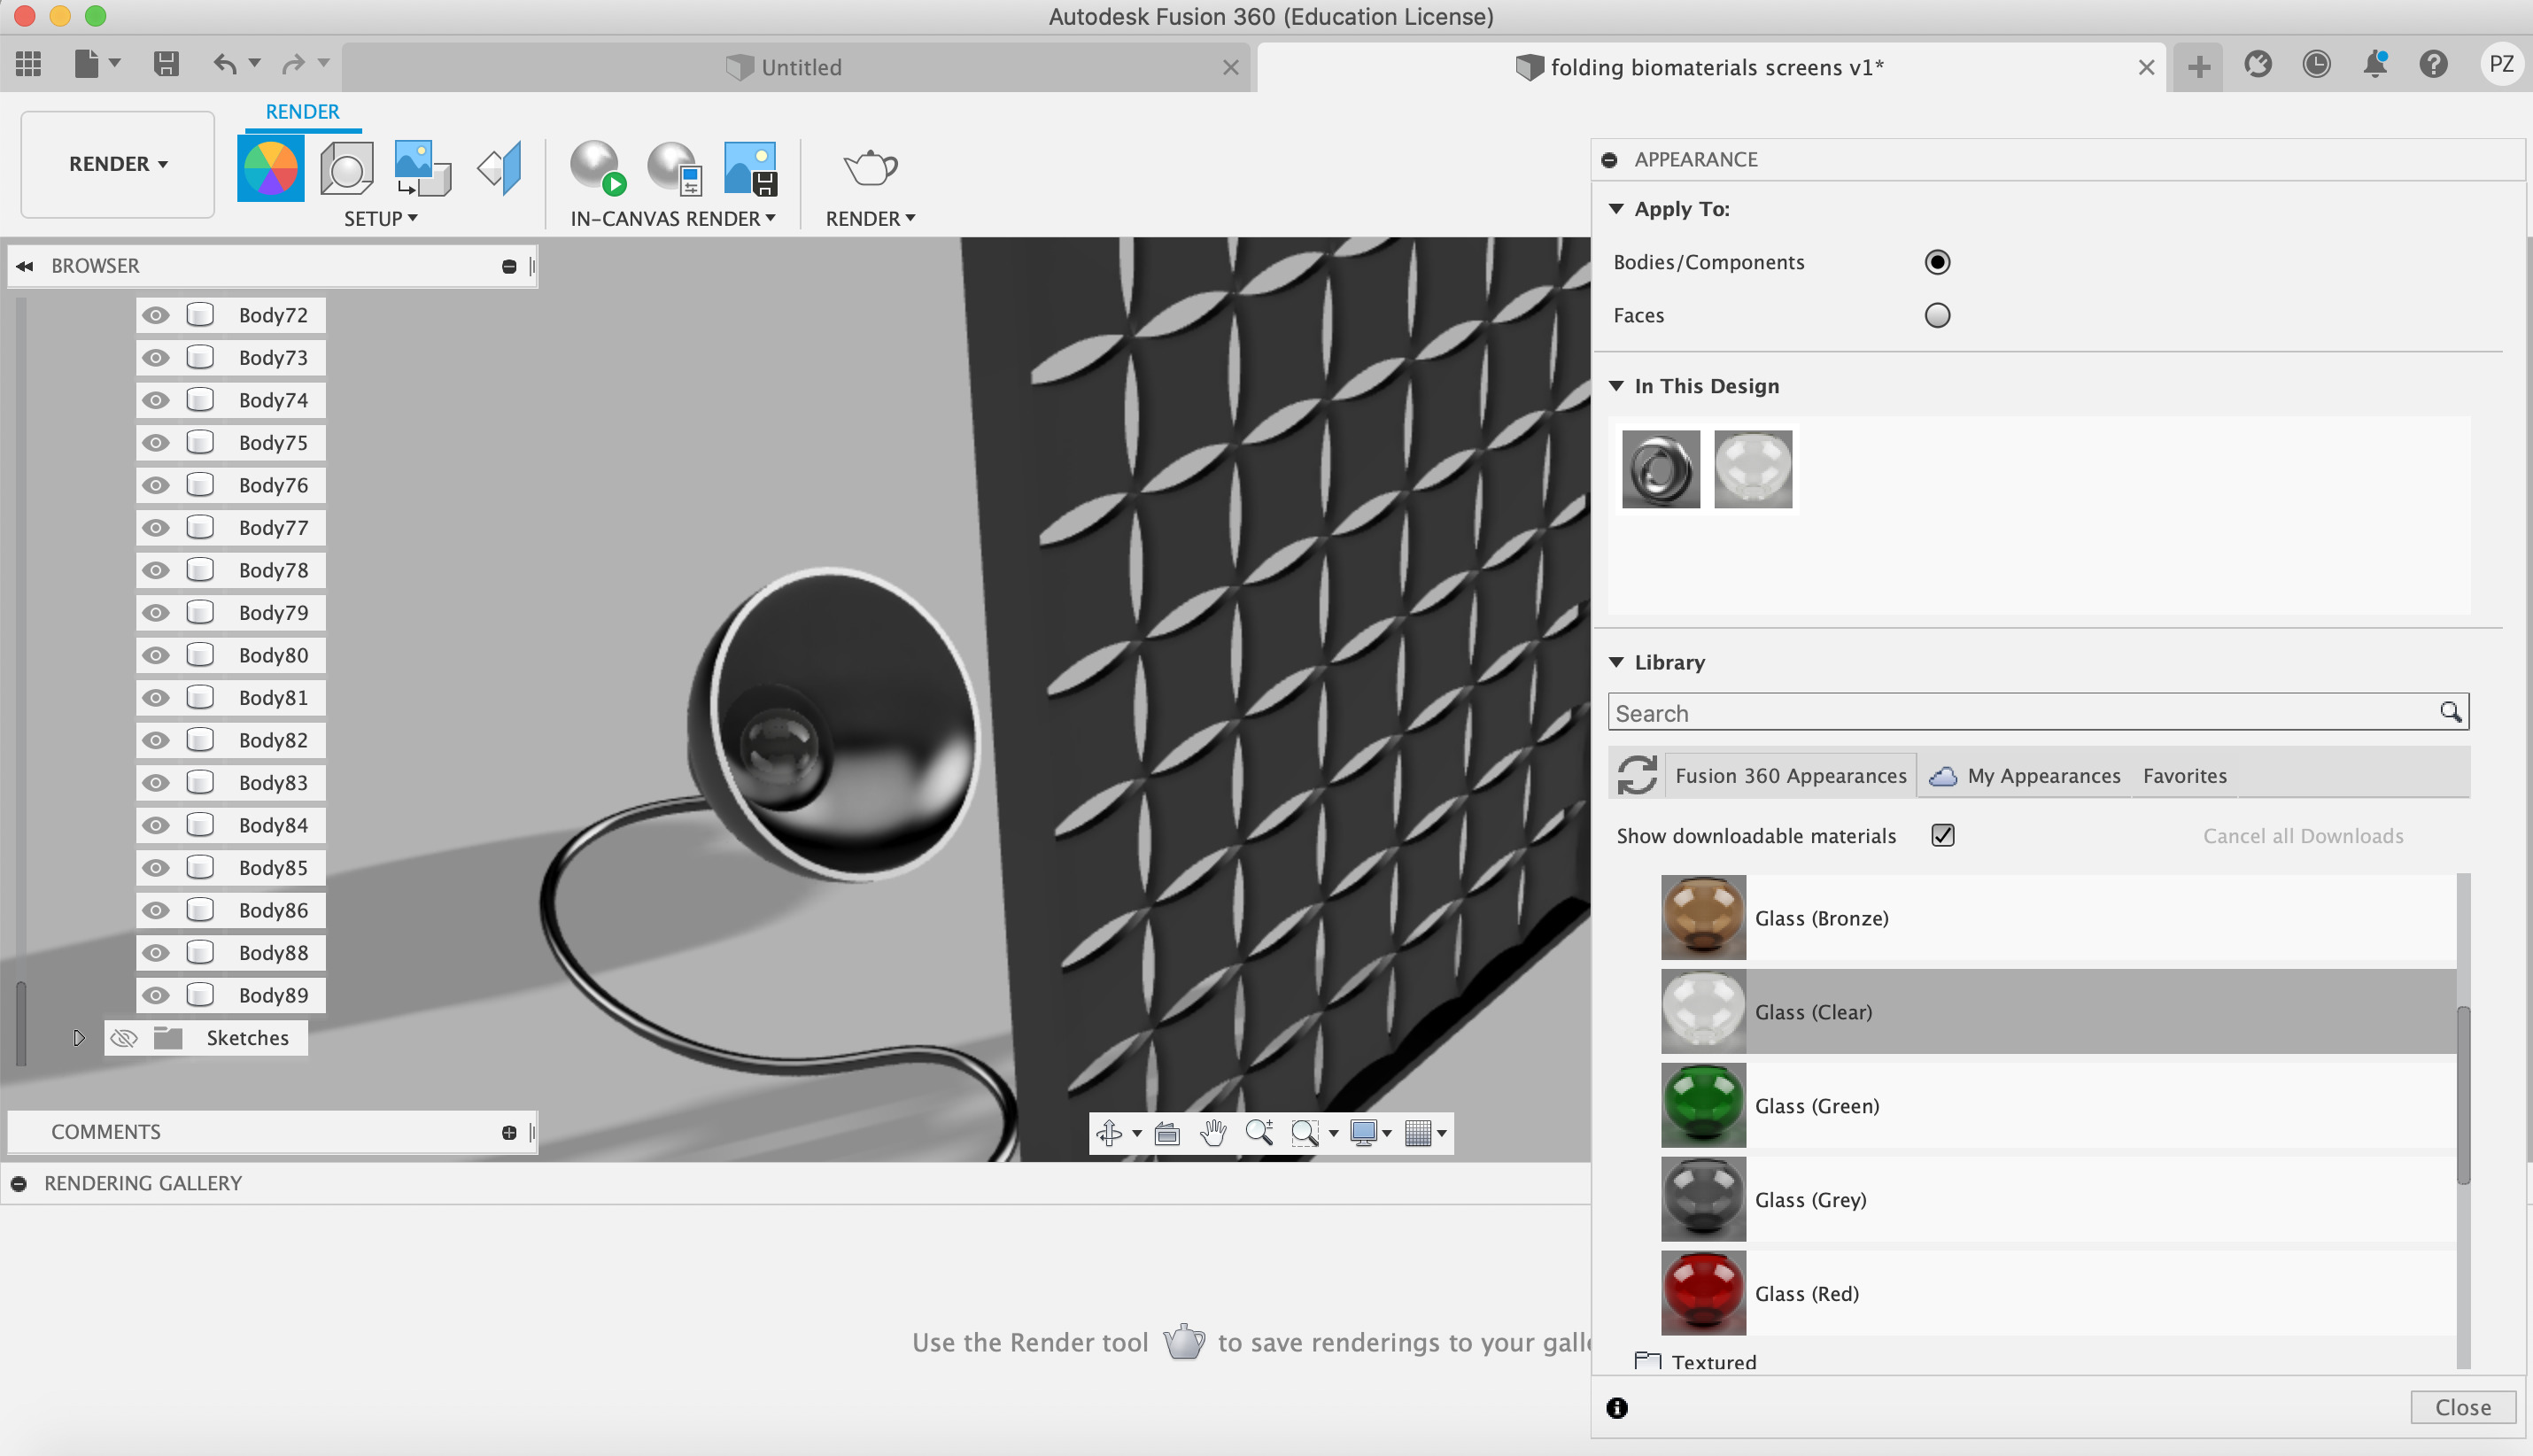
- Lamp: plastic
- Skeleton: wood
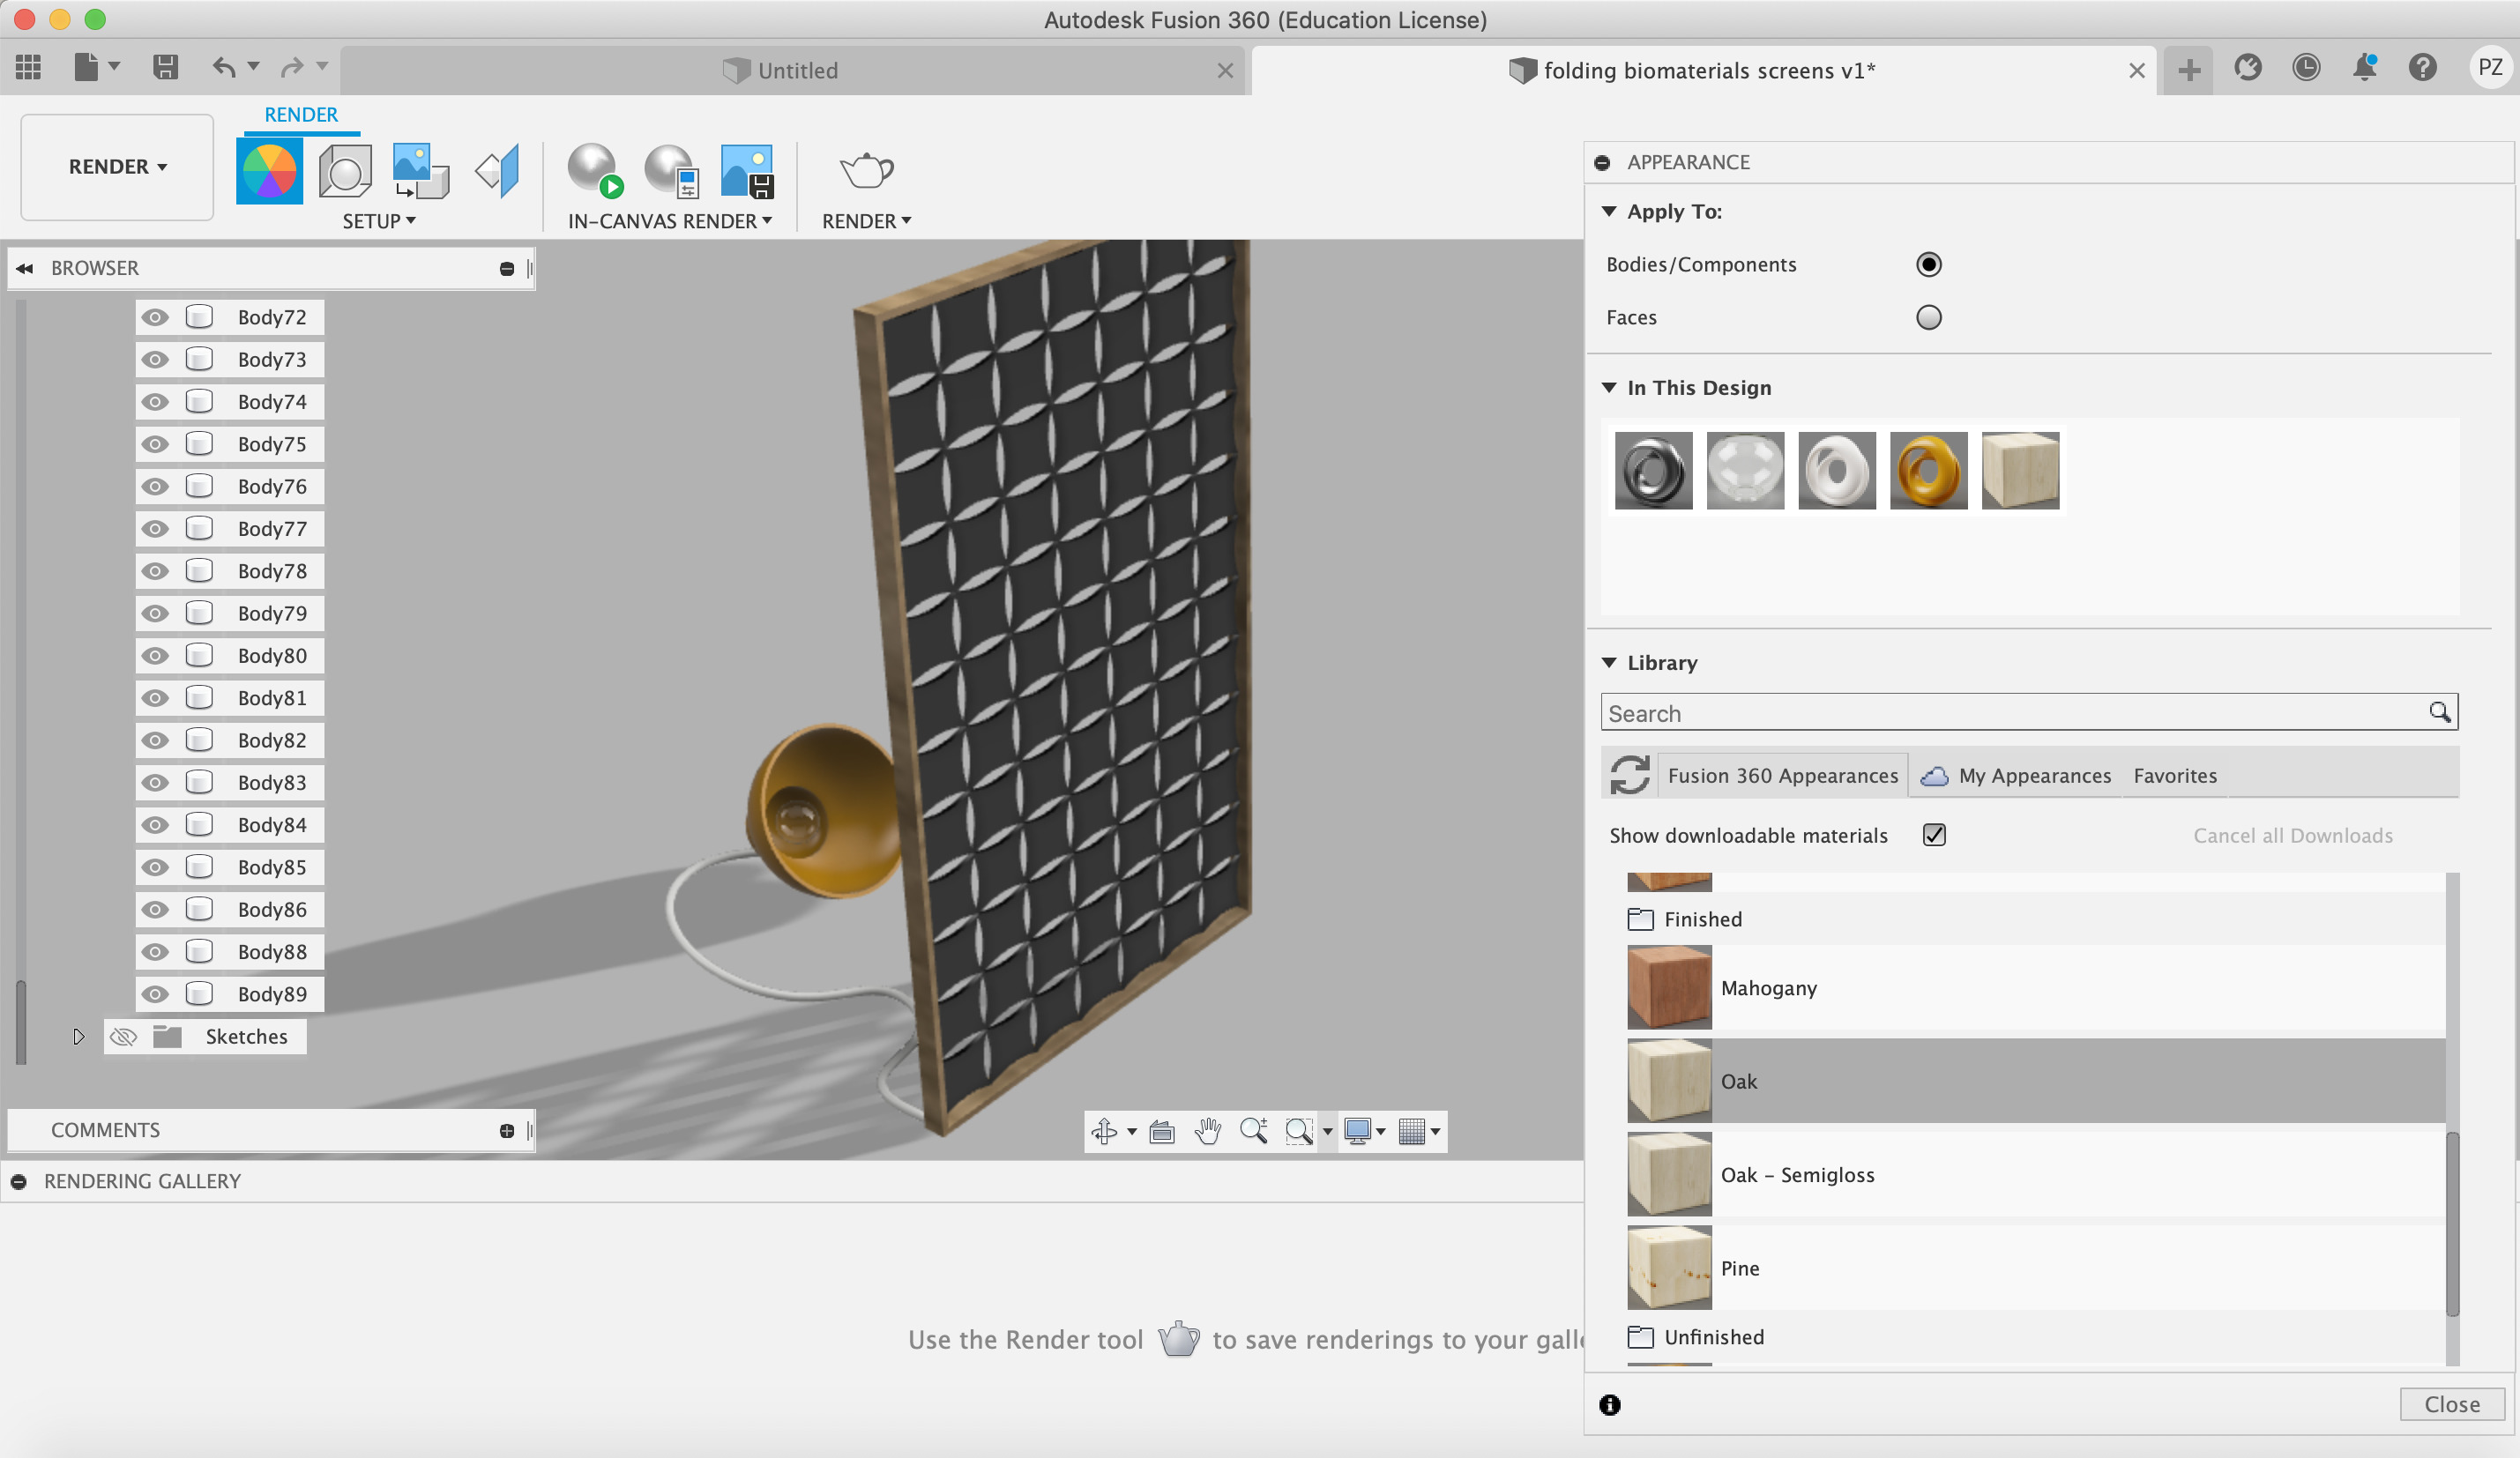
- Moduls: yellow “leather”. Here I played with different colors in order to give the impression of the biomaterials ones.
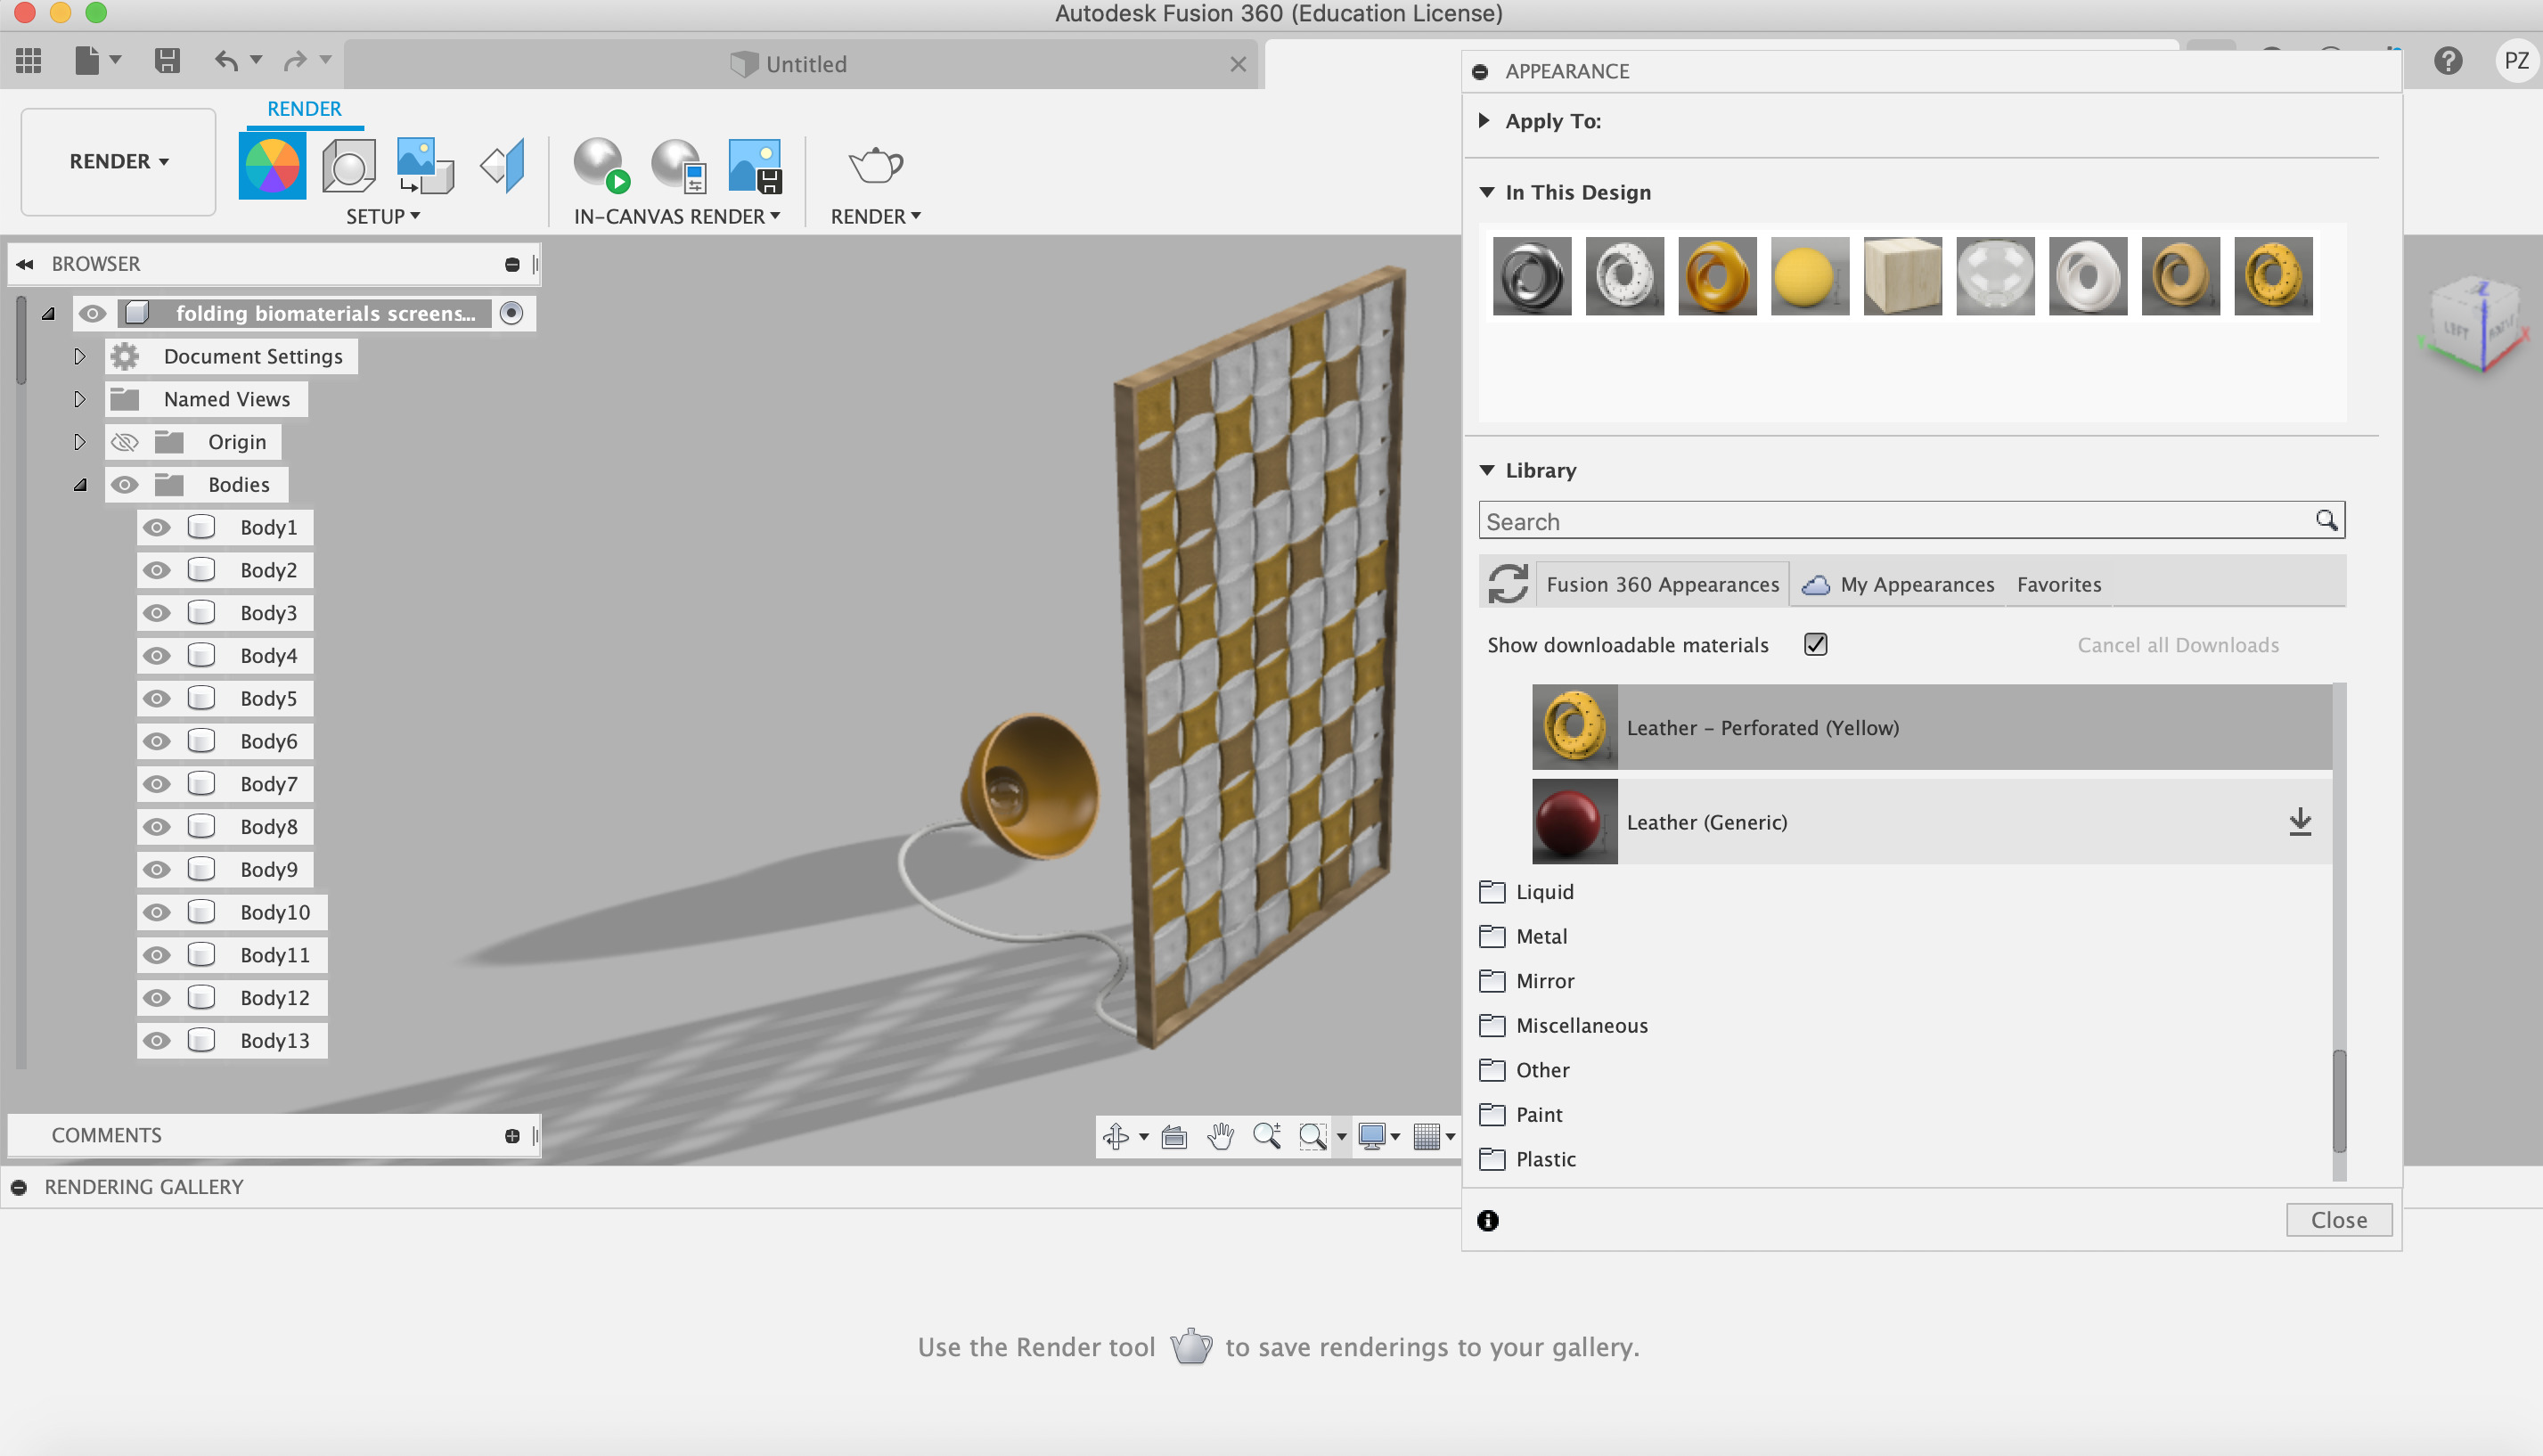
- Render of the Folding Screen with daily light

4. Compressing Images with the Terminal + ImageMagick
This week we were also asked to learn how to upload and compress our images.
I downloaded ImageMagick in my pc in order to be able to reduce the size of the images using the terminal and modify the kind of file (from .png to .jpg).
I installed it using brew:
brew install ImageMagick
In order to modify the kind of file, I used the following sentence:
convert name.png name.jpg
So it is needed to write the name of the pic you want to convert ending on .png, and then add the same name (or a changed name) ending on .jpg
Once this step is done, if you want to compress the size of the file, it is possible to use the following sentence:
convert name.jpg -scale 70% name.jpg
First, write the pic’s name, then add how much you want to reduce the size (in this case is 70%), and then the name of the compressed pic (it can be the same, so the original photo will be lost, or it can be used a new name to save both photos).
Final Project 🧘🏼✨🌸
@23/06/22
Attached are some pics of the 3D development made using Fusion 360 of my final project’s furniture.
3D Design Spirals of the Flower Stands …

3D Design Flower Pots
The development and 3D design of the Rocking Chair can be found in This Page.