3. Computer Aided design
assignment:
model (raster, vector, 2D, 3D, render, animate, simulate, …) a possible final project, compress your images and videos, and post a description with your design files on your class page
Experiment with software
As Neil showed us in class, we could use different software for the design of our possible final project. Some open source and some with a paid license, I have always used paid software, all of them only oriented to 2D design, I never worked with software that developed 3D modeling, so this will be my first experience and let’s see how it goes .
Inkscape
I have decided to use Inkscape, since I see an interface very similar to Corel, which is a program that I use a lot in my work to make some designs, I proceed to download the installation file from the official page of the program.
In my case, I must download the version for Windows X64 bits, which is the operating system I have. Once downloaded, all you have to do is install.


Once the program is installed, I try to familiarize myself with the work environment, but it is not as easy as I thought, resembling Corel does not imply that the use of the program is very similar, I tried to make some designs of my project, but it became complicated for me. I spent a lot of my time trying to get something like a planter, but it wasn’t easy.
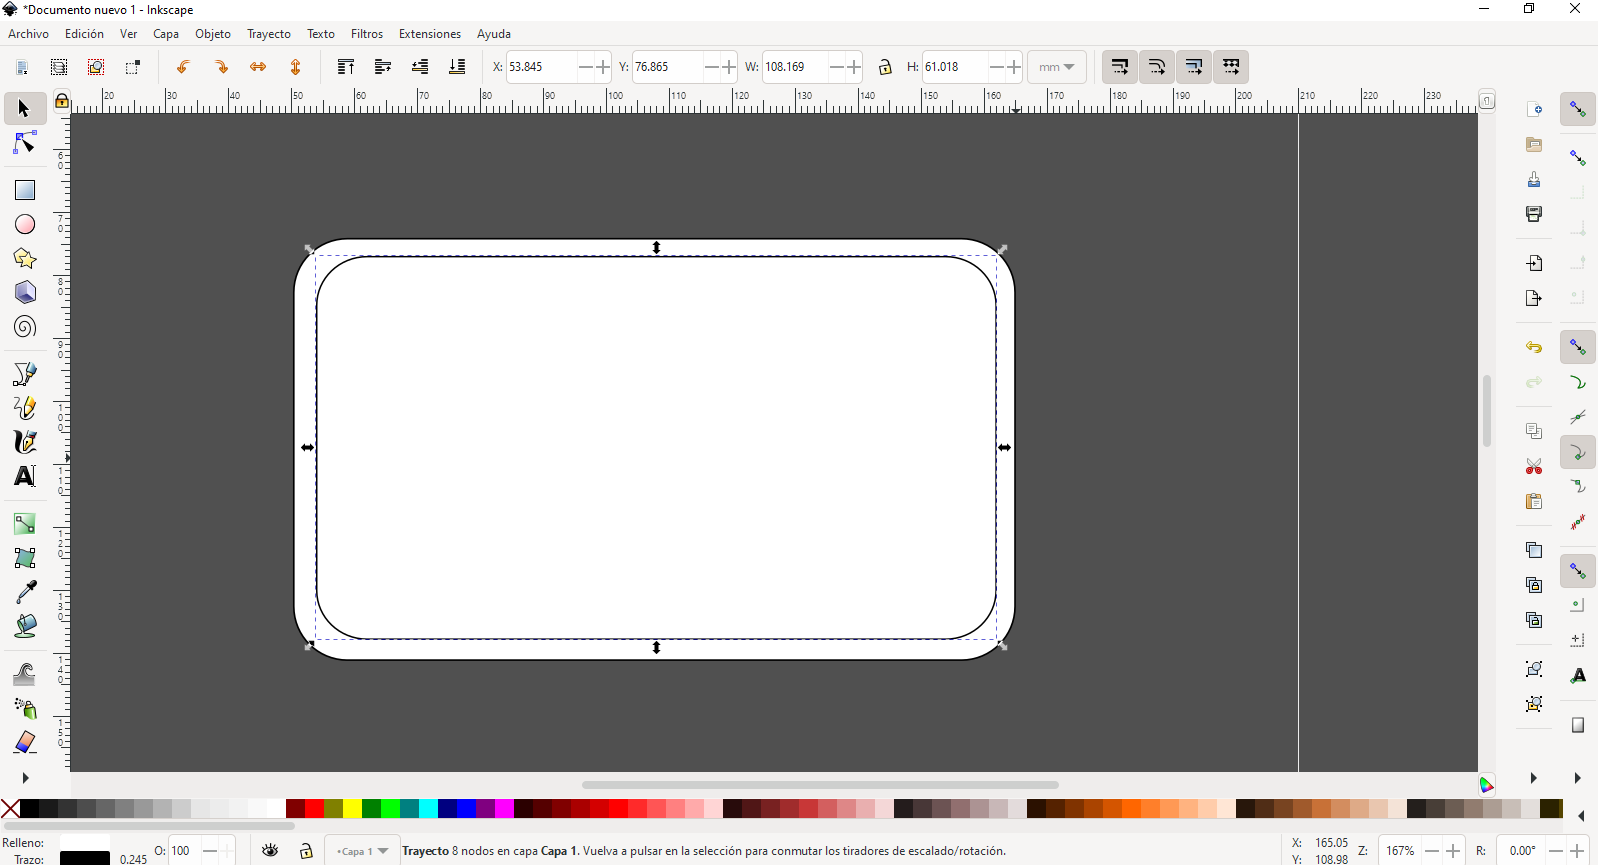
Some tools and their operation were familiar to me, but some were a bit strange and above all the keyboard commands I was used to working with did not work; I think that if I worked in Corel I would have obtained a better result, but getting out of my comfort zone helps me realize that there is still much to explore and learn from other software.
3D modeling.
Using Fusion 360 (Part Modeling)
Leaving 2D modeling aside, I start the modeling of my possible project, I choose Fusion 360 from Autodesk to work on, since my advisor tells me that it is one of the most complete programs and that it would be interesting to learn how to use it. Fusion 360 is a paid software, so I had to obtain an educational license, I registered on the official Autodesk website and present the necessary requirements to obtain an educational license, which was granted to me on the same day and for a period of one year.

Fusion 360 interface is totally new to me, as I mentioned I had never worked with 3D software, but there is always a first time, so I decided to start my journey through tutorials found on the internet, I managed to understand the basic concepts and start the adventure of designing my project.
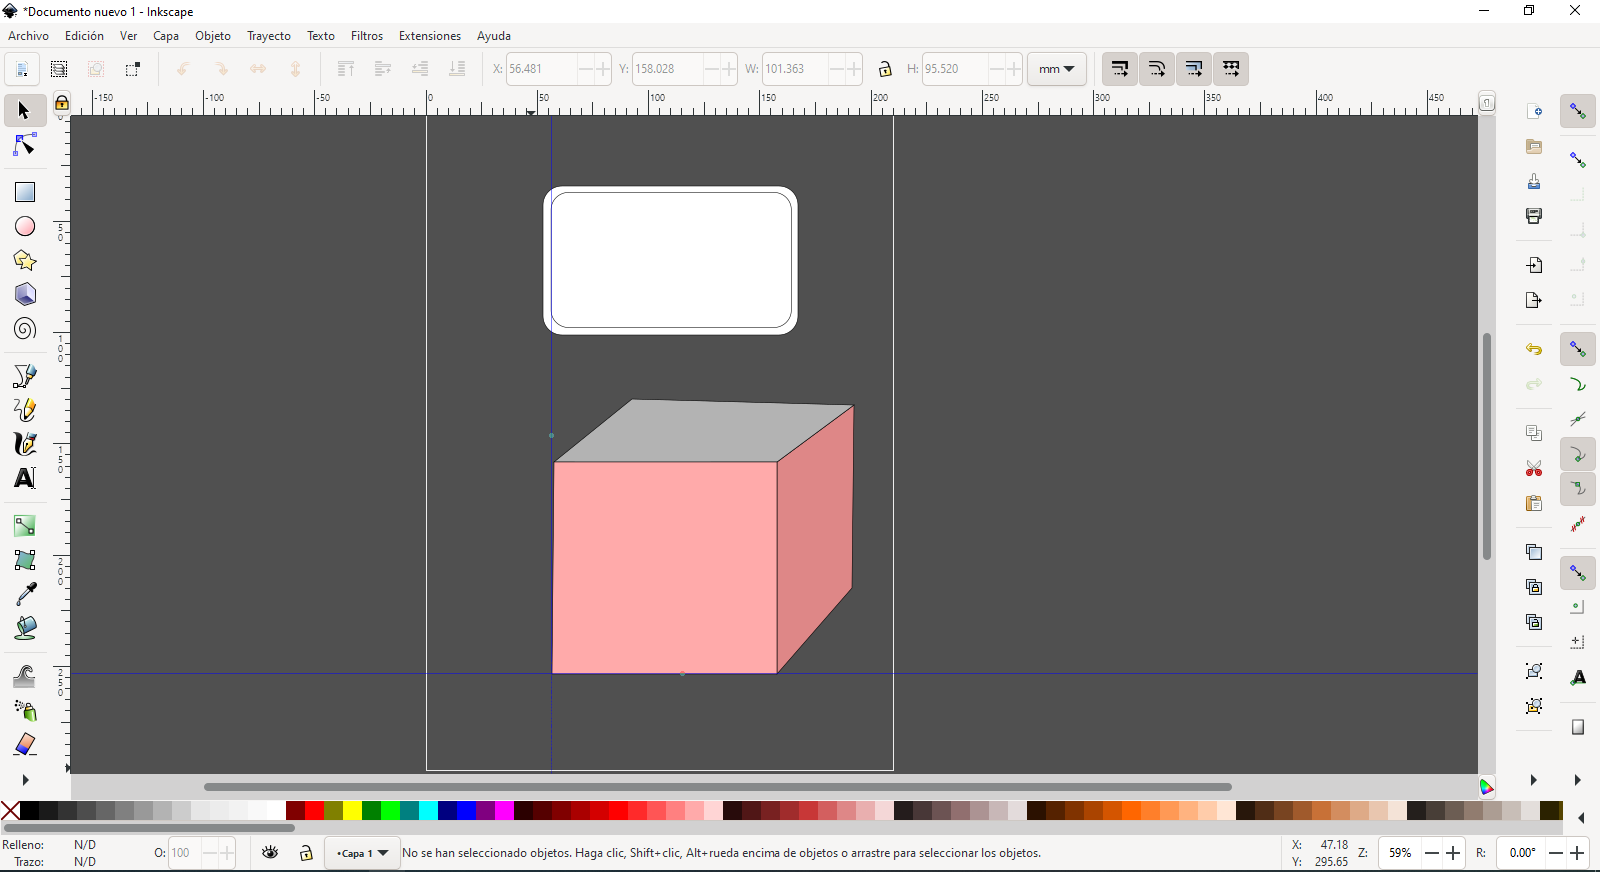
We start a new project and the first thing I will do is order myself and determine the number of pieces I will need to put together my project and for each piece I will create a new component in the program. As my planter needs to be square, I start a first sketch and insert a square.
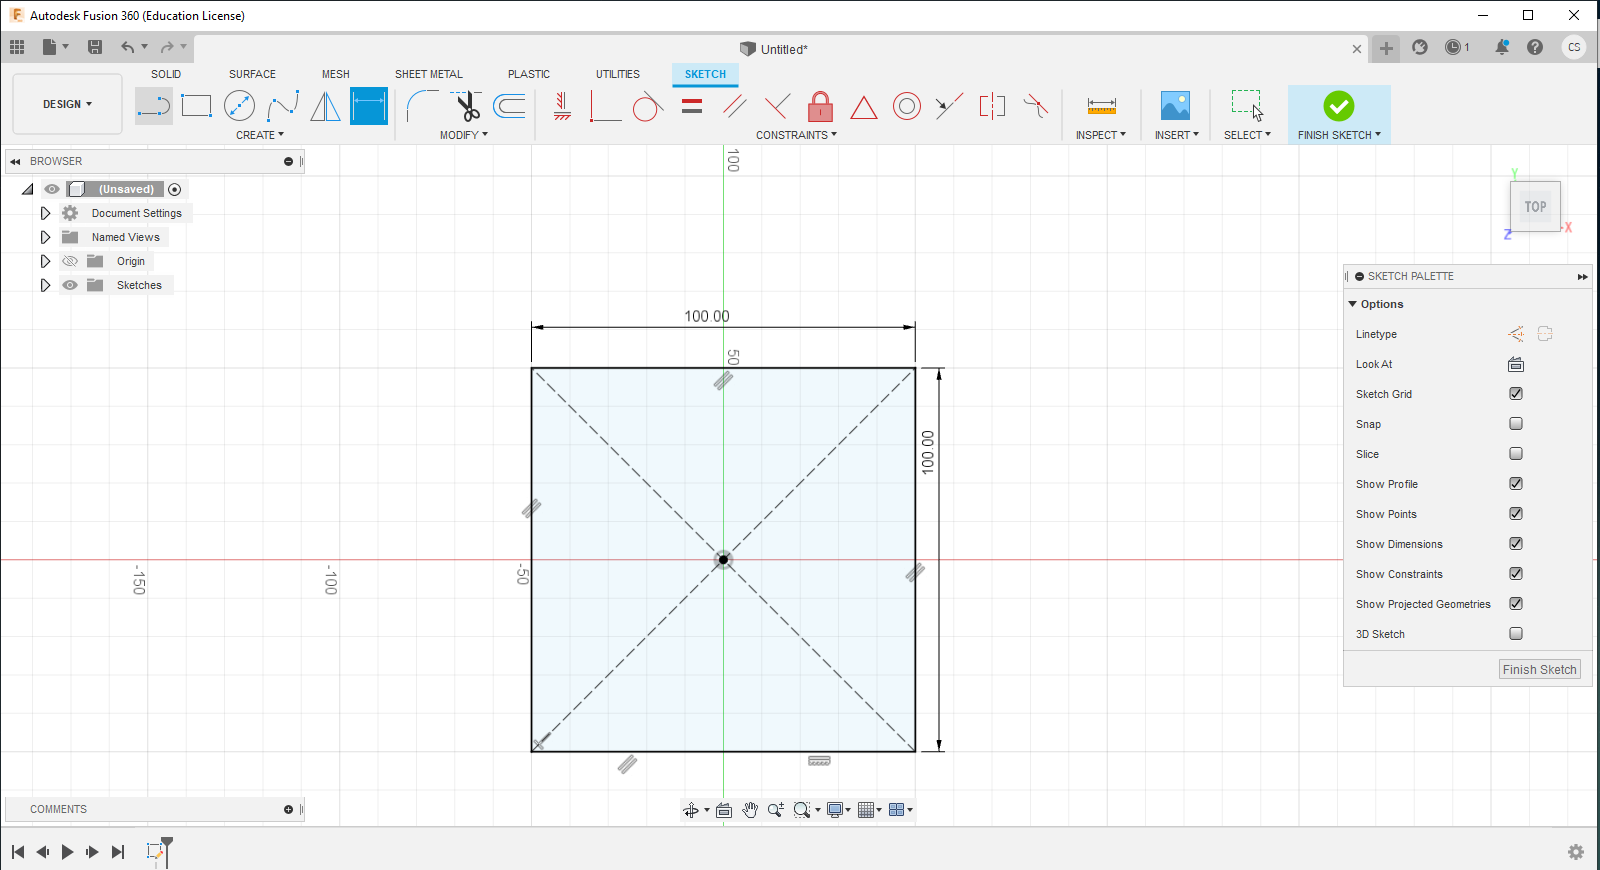
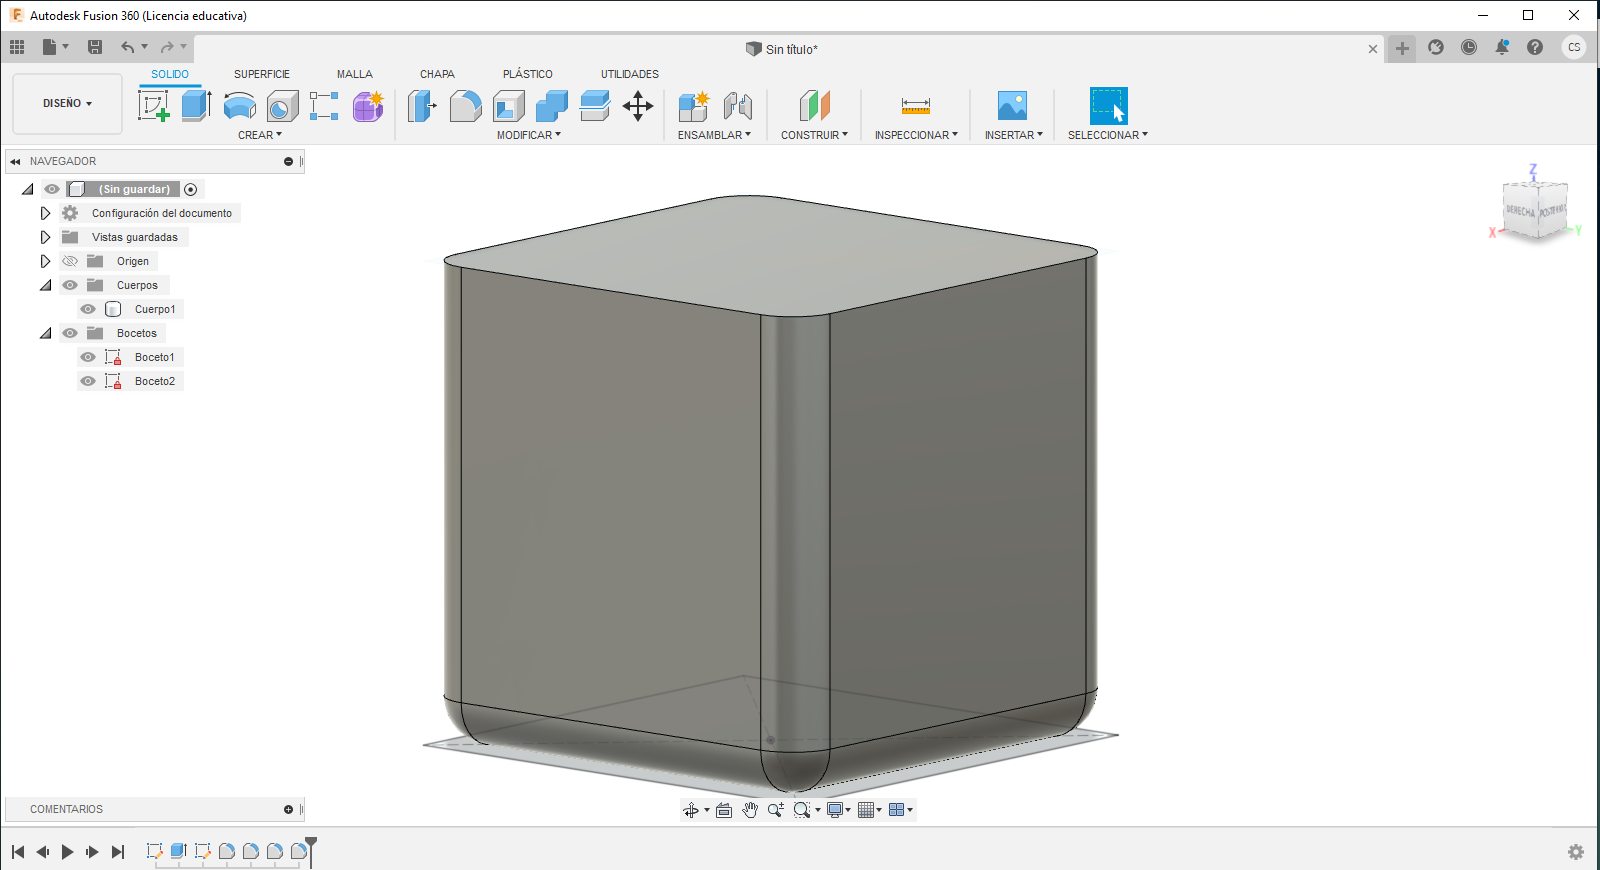
Once the drawing is done, we finish the sketch and we will use the extrude tool to generate a cube.

With the cube created, we will proceed to eliminate the edges and give it a more aesthetic appearance.
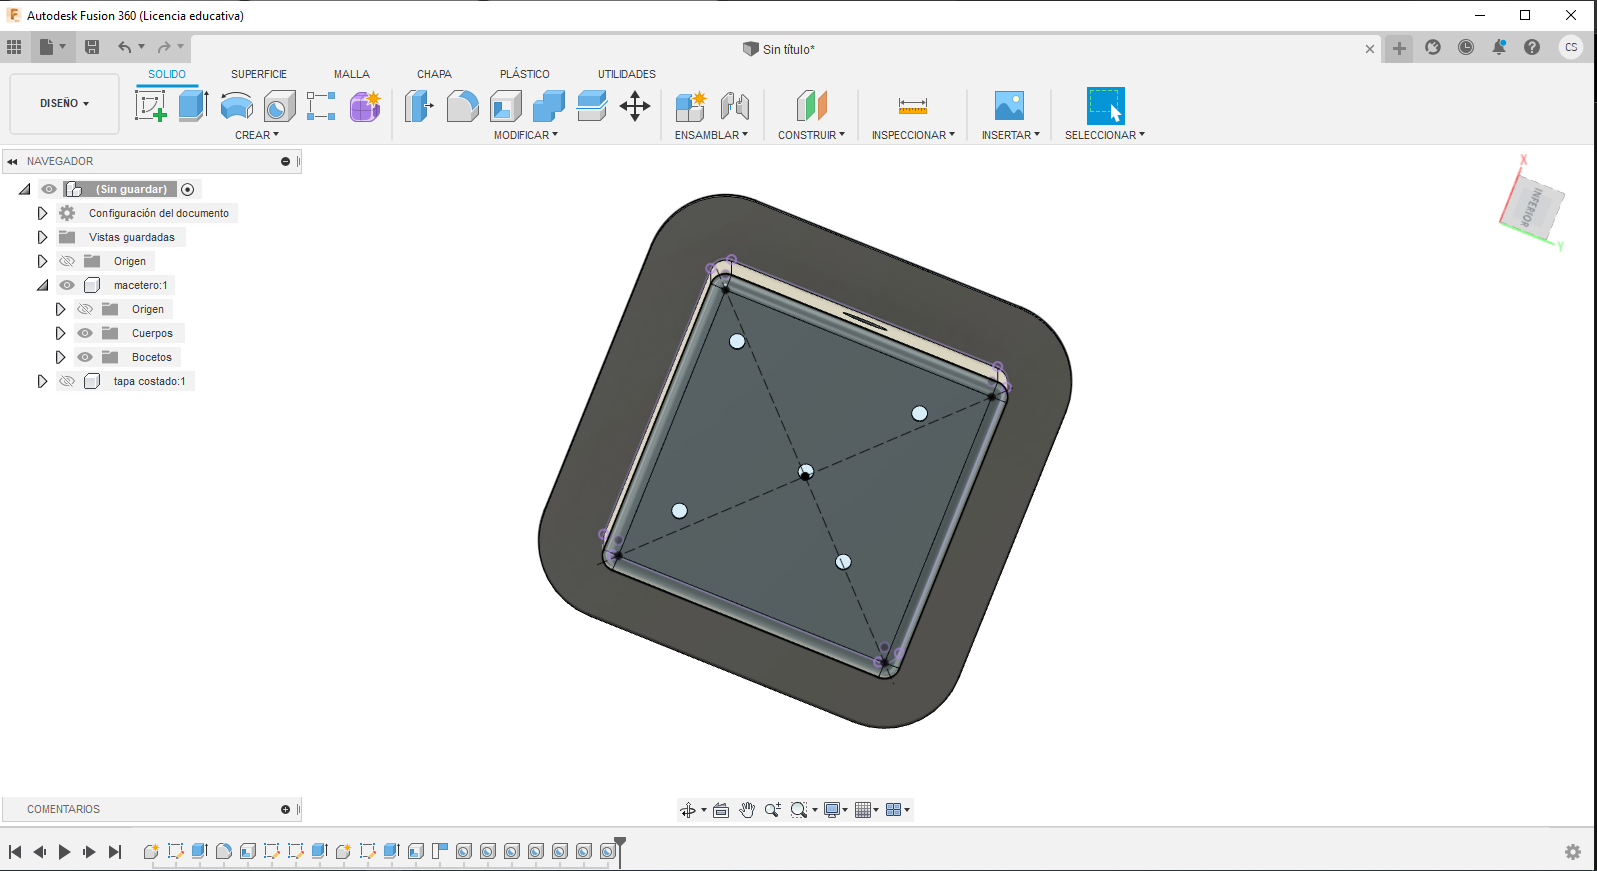
Now it is time to create the background of our project and for that we will use the hollowed out tool leaving a thickness of 5.5 mm on the sides.

Ready, we got one of the results we expected, I must confess that it was not easy and it took me time to get this result because I made several mistakes in development and had to start over from scratch. We continue modeling and it is time to create the borders of our planter, place a border on the top of 20 mm out and 10 mm down.

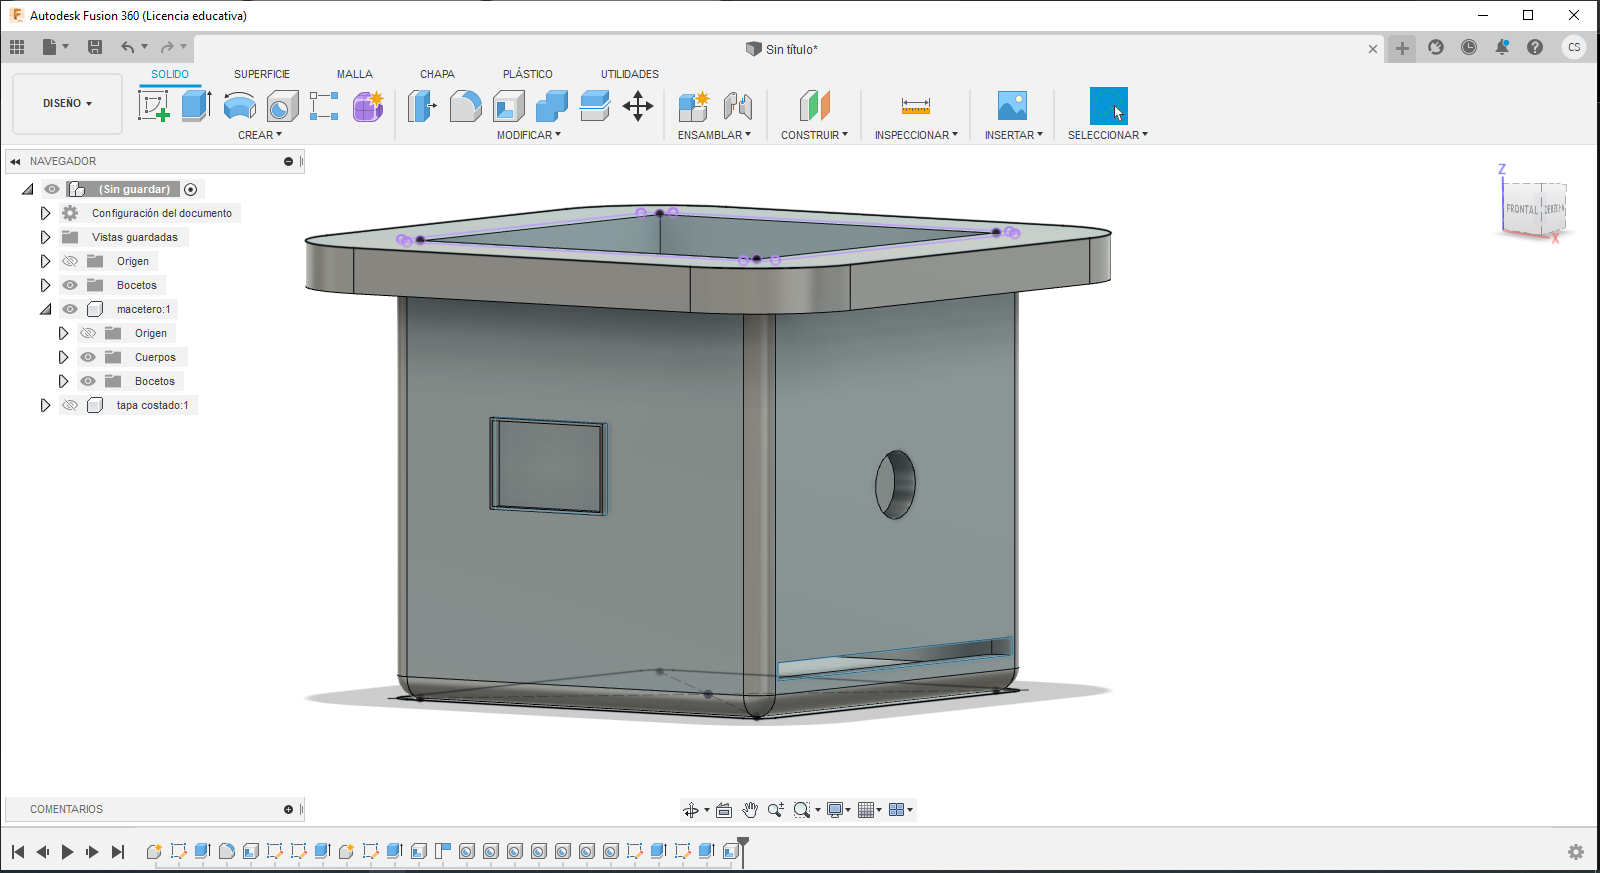
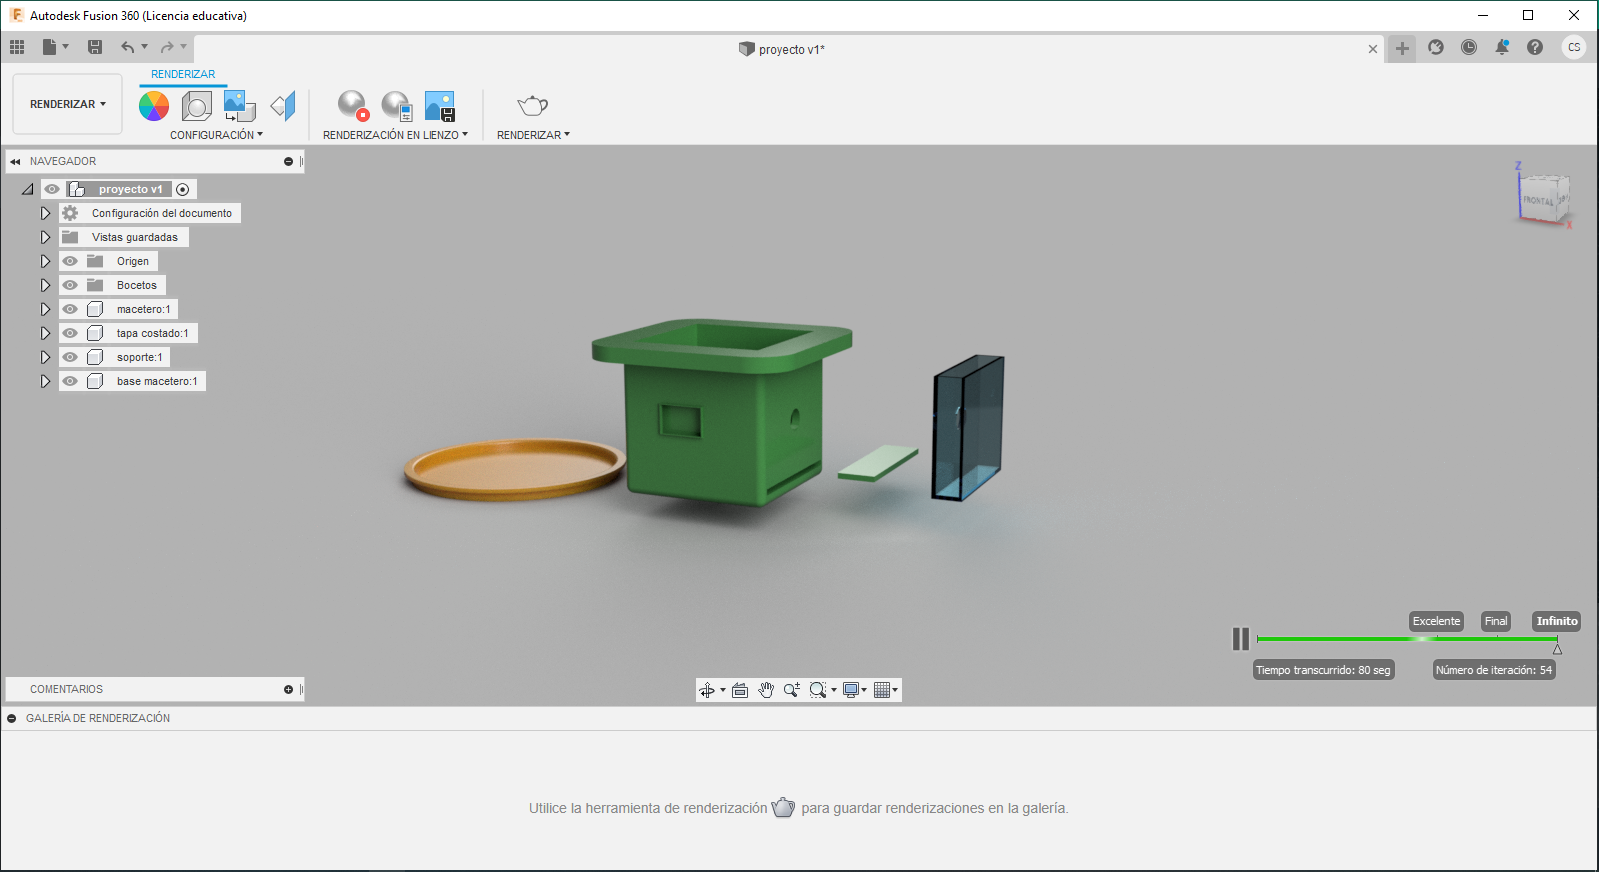
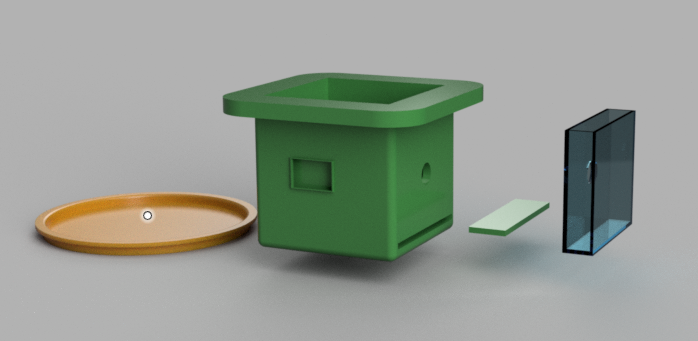
Our flowerpot must have some holes for the irrigation drainage, so I decided to put 5 holes in the base and the result was the following.
Our pot will also have an OLED screen to show a warning to the person when they need watering, as well as require a space to place the humidity sensor, which according to what I saw on the internet is like a kind of antenna, so perform the simulation by adding a slot in the front of the pot. And a hole on the side where the other piece will be attached where the programmable card will be. The idea is not very clear even at this part, but the result is similar to this.
Time to design the other pieces: - piece where the programmable card will go and it will be transparent - the base to place the programmable card - the base to collect the water from the pot drain After many attempts, failures and headaches I was able to design my ideas, I still want to improve some aspects of the design and I will do it later, the idea is to make it as presentable as possible. After making the designs I was able to obtain the following:

Once the designs are finished, it is only time to render, and see the final result, for the planter, support and base I use green plastic and for the part of the programmable card I use transparent so that you can see the work I do putting together my own card.
Conclusions:
Fusion 360 provides multiple work options which allows us to carry out all the design steps from the same program, in addition to saving the projects in the cloud and so wherever you go to work you just link your account to the program and you will be able to find your projects ready for keep working or teach someone else. Carrying out this activity has not been easy at all since not having the previous knowledge makes it more difficult to advance and do the designs well the first time. It has been several days of study, review of tutorials, errors and successes. But happy with the result obtained so far.