2. Project management
Assignments:
- Work through a git tutorial.
- Create a personal site in the class file that describes me and my final project.
Create a personal site
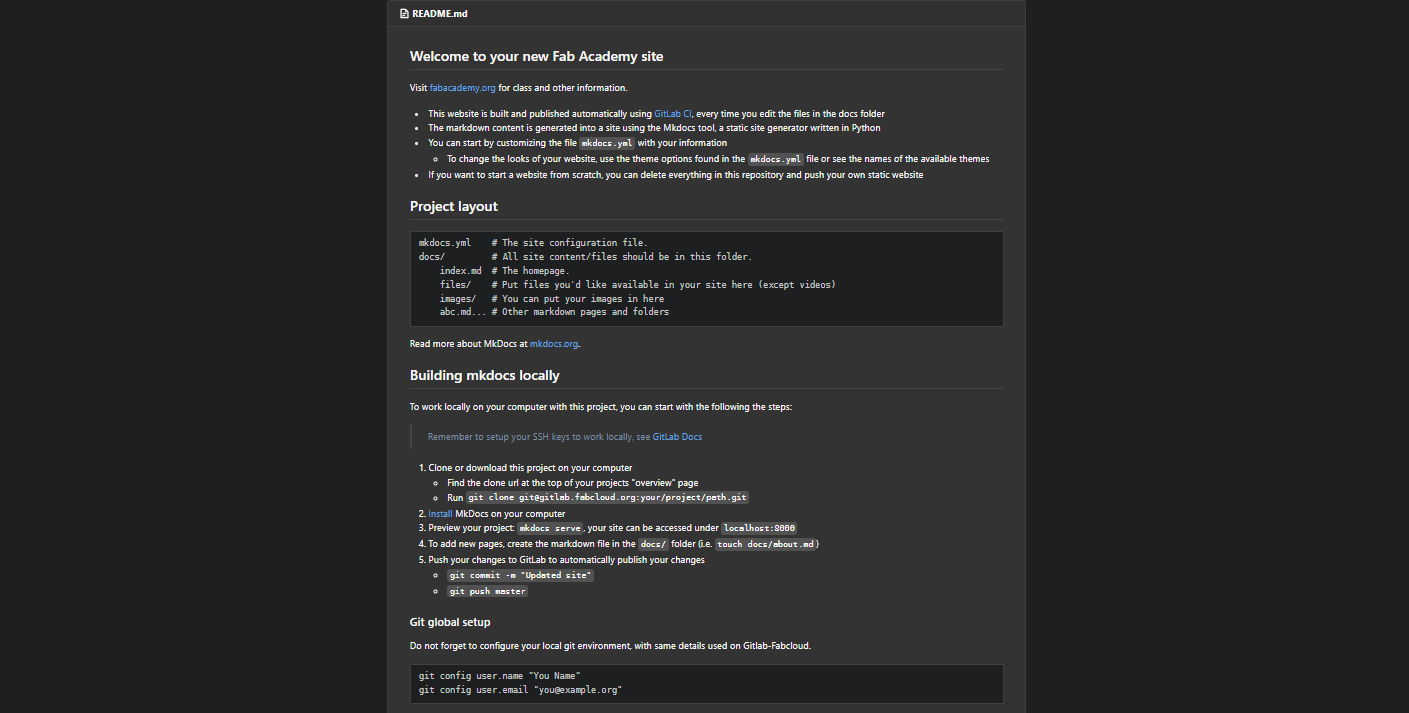
To start, they gave us a website already created based on a template which uses MkDocs, this website was hosted on GitLab. In the time I’ve been working, I’ve never heard of these tools and I’m not very good at codes, so I’ll have to look for documentation and study to develop the assignment.
Starting my personal site
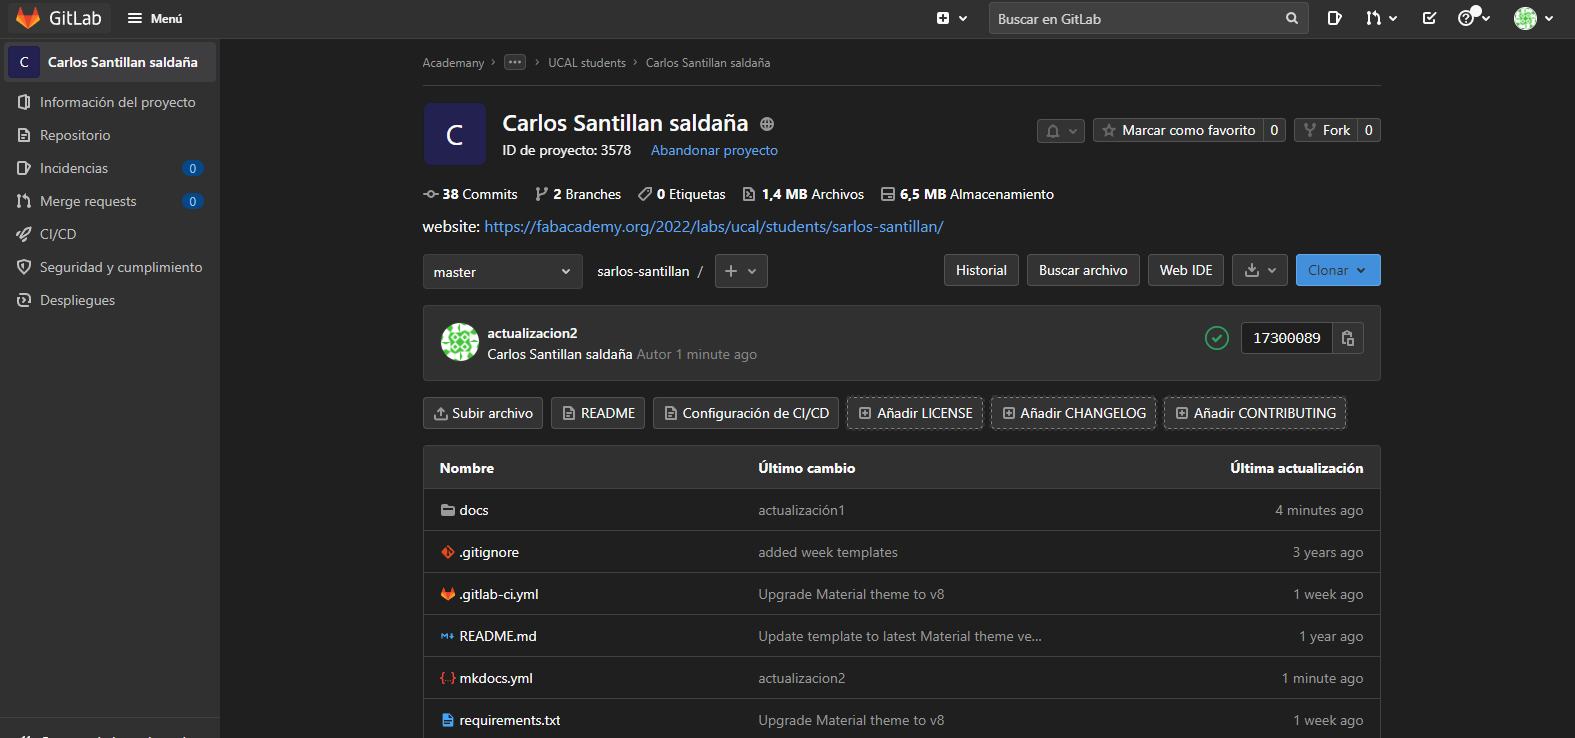
To start and as I mentioned, we were granted access to our GitLab account in which I already found a personal site created, so there was no need to start from scratch. I start by orienting myself from the indications that are shown in my GitLab profile to know the steps that I must follow.
After reviewing the work environment, I see that I can make the changes I want to the personal site from the GitLab website itself, but for fear of damaging the repository, I decide to work locally on my computer, to obtain a faster visualization. of the changes you make and when everything is correct, upload the changes to the repository using Git Bash .
Installing Git
We went to the official Git page to download the installation file for the Windows operating system, which is the one I use.

Once the installation file is downloaded, I proceed to install the program on my computer.

Installing MkDocs on my computer
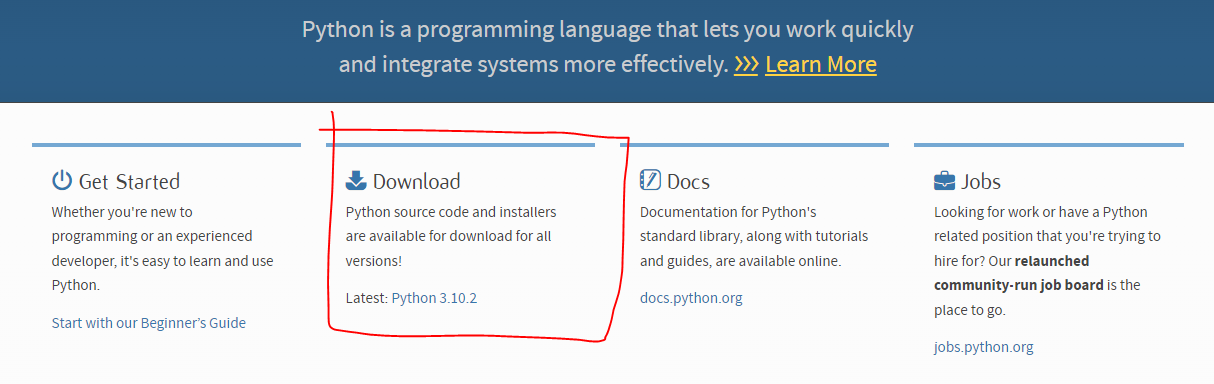
To install MkDocs on my computer I go to its official website and look for the installation process, I notice that MkDocs requires a recent version of Python and the Python package manager, pip, so I first download Python from its official website and install it. I install.
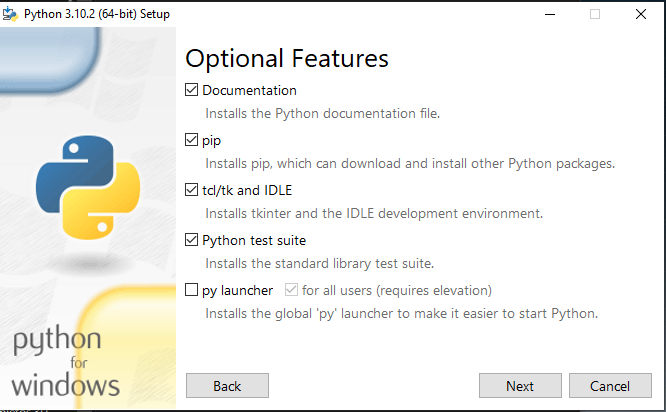
After installing Python I proceed to the installation of MKDocs using the command line
• pip install mkdocs

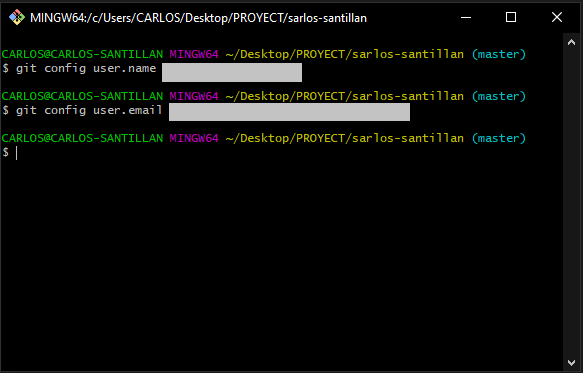
Configuración global de Git
In order to upload the changes made to my personal environment to the Git repository I need to configure my local Git environment, using my username and email registered in GitLab-FabCloud, I use my console and proceed to place the lines of code:
•   git config user.name "You Name"
•   git config user.email you@example.org
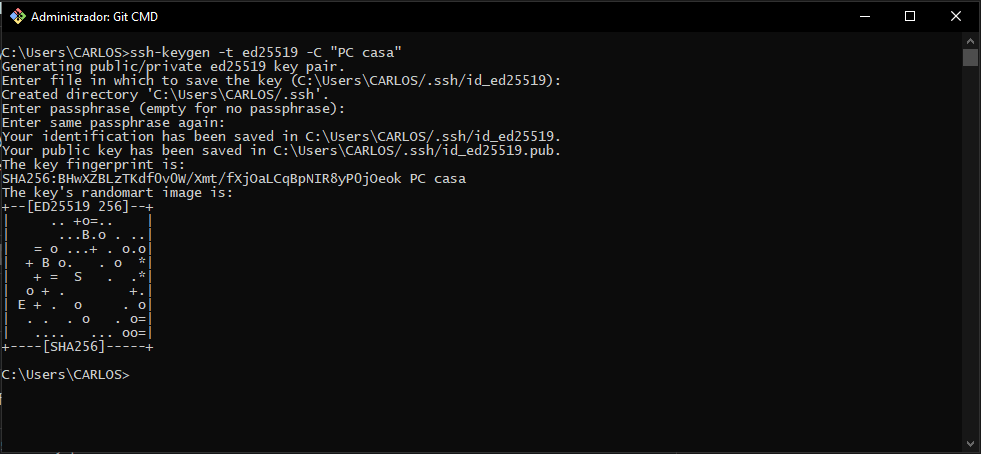
Setting up my SSH keys
To be able to upload my changes on my personal site, it is also necessary to generate my SSH keys, so that the computer at work can locally upload the changes.
Remember that a key is generated for each computer you use since it is keyed it is stored in your user folder.
The steps I followed to generate the keys are the following (from their own web page)
- Open a terminal.
- Type ssh-keygen -t followed by the key type and an optional comment. This comment is included in the .pub file that’s created. You may want to use an email address for the comment.
For example, for ED25519:
ssh-keygen -t ed25519 -C "<comment>"
For 2048-bit RSA:
ssh-keygen -t rsa -b 2048 -C "<comment>"
- Press Enter. Output similar to the following is displayed:
Generating public/private ed25519 key pair.
Enter file in which to save the key (/home/user/.ssh/id_ed25519):
- Accept the suggested filename and directory, unless you are generating a deploy key or want to save in a specific directory where you store other keys.
You can also dedicate the SSH key pair to a specific host.
- Specify a passphrase:
Enter passphrase (empty for no passphrase):
Enter same passphrase again:
- A confirmation is displayed, including information about where your files are stored.
A public and private key are generated. Add the public SSH key to your GitLab account and keep the private key secure.

Cloning my personal site to my local working folder
To clone my personal site I choose the clone with SSH option.

I launch my Git Bash Console Here from my computer’s local folder and write the following code git clone
git@gitlab.fabcloud.org:your/project/path.git

Ready! I already have my local work environment ready to be able to make the changes on my personal site and after reviewing it, upload it to my GitLab repository.
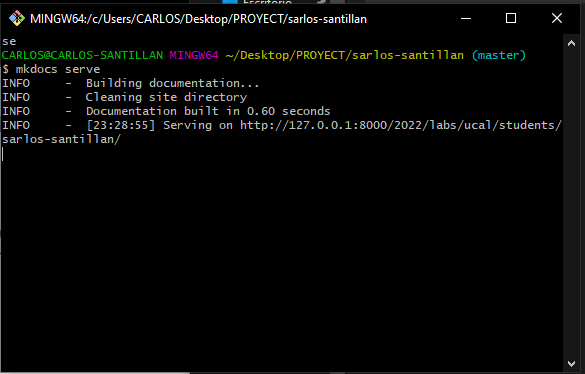
Running my MkDocs server and checking my page on my local server after its modifications.

Push my changes to my repository
Once I have reviewed the changes I make on my personal site through my local server, I proceed to upload my changes to my GitLab-FabCloud repository. The main commands I use to carry out this process are the following:
- Git status (shows the list of files that have been changed, along with files that will be staged and committed.)
- Git add . (add files to staging area)
- Git commit -m “comment” (creates a change to be saved to the git directory)
- Git push origin master (push commits to the master/master branch of the remote repository)
