3 - Computer-controlled cutting
I learned to work with a laser cutter and vinyl cutter in the Fab Fab León
Summary
This week I have visited the Fab Lab León for the first time, and I have worked with cutting machines; laser cutters and vinyl cutters, and I’ve learned how to design for 2D cutting.
Assigments
- Characterize your lasercutter’s focus, power, speed, rate, kerf, joint clearance and types
- Cut something on the vinylcutter
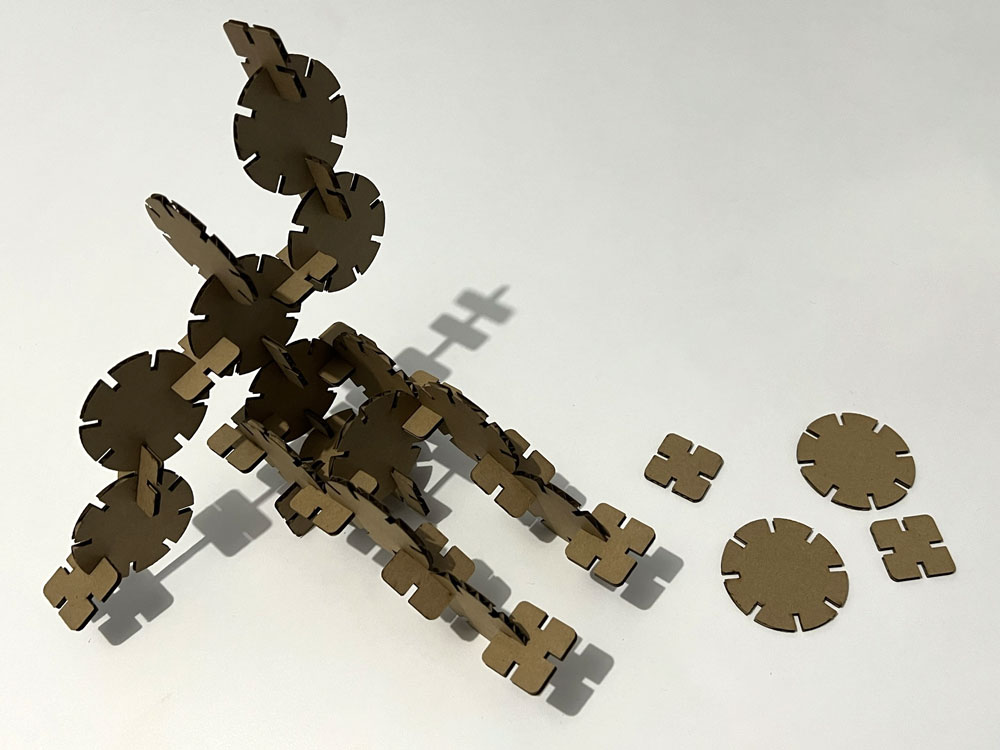
- design, lasercut, and document a parametric construction kit, accounting for the lasercutter kerf, which can be assembled in multiple ways, and for extra credit include elements that aren’t flat
Travel to Fab Lab León
On Wednesday I started getting up early, to go to León by train: a trip of almost 6 hours. We left Vigo at 7:42 am and arrived after 1:20 pm.
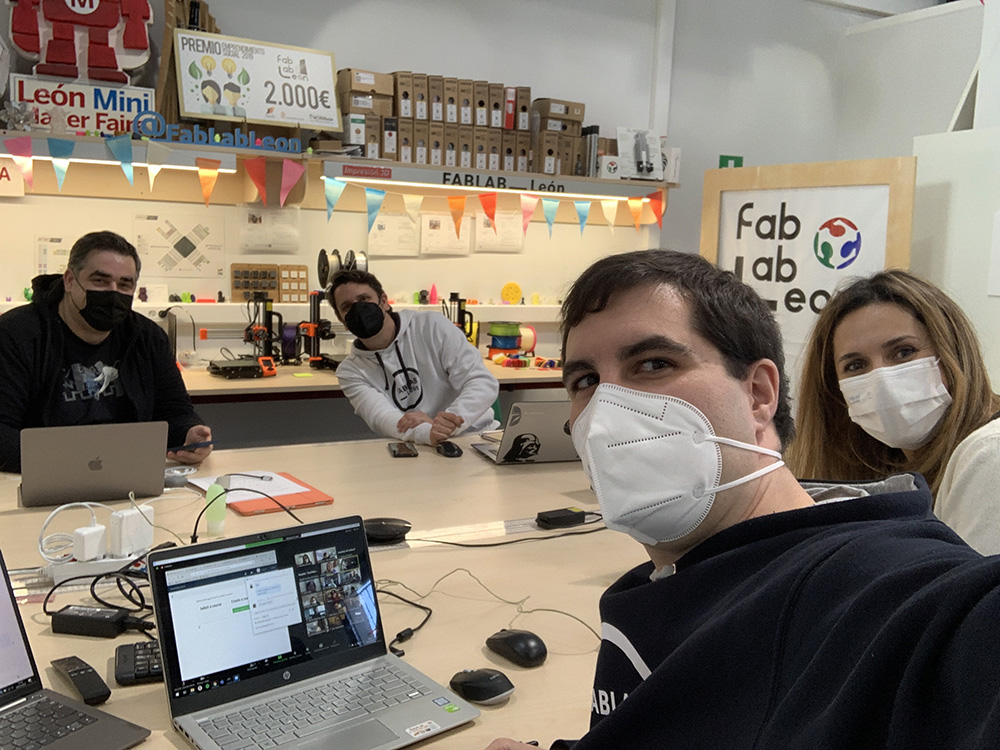
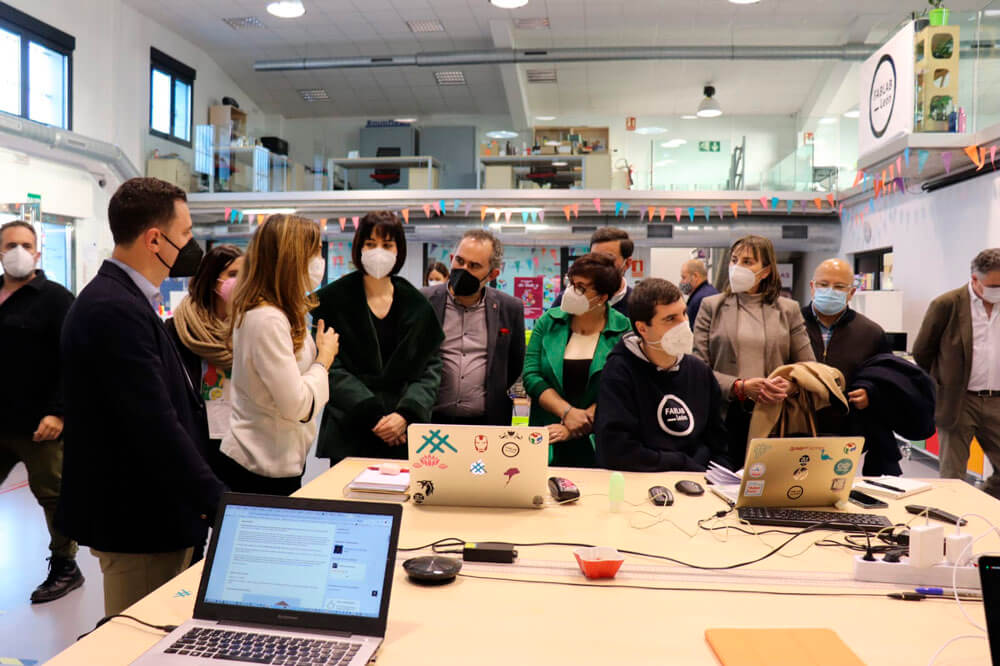
At 2pm I arrived at the Fab Lab León and met my instructors and friends Nuria, Pablo and Adrian. They showed me the Fab Lab and at 3pm We started the review with Neil.
During the class, the Minister of Science and Innovation, Diana Morant, visited the Fab Lab and she became interested in the Fab Academy.
Laser cutter
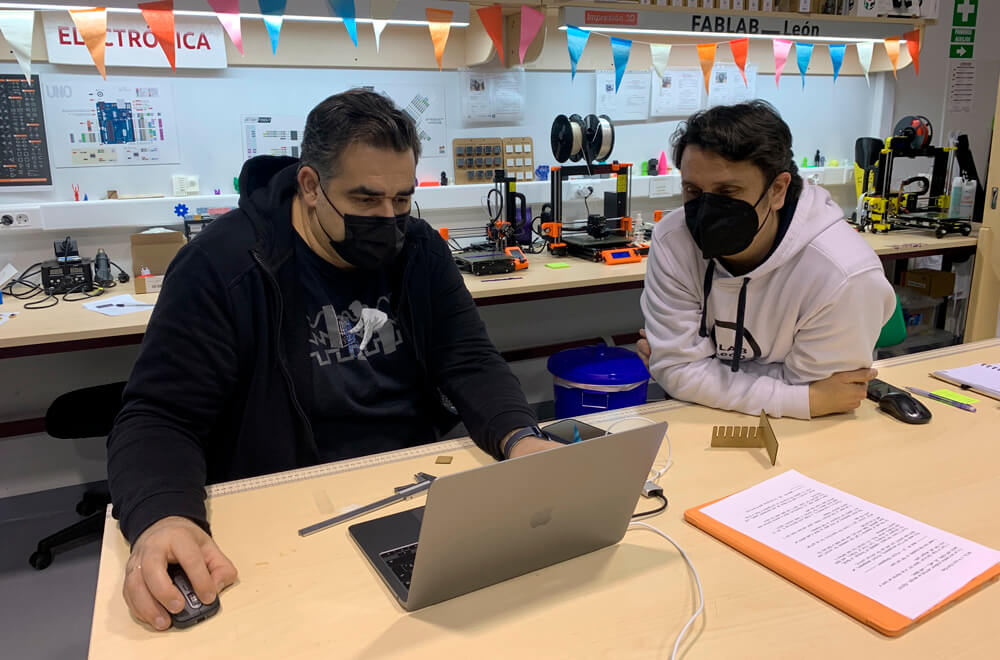
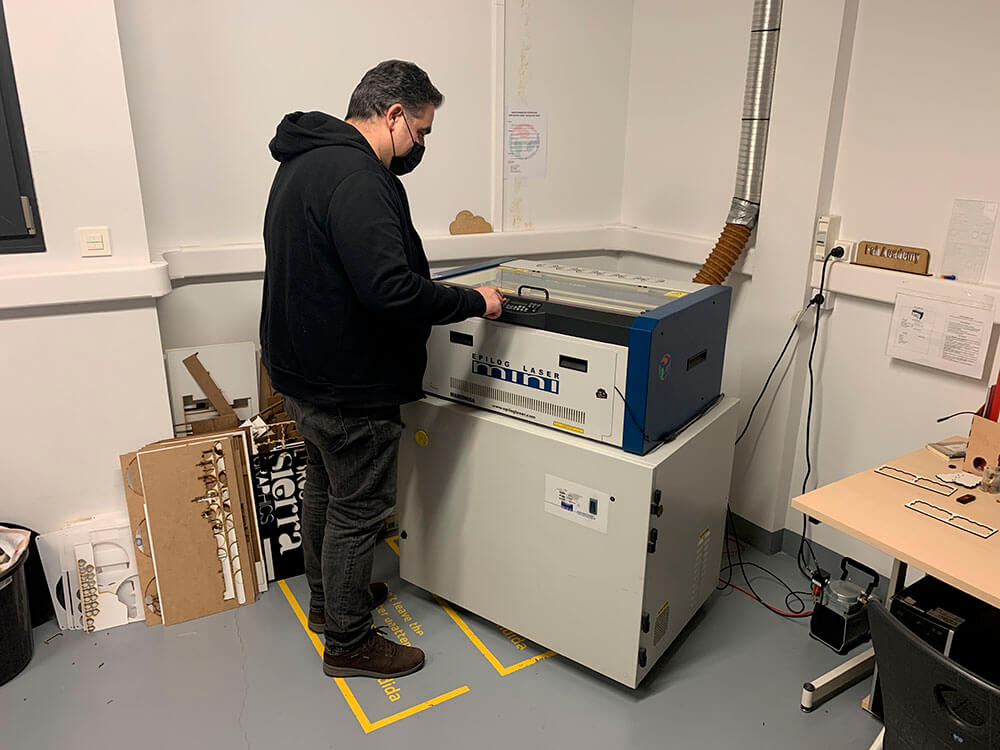
After the class, my instructor Pablo began to explain to me the basics of laser cutting.
The laser cutter model they have at Fab Lab León is the Epilog Mini 40 W. The maximum working area is 610x305mm. Supports DXF, PDF, AI, SVG files that are sent to the machine from Rhino.
Pablo explained to me the security measures that must be taken with the machine, since working responsibly it is a very safe machine, but we must always be very attentive while it is working, and take all the necessary security measures.
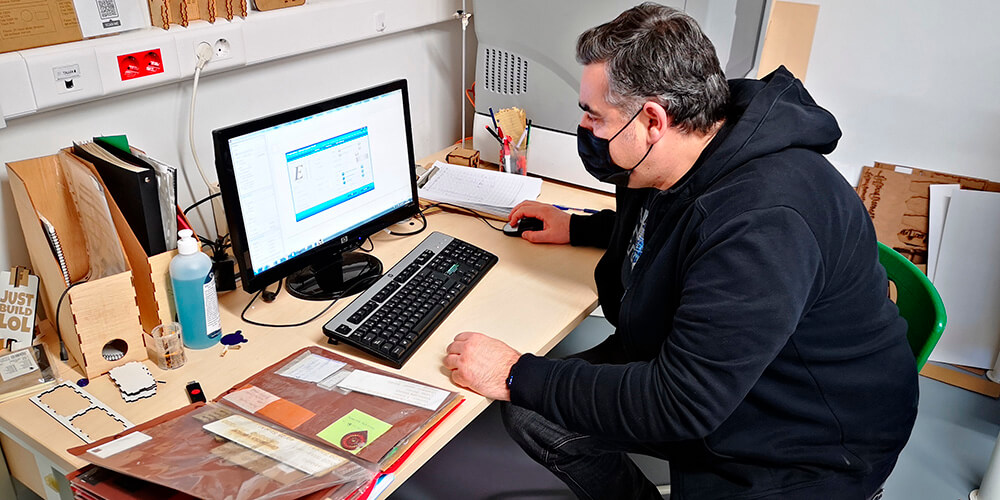
I did a test to see how to export from Illustrator, and what format is better to open with Rhino (pdf, SVG, DXF, AI) and finally I decided to use Illustrator 8 (AI). Same as the one I use to export to other applications like Cinema 4D.
Group assignment
The link to Group Assignments of Fab Lab León is this
First test
The test, a 25x25mm square and a 22cm diameter circle, is sent to the laser machine for cutting.
The initial test is a 25x25 mm square and a 22 cm diameter circle.
Once the object is imported, we create two layers, one for cutting and the other for engraving, and we place the objects on each of the layers.
In this case we assign the two objects to the cut layer, and tell it to have a “fine stroke” layer thickness. When importing the document to illustrator we always lose the thickness of the stroke.
Once the layers have been adjusted, we click on “print”, the window opens, and we click on “properties”.
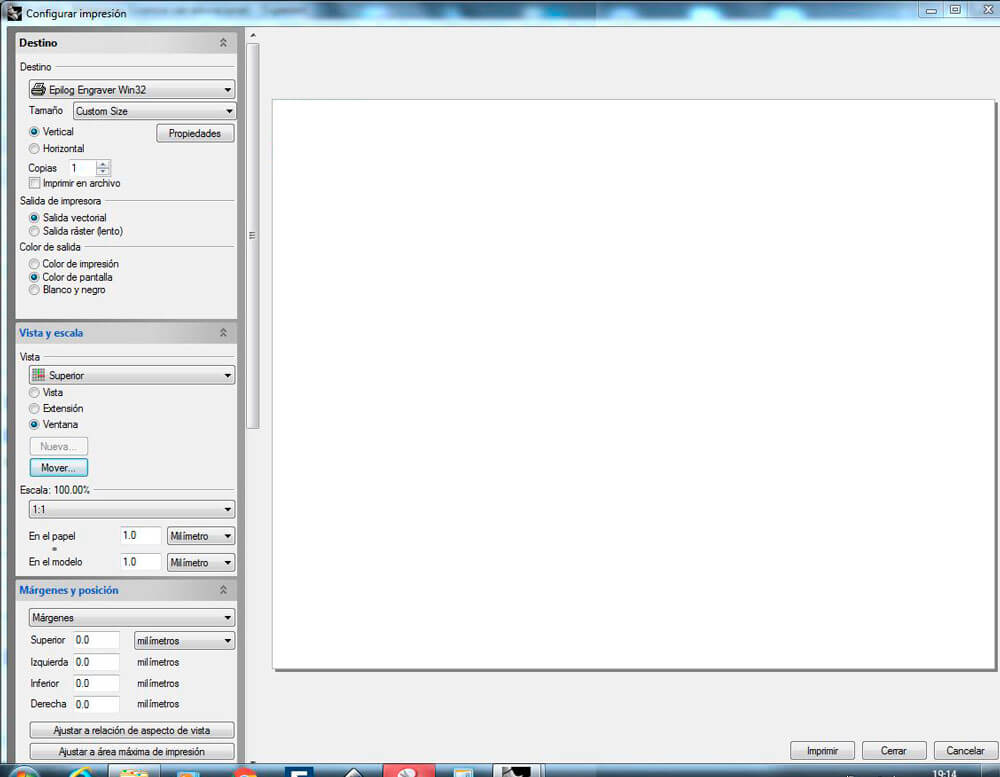
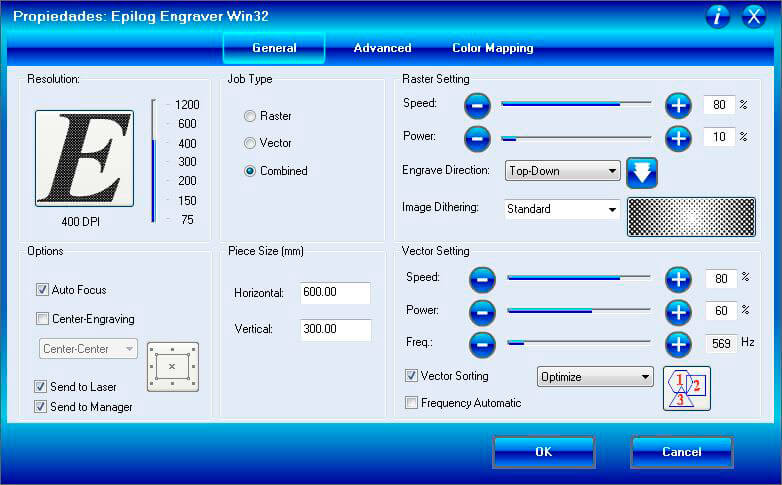
In this case we are only going to cut, so we activate the “Vector” option. We looked at the parameters they use in the Fab Lab for 2.5mm thick cardboard. Speed 80% Power 60% Freq 2500Hz. I activate Auto Focus and we click OK.
Then in the print window we press the “move” button to place the object on the cutting table, and in the upper window of Rhino a rectangle appears that we have to move, to place our object within that rectangle, as close as possible. to 0.0 possible.
Once the object is placed inside the cutting area, we give it a print, and we go to the machine to configure it.
Machine laser settings
Once in the machine, the first thing we have to do is adjust the initial cutting position.

The steps to follow are:
1- Activate “Red Tip” (punta roja), it will show us a point on the surface to be cut, from where the machine would mark at that moment.
2- We press X/Y Off, to turn off the motors, and the machine asks us if we want to Go/Stop.
3- Press Go, if we want to turn off the motors (green button)
4- We move the axes of the machine and place the red point in our new point 0,0 of the machine.
5- Once we define the 0.0 point, we press the “Home Adjustment” button (Ajuste inicio)
6- If we want to confirm that the starting point is correct, press Reset and it should move if it is not in the correct place to the center that it has defined. If it doesn’t move, it’s because we saved our position correctly.
7- We can now click on “Red Tip” (punta roja) to turn it off.
Until here everything would be correct.
As we have already sent our document to print from the computer, the next step is to close the lid of the machine, turn on the exhaust fan (very important) and hit the Go button.
The machine will start its auto focus adjustment and cut our part.
Once the work is finished, we must turn off the exhaust fan. In the case of Fab Lab León, the working time of the machine is accounted for by the time the extractor is in use with a clock.

Once the test is cut, we measure the imbalance in the scale that we can have between the design and what it has cut.
Press-fit construction
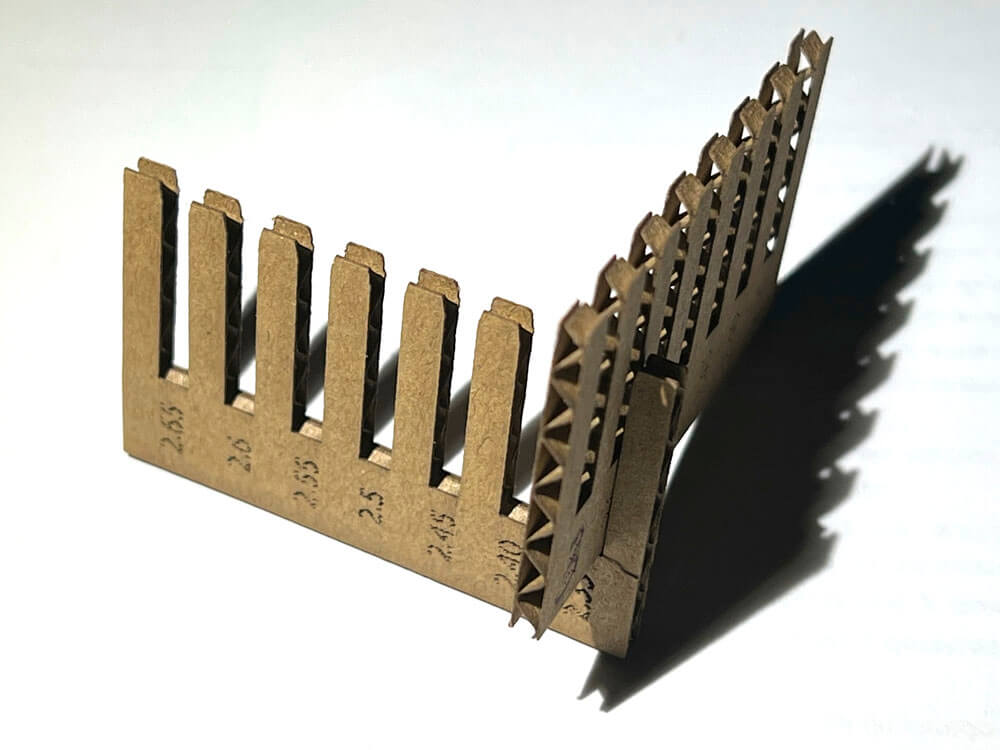
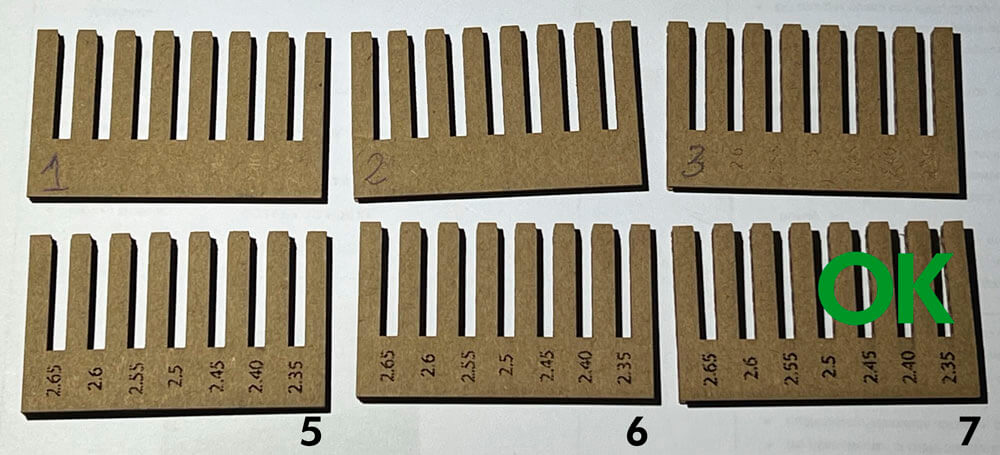
To know what kind of hole we should make when designing our pieces, so that they fit in the best way without falling out once assembled, the first thing I need is a pressure fit test for corrugated cardboard.
I design it in Illustrator based on the actual measurement of the cardboard of 2.5mm.
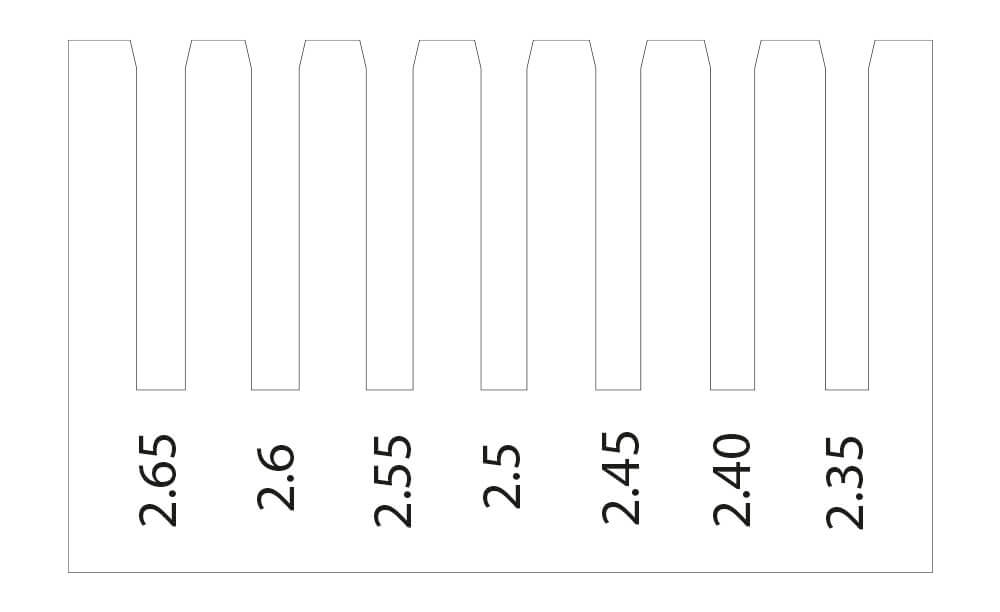
Once the test is cut, I test the setting that best fits, deciding on the value of 2.35mm which I will then use in the parametric design.
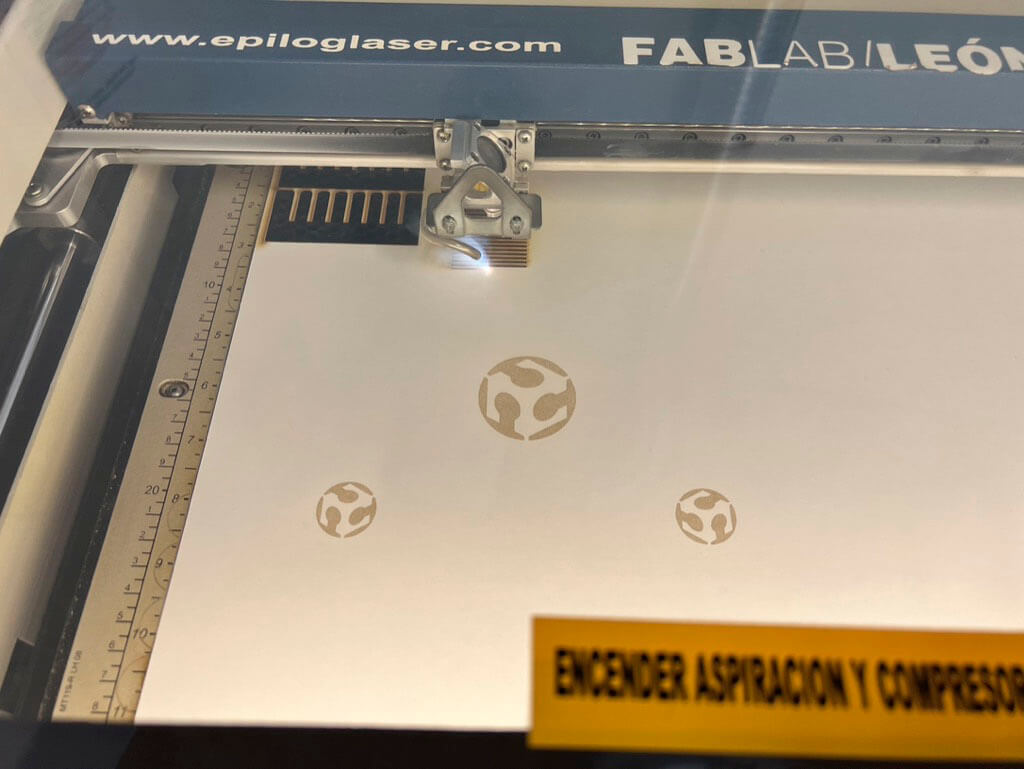
Raster and vector
Once obtained the measurement that we must have for the press-fit with cardboard, try different adjustments both for cutting and engraving.
| Raster Speed | Raster Power | Vector Speed | Vector Power | Vector Freq. | Observation | |
| 1 | 80 | 10 | 80 | 60 | 569 | Vector Cut ok but raster not seen |
| 2 | 80 | 50 | 80 | 60 | 569 | Vector cut ok but raster little is still seen |
| 3 | 80 | 90 | 80 | 60 | 569 | Vector cut ok but raster little is still seen |
| 4 | 40 | 90 | 80 | 30 | 2500 | Vector doesn't cut, raster starts to look a bit |
| 5 | 20 | 90 | 40 | 30 | 2500 | Vector cut slow (more time for same result than 80/60)), raster starts to look a bit more |
| 6 | 10 | 90 | 80 | 50 | 2500 | Vector cuts bit bad and the raster is visible but it goes very slowly it cuts the piece |
| 7 | 15 | 90 | 80 | 60 | 2500 | Cuts well and the engraving can be seen perfectly without damaging the piece |
Individual assignment
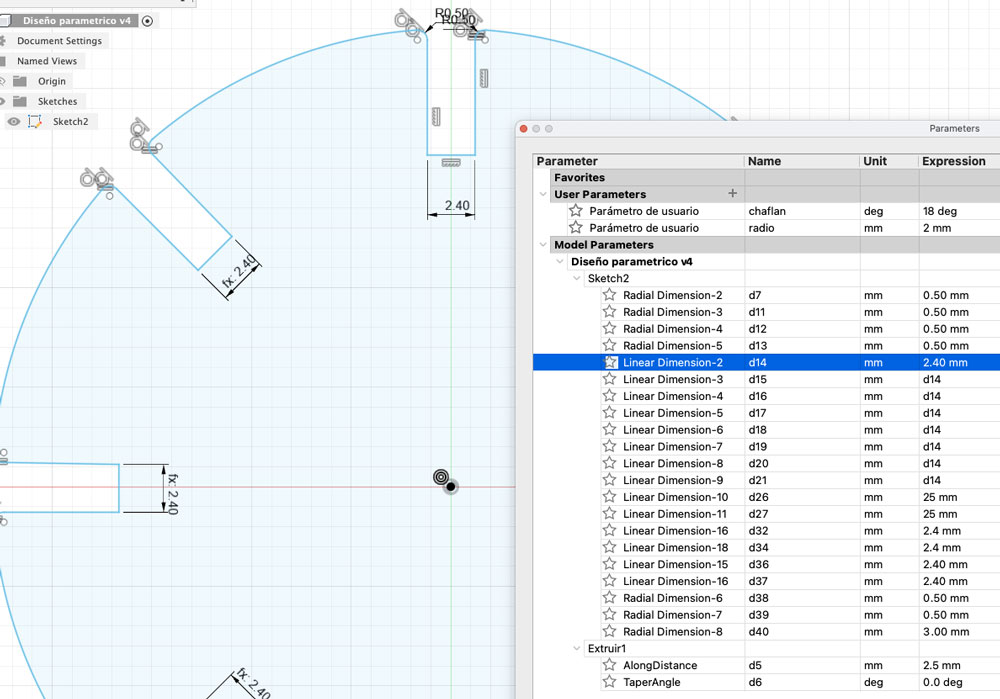
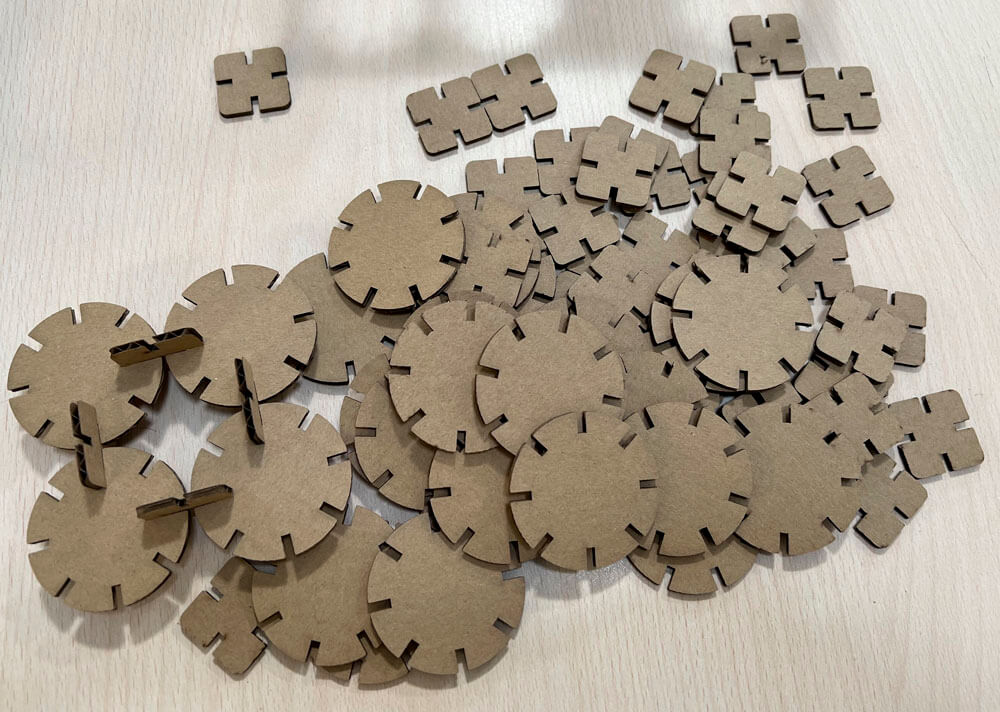
Parametric construction kit
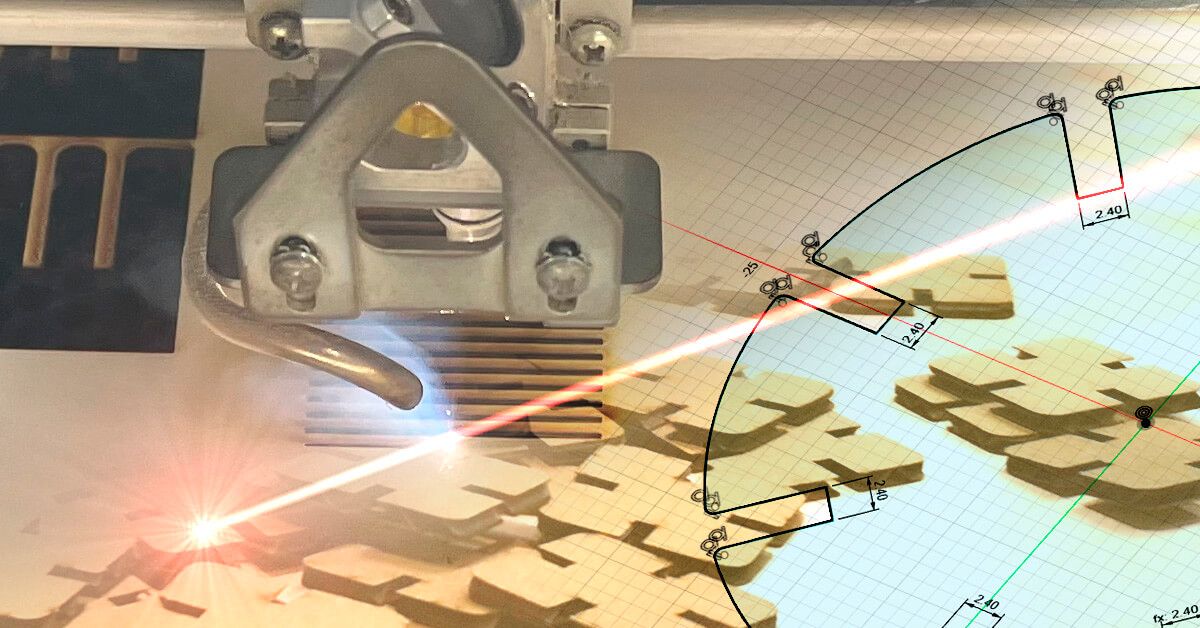
After Wednesday afternoon, already at the hotel, that night I made the parametric design in Fusion 360, to cut it the next day. In the end I used a 2.4mm hole because the 2.35 after doing tests deformed the cardboard.
To generate the pattern use the blend tools to define the parametric gap and give them all the same spacing. This would make it easier for us, in case of changing the material, the possibility of editing the distance of the hole by modifying a single parameter.
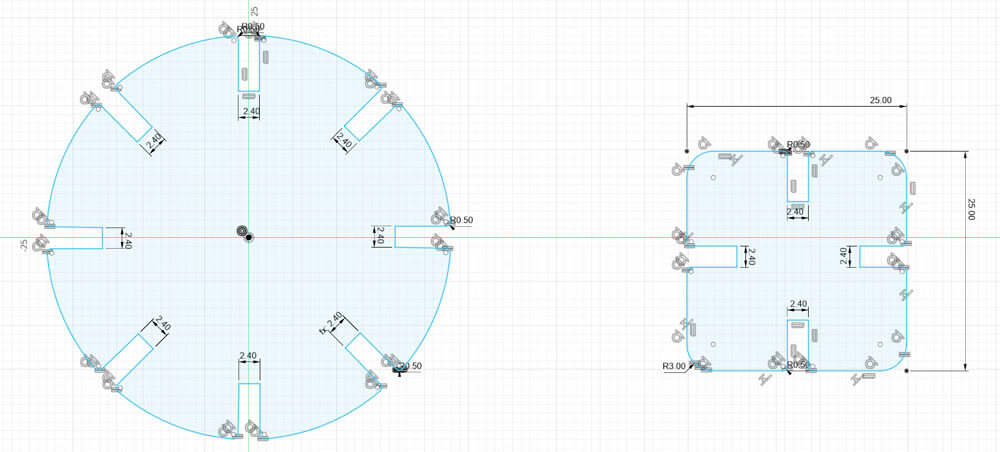
I use the constraints; there is the Midpoint to place the pieces at the midpoint of a line, but you also have to use the tool to place the pieces perpendicularly.
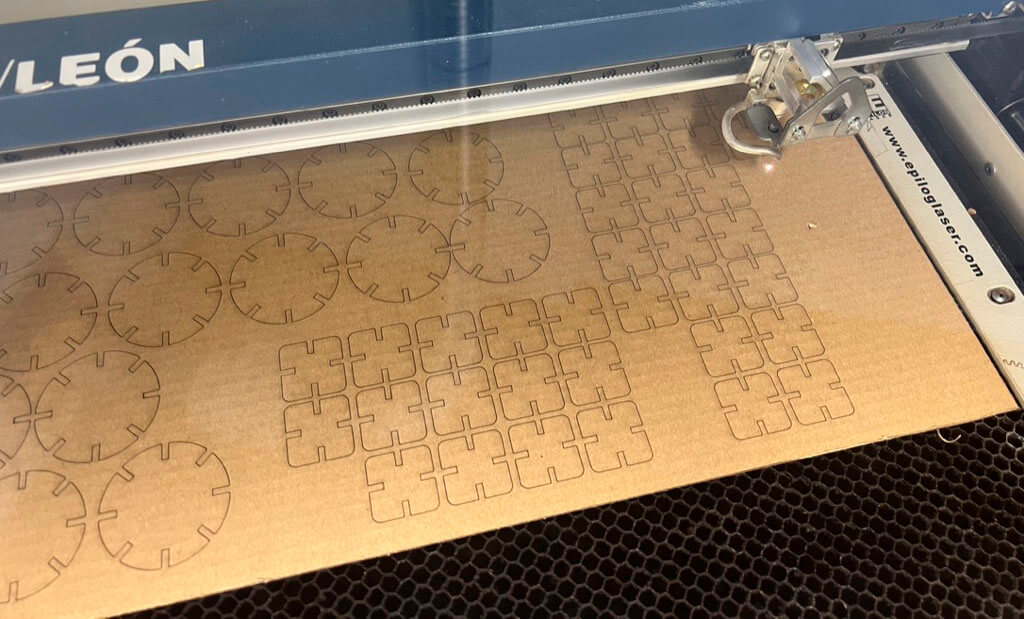
On Thursday morning the first thing I cut was the parametric kit. After importing the exported Fusion 360 DXF design into Rhino, I duplicate it to occupy the full possible size and make as many pieces as possible in the 600x300 mm cutting area that the laser machine has.
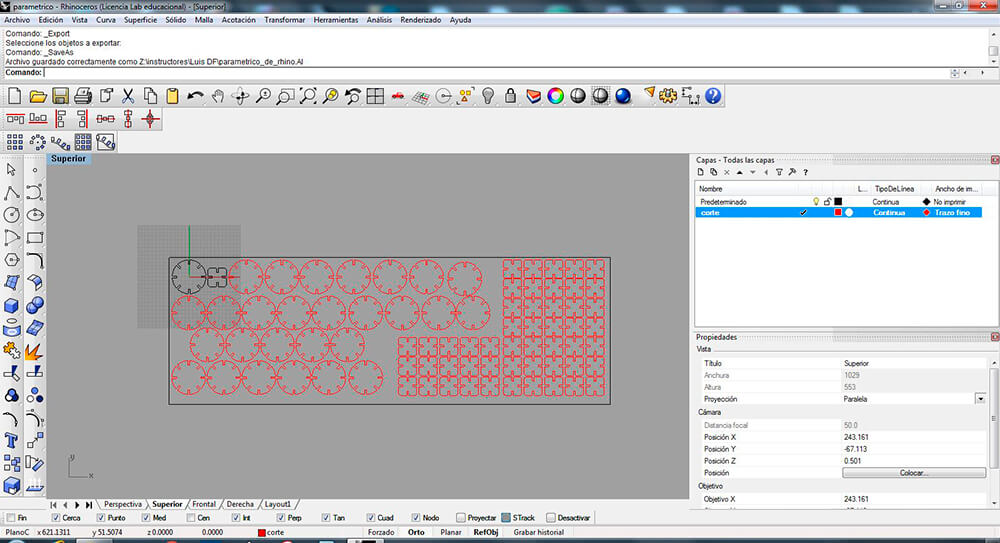
Configure the print settings and send it to the machine, to adjust it and start the cut.
The vector cut settings are Speed 80% and a Power of 60% and a Vector Freq. of 2500 Hzs
Assembled desing
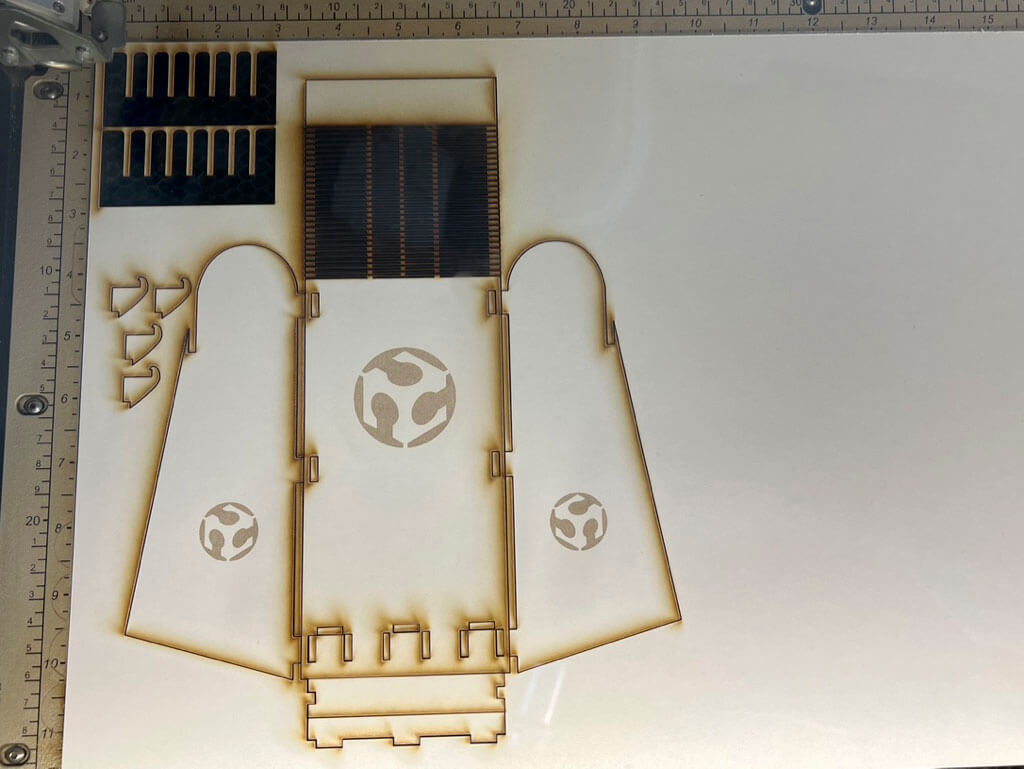
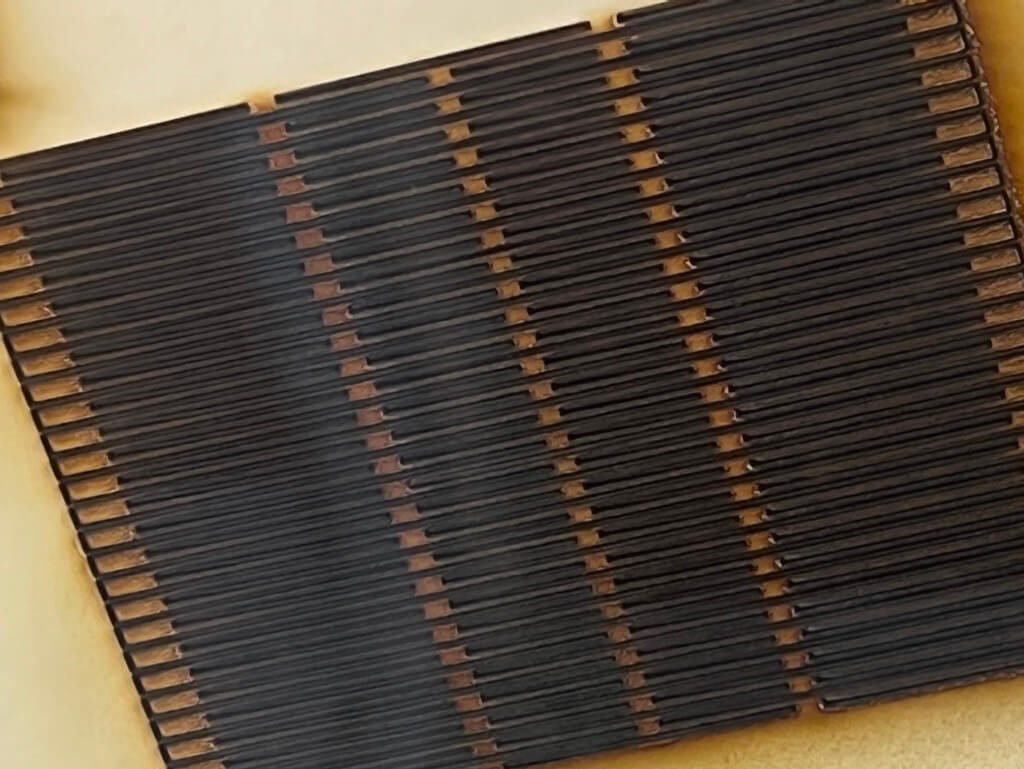
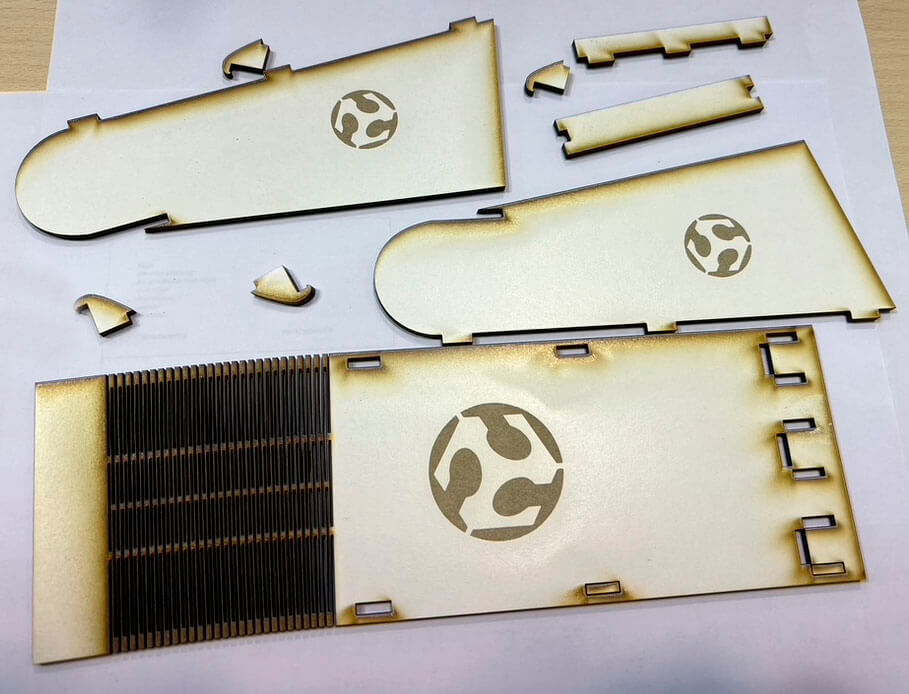
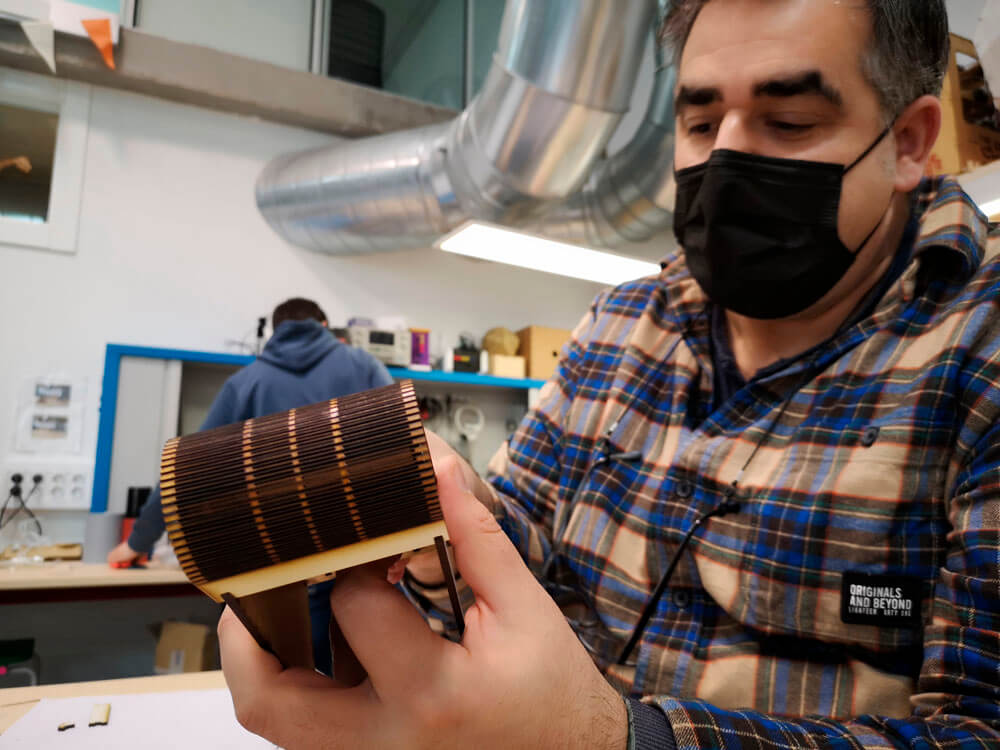
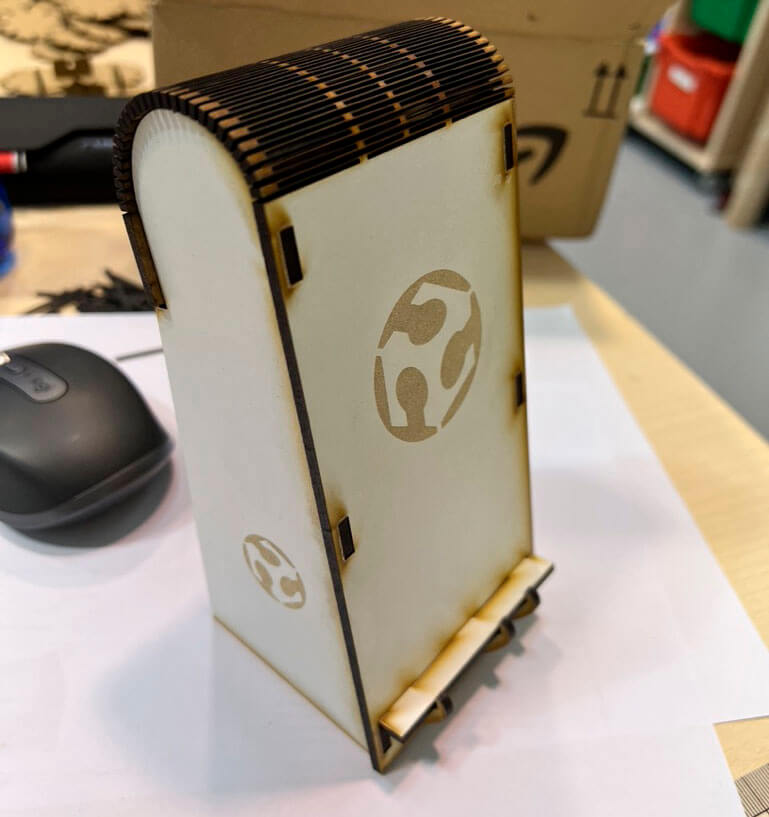
Another of the designs that I had to prepare that night, for cutting on Thursday, was a design for a product that could be assembled, and if it had live hinges, it would be better.
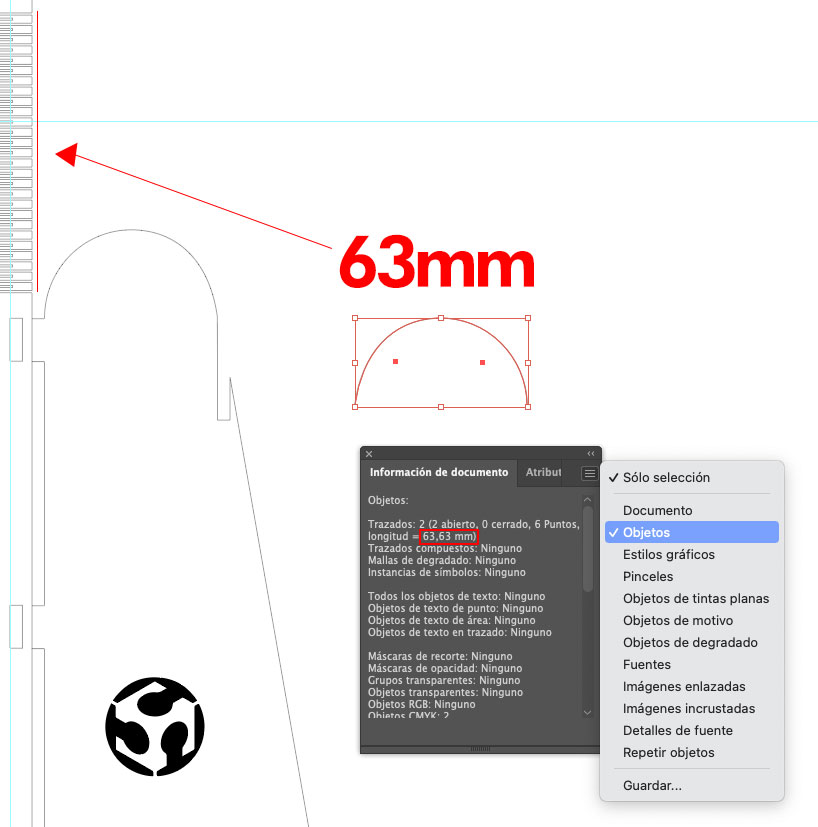
For this I made the support of my iPhone 13 Pro Max 13. I designed it in Illustrator, and to obtain the distance of the curve, I found that from “Windows” - “Document information” you can obtain the length of the objects, so separate the curve and get its length.
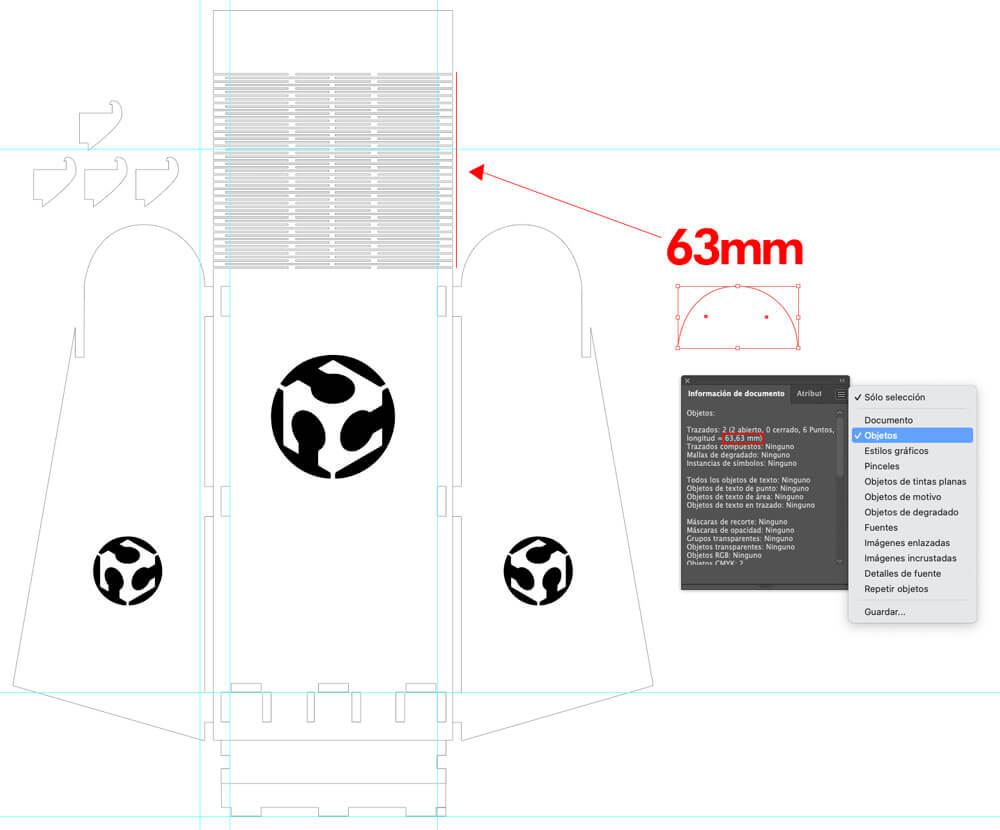
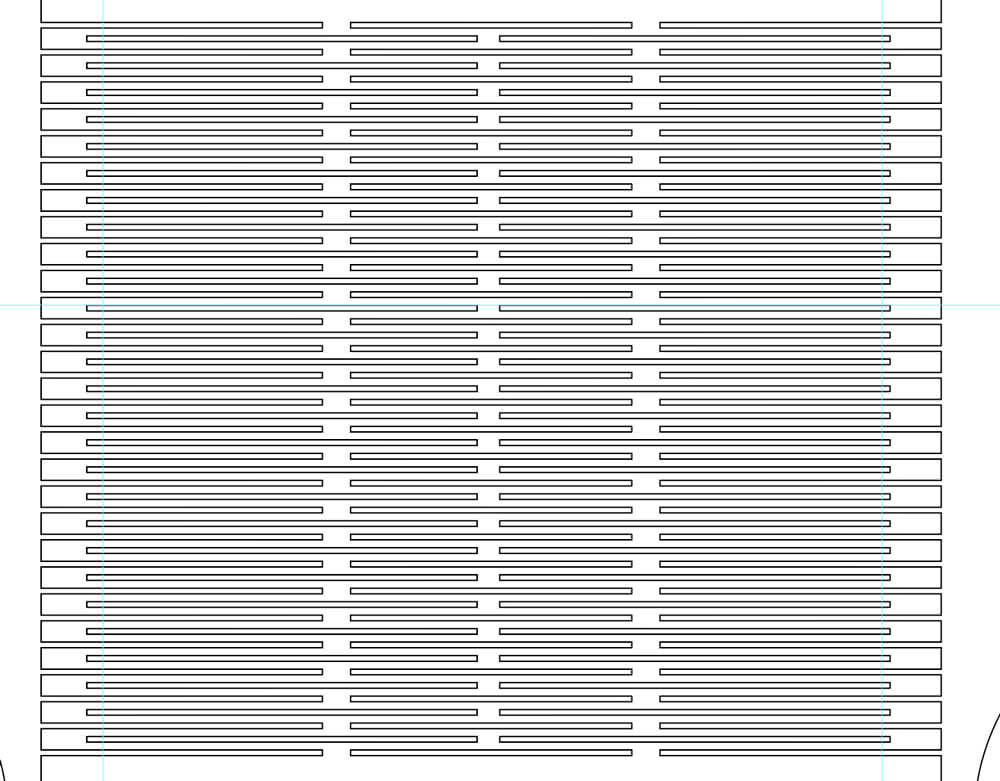
I made the flexible zone directly by duplicating rectangles, to then cut the faces and join them in a new path.

On Thursday I cut it out of 3mm MDF, I had made the design for 2.5mm cardboard so I had to adjust the inserts again.
For wood after testing, the best setting was raster 80% speed and 80% power. The vector cut 15% speed and 90% power.
Vynil cutter
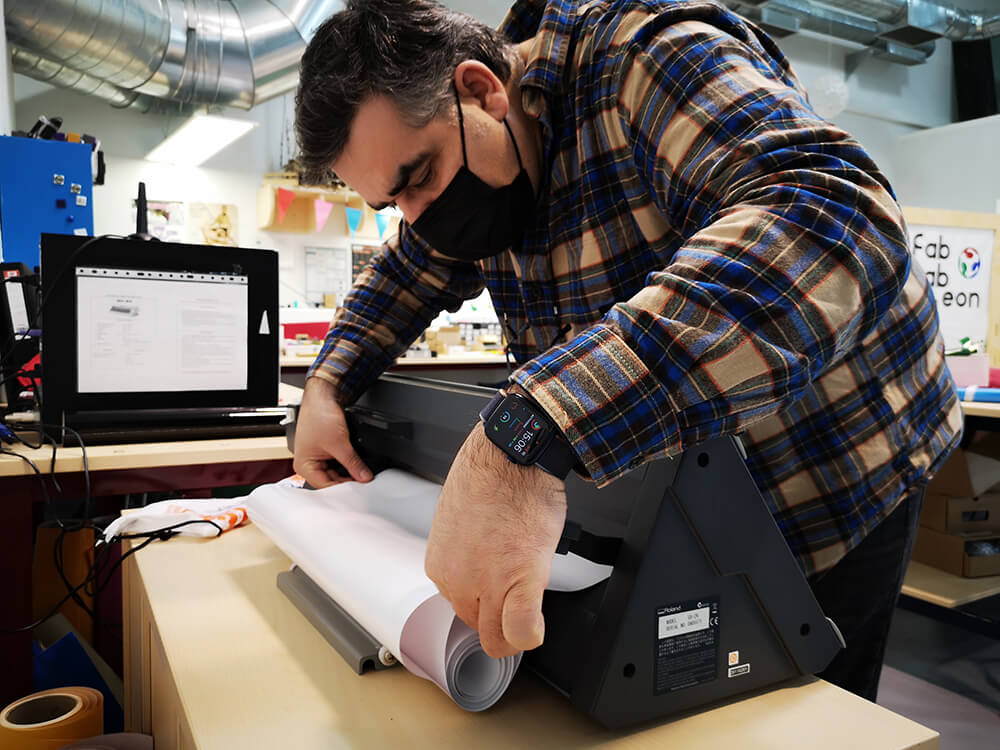
Wednesday afternoon also gave us time to cut vinyl, and learn how to operate the machine. My instructor Pablo taught me how to handle it. the software that we will use to send to cut is the same from Rhino, so although I had never used it, I learn the basics, to import, place the objects, scale… and hit “print”.
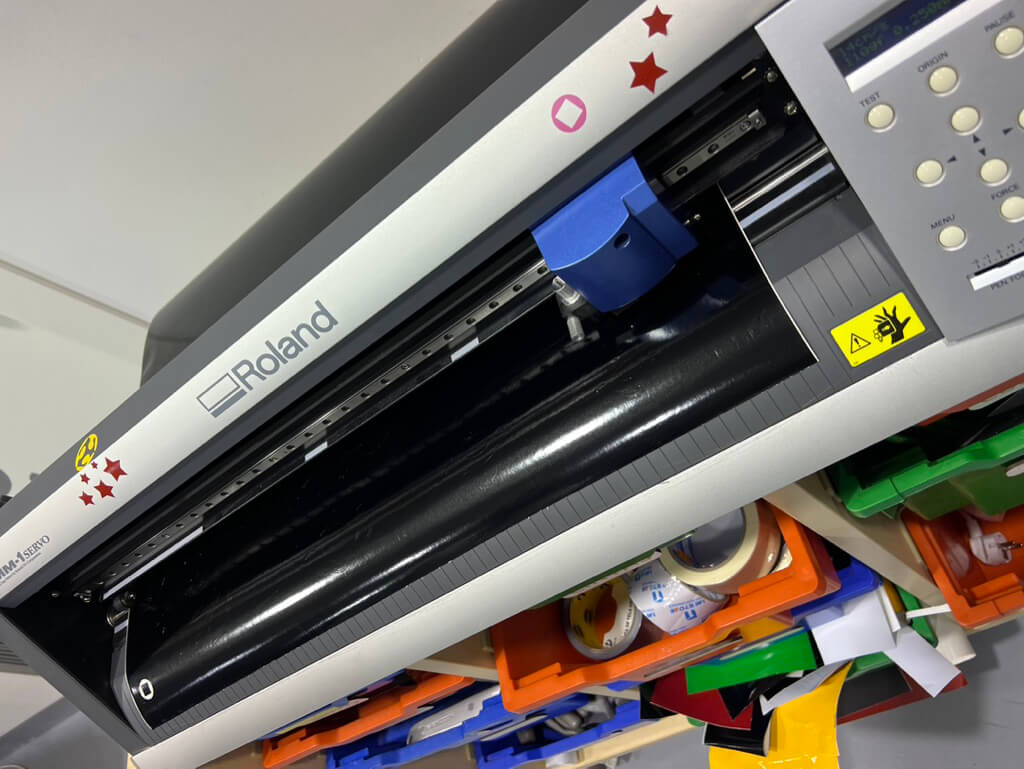
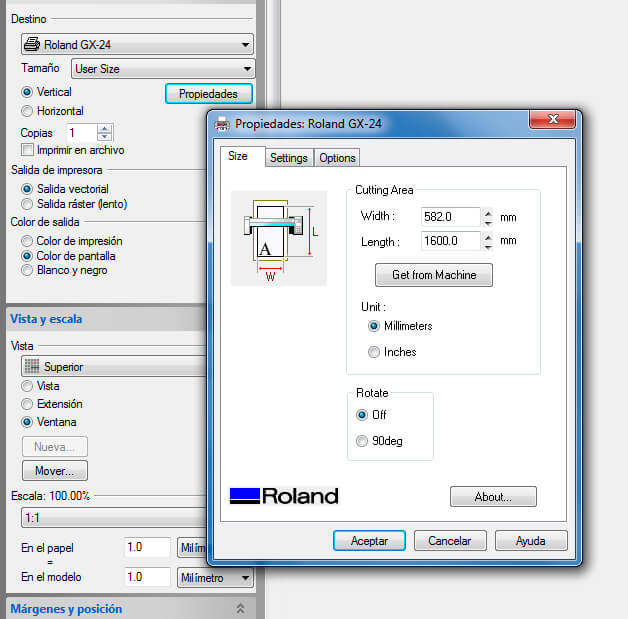
I Fab Lab Leon I use the ROLAND GX-24. For send the draws to cut we use Rhinoceros with the Driver of Roland.
The maximum cutting area of Roland GX-24 is 584 x 24998 mm with a cutting speed of 10-50 mm/s
The settings are a speed of 1 cm/s with a force of 40gf for copper vinyl.
We placed the material in the cutting machine, and we did a cutting test to see if those parameters were worth it for this type of material.
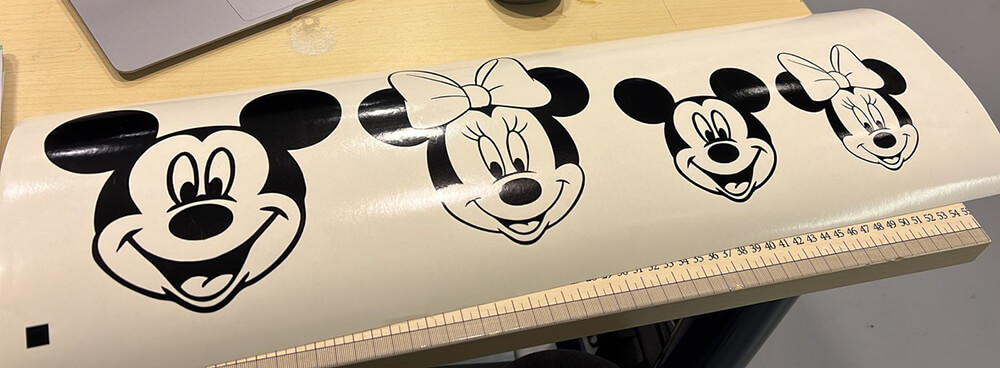
I made some stickers for my daughter Lucía in adhesive vinyl, starting from two images, I traced them in Illustrator and optimized for cutting.
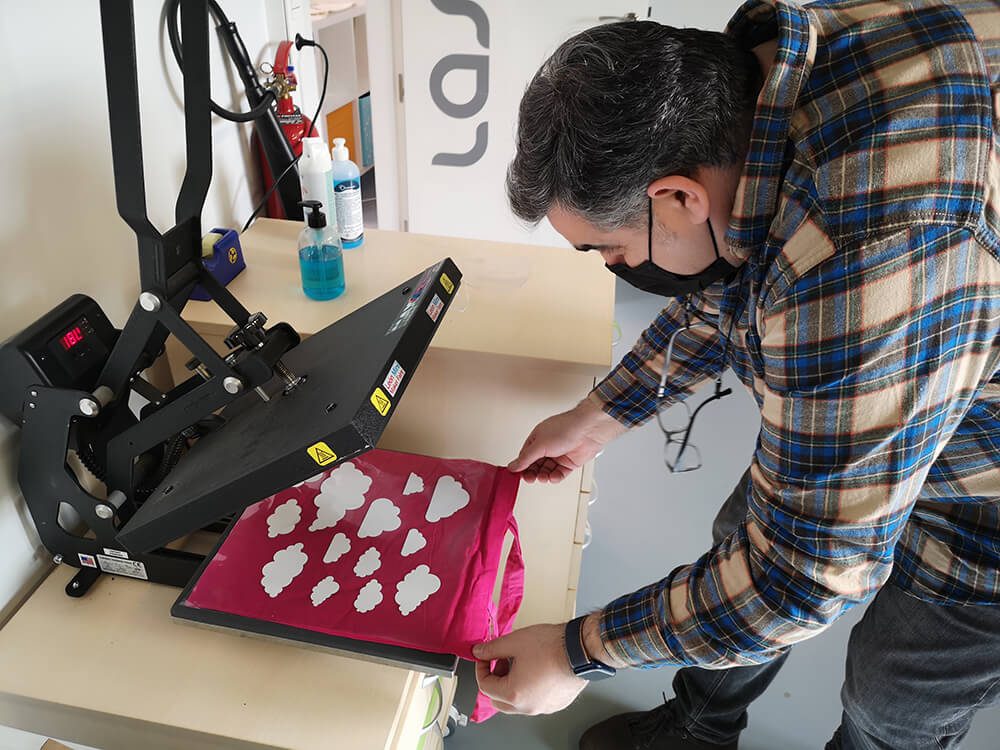
The settings are a speed of 15 cm/s with a force of 90gf for textile vinyl.
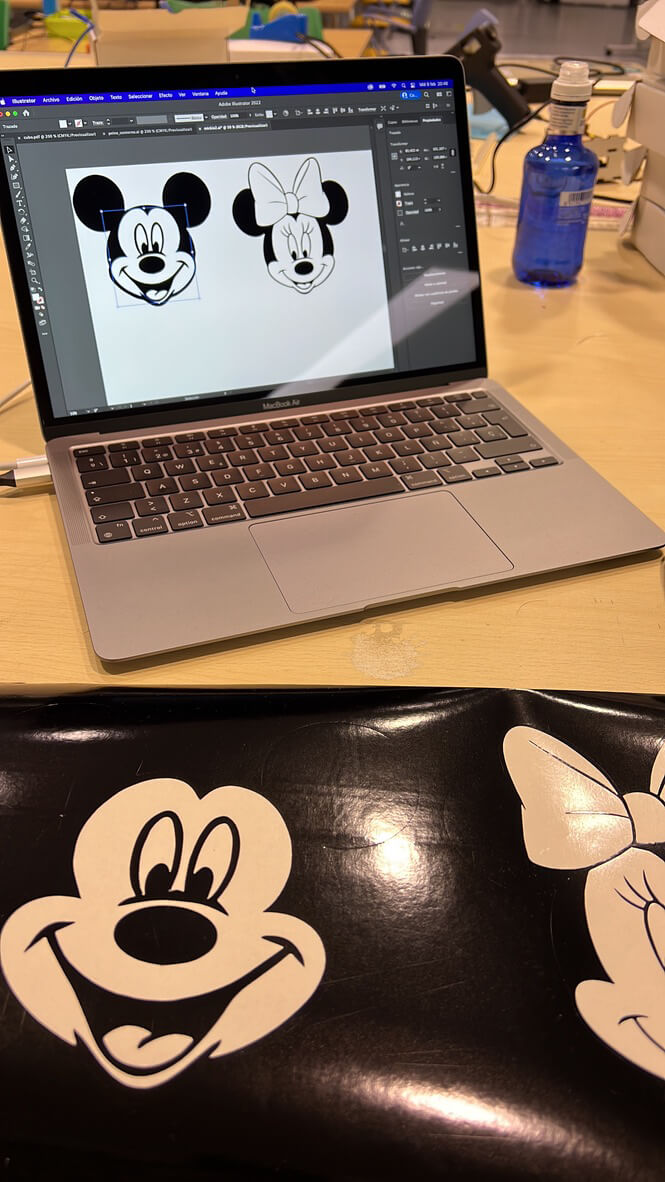
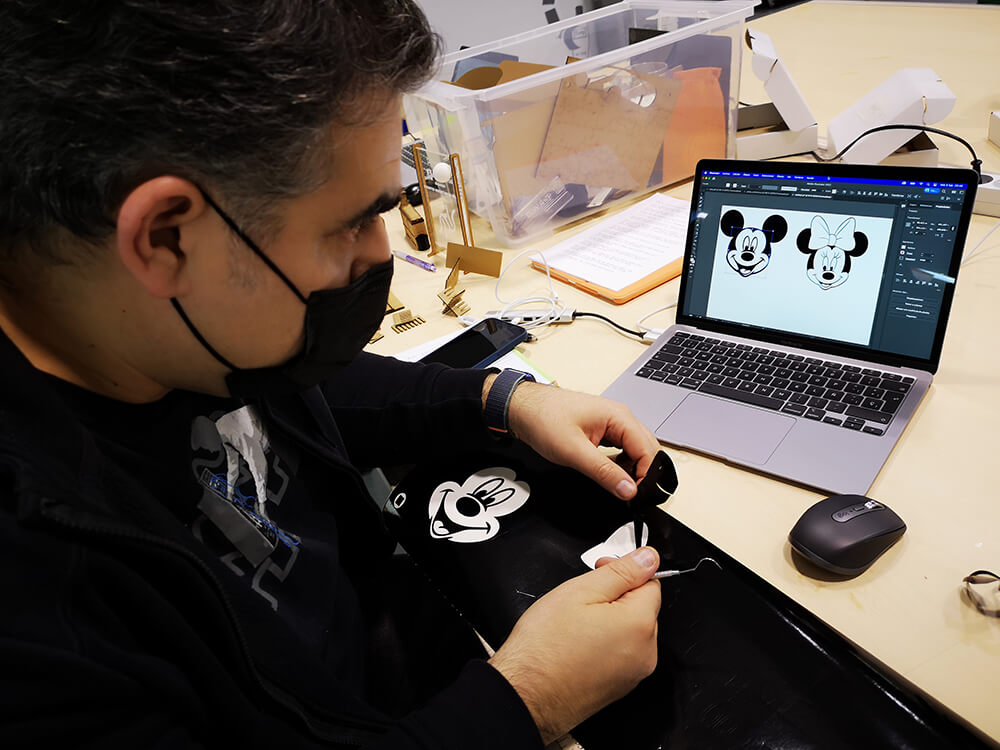
On Thursday I designed the objects to decorate a bag with textile vinyl, for Lucía. I already left them placed in each color so that when ironing it would be easier to place everything. The result was very nice!
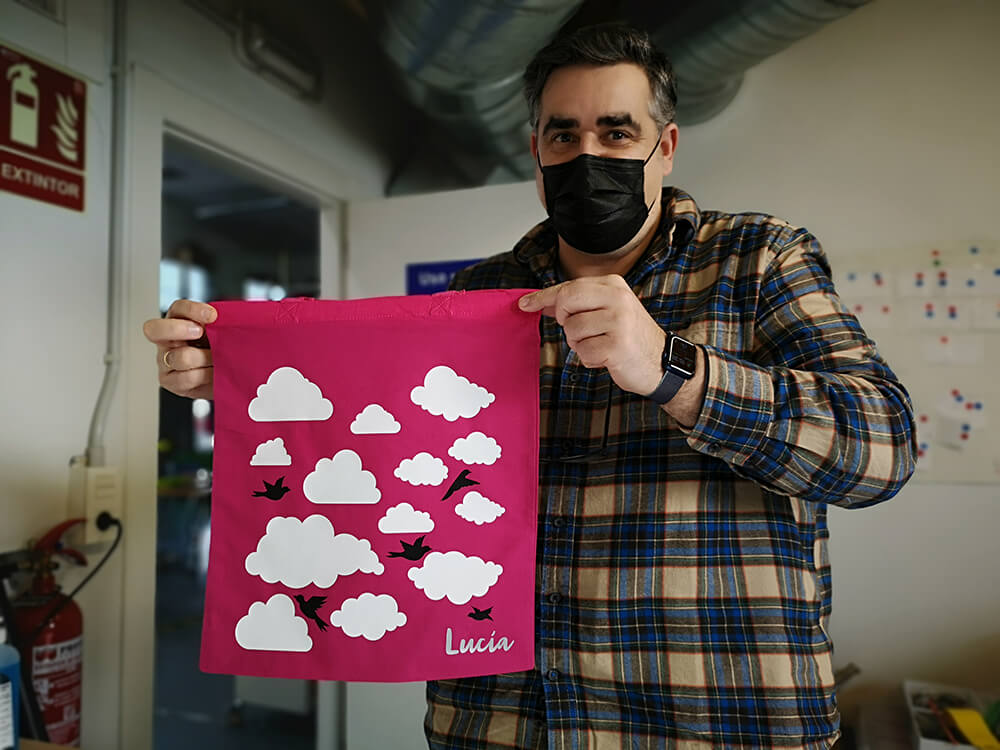
Lucía wants to come to León every time I go, to make really cool things, I hope that in a few weeks we can all go and she can also get to know the Fab Lab.
She has decorated her toy boxes with vinyl, and her bag carries it every time we travel loaded with toys.
Downloads
Here are the files I created this week.
Explore more like this
17 - Invention, Intellectual Property, and Income
This is the last week before I present the final project, I already have a slide and video proposal of my project.
16 - Applications and Implications
Propose a final project masterpiece that integrates the range of units covered, answering: