7 - Computer-Controlled Machining
This week we have learned to prepare our ideas in designs to manufacture with the CNC.
Summary
This week we have learned to prepare our ideas in designs to manufacture with the CNC.
I have traveled again to Fab Lab León, where Pablo, Adrián and Nuria have treated me wonderfully.
Assigments
- group assignment
- do your lab’s safety training
- test runout, alignment, fixturing, speeds, feeds, materials, and toolpaths for your machine
- do your lab’s safety training
- individual assignment
- make (design+mill+assemble) something big (~meter-scale)
- extra credit: don’t use fasteners or glue
- extra credit: include curved surfaces
- make (design+mill+assemble) something big (~meter-scale)
Group assignment
The link to Group Assignments of Fab Lab León is this
The same Wednesday afternoon, after Neil’s class, Pablo Núñez explained to me the operation of the CNC and all the steps to follow both for safety and for setting up the machine.
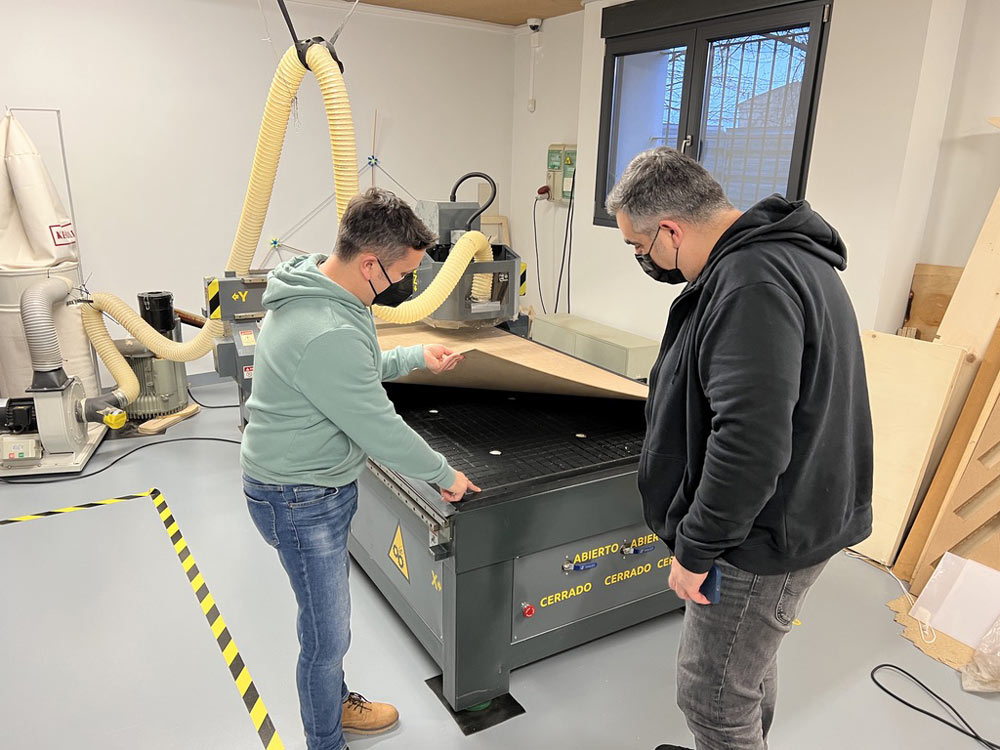
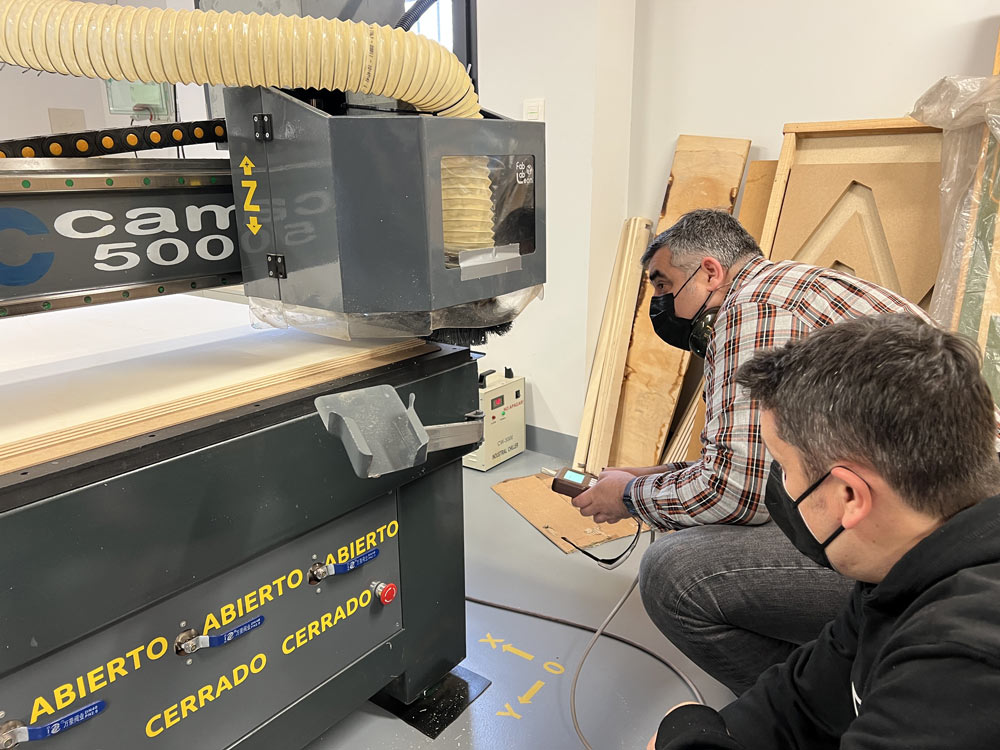
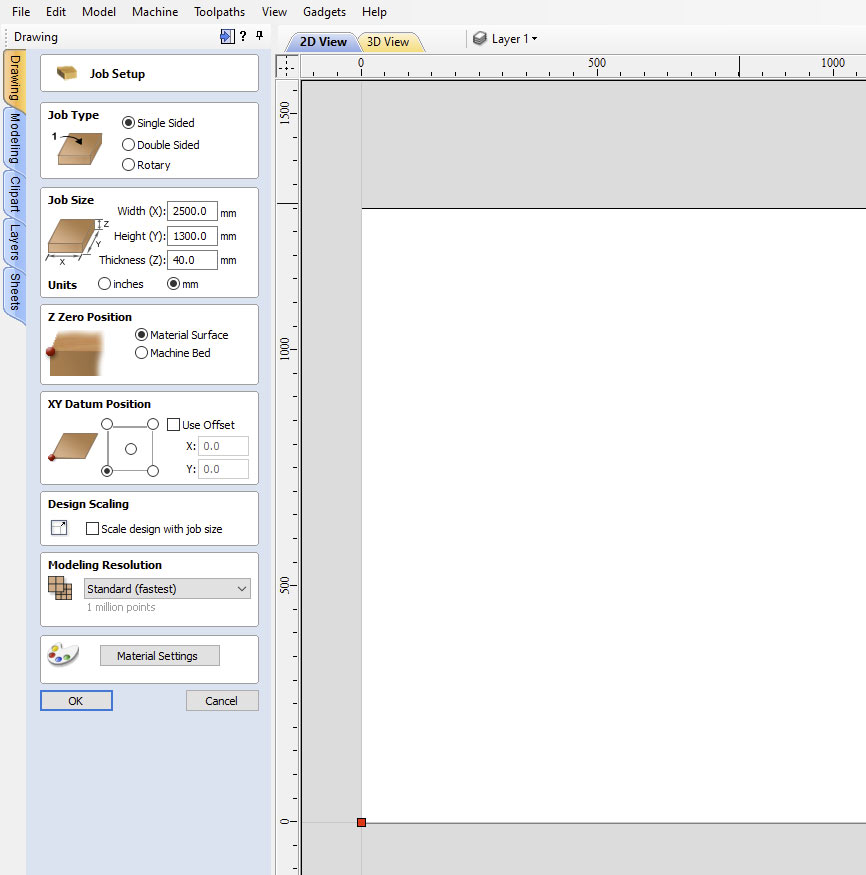
The CNC that exists in the Fab Lab León is the TEC-CAM 500 CNC model. It has a work area of 2500x1300mm and the maximum material thickness of about 50mm depending on the material.
Safety training
Working with the CNC is a machine that is safe when used well, but it can be highly dangerous if we are not careful.
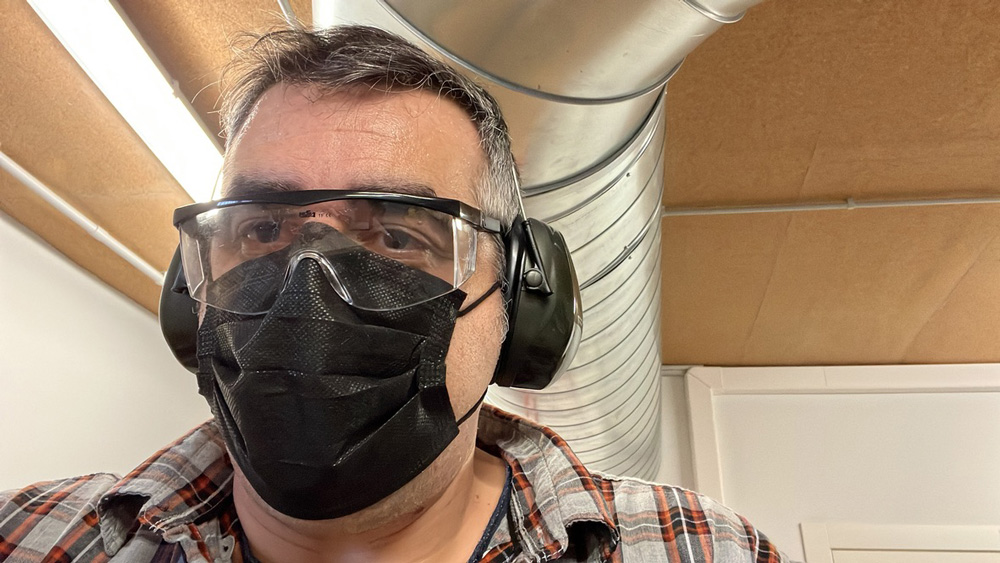
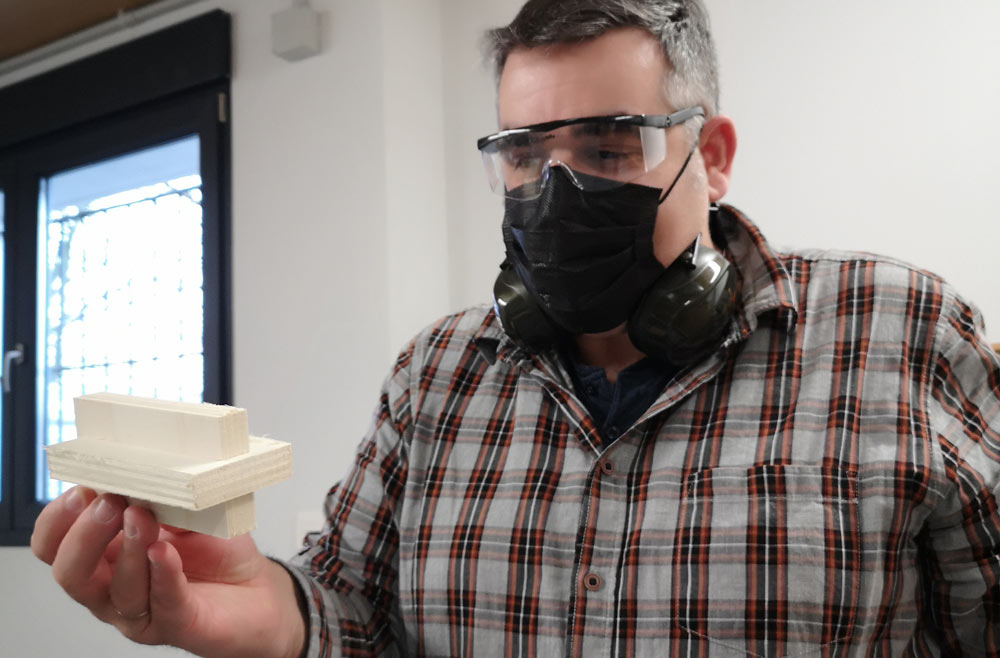
In addition to safety when working, we need to use a series of protections, such as glasses and hearing protection.
Precautions:
- Eliminate dangling elements: Necklaces, loose hair, beards, laces…
- Safety distance.
- Stop command and safety button.
While gloves are not needed to manipulate the machine, they are necessary when moving materials and cleaning the machine, to avoid cuts or getting a splinter.
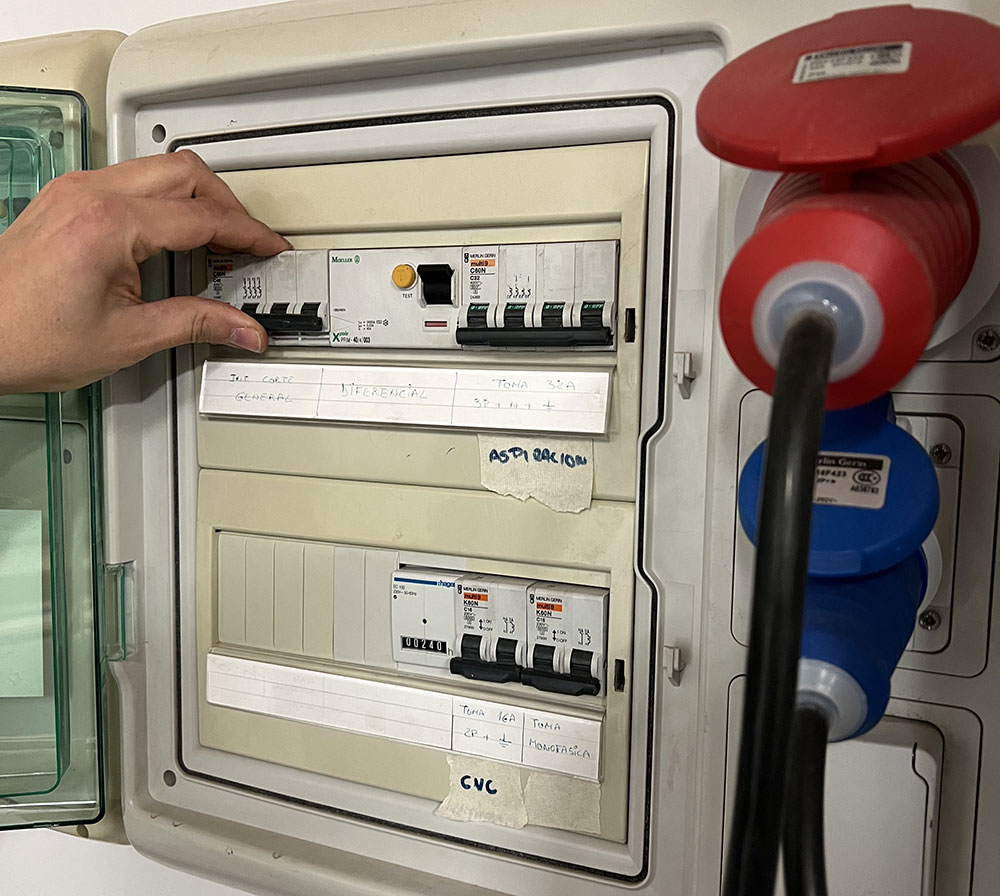
Before handling the machine we must make sure that the power supply is turned on correctly and the vacuum table is turned off.
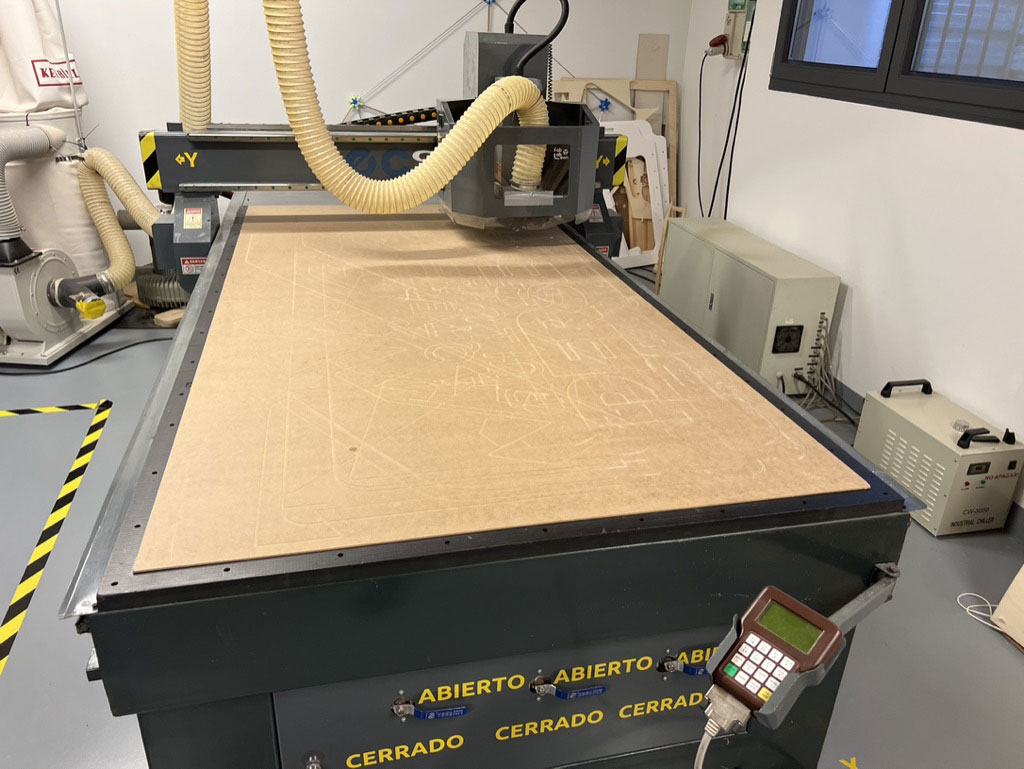
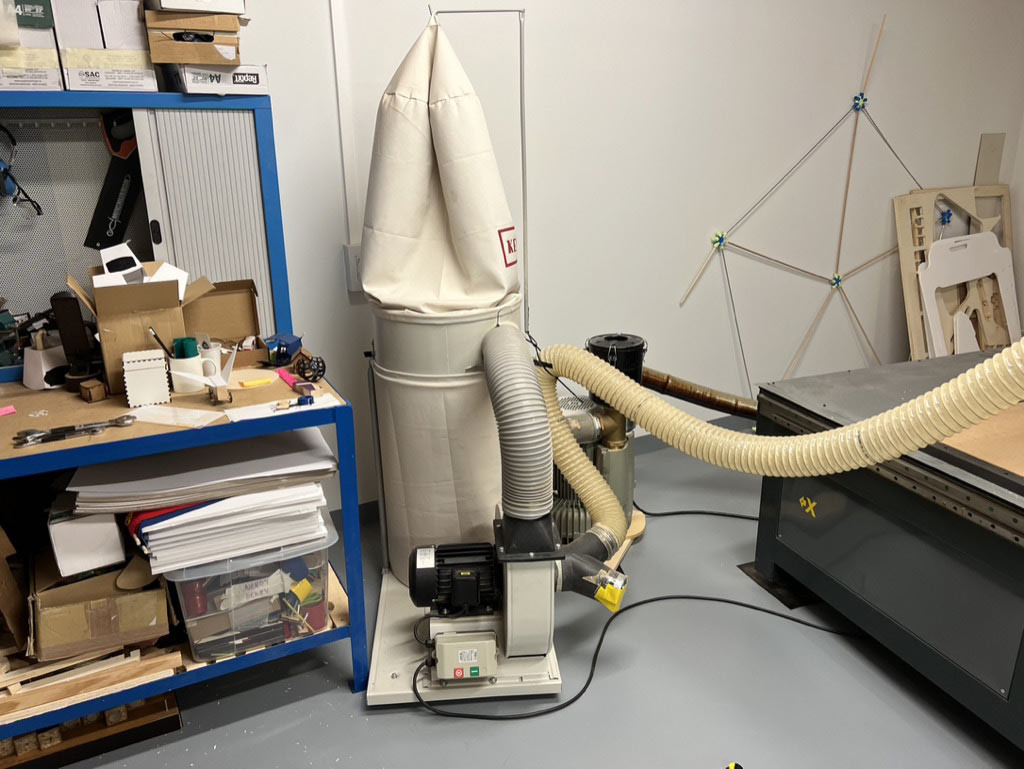
CNC machine
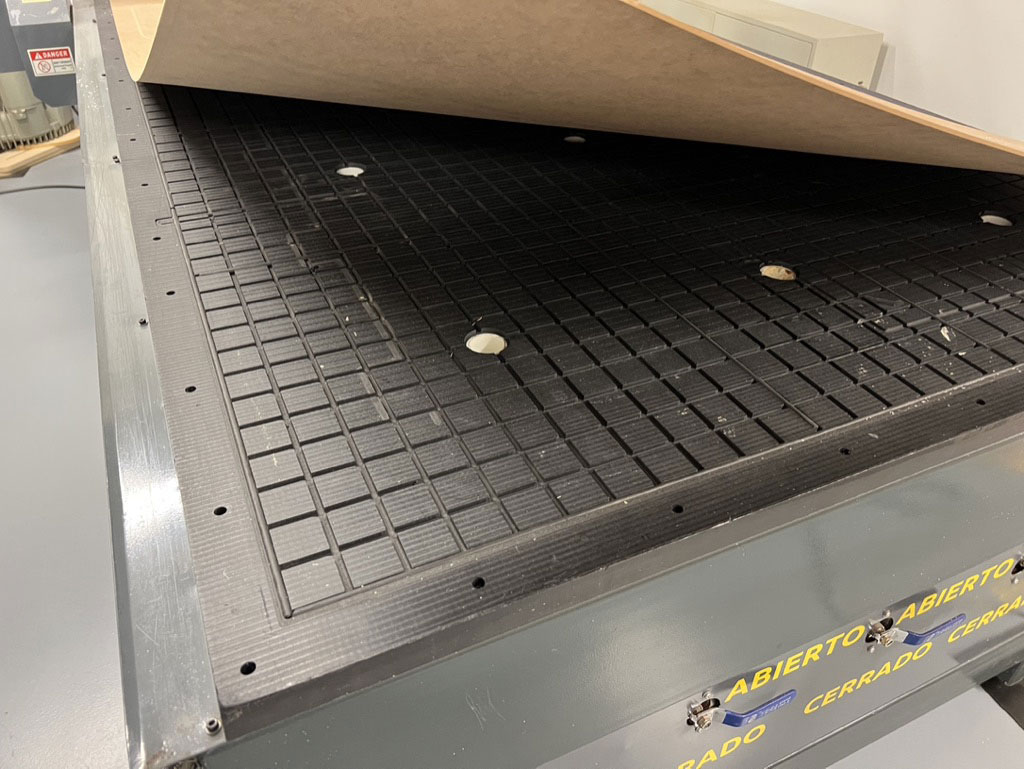
I turn on the vacuum on the vacuum table, it makes a lot of noise so you have to put on your ear protection.
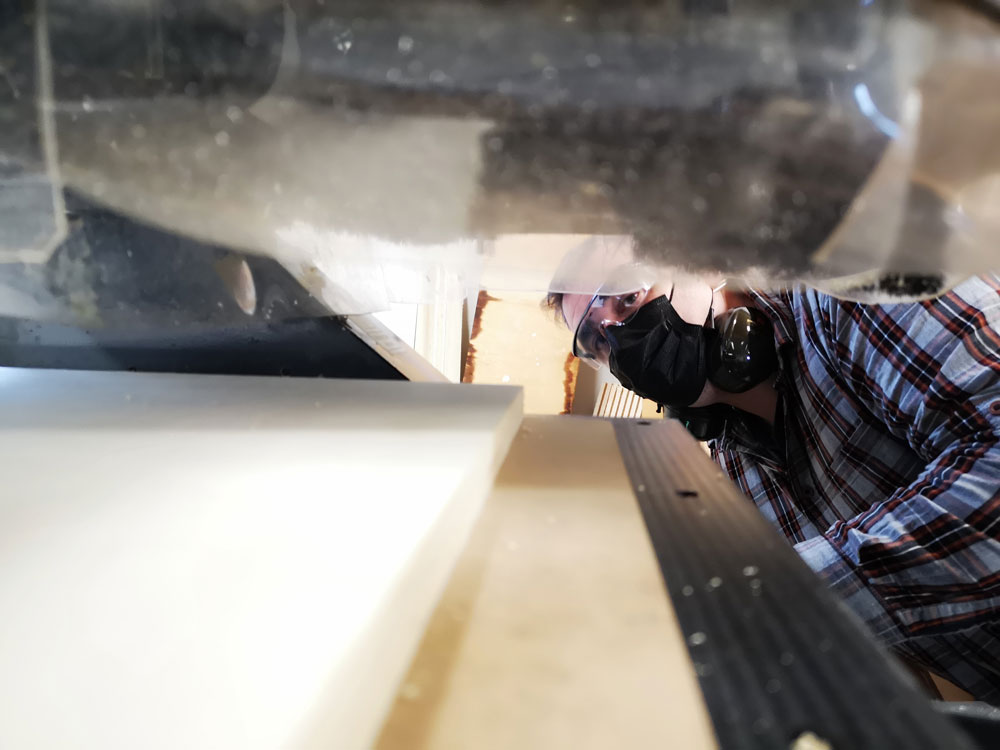
To exchange the cylindrical mill we use two flat wrenches of 21 and 30 mm, which we must tighten with one hand as hard as possible. Make sure that the cone fits inside the milling chuck perfectly.
A metal probe is used to calculate material thickness. It is measured first on the sacrificial board and then on the material. With the two measures the difference is made.
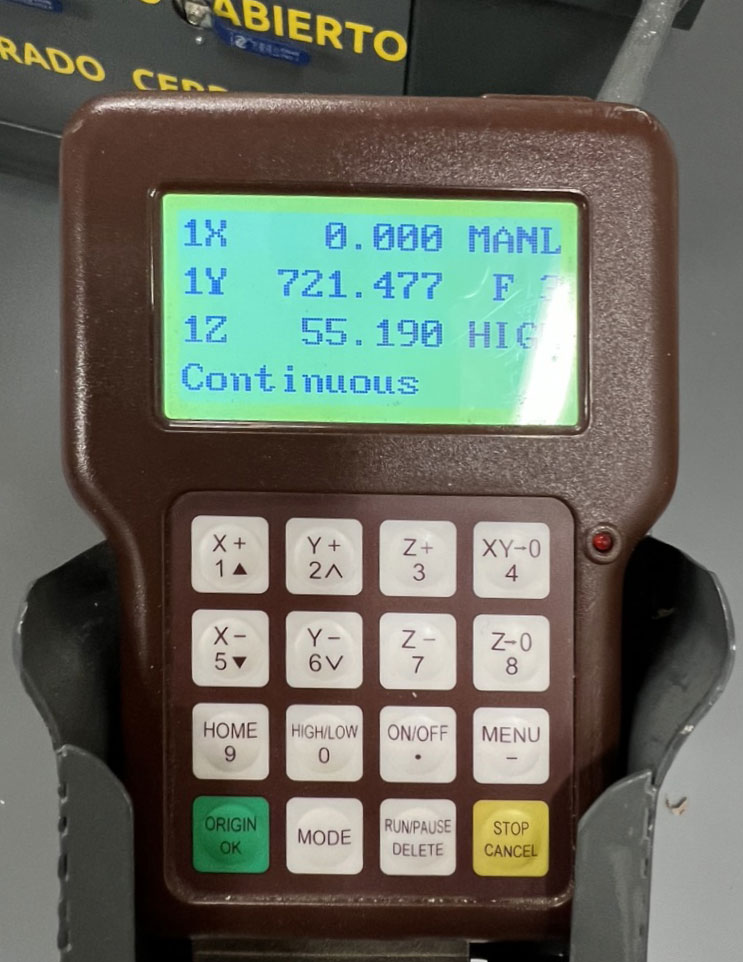
To measure this parameter, we will place the probe under the milling cutter and first press the MENU key on the remote, followed by ON/OFF and the mill will go down slowly (this operation is the most dangerous, because if we do not do this sequence we can turn the mill) .
To set the 0,0 position, I place it where I want it using the +-X and +-Y buttons and finally press the XY->0 button.
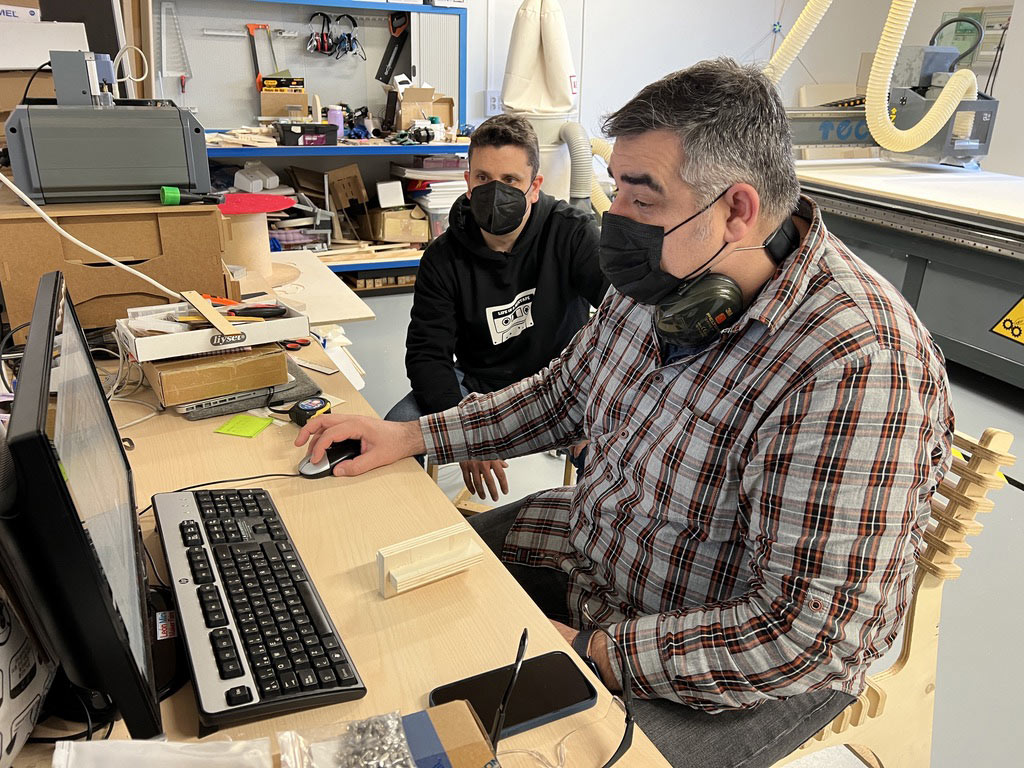
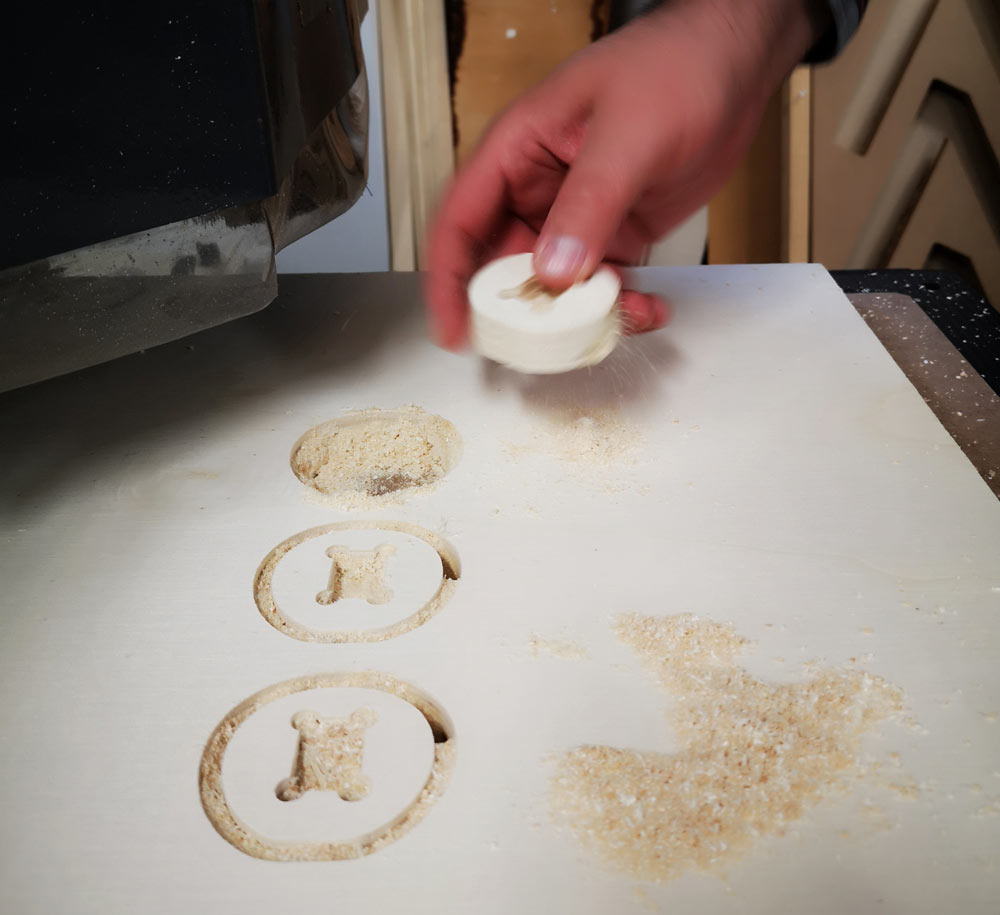
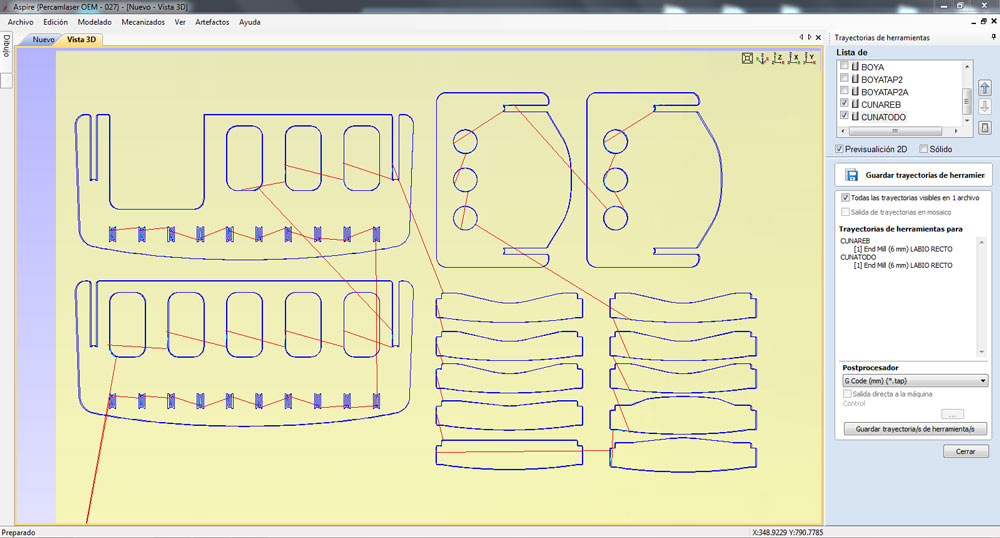
Once we obtain the new measurements, we make the cutting configuration of the example pieces in Aspire.
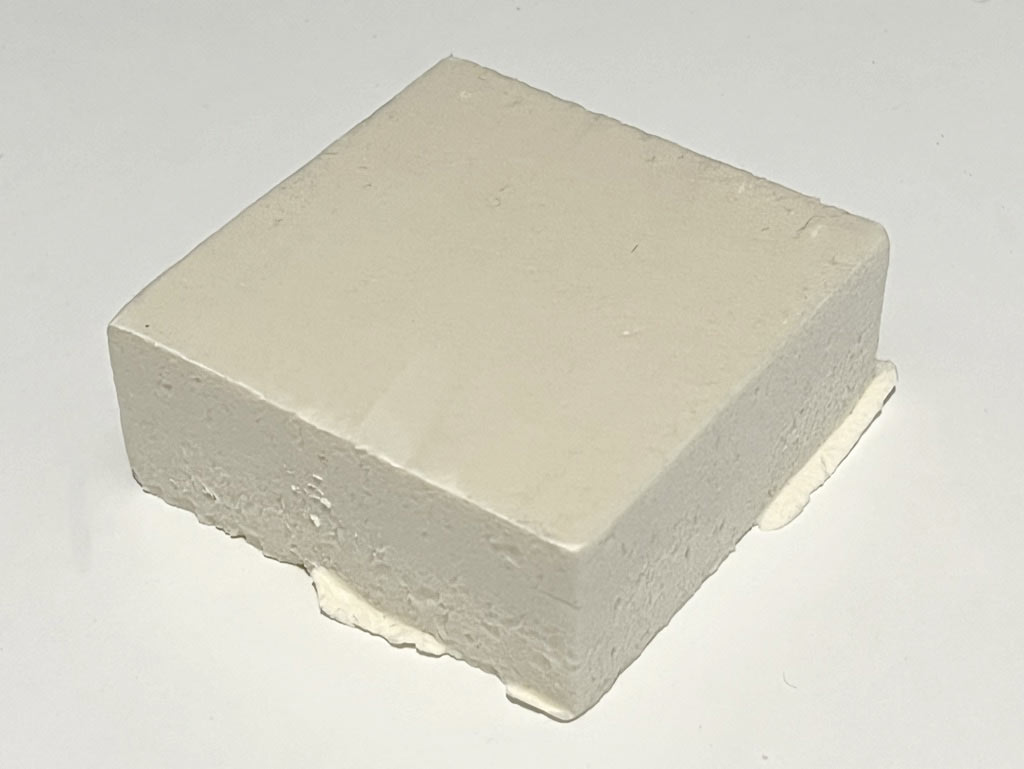
First, a simple 10x10mm square in 40mm thick compressed polyurethane.
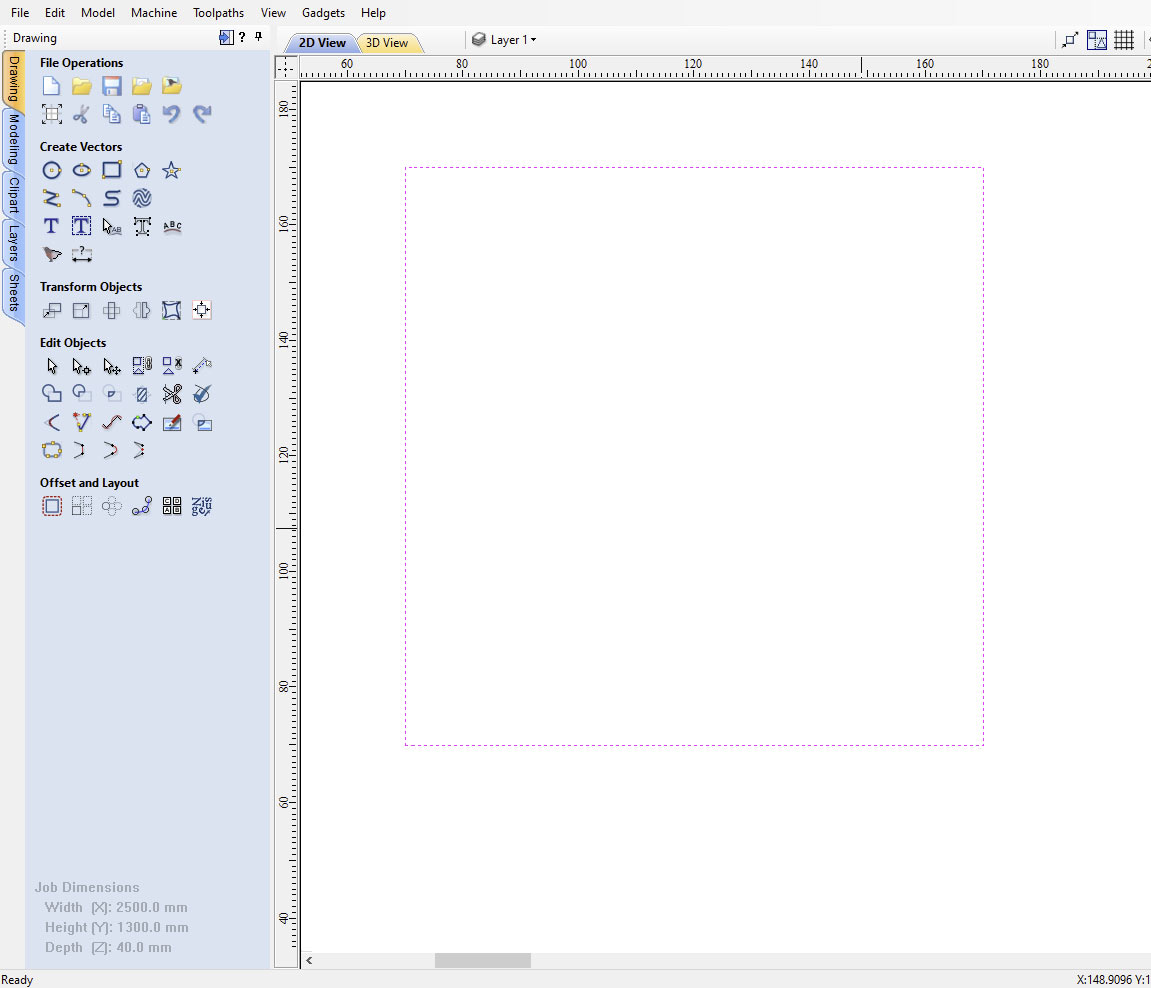
It is very important to always check that the design takes into account the diameter of the mills
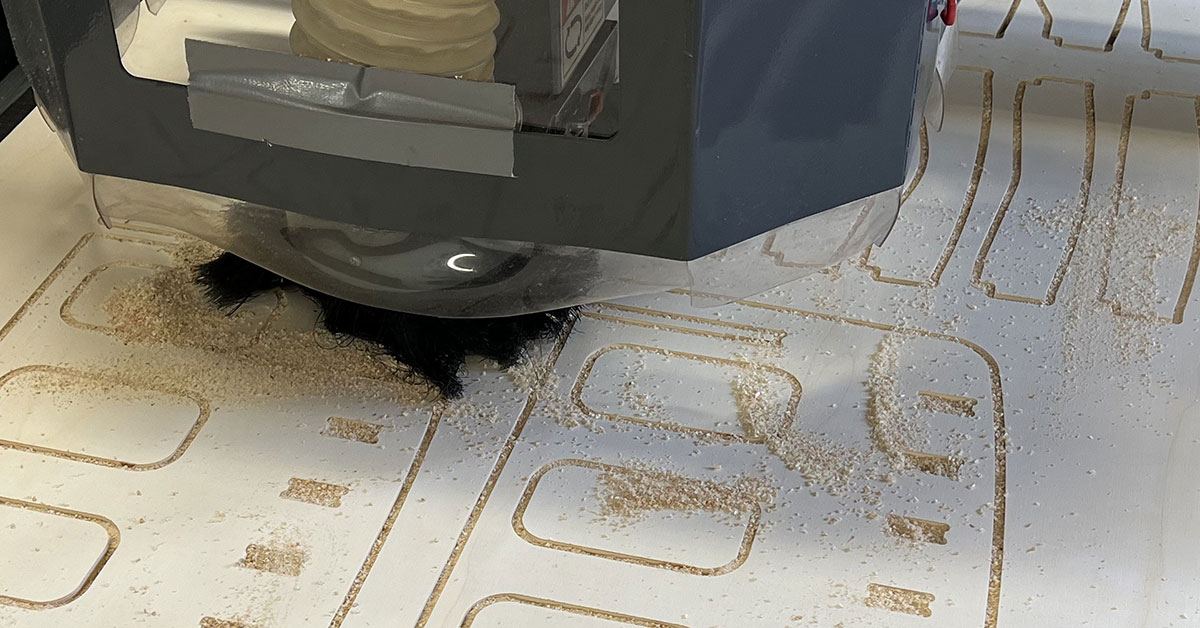
Once we have prepared the file to cut, we must take it to the CNC via USB, load it: RUN/PAUSE, select the input USB in the remote control, and X+ or X- for navigate in files, and press OK, check that everything is perfect, and press OK to start the job. Once we see that the mills begins to rotate, we must turn on the suction.
The machine cuts perfectly in just a few seconds.
The next test is a socket test, i made in Adobe Illustrator, where we cut 18mm thick plywood and a speed of 8000mm/min
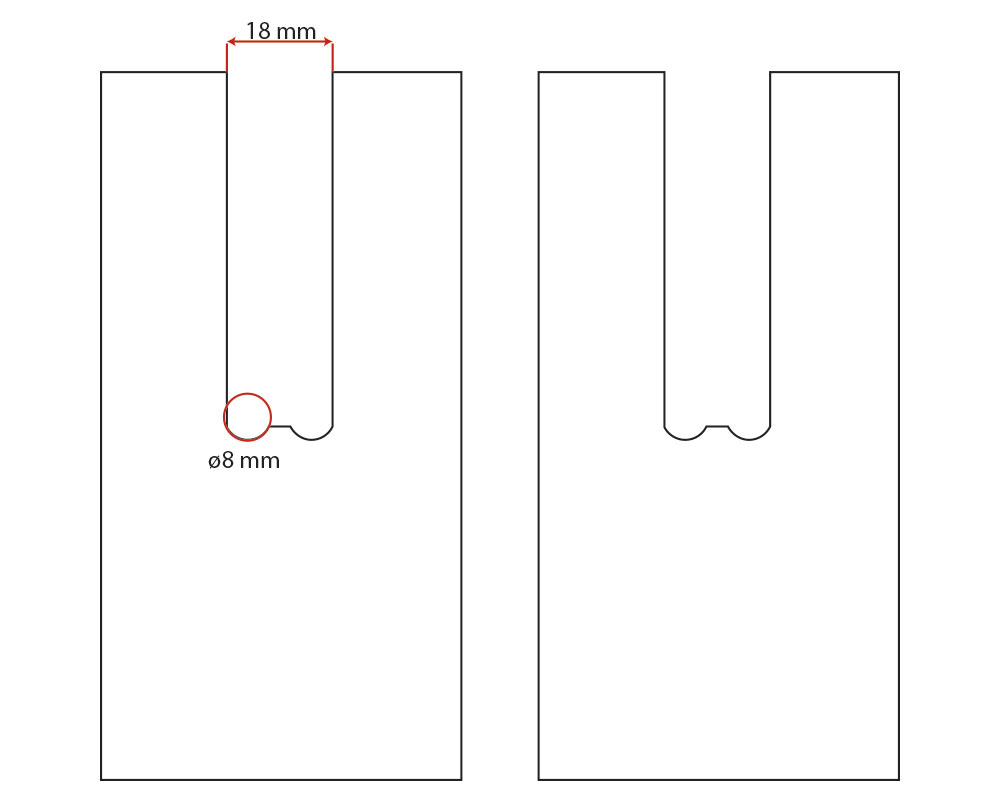
As there is some area without cutting correctly, we give it a little more thickness and make a new cut. This time with 18.1mm final depth and a speed of 9000mm/min.
This time the finish is much better, and the two pieces pressfit perfectly.

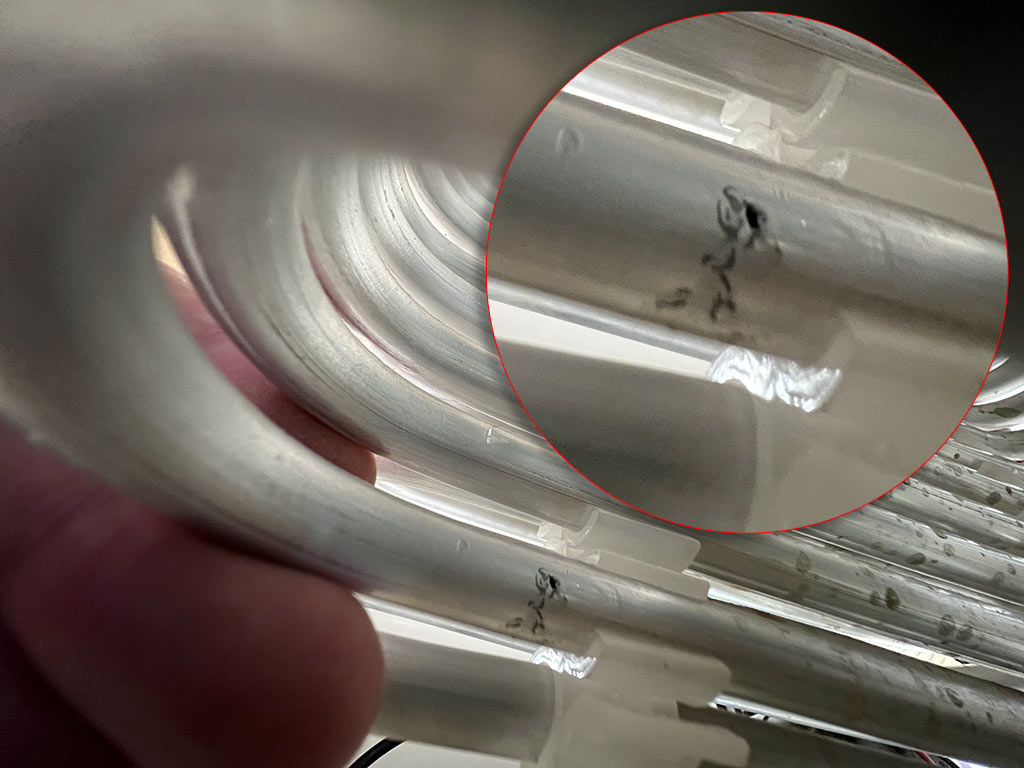
After testing was complete, we found that the floor was wet, the water chiller was leaking water.
Pablo, Adrián and Nuria opened the machine and fixed the water leak with cold solder paste.
Individual Assigment
On Thursday morning, we start the day with the local class. This time we were lucky that Mauro Herrero (Fab Academy 2021) connected, and he told us about his experience handling the CNC, and how to design with the CNC in mind and optimize the cutting work in our projects. The truth was a very good class where both Pablo Pastor and I were able to learn many things. Very thanks Mauro!
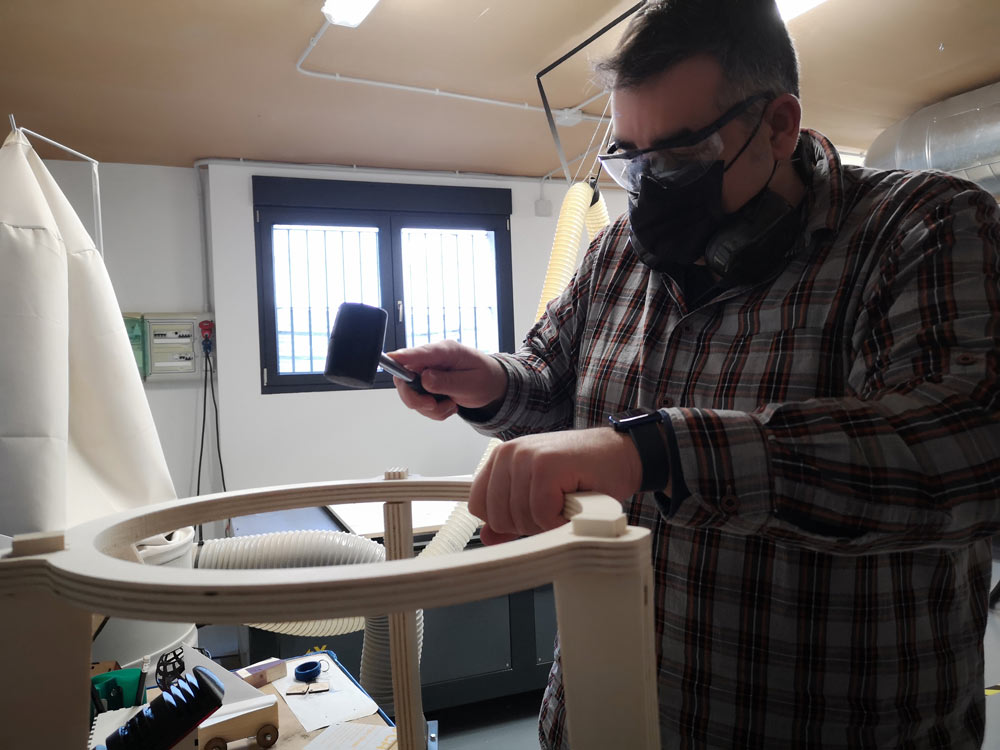
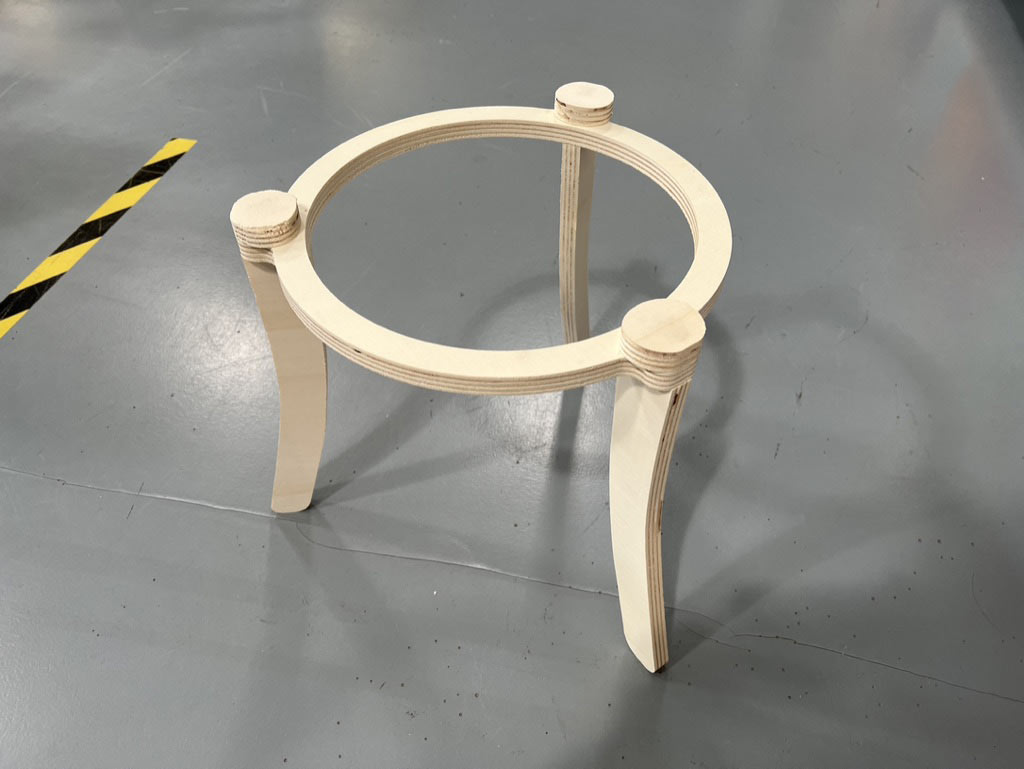
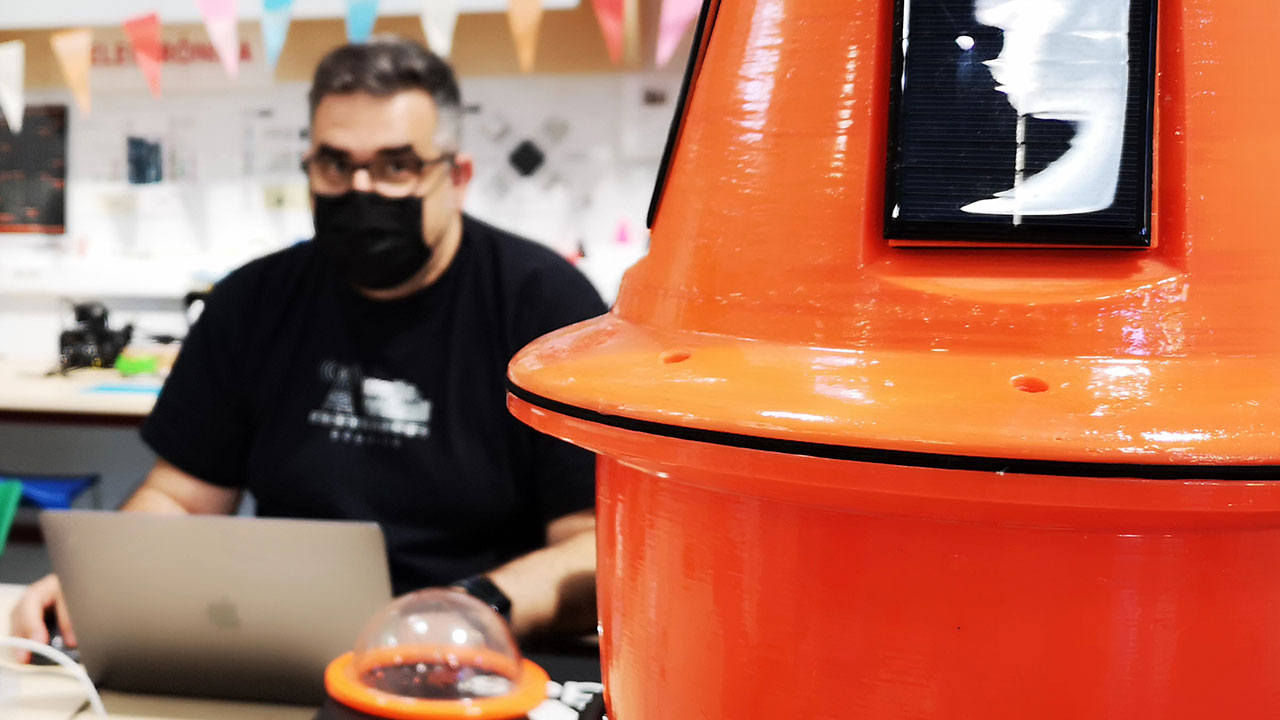
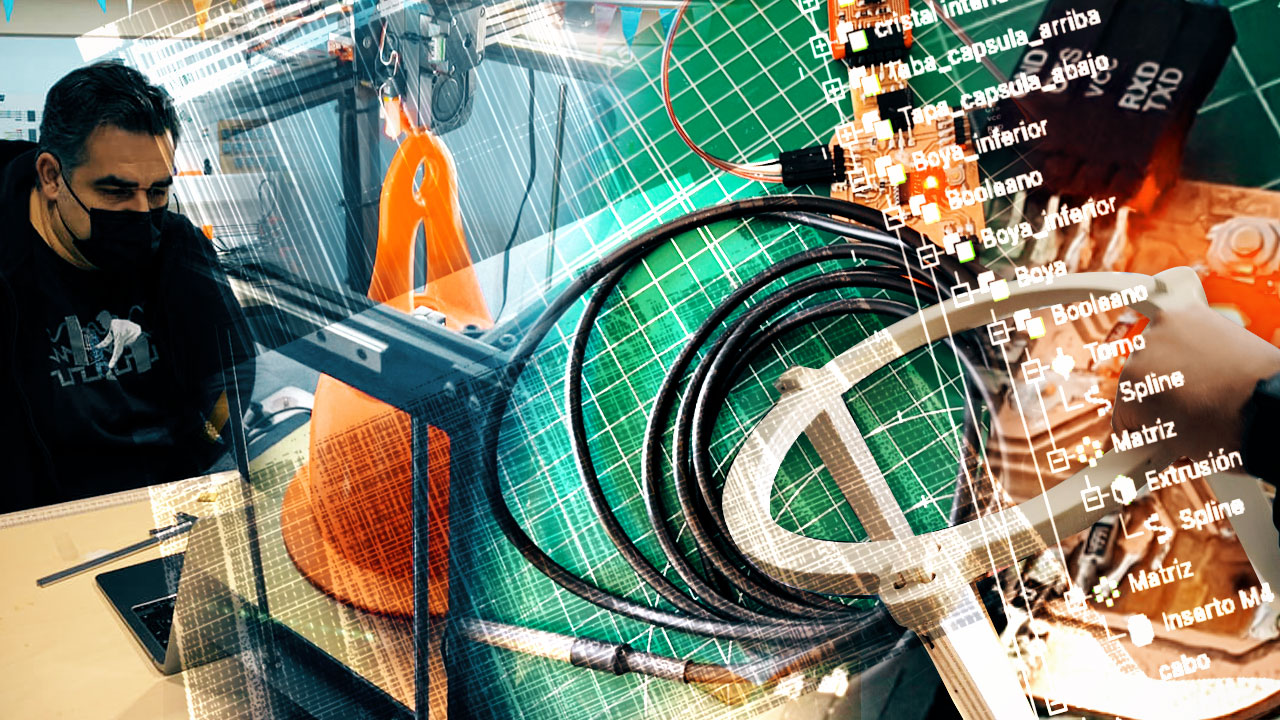
Buoy Stand
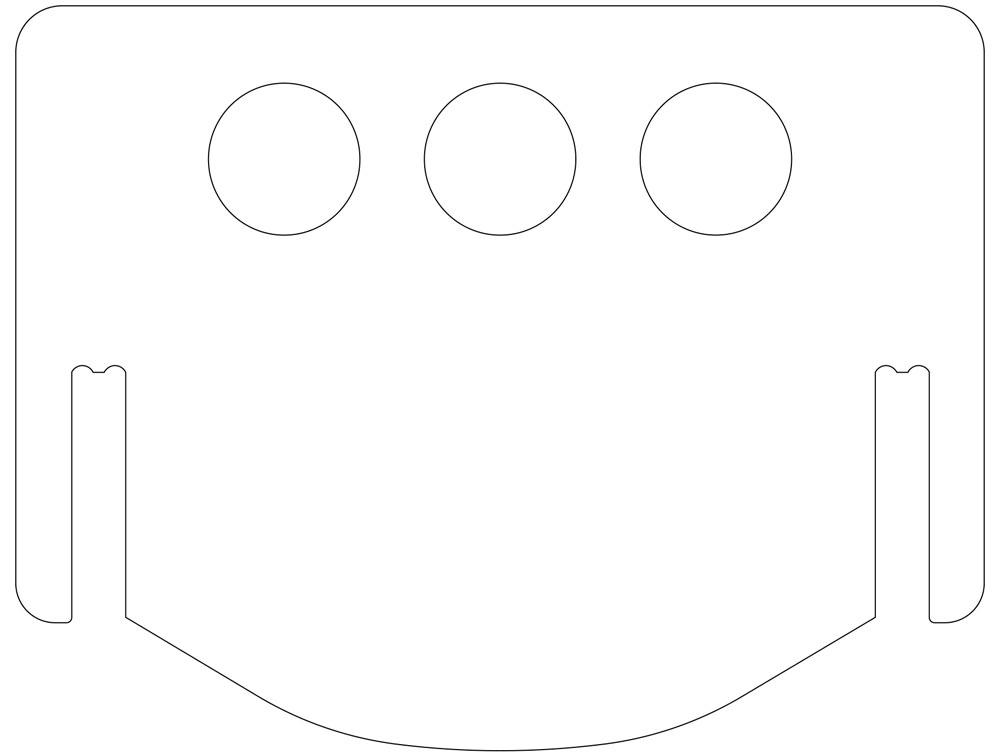
My first object to cnc cut is to make for the final project, a support for the buoy, to use while assembling, or if I had to get out of the water for repairs.
It will be a kind of stool, with a hollow center and three legs, so that it can be supported on any terrain.
The idea is that it can be assembled without the use of screws or glue and that it be rigid enough that it does not come apart on its own.
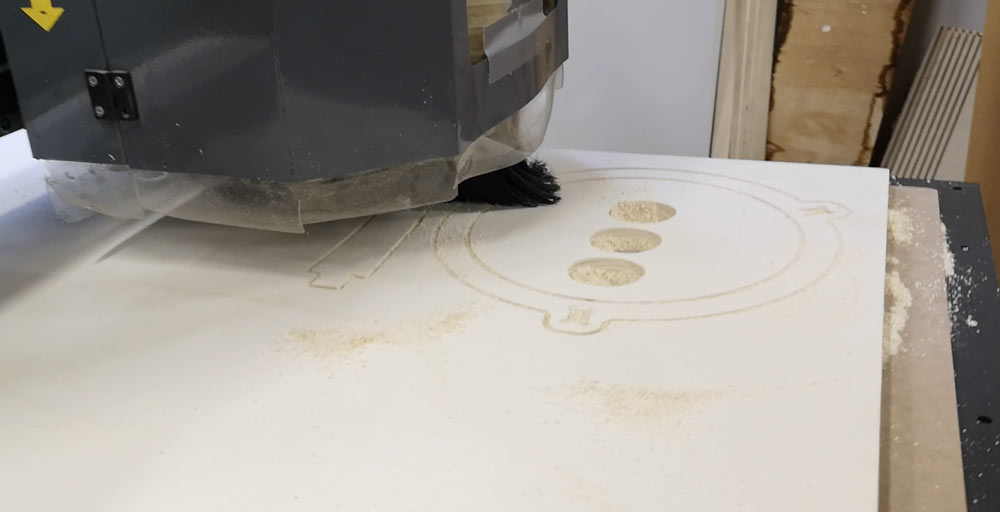
After taking the measurements of the buoy in Fusion 360, and calculating that the diameter of the buoy in the area that I want to support it is about 310mm in diameter, I make the design in Adobe Illustrator.
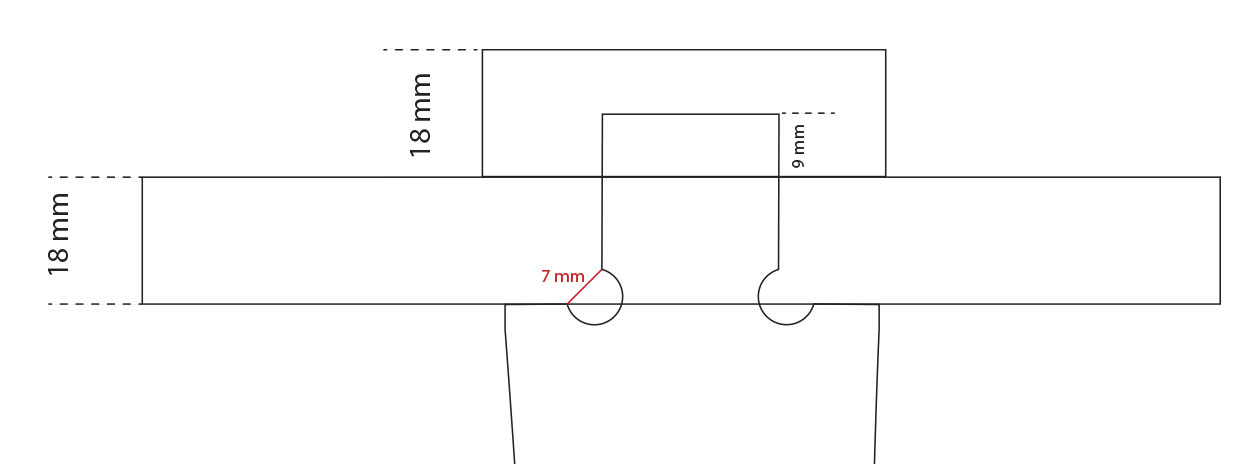
For the pressure fit in the design I make a small recess in the corners, so that when milling the angled areas they fit correctly.
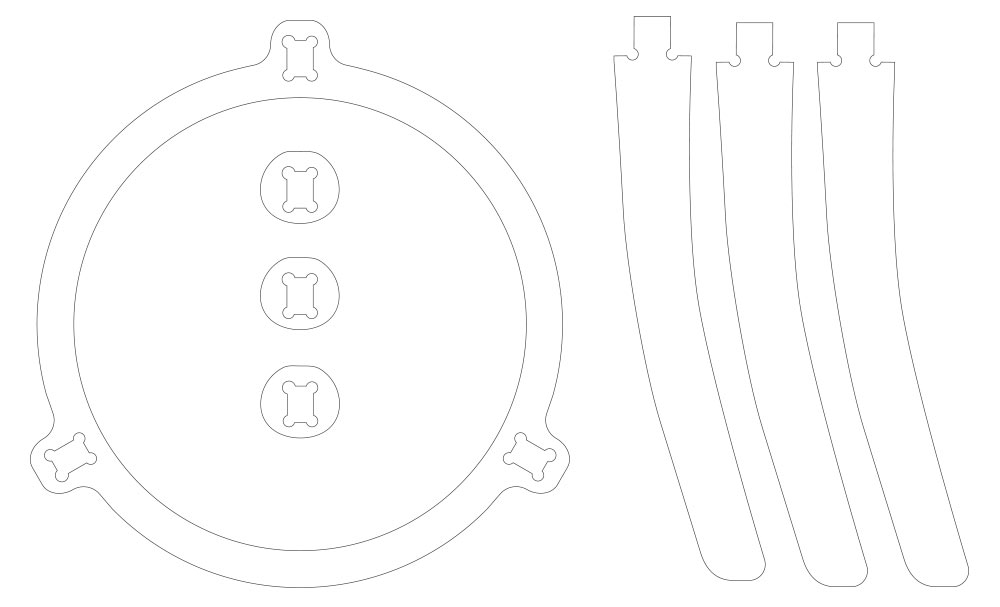
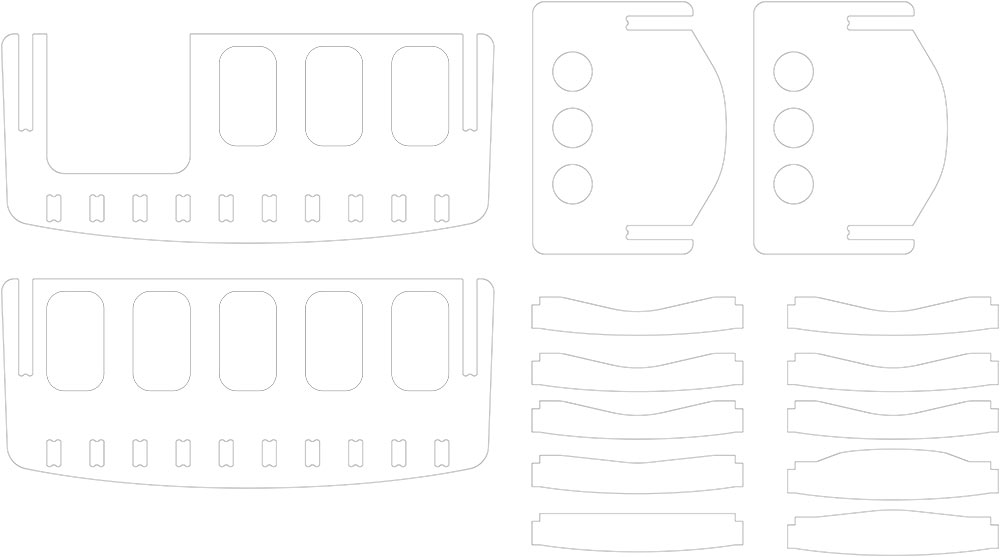
The wood we will use is 18mm plywood so I already have the reference from the tests we did the night before.
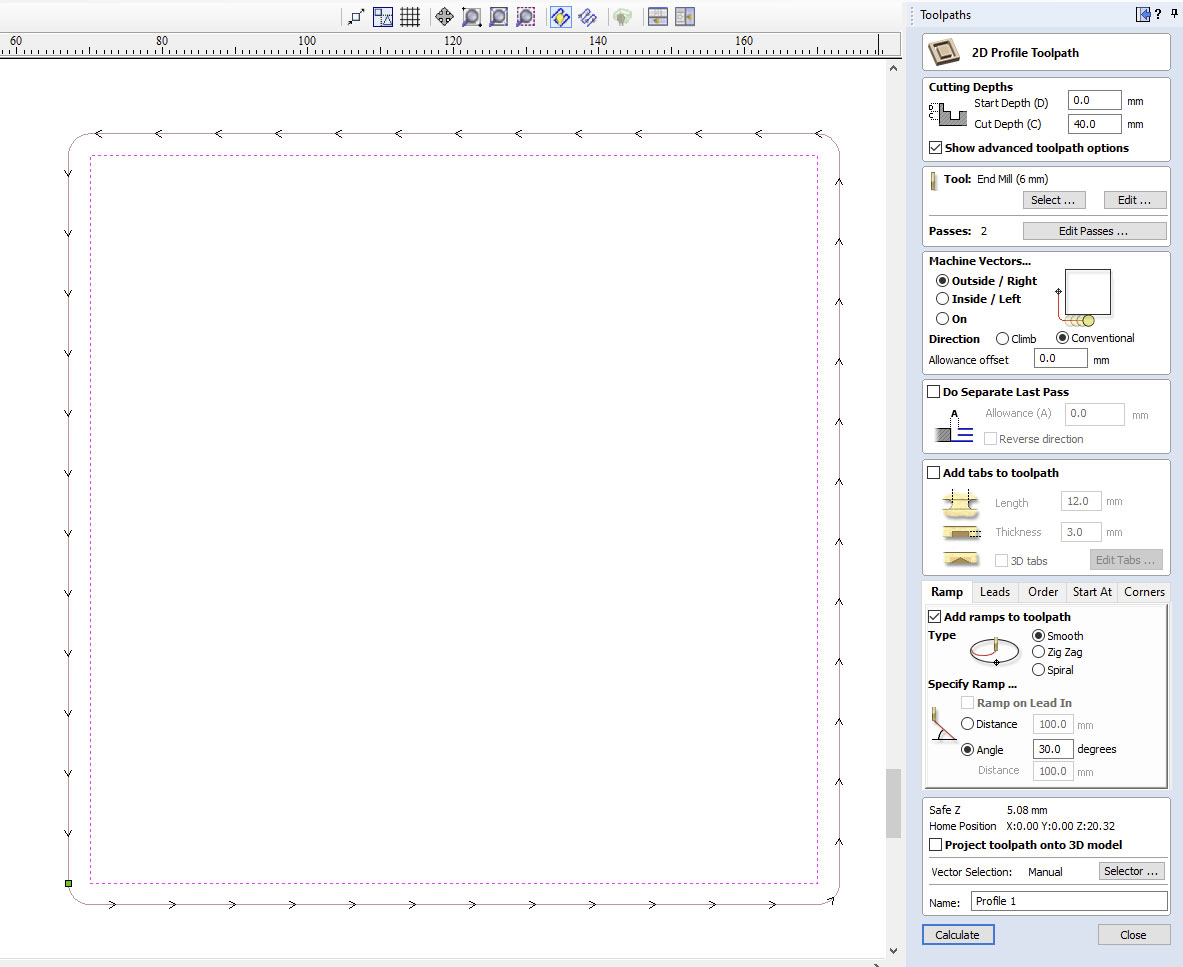
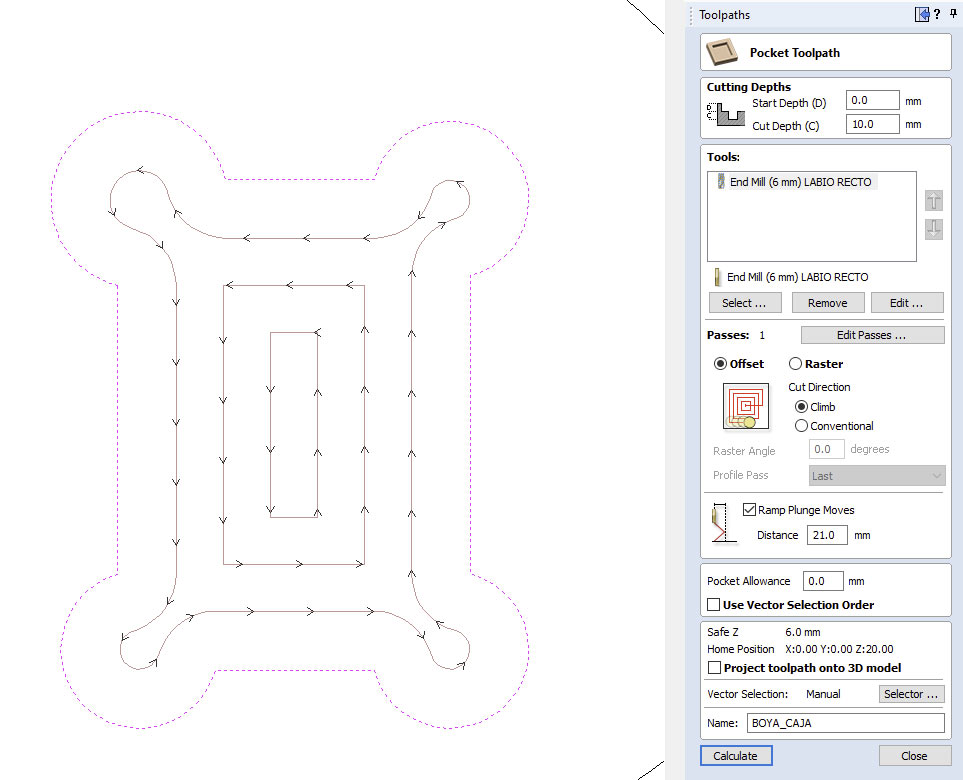
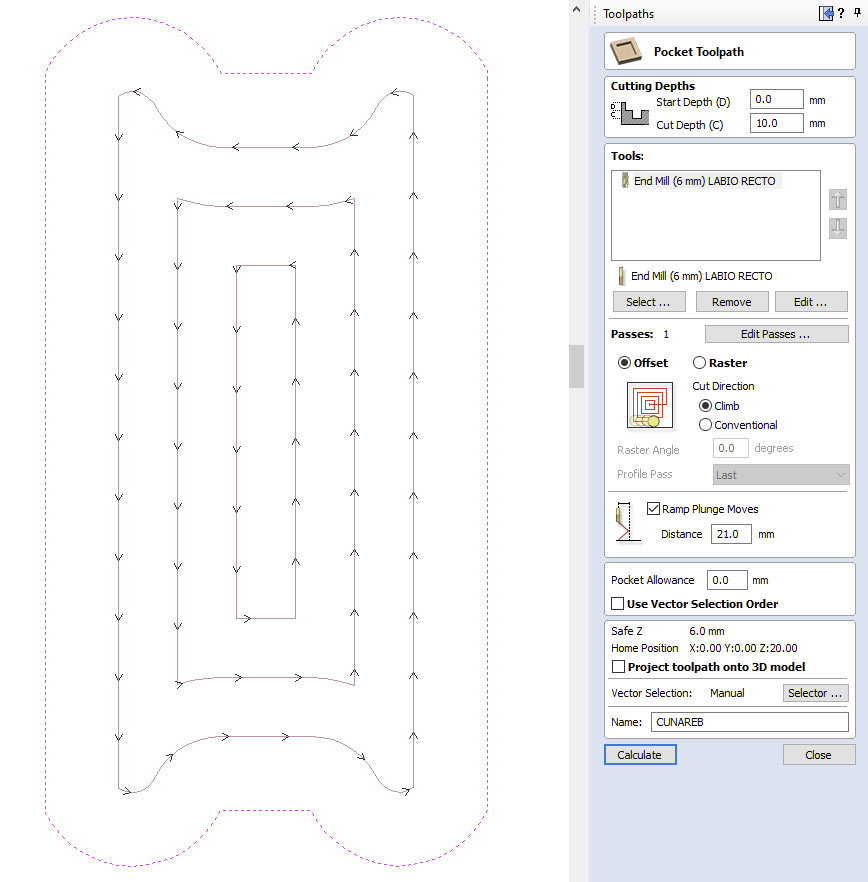
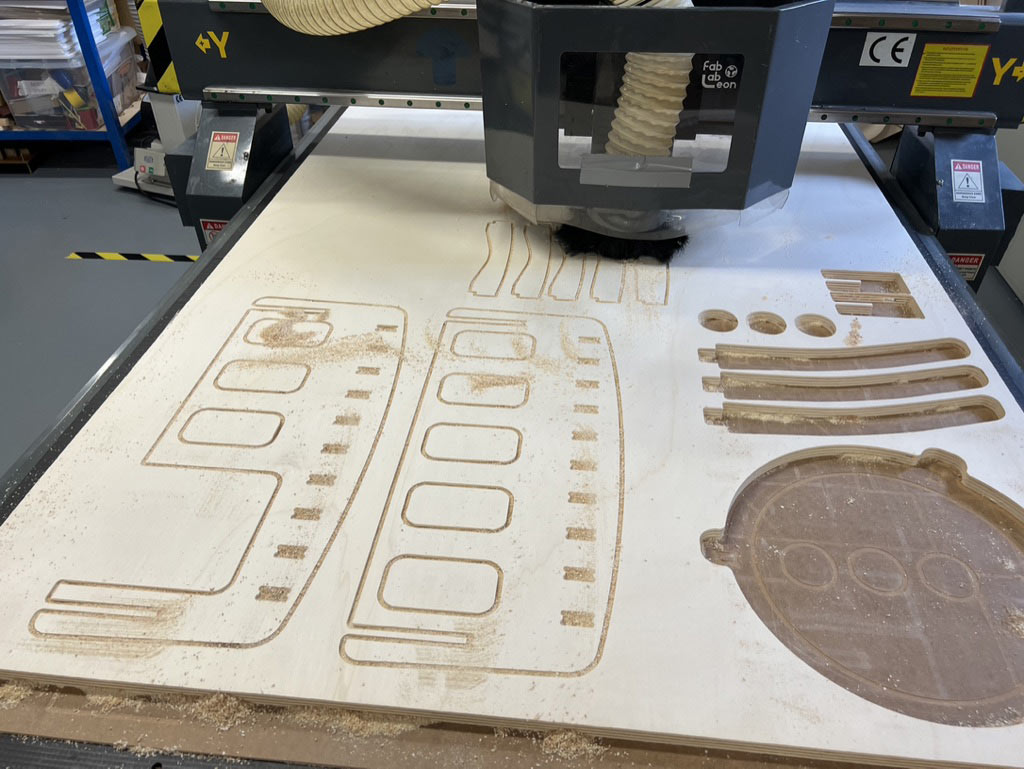
The first thing we configure in the software is the pocket toolpath of the fitting areas, with 10mm.
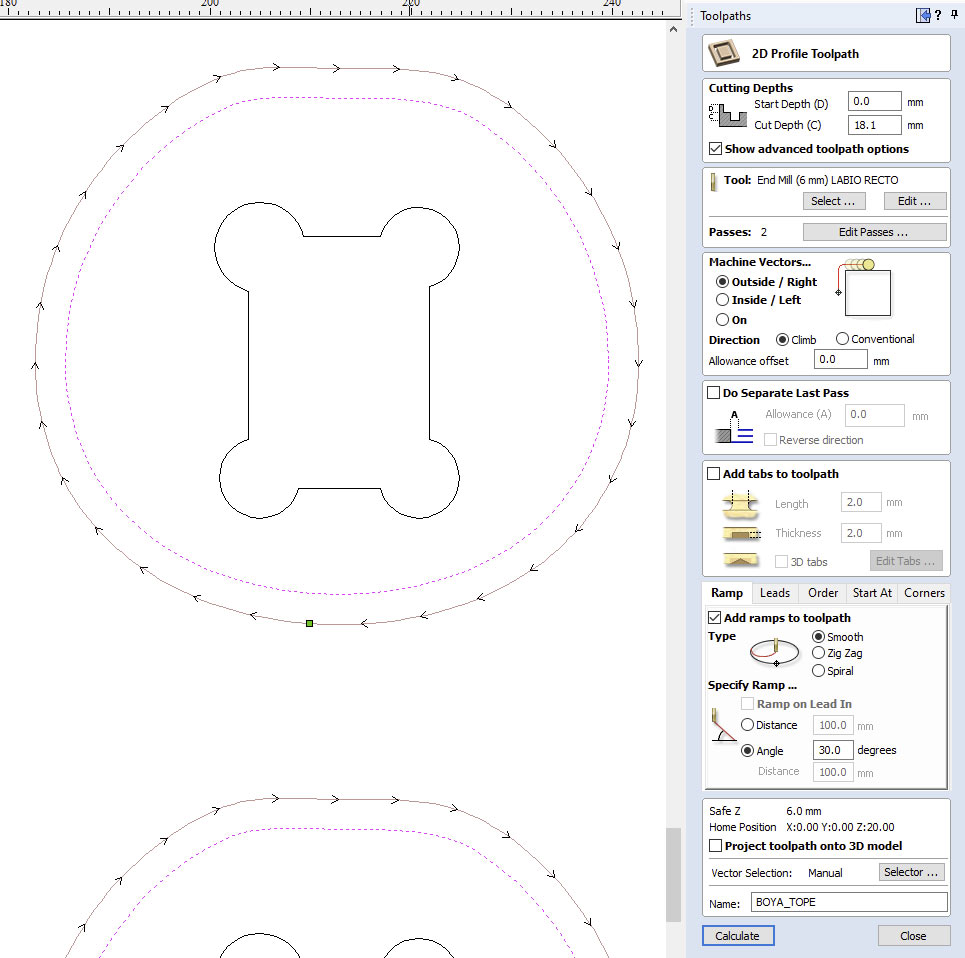
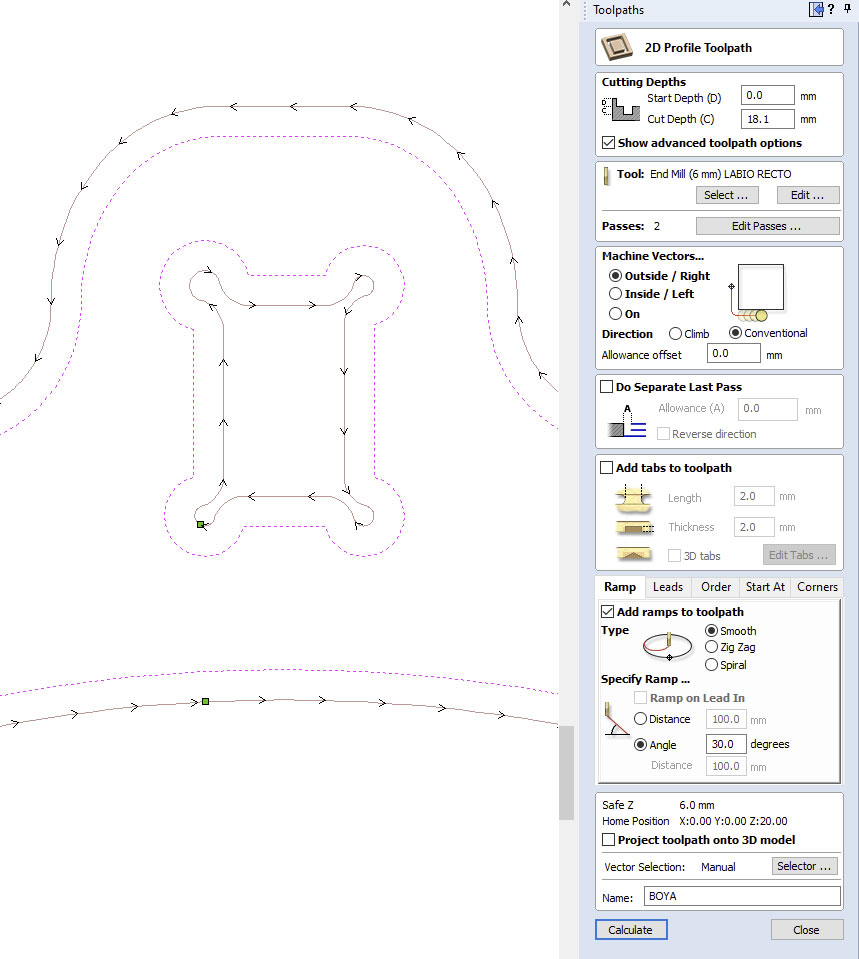
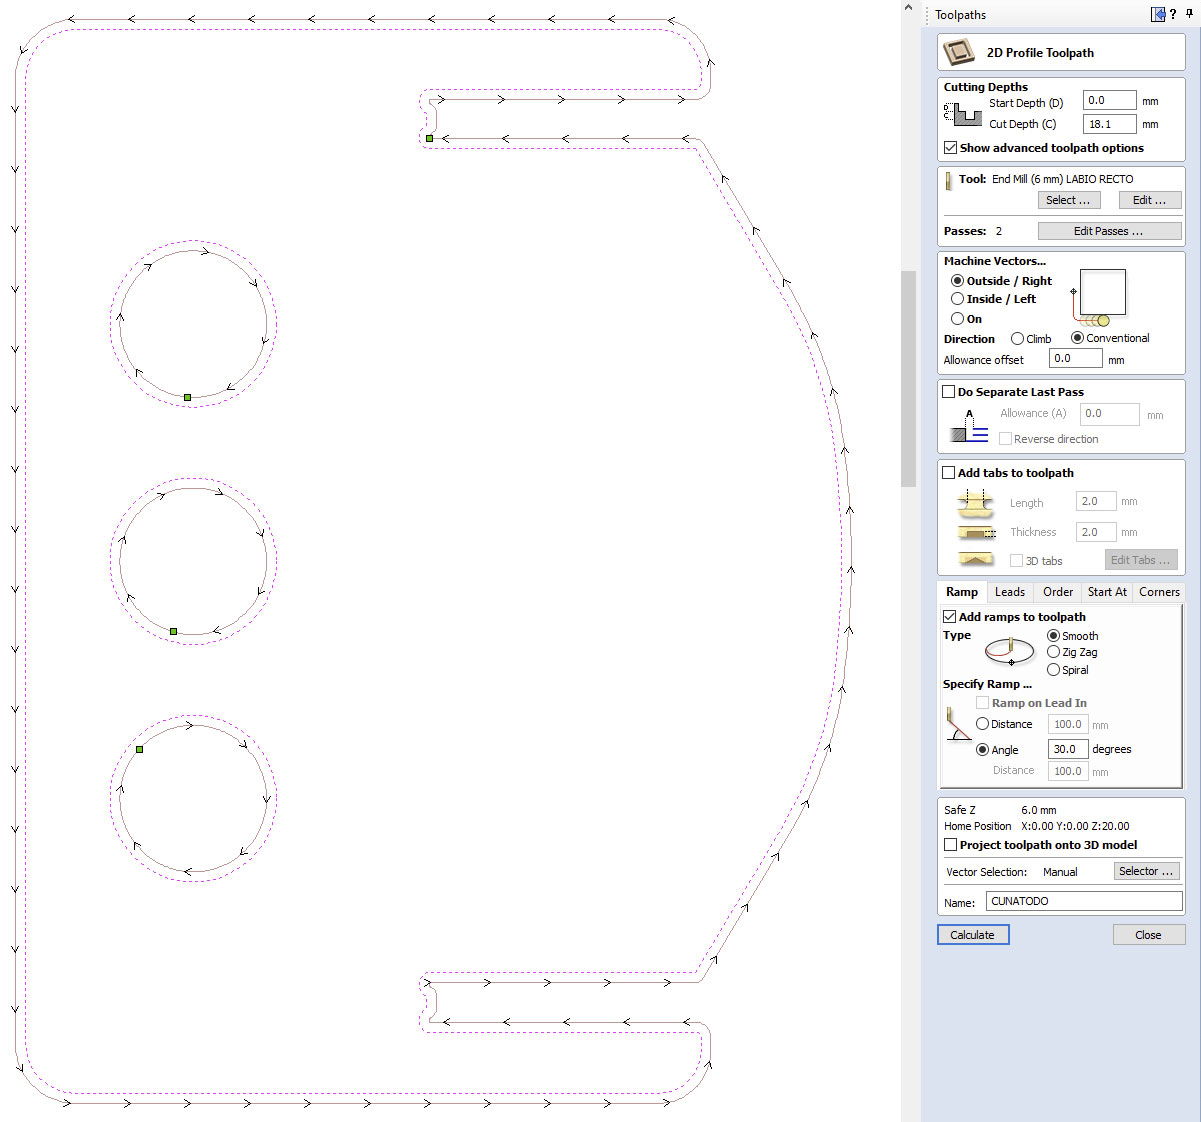
And then the 18.1mm 2D profile toolpath

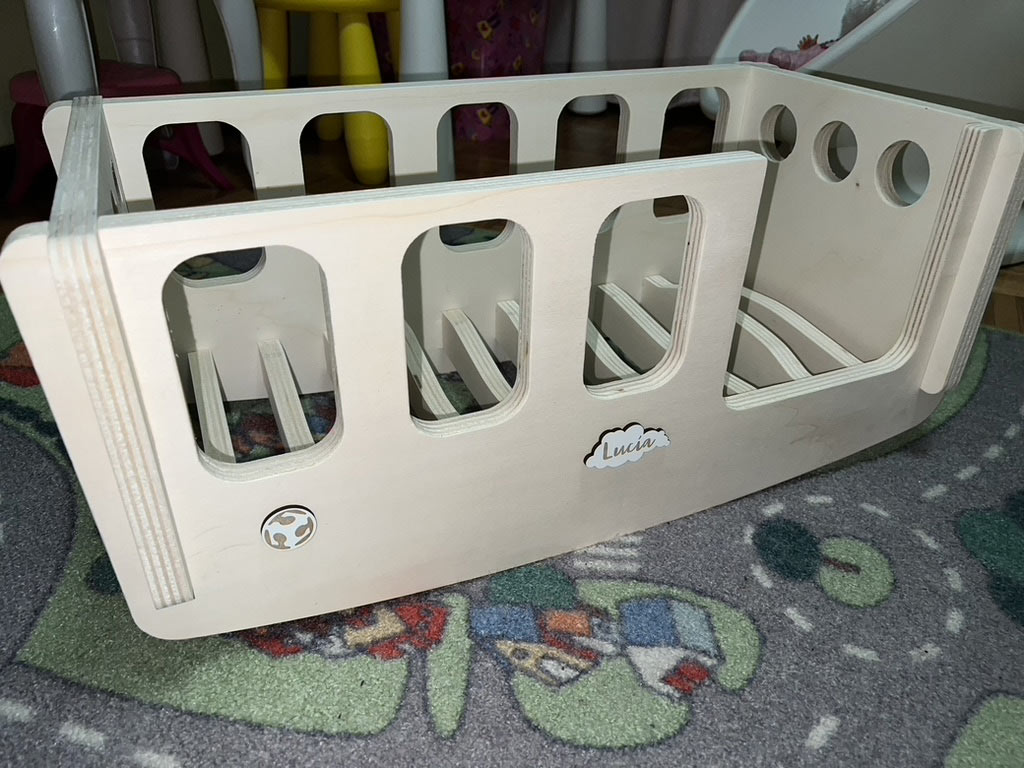
Cradle for Lucia’s dolls
The second object that I have made has been a crib for Lucía’s dolls, especially for one that she is very fond of, and measures about 55x25cm. I make the design in Adobe Illustrator. the milling bit have a diameter of 6mm.
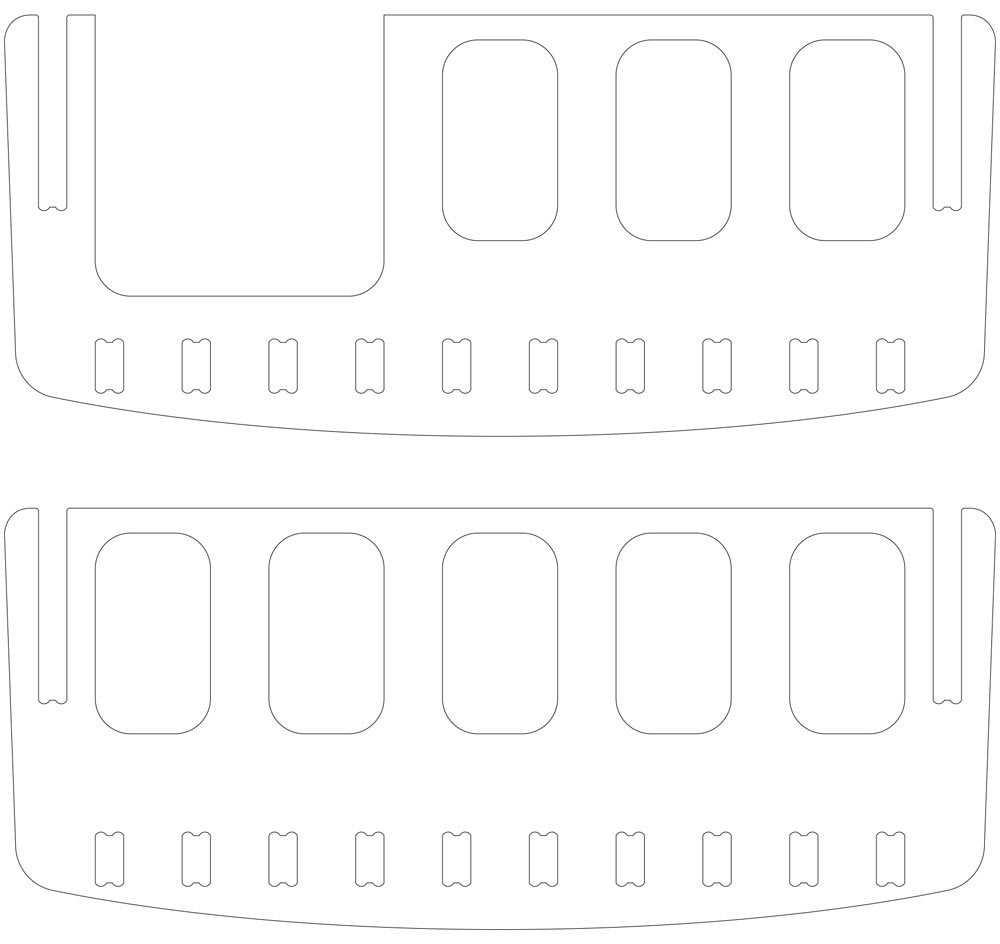
Try to make all the pieces fit together without using nails or glue.
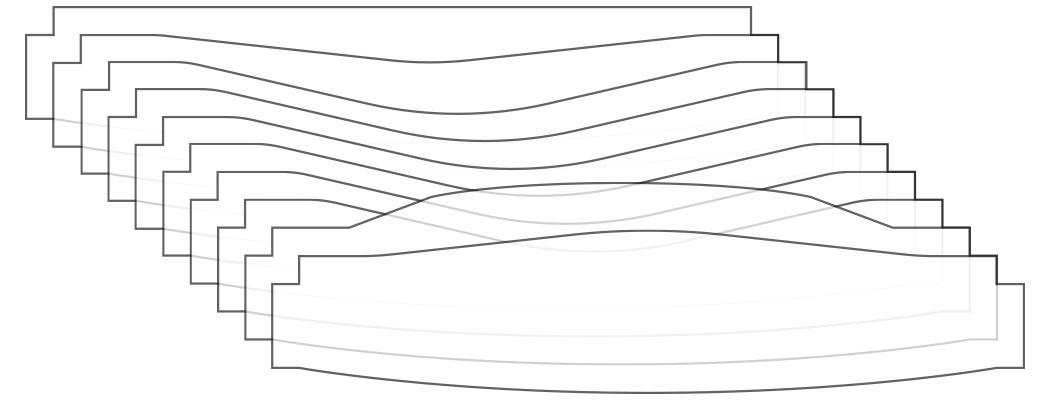
For the box spring, instead of a flat board, I made the skeleton of the mattress and pillow.
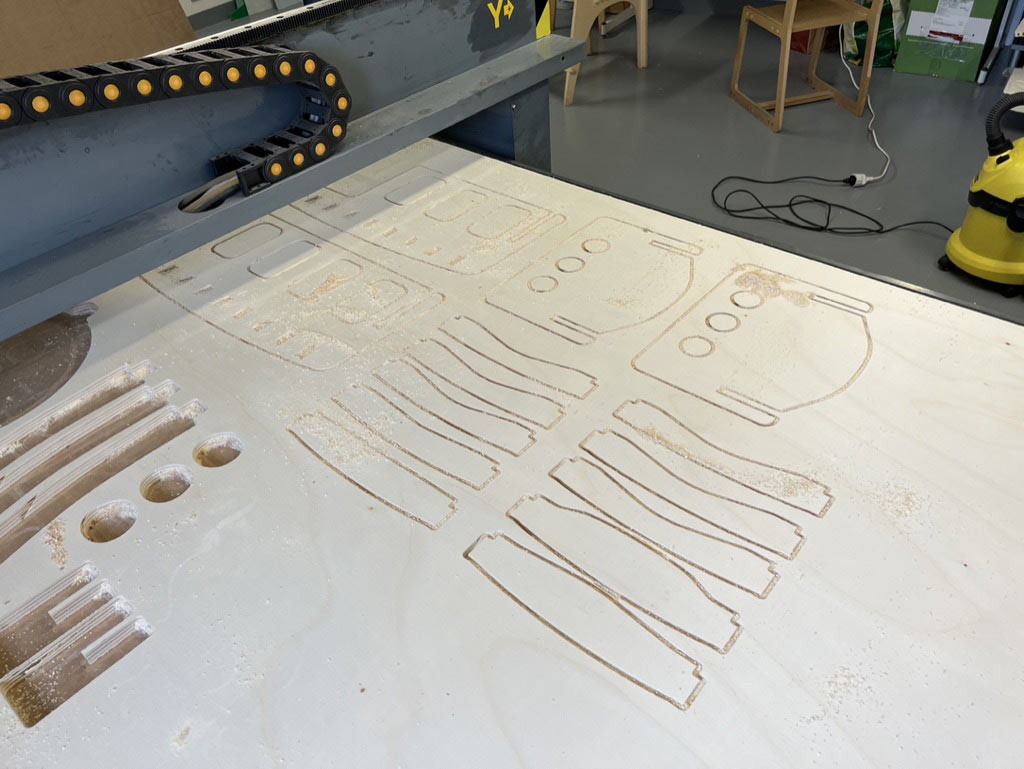
Since the material is the same as the buoy and plywood tests, I use the same settings and put all the pieces together to do it all at once.
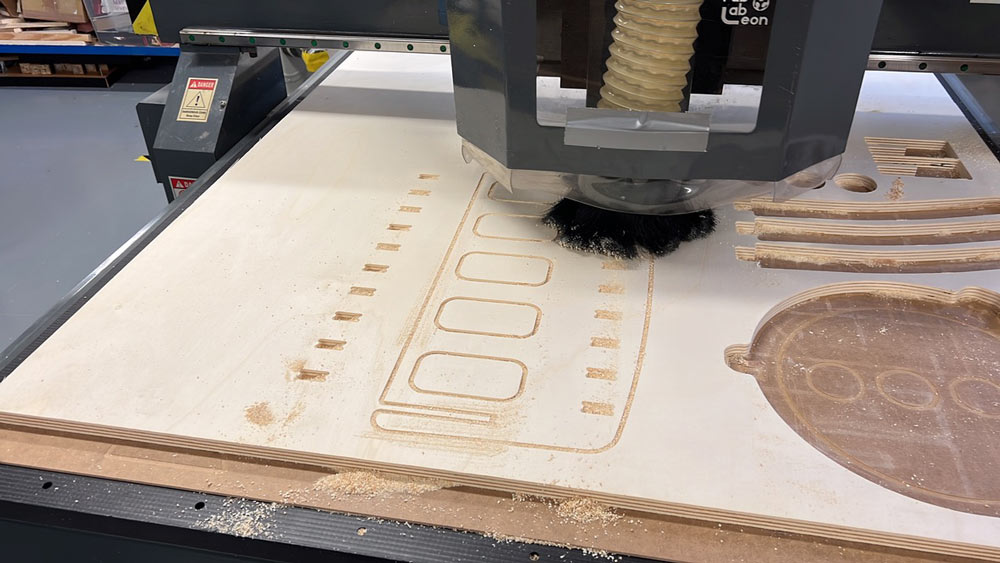
The machine cuts the wood for about 5 minutes.
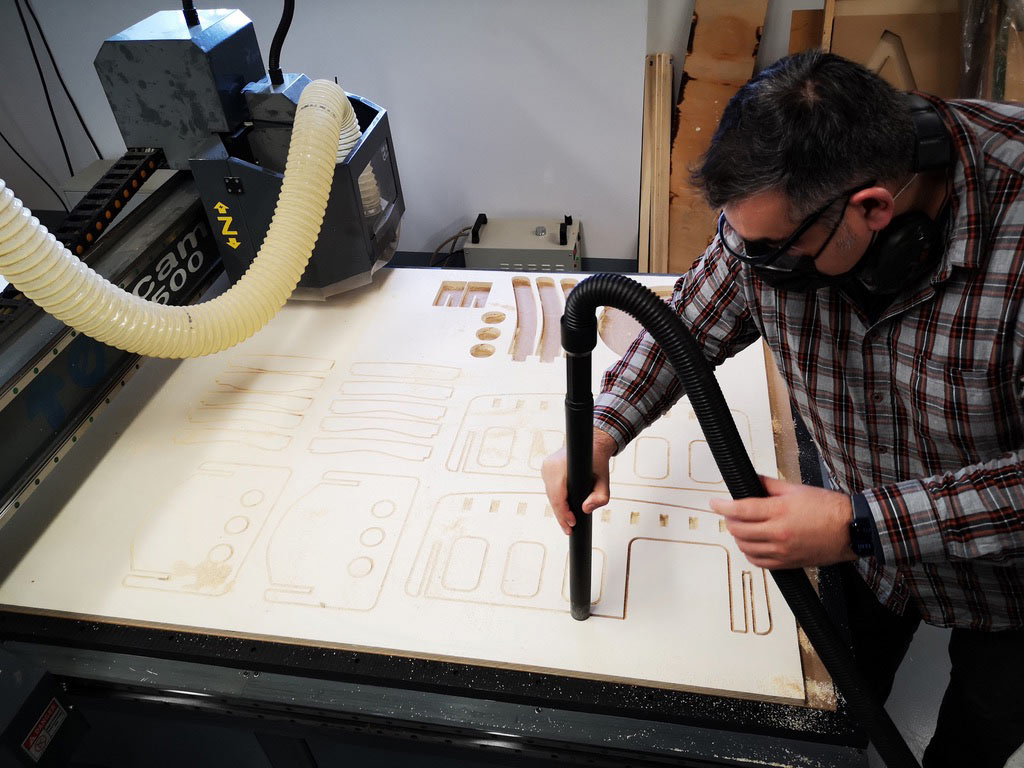
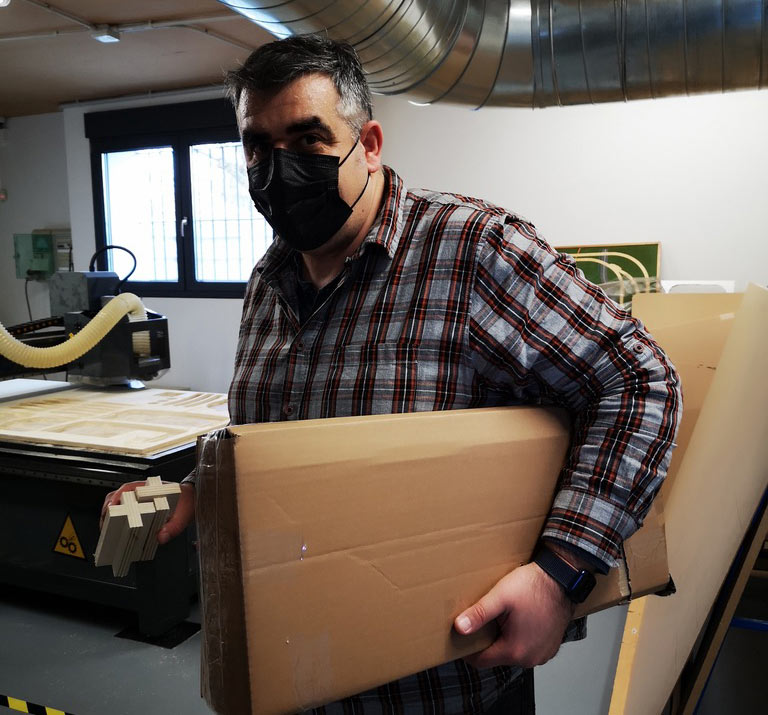
Once everything is cut and the machine is clean, we pack it to be able to assemble it when I return home to Vigo.
I have also designed and cut some pieces in laser, which will be glued to the crib.
To assemble the crib, once the Vigo, I had to sand it down enough so that there were no splinters left that could hurt Lucía.
I also had to sand the bed base slats, since I made them fit just right and when I assembled them individually it was easy, but when I wanted to join the two sides it was difficult to join 10 at a time.
I also realized that I hadn’t done the dog bones on the bed base boards, so I had to sand down the corners with sandpaper.
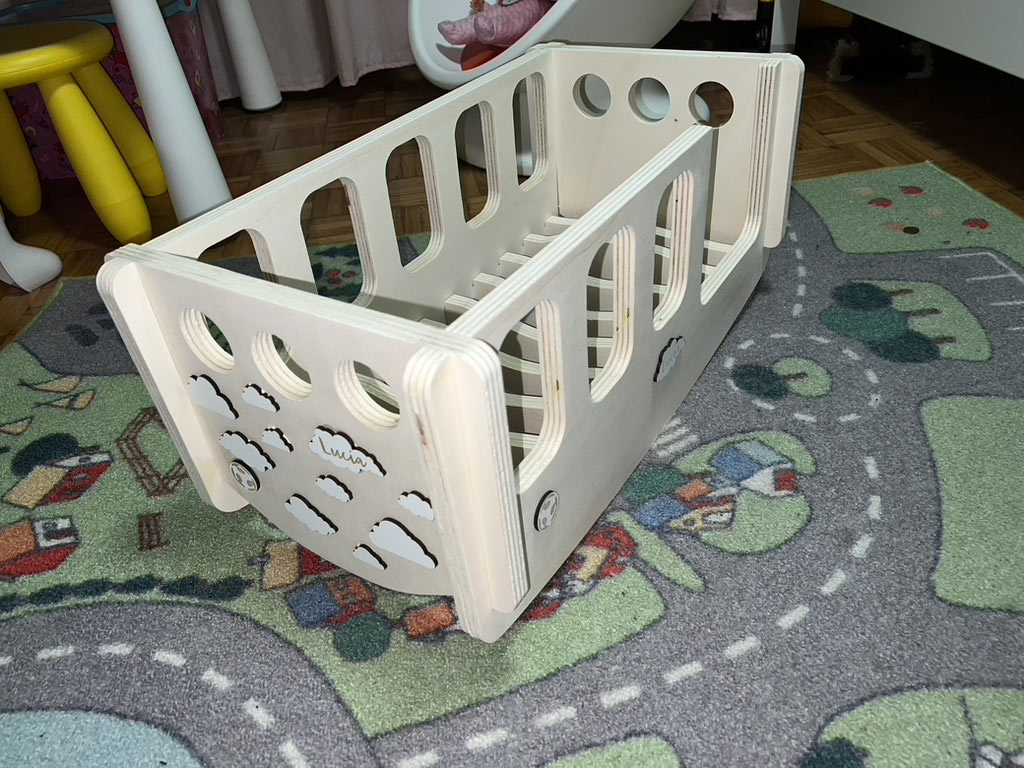
Almost an hour sanding, but the result was great and Lucía is really enjoying her crib with her toys.

Good night!
Downloads
Explore more like this
17 - Invention, Intellectual Property, and Income
This is the last week before I present the final project, I already have a slide and video proposal of my project.
16 - Applications and Implications
Propose a final project masterpiece that integrates the range of units covered, answering: