5 - 3D Scanning and Printing
We learn the 3d scanning and printing
Summary
This week we add to 3d design with manufacturing with 3D printing and scanning.
Assigments
- group assignment:
- test the design rules for your 3D printer(s) - individual assignment:
- design and 3D print an object (small, few cm3, limited by printer time)
that could not be made subtractively
- 3D scan an object (and optionally print it)
Group assignment
The link to Group Assignments of Fab Lab León is this
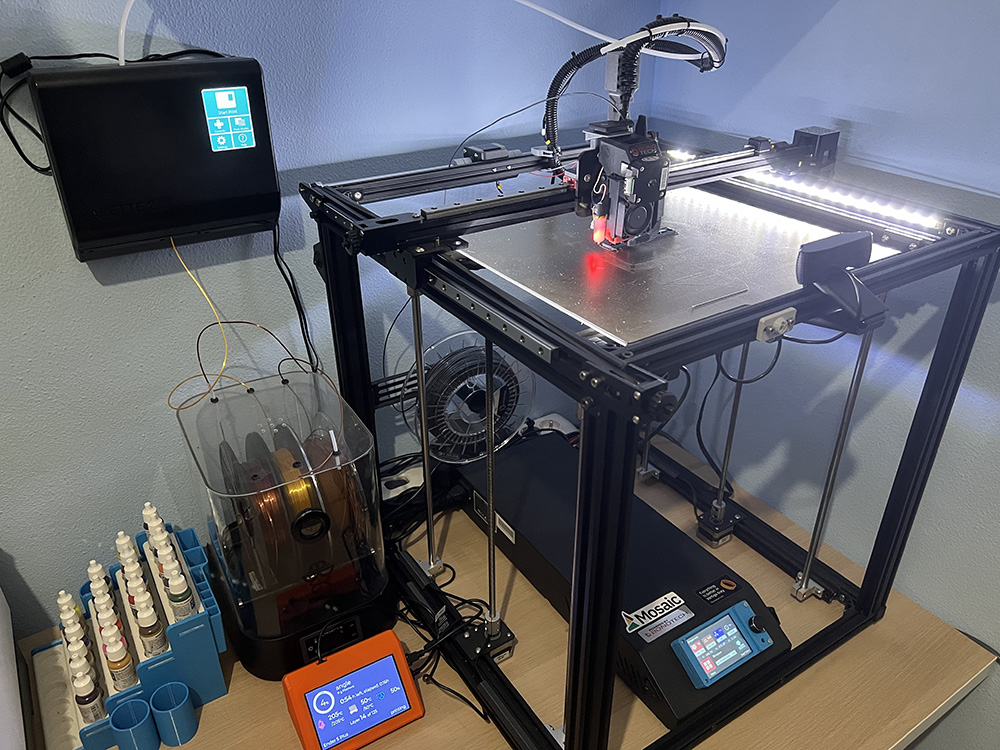
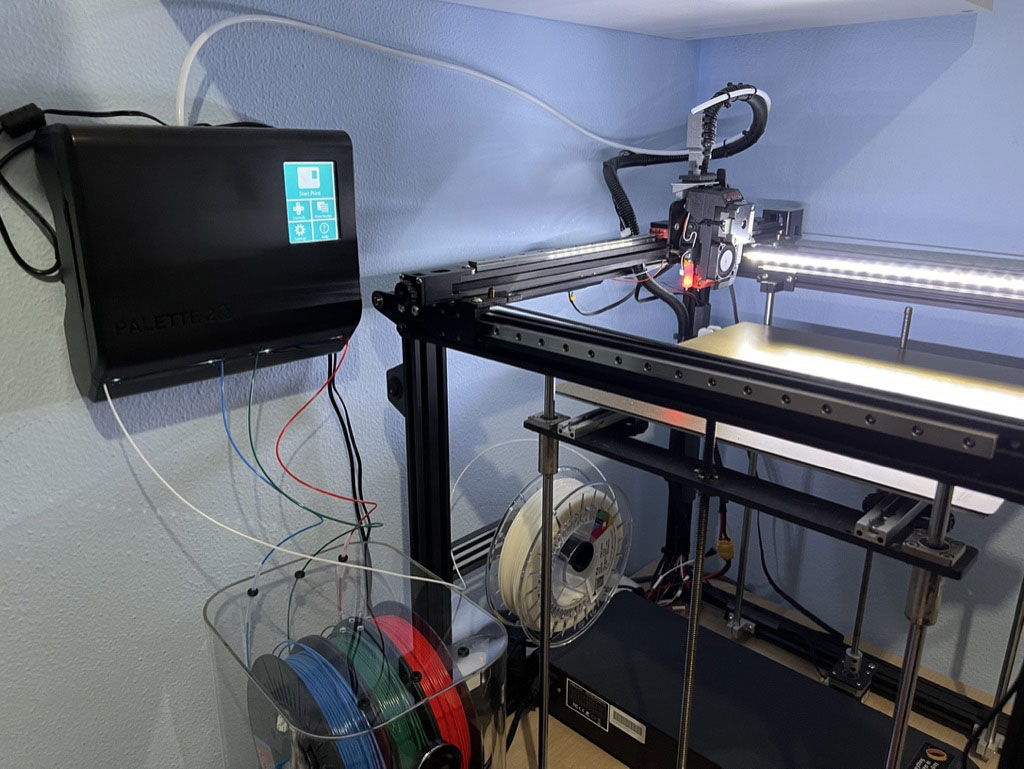
Ender 5 Plus + extras
I have a Creality Ender 5 Plus (link) in home. Is a big 3d printer with a volumme of 350x350x400mm. But have little problems:
- Very noise
- Bowden extruder
- Glass build plate
- Bearing-wheel carriages
- Firmware Creality
For resolve this i made a lot of upgrades. The first, and before start to print was buy a silent mainboard. Creality have one yet, but after i change and start to print, i think in replace with a 32bit mainboard with Marlin support. I buy the BigTreeTech SKR V1.4 Turbo with TMC2209 drivers.
After made a good compilation of Marlin, I set the printer with sensorless homming for dont use the end-stops in x and y axis.
#define SENSORLESS_HOMING // StallGuard capable drivers only

#if EITHER(SENSORLESS_HOMING, SENSORLESS_PROBING)
// TMC2209: 0...255. TMC2130: -64...63
    #define X_STALL_SENSITIVITY  110
    #define X2_STALL_SENSITIVITY X_STALL_SENSITIVITY
    #define Y_STALL_SENSITIVITY  110
    #define Y2_STALL_SENSITIVITY Y_STALL_SENSITIVITY
#endif
For Z homming the Ender 5 Plus have a BL-Touch, i use the Unified Bed Leveling with a grid 15x15.
#define UBL_MESH_INSET 10         // Mesh inset margin on print area
#define GRID_MAX_POINTS_X 15      // Don't use more than 15 points per axis, implementation limited.
#define GRID_MAX_POINTS_Y GRID_MAX_POINTS_X
For start the gcode i add this lines for use the save UBL in slot 1:
G28 ; home all axes
G29 A ; BLTouch
G29 L1 ; Load UBL in slot 1
G29 J; Made a fast test
For config the accelerations I use the command of Marlin Linear Advance. Can made the K-factor calibration g-code in this page. After made the print test only need add this line to Marlin:
#define LIN_ADVANCE_K 0.07
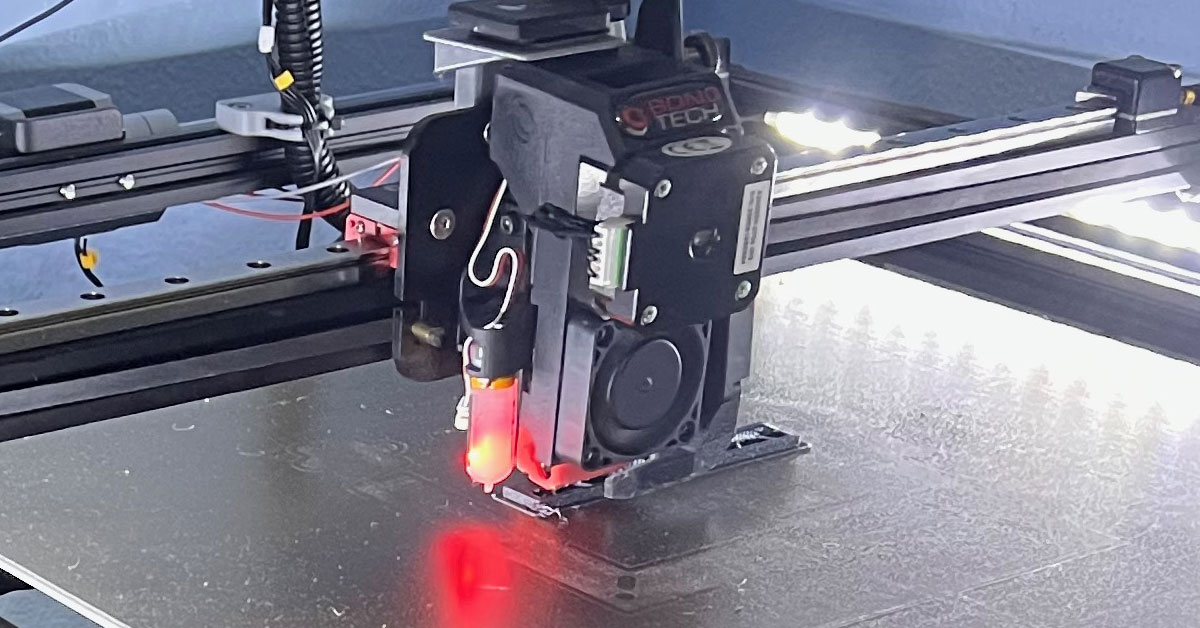
I replace the bowden extrude with a direct extrude, a Bondtech. The have a nice upgrade kits. I change too the honted with a Mosquito, for use with multi-material.
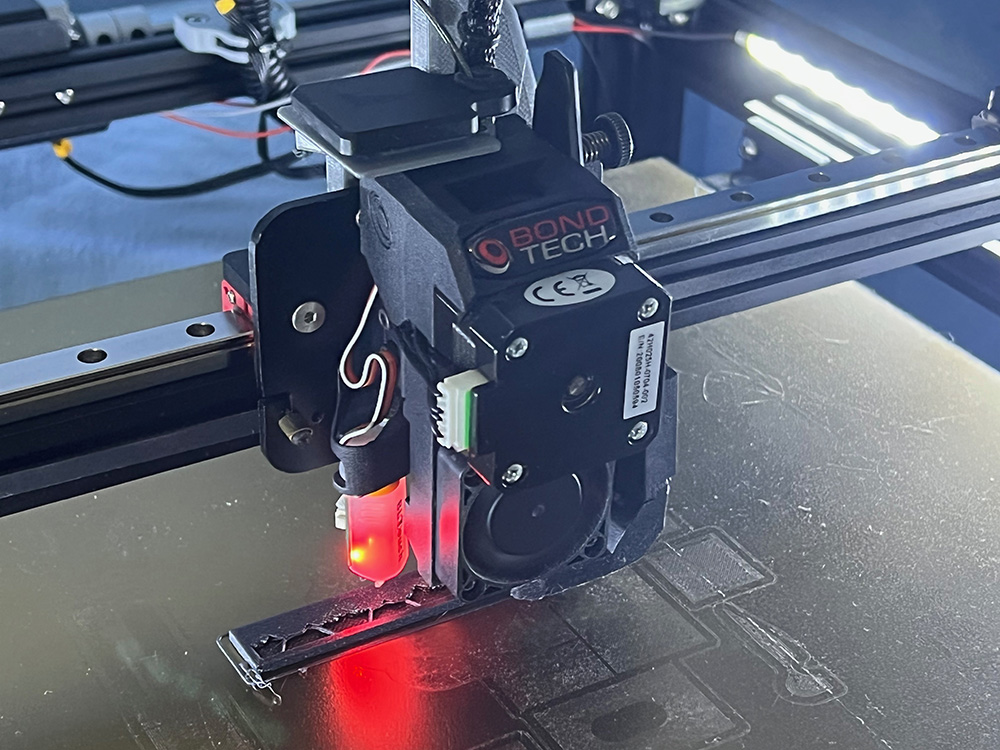
I replace the bearing-wheel carriages with linear rails in x and y axis. They can make me printhead’s motion a lot smoother, producing better 3D prints.
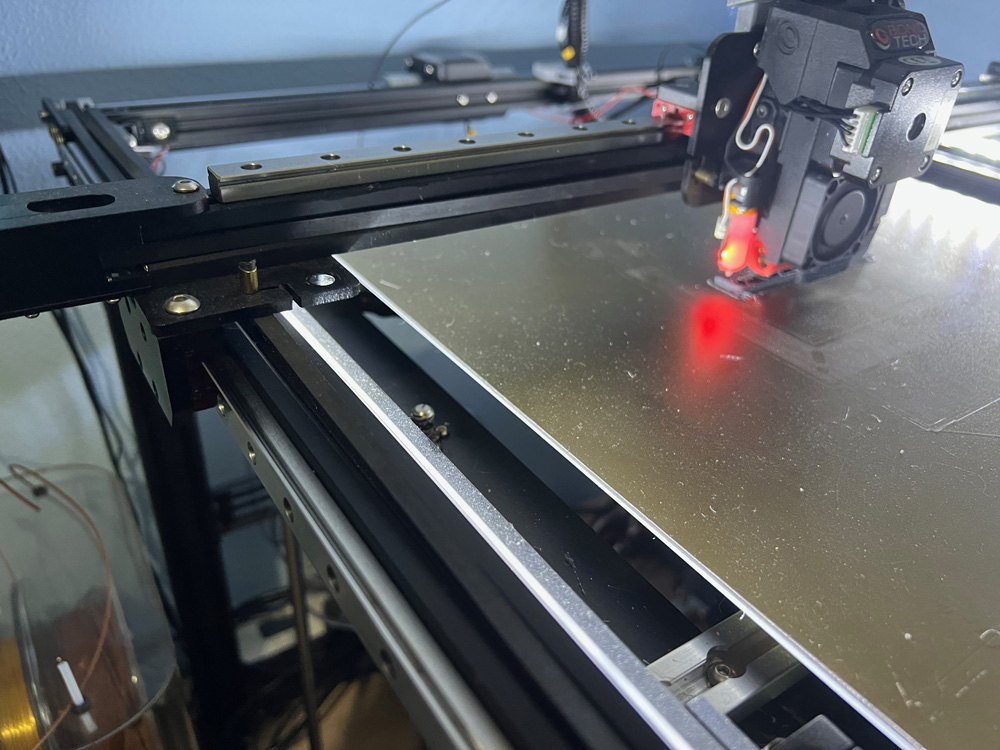
I also added a PEI magnetic build plate, flexible, removable, can stick to magnetics very well. It can provide excellent adhesion for a printed item, removing the need for tape or glue. Now not having to use the clips to hold the bed glass and now can print 370x370x400mm.
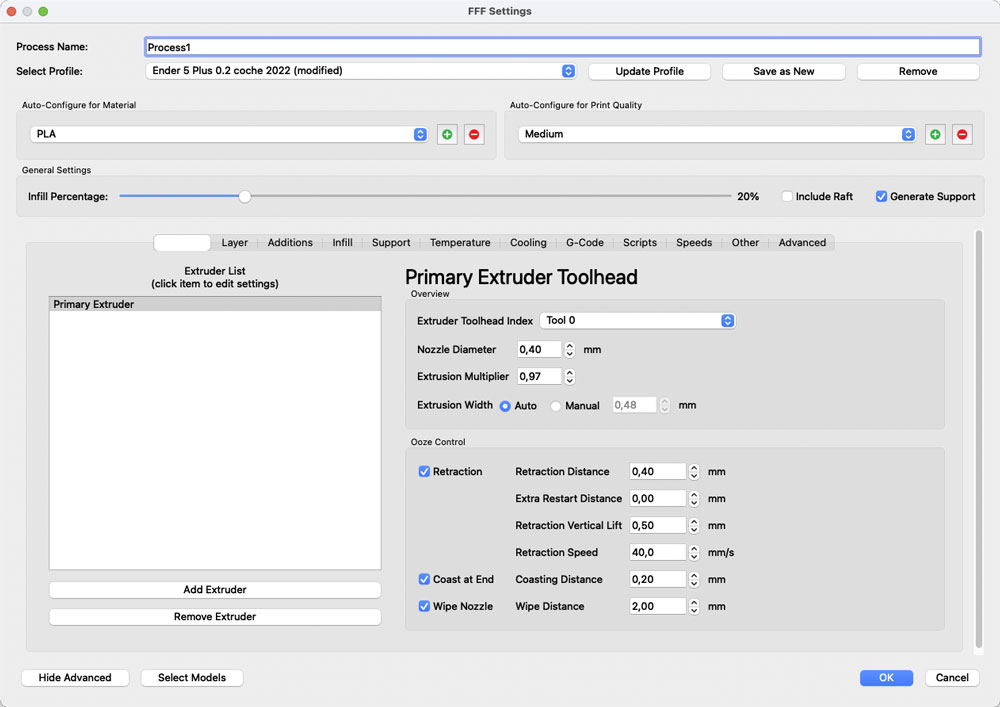
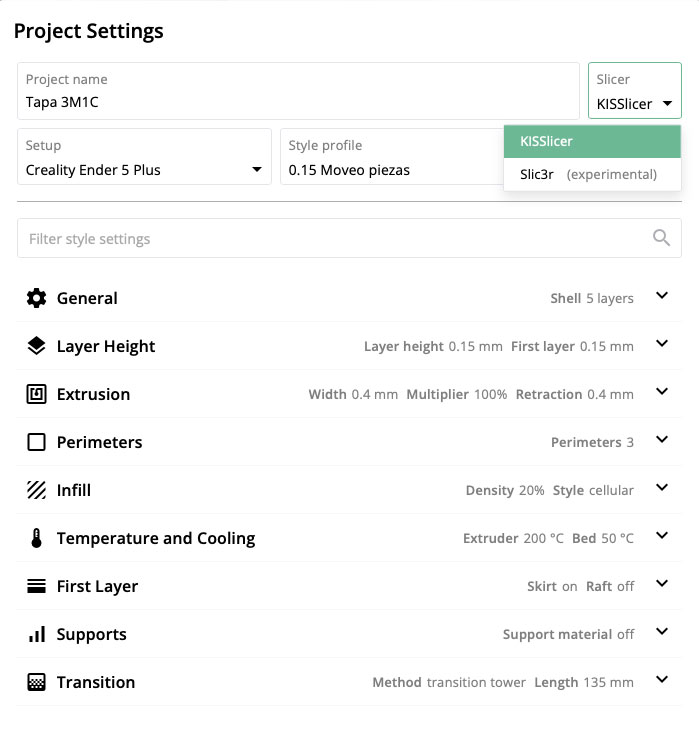
Simplify3D
The process that ignites 3D printing innovation is comprised of a few essential tools. Obviously, you have the 3D model and the 3D printer, but there’s an instrumental piece to the puzzle right in between those two points. 3D printing slicer software essentially acts as the middleman between the 3D model and printer.
I use Simplify3D for slicer. I try Slic3r, Cura, Prusa Slider… but i get better print with S3D, and dont know why, but in Mac work very fast.
It hasn’t received updates for 2 years, although they have promised a version 5.0 it hasn’t come out…. maybe in the future I’ll have to change to Prusa Slicer, because of the new features it incorporates, but for now I haven’t gotten it to work better than the S3D.
Octoprint
We have the printer in a small room at home, away from our living and work area. To send jobs to print, and to be able to see how the progress is, I use Octoprint.
Also with a webcam you can see what is happening at all times, how it prints or if there is any failure or error, even notify me when a print has finished.
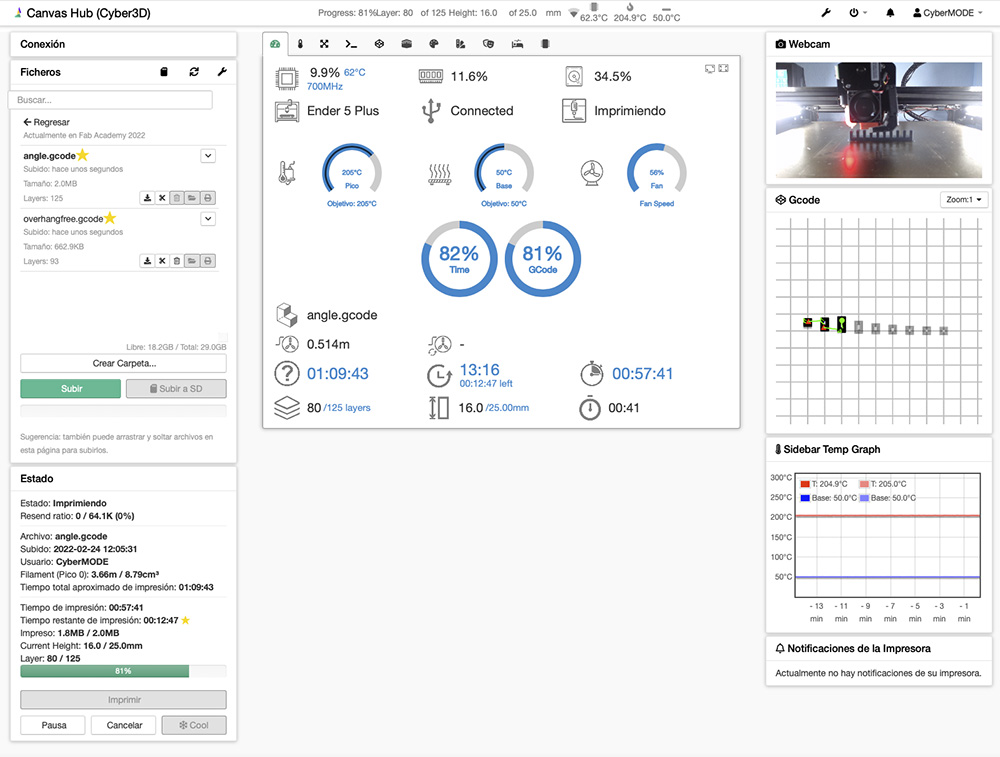
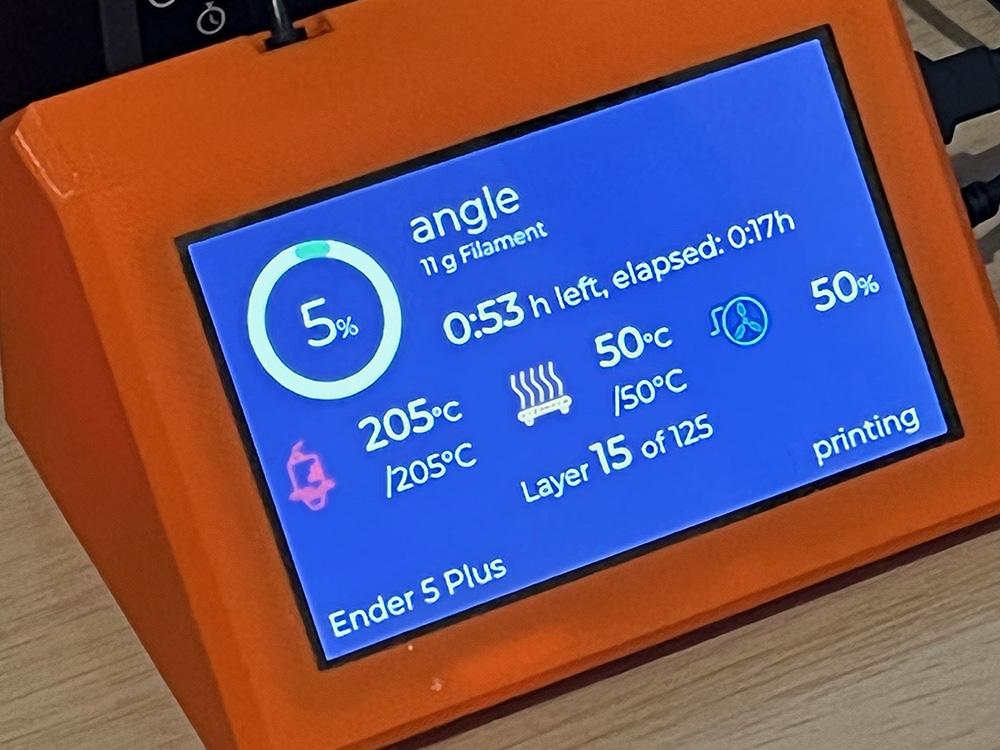
To install it, I have used a 4Gb Raspberry Pi 4, to which I have added a TFT touch screen and a webcam. For the screen I use the extra OctoDash
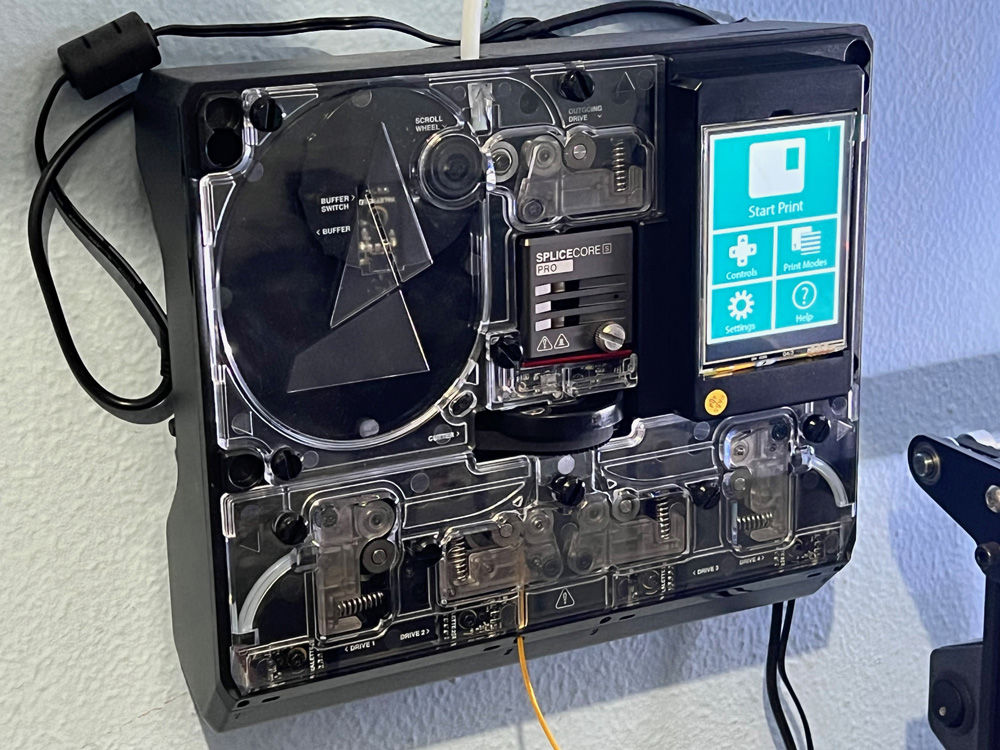
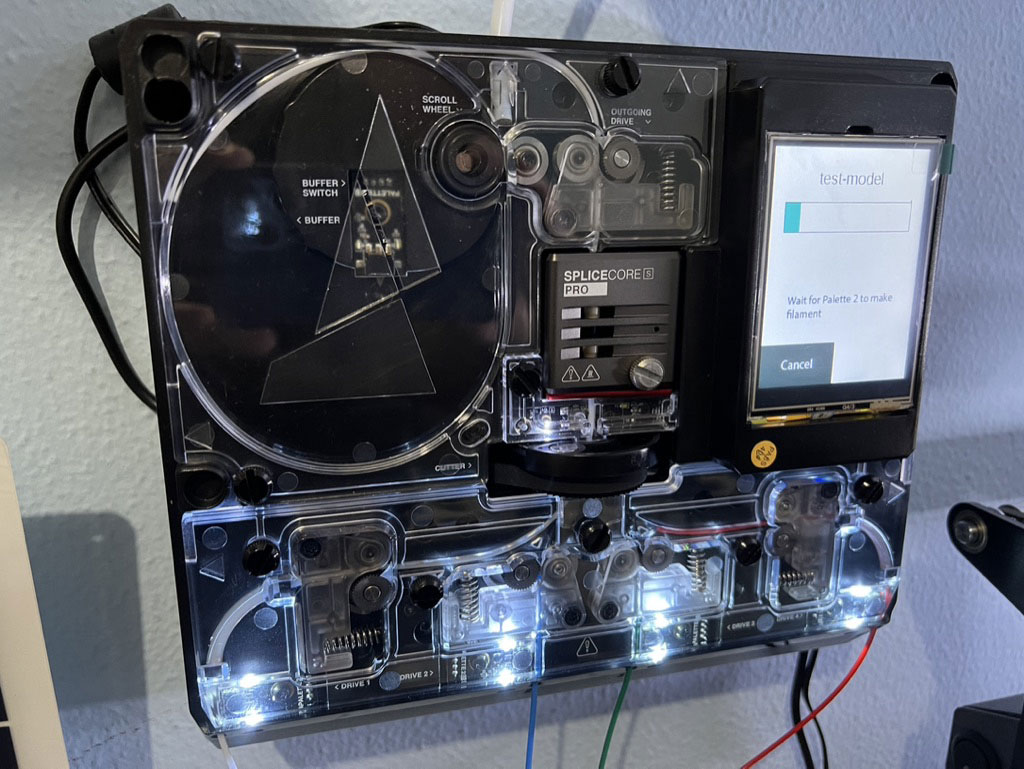
Mosaic Palette 2S Pro
For multimaterial I have the Mosaic Palette 2S Pro. Work very good with my Ender 5 Plus and Octoprint. And you can use up to 4 colors or materials at once.
Taking up to four types of filament, the Mosaic Palette 2S Pro combines them into a single filament strand, making it possible to perform multi-color or multi-material prints on almost any FDM 3D printer.
For slicer have a web based app canvas3d.io, which sends to Octoprint direct the gcode to use with Palette to control the 3d printer.
Three month ago, they include the option of select what slicer like use, and add the Slic3r.
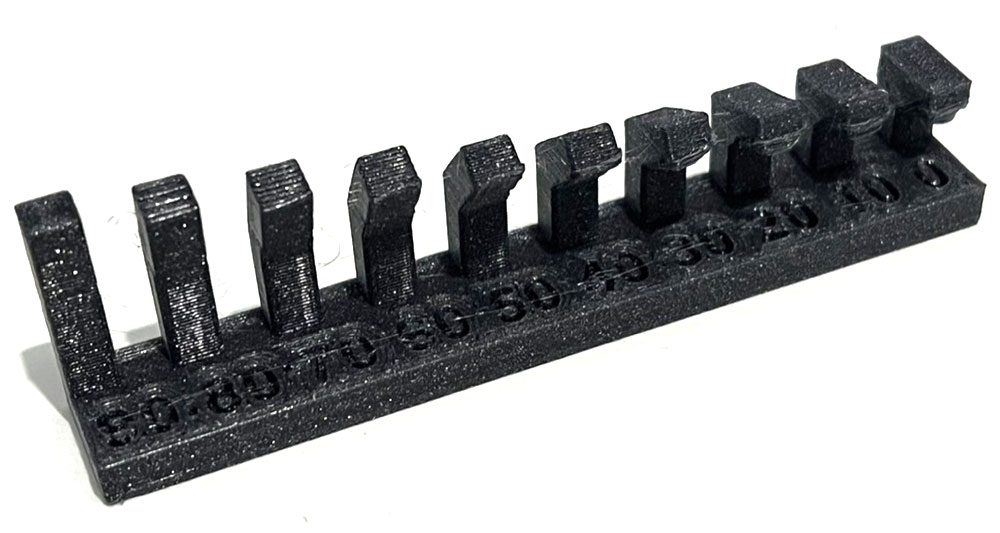
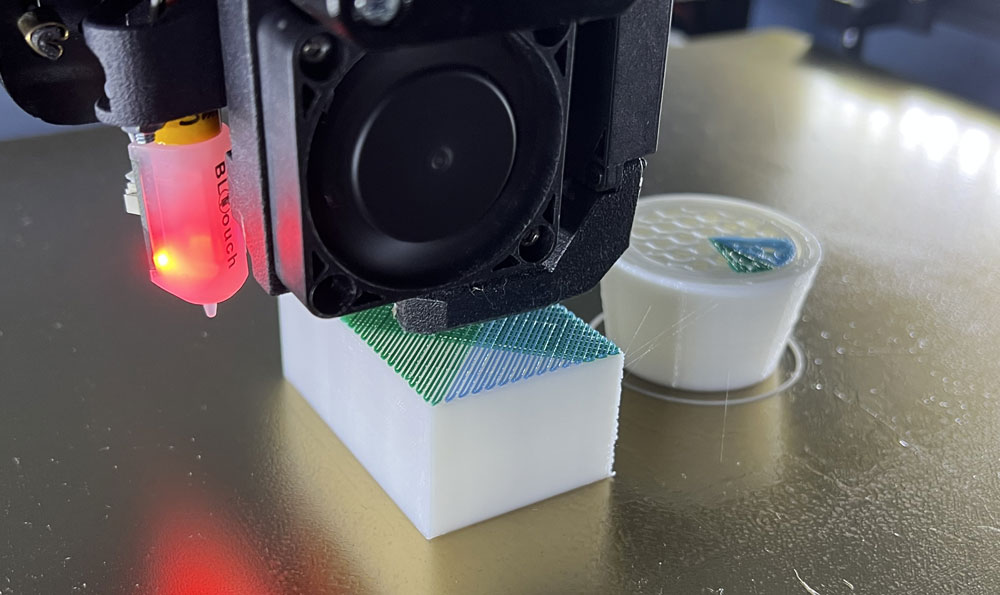
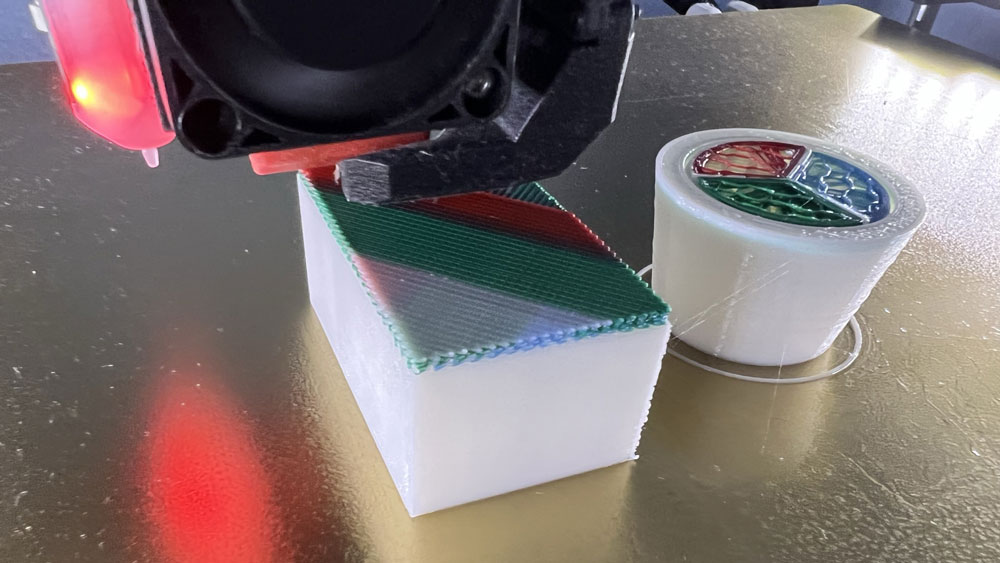
Angle test
This test print good in my Ender 5 Plus until 30º.
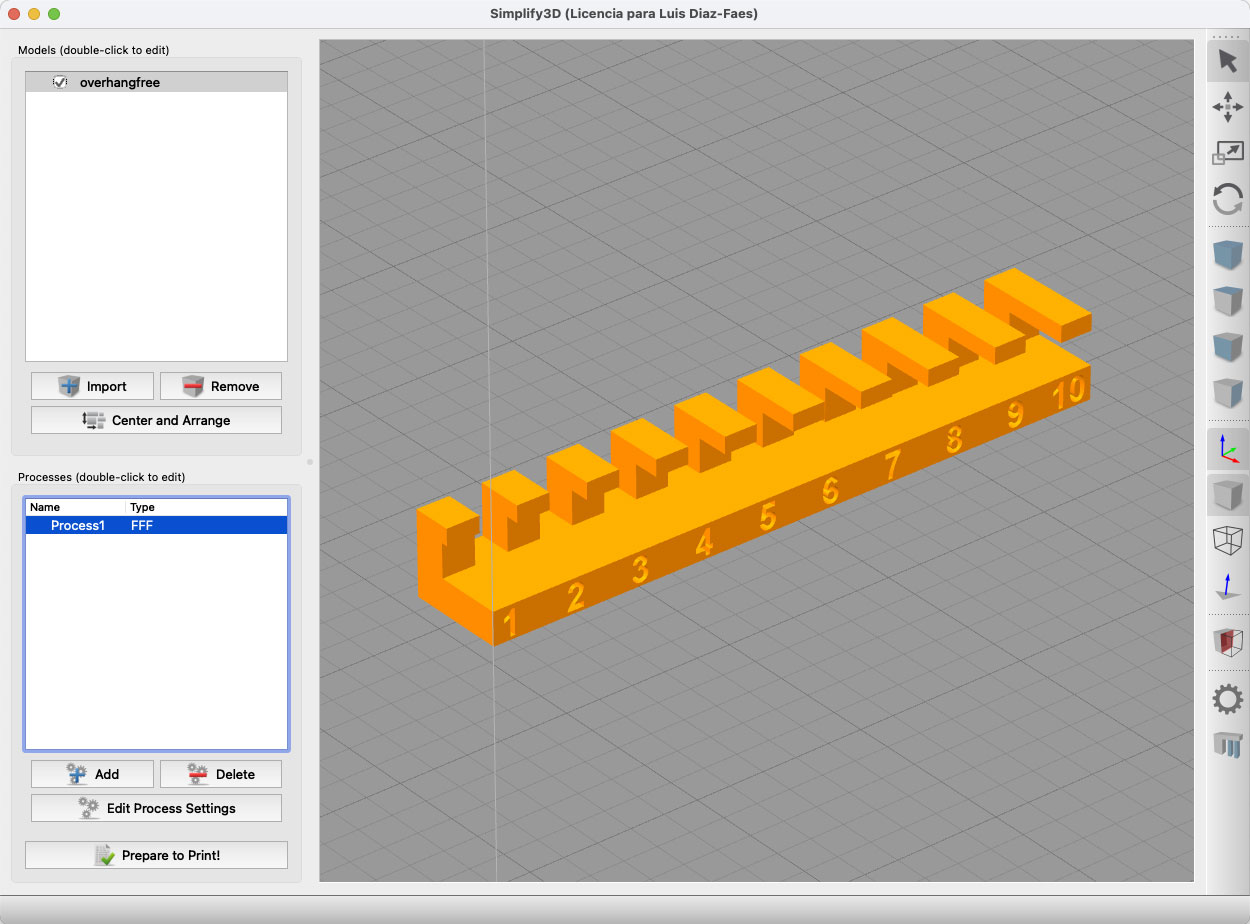
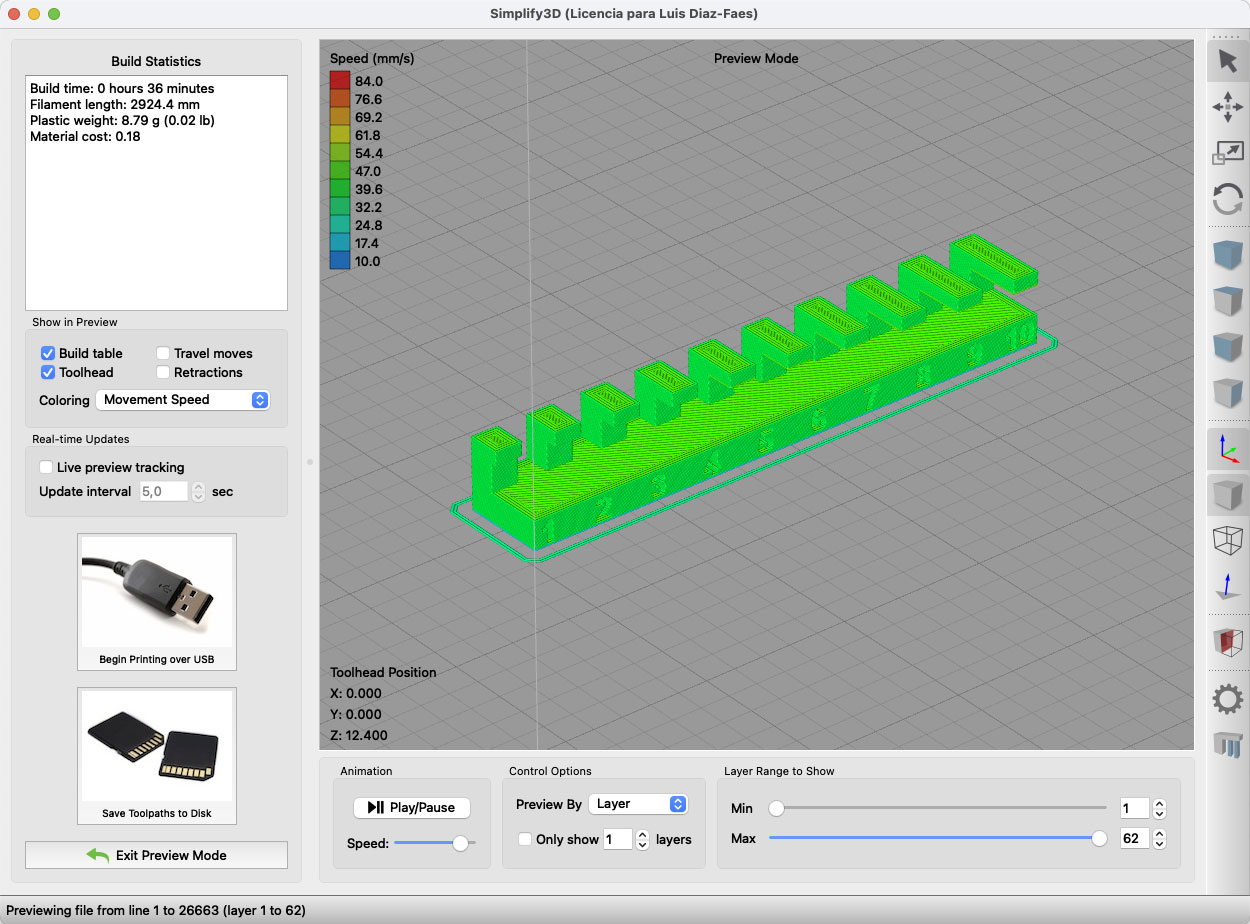
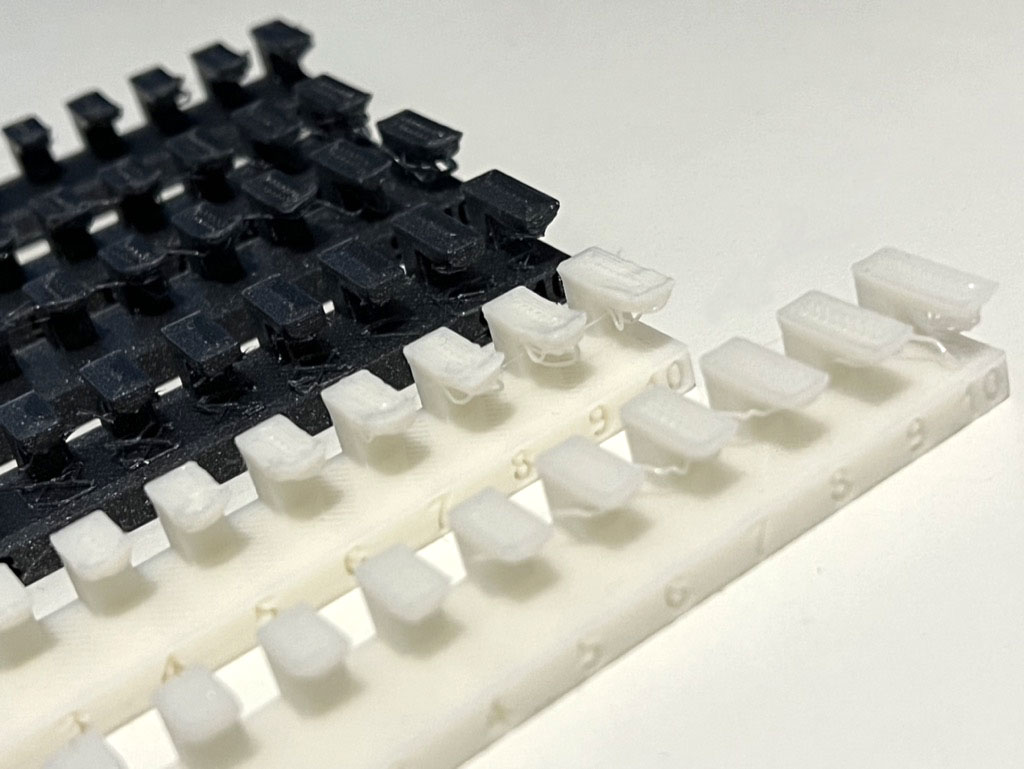
Overhangfree test
In this test, I have had problems due to excess temperature, and I think poor cooling.
The printed material is PLA, and it was 205ºC. After lowering the temperature to 185, the prints started to improve, but the slow cooling caused the protruding part to warp.

Clerance test
For this test in Simplify3D I add the support manually to the object.
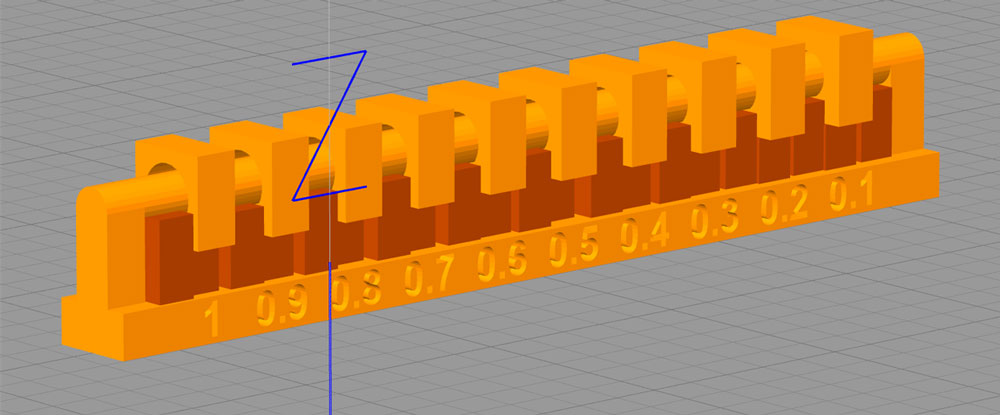
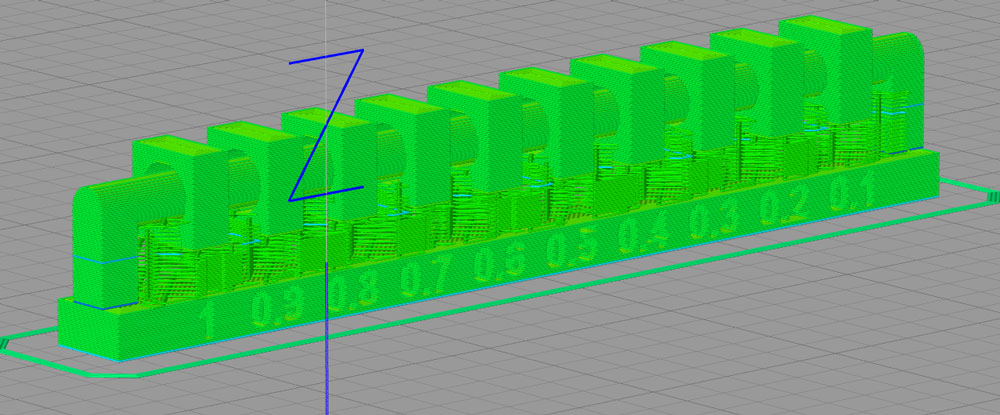
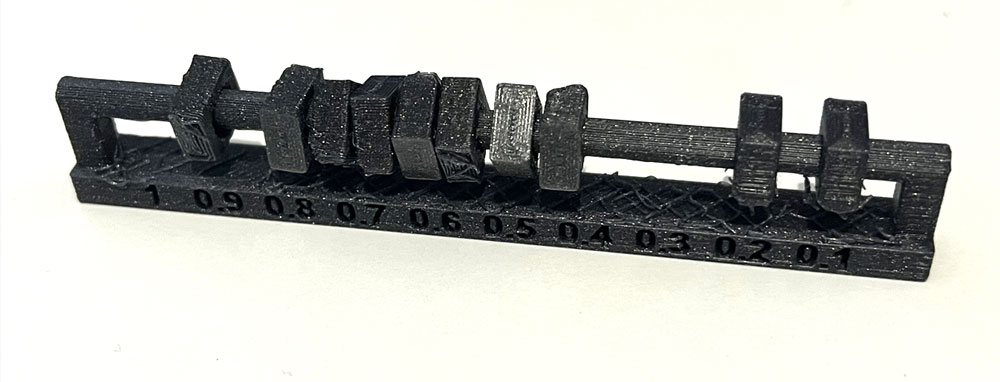
Almost all the pieces rotated except for last tow pieces with a tolerance of 0.2mm and 0.1mm.
Individual assignment
Design and 3D print an object that could not be made subtractively
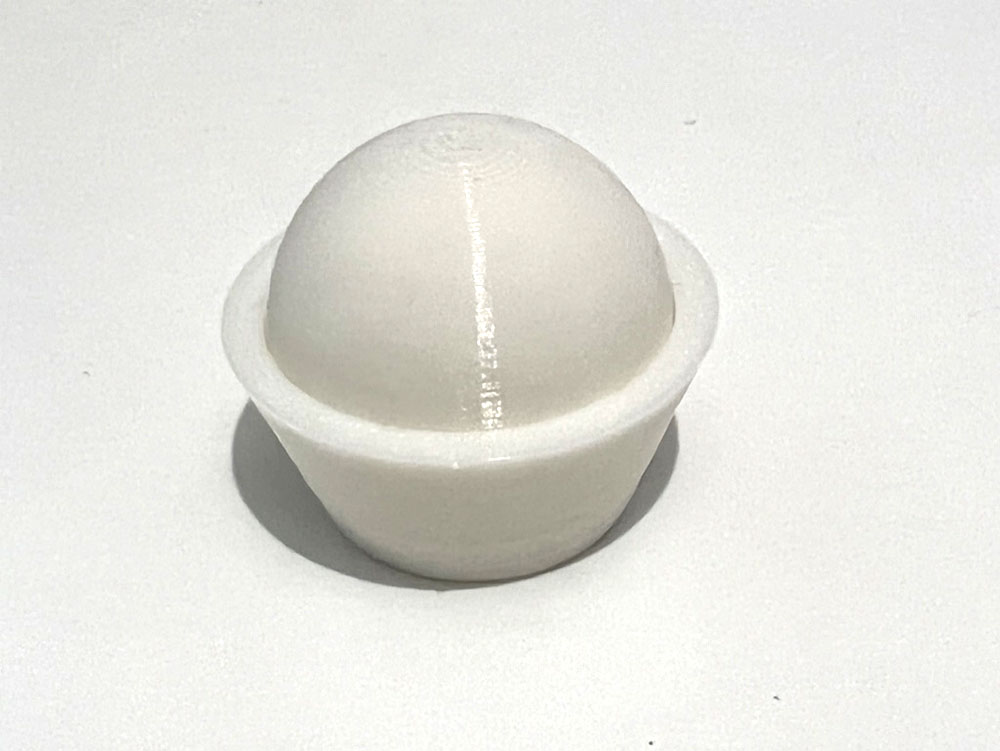
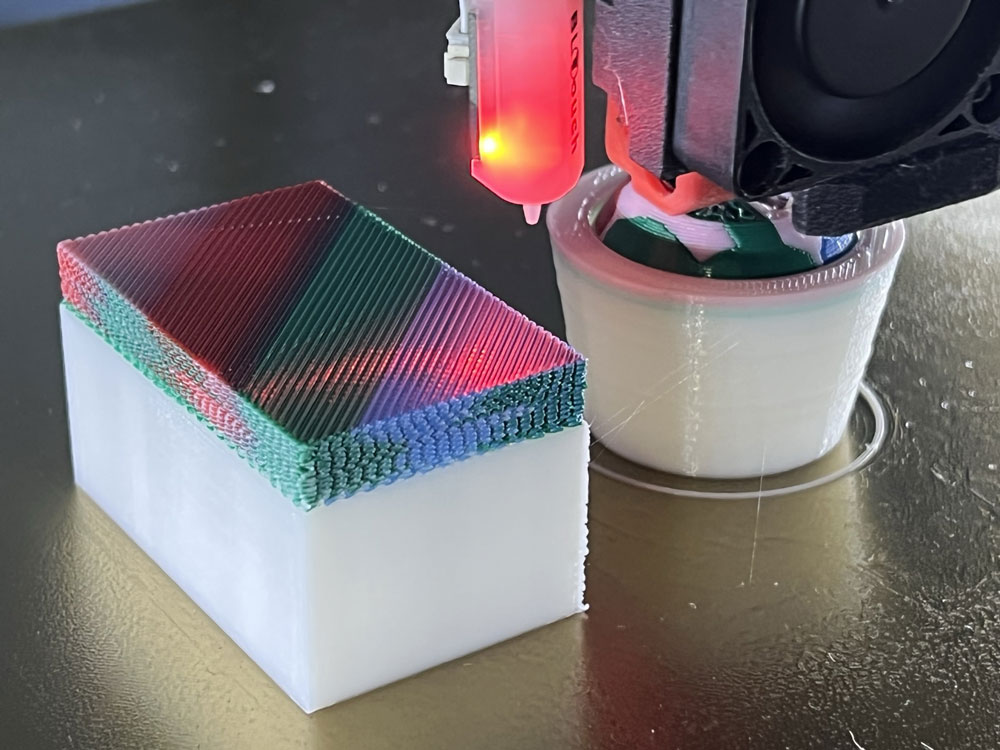
I designed in Cinema 4D a frustum of a cone with a sphere inside, the sphere can rotate on itself inside the frustum.
The sphere has a diameter of 18mm, the cone has a height of 27mm and a lower radius of 17mm and the upper one 22mm.
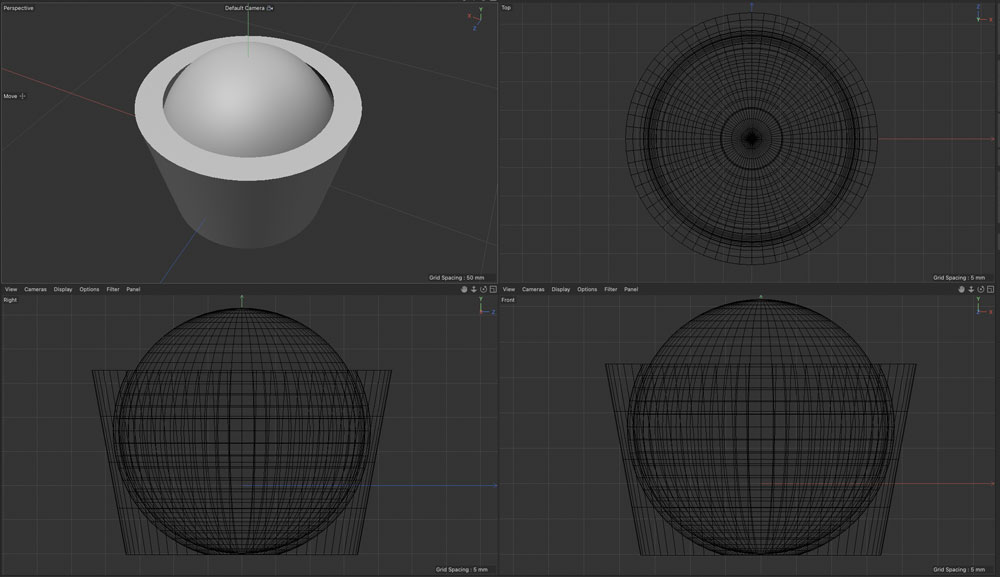
The sphere barely rests on one point, so I had to add a slightly thicker layer to make a support and be able to print and then, when it was removed, it could rotate without a problem.
Print multimaterial
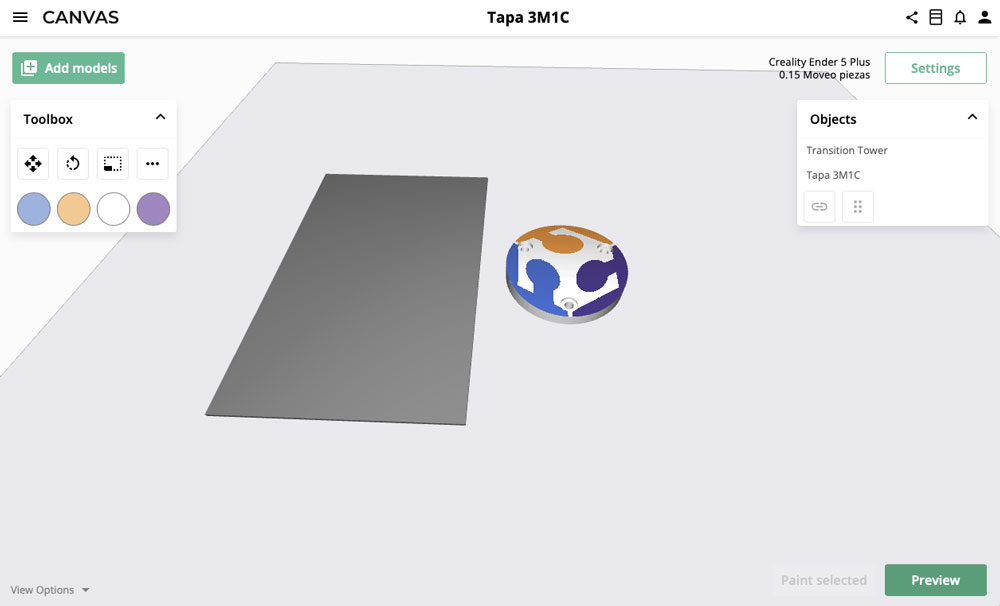
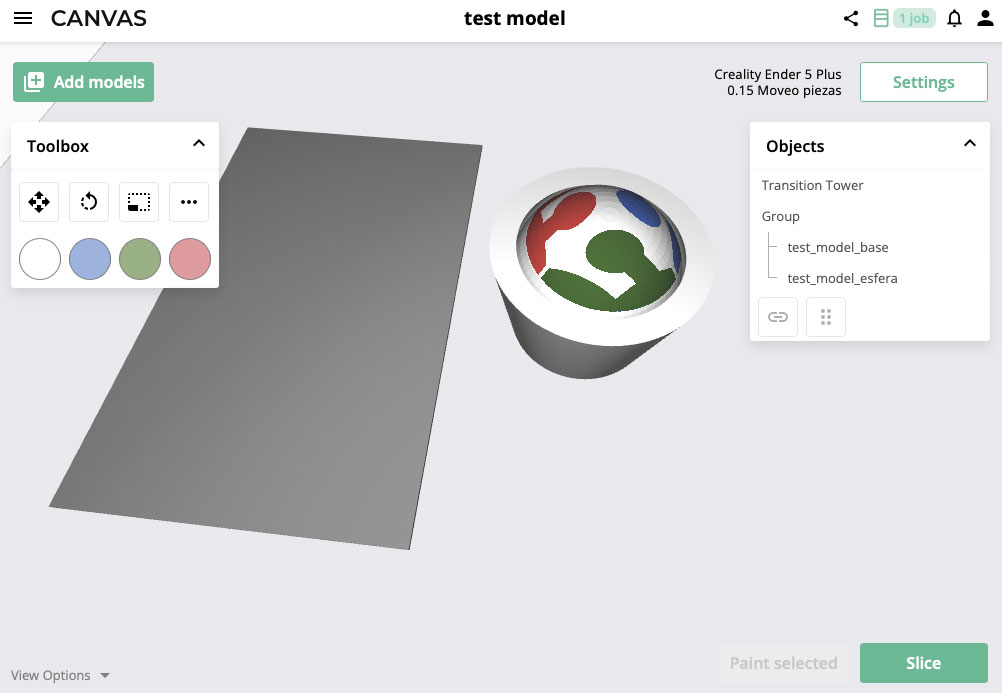
After design the model i add the project to canvas3d.io for print with multimaterial in the Mosaic Palette 2S Pro.
I export from Cinema4D to two .stl, one of sphere and other of cone.
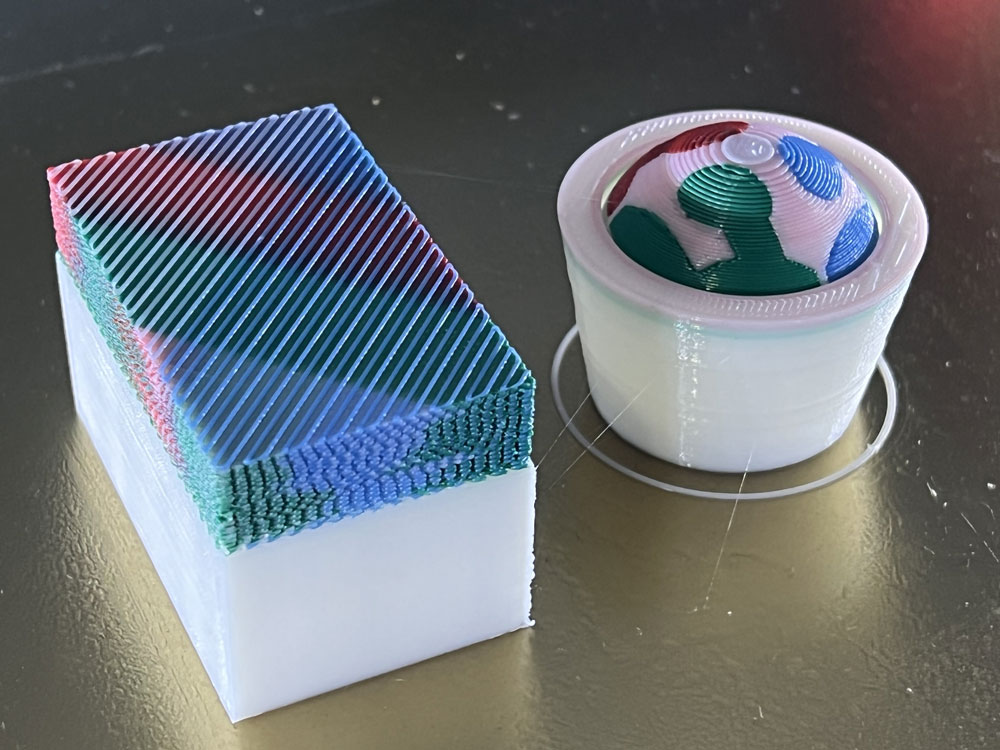
After import in Canvas3d.io i select the sphere for stanp a Fab Lab logo.
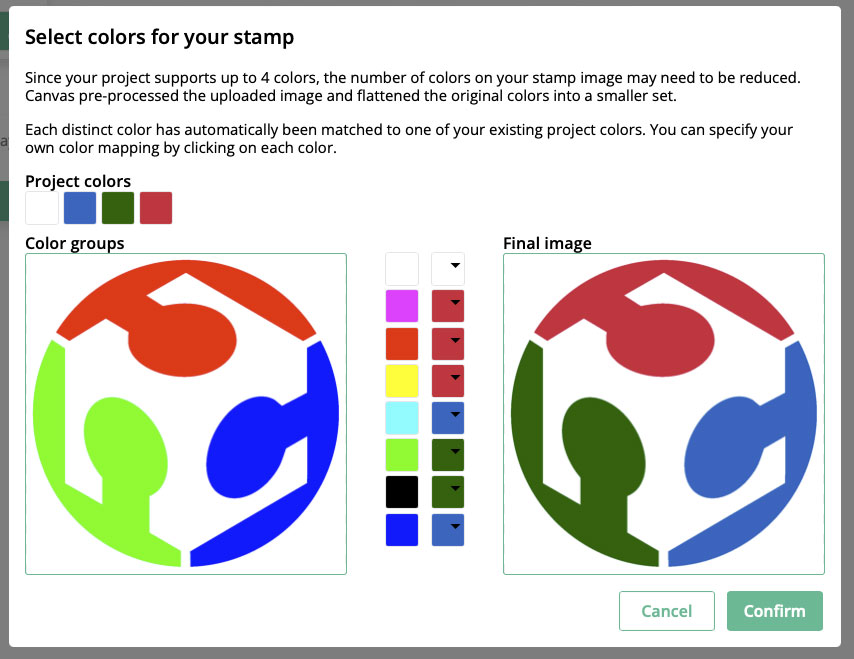
After import the logo, can set the filament by color and place the logo over object.
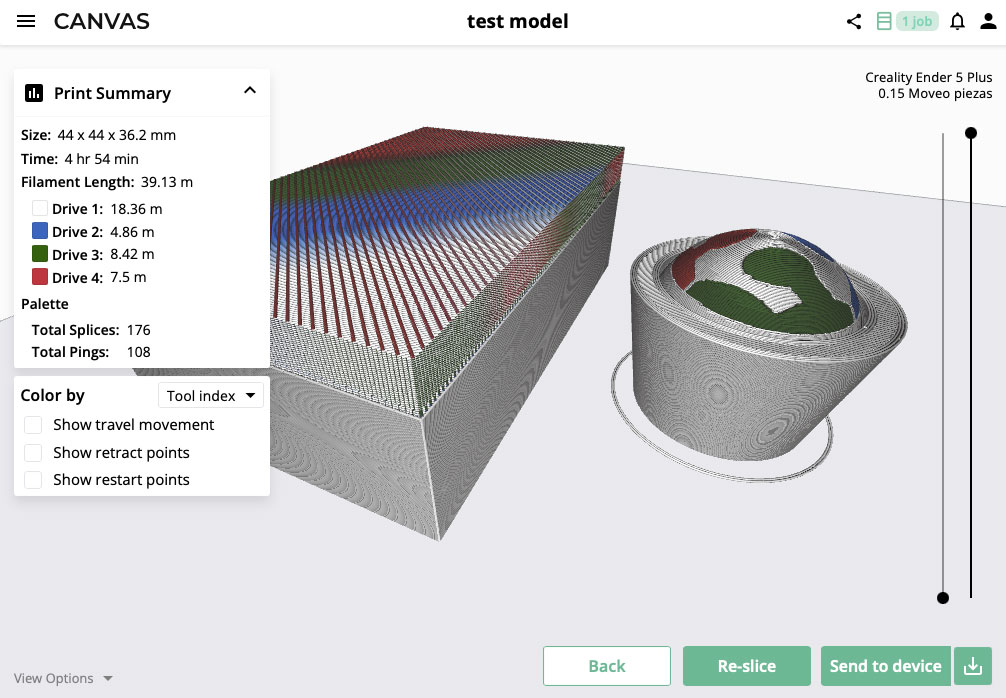
Slice controls for print is similar to other apps. But for made transsition of a filament to other, need made a tower to make the transition between colors, you can define, for example, the amount needed between each of the colors.
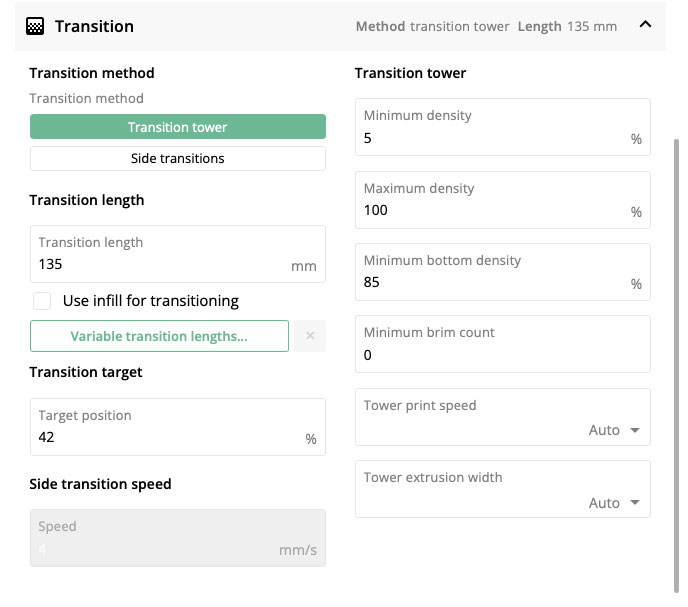
The problem with multi-material is almost the tower, which makes printing much slower and uses up a lot of material.
3D scan an object
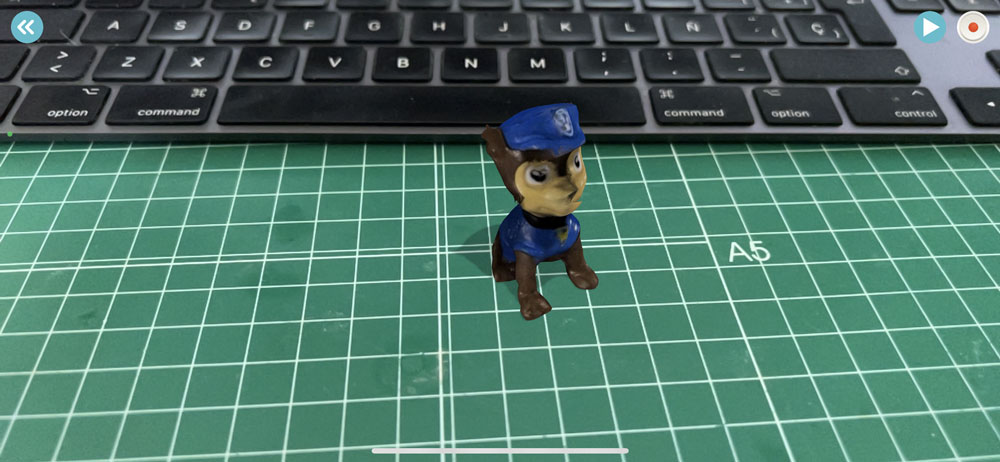
I use the iPhone 13 Pro Max with app Qlone
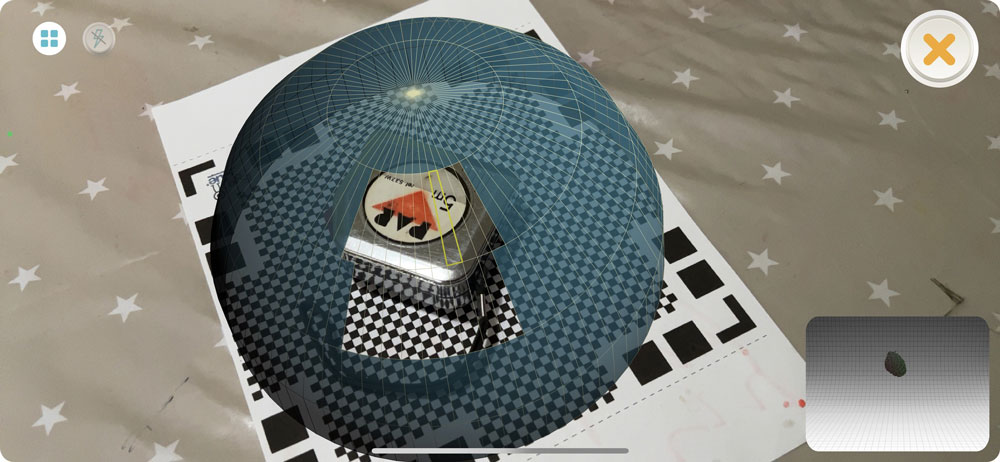
This app can scan 3d with a template print or use the sensors of iPhone for made the scan.
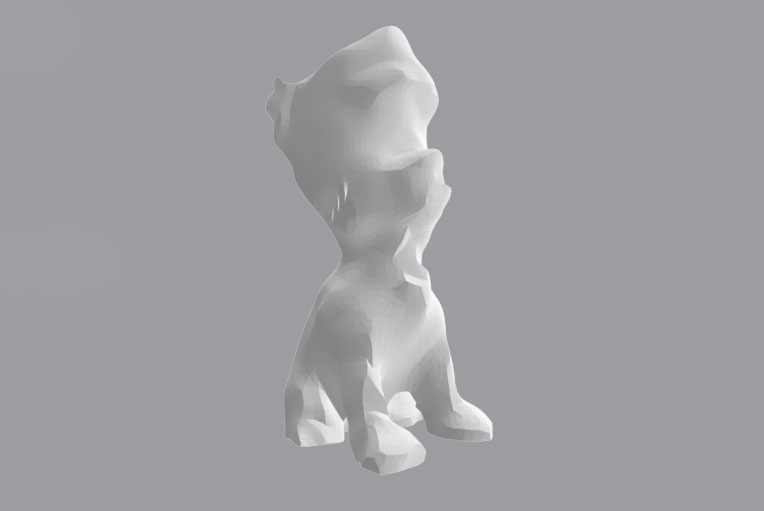
I try with little objects but dont get nice results.
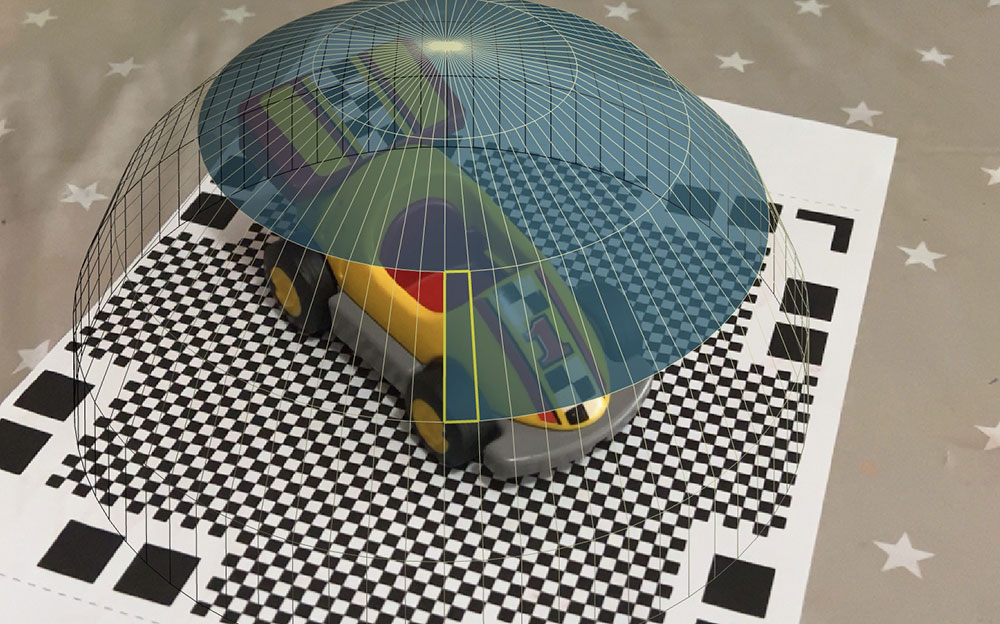
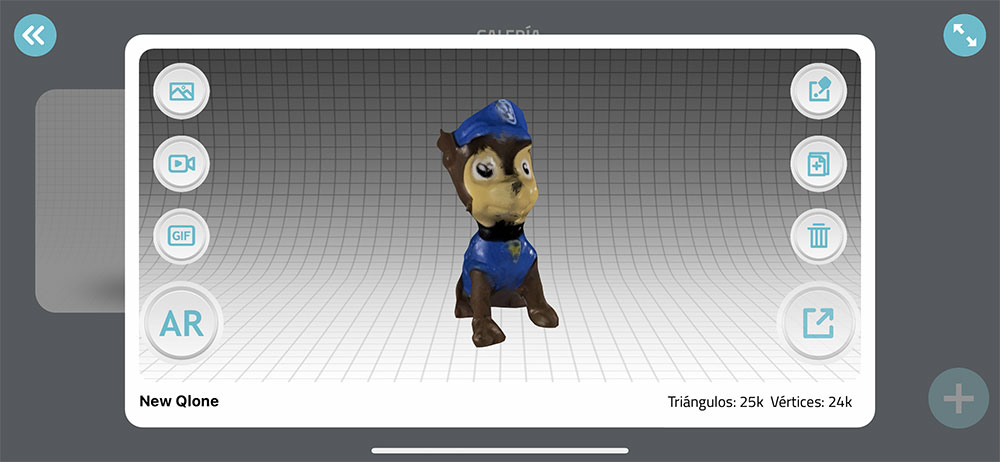
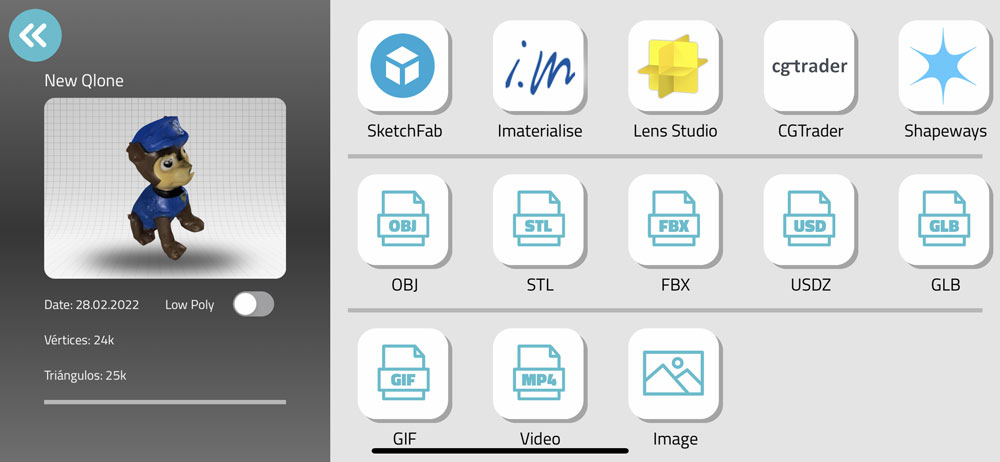
Can view in AR from the iPhone or share demo model.
The app can export the model in multiple formats, for sample .stl with only mesh, or a .fbx file with mesh and texture with UV´s.
Downloads
Cone and sphere 3d Model (.stl)
Fab Lab logo (.jpg)
Marshall (.stl) 570kb
Marshall (.fbx) 9,1Mb
Explore more like this
17 - Invention, Intellectual Property, and Income
This is the last week before I present the final project, I already have a slide and video proposal of my project.
16 - Applications and Implications
Propose a final project masterpiece that integrates the range of units covered, answering: