Reading the safety datasheet
This is an important part of the the process as it will provide information about the correct use of the material as well as important safety measures that need to been taken.
Make sure you are on a well ventilated area to work with these materials
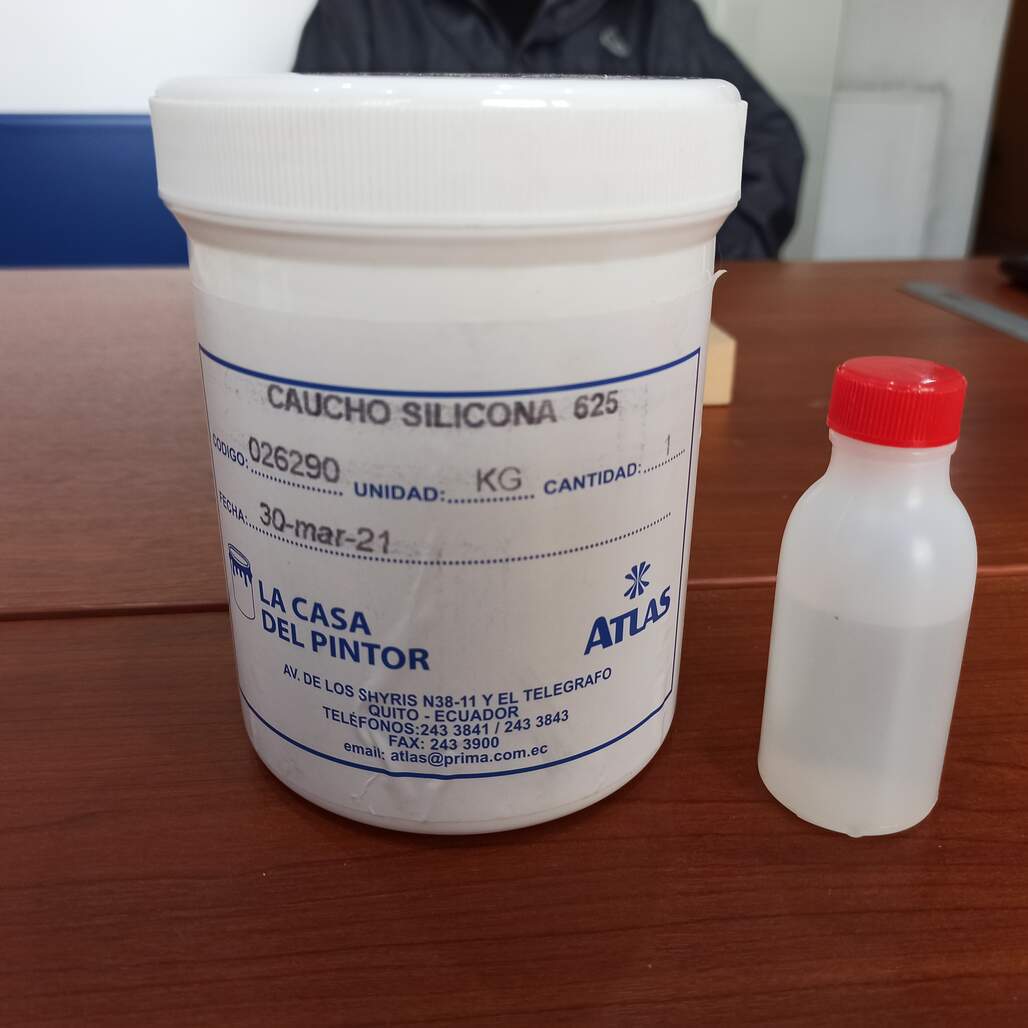
Silicone Rubber 6255
This is a 'safer' material, but is highly recommended to use protective gloves and safety glasses to minimize contamination risk, also be sure to mix it properly.
- Always wash you hands after manipulation this product.
- Flush with abundant water on accidental contact with you skin.
EpoxAcast 690 - Smooth-On
After reading though the safety datasheet that covers handing and storage, fire fighting measures, and first aid measures among other topics. Is important to remember these points:
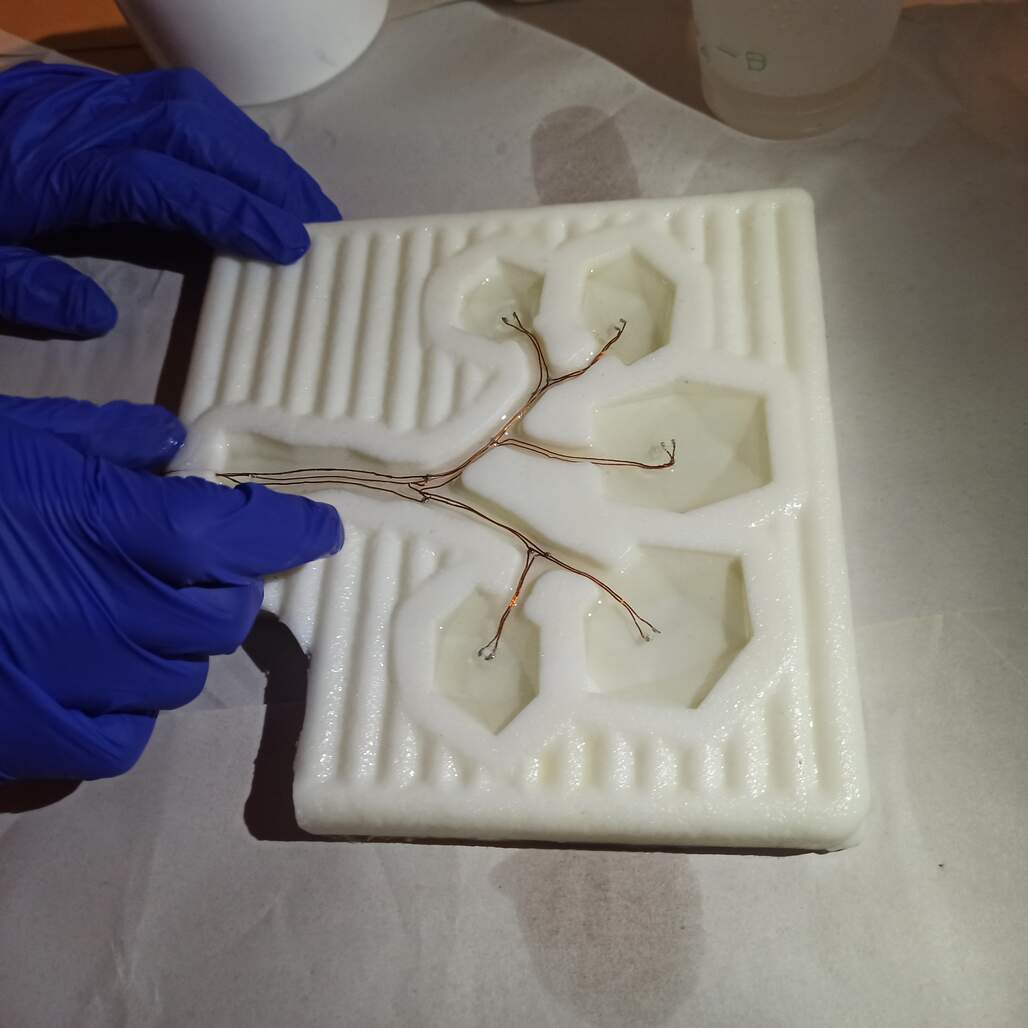
- Use protective gloves, eye protection and a breath mask.
- Always wash your hands after manipulating this product.
- On an accidental contact with skin and/or eyes flush with plenty of water, use soap if on the skin.
- If inhaled, move the victim to fresh air, if needed provide artificial respiration and oxygen. Contact a physician immediately
How to use the material
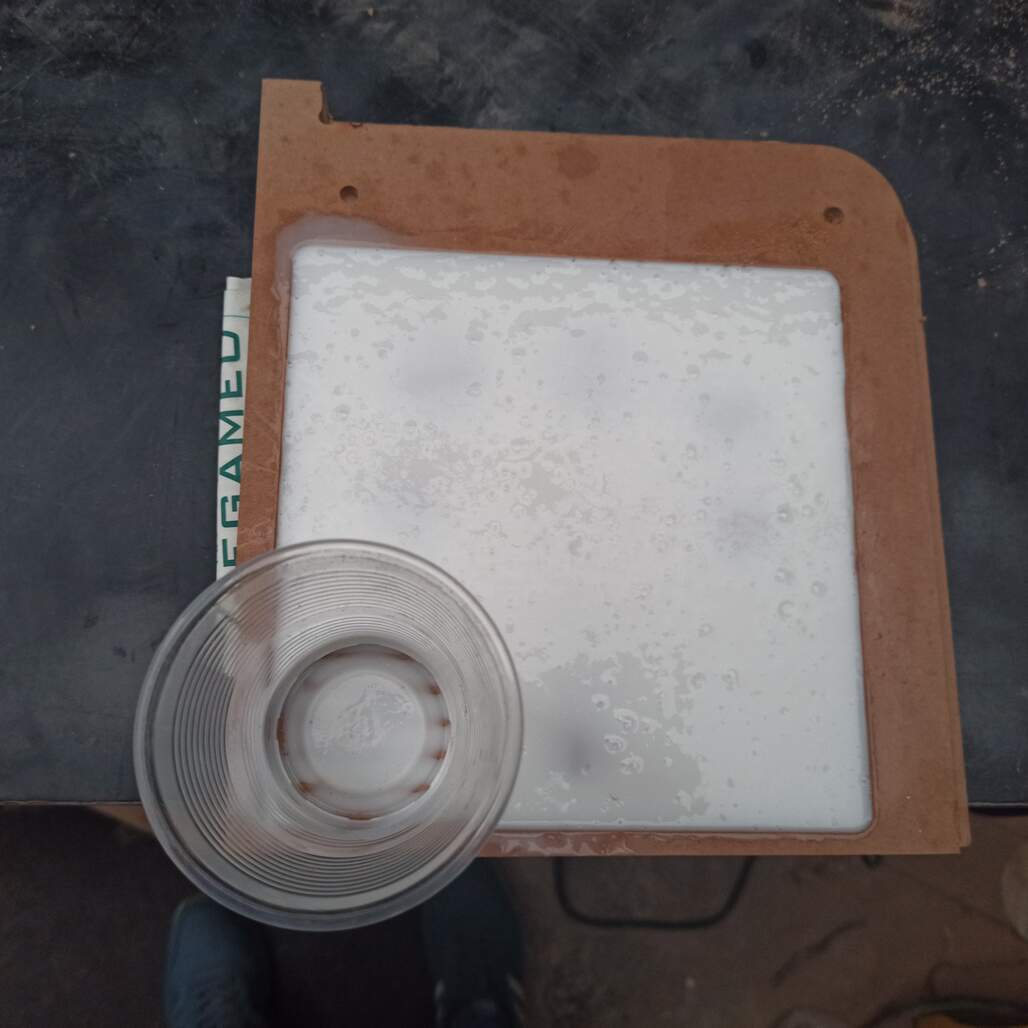
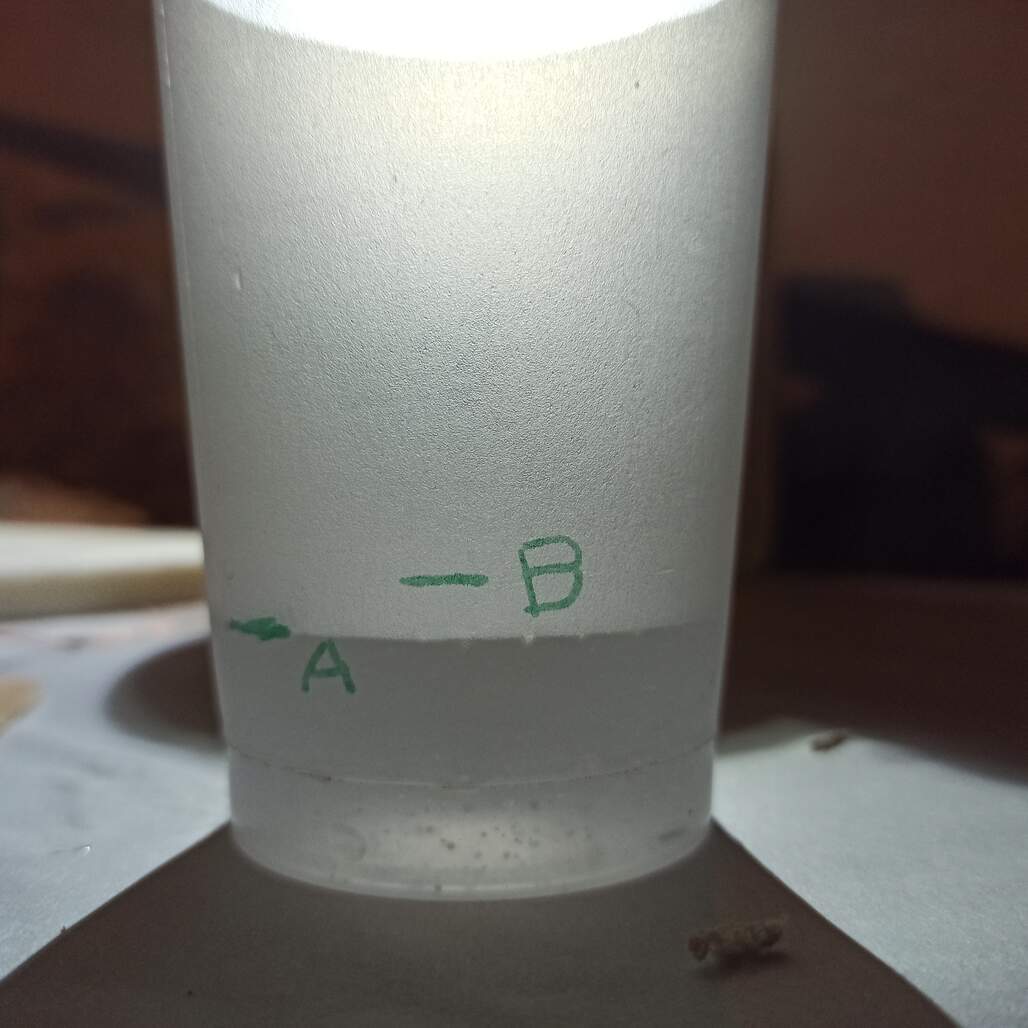
- The proper mixing ratio is 100 parts of EpoxAcast™ 690 resin to 30 parts hardener by weight.
- Mix thoroughly for 3 minutes making sure that you scrape the bottom and sides of the container several times.
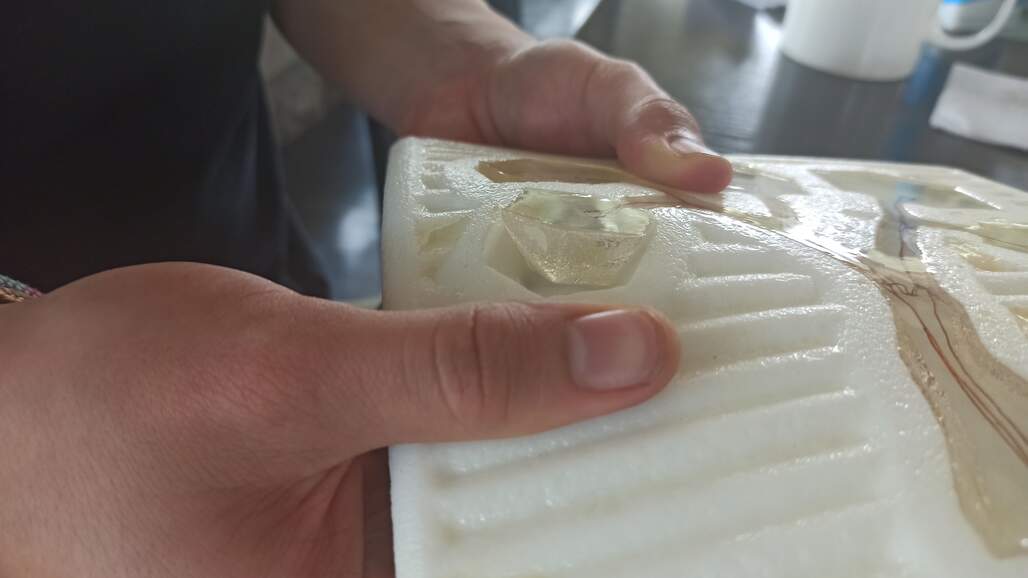
- Mixed EpoxAcast™ 690 is exothermic, meaning it generates heat.
- Let cure for 24 hours at room temperature. Castings that are ¼ in. thickness or less will cure more slowly and may require up to 48 hours to fully cure at room temperature.
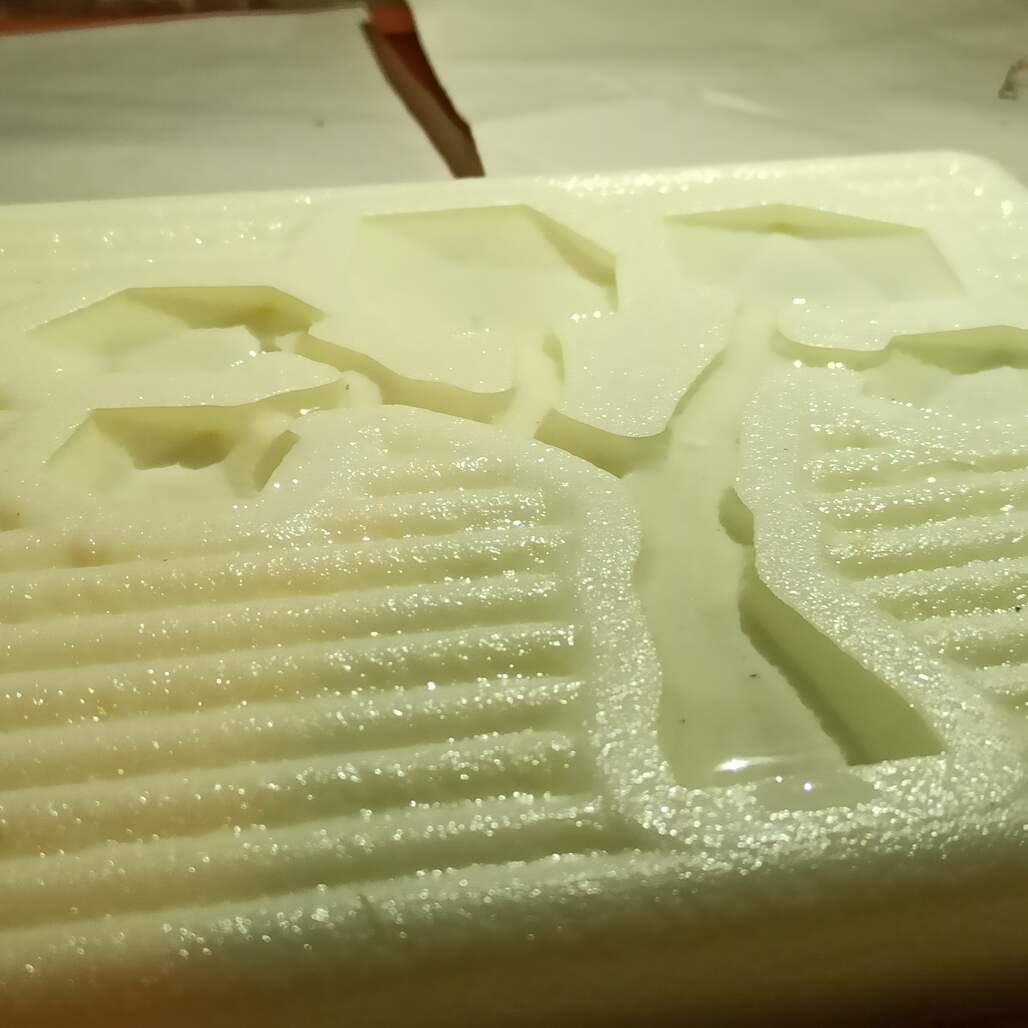
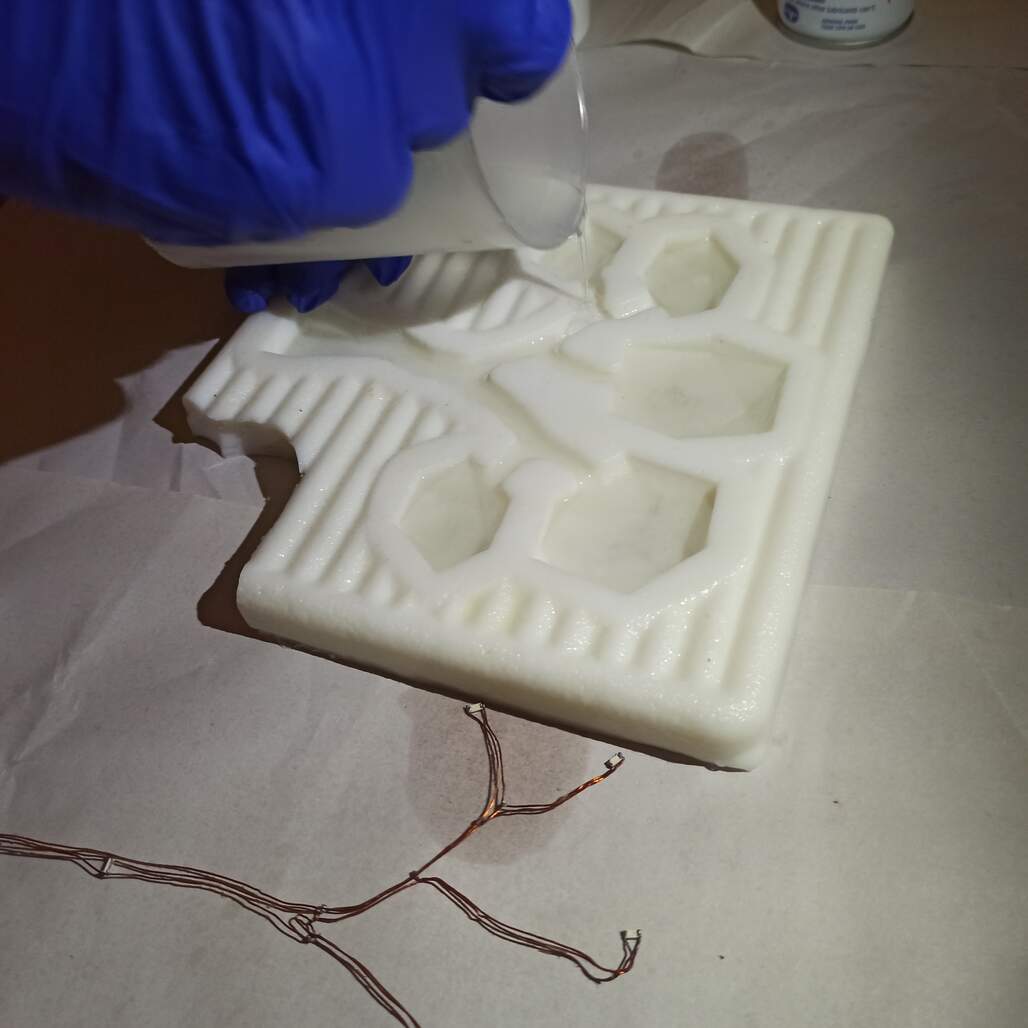
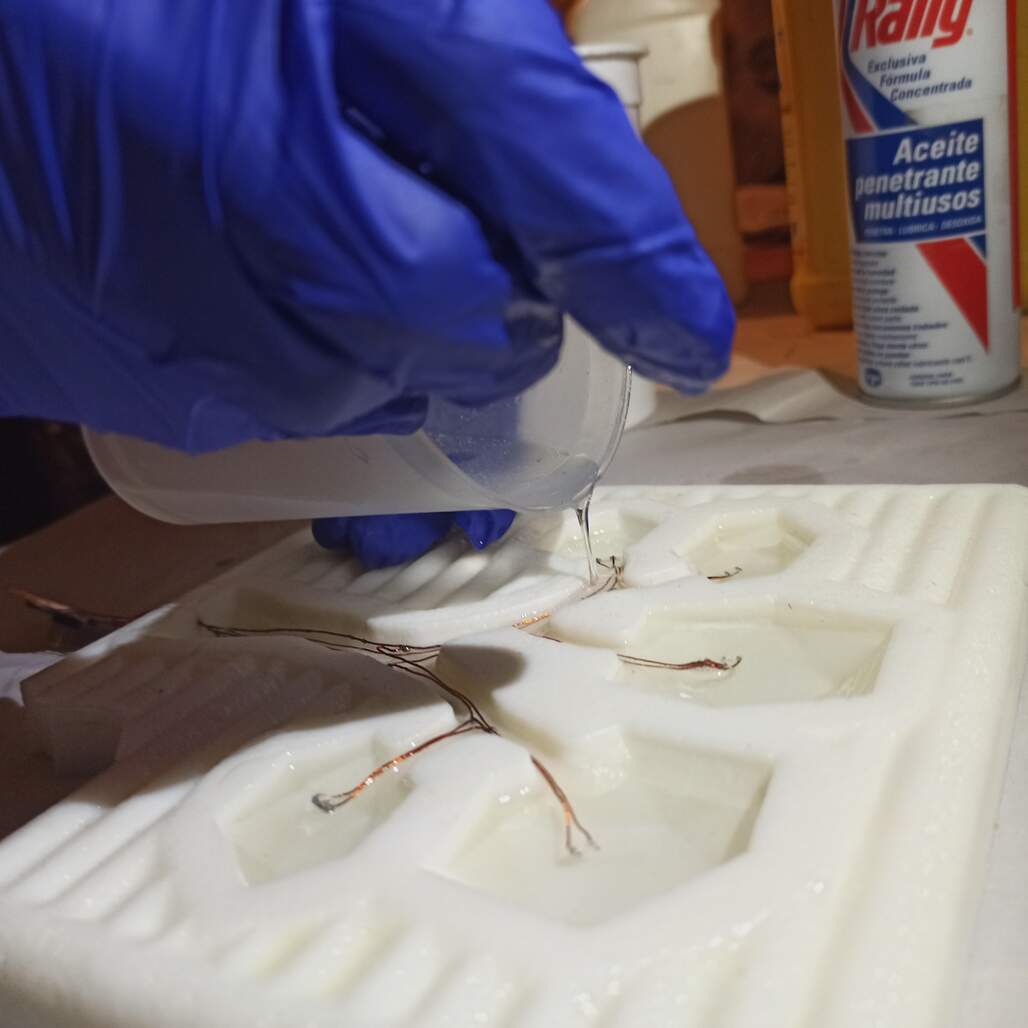
- Pour mixture in a single spot at the lowest point of the mold or enclosure. Let the mixture seek its level.
Group Assignment!
On this page you can see more about how we review the safety data sheets and compare results and findings made during this assignment.
See the group page!