Fifth Week:
3D Printing and Scanning
For this assignment we had to create a project, or some as my case, to print in a 3D printer, and scan something with a 3D scanner. This last thing would be printed depending of labs possibilities.
Note: The main objetive of this assignment is to know about 3D scanning and printing application, possibilities and limitations, as something realted with this last could be the work space where 3D printer or scanner would move.
Let me introduce the machines
I will give you a perpective of what kind of machines we have in this lab starting with 3D printers.
If I have to summarize 3D printingtopic of my lab I would say we are really big fans of MakerBot Replicator, we have 4.
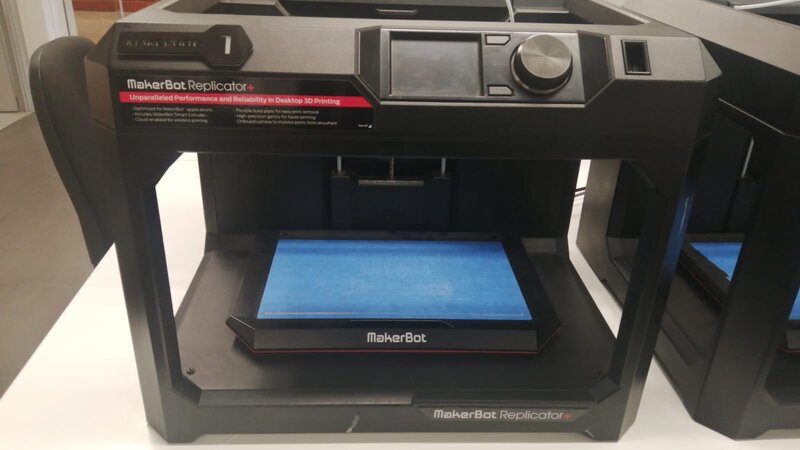
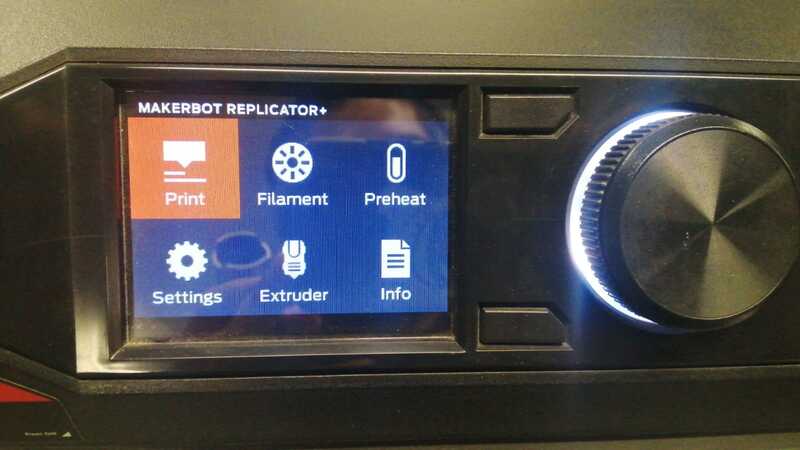
1st. Let me introduce the granny, the oldest model we have which is the MakerBot Replicator+ which it's a huge piece of production. Here we have a picture.
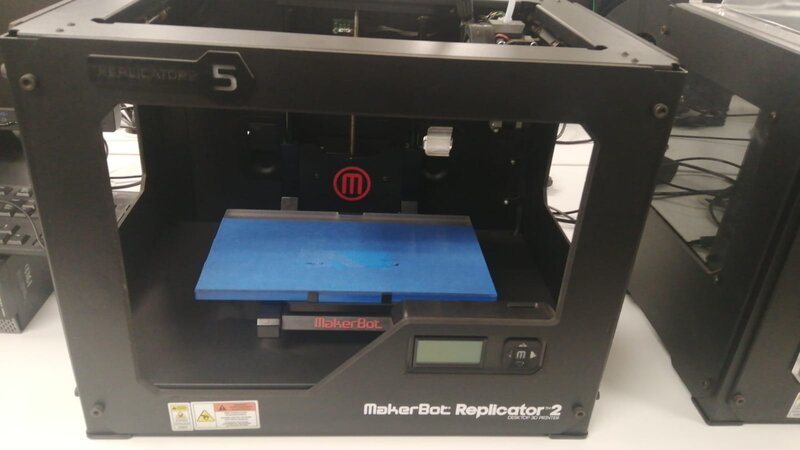
2nd. This is the next generation, that we have, of this brand called MakerBot Replicator 2, I couldn't find a real link to its web store so I pucked up one of Amazon. Let's take a look.
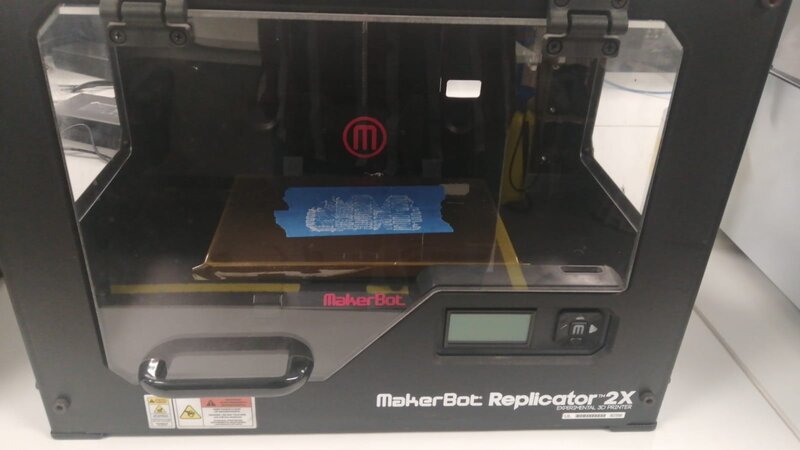
3rd. It comes, the little brother of the last one which is part of this group, it's the MakerBot Replicator 2X. This machine has a dual extrusion optimized to print with MakerBot ABS and Dissolvable Filament. Watch it.
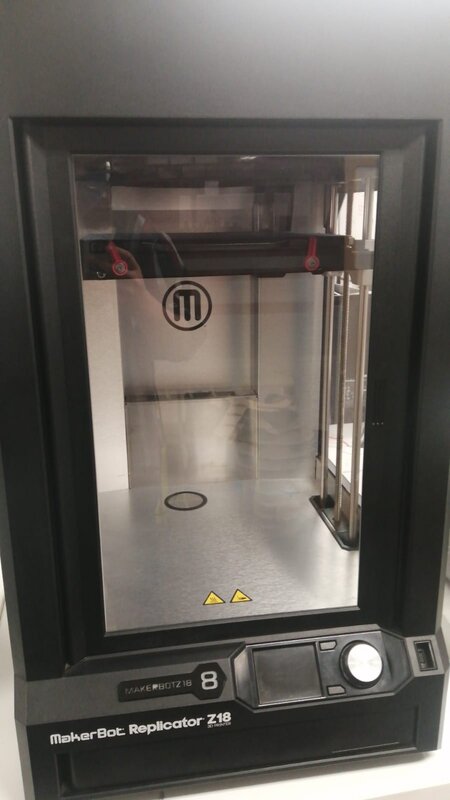
4th. This is the last one, could be more in future who knows. This machine is HUGE and impressive where you can build bigger pieces than the others, let me introduce the MakerBot Replicator Z18.
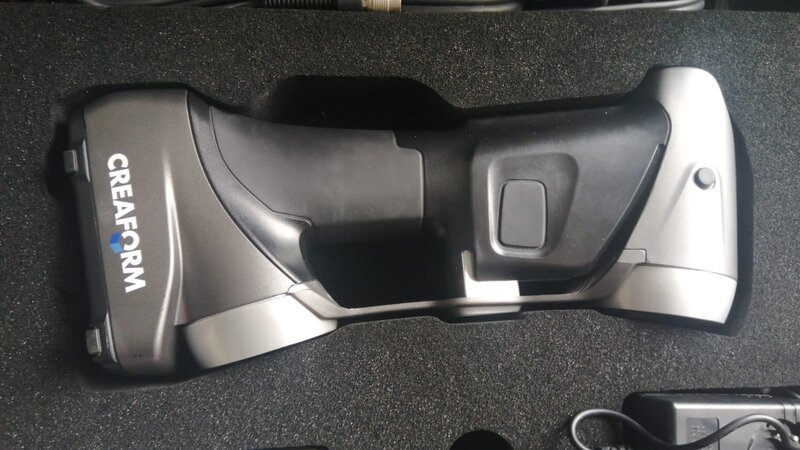
Now is time to introduce our scanning machine which is the CreaFrom's HandyScan 3D. This is a powerful device but limited by some factor like its software is not open to others 3D scanning software, and as most of this devices it has problem with shiny things.
Time to work... Let's start
For this part I started designing a simple test, made by myself, for the 3D printer to know the limitation. I used Fusion 360 to this part of my designing assignment.
1. I designed the sketch of what I built after.
2. Then I extructed and assembled as a unique one solid piece.
3. Here is how it looks.
4. Final I had to export as a STL format (.stl).
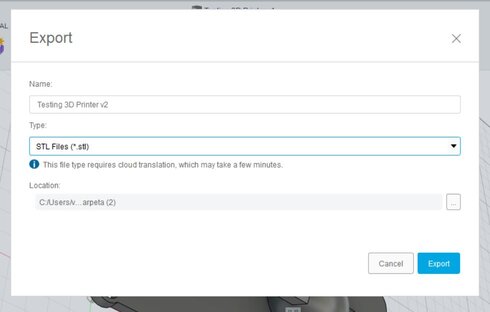
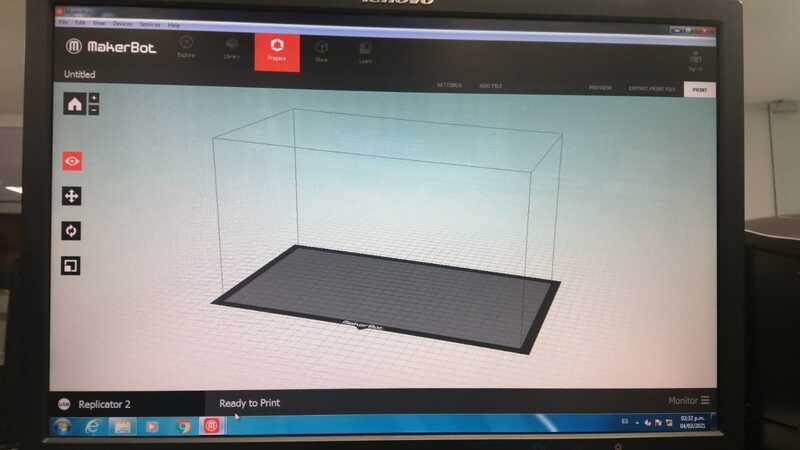
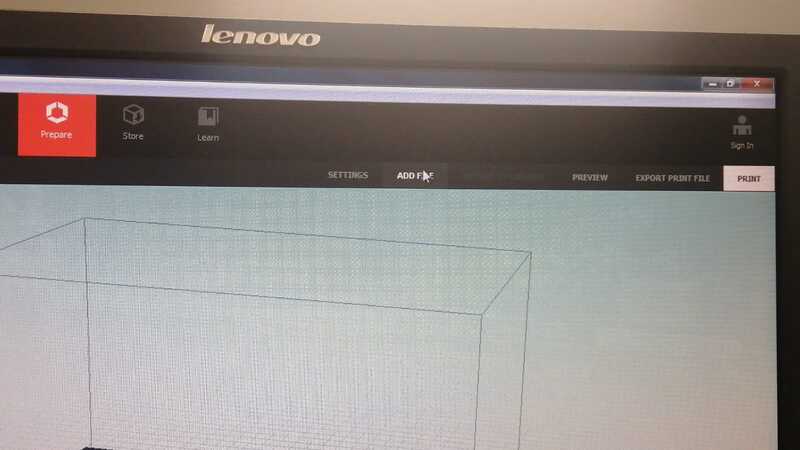
Now is time to process it. We use Makerbot's software which has the same name, it's a greatfull sorfware with an useful interface.
To process we have to follow the next steps.
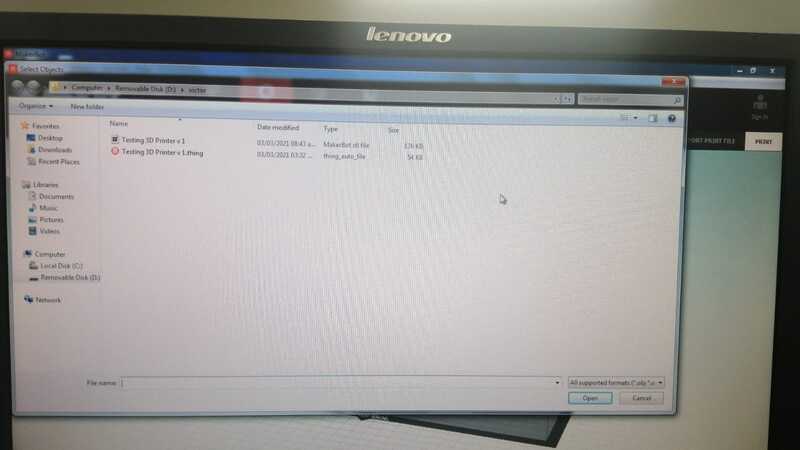
1st Open the file
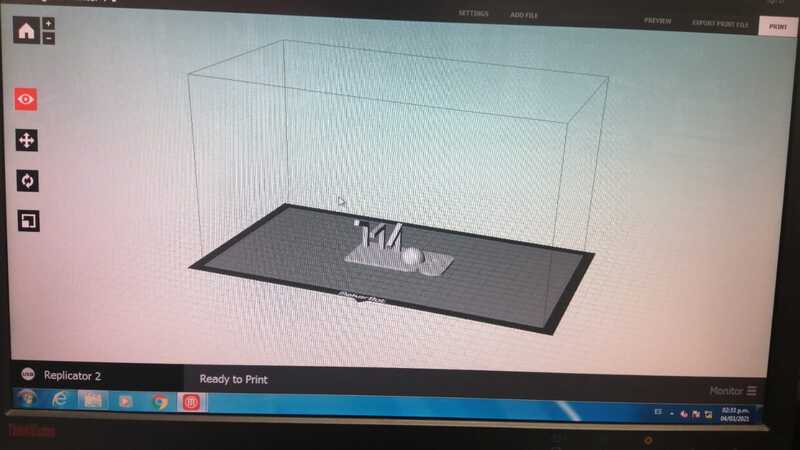
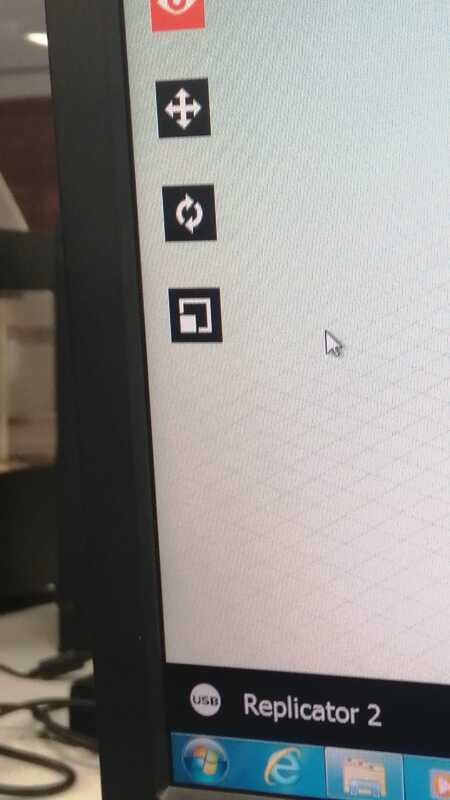
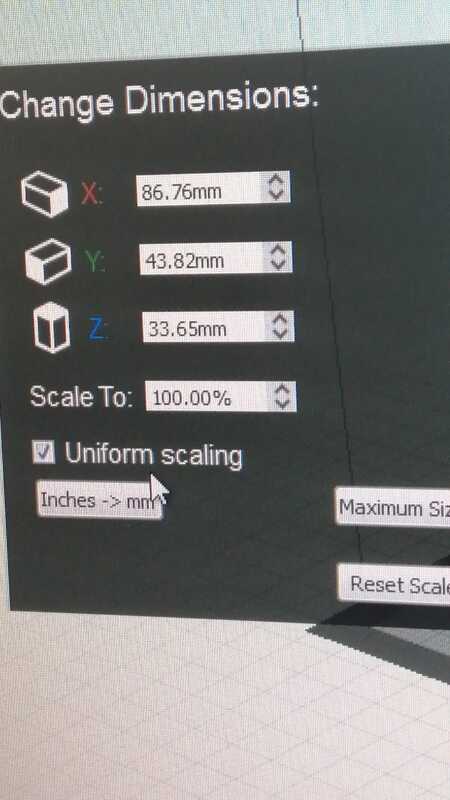
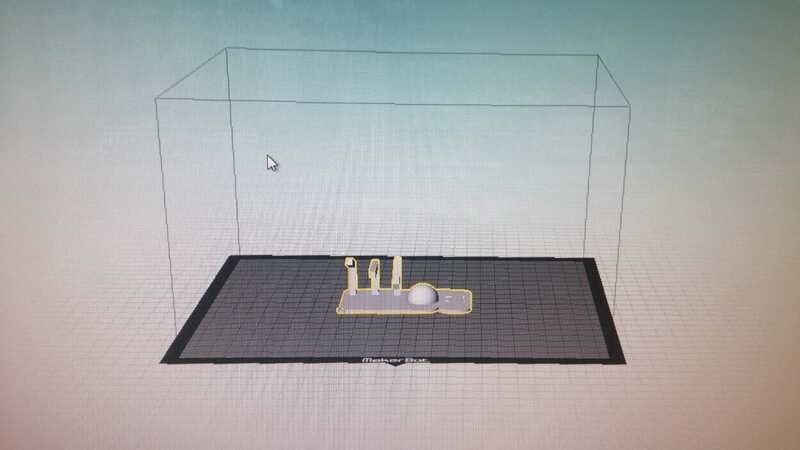
2nd At the left side we can change the size and scale of the body.
3rd Close to the button we clicked to open the file is a "Setting" button.
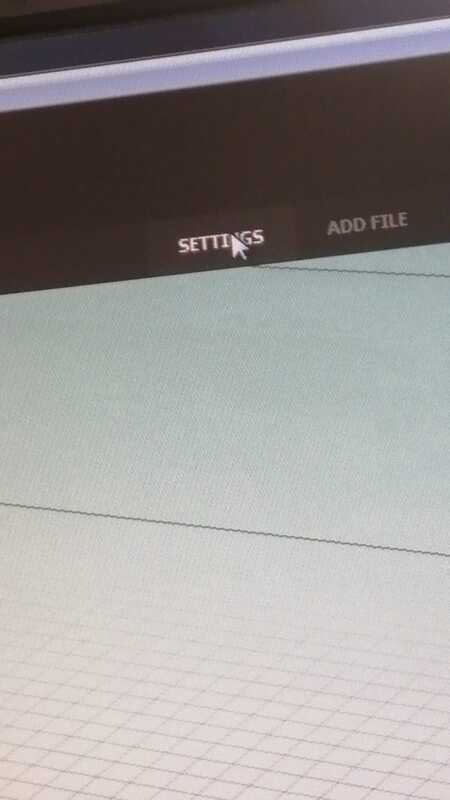
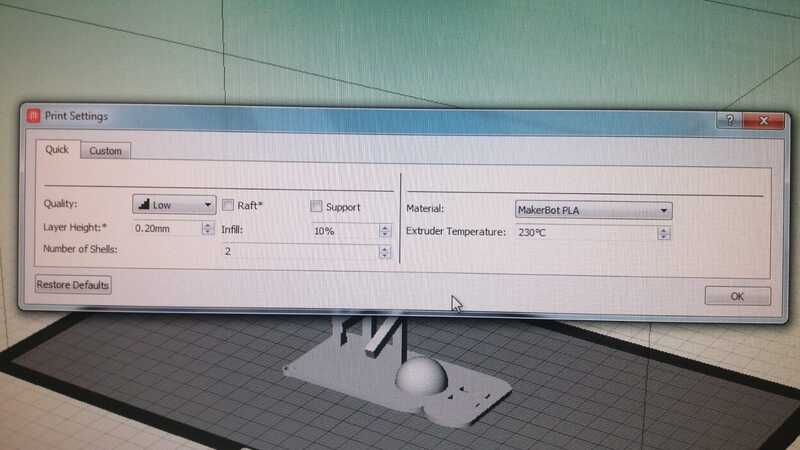
Here you can change the quality, if the body will have supports, the material, and other parameters.
4th Select the printer on "Device" section.
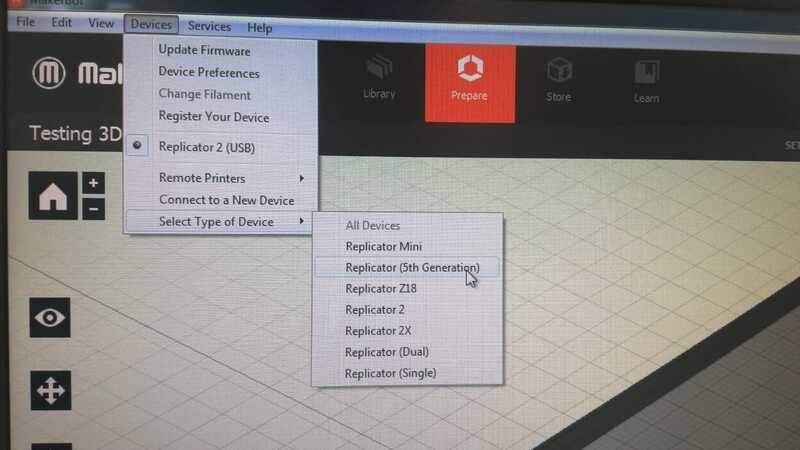
Having this.
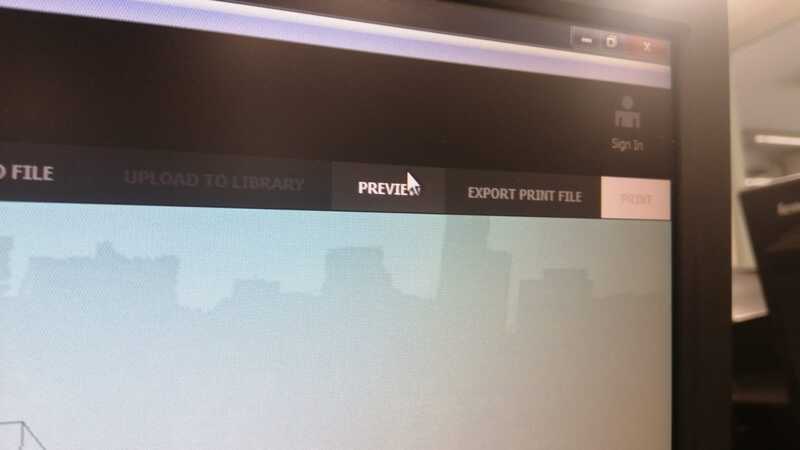
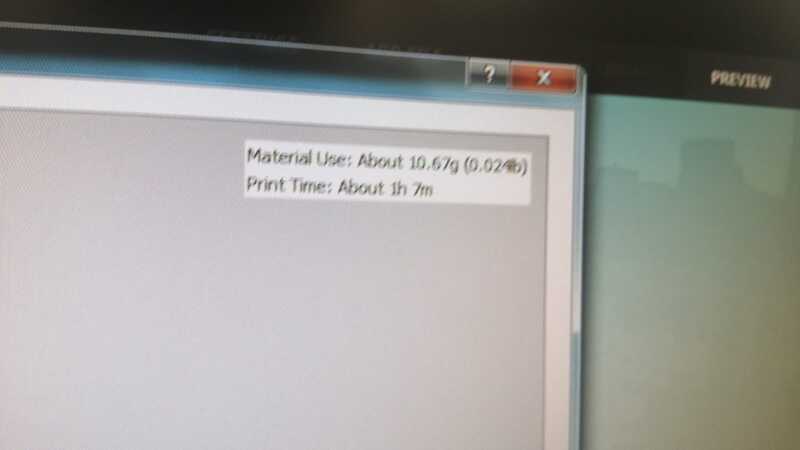
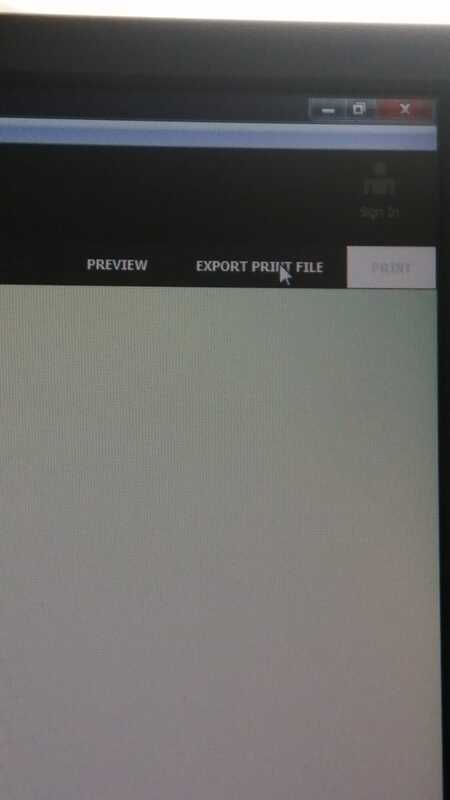
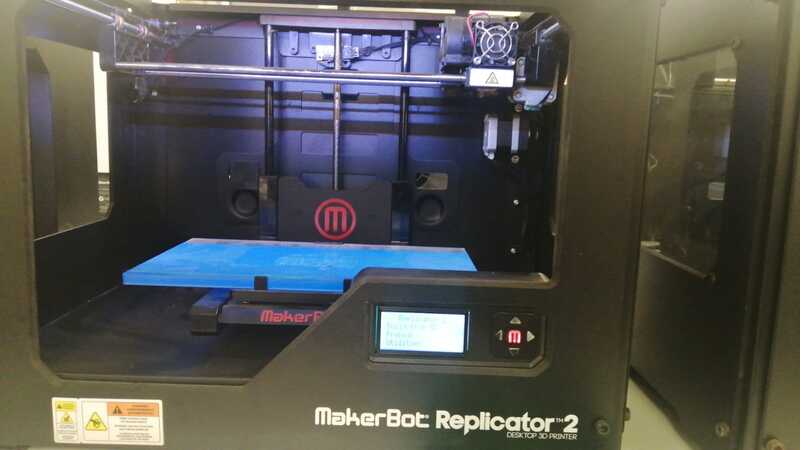
5th At "Preview" section we have a simulation on all process included how the machine will work layer by layer, total time of process, and the weigth.

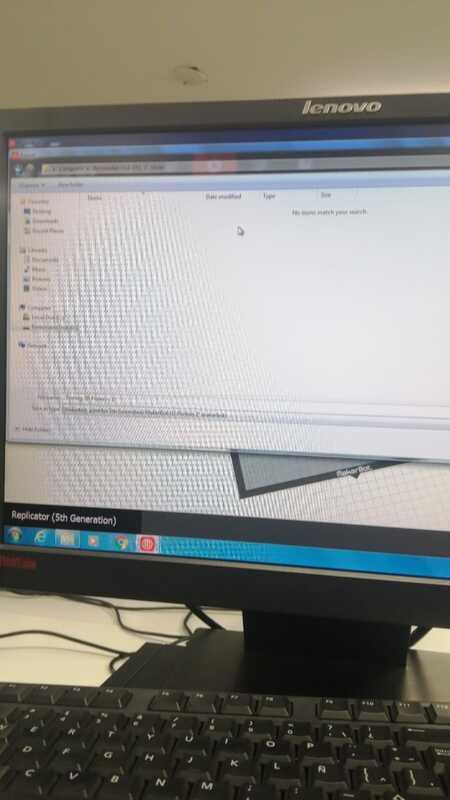
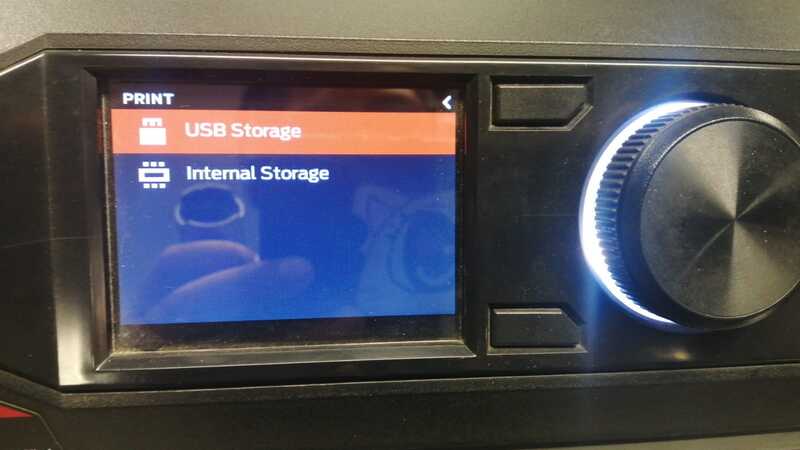
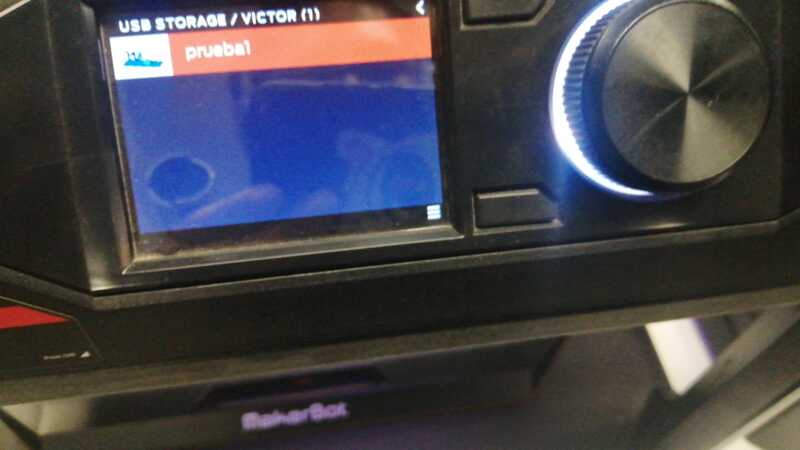
6th I had to export the file because there wasn´t a Lan net.
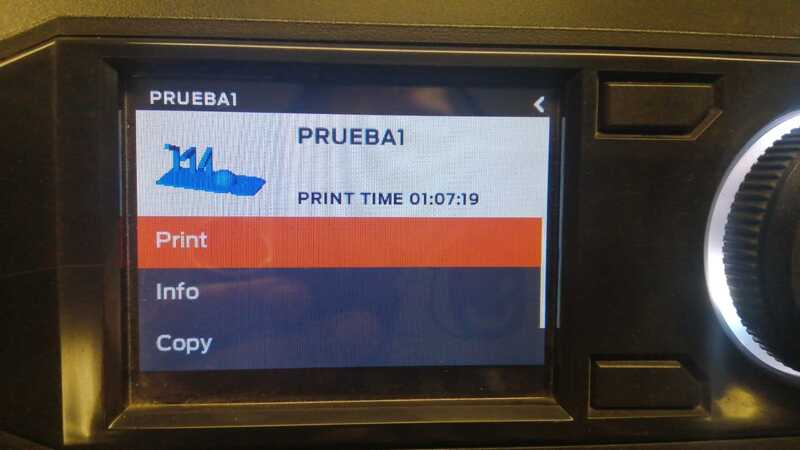
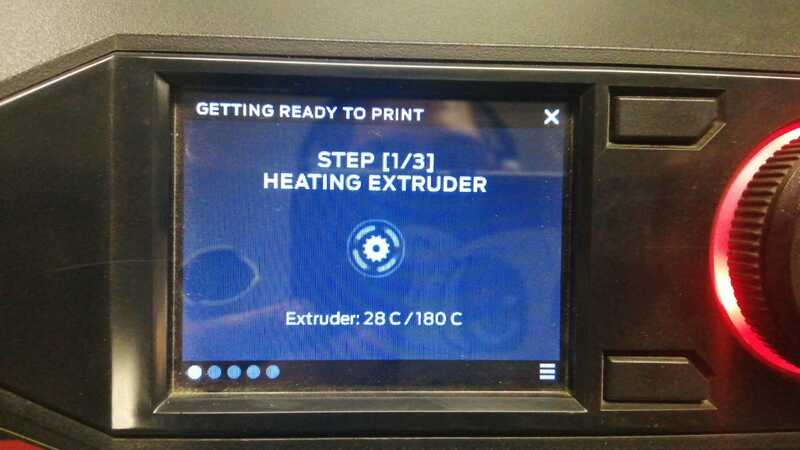
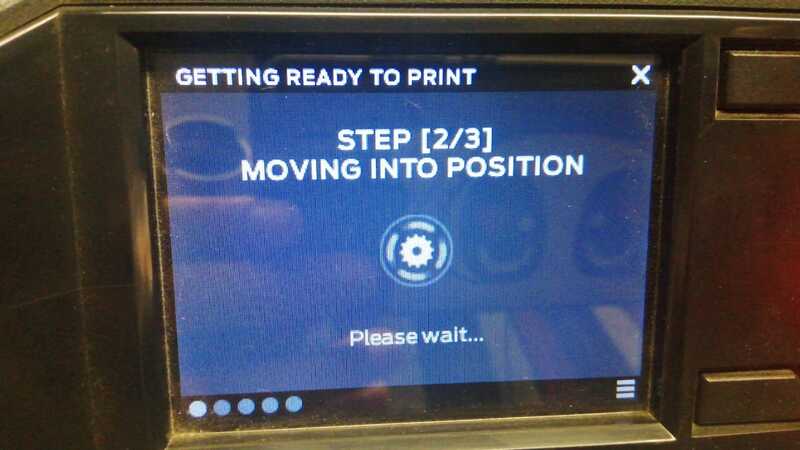
7th At the printer we have to select the "Print" option, plug the pendrive, select the file, and choose last "Print" option.

At this part the machine will start. First heating the extruder, to finally start the production.
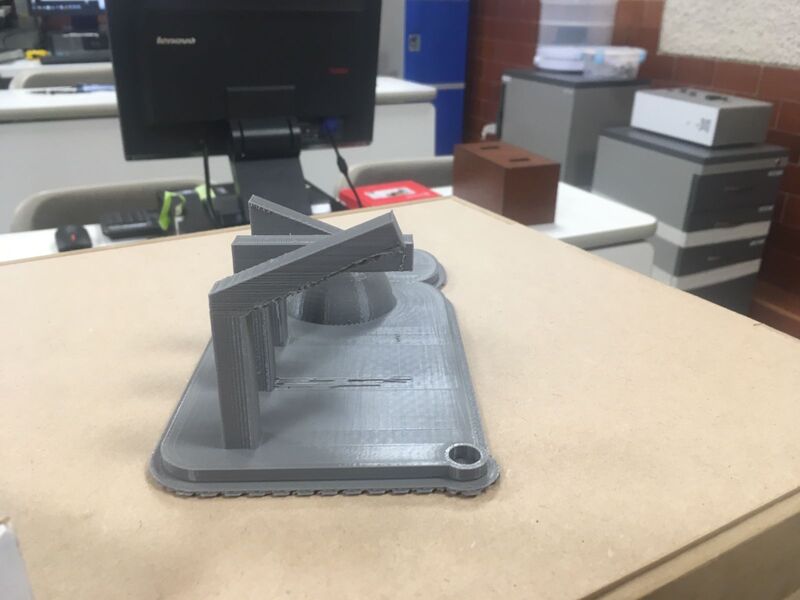
At the end I obtained this.
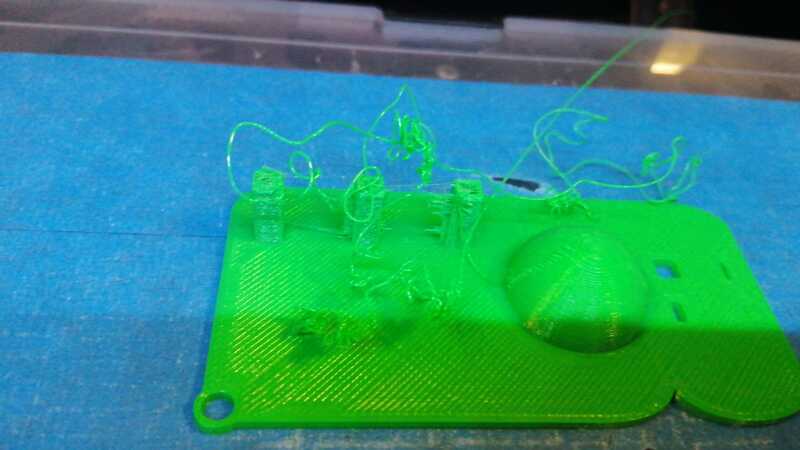
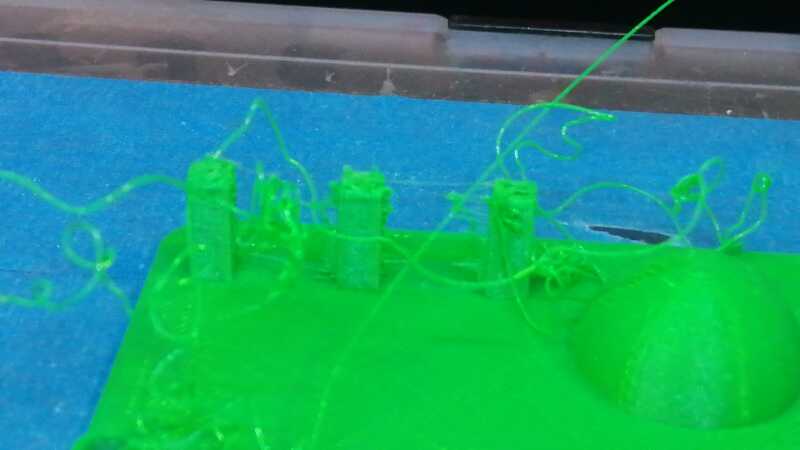
Note: This project was made to test the supports and how useful they are.
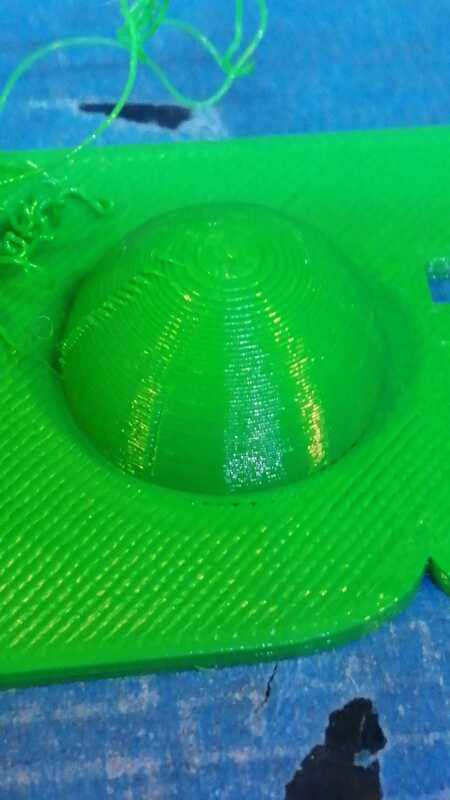
So, here is the same prototype but made with supports. Let's take a look.
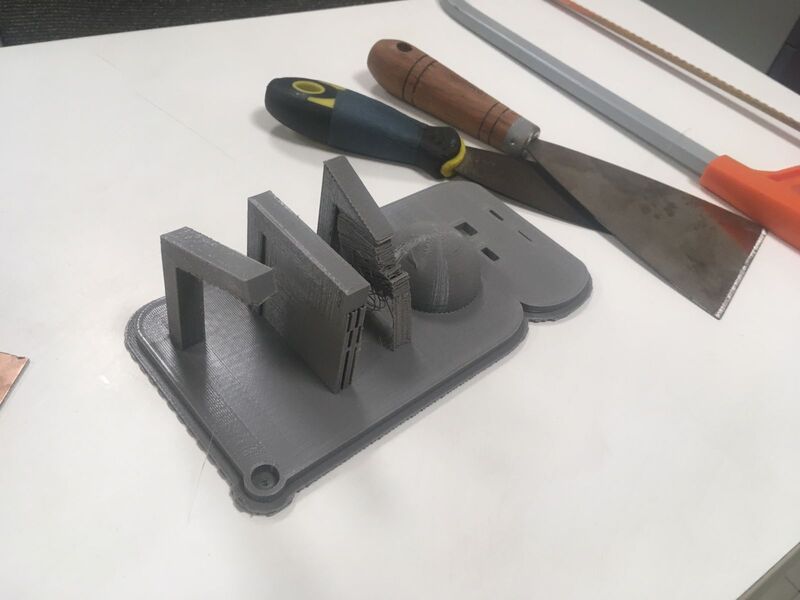
Having this I just had to retire the support and clean the piece.
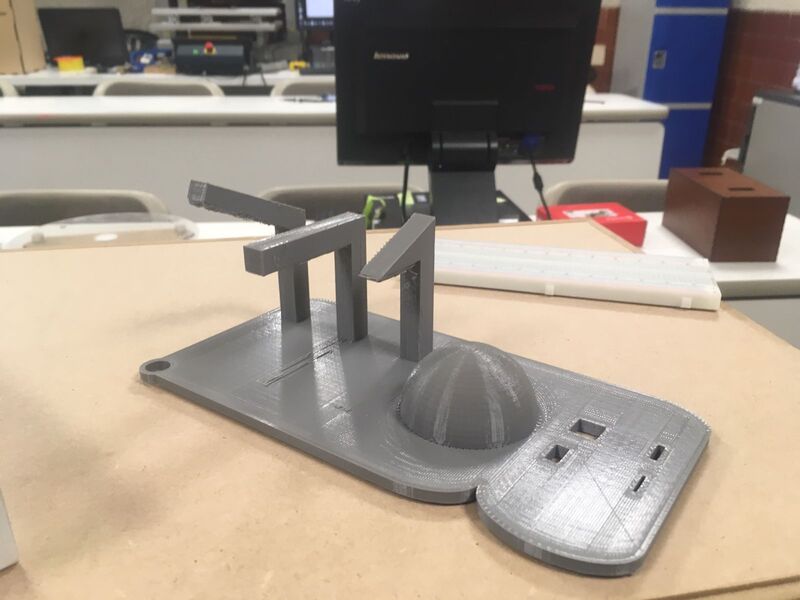
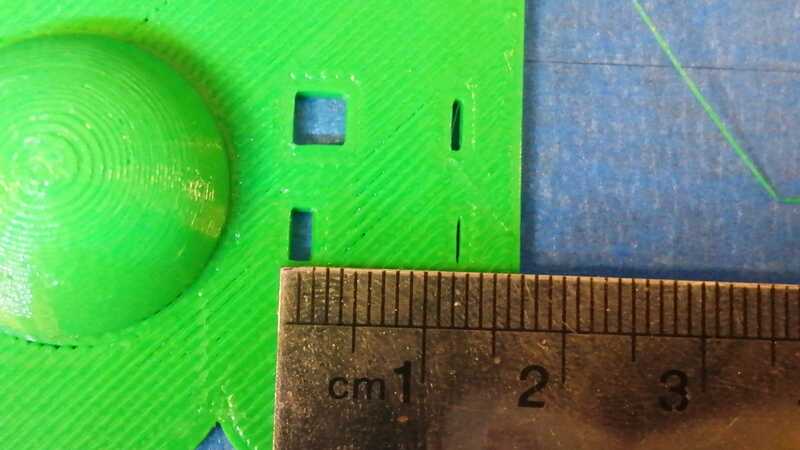
Note: I used this angles: 45, 0,and -45 degrees, looking from left to right.
Conclusions:
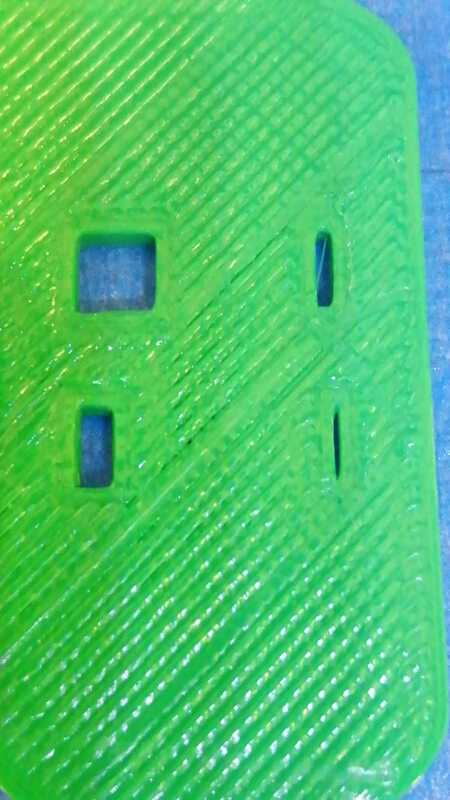
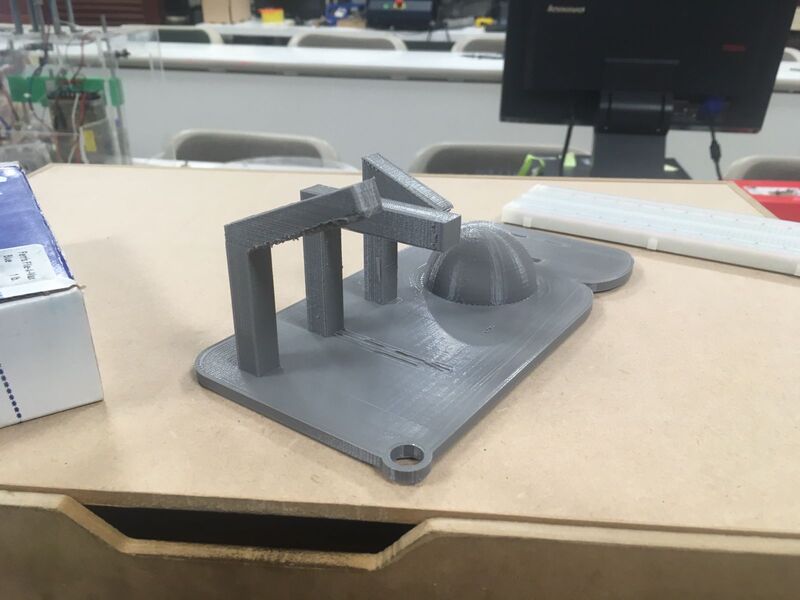
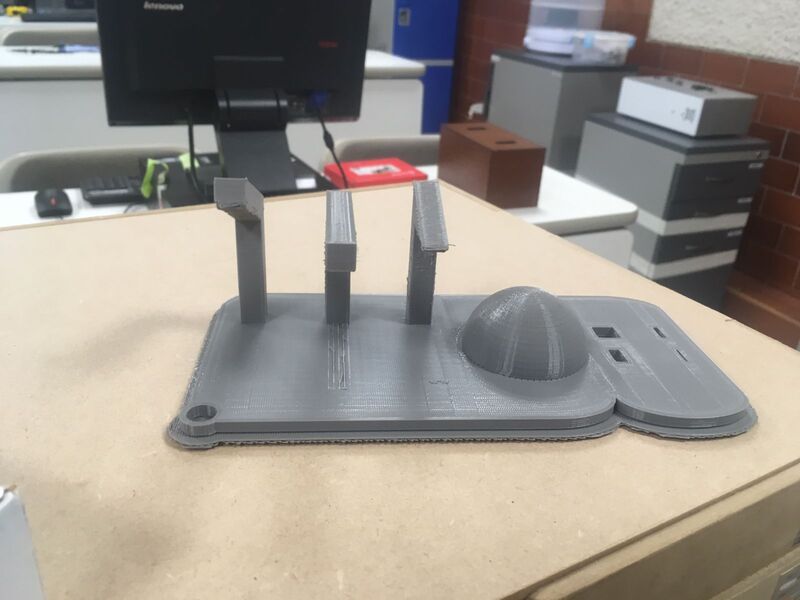
*As we could see, there is a point where Makerbot is able to put support. As I could test that 45 degrees does not need support I can say that from 45 to 90 degrees Makerbot won't define support.
Otherwise, not having supports means that the job time will be less than using those. It's logical taking in consideration that every support need a new path where the machine will go through creating these supports.
*The definition of the piece never will be as we could design because the machine's workflow is like builders building a house: Layer-by-Layer, these made my sphere looks like some rings over some rings. Note: I used High definition for the right test but I didn't make the definition looks well.
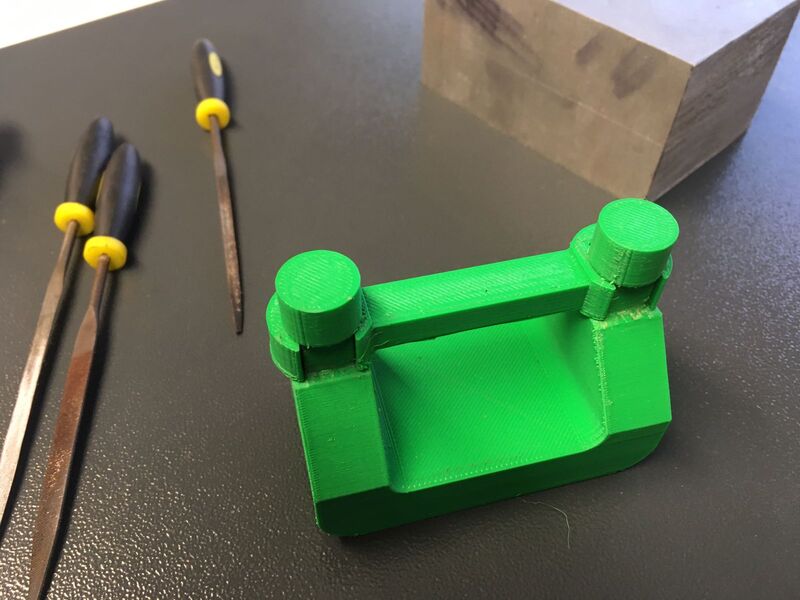
Making what I wanted but I couldn't have
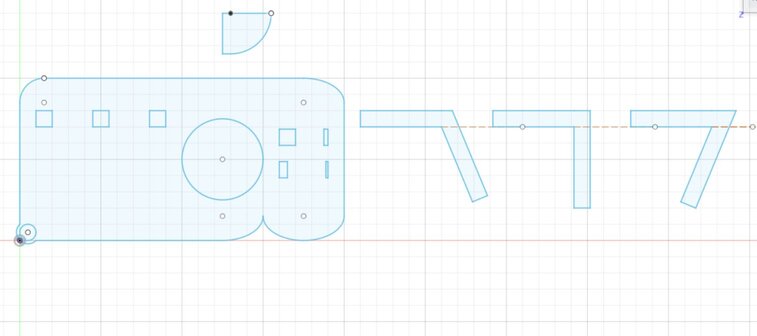
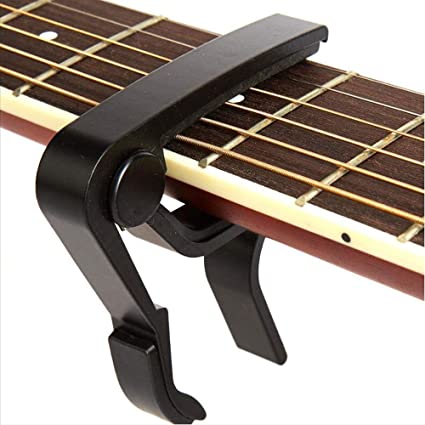
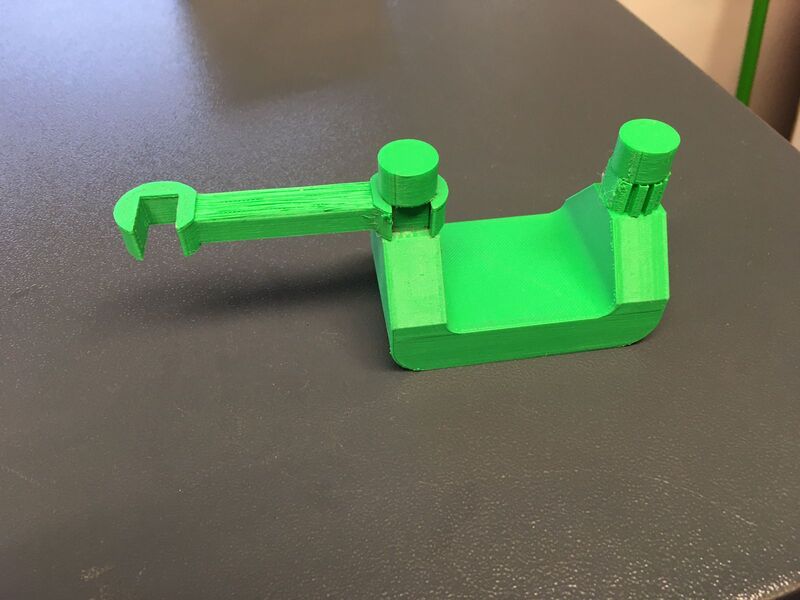
To this part I design a guitar CAPO which is used to perform different guitar tones pressing all string on a especific place. Next picture will explain more than me.
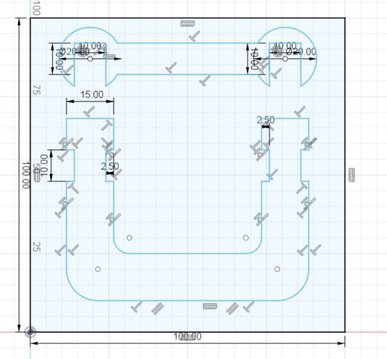
1. I sketched my Guitar Capo on Fusion as I leant and did before, in last weeks assignment.
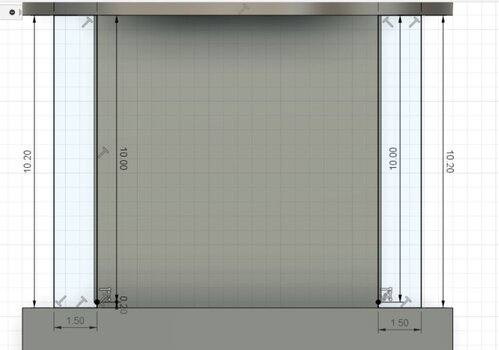
2. Now it's time to extruct. Then I had to do some changes focusing on thickness and tolerances of the parts using the "Press Pull" option. Let's take a look.
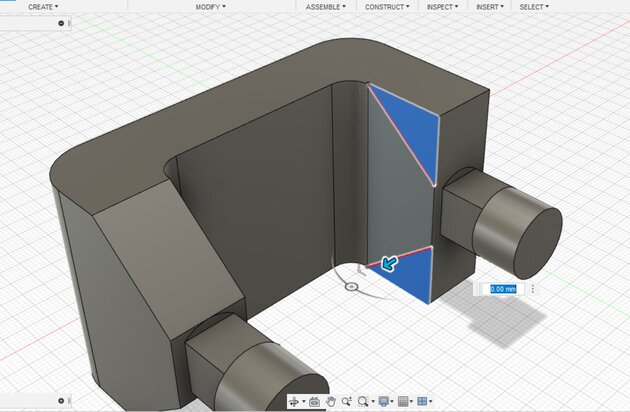
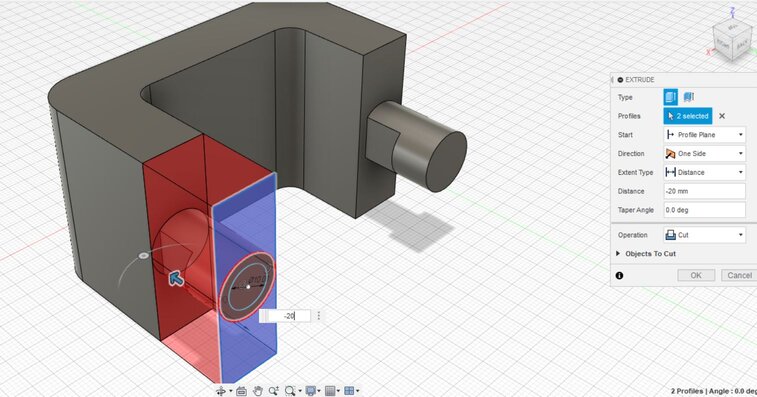
Note: When you will change something on a 3D perpective you have to choose "Create Sketch" and select which project's face you would use as a plan. Let's take a look.
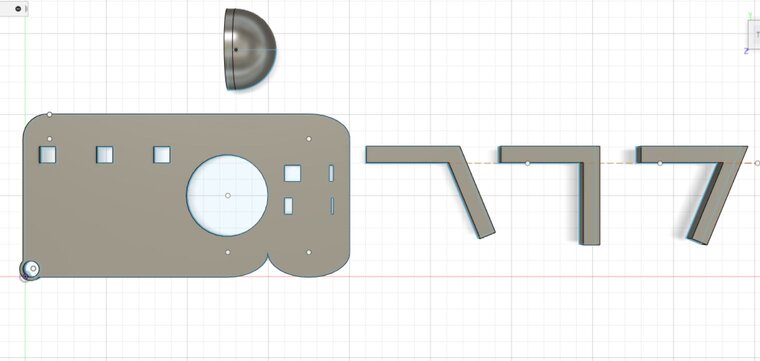
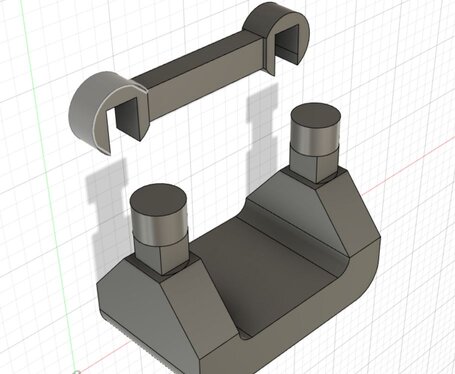
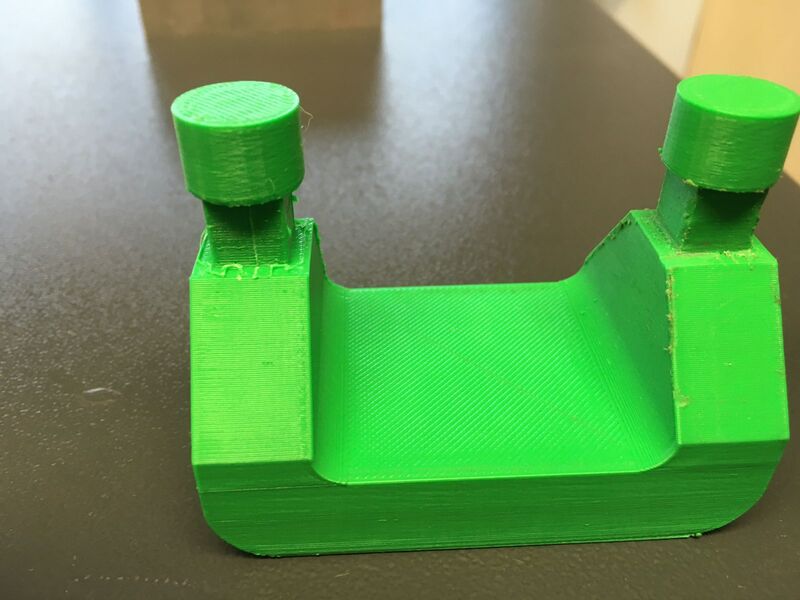
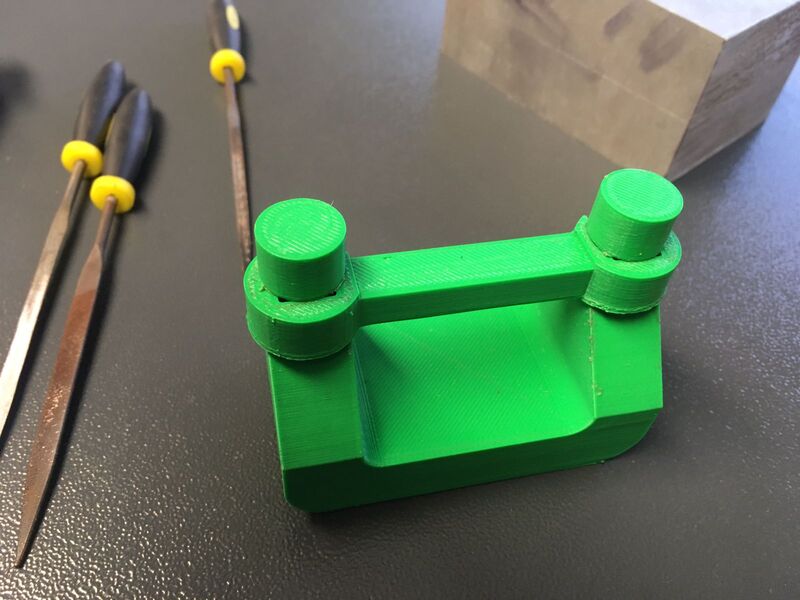
3. I finally had this.
Having learnt the process of manufacturing we had this.
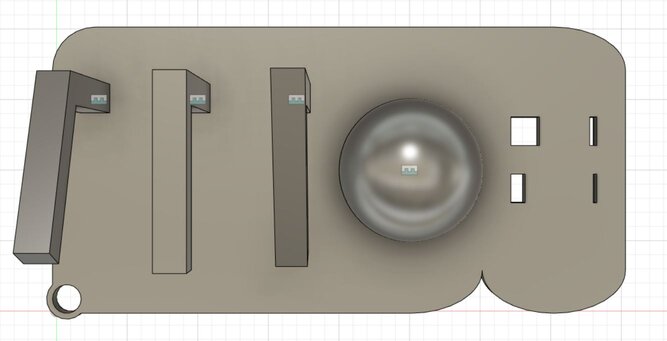
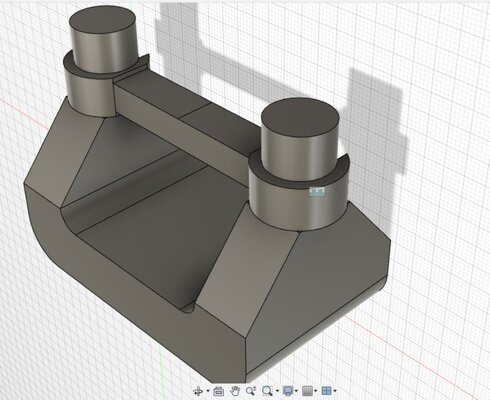
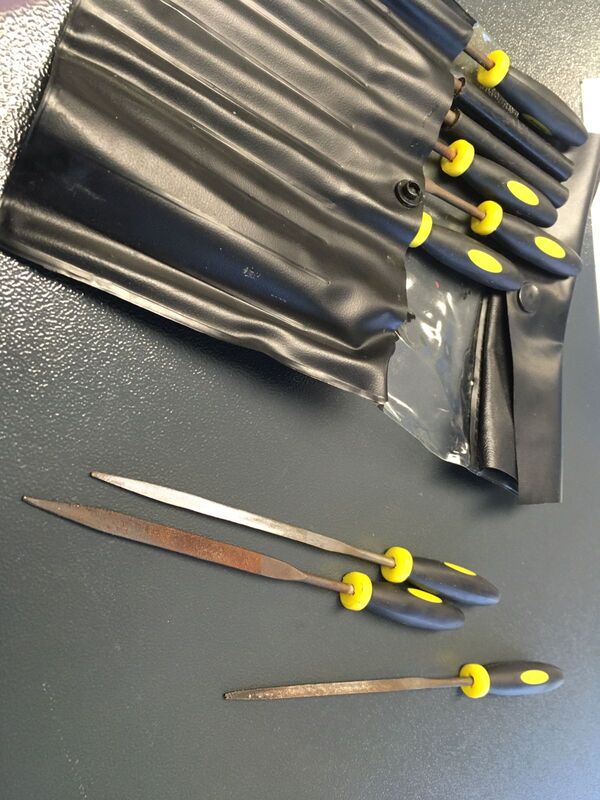
Now we have to clean some part to make them fit using this tools.
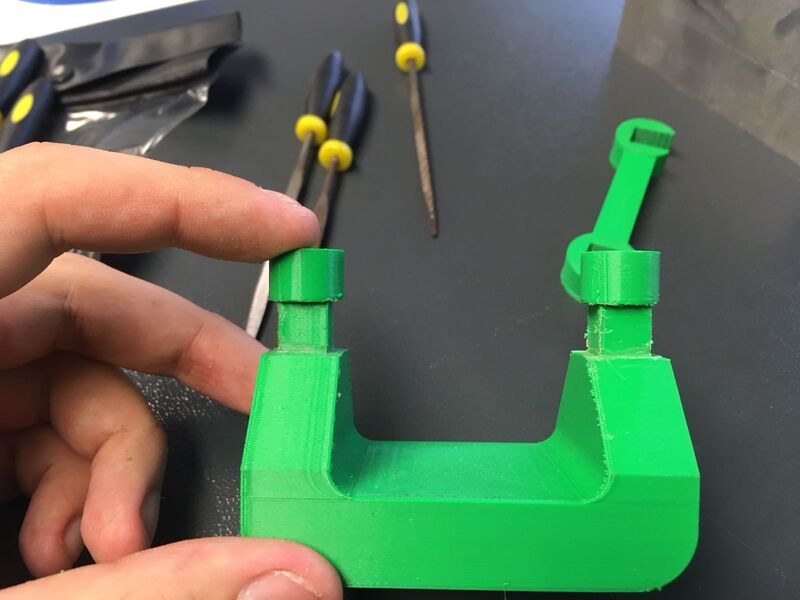
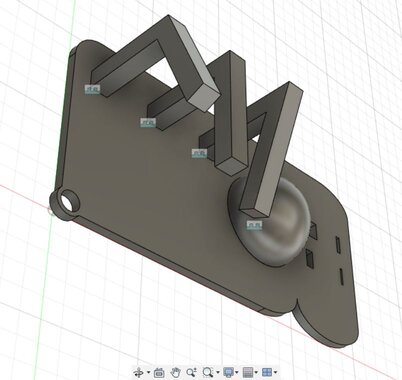
Finally having this.
3D Scanning
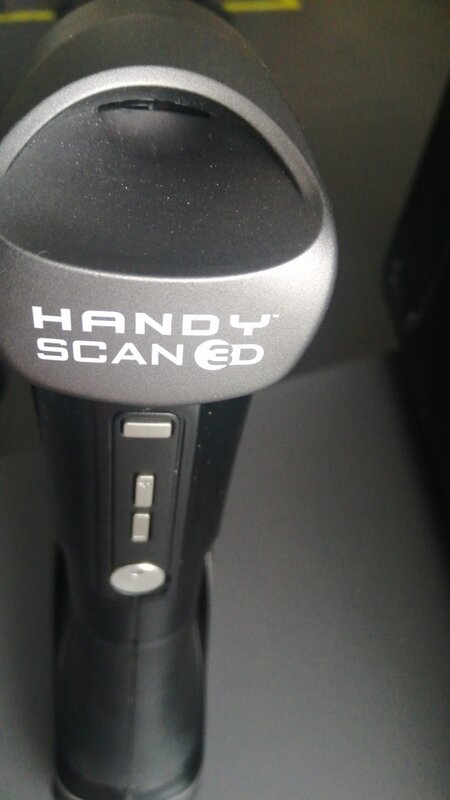
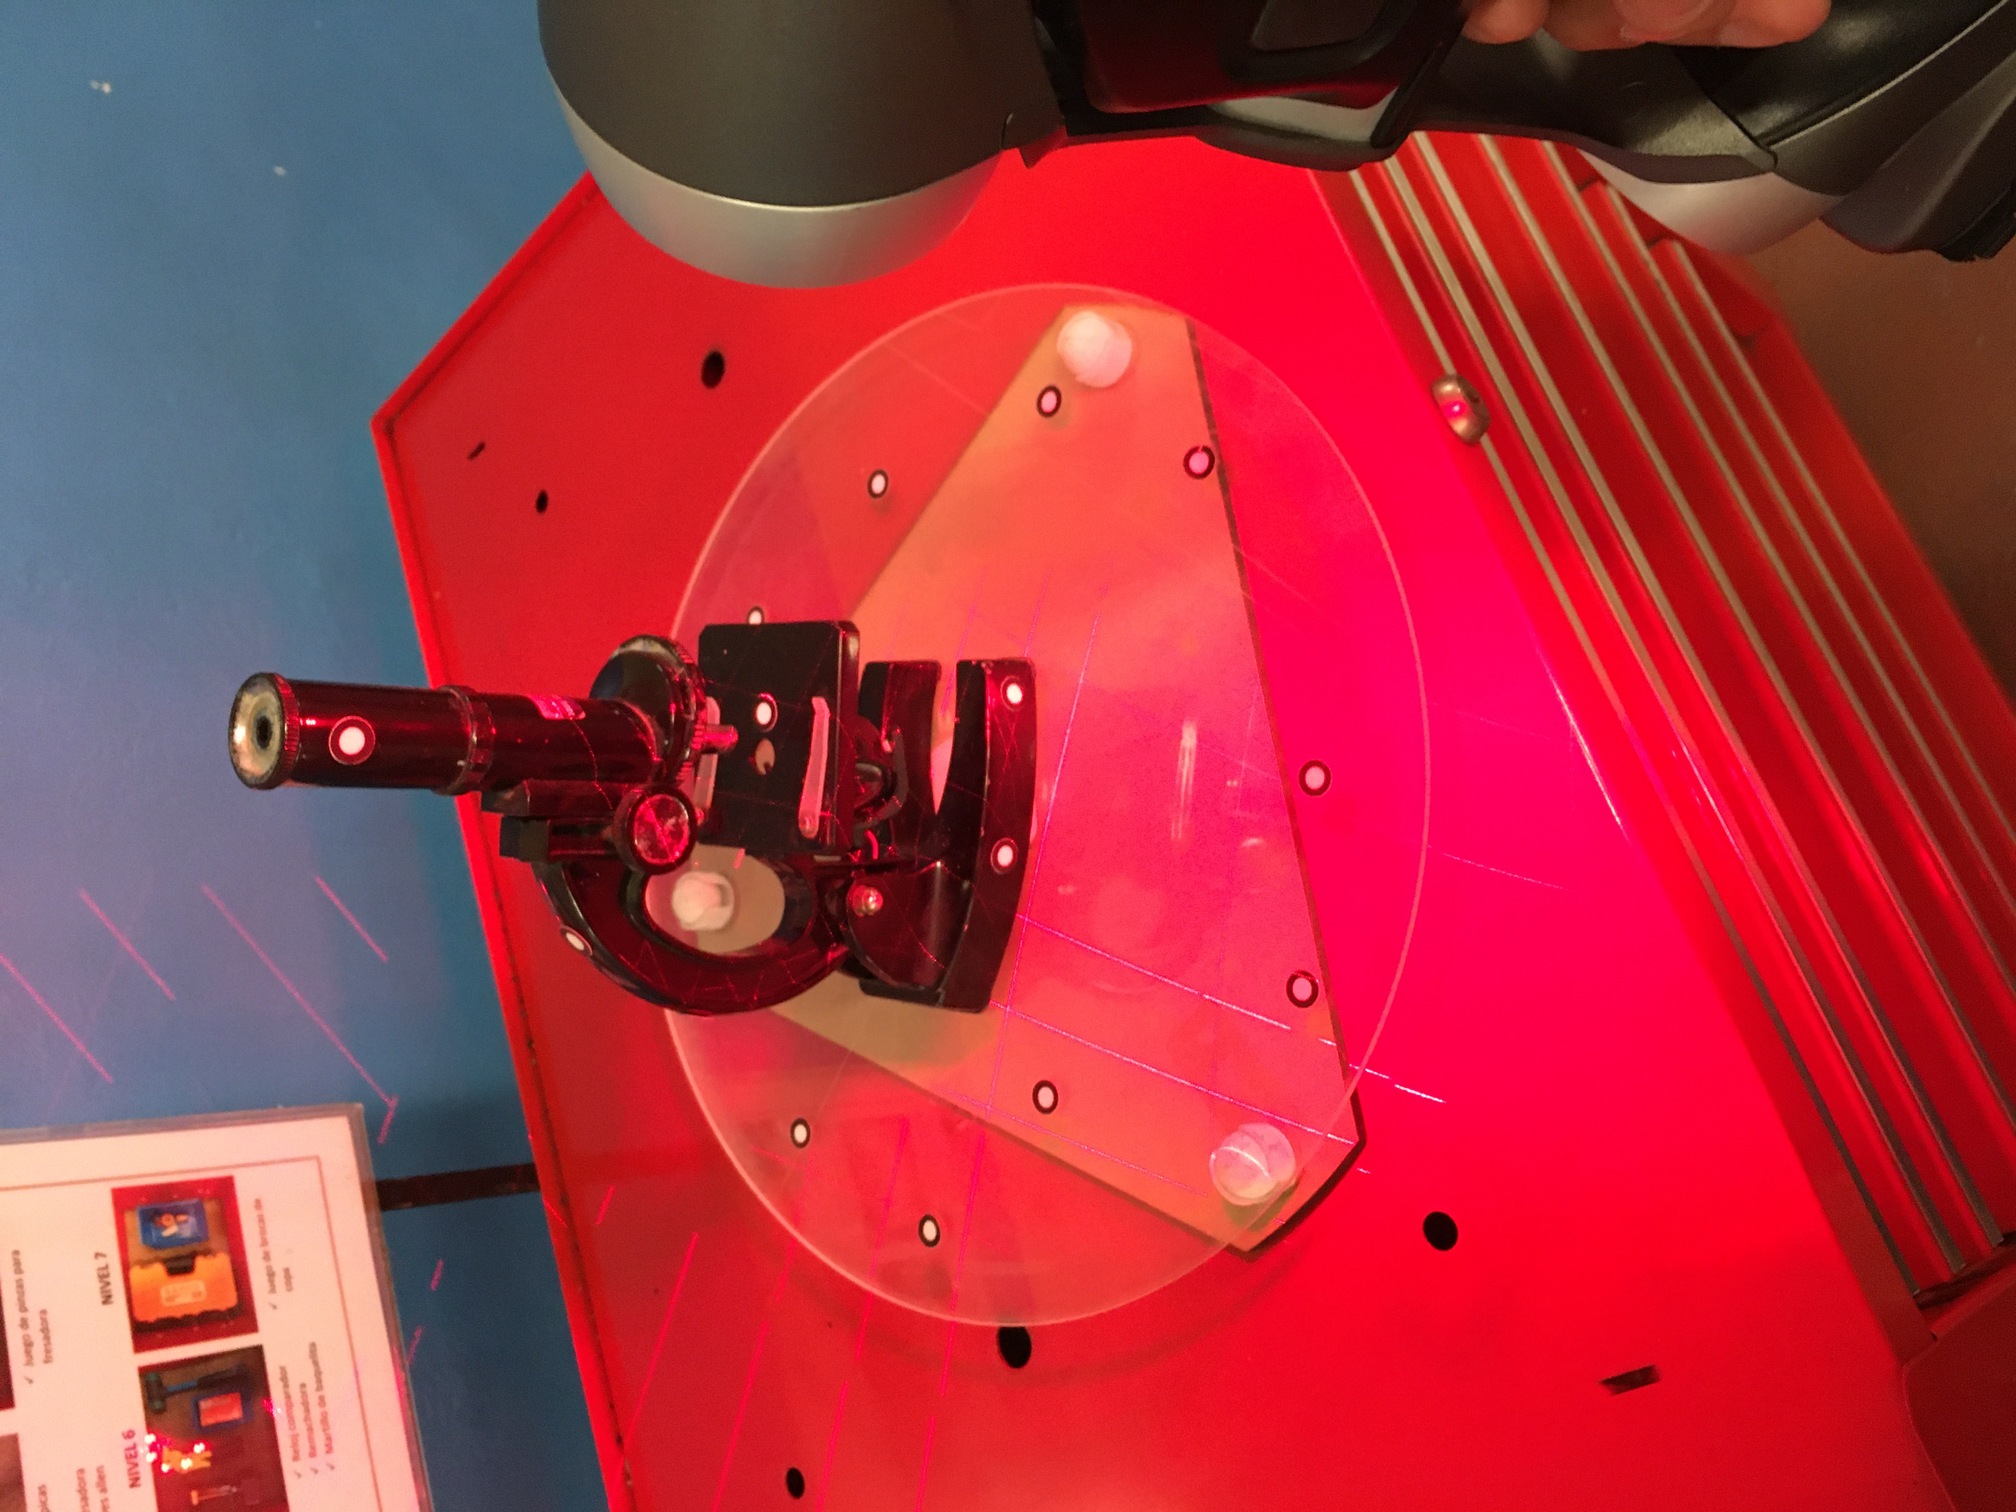
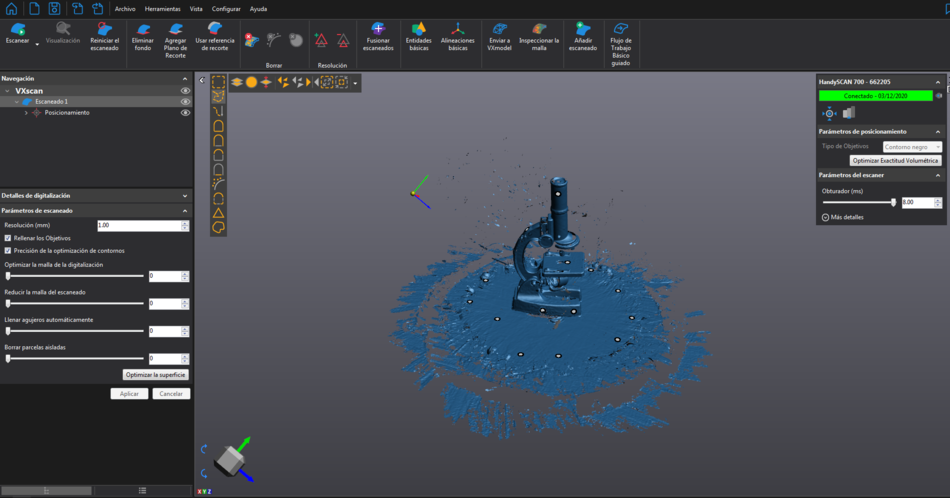
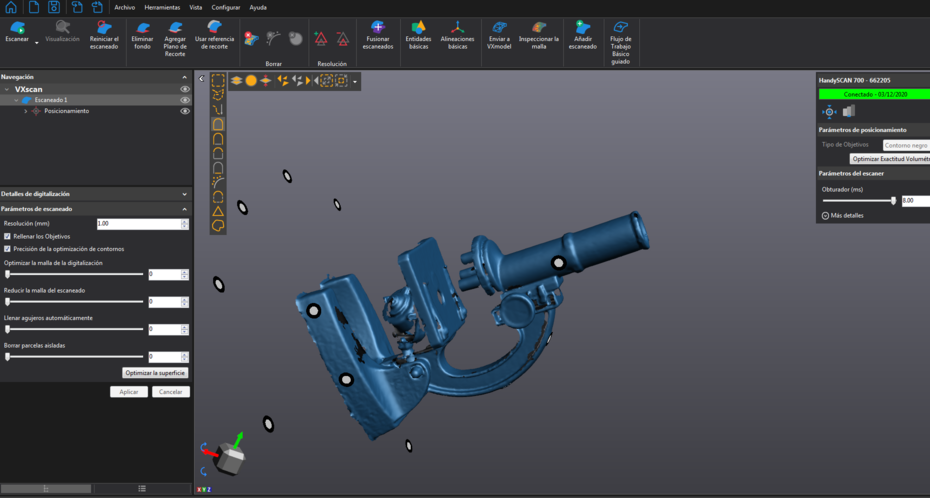
For this part I wanted to scan my microscope which was my favorite toy when I was a child. So I used the Handy Scan 3D following the next steps.
1st. We have to locate the object to be scanned on a rotatory place to make easier the process and locate some stickers around the object taking as minimun distance 5 centimeters.
2nd. We have to open the VXelements which is the specific software for this scanner.
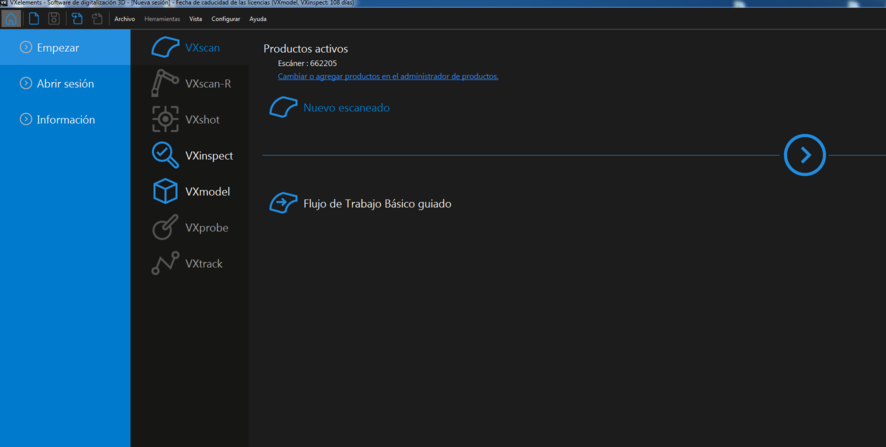
Having openned we will find the next picture.
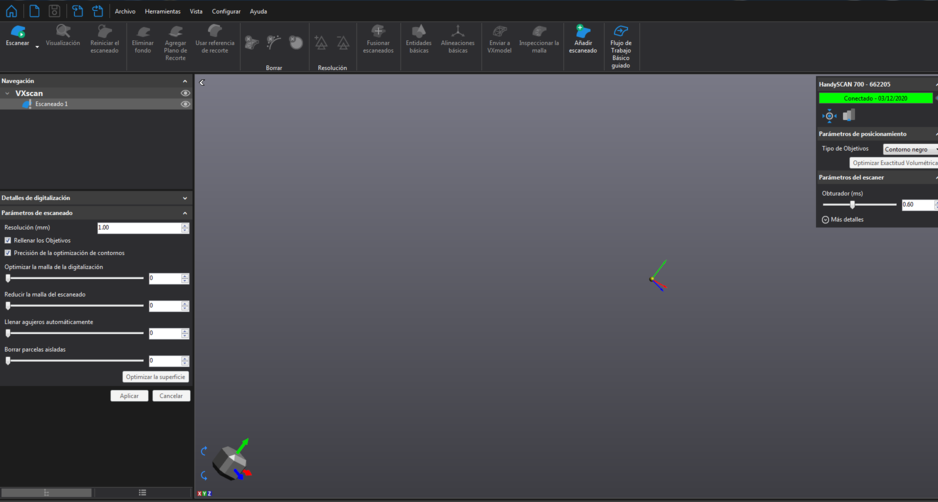
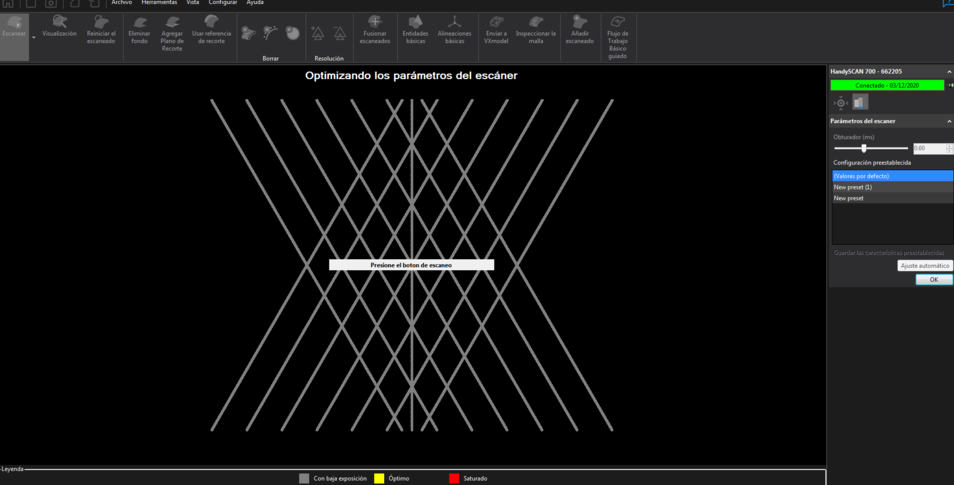
2. We have to calibrate. Go to "Settings" and click on "Calibration" to open a window as you can see next. There we have to click on "Automatic Set".
Note: As you can see all my interface is in Spanish.
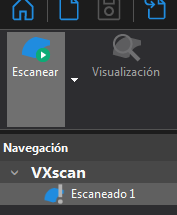
3rd. To start the scan we have to click on "Scan" button upper on the menu.
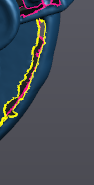
Starting with something like this.
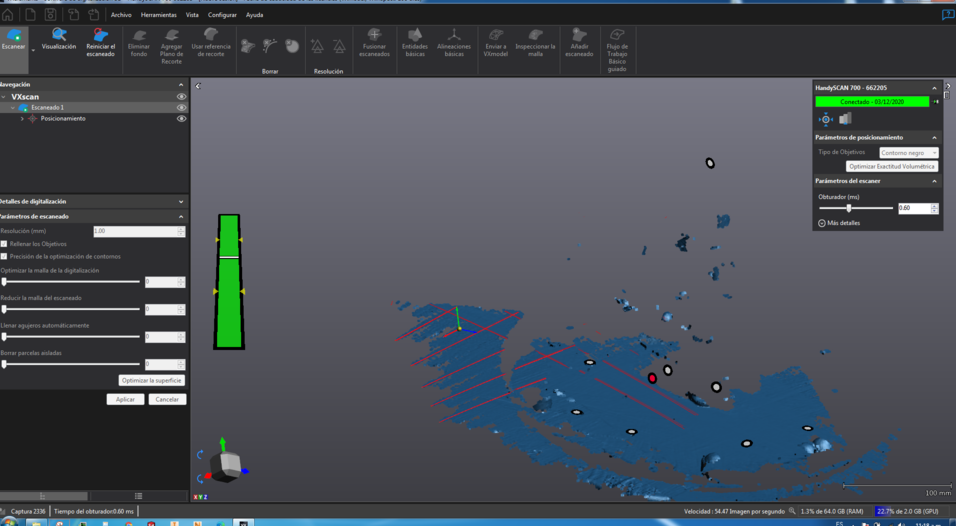
And ending with something like this.
4th. When we decide to finish the scanning process the next window will appear.
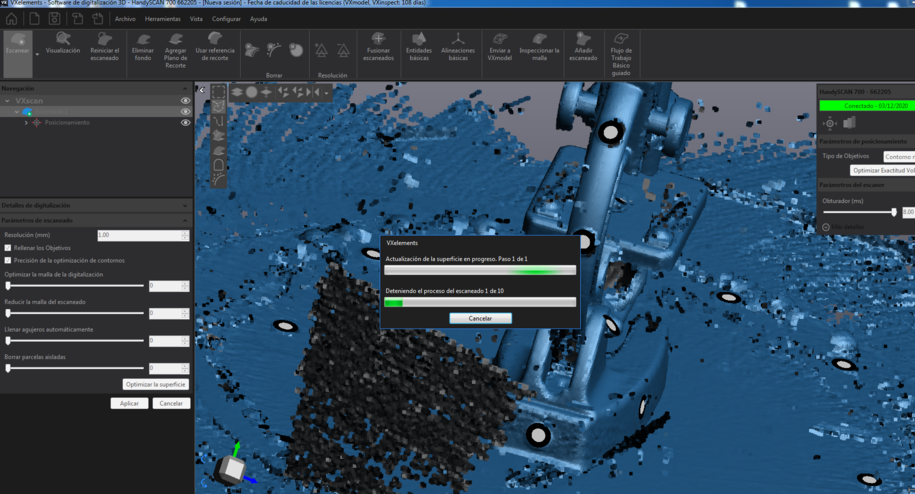
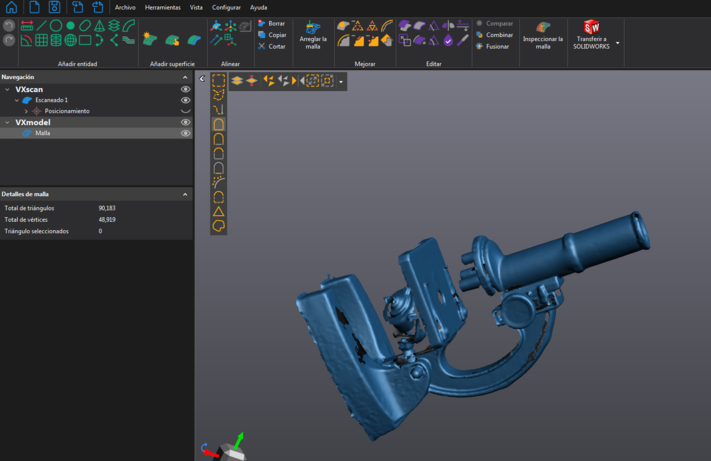
Then you will have something like this. Here start the 2nd Process: The Post-Production.
1st. Here we selecting the next tool we can delete all waste around the real object we want to scan.
Having this at the end.
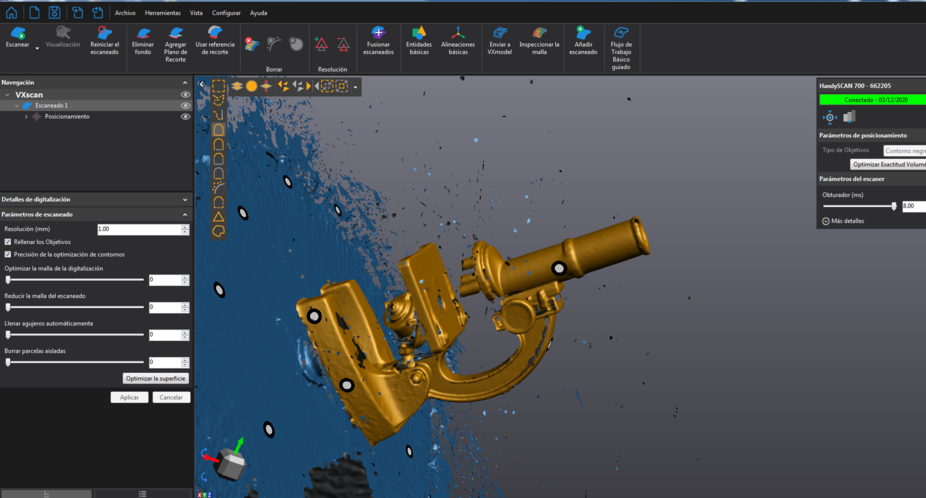
3rd. Then click on "Apply Scanned" to find the next pictures.

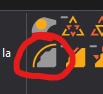
4th. Click on the next icon. This tool makes possible to fill all surfaces which were not able to scan.
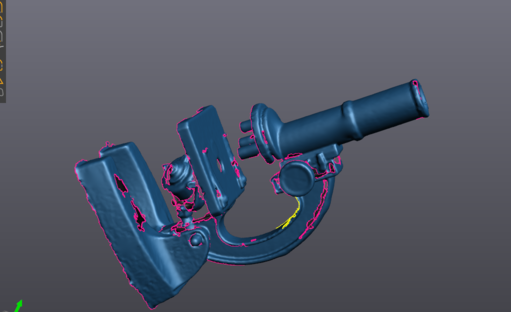
You just have to select the holed part and click on 1 of its edges.

Next step when we decide that all have been done is to save the file. For this we right click on the process and click on "Export".
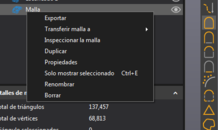
Then we just have to save it.
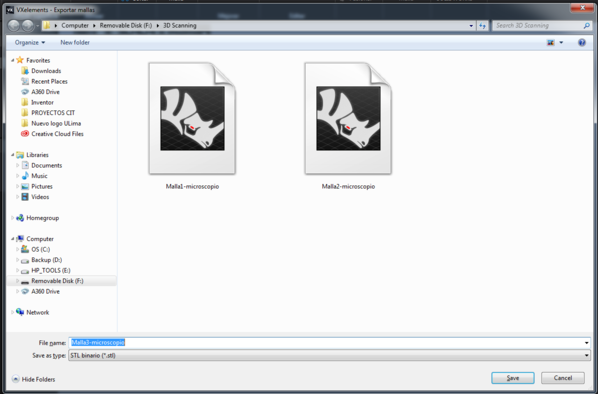
I saved it as STL to upload at my Fusion repository to linked at this page.
Conlusion:
*My toy has some brigth parts which made hard to scan for that reason I had to fill some holes around my final scan at post-proccesing part. For that reason I highly recommend to scan over not reflecting surfaces. Note: My microscope has a mirror in the bottom part.
*I mostly recommend to have patience because the scannning process take time if you want to have more data of the object. Note: This scanning took me around a hour.