To this assignment we had to design a replicate of an ISP based in our possibilities and recourses as you can see later I had to change and use others devices and parts due to my lab's machine functionality.
Practicing... "The more you practice, the better you get"
Due to pandemic situation was not possible for me to go to laboratory so I was practicing at home in a helpful software, part of Autodesk, Eagle which you can get free with Fusion 360 1-Year-License of Fab program.
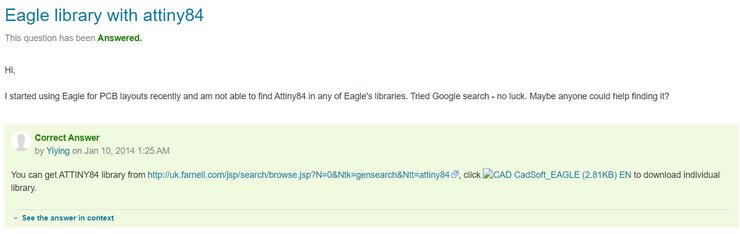
Now it's time to fill its default repository with device you will use so we have to choose which ISP we will build, at my case I selected David's ISP. I couldn't get, at the time I was doing this assignment, the total of available pieces and device I would use for pandemic restrictions. Beside of that, I tried to use same or similar pieces which David had used in his ISP but I didn't know where and how to find those files, hence I went to a FAQ where I could find some information as you can see in th next picture.
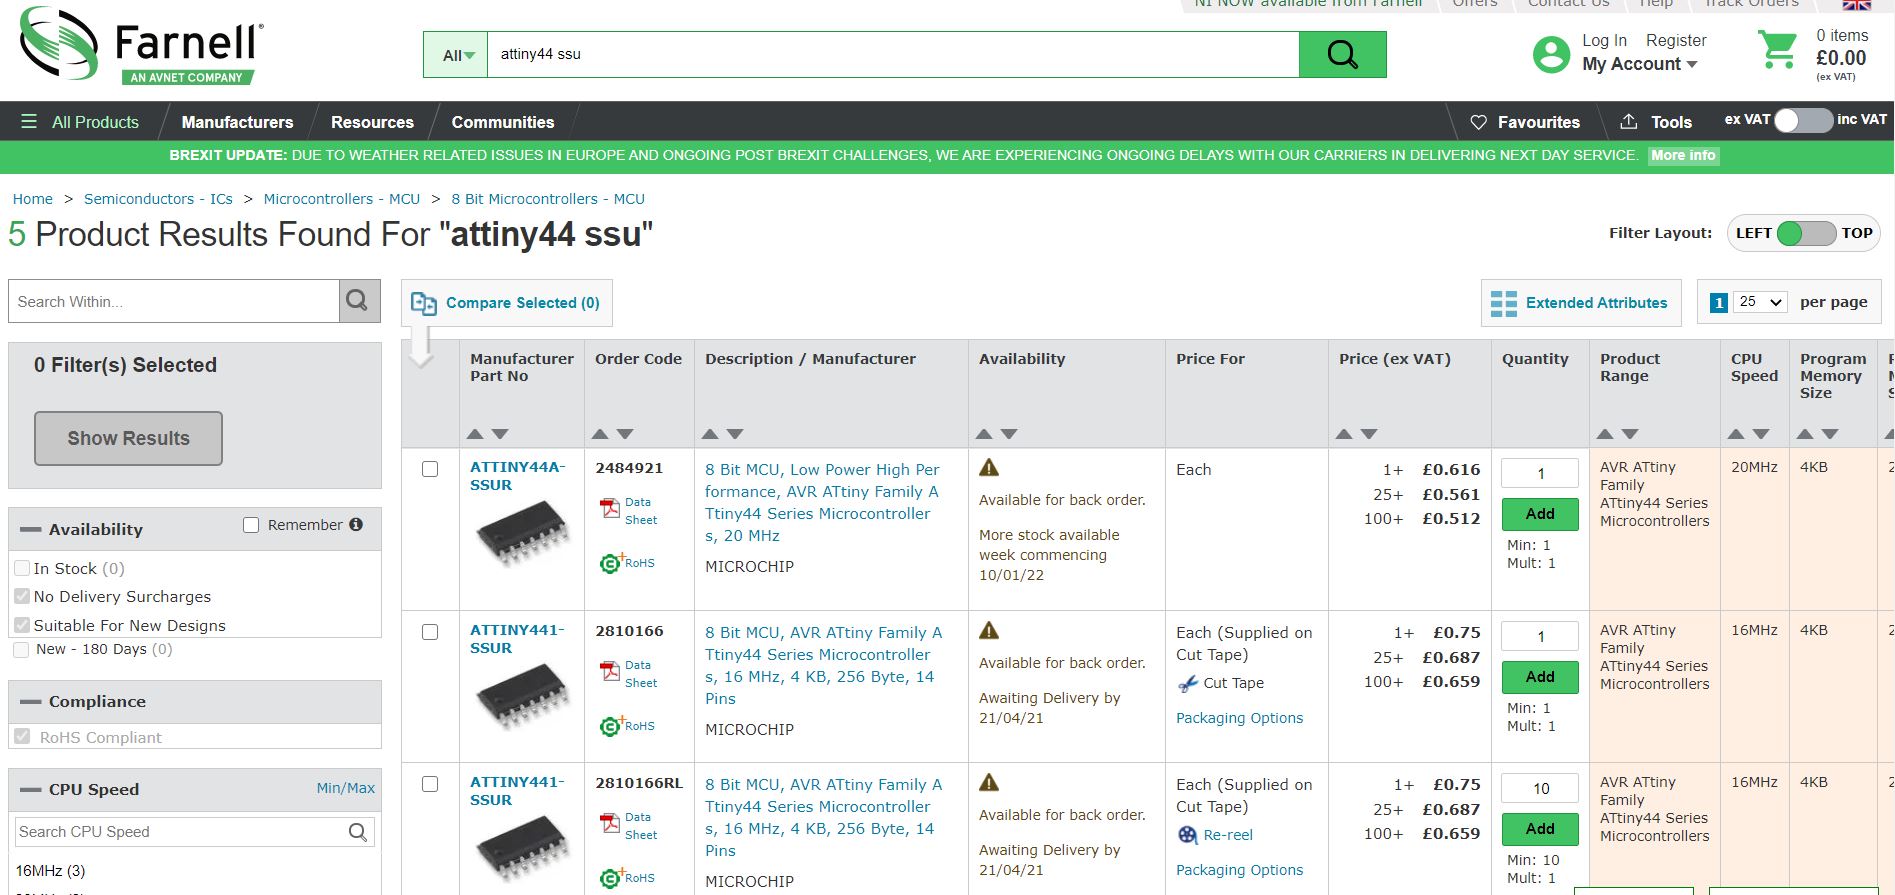
Following some instruction I could find my files here Farnell, which is a emarket where you can find the files you would need or similar as my case and then integrate at your Eagle. Letme show you how.
1st. You have to search the componenet you will need.
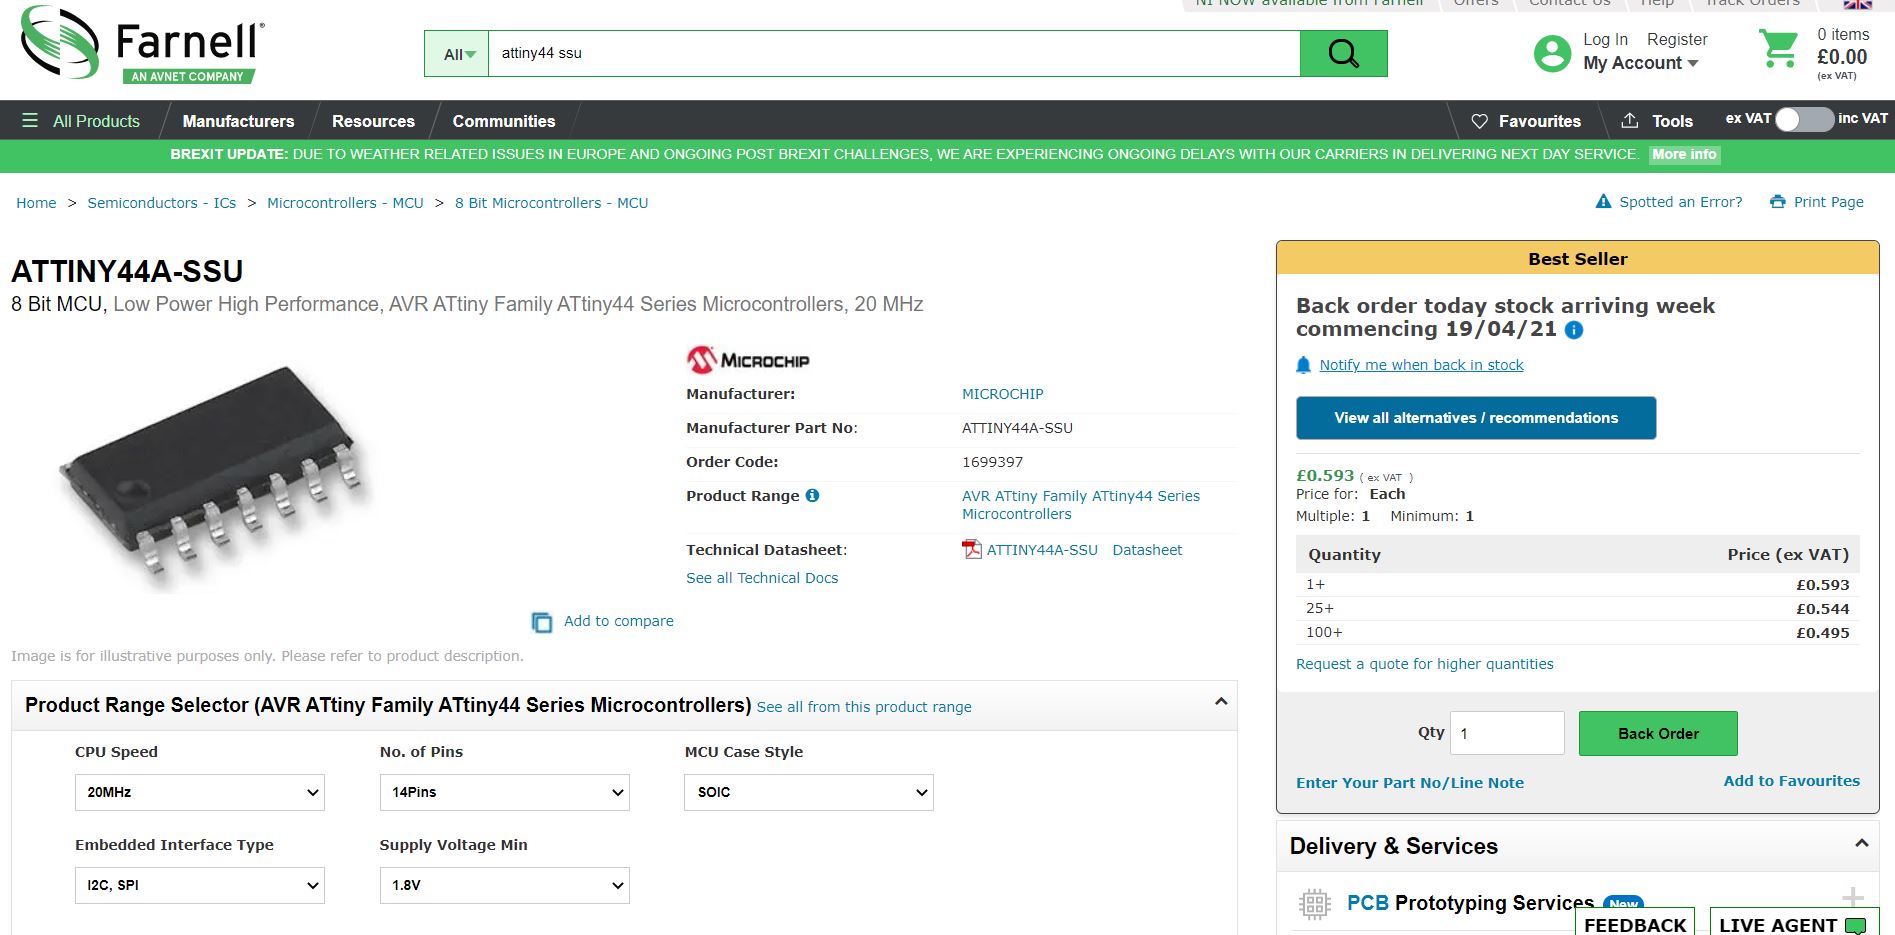
2nd. You have to select the exact or similar component, I chose an "AtTiny44A-SSU" which was a similar one but not the specific.
3rd. You have to go to the bottom and select the file called "CAD CadSoft_EAGLE" or similar, this file and format is the required.
4th. You will have to decompress. As a result of that process you will have a folder with these files.
5th. We have to go to Eagle interface and on left-above we will choose File and "New library".
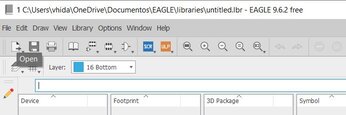
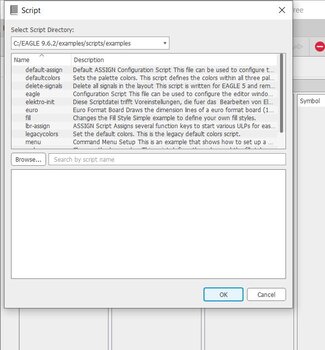
6th. At this part we have to select the blue icon with "SCR" layer, this open "scripts" files which are assets to Eagle.
7th. We have a box where we will go to "Browse" and then we will import our files, I imported my "AtTiny44A-SSU"
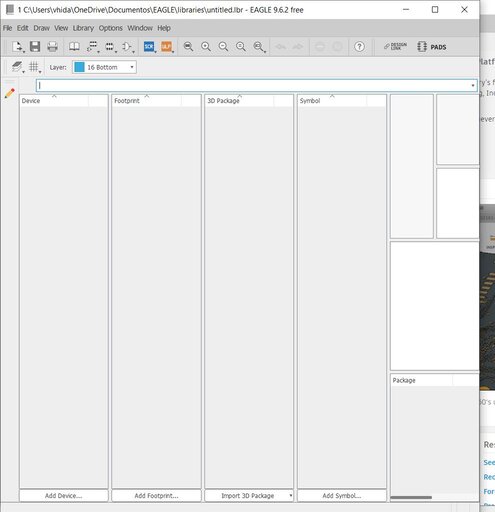
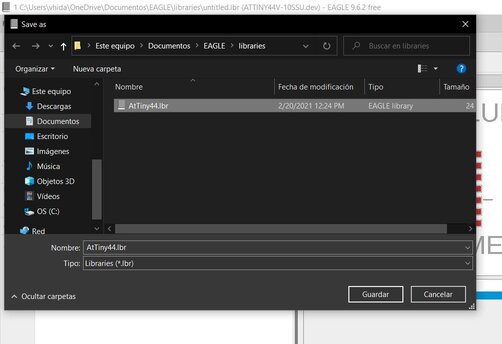
8th. Finally we have to save as a library, we have group lots of assets to create our own library.
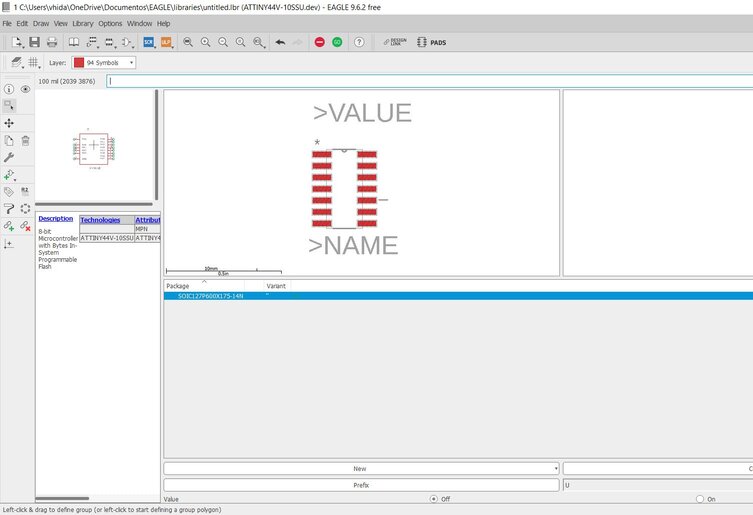
So, it's time to start the designing process. For this part we have got "Files / New / Schematic" on Eagle's interface. Then, at this new window we have to import the assets and devices required for our project following these instructions.
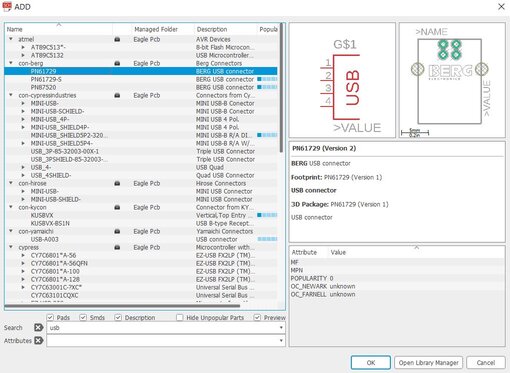
1st.- We have to click on this icon at left side of "Schematic" window.
2nd.- We have to select which piece or asset we will use, just one piece each time you cannot choose a group.
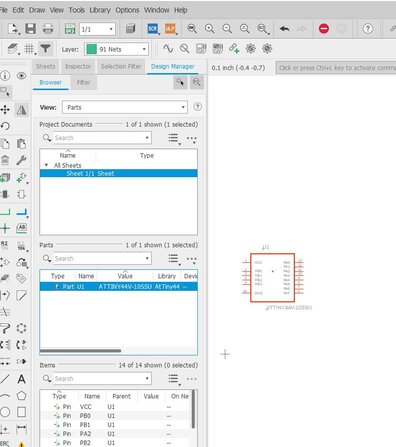
3rd.- We will finally have to paste it on the board and start the designing.
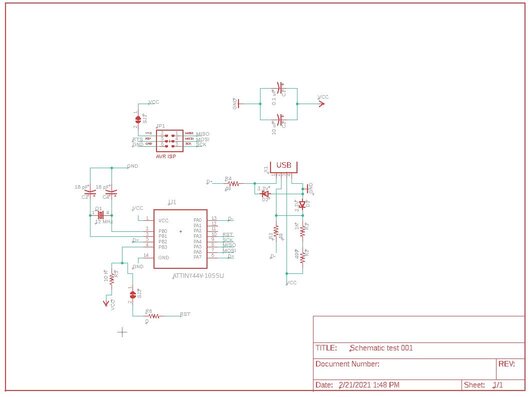
After all the designing process we will have something like this.
Note: I highly recommend to watch some tutorial at YouTube or research and read information or tutorial at some Eagle's Forums.
Now comes the board designing part. So, we have to convert our schematic into a board select an icon on "Schematic Eagle" window.
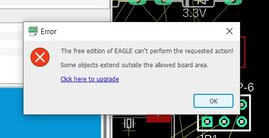
In this part I had some problem when I tried to move assets to repositioning as you can see and it was later when one member of my lab told me what I was doing wrong.
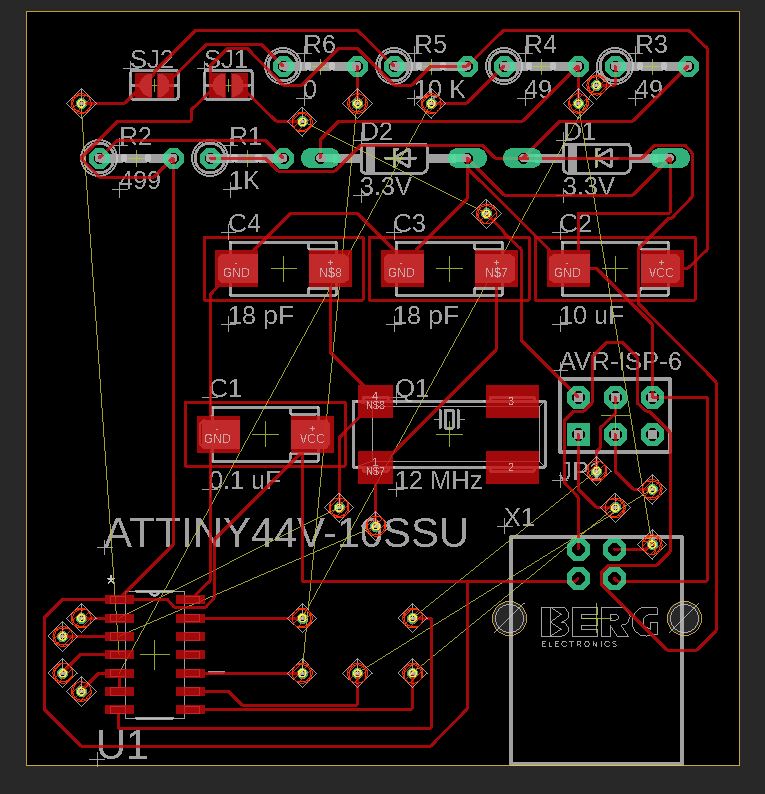
Recommendation for this designing part is to practice, this interface will be guiding you where to put the "connection"/"wires"/"awires" and you can use helpful, to practice, tools as do some holes and make those electrical connection. In my case, at that time and that "unknown" problem, I decided to make a 2-faces board as you can see now.
Note: You can select the face at this part of the interface.
Then, we have to export the file as a ".png" format. We will do this at right side of "Board" window clicking on "Manufacturing" slide, this button is rotated. There we can change some color as parameter which will help some program to recognize and design a "G-Code" format.
At this point we have a beautiful image of our board but we have to convert this ".png" format to one which our machine will be able to process. In my case in change the format in Fab Modules and did these next steps.
1st. We have to choose our input format importing our file as I did.
2nd. Now we need to select the output format, I chose G-Code ".cn" format.
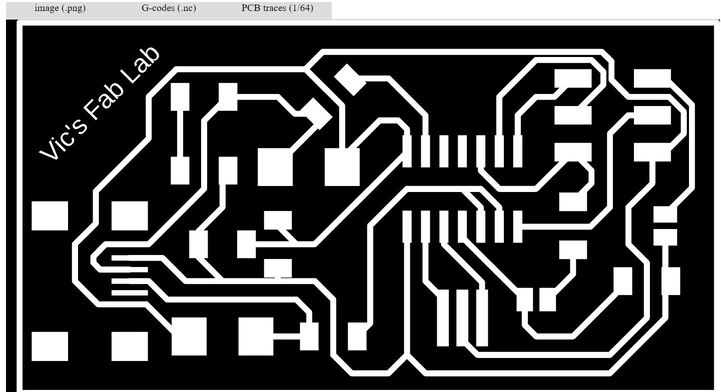
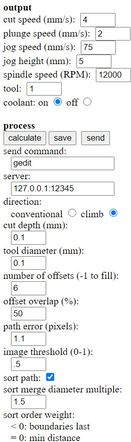
3rd. It's time to select the process, I select "PCB Trace (1/64)" which is defined for the process and the machine. Next to, we have to fill some values and parameters that are part your specific lab machine.
4th. Click on "Calculate" to start the convertion process as you can see at next picture.
5th. Finally we will have some like this which is the final product format ".cn" so we have to download clicking at "Save" button.
My 1st Board
Following the process I discovered our Roland machine is a SMD milling which means it just works in 1 surface and its impossible to develop my 1st design.
In that case I had to change and improve my design to fit the machine's limitations.
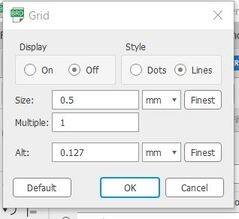
When I had considered the developing would be in 1 surface I took others considerations like reducing the size of the grid to have more movility when we try to connects compenents.
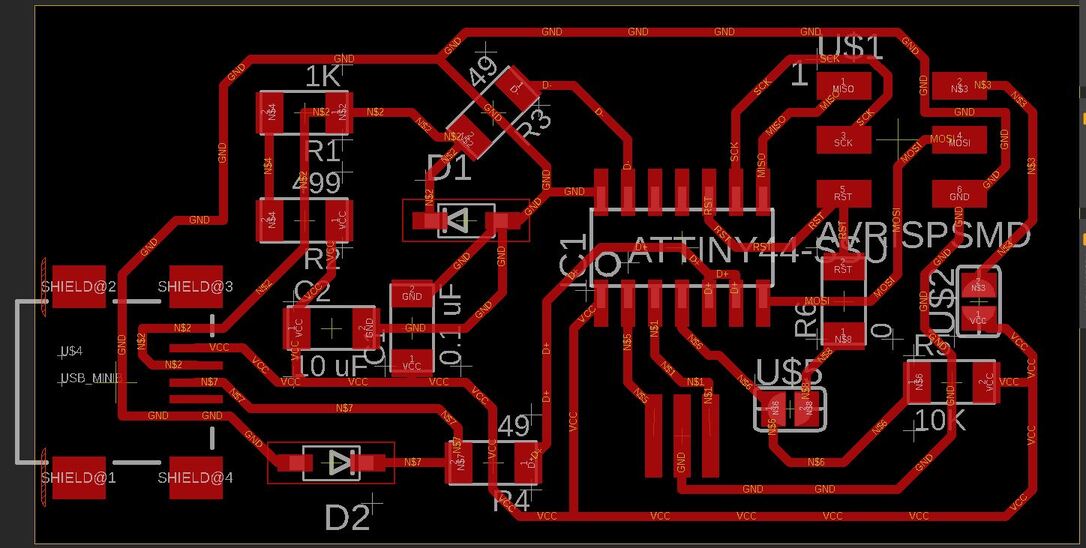
I connected the compenents having at last this.
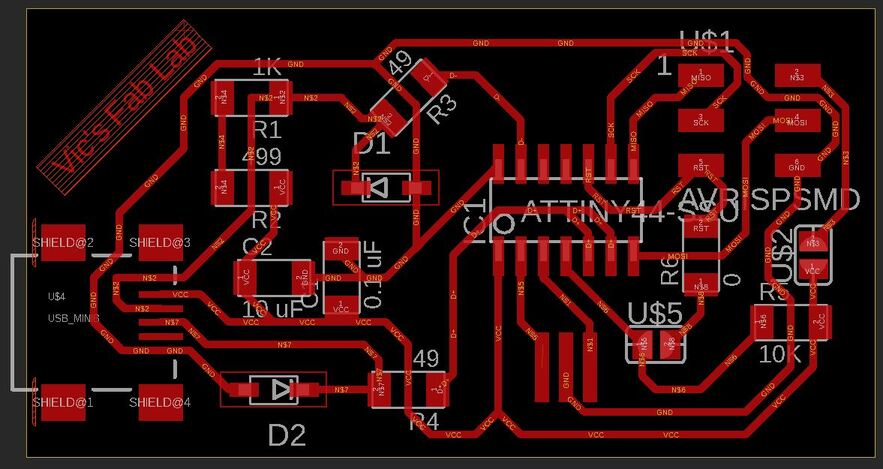
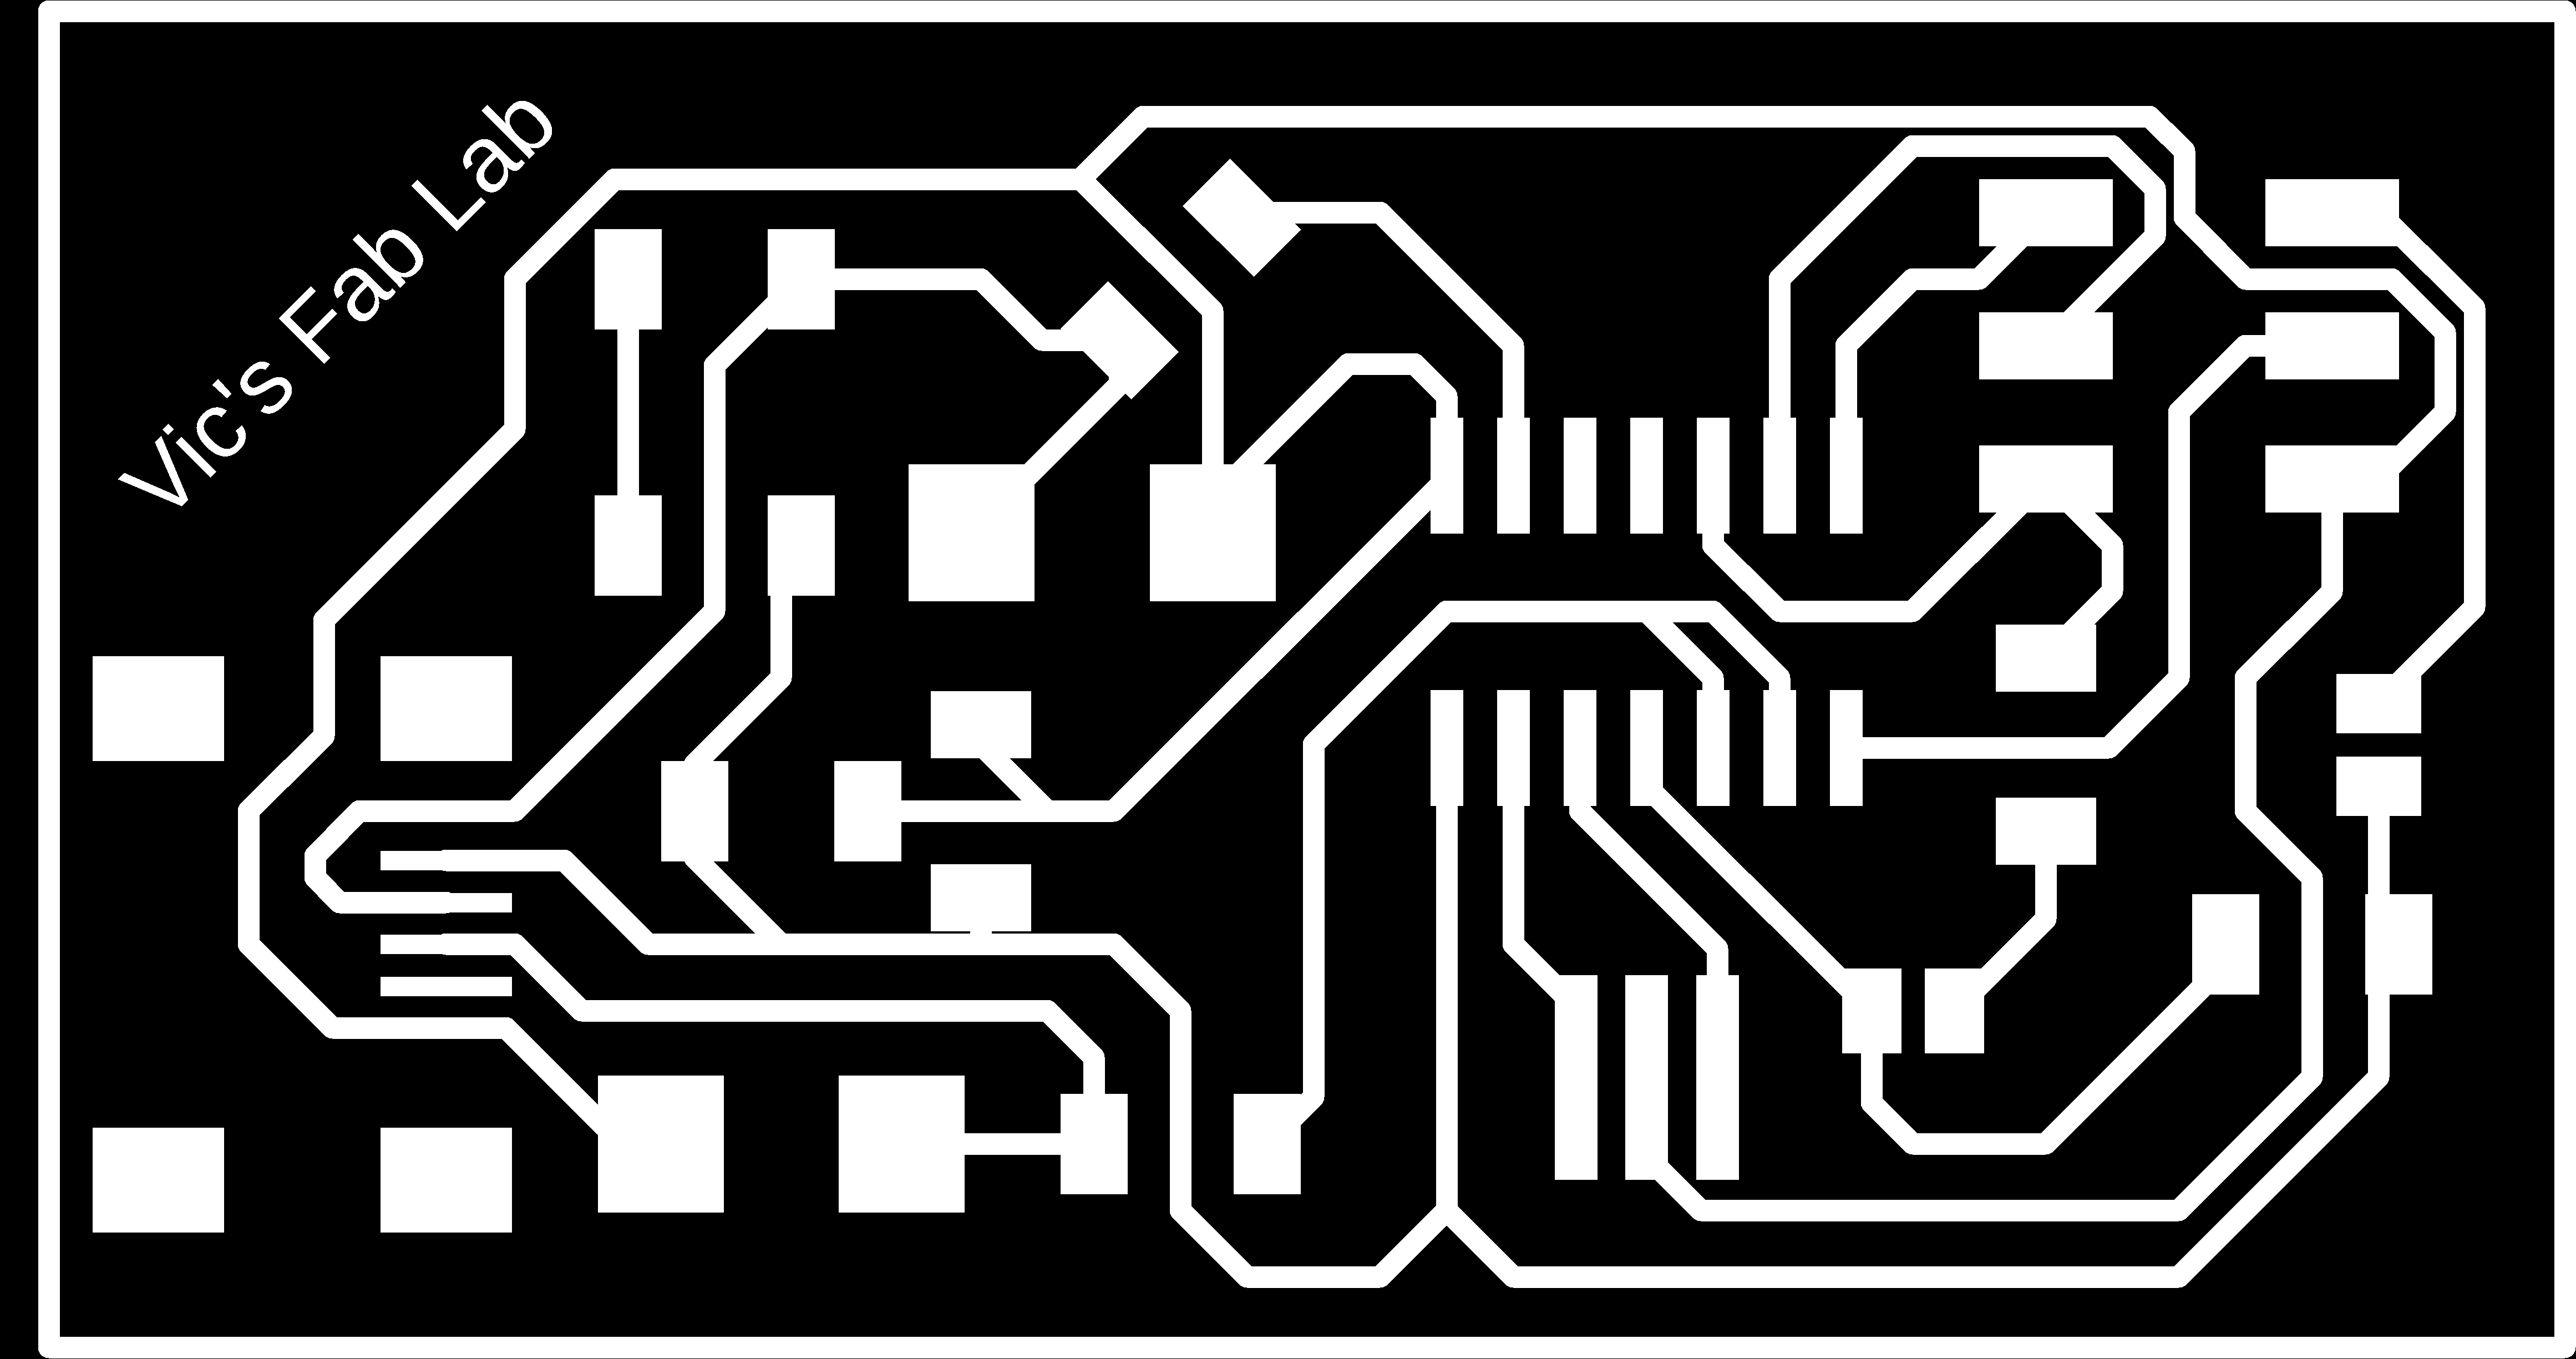
As an addtitional I added my Fab Lab's sign to this ISP and changed some routes to fit it in and to practice my noob's skills.
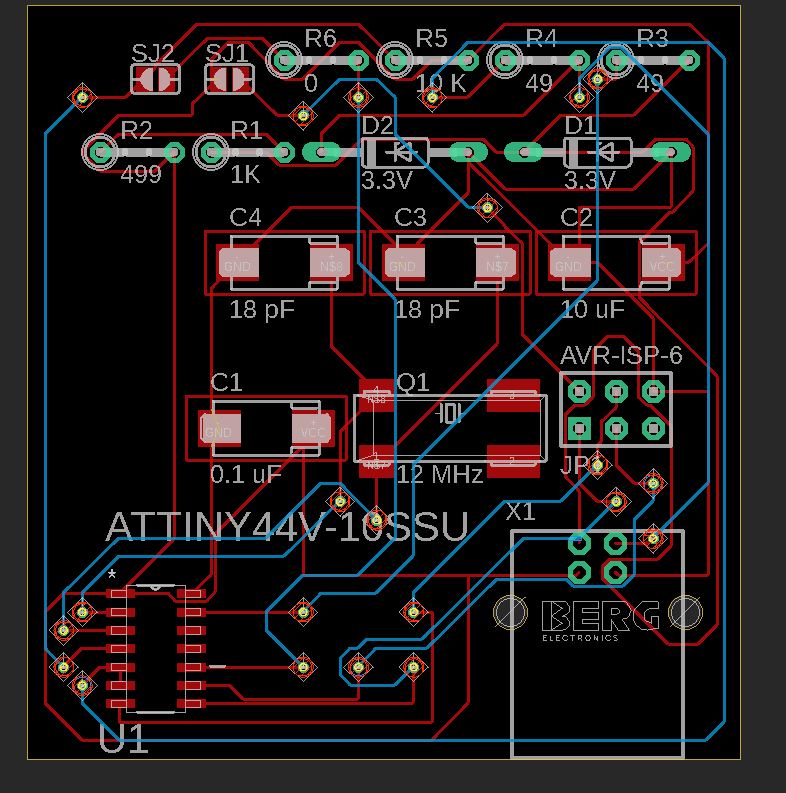
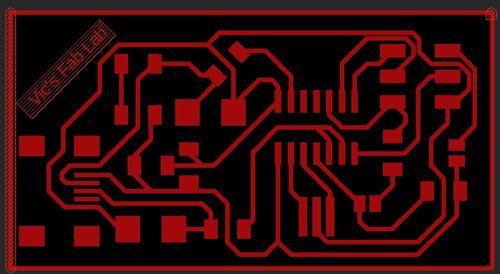
After this something problematic happened, our Diodes were too big to fit in their position so I had to change again my board an replaced those diodes' paths to other diodes' which are bigger. Finally I had this.
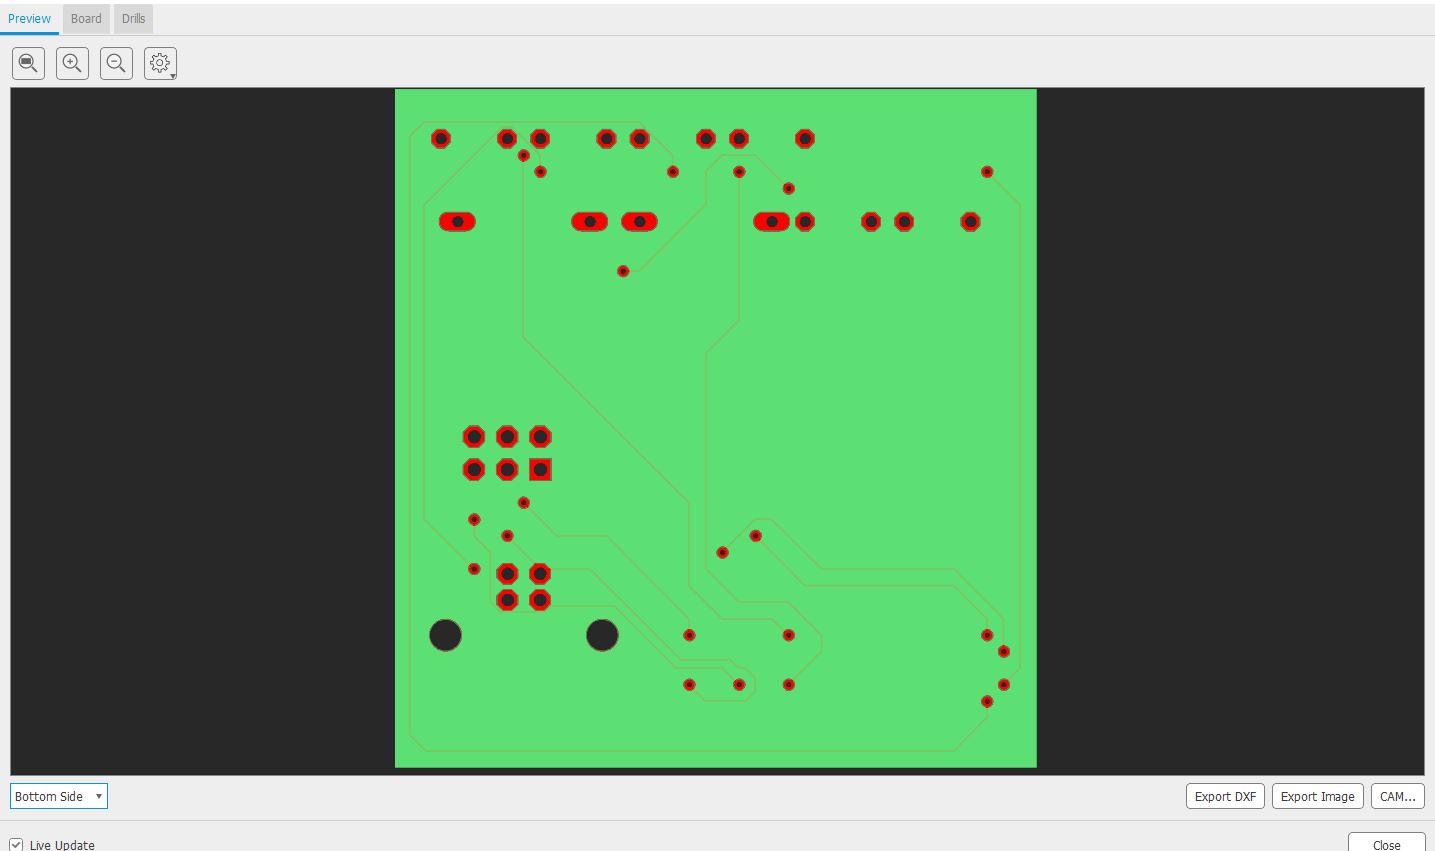
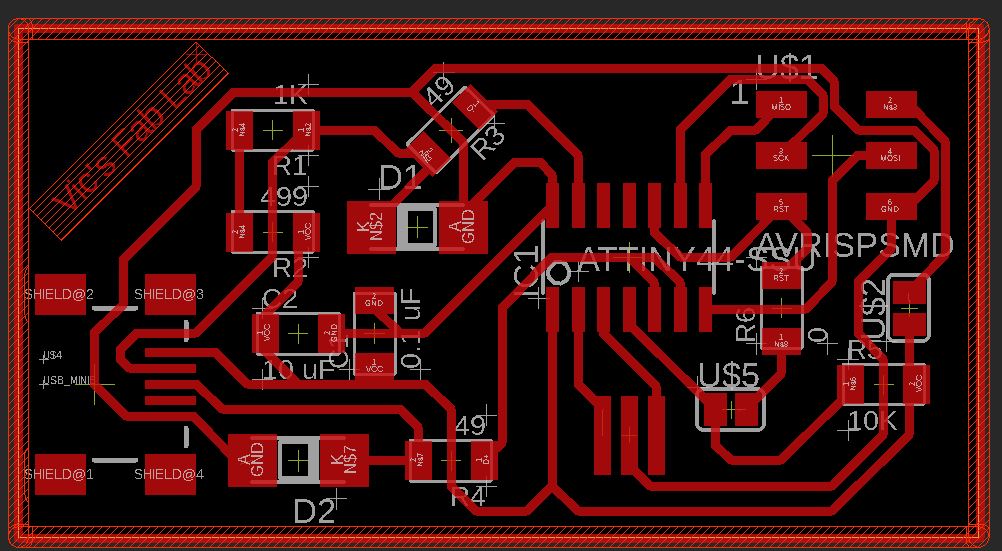
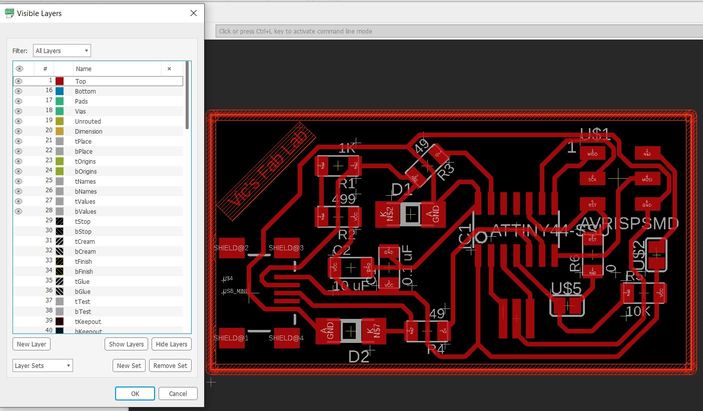
Having this completed I had to export it as a PNG picture. Before exporting we have to hide all other layers which are not essential, only selecting "Top" layer.
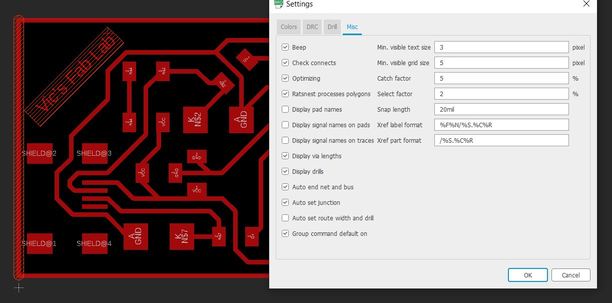
But some words couldn't desappear so I had to hide them go to Options > Set > Misc.
There we have to deselect all options which have "name" as part of their description.
To finally have this.
Continuing with the process I used the biggest size of Eagle's exporting PNG process which is 2400 px and I checked the "Monochromatic" selection.
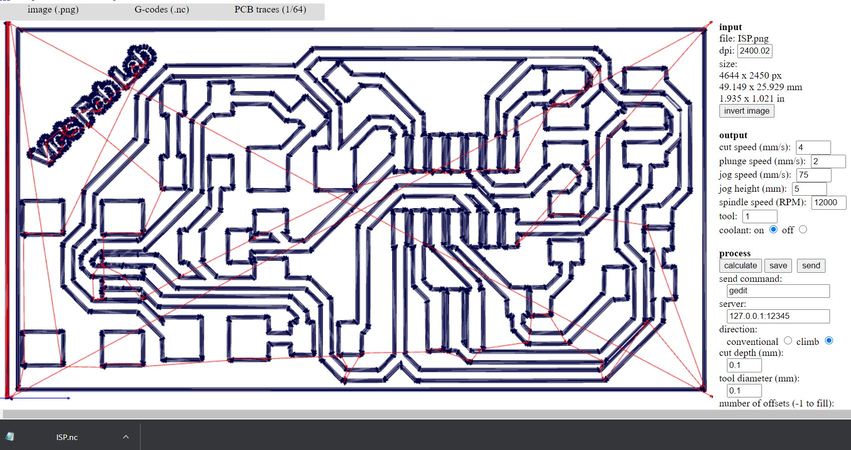
Which this it's time to go to Fab modules to create the G Code file. There we have to select the picture, them the output format "G Code ".nc"" and in my case PCB traces 1/64.
Them we have to specify some parameters which depends of your machine. In my case I changed the RPM to 1200, the diameter to 0.1, and the number of traces to 6.
Now we have to click in "Calculate" and wait until it finishes the process to final save the file on your pc.
The Material
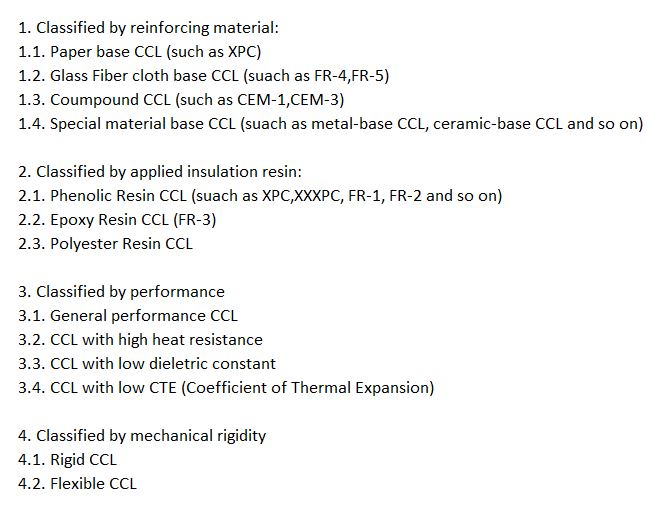
Having design my PCB at Eagle we have to choose our material which will be milled. In my case, my lab has CCL FR-4 but before here are the different types and their classification.
Src: What is a Copper Clad Laminate (CCL)
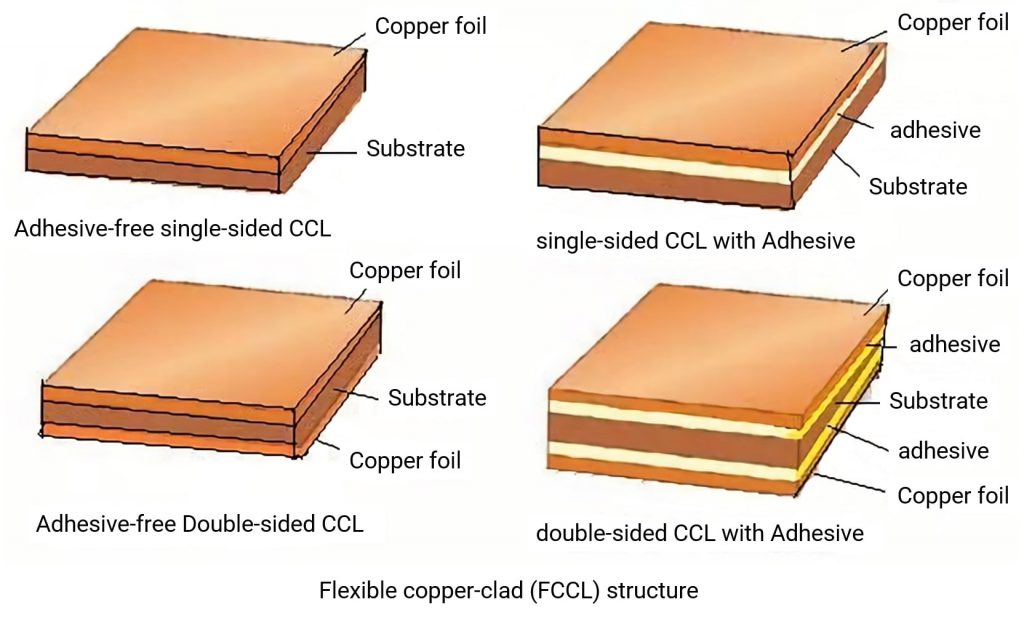
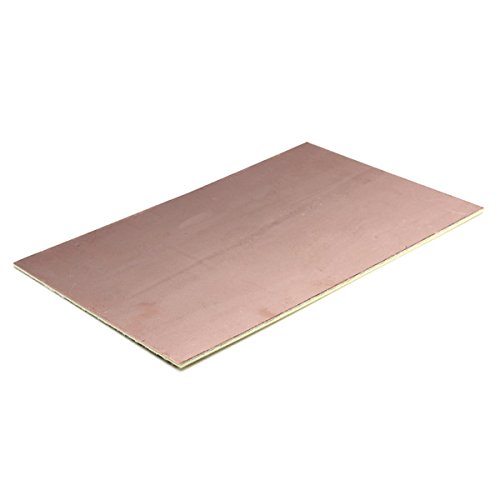
The PCB sheet I will use is an One-Side CCL that is called "Adhesive-free Single-Sided CCL" and it fits with my process at Roland machine which is able to operate on one face.
Src: Knowledge of Printed Circuit Board Processing Technology
Having reach all this information I found this usefull datasheet that says the CCL should be stored at temperatures of 4-29°C (40-85°F), below 70% humidity, not frozen, dry and clean.
Also refers to another datasheet that says is safe and there isn't any health hazard associated with working with cured materials. Besides of that, as with all thin copper-clad laminates, sharp edges might present a potential hazard during handling so you have to use be aware of your movements or use suitable gloves to minimize potential cuts.
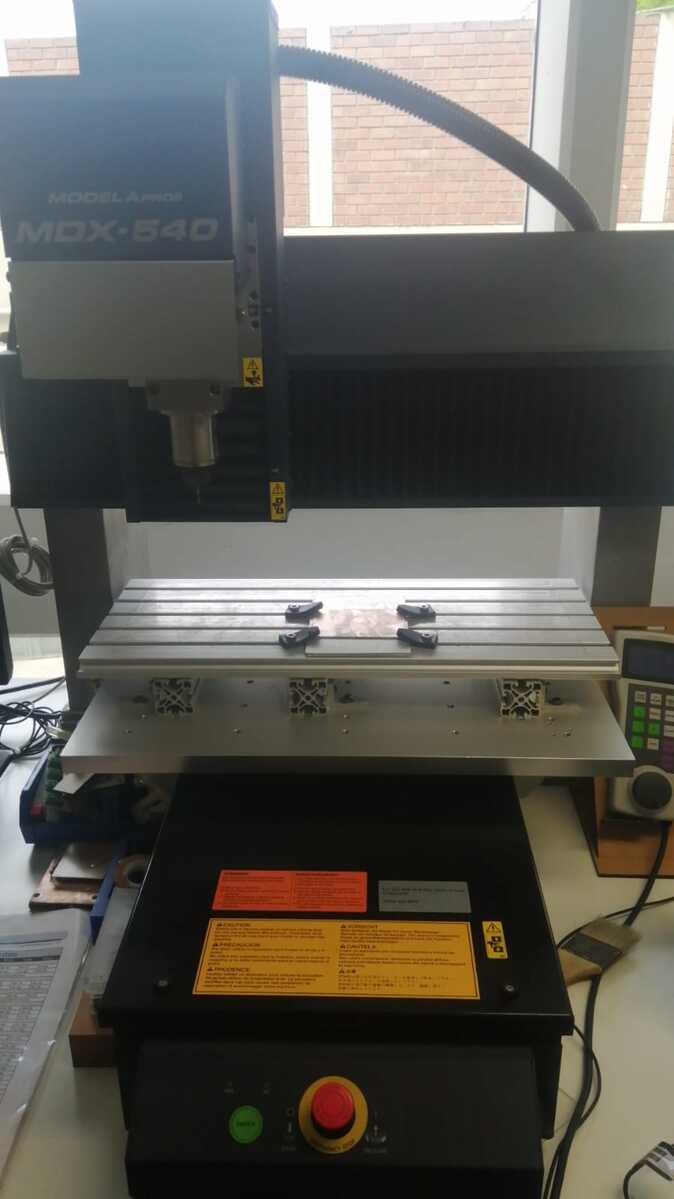
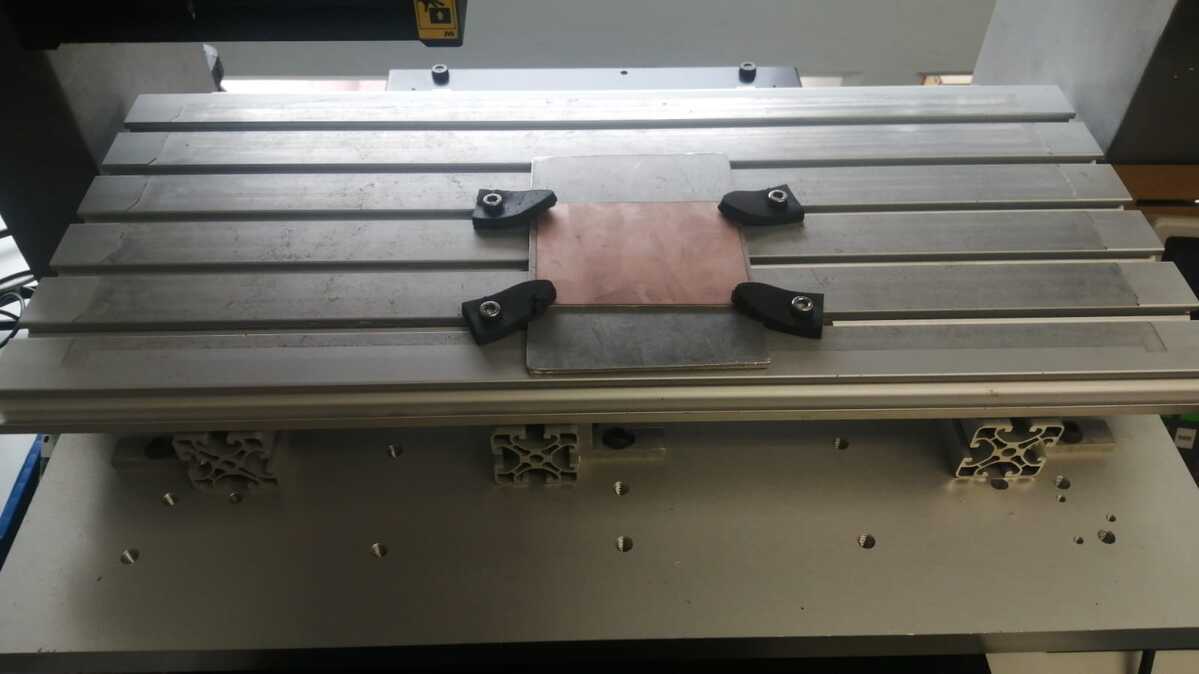
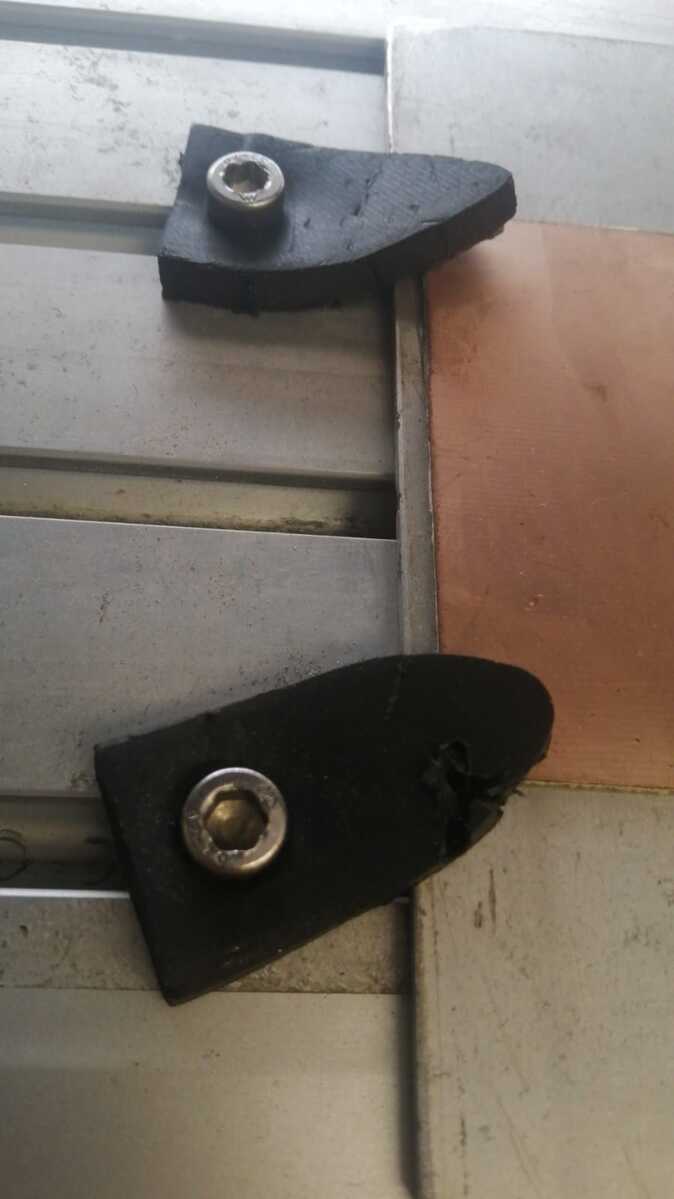
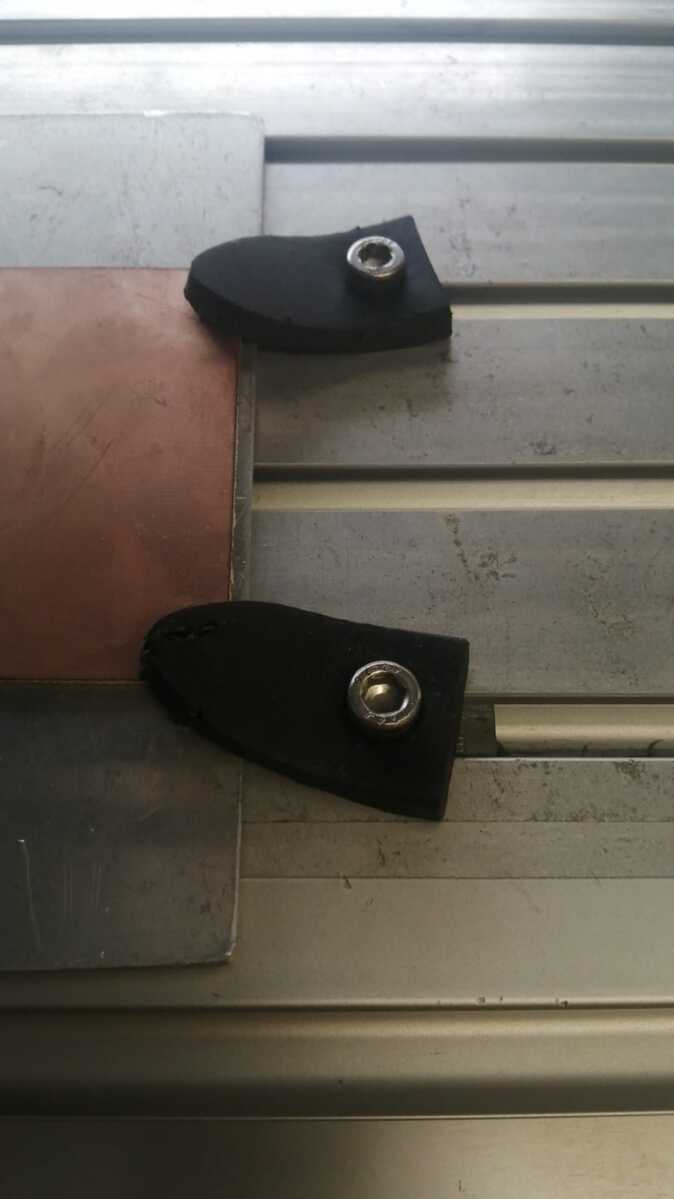
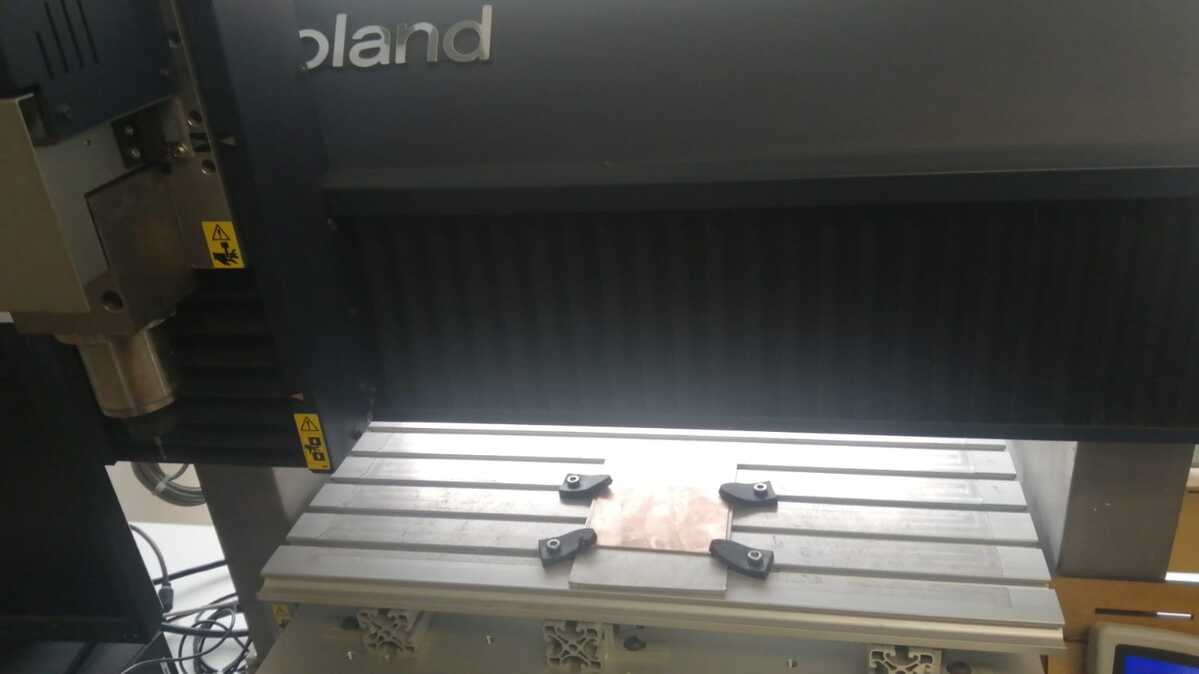
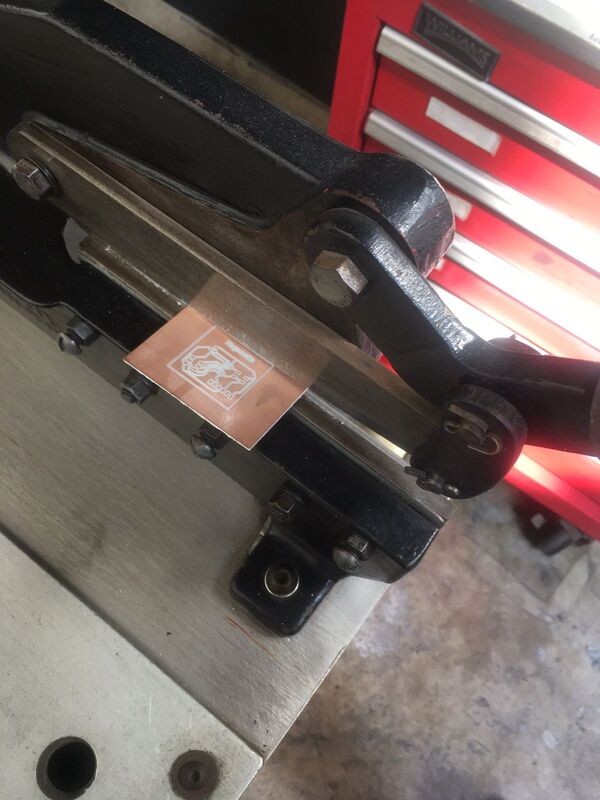
First we have to put a piece of no processed copper plate and hold in its position for what we use these clamps.
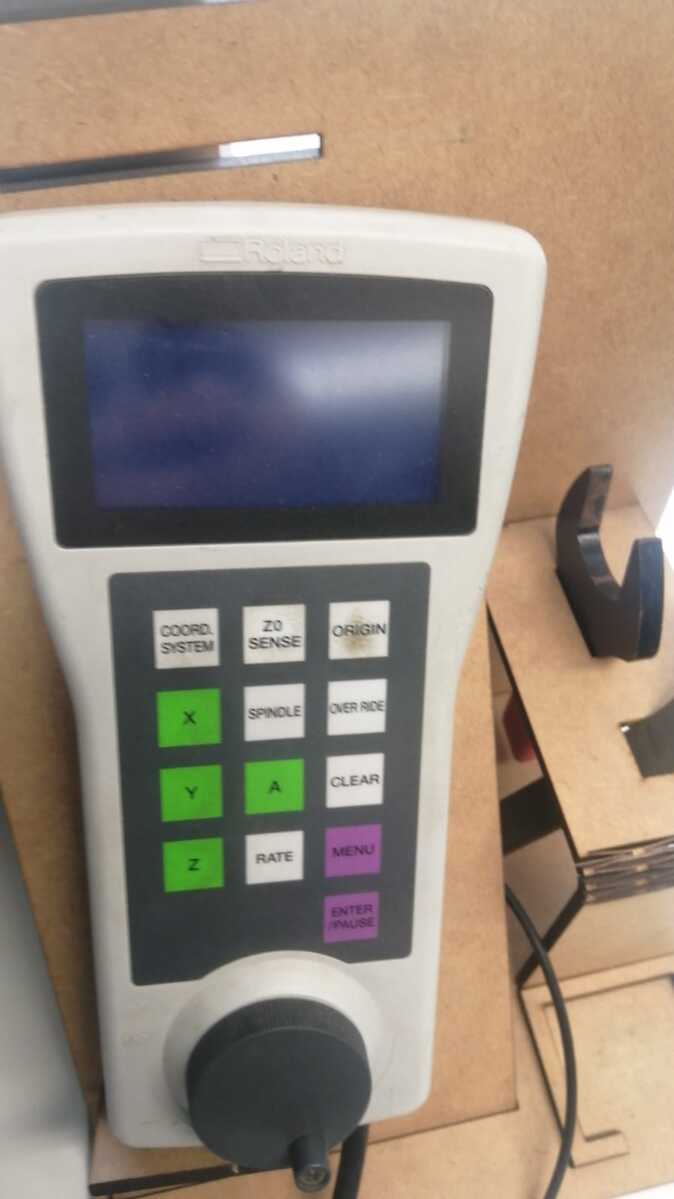
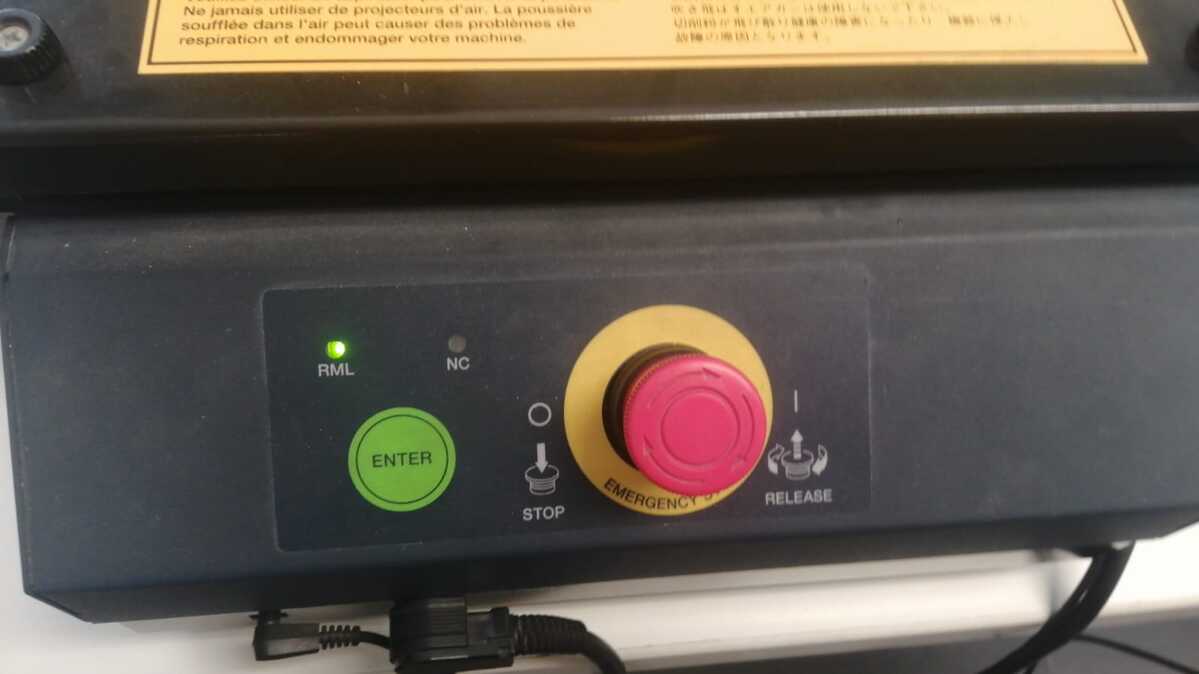
Now we have to turn on the machine.
The next picture shows Roland's control and the other the Emergency Stop.
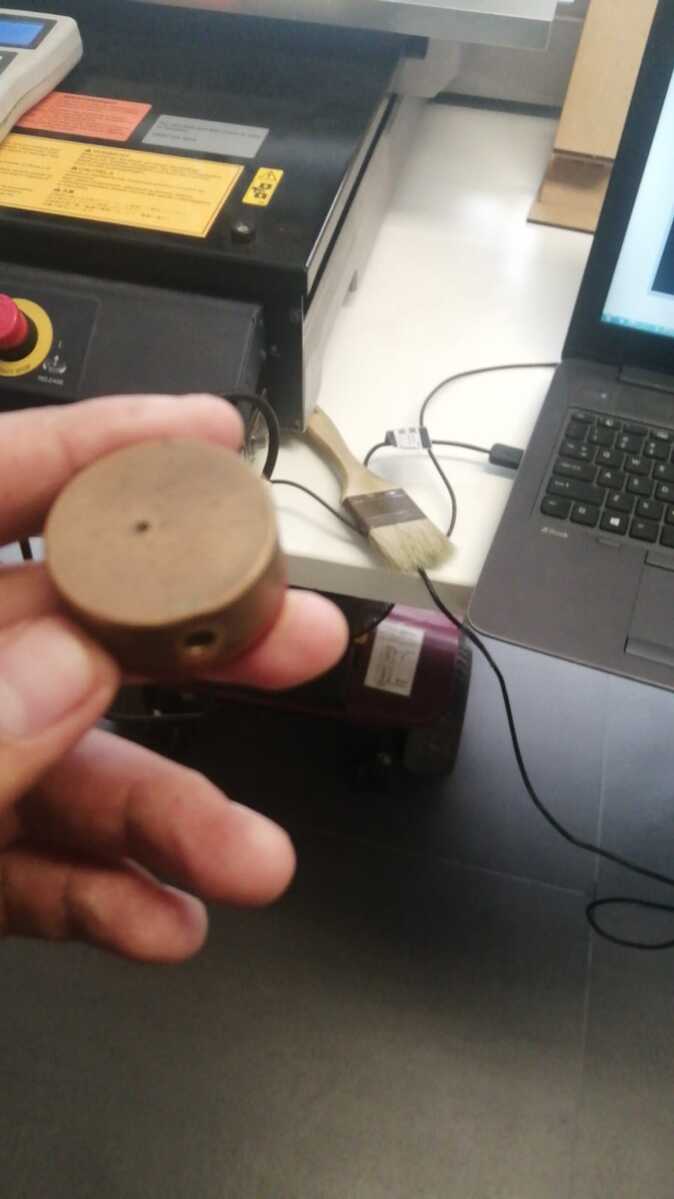
Continuing with this part we have to set the position of the tool which will be processing thew material.
Follow this instructions.
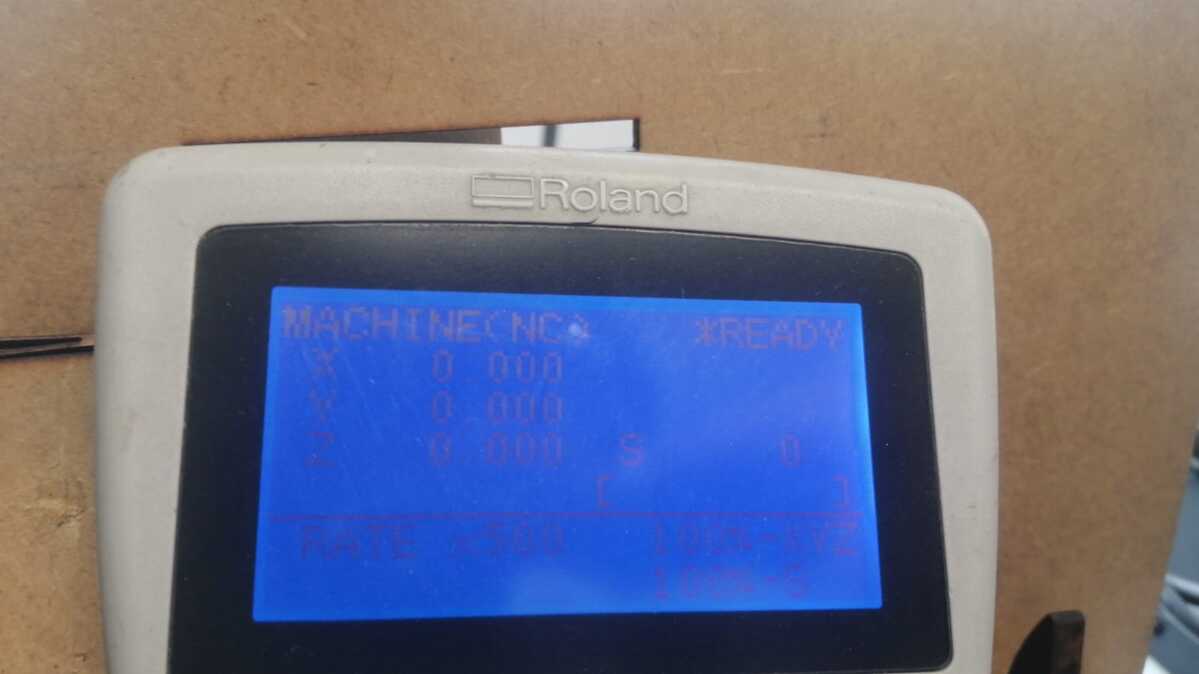
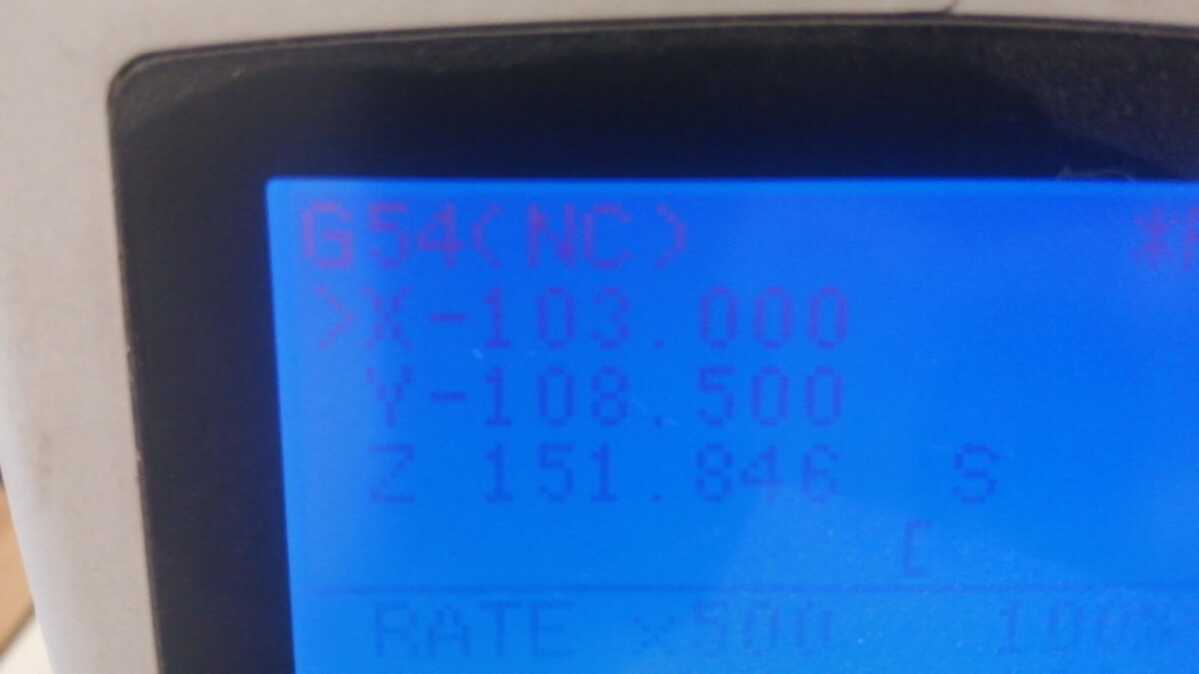
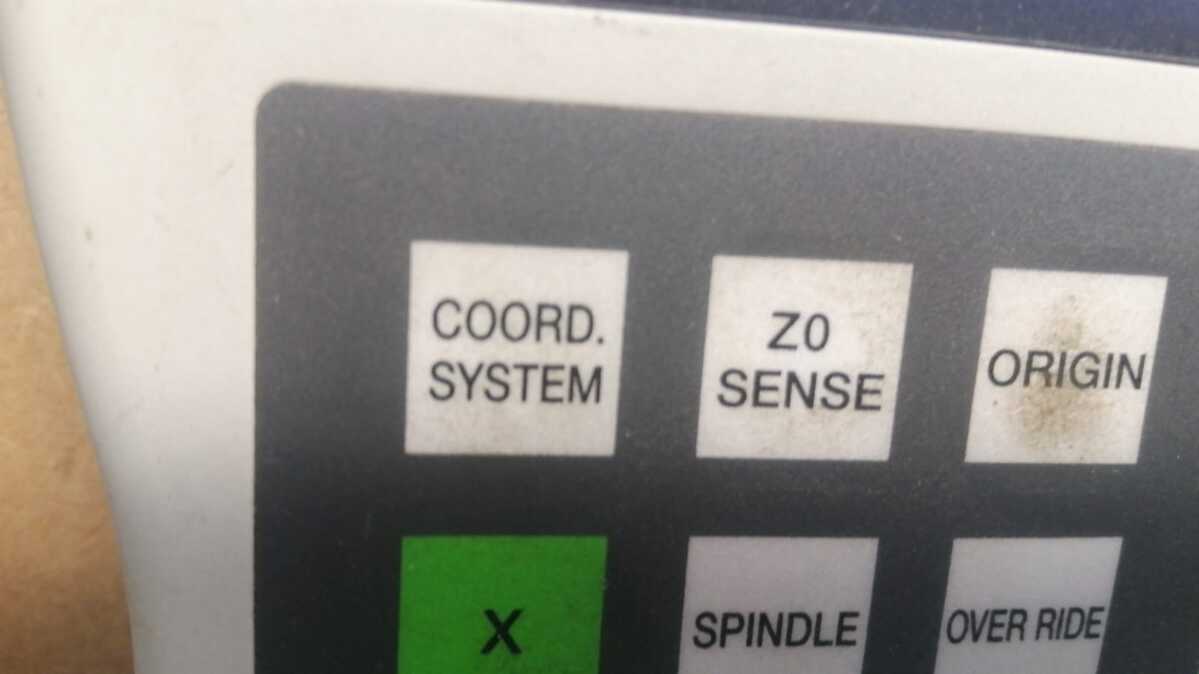
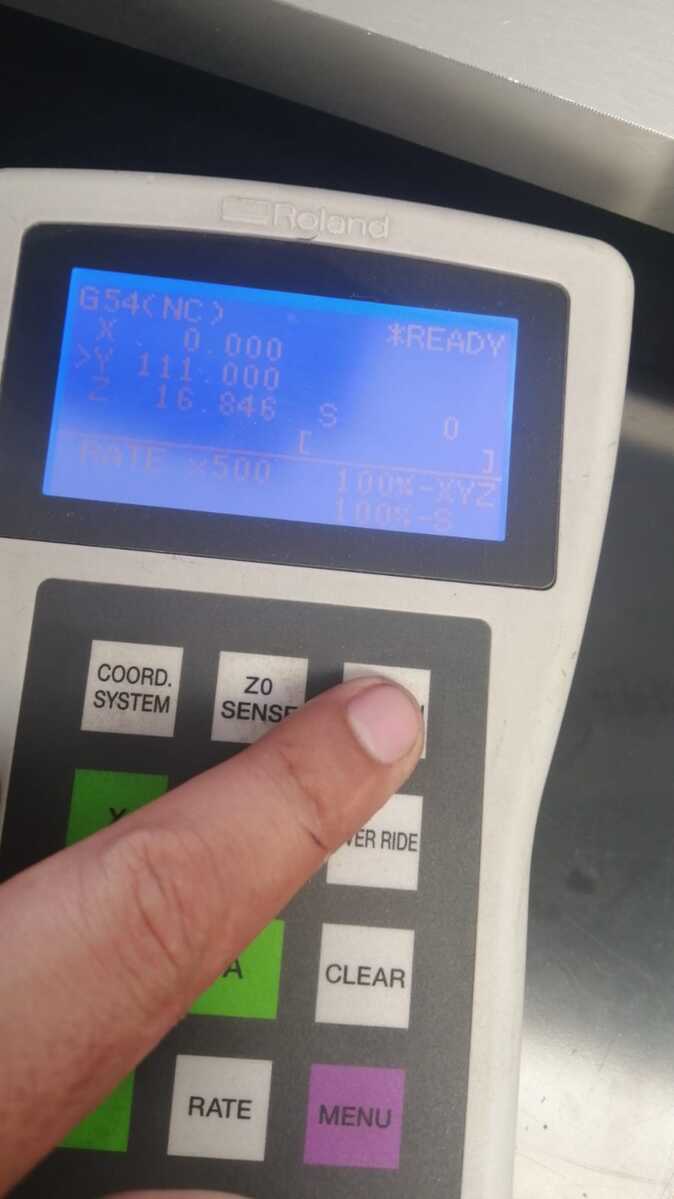
1st we have to select on the control the button "Coord. System" which will send the tool to the original position, as default, of the machine as you can see at the second picture.
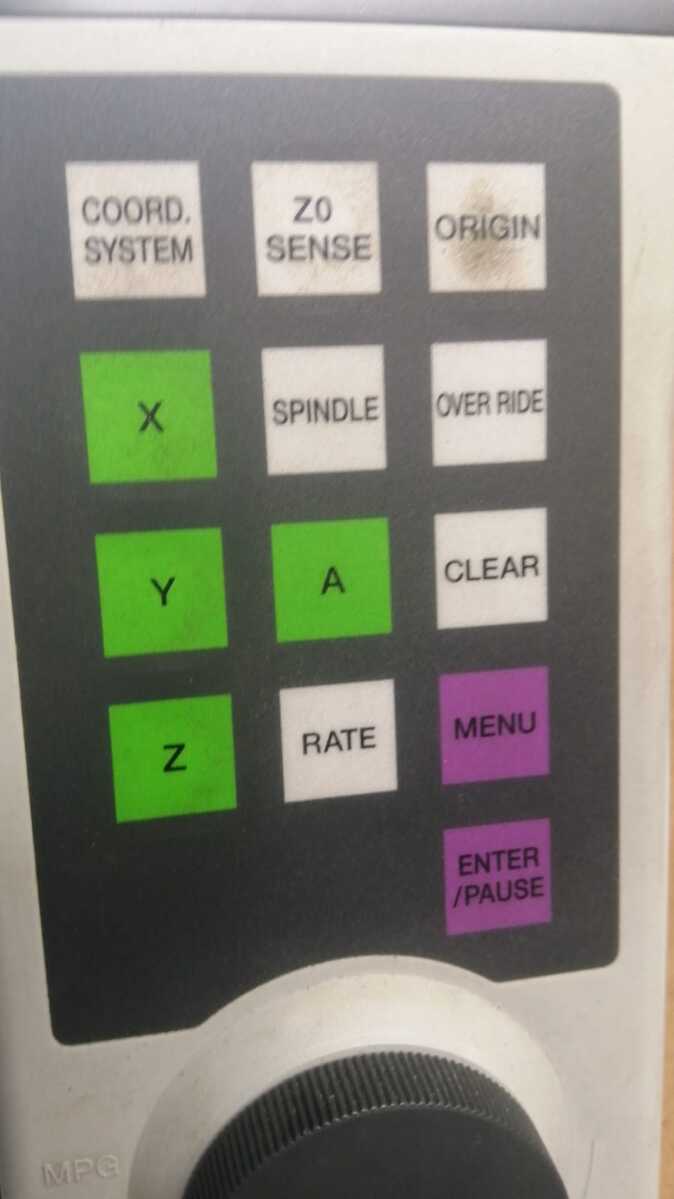
2nd We have to define the new position of any axis. To this we have to select the axis pressing: "X", "Y", or "Z" and a check will appear on left of the name on the screen.
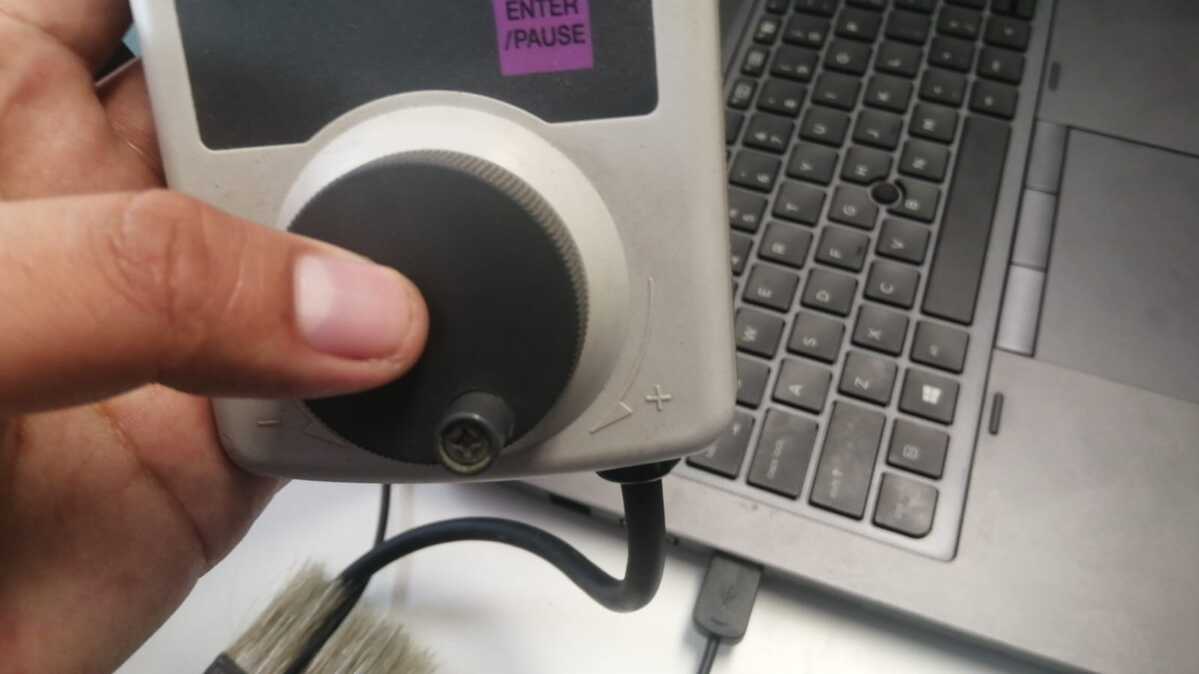
Then we have to spin this scroll to locate the tool over the piece of copper board.
3rd We have to do the same process for "Y" axis.
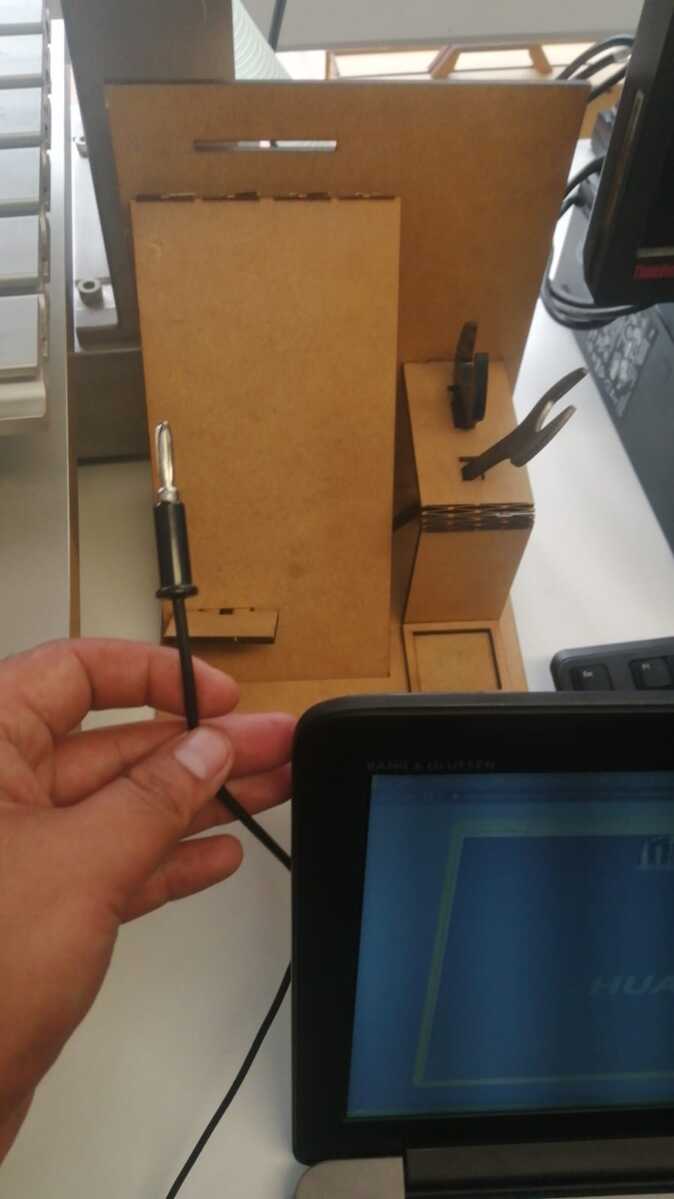
4th For the "Z" axis we have to do something more.
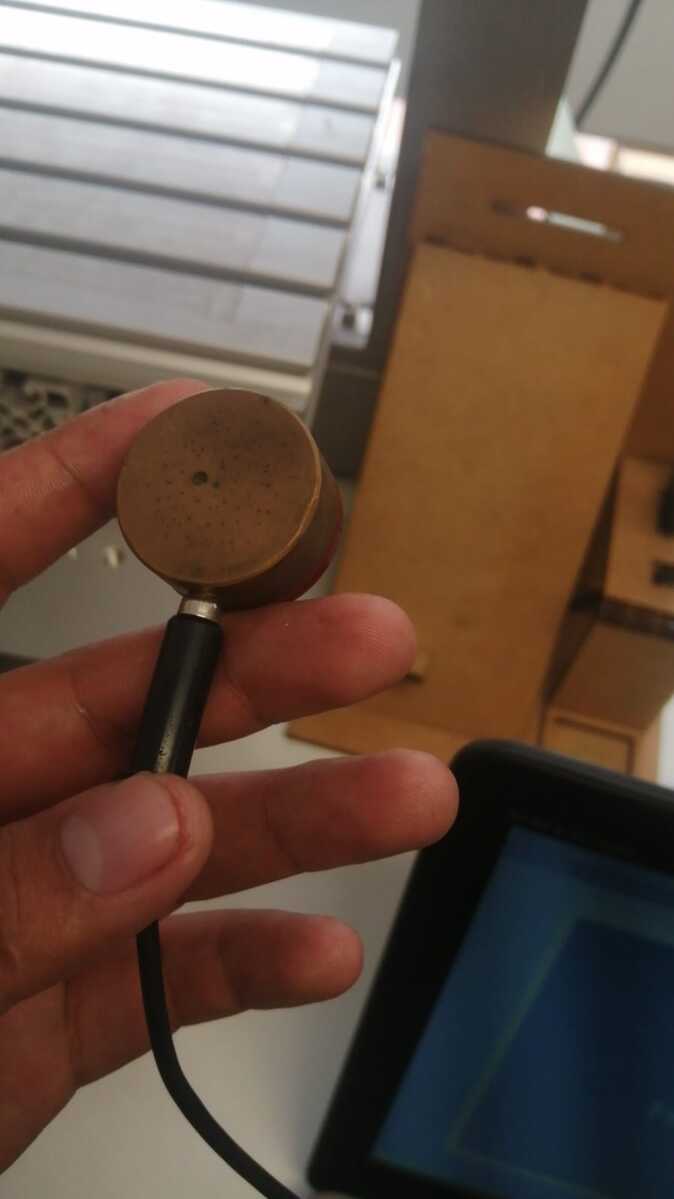
After press "z" button we have to use this device which connects to the machine with a cable.
Now we have to put under the tool an press "Z0 Sense" and automatecally the machine will measure the distance between the tool and the material.
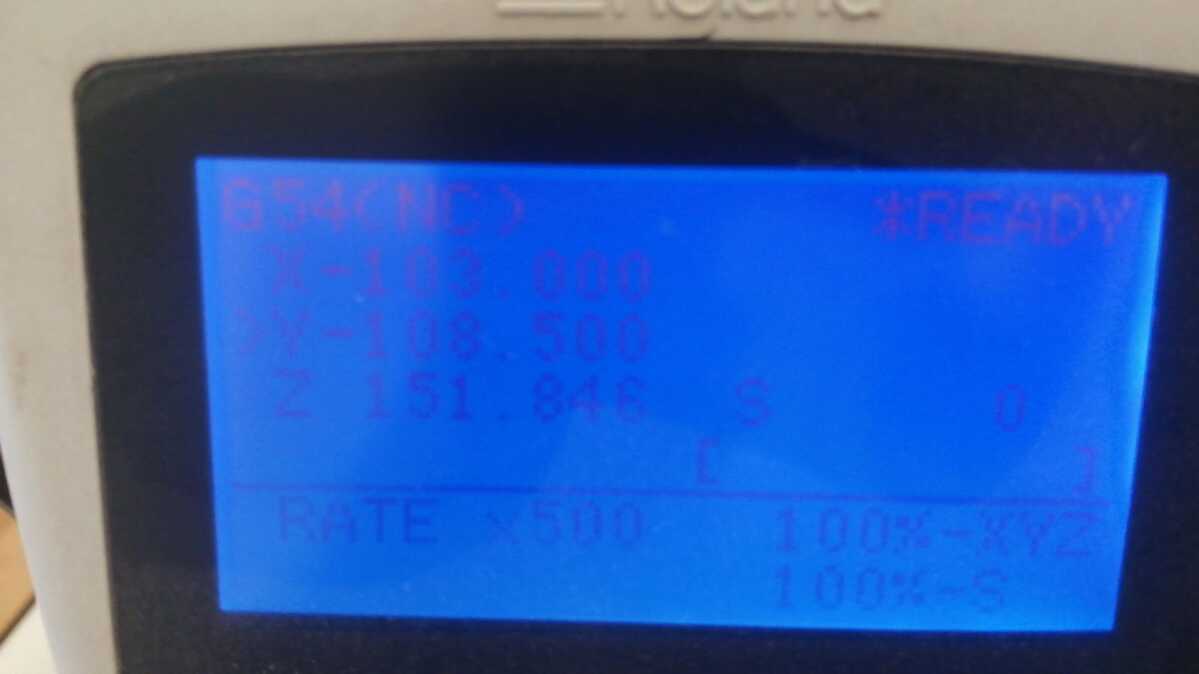
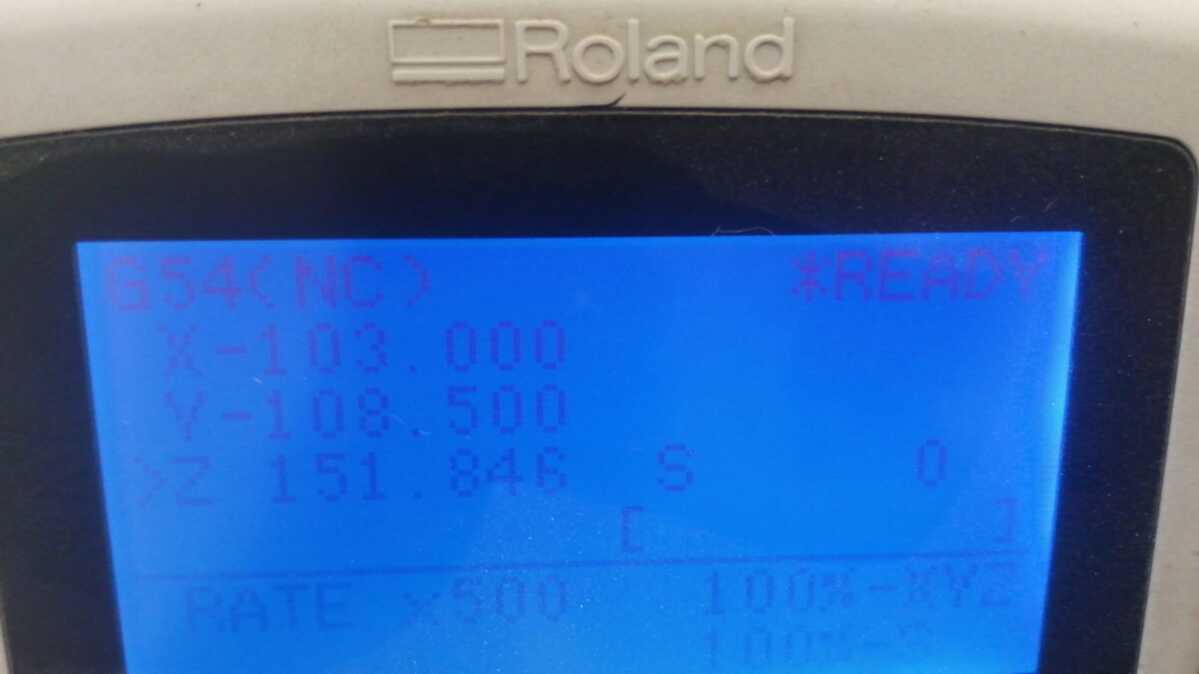
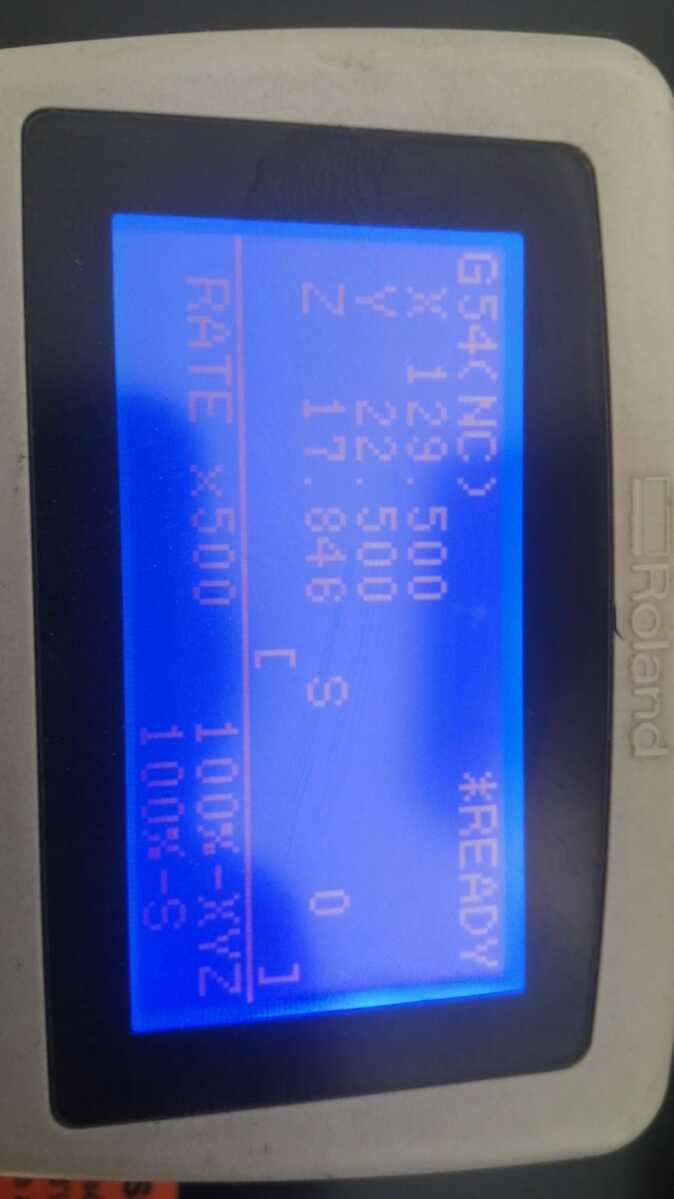
5th Having this parameters.
We have to set as the new coordinates of the process pressing "Origin" button for any axis and those parameter will change to "0.000".
Time to upload the G-Code
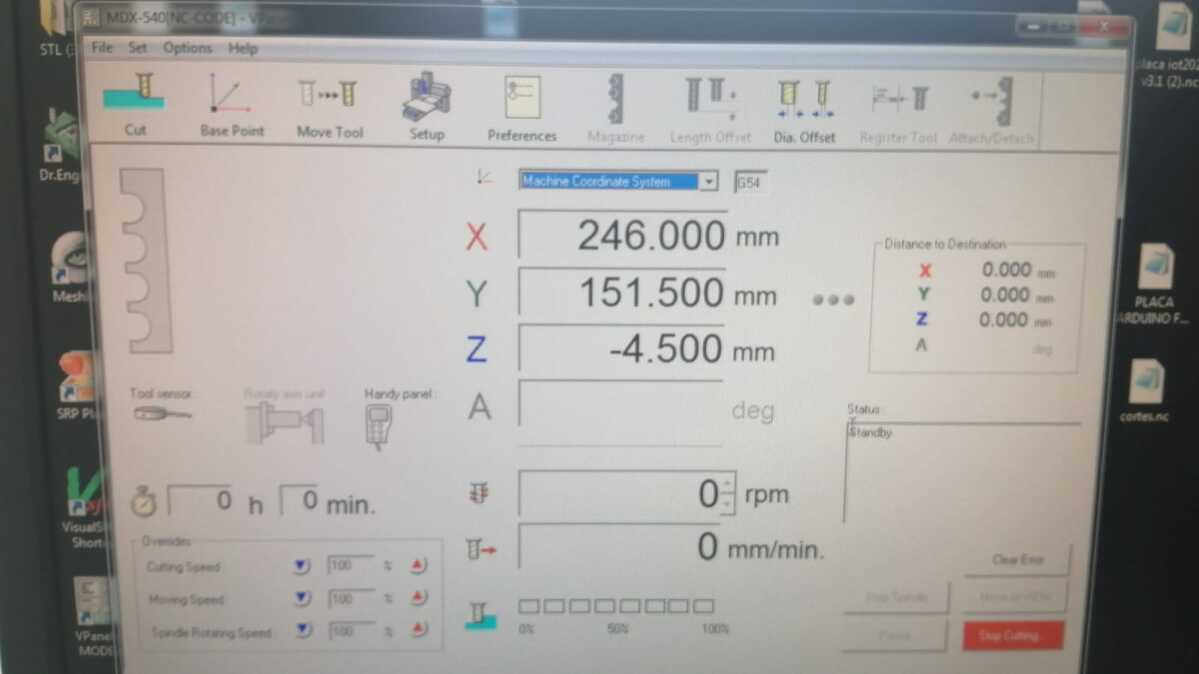
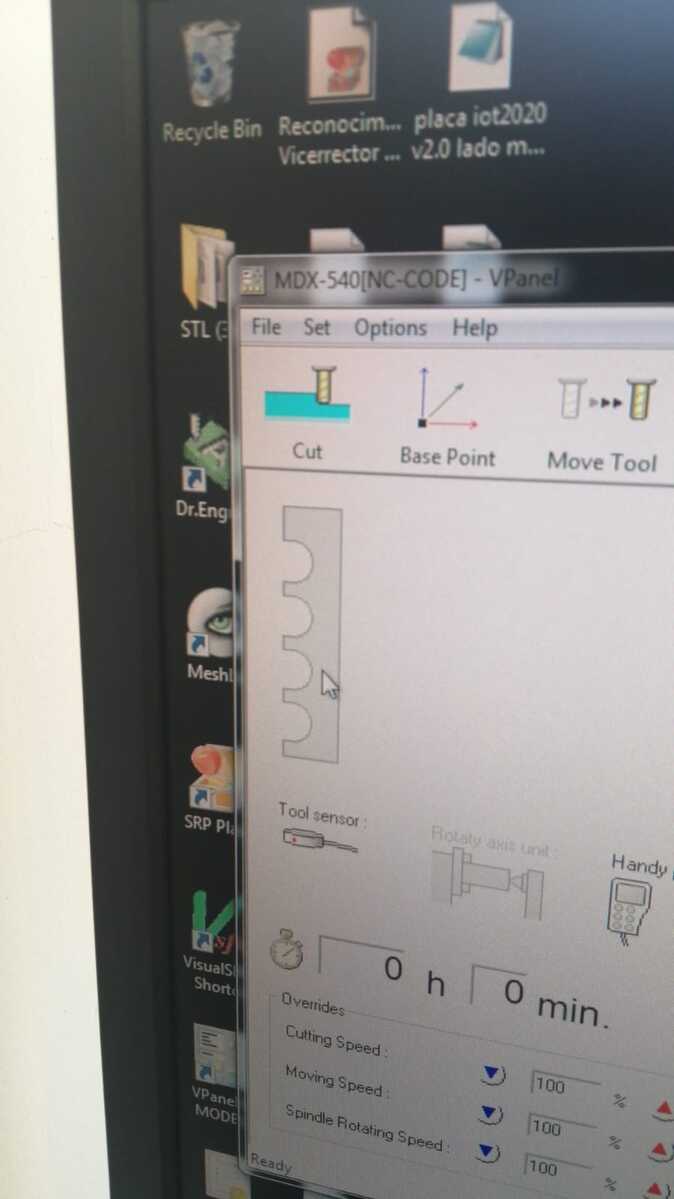
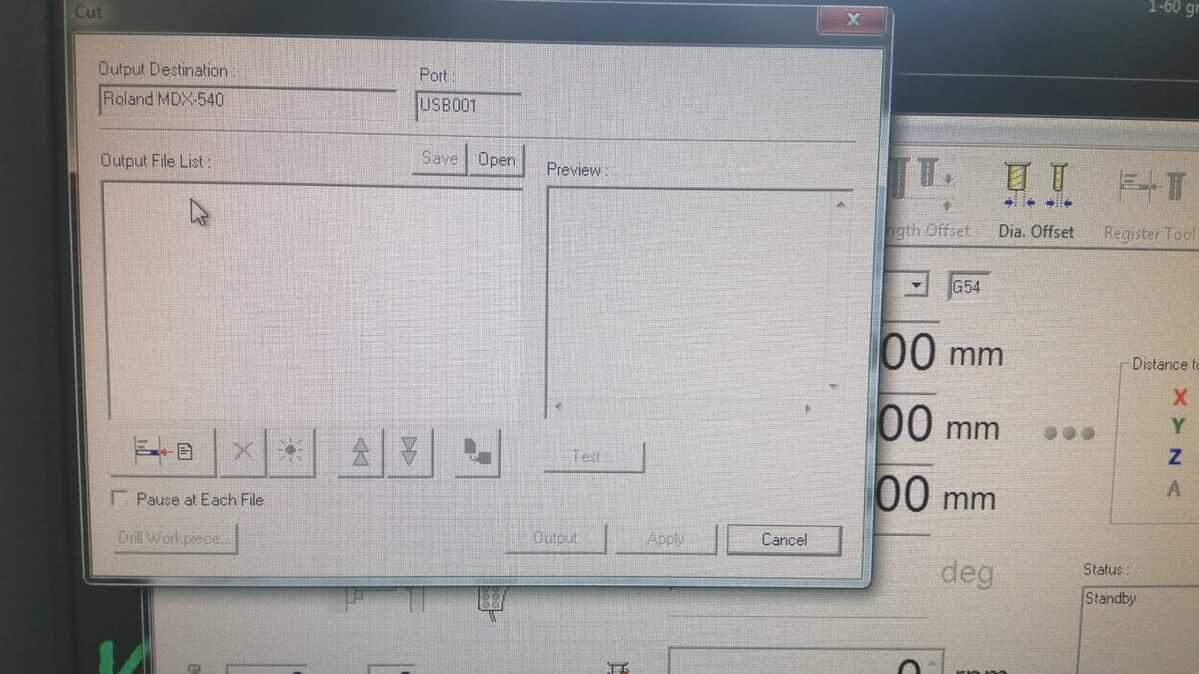
For this part we have to open the software "MDX-540" and follow next steps.
1st we have to select "Cut" and this screen will appear.
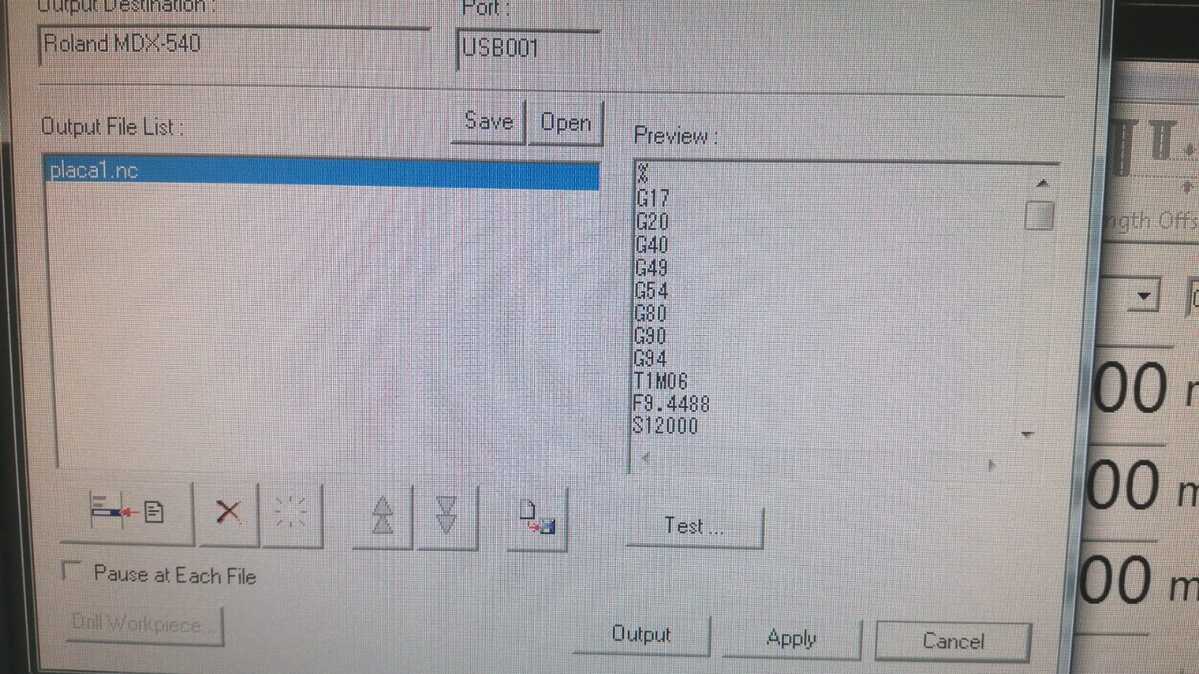
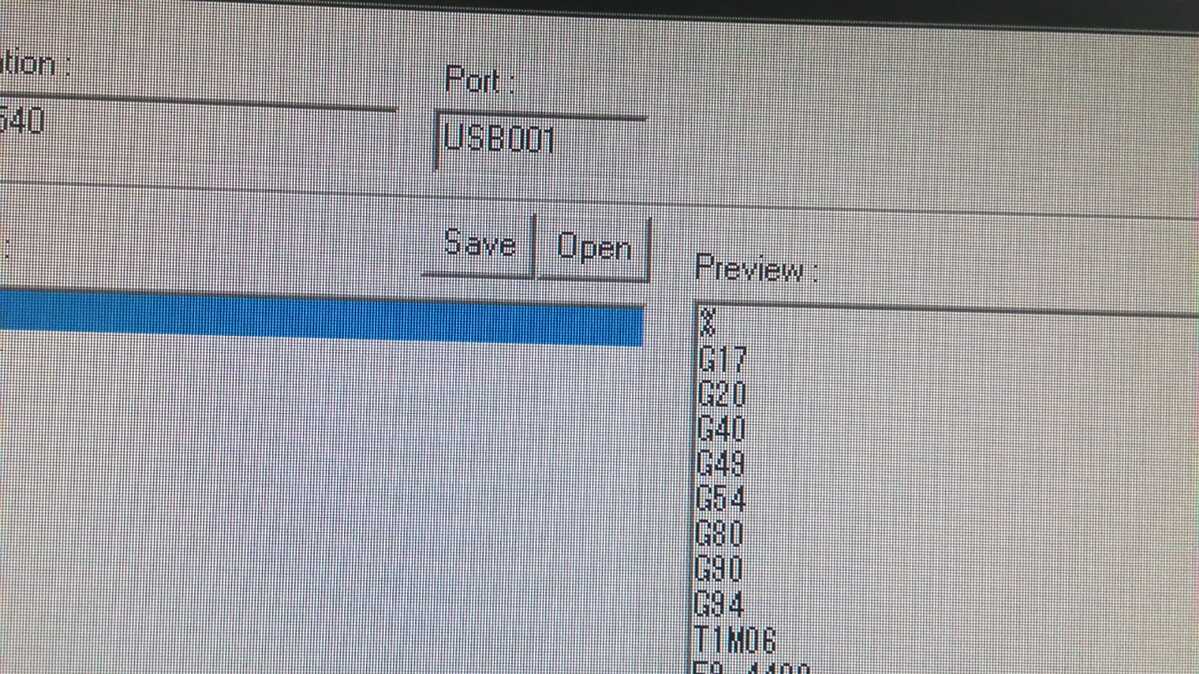
2nd There we have to open our G-Code on the screen pressing "Open".
3rd Finally select "Output" to start the process.
Here is a video of the machine working.
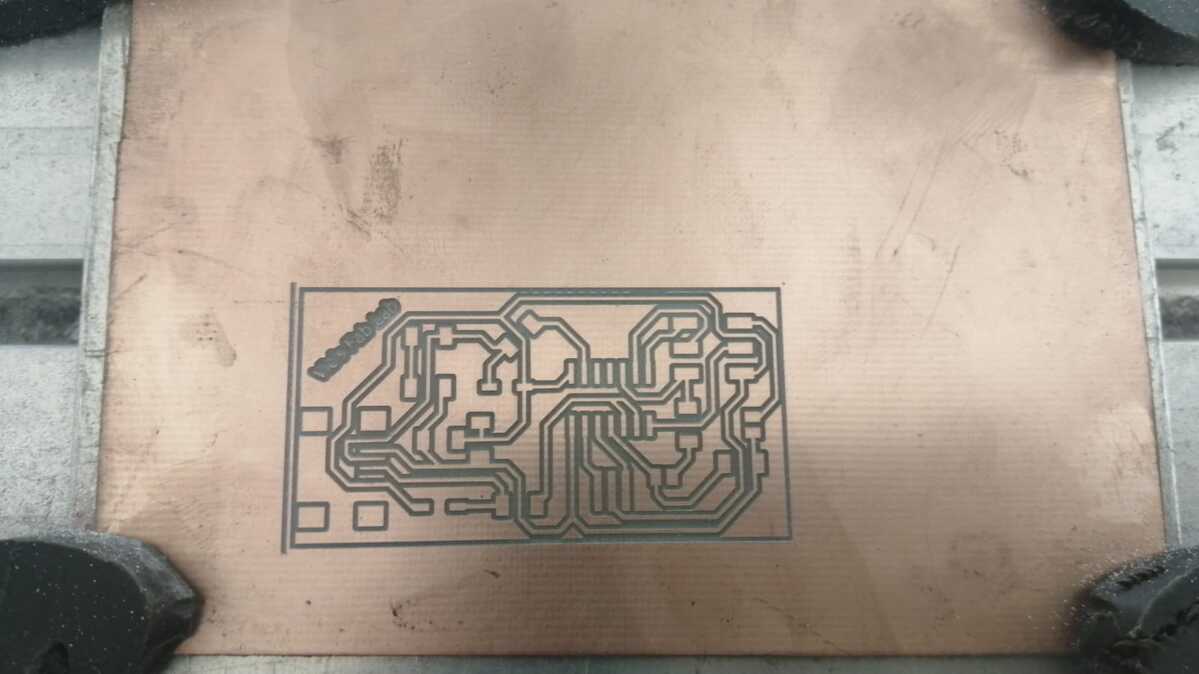
Finally we have this.
Last we have to cut the waste of the material we won't use. I used this tool.
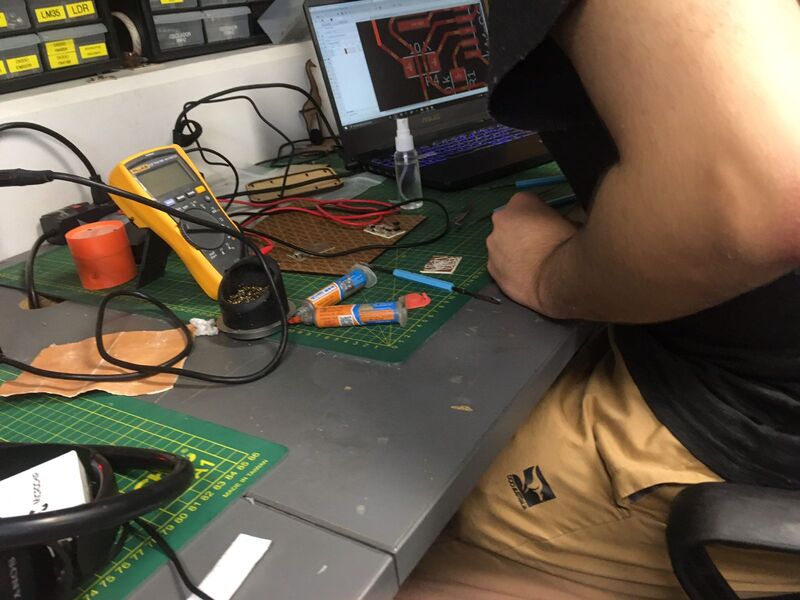
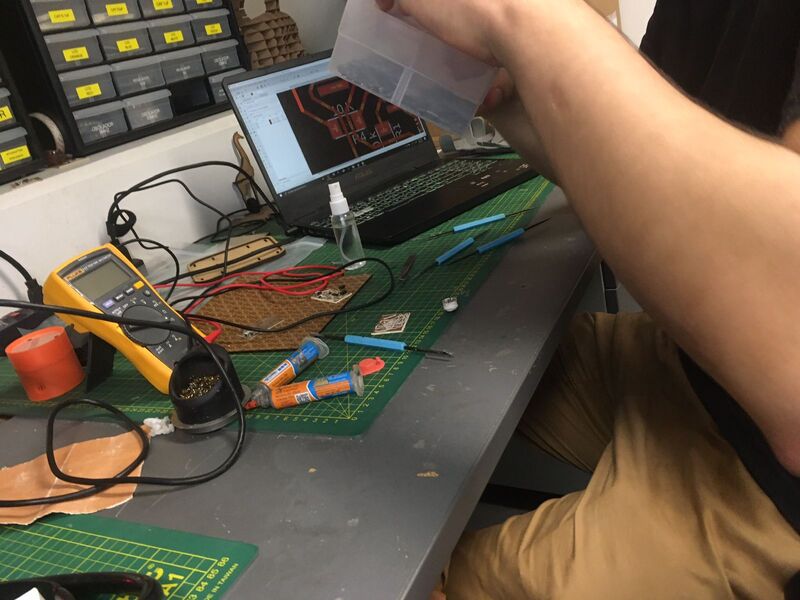
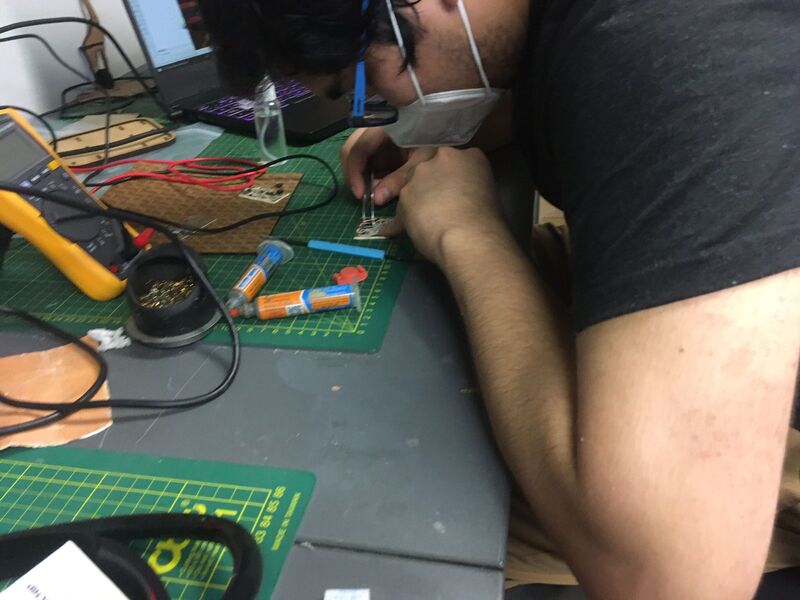
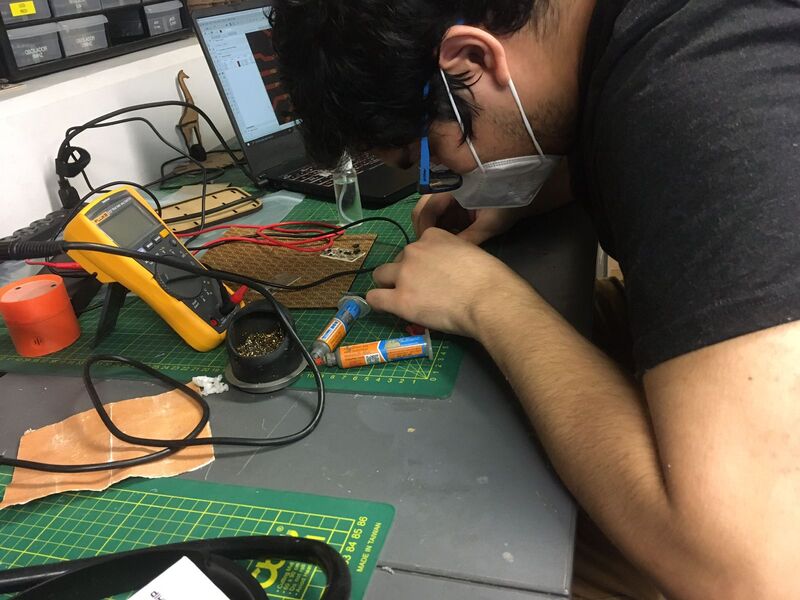
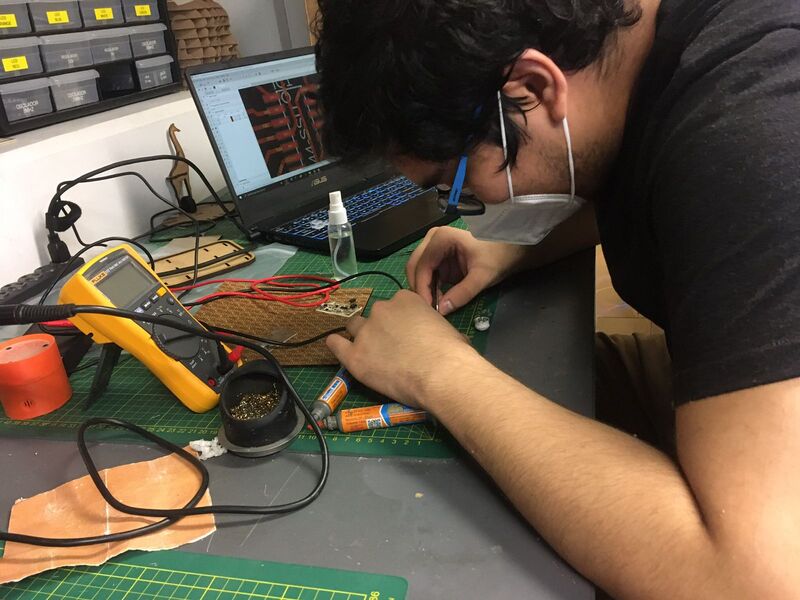
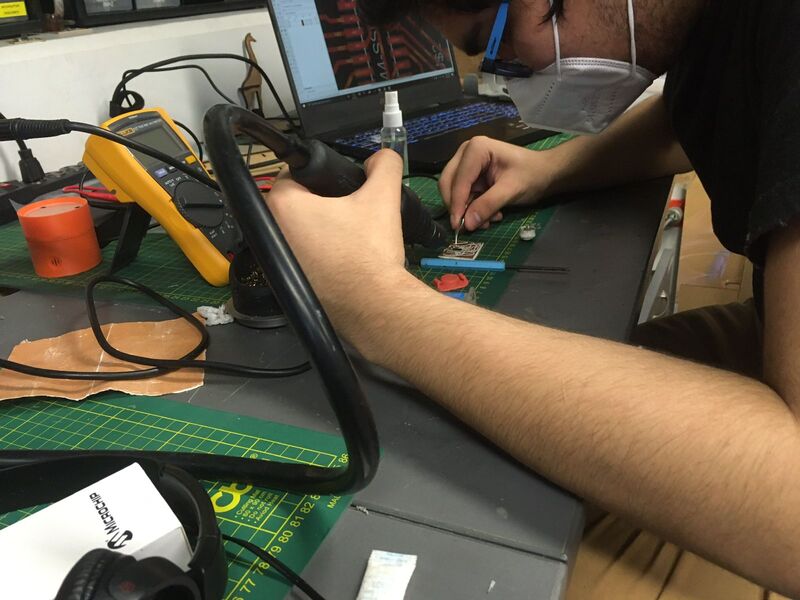
Stating the soldering process
This was the most peculiar part, it took me a bit of time to complete it. I used a heat gun, a gripper and my laptop, which help me to recognize which component I have to use. Here some pictures.
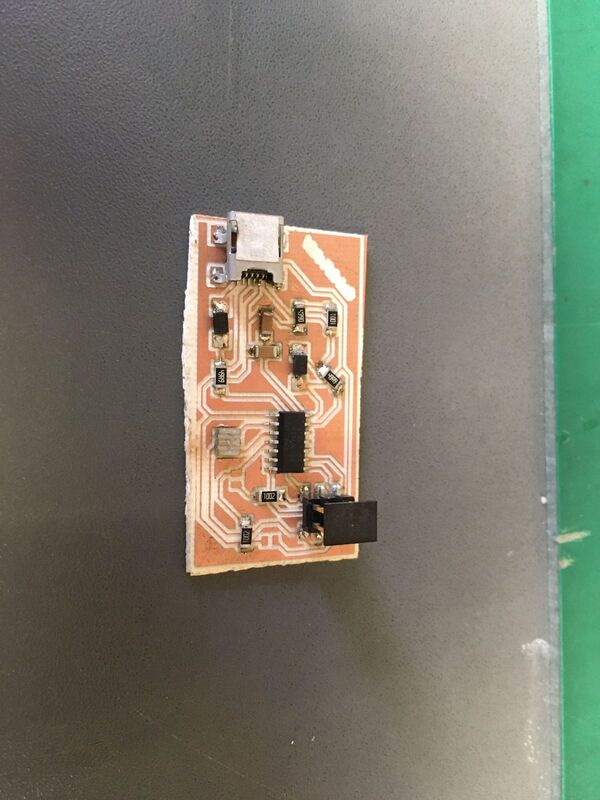
Final obtaining this, my 1st Board.
Time to program
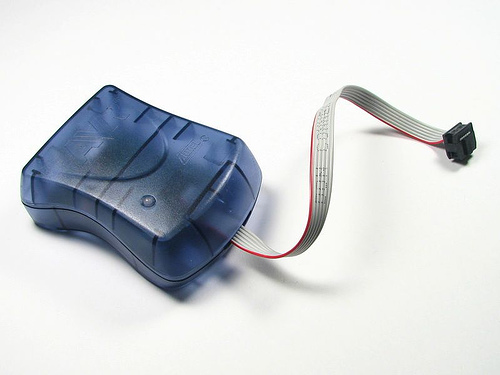
First of all our lab didn't have an AvrProgramer. .
Note: Avr Programmer
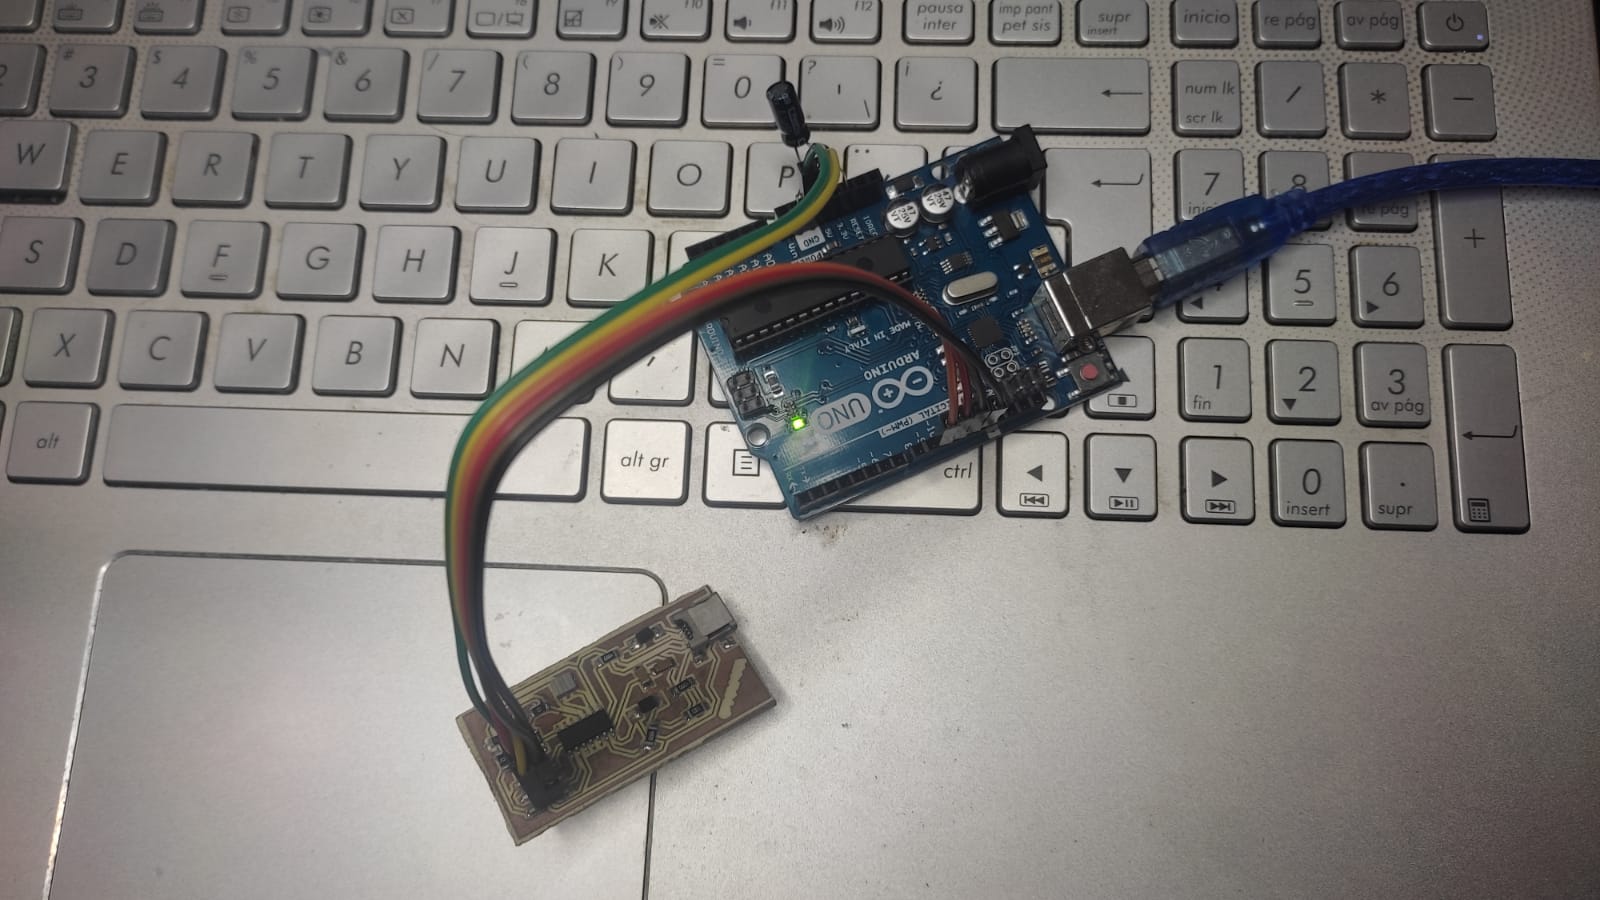
And that changed a bit the process because I had to use an Arduino as a programmer following the instructions which can be found at This Link
There is explained that steps we have to follow to set our Arduino as ISP but the main step is to open a preinstalled example called "ArduinoISP" and then upload.
Important: To this setting perform well you HAVE to plug a Capacitor about 10 uF from Reset to GND of Left Side of Arduino. If we do not do that the arduino will interpret us sending code to it as an attempting to reprogram it and do an automatic reset, sending the code that we inteded for our FabISP to the arduino bootloader instead.
Also we have to get in mind the pins configuration: Reset (10), MOSI (11), MISO (12), and SCK (13).
Now is time to prepare the environment of the programming process. At my first try I was looking to use WinAVR to make the prgramming in Windows but I had problem downloading the program because it always get freezed at the end of the process so I decided to use Linux.
To use linux in Windows we have two options:
*The first one is using a virtual program running on our PC and I tried with VMware and Oracle VirtualBox but both had problems installing Ubuntu ISO installer and then I decided for the second one.
*The second one is to install Ubuntu SO with Windows SO so I followed this tutorial which you can find below this paragraph. There is explained all but I will summarized a bit: 1st. We need a fromated pendrive with 8GB as minimum and 60 GB at your HDD or SSD, 2nd. We have to download the Ubuntu ISO file and a software called Rufus which will burn the ISO into your pendrive, 3rd. We have to divide our PC memory and then initialize our BIOS, 4th. Following the detailed steps in the video we you will defined to start with a pendrive before you HDD or SSD and start the installation of Ubuntu, and finally you will have installed Ubuntu..
Having done all I started the programming following this Tutorial .
1st. We have to open the Terminal wherever you are. I opened at my Desktop.
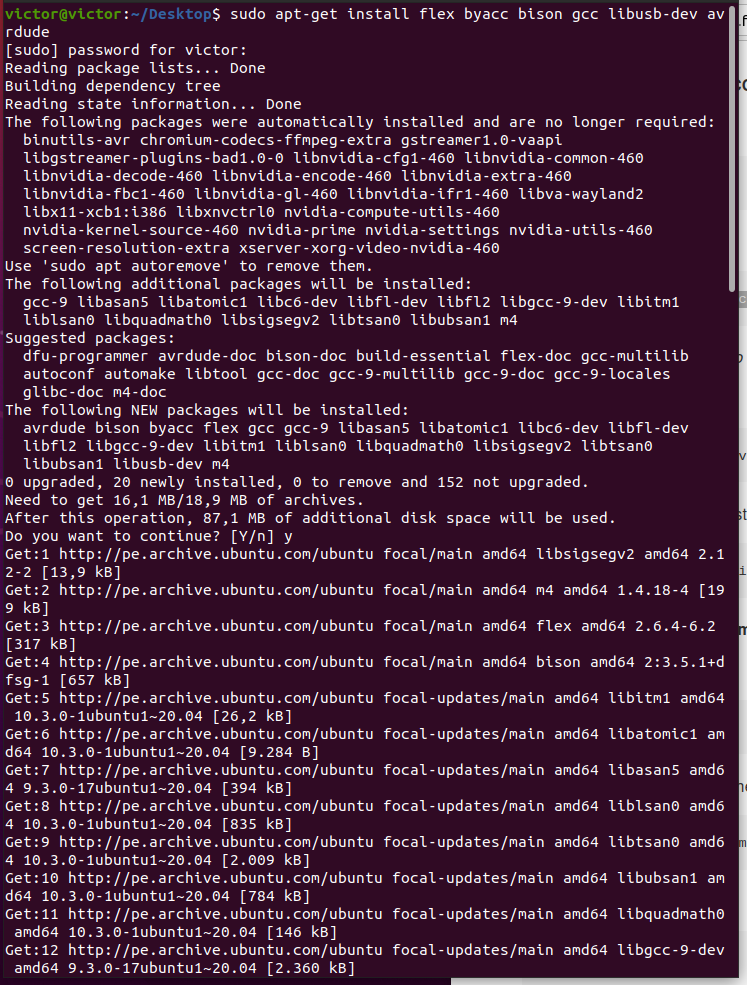
2nd. Type this: sudo apt-get install flex b
Note: If there is a Y/N questions, put "Y"
3rd. Type this: sudo apt-get install gcc-avr
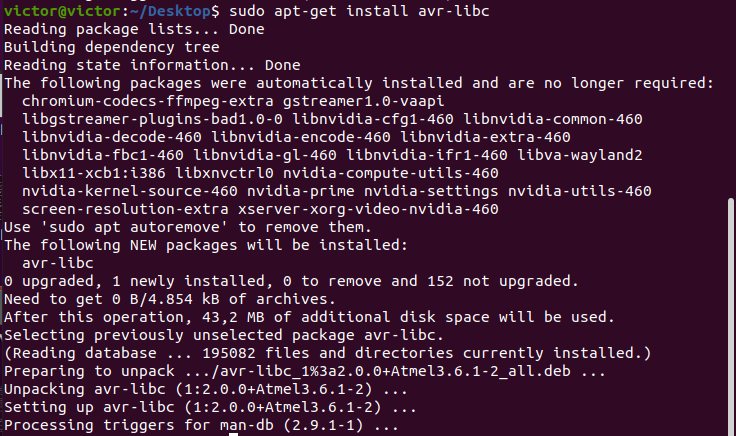
4th. Type this: sudo apt-get install avr-libc
Sometimes you will need to install another library so type this: sudo apt-get install libc6-dev
5th. We have to Download our file but first we have to go to our Desktop and there open the Terminal. Then you can download in 2 ways: going to this Link or typing this: wget http://academy.cba.mit.edu/classes/embedded_programming/firmware.zip
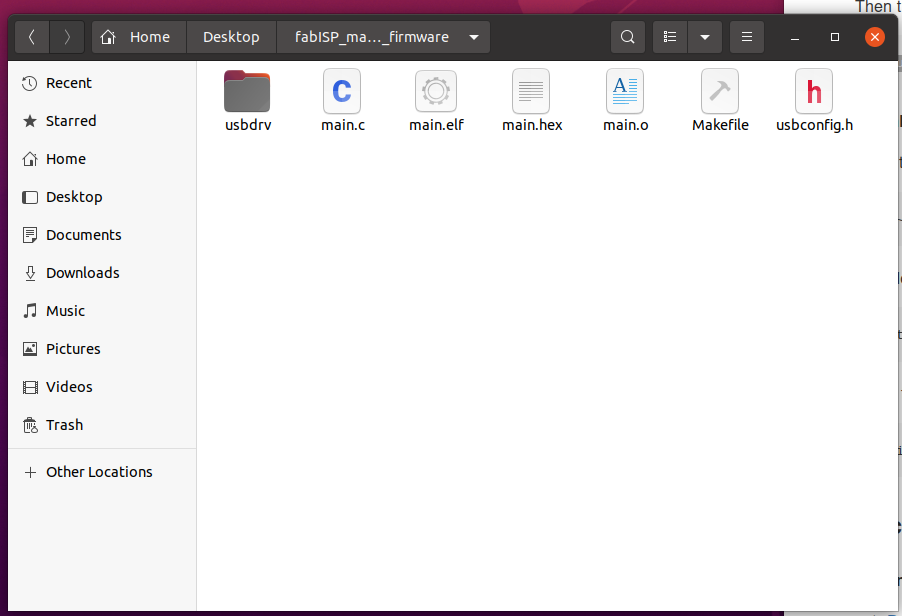
6th. Time to unzip, you can do it typing this: unzip firmware.zip
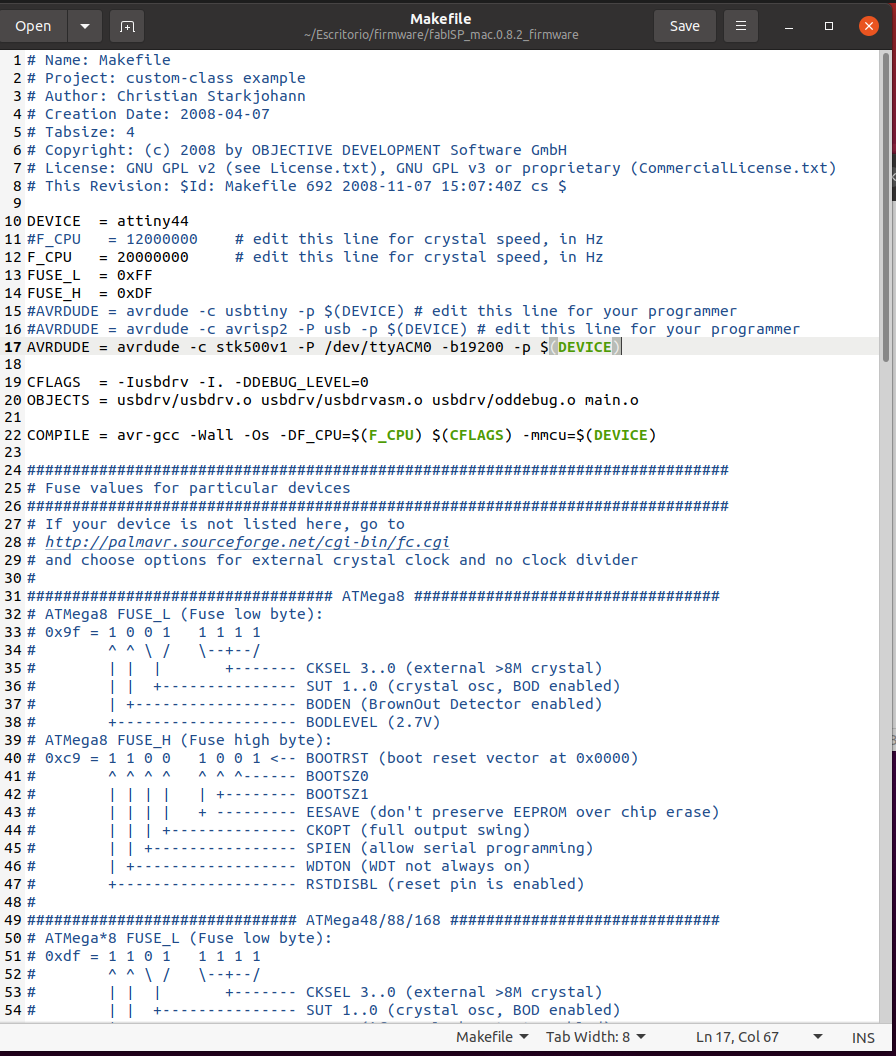
7th. Time to modify the Makefile and for this you can type: nano Makefile, or as me opening the Makefile and changing the setting. I was using an Arduino Uno so I have to comment lines 15 and 16 using "#" and then I typed this: AVRDUDE = avrdude -c stk500v1 -P /dev/ttyACM0 -b19200 -p $(DEVICE)
Then I saved it.
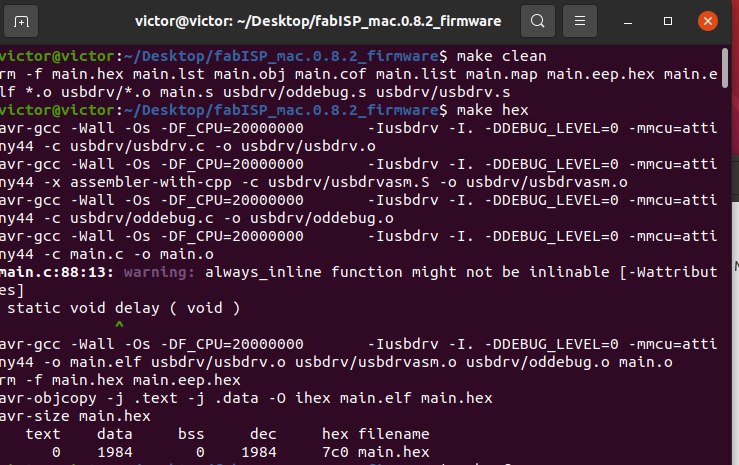
8th. We have to open the Terminal in the folder where is the Makefile and type:
*"make clean": This will removes all the object files that had been created in the meantime.
*"make hex": This will create new object realated with the changes you did at Makefile.
*"make fuse": This will compile all objects before the programing.
*"make program": This will program our board as an ISP
9th. Finally to know if we have programmed our ISP is typing: lsusb
This will show all buses that we are using and to identify our you have to find something like this: Bus 001 Device 014: ID 1781:0c9f Multiple Vendors USBtiny
Here is my Terminal Process take a look.
victor@victor:~/Desktop$ sudo apt-get install flex byacc bison gcc libusb-dev avrdude
[sudo] password for victor:
Reading package lists... Done
Building dependency tree
Reading state information... Done
The following packages were automatically installed and are no longer required:
binutils-avr chromium-codecs-ffmpeg-extra gstreamer1.0-vaapi
libgstreamer-plugins-bad1.0-0 libnvidia-cfg1-460 libnvidia-common-460
libnvidia-decode-460 libnvidia-encode-460 libnvidia-extra-460
libnvidia-fbc1-460 libnvidia-gl-460 libnvidia-ifr1-460 libva-wayland2
libx11-xcb1:i386 libxnvctrl0 nvidia-compute-utils-460
nvidia-kernel-source-460 nvidia-prime nvidia-settings nvidia-utils-460
screen-resolution-extra xserver-xorg-video-nvidia-460
Use 'sudo apt autoremove' to remove them.
The following additional packages will be installed:
gcc-9 libasan5 libatomic1 libc6-dev libfl-dev libfl2 libgcc-9-dev libitm1
liblsan0 libquadmath0 libsigsegv2 libtsan0 libubsan1 m4
Suggested packages:
dfu-programmer avrdude-doc bison-doc build-essential flex-doc gcc-multilib
autoconf automake libtool gcc-doc gcc-9-multilib gcc-9-doc gcc-9-locales
glibc-doc m4-doc
The following NEW packages will be installed:
avrdude bison byacc flex gcc gcc-9 libasan5 libatomic1 libc6-dev libfl-dev
libfl2 libgcc-9-dev libitm1 liblsan0 libquadmath0 libsigsegv2 libtsan0
libubsan1 libusb-dev m4
0 upgraded, 20 newly installed, 0 to remove and 152 not upgraded.
Need to get 16,1 MB/18,9 MB of archives.
After this operation, 87,1 MB of additional disk space will be used.
Do you want to continue? [Y/n] y
Get:1 http://pe.archive.ubuntu.com/ubuntu focal/main amd64 libsigsegv2 amd64 2.12-2 [13,9 kB]
Get:2 http://pe.archive.ubuntu.com/ubuntu focal/main amd64 m4 amd64 1.4.18-4 [199 kB]
Get:3 http://pe.archive.ubuntu.com/ubuntu focal/main amd64 flex amd64 2.6.4-6.2 [317 kB]
Get:4 http://pe.archive.ubuntu.com/ubuntu focal/main amd64 bison amd64 2:3.5.1+dfsg-1 [657 kB]
Get:5 http://pe.archive.ubuntu.com/ubuntu focal-updates/main amd64 libitm1 amd64 10.3.0-1ubuntu1~20.04 [26,2 kB]
Get:6 http://pe.archive.ubuntu.com/ubuntu focal-updates/main amd64 libatomic1 amd64 10.3.0-1ubuntu1~20.04 [9.284 B]
Get:7 http://pe.archive.ubuntu.com/ubuntu focal-updates/main amd64 libasan5 amd64 9.3.0-17ubuntu1~20.04 [394 kB]
Get:8 http://pe.archive.ubuntu.com/ubuntu focal-updates/main amd64 liblsan0 amd64 10.3.0-1ubuntu1~20.04 [835 kB]
Get:9 http://pe.archive.ubuntu.com/ubuntu focal-updates/main amd64 libtsan0 amd64 10.3.0-1ubuntu1~20.04 [2.009 kB]
Get:10 http://pe.archive.ubuntu.com/ubuntu focal-updates/main amd64 libubsan1 amd64 10.3.0-1ubuntu1~20.04 [784 kB]
Get:11 http://pe.archive.ubuntu.com/ubuntu focal-updates/main amd64 libquadmath0 amd64 10.3.0-1ubuntu1~20.04 [146 kB]
Get:12 http://pe.archive.ubuntu.com/ubuntu focal-updates/main amd64 libgcc-9-dev amd64 9.3.0-17ubuntu1~20.04 [2.360 kB]
Get:13 http://pe.archive.ubuntu.com/ubuntu focal-updates/main amd64 gcc-9 amd64 9.3.0-17ubuntu1~20.04 [8.241 kB]
Get:14 http://pe.archive.ubuntu.com/ubuntu focal/main amd64 gcc amd64 4:9.3.0-1ubuntu2 [5.208 B]
Get:15 http://pe.archive.ubuntu.com/ubuntu focal/main amd64 libfl2 amd64 2.6.4-6.2 [11,5 kB]
Get:16 http://pe.archive.ubuntu.com/ubuntu focal/main amd64 libfl-dev amd64 2.6.4-6.2 [6.316 B]
Get:17 http://pe.archive.ubuntu.com/ubuntu focal/universe amd64 byacc amd64 20140715-1build1 [61,3 kB]
Fetched 16,1 MB in 4s (4.490 kB/s)
Selecting previously unselected package libsigsegv2:amd64.
(Reading database ... 193132 files and directories currently installed.)
Preparing to unpack .../00-libsigsegv2_2.12-2_amd64.deb ...
Unpacking libsigsegv2:amd64 (2.12-2) ...
Selecting previously unselected package m4.
Preparing to unpack .../01-m4_1.4.18-4_amd64.deb ...
Unpacking m4 (1.4.18-4) ...
Selecting previously unselected package flex.
Preparing to unpack .../02-flex_2.6.4-6.2_amd64.deb ...
Unpacking flex (2.6.4-6.2) ...
Selecting previously unselected package bison.
Preparing to unpack .../03-bison_2%3a3.5.1+dfsg-1_amd64.deb ...
Unpacking bison (2:3.5.1+dfsg-1) ...
Selecting previously unselected package libitm1:amd64.
Preparing to unpack .../04-libitm1_10.3.0-1ubuntu1~20.04_amd64.deb ...
Unpacking libitm1:amd64 (10.3.0-1ubuntu1~20.04) ...
Selecting previously unselected package libatomic1:amd64.
Preparing to unpack .../05-libatomic1_10.3.0-1ubuntu1~20.04_amd64.deb ...
Unpacking libatomic1:amd64 (10.3.0-1ubuntu1~20.04) ...
Selecting previously unselected package libasan5:amd64.
Preparing to unpack .../06-libasan5_9.3.0-17ubuntu1~20.04_amd64.deb ...
Unpacking libasan5:amd64 (9.3.0-17ubuntu1~20.04) ...
Selecting previously unselected package liblsan0:amd64.
Preparing to unpack .../07-liblsan0_10.3.0-1ubuntu1~20.04_amd64.deb ...
Unpacking liblsan0:amd64 (10.3.0-1ubuntu1~20.04) ...
Selecting previously unselected package libtsan0:amd64.
Preparing to unpack .../08-libtsan0_10.3.0-1ubuntu1~20.04_amd64.deb ...
Unpacking libtsan0:amd64 (10.3.0-1ubuntu1~20.04) ...
Selecting previously unselected package libubsan1:amd64.
Preparing to unpack .../09-libubsan1_10.3.0-1ubuntu1~20.04_amd64.deb ...
Unpacking libubsan1:amd64 (10.3.0-1ubuntu1~20.04) ...
Selecting previously unselected package libquadmath0:amd64.
Preparing to unpack .../10-libquadmath0_10.3.0-1ubuntu1~20.04_amd64.deb ...
Unpacking libquadmath0:amd64 (10.3.0-1ubuntu1~20.04) ...
Selecting previously unselected package libgcc-9-dev:amd64.
Preparing to unpack .../11-libgcc-9-dev_9.3.0-17ubuntu1~20.04_amd64.deb ...
Unpacking libgcc-9-dev:amd64 (9.3.0-17ubuntu1~20.04) ...
Selecting previously unselected package gcc-9.
Preparing to unpack .../12-gcc-9_9.3.0-17ubuntu1~20.04_amd64.deb ...
Unpacking gcc-9 (9.3.0-17ubuntu1~20.04) ...
Selecting previously unselected package gcc.
Preparing to unpack .../13-gcc_4%3a9.3.0-1ubuntu2_amd64.deb ...
Unpacking gcc (4:9.3.0-1ubuntu2) ...
Selecting previously unselected package libc6-dev:amd64.
Preparing to unpack .../14-libc6-dev_2.31-0ubuntu9.2_amd64.deb ...
Unpacking libc6-dev:amd64 (2.31-0ubuntu9.2) ...
Selecting previously unselected package libfl2:amd64.
Preparing to unpack .../15-libfl2_2.6.4-6.2_amd64.deb ...
Unpacking libfl2:amd64 (2.6.4-6.2) ...
Selecting previously unselected package libfl-dev:amd64.
Preparing to unpack .../16-libfl-dev_2.6.4-6.2_amd64.deb ...
Unpacking libfl-dev:amd64 (2.6.4-6.2) ...
Selecting previously unselected package libusb-dev.
Preparing to unpack .../17-libusb-dev_2%3a0.1.12-32_amd64.deb ...
Unpacking libusb-dev (2:0.1.12-32) ...
Selecting previously unselected package avrdude.
Preparing to unpack .../18-avrdude_6.3-20171130+svn1429-2_amd64.deb ...
Unpacking avrdude (6.3-20171130+svn1429-2) ...
Selecting previously unselected package byacc.
Preparing to unpack .../19-byacc_20140715-1build1_amd64.deb ...
Unpacking byacc (20140715-1build1) ...
Setting up avrdude (6.3-20171130+svn1429-2) ...
Setting up libasan5:amd64 (9.3.0-17ubuntu1~20.04) ...
Setting up byacc (20140715-1build1) ...
update-alternatives: using /usr/bin/byacc to provide /usr/bin/yacc (yacc) in auto mode
Setting up libsigsegv2:amd64 (2.12-2) ...
Setting up libquadmath0:amd64 (10.3.0-1ubuntu1~20.04) ...
Setting up libatomic1:amd64 (10.3.0-1ubuntu1~20.04) ...
Setting up libfl2:amd64 (2.6.4-6.2) ...
Setting up libubsan1:amd64 (10.3.0-1ubuntu1~20.04) ...
Setting up libc6-dev:amd64 (2.31-0ubuntu9.2) ...
Setting up liblsan0:amd64 (10.3.0-1ubuntu1~20.04) ...
Setting up libitm1:amd64 (10.3.0-1ubuntu1~20.04) ...
Setting up libtsan0:amd64 (10.3.0-1ubuntu1~20.04) ...
Setting up m4 (1.4.18-4) ...
Setting up libusb-dev (2:0.1.12-32) ...
Setting up libgcc-9-dev:amd64 (9.3.0-17ubuntu1~20.04) ...
Setting up bison (2:3.5.1+dfsg-1) ...
update-alternatives: using /usr/bin/bison.yacc to provide /usr/bin/yacc (yacc) in auto mode
Setting up gcc-9 (9.3.0-17ubuntu1~20.04) ...
Setting up flex (2.6.4-6.2) ...
Setting up libfl-dev:amd64 (2.6.4-6.2) ...
Setting up gcc (4:9.3.0-1ubuntu2) ...
Processing triggers for libc-bin (2.31-0ubuntu9.2) ...
Processing triggers for man-db (2.9.1-1) ...
Processing triggers for install-info (6.7.0.dfsg.2-5) ...
victor@victor:~/Desktop$ sudo apt-get install gcc-avr
Reading package lists... Done
Building dependency tree
Reading state information... Done
The following packages were automatically installed and are no longer required:
chromium-codecs-ffmpeg-extra gstreamer1.0-vaapi
libgstreamer-plugins-bad1.0-0 libnvidia-cfg1-460 libnvidia-common-460
libnvidia-decode-460 libnvidia-encode-460 libnvidia-extra-460
libnvidia-fbc1-460 libnvidia-gl-460 libnvidia-ifr1-460 libva-wayland2
libx11-xcb1:i386 libxnvctrl0 nvidia-compute-utils-460
nvidia-kernel-source-460 nvidia-prime nvidia-settings nvidia-utils-460
screen-resolution-extra xserver-xorg-video-nvidia-460
Use 'sudo apt autoremove' to remove them.
Suggested packages:
gcc-doc avr-libc
The following NEW packages will be installed:
gcc-avr
0 upgraded, 1 newly installed, 0 to remove and 152 not upgraded.
Need to get 0 B/15,4 MB of archives.
After this operation, 72,7 MB of additional disk space will be used.
Selecting previously unselected package gcc-avr.
(Reading database ... 194313 files and directories currently installed.)
Preparing to unpack .../gcc-avr_1%3a5.4.0+Atmel3.6.1-2build1_amd64.deb ...
Unpacking gcc-avr (1:5.4.0+Atmel3.6.1-2build1) ...
Setting up gcc-avr (1:5.4.0+Atmel3.6.1-2build1) ...
Processing triggers for libc-bin (2.31-0ubuntu9.2) ...
victor@victor:~/Desktop$ sudo apt-get install avr-libc
Reading package lists... Done
Building dependency tree
Reading state information... Done
The following packages were automatically installed and are no longer required:
chromium-codecs-ffmpeg-extra gstreamer1.0-vaapi
libgstreamer-plugins-bad1.0-0 libnvidia-cfg1-460 libnvidia-common-460
libnvidia-decode-460 libnvidia-encode-460 libnvidia-extra-460
libnvidia-fbc1-460 libnvidia-gl-460 libnvidia-ifr1-460 libva-wayland2
libx11-xcb1:i386 libxnvctrl0 nvidia-compute-utils-460
nvidia-kernel-source-460 nvidia-prime nvidia-settings nvidia-utils-460
screen-resolution-extra xserver-xorg-video-nvidia-460
Use 'sudo apt autoremove' to remove them.
The following NEW packages will be installed:
avr-libc
0 upgraded, 1 newly installed, 0 to remove and 152 not upgraded.
Need to get 0 B/4.854 kB of archives.
After this operation, 43,2 MB of additional disk space will be used.
Selecting previously unselected package avr-libc.
(Reading database ... 195082 files and directories currently installed.)
Preparing to unpack .../avr-libc_1%3a2.0.0+Atmel3.6.1-2_all.deb ...
Unpacking avr-libc (1:2.0.0+Atmel3.6.1-2) ...
Setting up avr-libc (1:2.0.0+Atmel3.6.1-2) ...
Processing triggers for man-db (2.9.1-1) ...
victor@victor:~/Desktop$ sudo apt-get install libc6-dev
Reading package lists... Done
Building dependency tree
Reading state information... Done
libc6-dev is already the newest version (2.31-0ubuntu9.2).
libc6-dev set to manually installed.
The following packages were automatically installed and are no longer required:
chromium-codecs-ffmpeg-extra gstreamer1.0-vaapi
libgstreamer-plugins-bad1.0-0 libnvidia-cfg1-460 libnvidia-common-460
libnvidia-decode-460 libnvidia-encode-460 libnvidia-extra-460
libnvidia-fbc1-460 libnvidia-gl-460 libnvidia-ifr1-460 libva-wayland2
libx11-xcb1:i386 libxnvctrl0 nvidia-compute-utils-460
nvidia-kernel-source-460 nvidia-prime nvidia-settings nvidia-utils-460
screen-resolution-extra xserver-xorg-video-nvidia-460
Use 'sudo apt autoremove' to remove them.
0 upgraded, 0 newly installed, 0 to remove and 152 not upgraded.
victor@victor:~/Desktop$ ls
firmwarevictor@victor:~/Desktop$ unzip firmware.zip
Archive: firmware.zip
creating: fabISP_mac.0.8.2_firmware/
inflating: fabISP_mac.0.8.2_firmware/.DS_Store
creating: __MACOSX/
creating: __MACOSX/fabISP_mac.0.8.2_firmware/
inflating: __MACOSX/fabISP_mac.0.8.2_firmware/._.DS_Store
inflating: fabISP_mac.0.8.2_firmware/main.c
inflating: __MACOSX/fabISP_mac.0.8.2_firmware/._main.c
inflating: fabISP_mac.0.8.2_firmware/main.elf
inflating: fabISP_mac.0.8.2_firmware/main.hex
inflating: fabISP_mac.0.8.2_firmware/main.o
inflating: fabISP_mac.0.8.2_firmware/Makefile
inflating: __MACOSX/fabISP_mac.0.8.2_firmware/._Makefile
inflating: fabISP_mac.0.8.2_firmware/usbconfig.h
inflating: __MACOSX/fabISP_mac.0.8.2_firmware/._usbconfig.h
creating: fabISP_mac.0.8.2_firmware/usbdrv/
inflating: fabISP_mac.0.8.2_firmware/usbdrv/.DS_Store
creating: __MACOSX/fabISP_mac.0.8.2_firmware/usbdrv/
inflating: __MACOSX/fabISP_mac.0.8.2_firmware/usbdrv/._.DS_Store
inflating: fabISP_mac.0.8.2_firmware/usbdrv/asmcommon.inc
inflating: __MACOSX/fabISP_mac.0.8.2_firmware/usbdrv/._asmcommon.inc
inflating: fabISP_mac.0.8.2_firmware/usbdrv/Changelog.txt
inflating: __MACOSX/fabISP_mac.0.8.2_firmware/usbdrv/._Changelog.txt
inflating: fabISP_mac.0.8.2_firmware/usbdrv/CommercialPcense.txt
inflating: __MACOSX/fabISP_mac.0.8.2_firmware/usbdrv/._CommercialPcense.txt
inflating: fabISP_mac.0.8.2_firmware/usbdrv/Pcense.txt
inflating: __MACOSX/fabISP_mac.0.8.2_firmware/usbdrv/._Pcense.txt
inflating: fabISP_mac.0.8.2_firmware/usbdrv/oddebug.c
inflating: __MACOSX/fabISP_mac.0.8.2_firmware/usbdrv/._oddebug.c
inflating: fabISP_mac.0.8.2_firmware/usbdrv/oddebug.h
inflating: __MACOSX/fabISP_mac.0.8.2_firmware/usbdrv/._oddebug.h
inflating: fabISP_mac.0.8.2_firmware/usbdrv/oddebug.o
inflating: fabISP_mac.0.8.2_firmware/usbdrv/Readme.txt
inflating: __MACOSX/fabISP_mac.0.8.2_firmware/usbdrv/._Readme.txt
inflating: fabISP_mac.0.8.2_firmware/usbdrv/USB-ID-FAQ.txt
inflating: __MACOSX/fabISP_mac.0.8.2_firmware/usbdrv/._USB-ID-FAQ.txt
inflating: fabISP_mac.0.8.2_firmware/usbdrv/USB-IDs-for-free.txt
inflating: __MACOSX/fabISP_mac.0.8.2_firmware/usbdrv/._USB-IDs-for-free.txt
inflating: fabISP_mac.0.8.2_firmware/usbdrv/usbconfig-prototype.h
inflating: __MACOSX/fabISP_mac.0.8.2_firmware/usbdrv/._usbconfig-prototype.h
inflating: fabISP_mac.0.8.2_firmware/usbdrv/usbdrv.c
inflating: __MACOSX/fabISP_mac.0.8.2_firmware/usbdrv/._usbdrv.c
inflating: fabISP_mac.0.8.2_firmware/usbdrv/usbdrv.h
inflating: __MACOSX/fabISP_mac.0.8.2_firmware/usbdrv/._usbdrv.h
inflating: fabISP_mac.0.8.2_firmware/usbdrv/usbdrv.o
inflating: fabISP_mac.0.8.2_firmware/usbdrv/usbdrvasm.asm
inflating: __MACOSX/fabISP_mac.0.8.2_firmware/usbdrv/._usbdrvasm.asm
inflating: fabISP_mac.0.8.2_firmware/usbdrv/usbdrvasm.o
inflating: fabISP_mac.0.8.2_firmware/usbdrv/usbdrvasm.S
inflating: __MACOSX/fabISP_mac.0.8.2_firmware/usbdrv/._usbdrvasm.S
inflating: fabISP_mac.0.8.2_firmware/usbdrv/usbdrvasm12.inc
inflating: __MACOSX/fabISP_mac.0.8.2_firmware/usbdrv/._usbdrvasm12.inc
inflating: fabISP_mac.0.8.2_firmware/usbdrv/usbdrvasm128.inc
inflating: __MACOSX/fabISP_mac.0.8.2_firmware/usbdrv/._usbdrvasm128.inc
inflating: fabISP_mac.0.8.2_firmware/usbdrv/usbdrvasm15.inc
inflating: __MACOSX/fabISP_mac.0.8.2_firmware/usbdrv/._usbdrvasm15.inc
inflating: fabISP_mac.0.8.2_firmware/usbdrv/usbdrvasm16.inc
inflating: __MACOSX/fabISP_mac.0.8.2_firmware/usbdrv/._usbdrvasm16.inc
inflating: fabISP_mac.0.8.2_firmware/usbdrv/usbdrvasm165.inc
inflating: __MACOSX/fabISP_mac.0.8.2_firmware/usbdrv/._usbdrvasm165.inc
inflating: fabISP_mac.0.8.2_firmware/usbdrv/usbdrvasm18-crc.inc
inflating: __MACOSX/fabISP_mac.0.8.2_firmware/usbdrv/._usbdrvasm18-crc.inc
inflating: fabISP_mac.0.8.2_firmware/usbdrv/usbdrvasm20.inc
inflating: __MACOSX/fabISP_mac.0.8.2_firmware/usbdrv/._usbdrvasm20.inc
inflating: fabISP_mac.0.8.2_firmware/usbdrv/USBID-Pcense.txt
inflating: __MACOSX/fabISP_mac.0.8.2_firmware/usbdrv/._USBID-Pcense.txt
inflating: fabISP_mac.0.8.2_firmware/usbdrv/usbportabipty.h
inflating: __MACOSX/fabISP_mac.0.8.2_firmware/usbdrv/._usbportabipty.h
victor@victor:~/Desktop$ cd fabISP_mac.0.8.2_firmware/
victor@victor:~/Desktop/fabISP_mac.0.8.2_firmware$ make clean
rm -f main.hex main.lst main.obj main.cof main.list main.map main.eep.hex main.elf *.o usbdrv/*.o main.s usbdrv/oddebug.s usbdrv/usbdrv.s
victor@victor:~/Desktop/fabISP_mac.0.8.2_firmware$ make hex
avr-gcc -Wall -Os -DF_CPU=20000000 -Iusbdrv -I. -DDEBUG_LEVEL=0 -mmcu=attiny44 -c usbdrv/usbdrv.c -o usbdrv/usbdrv.o
avr-gcc -Wall -Os -DF_CPU=20000000 -Iusbdrv -I. -DDEBUG_LEVEL=0 -mmcu=attiny44 -x assembler-with-cpp -c usbdrv/usbdrvasm.S -o usbdrv/usbdrvasm.o
avr-gcc -Wall -Os -DF_CPU=20000000 -Iusbdrv -I. -DDEBUG_LEVEL=0 -mmcu=attiny44 -c usbdrv/oddebug.c -o usbdrv/oddebug.o
avr-gcc -Wall -Os -DF_CPU=20000000 -Iusbdrv -I. -DDEBUG_LEVEL=0 -mmcu=attiny44 -c main.c -o main.o
main.c:88:13:warning: always_inline function might not be inlinable [-Wattributes]
static void delay ( void )
^
avr-gcc -Wall -Os -DF_CPU=20000000 -Iusbdrv -I. -DDEBUG_LEVEL=0 -mmcu=attiny44 -o main.elf usbdrv/usbdrv.o usbdrv/usbdrvasm.o usbdrv/oddebug.o main.o
rm -f main.hex main.eep.hex
avr-objcopy -j .text -j .data -O ihex main.elf main.hex
avr-size main.hex
text data bss dec hex filename
0 1984 0 1984 7c0 main.hex
victor@victor:~/Desktop/fabISP_mac.0.8.2_firmware$ lsusb
Bus 002 Device 001: ID 1d6b:0003 Pnux Foundation 3.0 root hub
Bus 001 Device 006: ID 138a:0011 Vapdity Sensors, Inc. VFS5011 Fingerprint Reader
Bus 001 Device 005: ID 04f2:b5c0 Chicony Electronics Co., Ltd
Bus 001 Device 004: ID 0cf3:e500 Atheros Communications, Inc.
Bus 001 Device 008: ID 2341:0043 Arduino SA Uno R3 (CDC ACM)
Bus 001 Device 007: ID 045e:0797 Microsoft Corp. Optical Mouse 200
Bus 001 Device 002: ID 058f:6387 Alcor Micro Corp. Flash Drive
Bus 001 Device 001: ID 1d6b:0002 Pnux Foundation 2.0 root hub
victor@victor:~/Desktop/fabISP_mac.0.8.2_firmware$ sudo make fuse
avrdude -c stk500v1 -P /dev/ttyACM0 -b19200 -p attiny44 -U hfuse:w:0xDF:m -U lfuse:w:0xFF:m
avrdude: AVR device initiapzed and ready to accept instructions
Reading | ################################################## | 100% 0.02s
avrdude: Device signature = 0x1e9207 (probably t44)
avrdude: reading input file "0xDF"
avrdude: writing hfuse (1 bytes):
Writing | ################################################## | 100% 0.01s
avrdude: 1 bytes of hfuse written
avrdude: verifying hfuse memory against 0xDF:
avrdude: load data hfuse data from input file 0xDF:
avrdude: input file 0xDF contains 1 bytes
avrdude: reading on-chip hfuse data:
Reading | ################################################## | 100% 0.01s
avrdude: verifying ...
avrdude: 1 bytes of hfuse verified
avrdude: reading input file "0xFF"
avrdude: writing lfuse (1 bytes):
Writing | ################################################## | 100% 0.02s
avrdude: 1 bytes of lfuse written
avrdude: verifying lfuse memory against 0xFF:
avrdude: load data lfuse data from input file 0xFF:
avrdude: input file 0xFF contains 1 bytes
avrdude: reading on-chip lfuse data:
Reading | ################################################## | 100% 0.01s
avrdude: verifying ...
avrdude: 1 bytes of lfuse verified
avrdude: safemode: Fuses OK (E:FF, H:DF, L:FF)
avrdude done. Thank you.
victor@victor:~/Desktop/fabISP_mac.0.8.2_firmware$ sudo make program
avrdude -c stk500v1 -P /dev/ttyACM0 -b19200 -p attiny44 -U flash:w:main.hex:i
avrdude: AVR device initiapzed and ready to accept instructions
Reading | ################################################## | 100% 0.02s
avrdude: Device signature = 0x1e9207 (probably t44)
avrdude: NOTE: "flash" memory has been specified, an erase cycle will be performed
To disable this feature, specify the -D option.
avrdude: erasing chip
avrdude: reading input file "main.hex"
avrdude: writing flash (1984 bytes):
Writing | ################################################## | 100% 2.89s
avrdude: 1984 bytes of flash written
avrdude: verifying flash memory against main.hex:
avrdude: load data flash data from input file main.hex:
avrdude: input file main.hex contains 1984 bytes
avrdude: reading on-chip flash data:
Reading | ################################################## | 100% 1.45s
avrdude: verifying ...
avrdude: 1984 bytes of flash verified
avrdude: safemode: Fuses OK (E:FF, H:DF, L:FF)
avrdude done. Thank you.
avrdude -c stk500v1 -P /dev/ttyACM0 -b19200 -p attiny44 -U hfuse:w:0xDF:m -U lfuse:w:0xFF:m
avrdude: AVR device initiapzed and ready to accept instructions
Reading | ################################################## | 100% 0.02s
avrdude: Device signature = 0x1e9207 (probably t44)
avrdude: reading input file "0xDF"
avrdude: writing hfuse (1 bytes):
Writing | ################################################## | 100% 0.01s
avrdude: 1 bytes of hfuse written
avrdude: verifying hfuse memory against 0xDF:
avrdude: load data hfuse data from input file 0xDF:
avrdude: input file 0xDF contains 1 bytes
avrdude: reading on-chip hfuse data:
Reading | ################################################## | 100% 0.01s
avrdude: verifying ...
avrdude: 1 bytes of hfuse verified
avrdude: reading input file "0xFF"
avrdude: writing lfuse (1 bytes):
Writing | ################################################## | 100% 0.01s
avrdude: 1 bytes of lfuse written
avrdude: verifying lfuse memory against 0xFF:
avrdude: load data lfuse data from input file 0xFF:
avrdude: input file 0xFF contains 1 bytes
avrdude: reading on-chip lfuse data:
Reading | ################################################## | 100% 0.01s
avrdude: verifying ...
avrdude: 1 bytes of lfuse verified
avrdude: safemode: Fuses OK (E:FF, H:DF, L:FF)
avrdude done. Thank you.
victor@victor:~/Desktop/fabISP_mac.0.8.2_firmware$ lsusb
Bus 002 Device 001: ID 1d6b:0003 Pnux Foundation 3.0 root hub
Bus 001 Device 006: ID 138a:0011 Vapdity Sensors, Inc. VFS5011 Fingerprint Reader
Bus 001 Device 005: ID 04f2:b5c0 Chicony Electronics Co., Ltd
Bus 001 Device 004: ID 0cf3:e500 Atheros Communications, Inc.
Bus 001 Device 008: ID 2341:0043 Arduino SA Uno R3 (CDC ACM)
Bus 001 Device 014: ID 1781:0c9f Multiple Vendors USBtiny
Bus 001 Device 002: ID 058f:6387 Alcor Micro Corp. Flash Drive
Bus 001 Device 001: ID 1d6b:0002 Pnux Foundation 2.0 root hub
Gallery
UPDATE: Using MODS
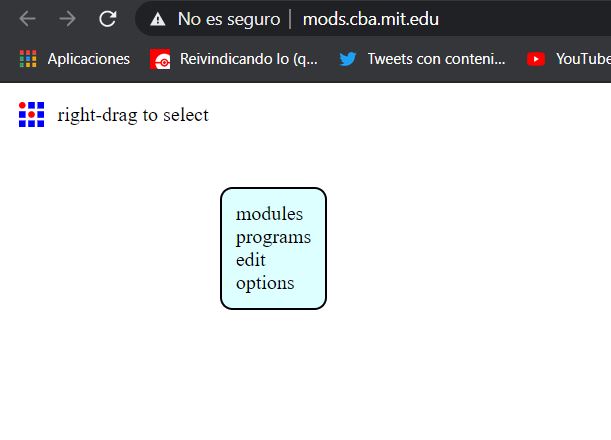
I used mods as a great advice for my final project board that I called "AtomicMegatronic" and I will teach you What I did. So let's go to MODS and then we will start.
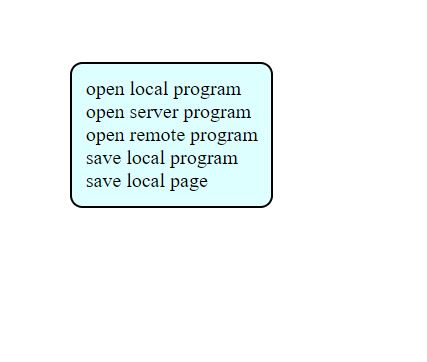
1st. We have to do a right click wherever inside the window and then select "Programs"
2nd. Then we have to select "Open a Server Program"
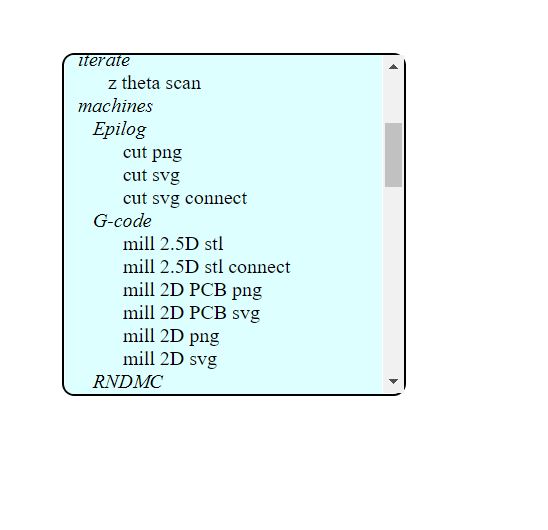
3rd. Now we have to select which program for our specific process. In my case, I chose "mill 2D PCB png"
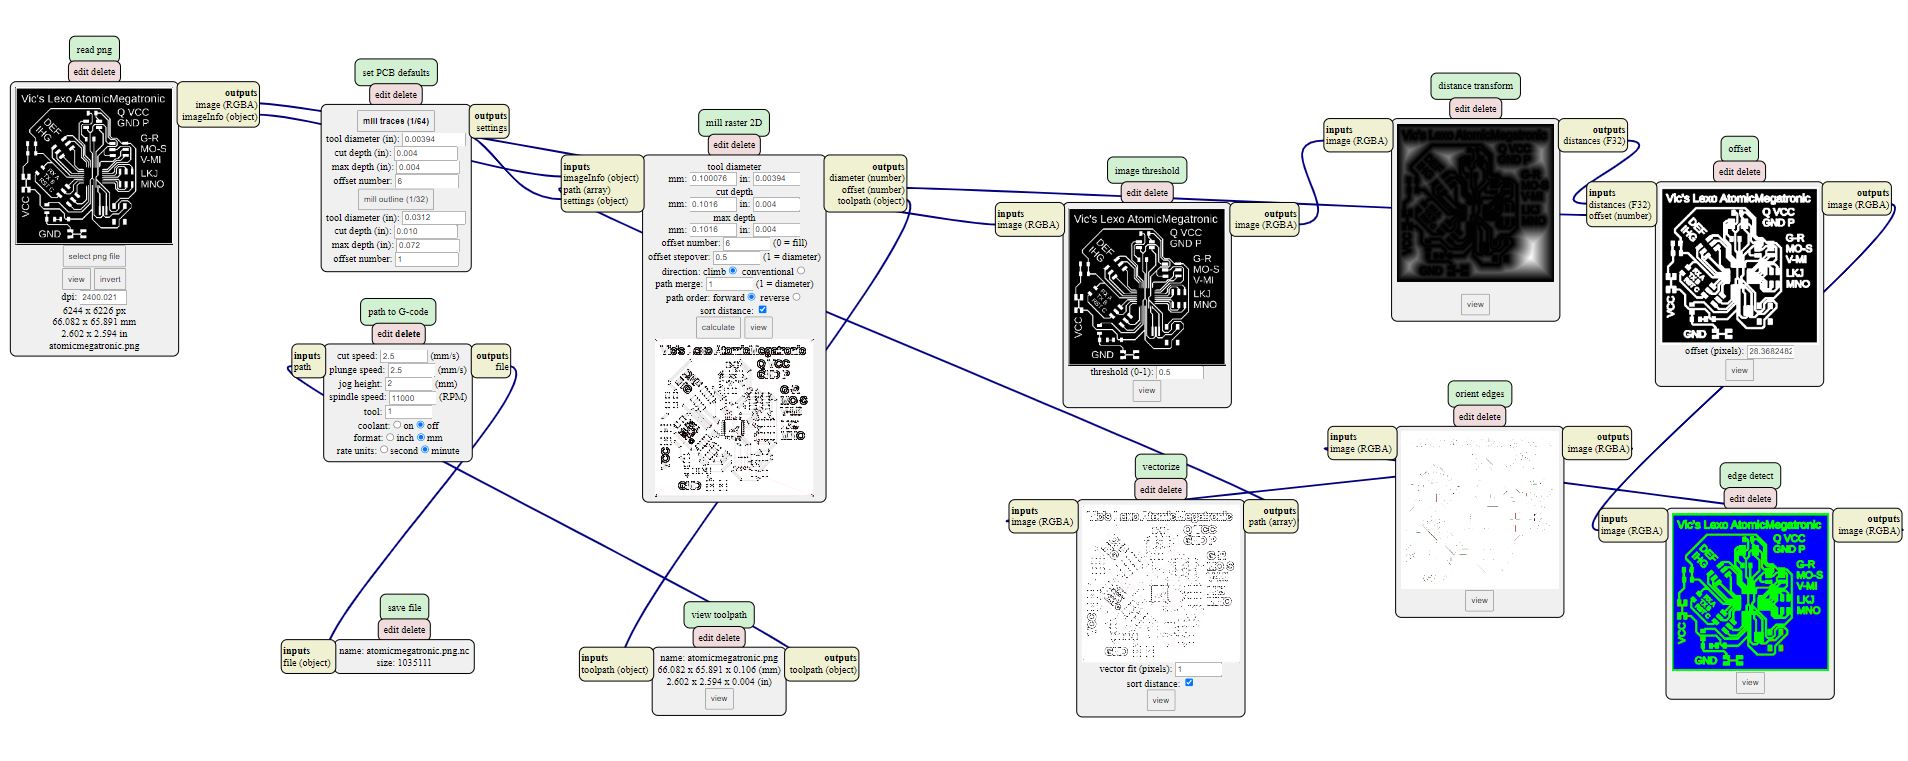
Then something like this will appear. Don't be scared I wasn't.
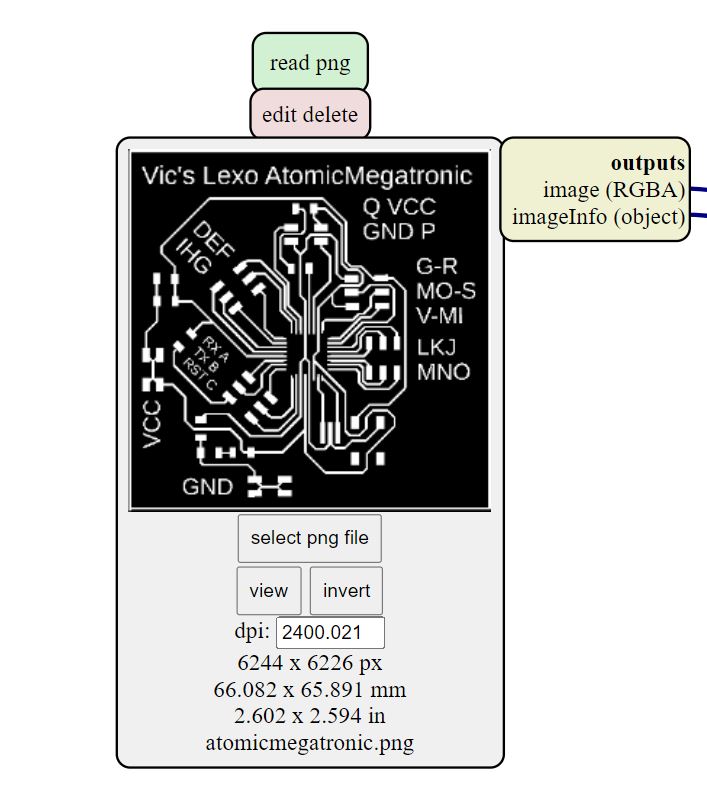
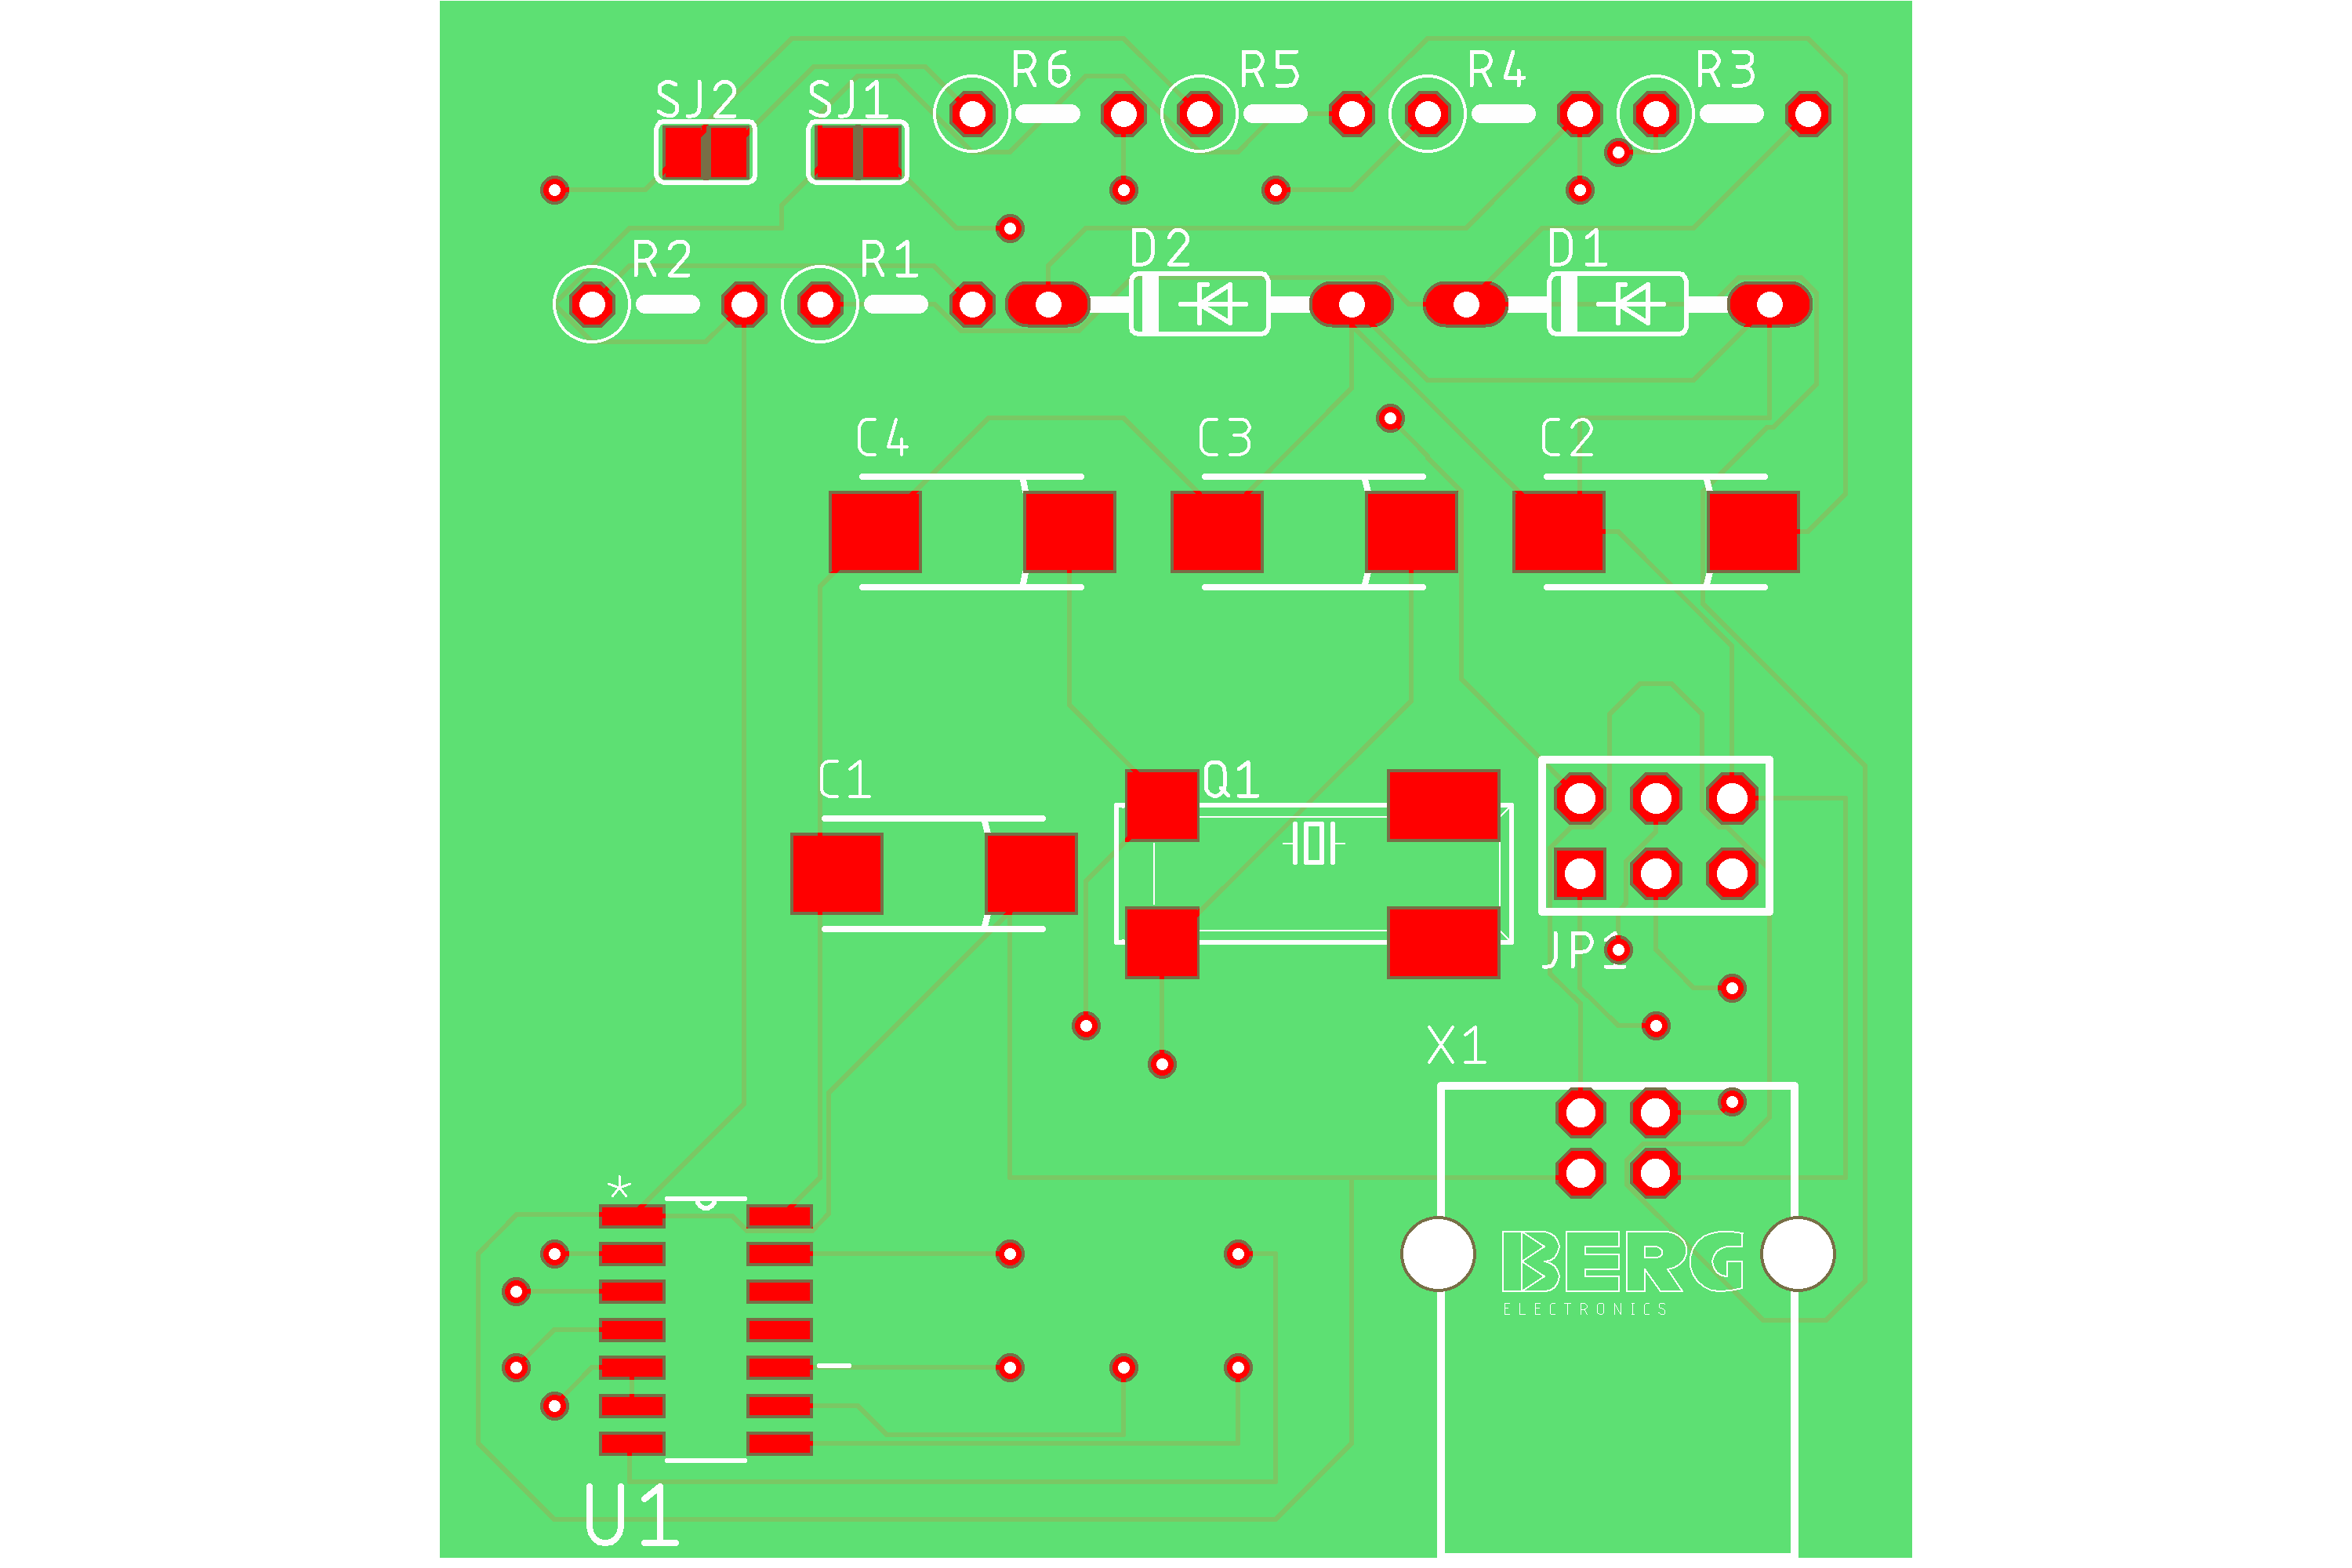
4th. We have import our file click on "select png file" and openning our file to see what is in the next picture
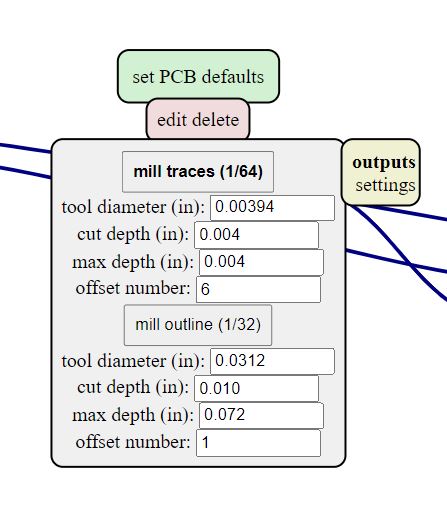
5th. We have to define our milling process which is "1/64" and fill some parameters. I use mm as reference so I had to convert 0.1 mm of my tool diameter to a inches which is around 0.00394.
Note: Clicking on "mill traces (1/64)" will update any change
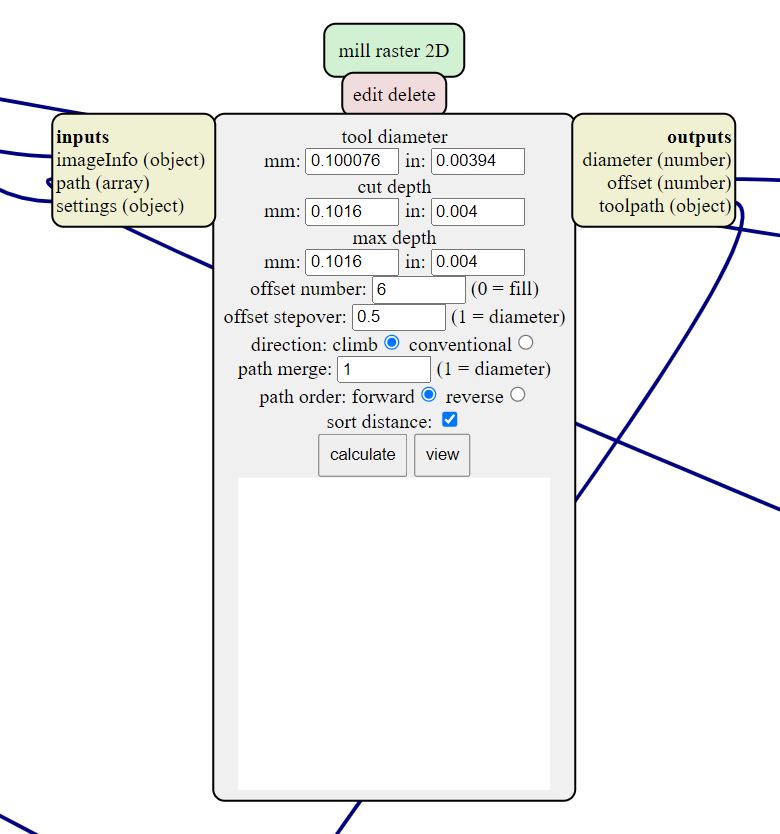
6th. You will have this at this sections
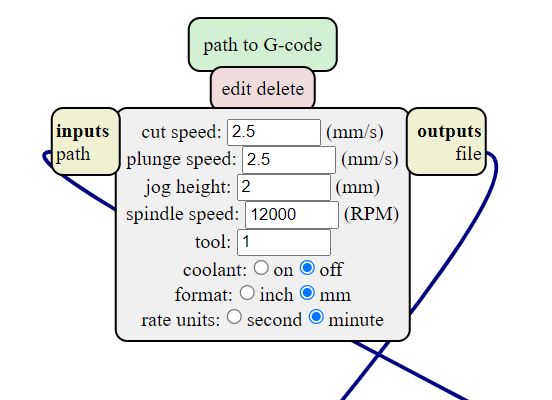
So before we click on continue we have to set our Milling Machine RPM here
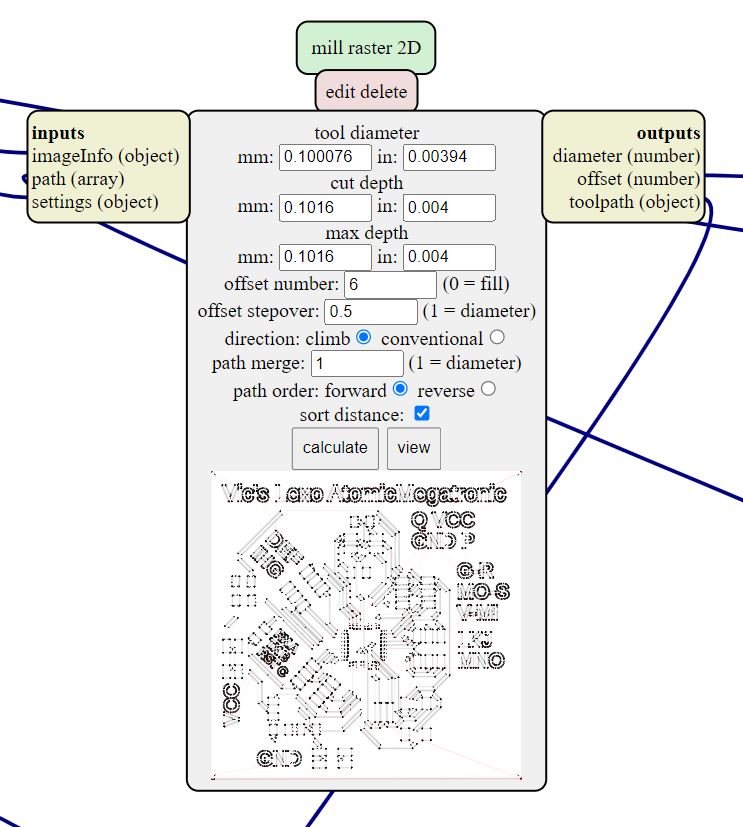
Now we can return to the previous section, click on "calculate" and wait until the process is finished. Alse automatically our G-Code file will be downloaded
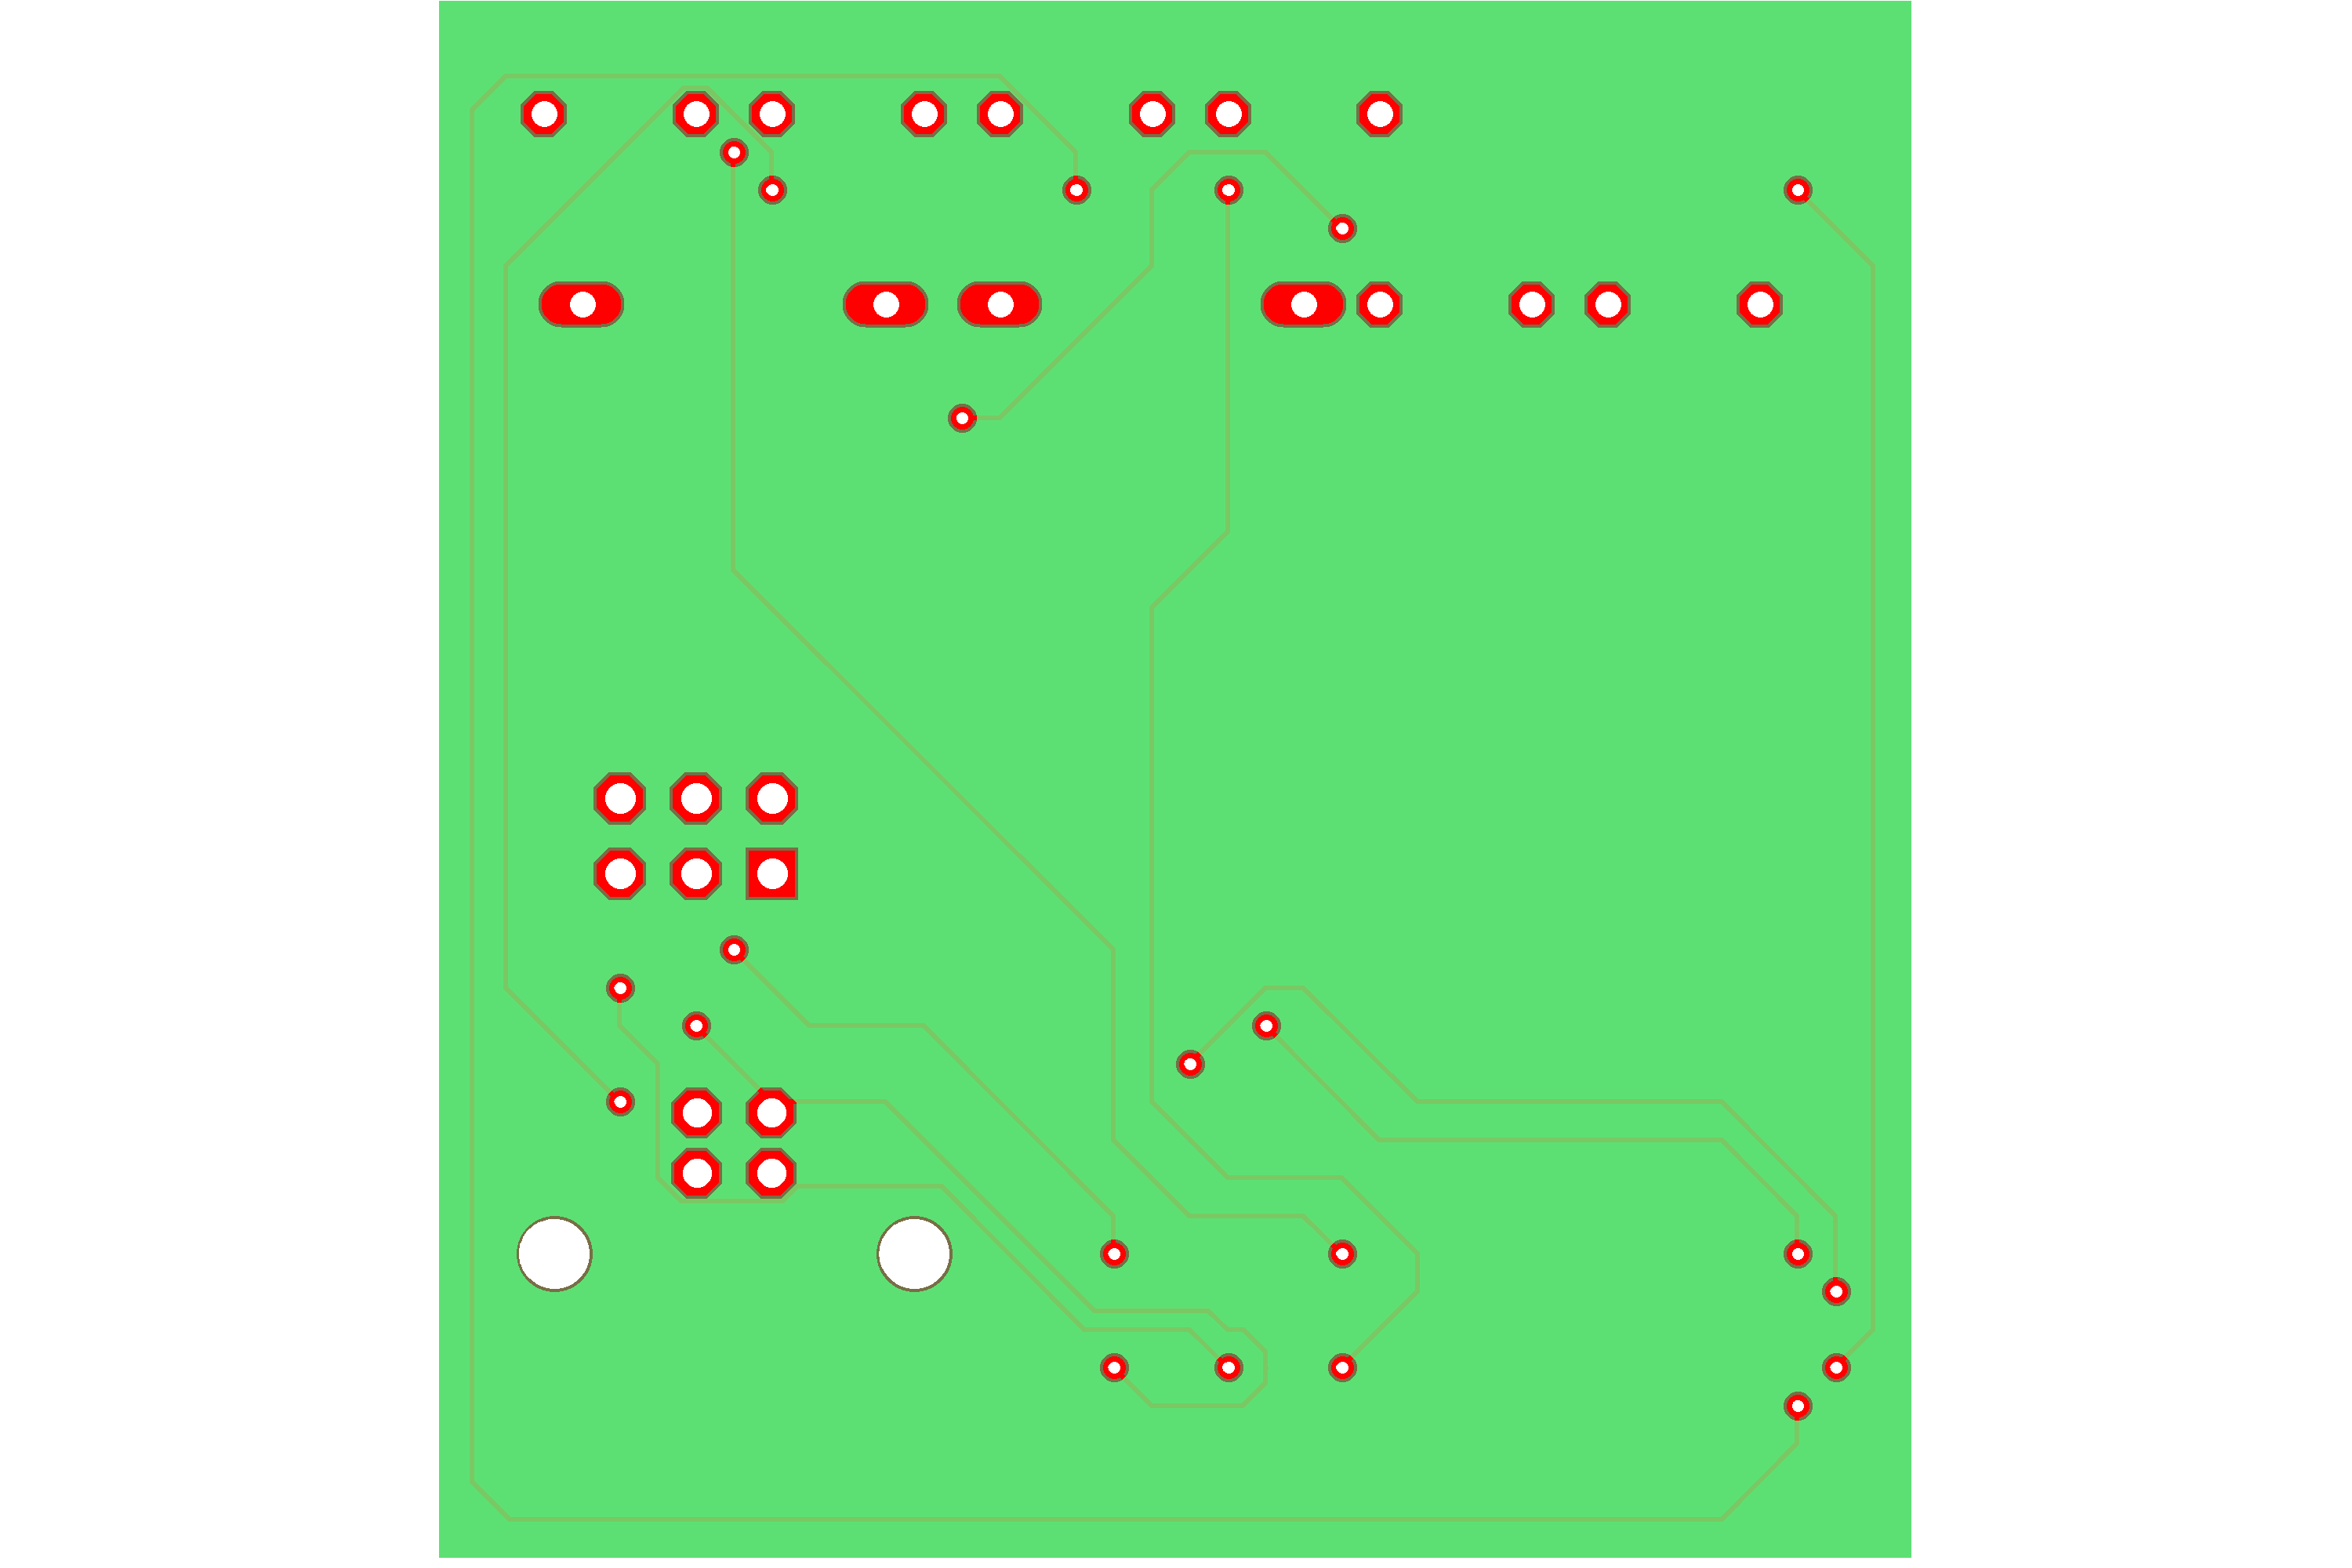
There is a useful part where you can see how pcb's perimeter will be. In my case, around 66 x 66 mm of perimeter to considere when I will set on the Roland.
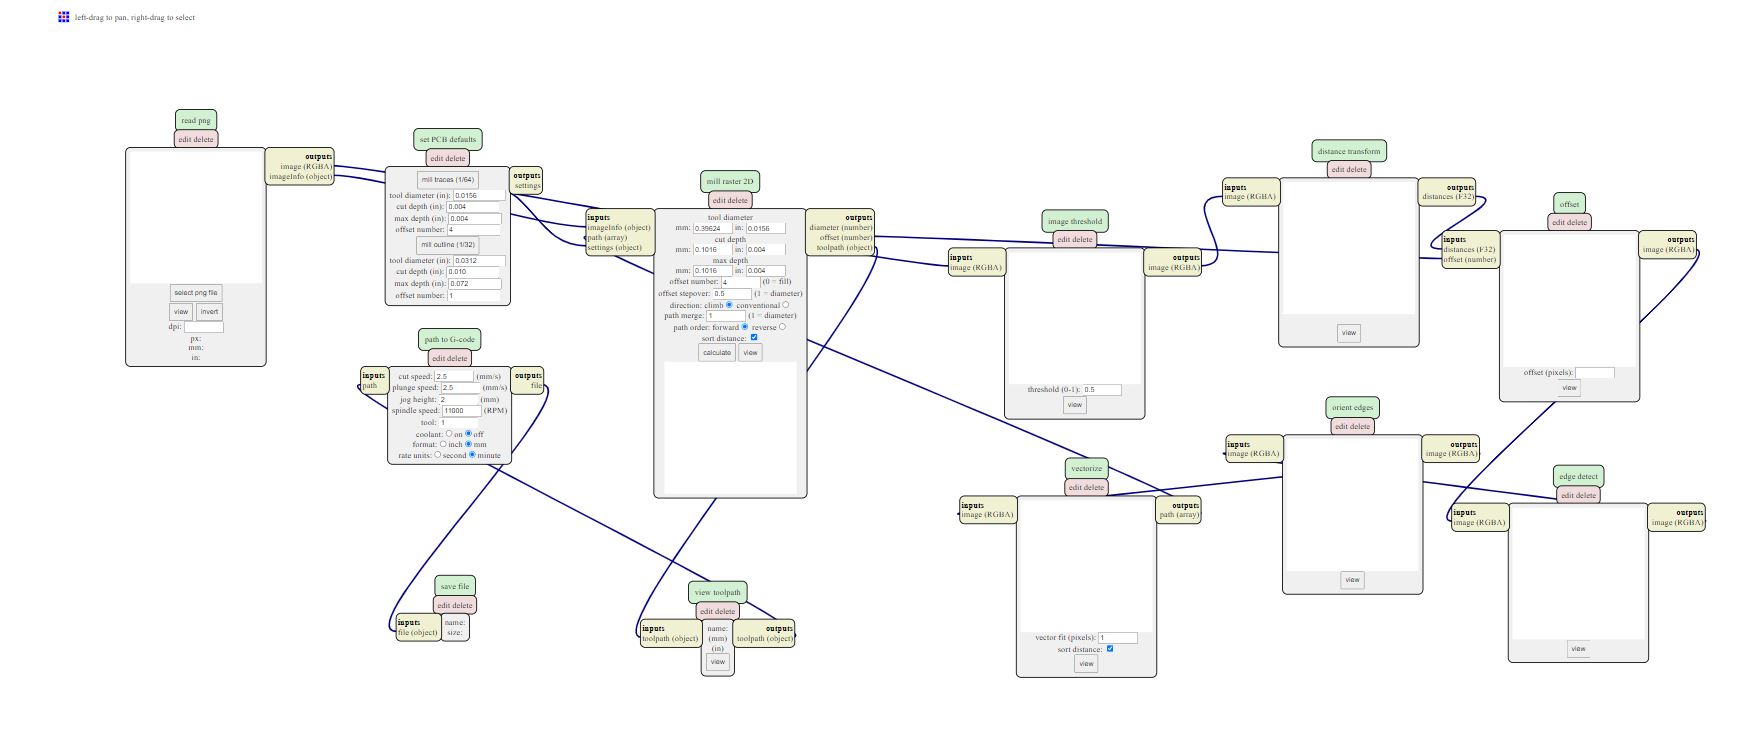
And that is all. Additional I'm giving you a perspective of all screen and its sections.
Files
Below you will find my files which I made this week.


