Second Week:
Computer-Aided Design

To this assignment we had to test some designing softwares and I will recommend you which ones works for me and which was a disaster, for me.
2D Design
For this part I tested a software called Gimp. This is a very useful and I will show you what I did.
1st. When we open Gimp we will see the next picture.

2nd. We have to create a new project that it's called "Image" or "Picture" so click on "File" on the menu or type "CTRL + N" to see the next window.
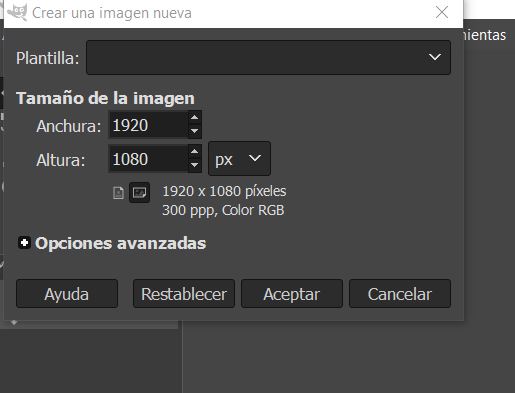
Then you will have your new template.

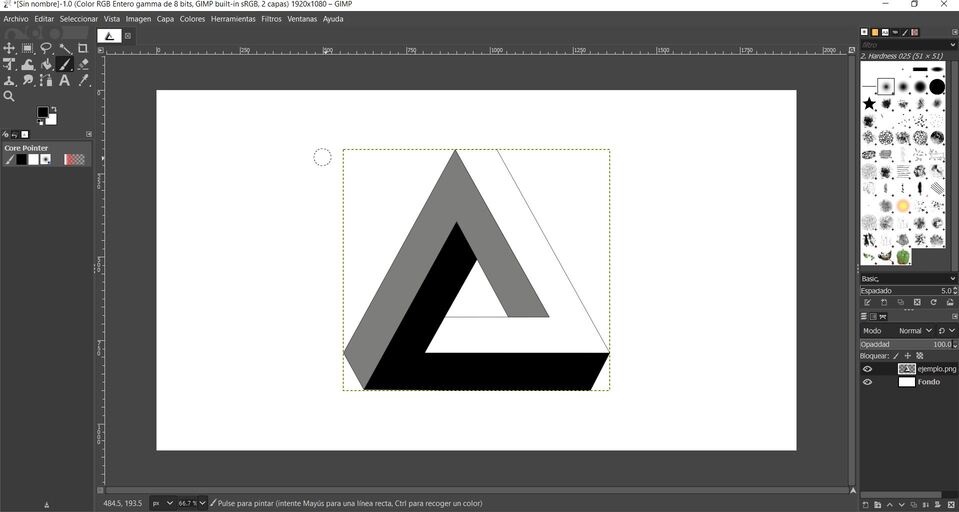
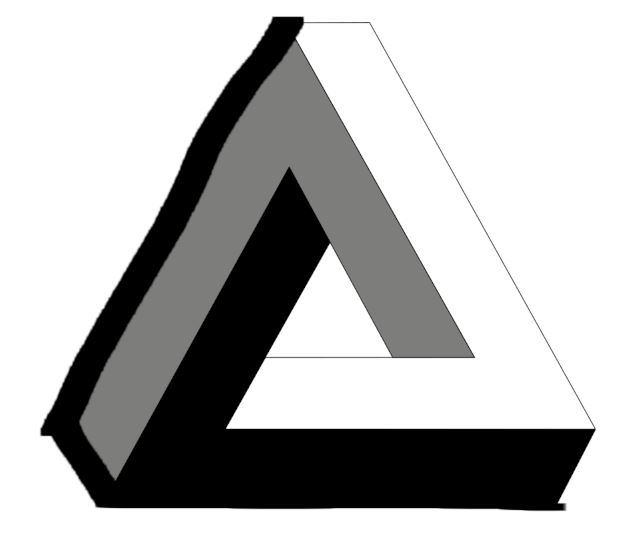
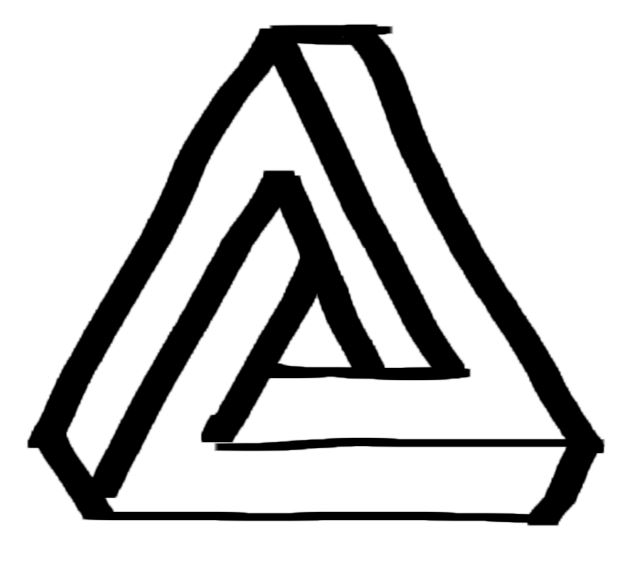
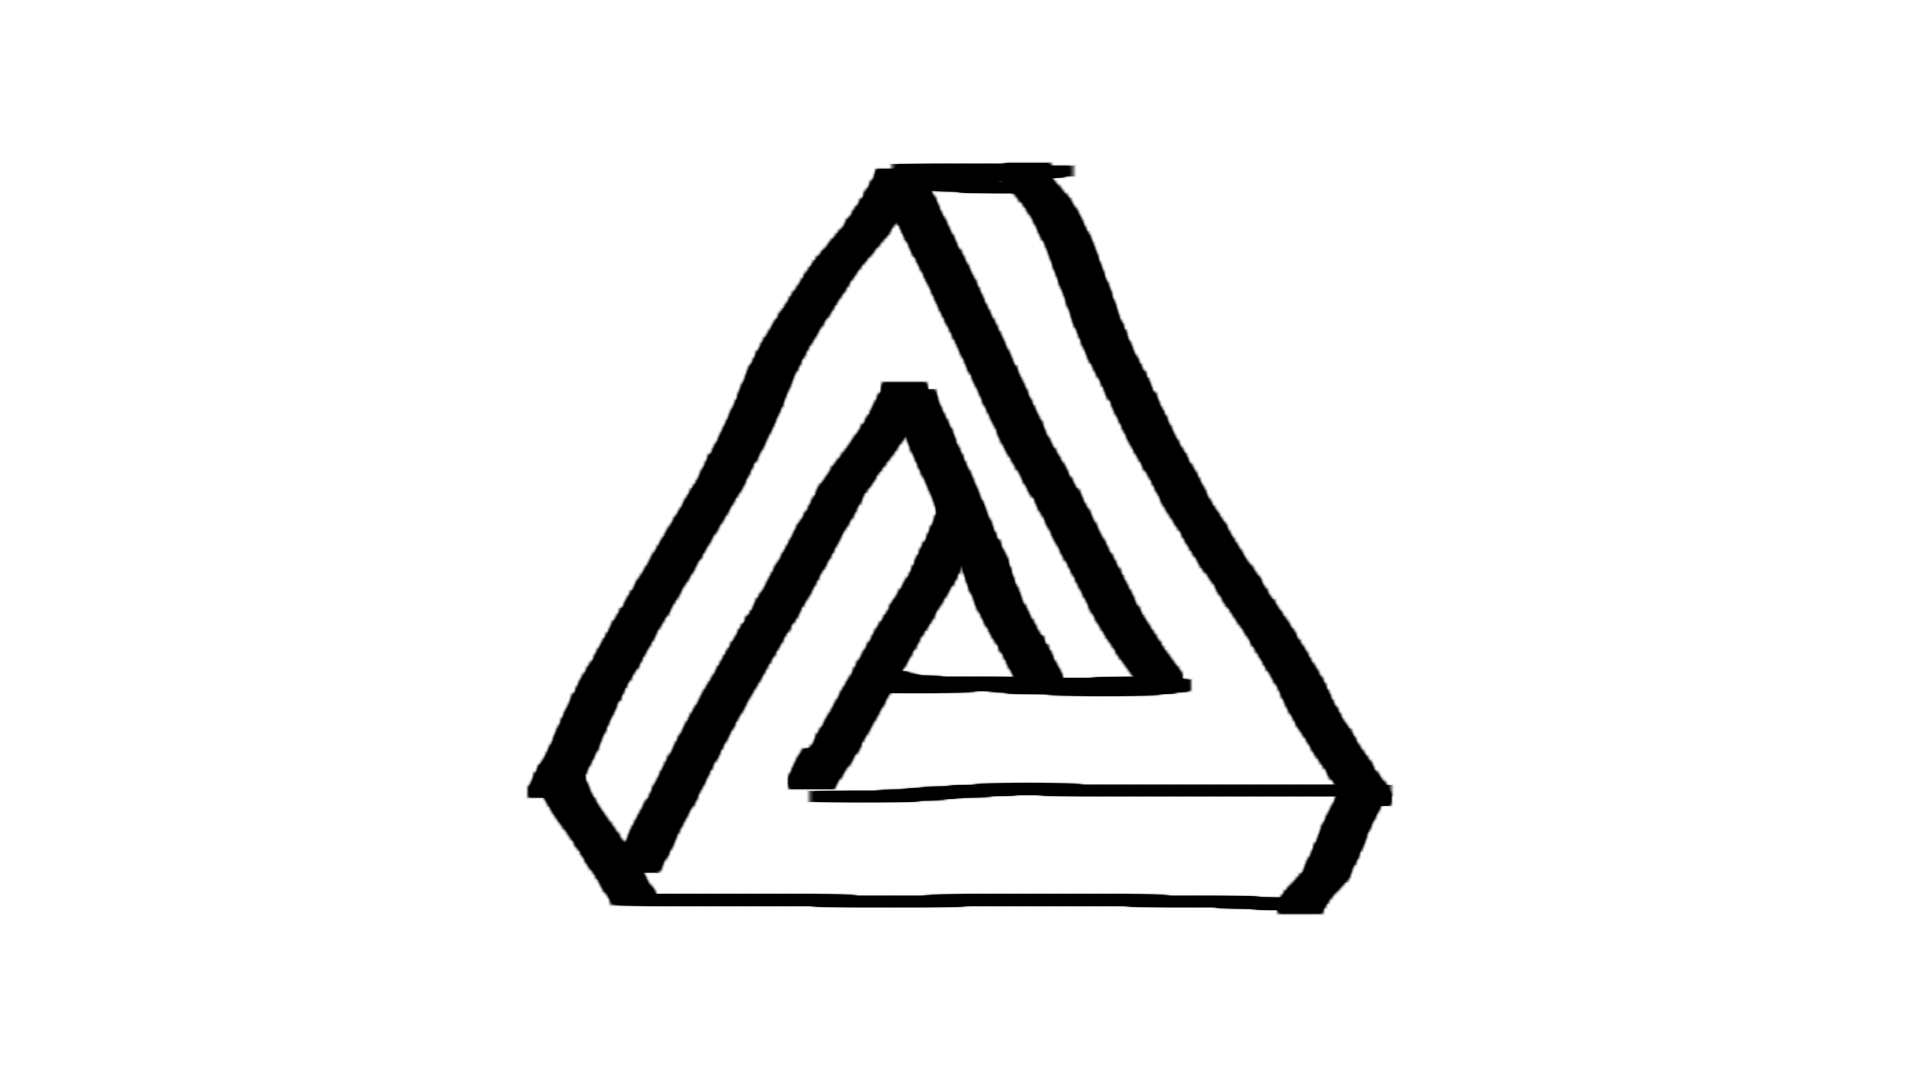
3rd. I searched a Penrose's Triangle on Google to import. I saved the picture on my Desktop.
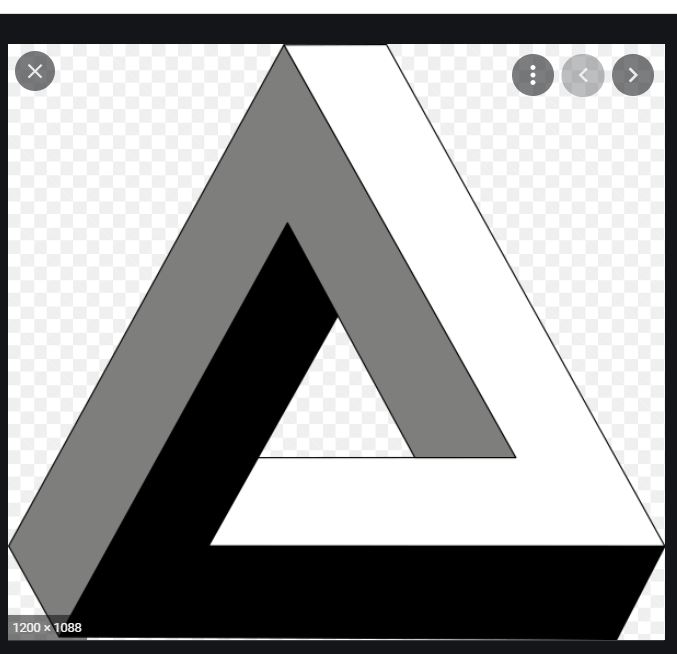
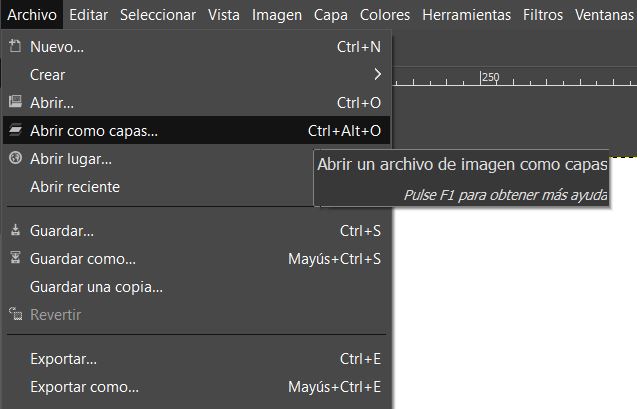
Then I opened with the next option "Open as a Layer" or type "CTRL + ALT + O".
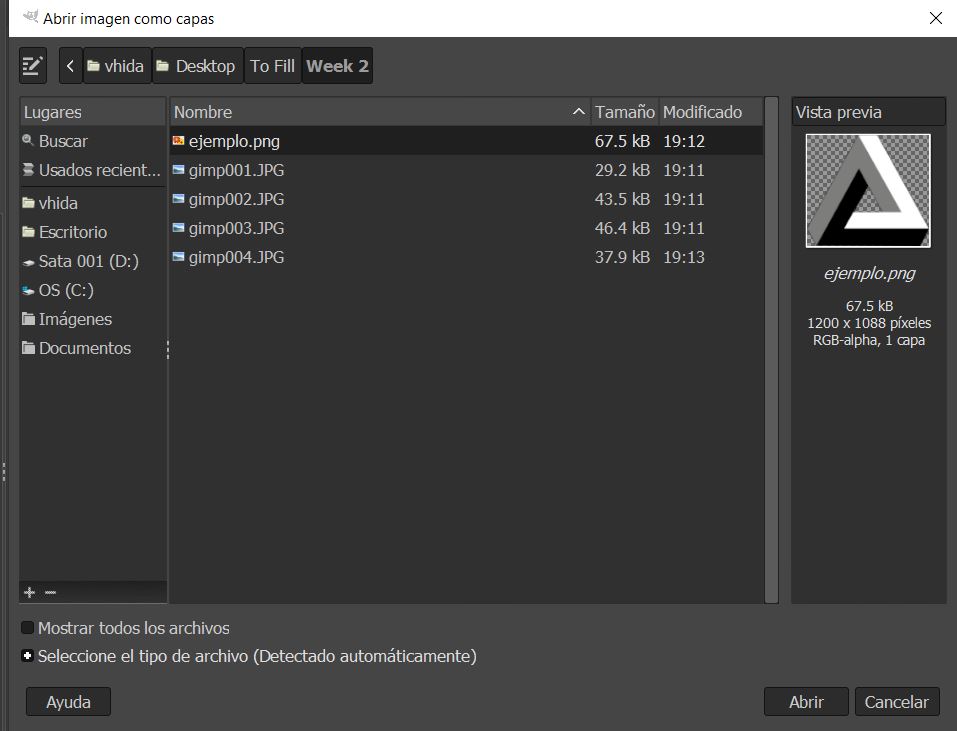
When it is opened you will see the next window.
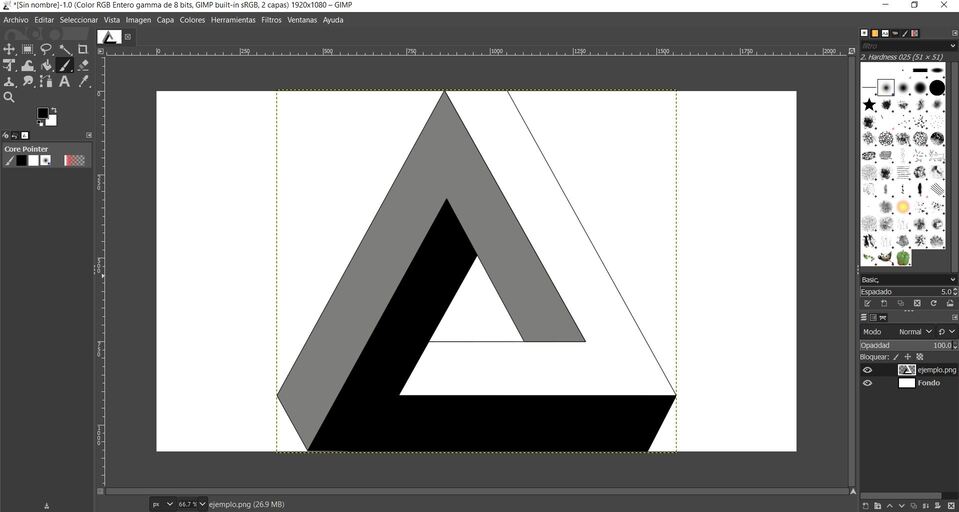
4th. I realized the size of the picture was huge so I had to resize let's check what I did.
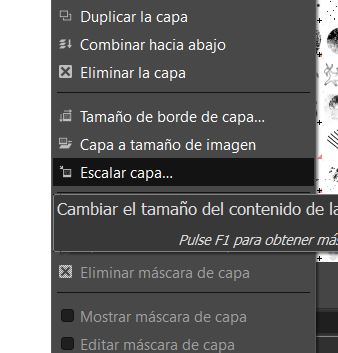
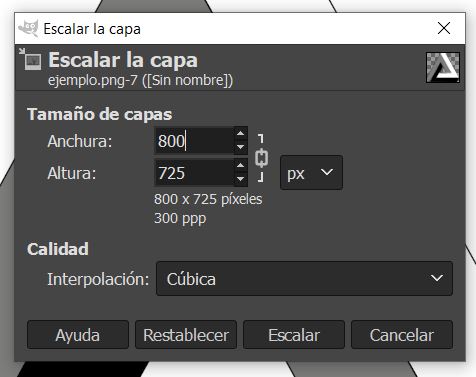
4.1st. We have to rigth-click on the picture layer and find the option "Scale Layer"
4.2nd. You will see the next window.
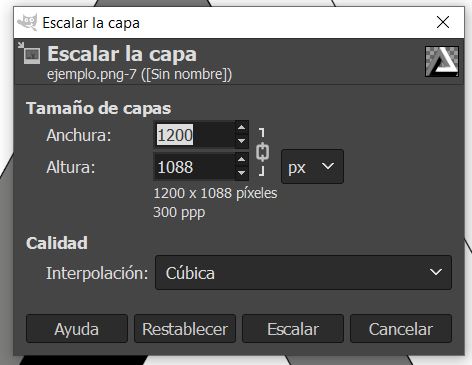
There you can change 1 of both parameters called "Width" and "Height" respectively because when you changed a parameter the other will be proportionally changed.
4.3rd. At the end of this part you will notice your picture was scaled.
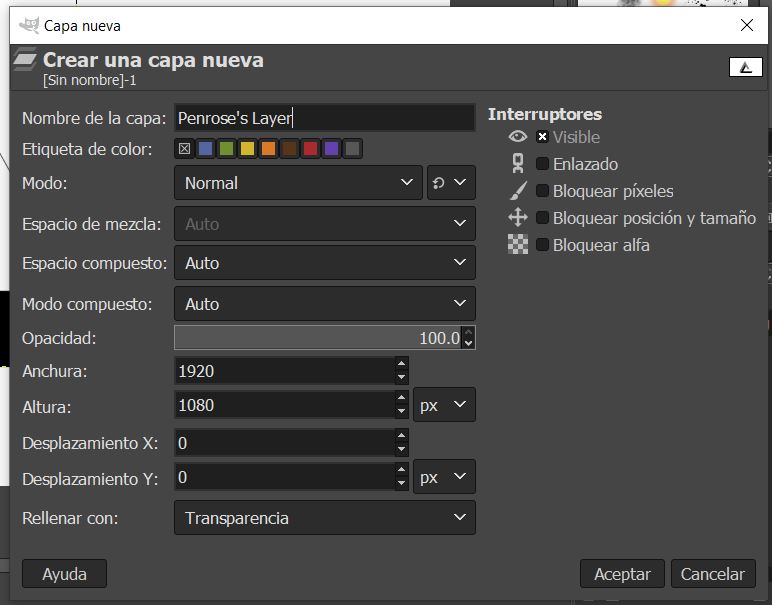
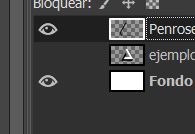
5th. Now I clicked on the next option which can be found on the right bottom of the interface.

This option will create a new layer where we can draw without mess the original picture.
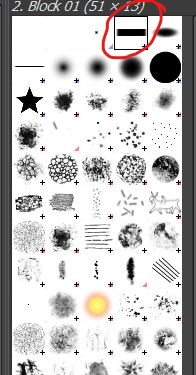
7th. Now is time to start the drawing. I clicked on the next icon to use the brush.
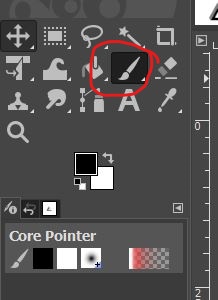
Then I selected the kind of stroke I used.
8th. I started drawing following one of edges' path.
Then I hid the Penrose Layer clicking on the eye icon.
Then I was drawing following edges' path and hiding and showing the Penrose layer.


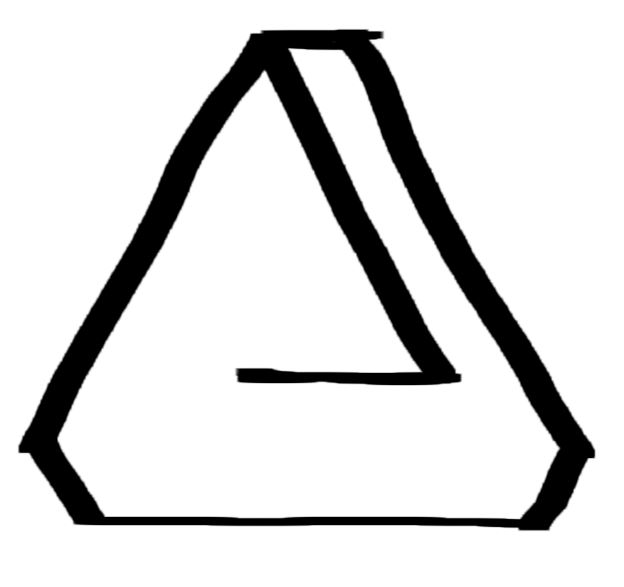

Finally I had this "Contemporary art"
Now comes the most funny software which I used to trace bitmaps, I'm talking about Inkscape. It's use to convert some hand-made drawings , photographs, picture, etc in a computer desgin which you can edit and convert in whatever you want.
Let's take a look waht I did.
1. I downloaded a picture, I chose a dinosaur because I used to be pathionated about paleontology, it was a Acrocanthosaurus Silhouette. Here it is.
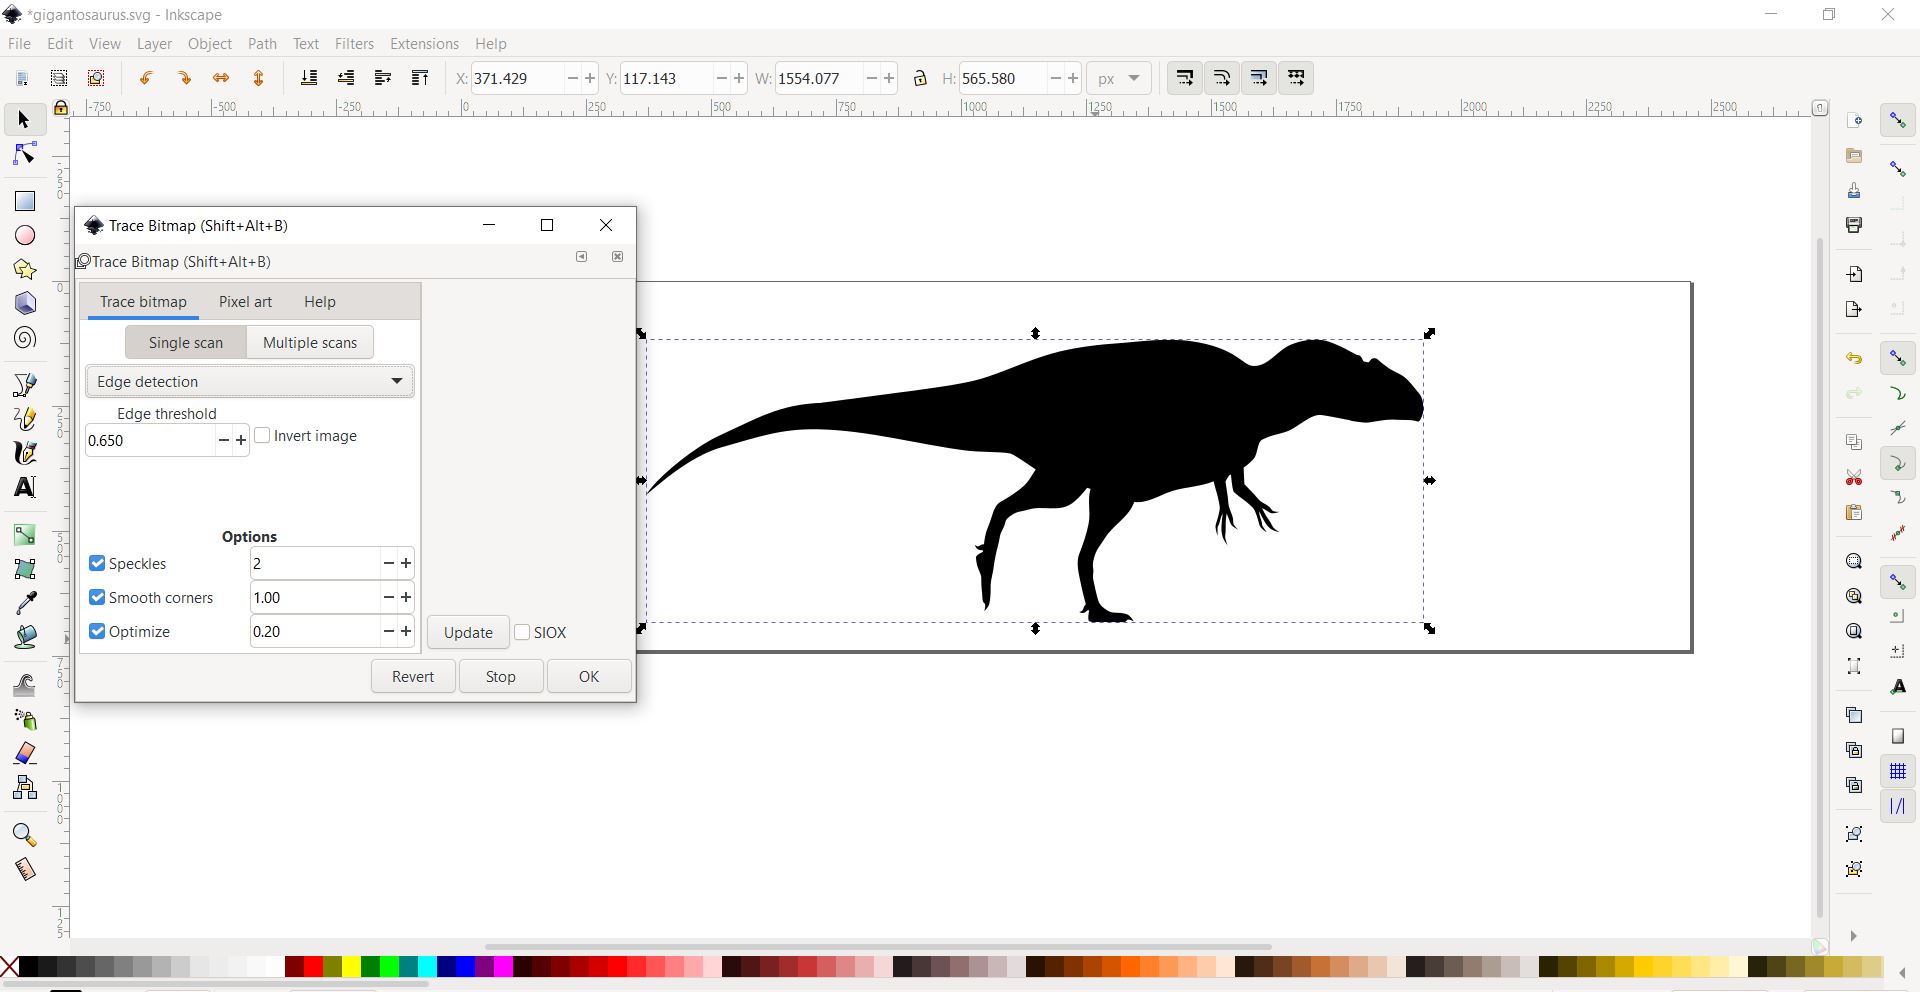
Then, I had to open and run the Trace Bitmap window as at last picture.
2. After that, you can pull or push some parts of the drawings and convert your image in whatever you have in mind. I convert what was a Acrocanthosaurus in a Spinosaurus, let's take a look.

3. I tried something a bit difficult, like convine 2 pictures or transform some trace in something different. So I started importing a new object and doing its respective bitmap's trace.
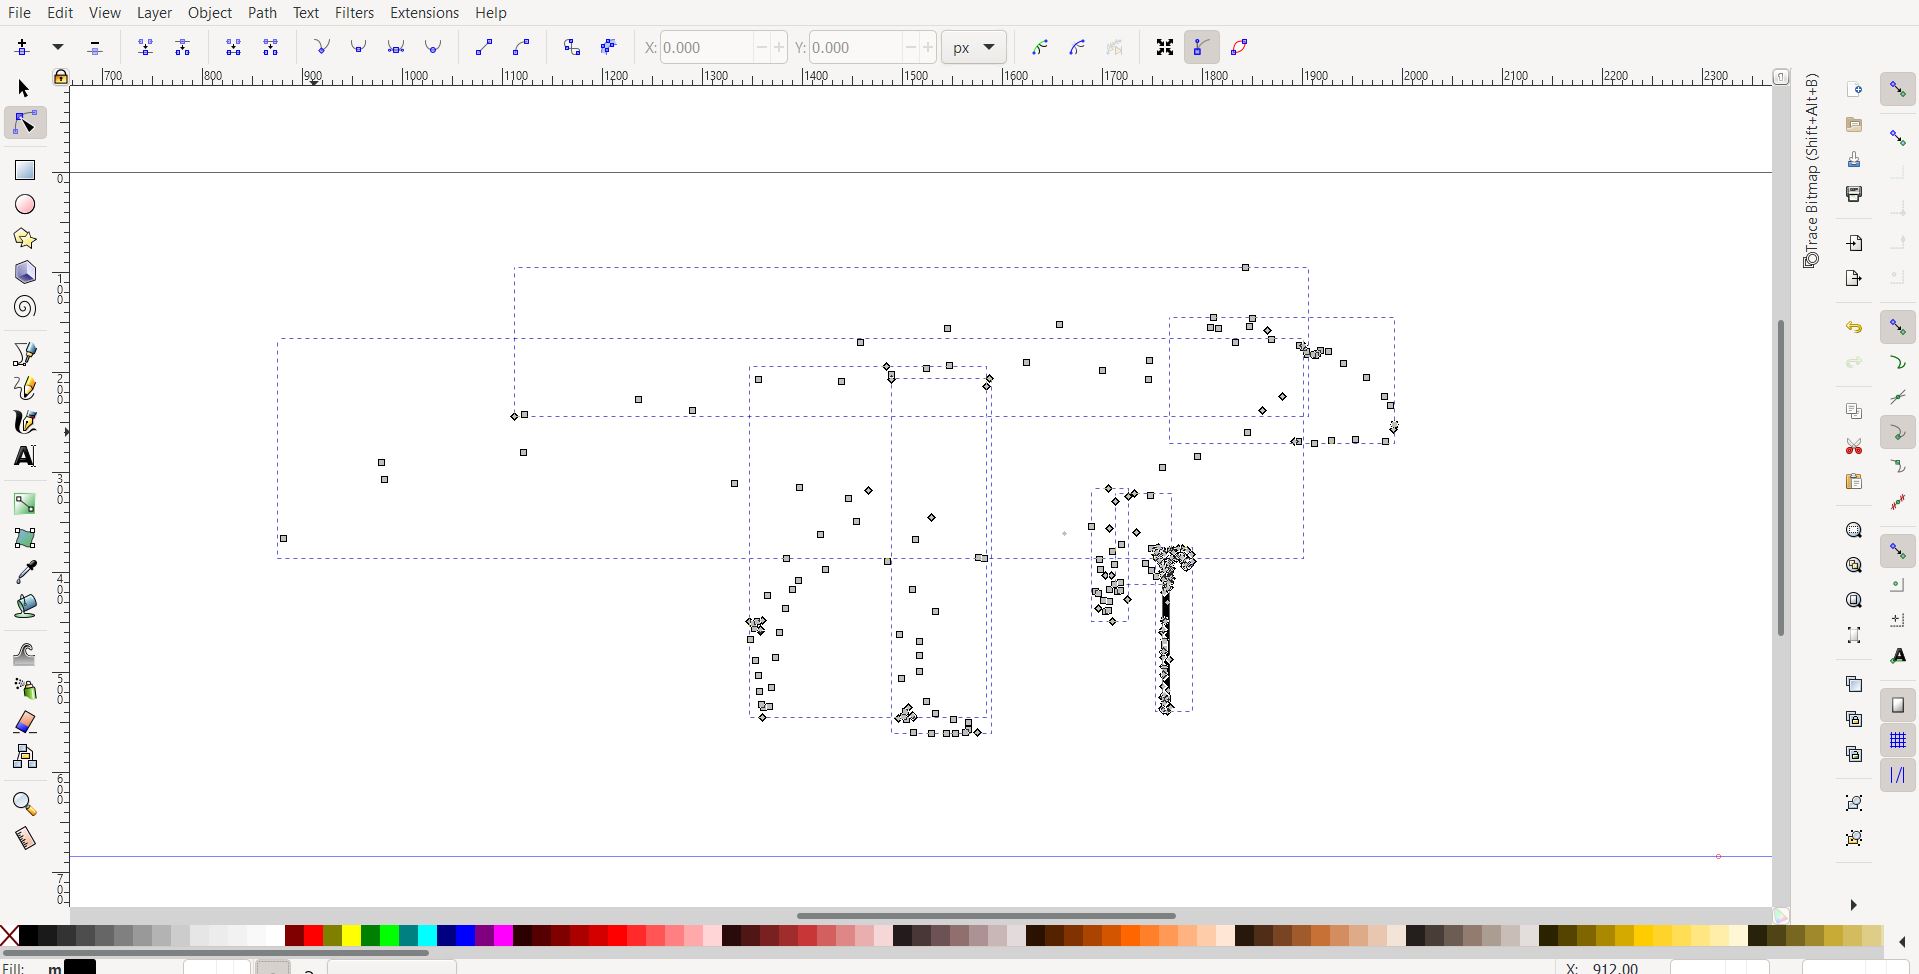
Then, when I had decided that my creation was completed I group/unify those part as one.

Finally I get this wonderful antecesor of Charlot called Charlotsaurus.

3D Design:
First Strike
Now, my favorite part, design using 3D softwares but before that let me tell you about my experience with a certain program/software.
Following instructions and recommendation, I tried FreeCad which is said is useful but not for me. I found some problem with the interface, if I have to describe it, I'll say it is not intuitive. I used to use AutoCad and SolidWorks at university and those are powerful softwares, interactive and also intuitive, where you can draw a straight line a put it's lenght and angle before it is created which was imposible for me at FreeCad.
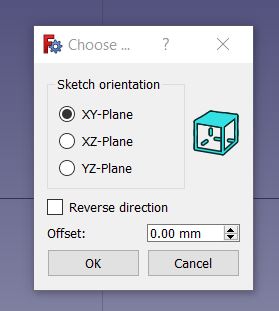
1st. I openned and Created a sketch
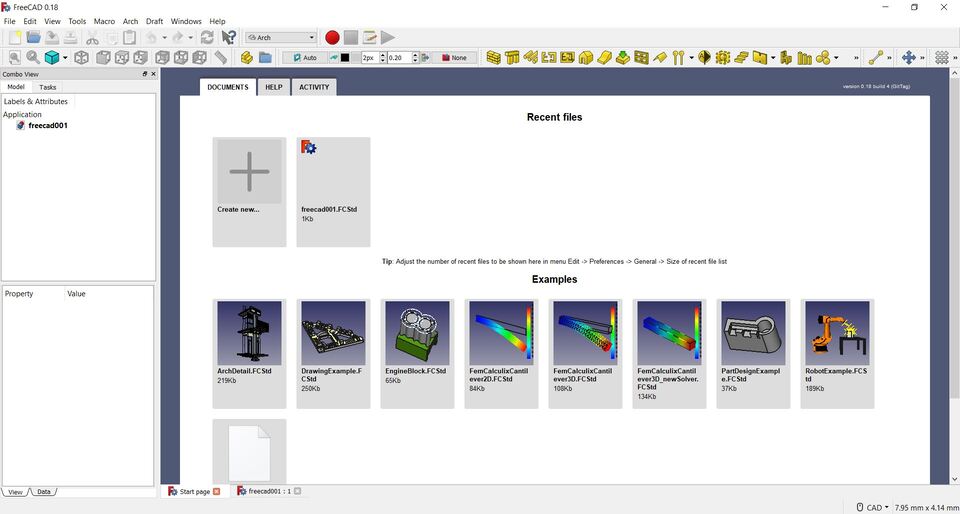

On the XY Plane
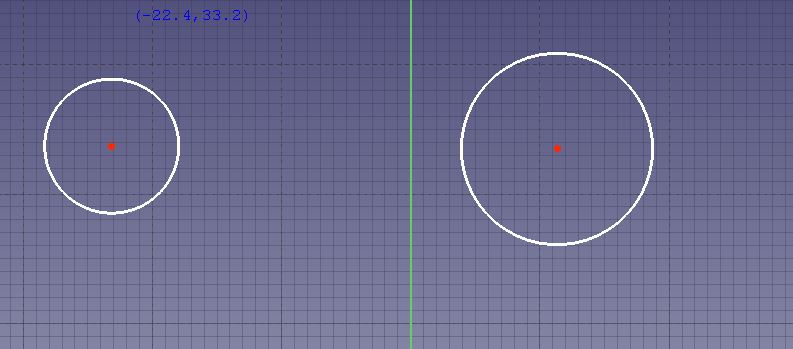
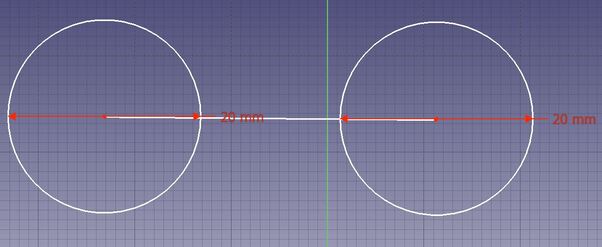
2nd. There you can draw Lines, Circles, Arcs, Polygons, etc.

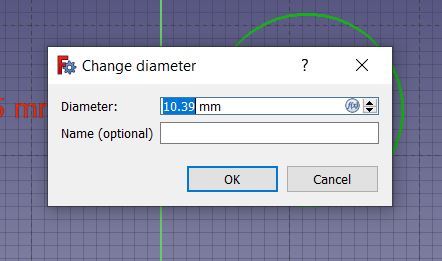
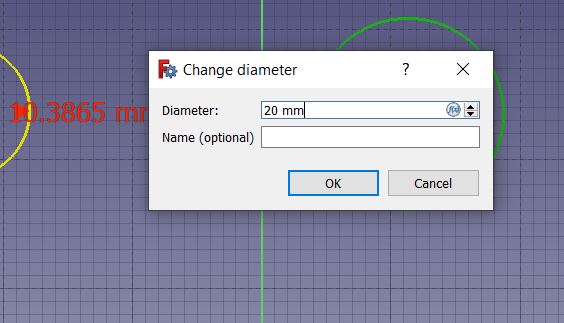
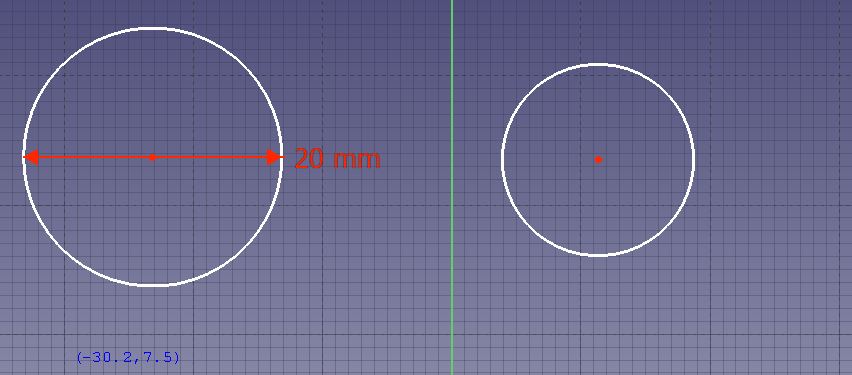
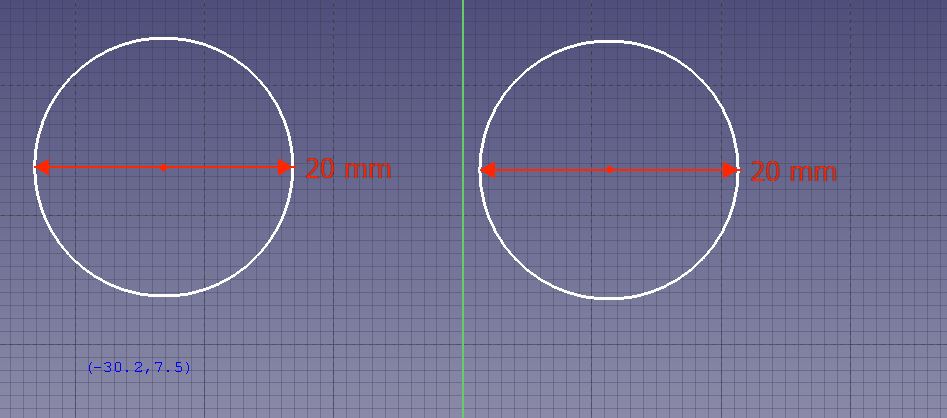
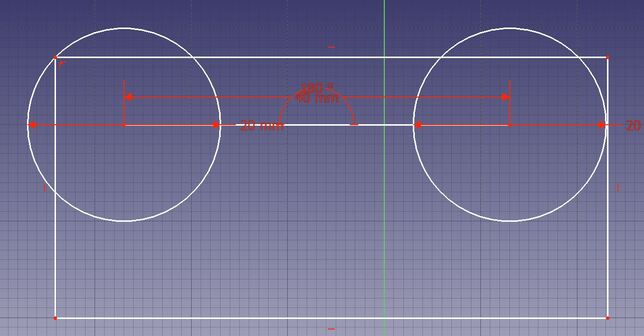
Then I started drawing 2 Circles to then set their Diameter as you can see soon.

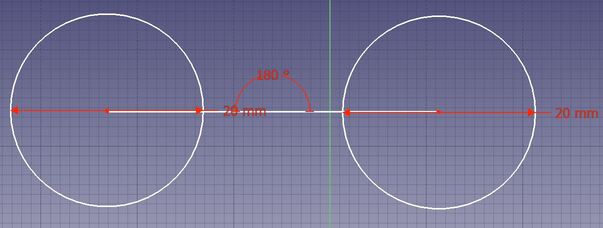
Then I drew a Line and I fixed its angle
![]()

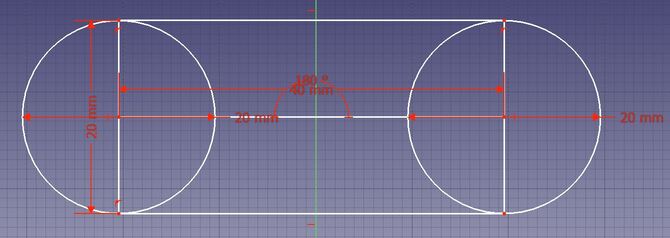
After that, I put a rectangle and made it tangential with both circles.
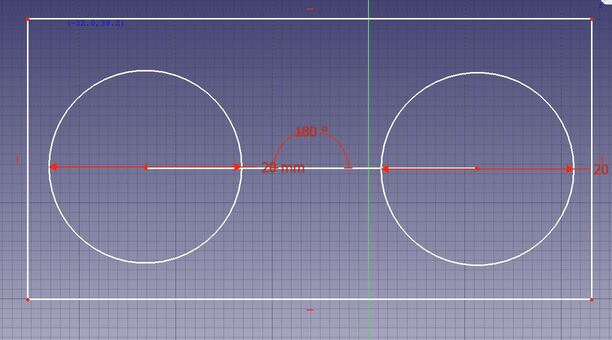

Until now I had this
I finished with this sketch
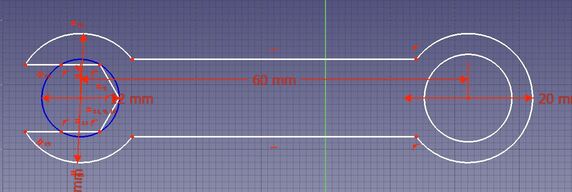
Finally I decided to finish with this sketch because I couldn't continue with FreeCad's interface.
Well, here is my attempt which was the maximun I could do. Let me specify, again, FreeCad was not the best option for me.
Second Strike.. Or not
To this point I had to use some of the useful tools that Fab Academy give us, which is Fusion 360. Honestly is similar to AutoCad but I comes with more functions, I think, like: rendering and recording how our project would work in the reality.
Utilities and Suggestions
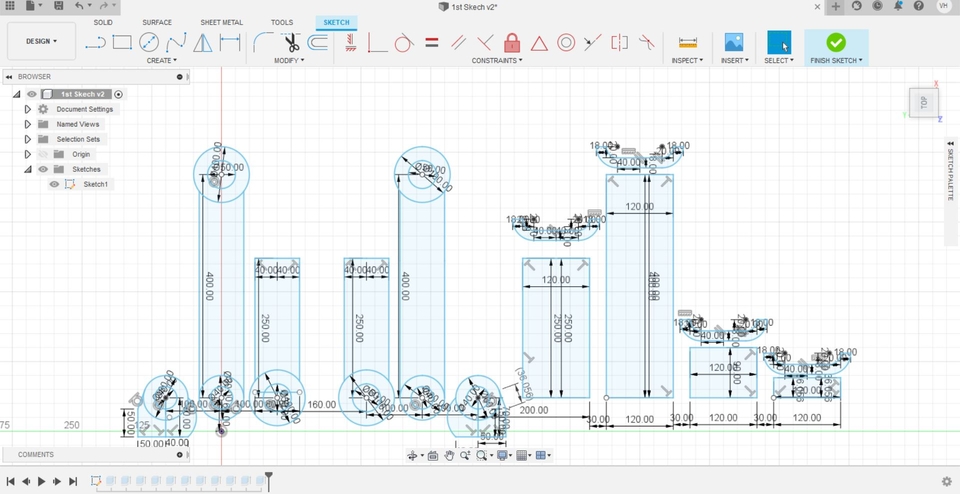
1. First one, you can put the dimension before you can draw a line or a sphere. You can control its ancle and be able to draw a rectangule or a square, including the possibility to align both or more figures at that point you want. You can use "Trim" function to cut/erase some parts which intersection could make difficult its development, modifying and/or designing in future.
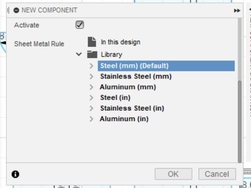
2. After that, I had to choose the material of my structure. I chose "Stainless Steel" which was the fittest option for my final project, and the only one I considered useful.
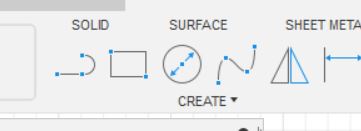
3. We have the option to convert our 2D design to a 3D one. For this, we have to click on "Solid" button like the next picture.
4. Now we can extrude our 2D sketches, you can set the thickness of every part you select. I used 2 just to practice: 1.8 mm and 0.9 mm. Then I had this.
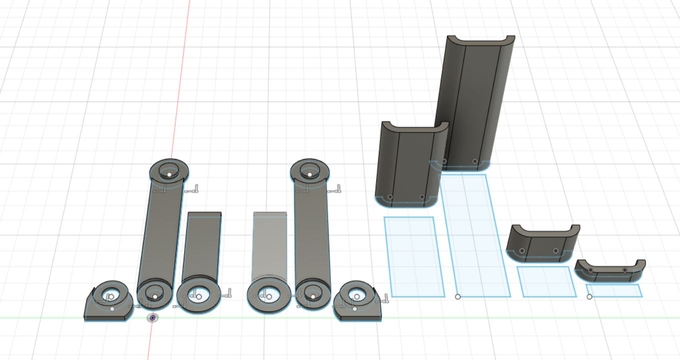
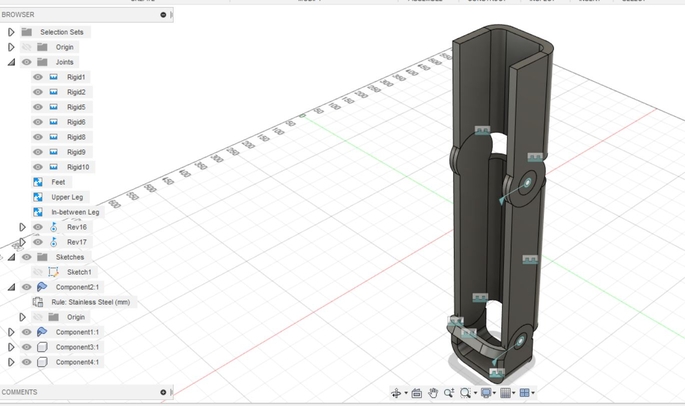
5. Now comes my favorite and the most satisfactory part, not for all, called "The Assembly Part", not so creative title. Here you have to select the faces or vertices you will put together. Selecting the degrees and the position of the piece. Let's check my assembly.
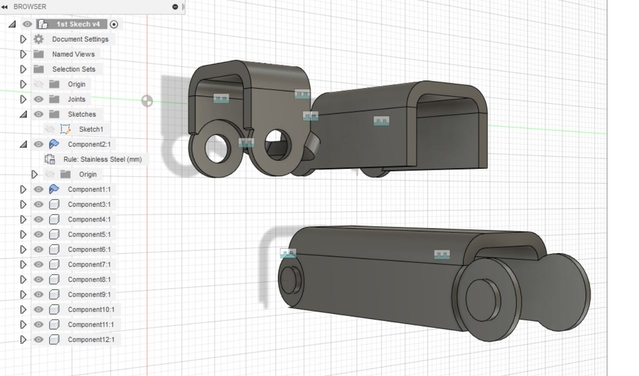
And then, my final assembly.
Note: 1st recommendation for this part is to group all pieces which you have assembled as a big one and select this group instead every piece as it's showed at fisrt image. 2nd recommendation, when you start the assembly of all big pieces this software will show you how a single piece of a selected group is moving, don't be scare it's just a reference and when you finally decide where this part will be all the group will be there.
6. Now it's time to render, rendering our project will get to it an "attitude" that will make it looks cooler than it was. You can change its appearance, scene or decal, like you will be doing a photograph, a profesional photograhp.
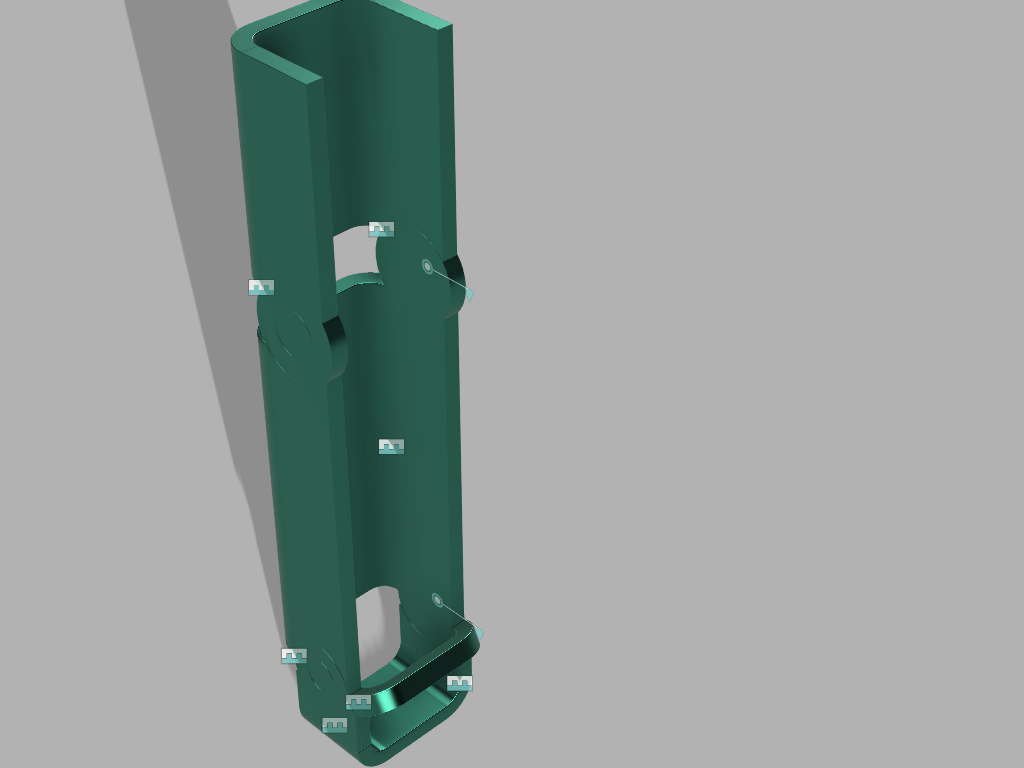
And, that's all. And my last suggestion it's to bring out that child who lives inside of you and let your imagination be free.
Conclusions
*I really enjoy using Fusion 360 which interface is very intuitive practical. Beside of that, I finished feeling exhausted after trying to use FreeCad which I found hard to "understand".
*Gimp and Inkscape were funny to use. I mostly enjoyed using Inkscape modifying the bittrace to change Gigantosaurus shape to seem as Charlot's shape.
*Update Post Final Presentation: 1st. I finally used Fusion for all my designings and works for this program. 2nd. I also used Gimp to create my Slide for my Final Presentation.
Files
Below you will find my files which I made this week.