To my final project I will design, create, program and improve a leg exoskeleton which might help people with some temporary or permanent disabilities to recover their health and movement. I will call this creation as "LEXO" and if you don't know why, I'll explain you. The "L" comes from Leg and "EXO" from Exoskeleton, a simple name for a helpful device. What do you think?
Why did I choose this topic?
Do you know how frustating would have a leg or both of them broken. Humans are bipeds, we need both of our legs to walk, jump and run, and is very dificult to us to keep balance of our body or just walk with a leg or, in the worst of cases, not to walk. Althought, there're some companies as ReWalk which are developing and improving some exoskeleton, not just for legs, to help people and, in others case, to improve our strenght or speed.
What will make my project different?
This project is thinking to create an effective, efficient and low cost product which can help people with their recovery or mobility. Besides of that, the most important thing is the program, Fab Academy, which is an open source but what does it means? It's simple, the code, procedure, pieces, requirements and a budget are visible and is free to use and replicate. This thing may create 2 things: 1.People get more interest about technology and start replicating and innovating, and 2.If more people develop their devices, their own project, there will be a fair competition.
How will it work?
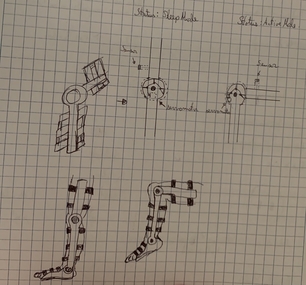
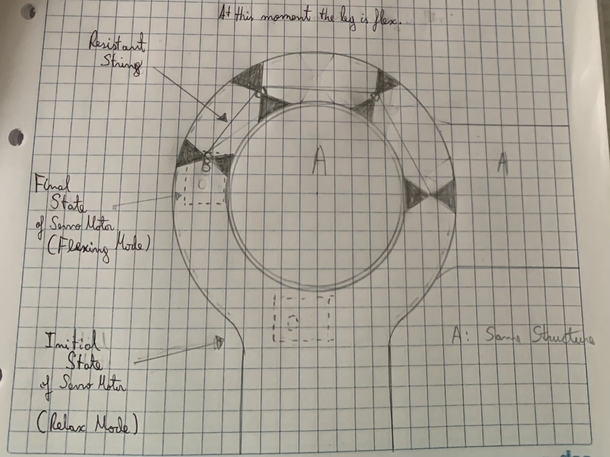
Researching some information for science articles and past creation of developers I decided to use the concept of The Law of Lever which talk about how to amplify force related with distance. Therefore, I will use a resistant string which will pass throught some sections and finally be attached to a final section, some servo motors and sensor to make it useful as you can watch in next pictures.
1st and original sketch
Funtionality of the flex mechanism
Second Part: Project Managment
As a second assignment to this week was to work through a git tutorial and build our personal site. And I will teach you how I did it, let's see.
Initial step
1. We have to install GitBash, just for Windows Operative Systems. At Linux or Mac, they may come with Git preinstalled, use this helpful tutorial
Command Lines
2. Now we will start runnning GitBash, then we need to put to commands in the next secuence:
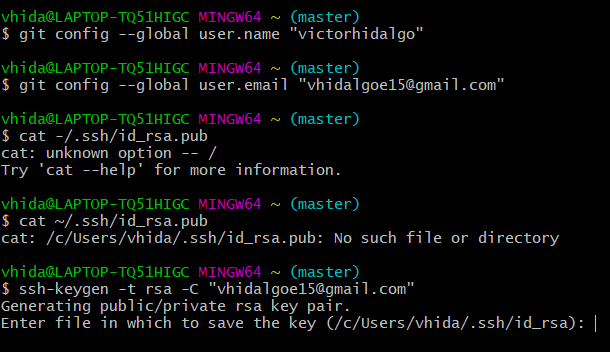
2.1. git config --global user.name "Here-You-Have-To-Put-Your-Nickname"
2.2. Press Enter and don't worry if you can see any change as I was at my fisrt time.
2.3. git config --global user.email "YourEmailGoesHere@mail.com"
2.4. Press Enter again.
That was easy, don't you think so?
3. Now we have to check or generate or SSH-Key.
3.1. To check if we have an SSH-Key we will use the next command: cat ~/.ssh/id_rsa.pub , and if we see a long bunch of letters and numbers starting with SHA- pass to point 3.4
3.2. To generate our key we will use the next command: ssh-keygen -t rsa -C "PutYourEmailHereDontForgetIt@mail.com" and put Yes to the next questions.
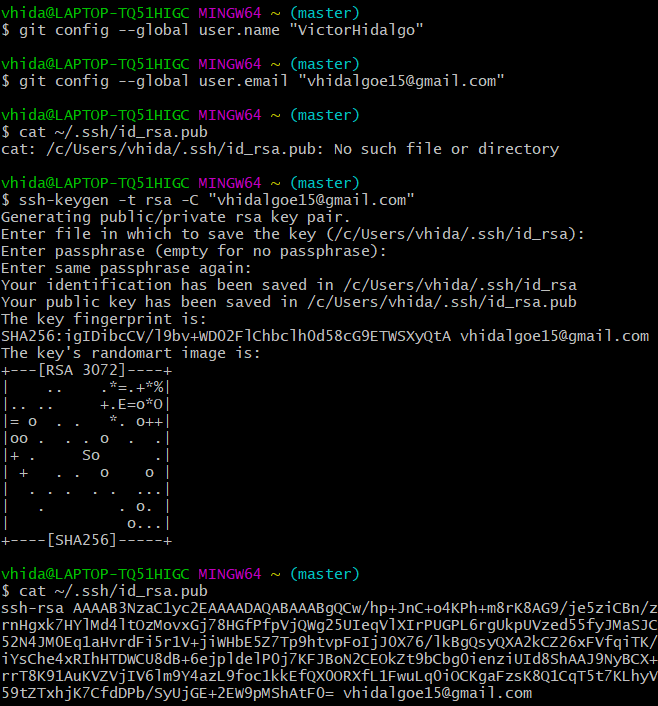
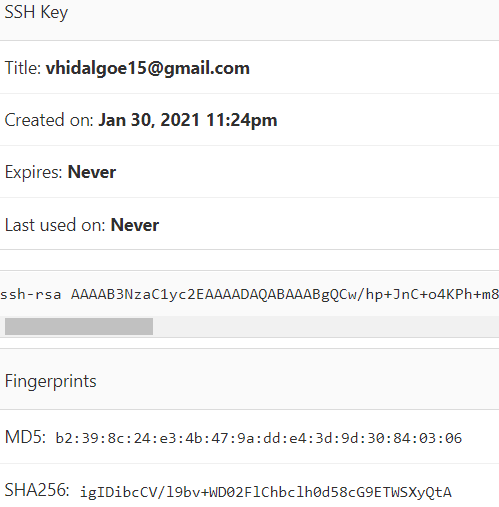
3.3. Now we need to see our Key so we will use commmand: cat ~/.ssh/id_rsa.pub, and the Key will appear in a bunch of letters and numbers starting with SHA- with title "The key fingerprint is:" as in picture before. This is your KeyGen!
3.4. We need to copy this Key and we have 2 options:
3.4.1. Using a code: For Windows clip "put Minor symbol here" ~/.ssh/id_rsa.pub , For Linux xclip -sel clip "put Minor symbol here"~/.ssh/id_rsa.pub , and For Mac pbcopy "put Minor symbol here"~/.ssh/id_rsa.pub
3.4.2. The other option, which works perfectly for me and in Windows OS, is to select the code with our mouse, then do right click and select copy. So I wasn't as hard as you think, do you?
4. Finally we have to go to our Git, with our Key copied, and paste it in. If you need some help, there's a useful video .
And this is how finally you get your SSH's set up at Git.
Now we have to copy our actual repositoryto our PC or Laptop device, could be a smartphone. I did it using my laptop so let's see how difficult it was.
5. Create, as usual in Windows OS, a folder using right-click in anywhere you prefer.
6. Then, an very important, inside the folder you want to use as a repository you need to do a righ click, sounds simple, as at the next picture.
And select: "Git Bash Here". Subsequently, type this code to clone your Git-Default-Website to that repository-folder: "git clone git@gitlab.fabcloud.org:academany/fabacademy/YOUR_YEAR/labs/YOUR_LAB/students/HERE-COMES-YOUR-PAGENAME.git" as me at next picture.
So, there's, where you can build, edit, improve and upload your website.
Web Development
For this part I have some recommendation:
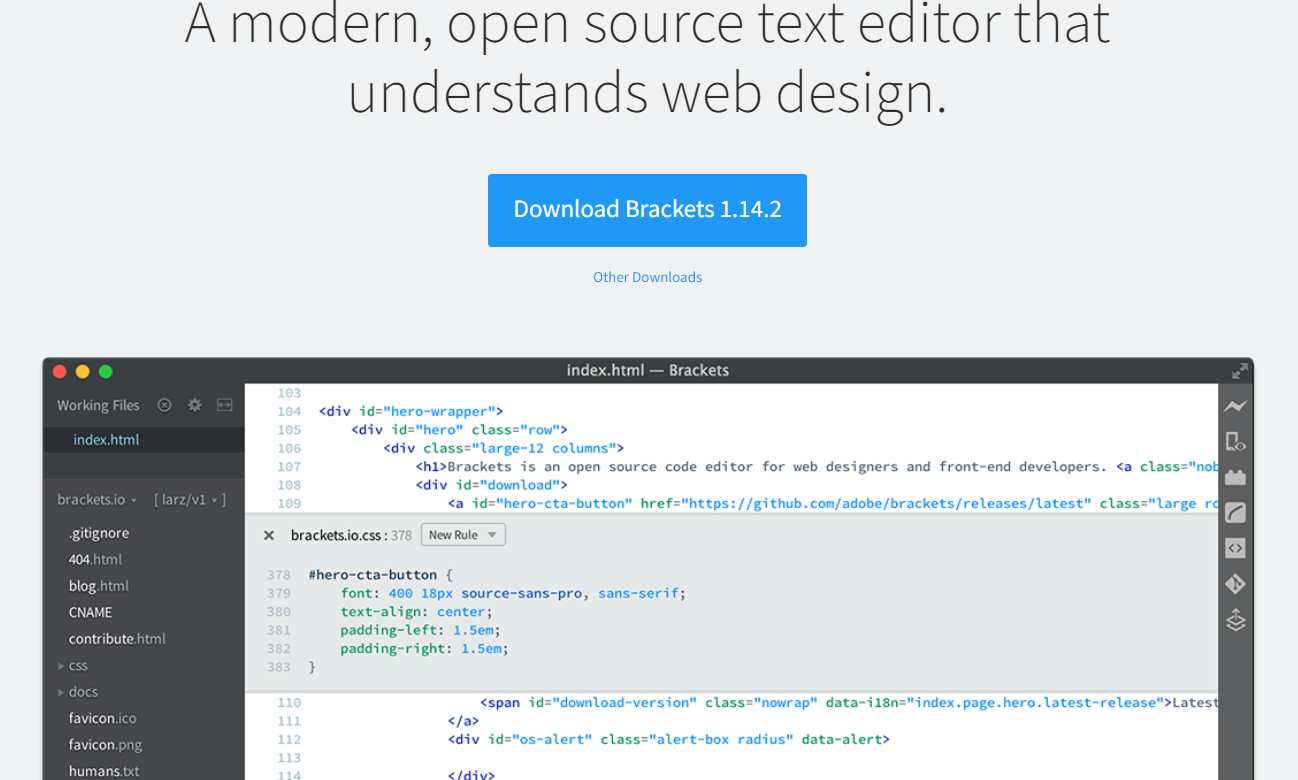
Download some free-to-use templates as I did. I used this page
StartBootstrap. Where you can find some interesting templates to your next project.
Use some software to edit the code of your template. Here is my recommendation
Brackets
Learn how to program in CSS and HTML code. I learnt from online written tutorials, some videos and suport of my friends.
And the most important thing to this part is: DON'T WORRY if you fail, this course is to practice and you will improve from your mistakes.
You will need to resize your pictures. You can use any app you find easy or use some website.
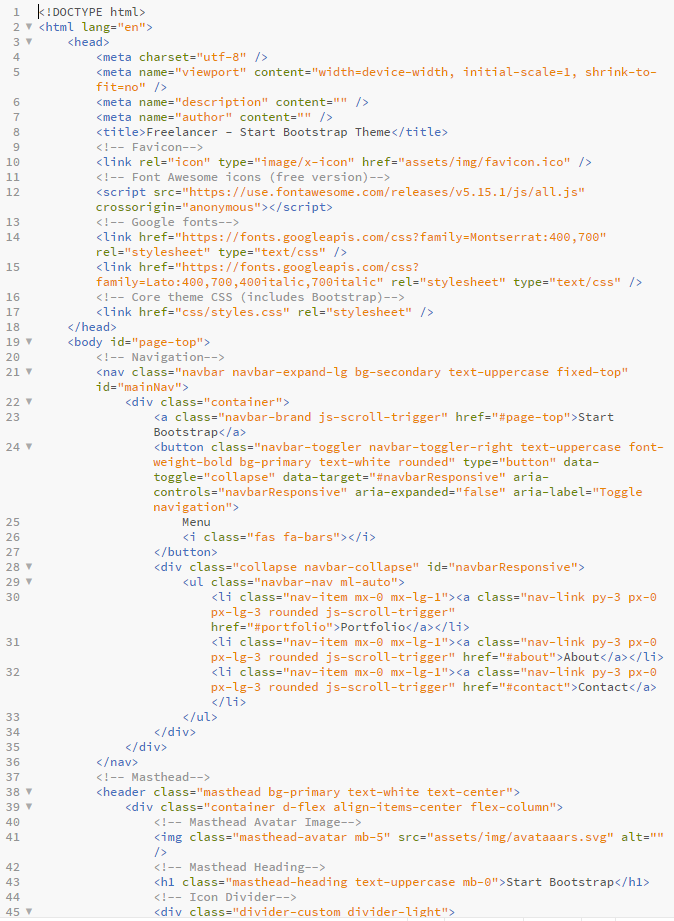
You will finally have something like this:
There are lots of tutorial to set and improve your web site. I will try to introduce you in this world with some useful commands.
1st Refer a website: To link or refer a web site we need to write the next coomand:
2nd Link a picture: For this we need to use the next command:
Note: As my recommmendtaion you can put multipliers in the width and height 's picture if you realize that the picture has a bad performance about the proportion of the page of your style. Example; 800x600 could be 600x450 or 1000x800.
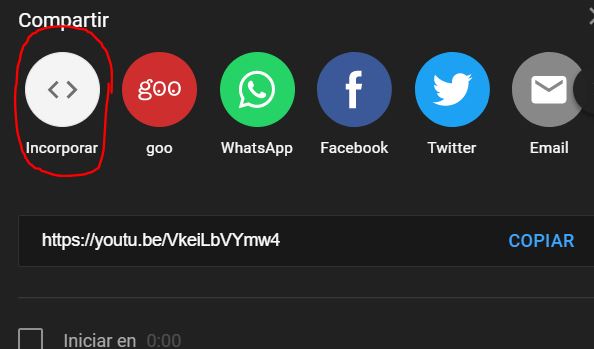
3rd Link a Youtube video: You can link going to that video and clicking on "Share" button. A screen like this will appear.
Then you have to click on the "Embed" option and copie all code you have at right side of the screen.
To finally paste on your webpage.
4th There are some other simple but useful codes like:
Uploading Your Website
To this part we need to be very carefully, just keep a eye on this commands and most important FOLLOW THE NEXT SEQUENCE:
7. Next commands are very important, I will explain as I can how these work. Let's see.
7.1. We have to use "git add ." ,we need to leave an space between "add" and the dot ".". I was stucked in this part because I didn't leave the space, but from my mistakes I learnt and you can do it and improve. NOTE: This command starts all process, I don't know what was its real purpose.
7.2. Now, we need to type "git pull". NOTE: This command pull our repository to an artificial cloud when we can upload and replace our files.
7.3. After that, we will use "git commit -m "PutAnyNameYouWantToUse"". NOTE: This command gives a name to our change, big or small, like a sign to difference between each other.
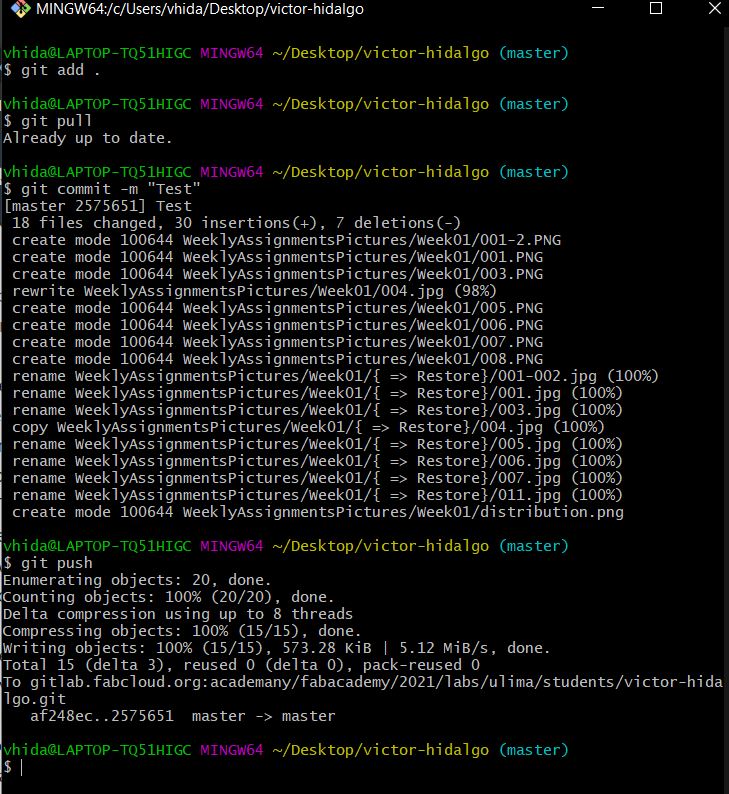
7.4. Finally at our PC, Laptop or Smartphone, use "git push" and that's all for now. The next picture shows you how this sequence works.
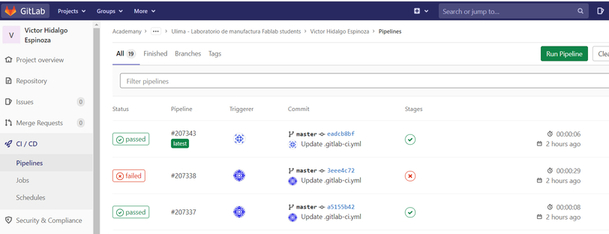
If you cannot see any change, go "CI/CD", "Pipelines" part and check if it is "passed" as next image.
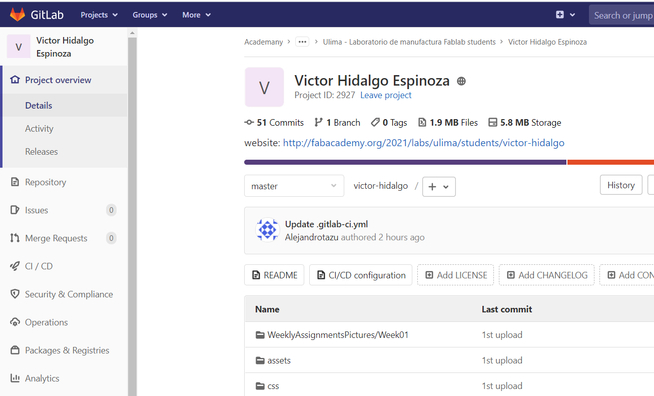
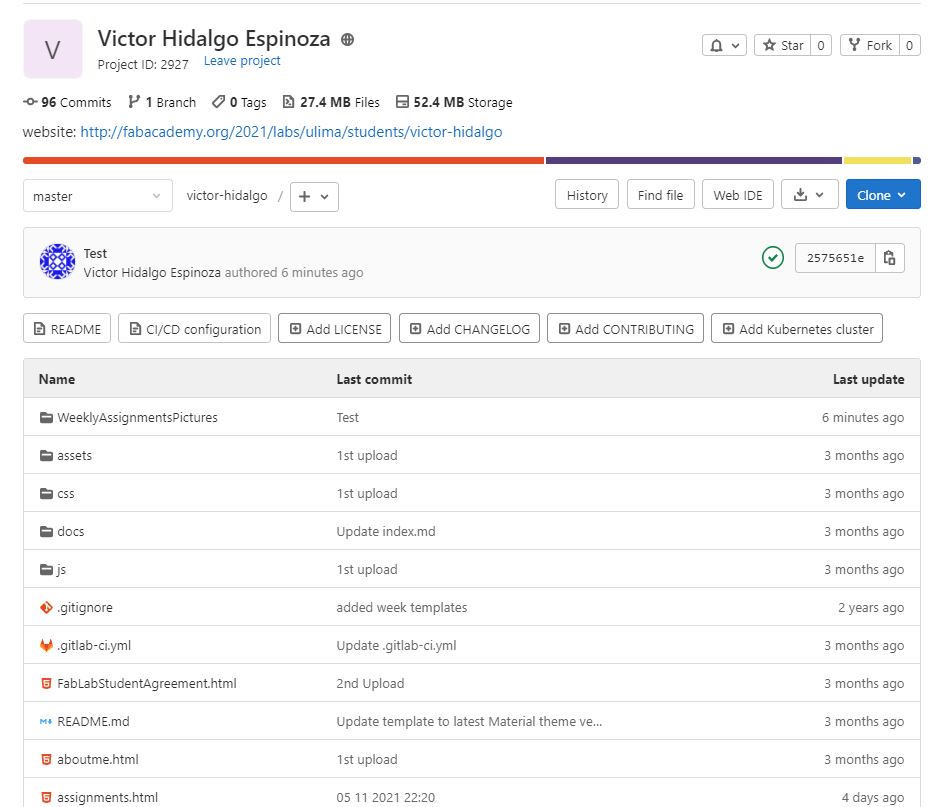
7.5. Last stage it's to cheack if it works. Go to your FabCloud and try to open your website clicking the link which is below your name, as next picture.
Here is my page in GIT platform.
Note: This picture comes from some weeks in the future.
If you want to upload more files, updates of your pages, or include more pages/content your have to follow the same steps which where explained at "Uploading Your Website" section. To summarize, they are:
1st Open Git Bash doing right click on the main folder.
2nd Write "git add ." and wait the next dialogue section.
3rd Write "git pull" and wait a response which would say "Already up to date".
4th Write "git commit -m "Write something which would be the title of this update"" and wait for next dialogue section, this part shows how all your files setting the size and the number of them.
5th Write "git push" and wait for next dialogue section, it doesn't comes with a reply.
Following this all will be completed.
Enjoy that moment, you finally finish the fisrt week and nineteen more are waiting for you.
Let's check my site, if you like. :D Vic's Lab
About GIT's Version Control System
First, we have to define what a Version Control is. A Version Control is a system that makes possible to record changes of a file or a set of files over time. This means that is possible for us to recall an specify past version of a file we changed lots of times, giving us what I think is the most important benefit: We can easily recover lost files.
GIT works as a Distributed Version Control System or DVCS which is a big environment where avery client picks up the data, not just the lasttest version. Then if a sever fell, any of the clietn repositories can be copied back up to restore it.
1. I couldn´t clone my default repository to my computer. I had lost lot of time until I realized what I did wrong. Was something simple as I didn't put ".git" at the end of the command. It's curious, don't you think?
2. This was really difficult and painful for me, not at all. I couldn't push, add or upload my page which I had been working all weekend because I was confused about command. If your are in the same position, just ask for help.
3. There is always anything else to do, please go to Fab Academy page and check the "Things to Do List" which we call Assignments or ask to your node.