7. Electronics Design
Assignment:
Group project: use the test equipment in your lab to observe the operation of a microcontroller circuit board .
Individual project: redraw an echo hello-world board, add (at least) a button and LED (with current-limiting resistor) check the design rules, make it, and test it extra credit: simulate its operation


Steps
Use the test equipment in your lab to observe the operation of a microcontroller circuit board
Redraw one of the echo hello-world boards or something equivalent, add (at least) a button and LED
Update assignment page
Documented
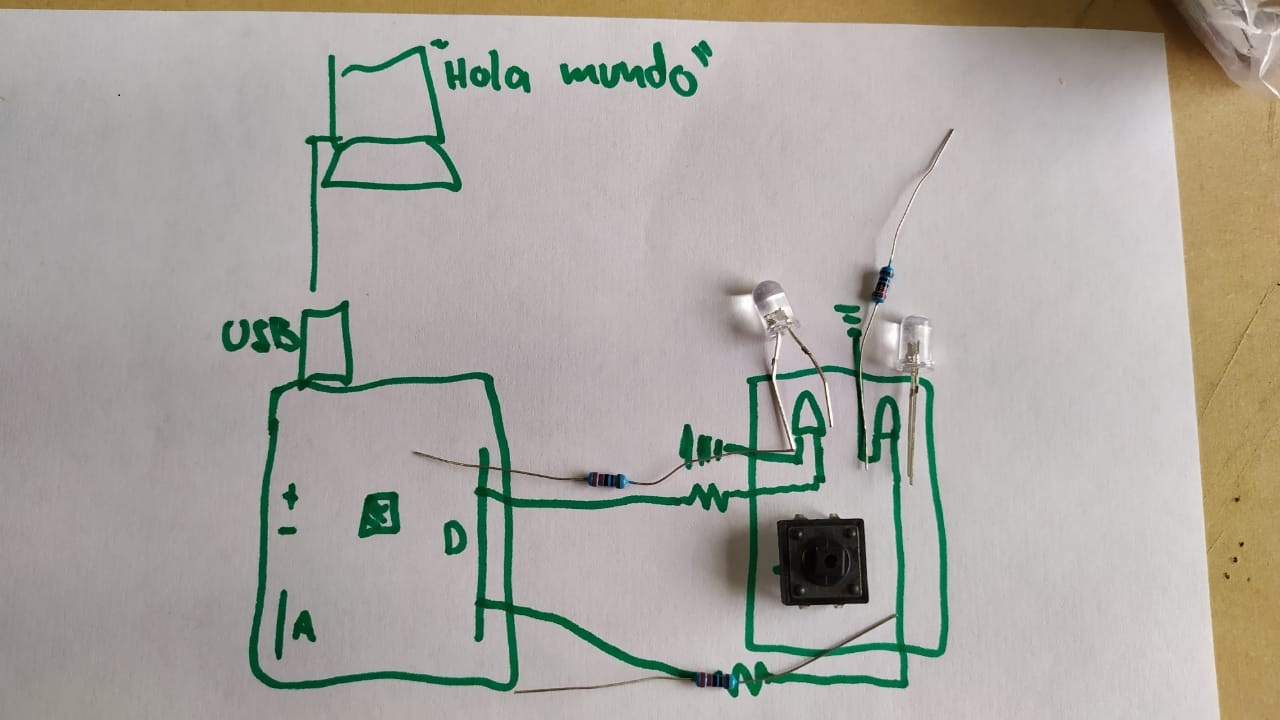
Firts sketch
Components:
2 5mm Round LED
Momentary Pushbutton Switch - 12mm Square
3 Resistor K Ohm 1% 1/4 Watt - 30x
1 Arduino Uno Rev3 SMD
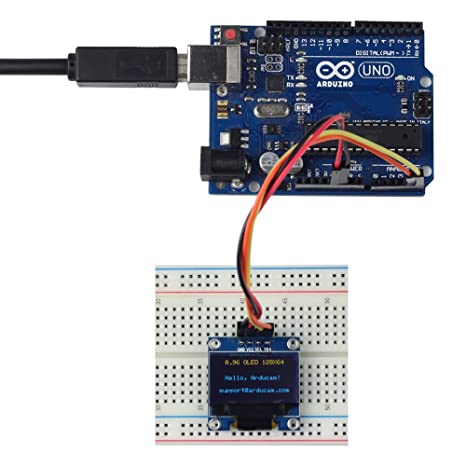
1 0.96 Inch OLED Module 12864 128x64 Yellow Blue SSD1306 Driver I2C Serial Self-Luminous Display Board
Redraw one of the echo hello-world boards
Initially, what was done was to design the electronic card. We used the exercise that was an example and adapted it to the Arduino device.
Board dimensions were used first and then the Arduino was measured.
Then we use the prototyping board testing the LEDs and using the corresponding resistors.
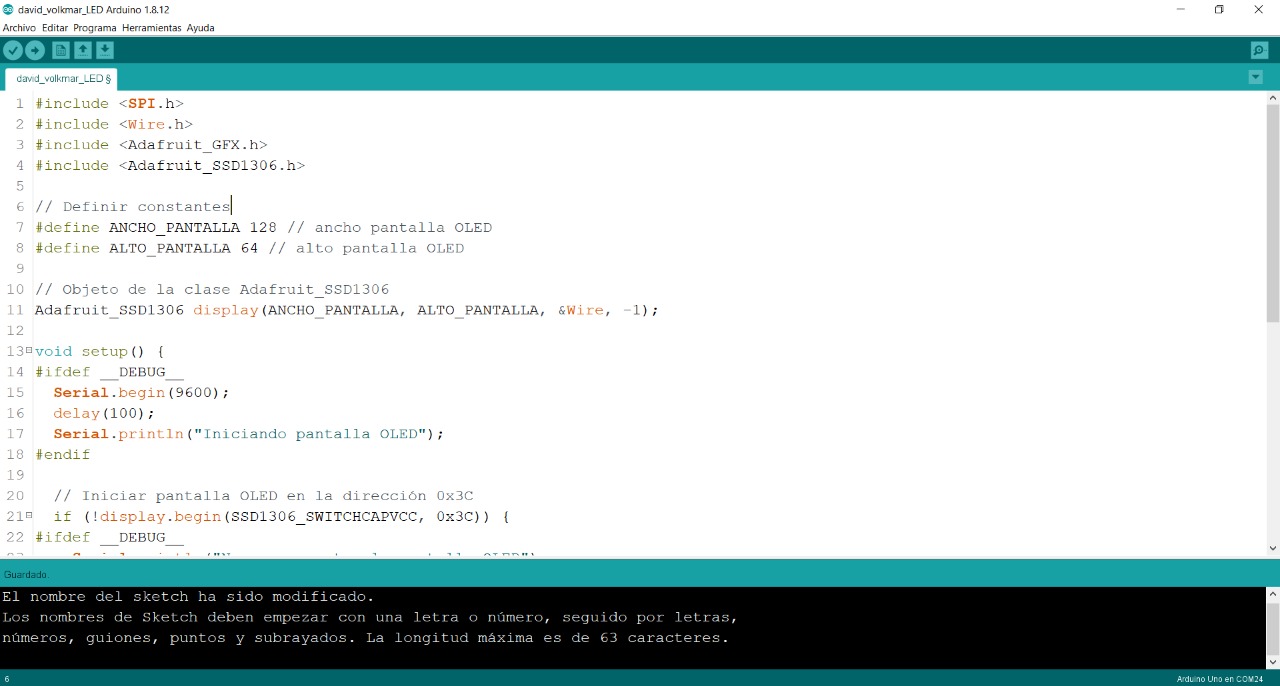
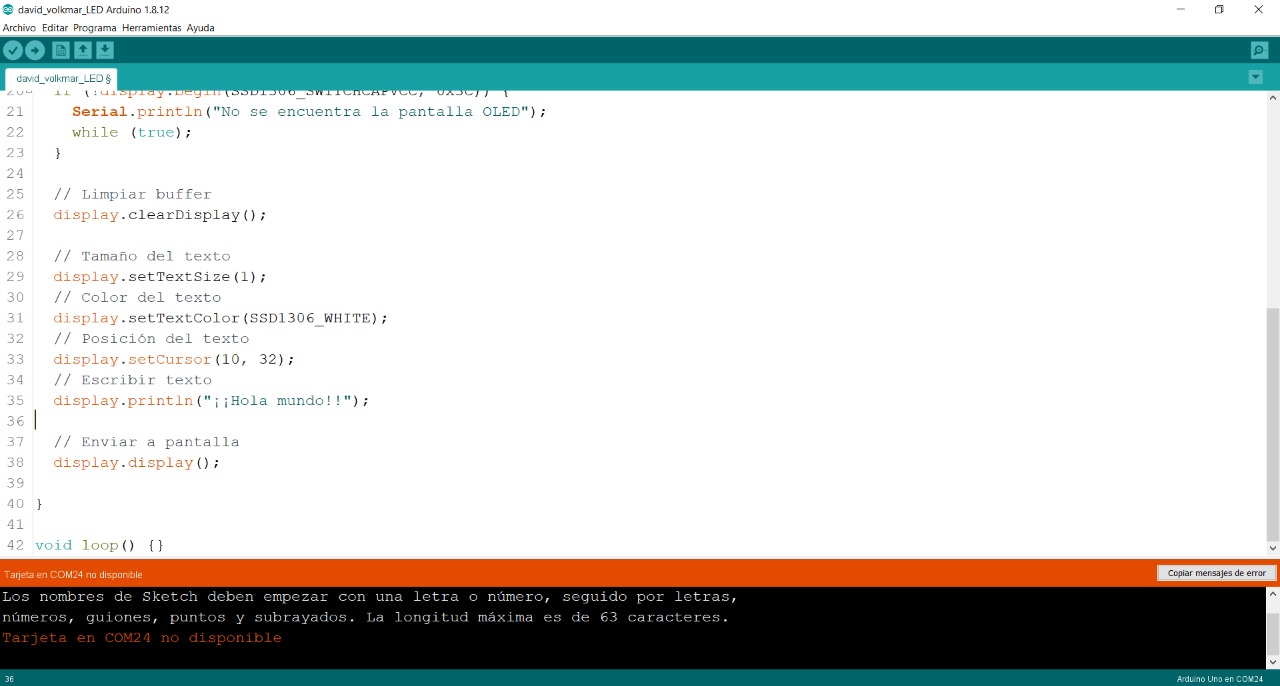
After finishing with the LEDs, we continue with the LED screen using the Arduino.
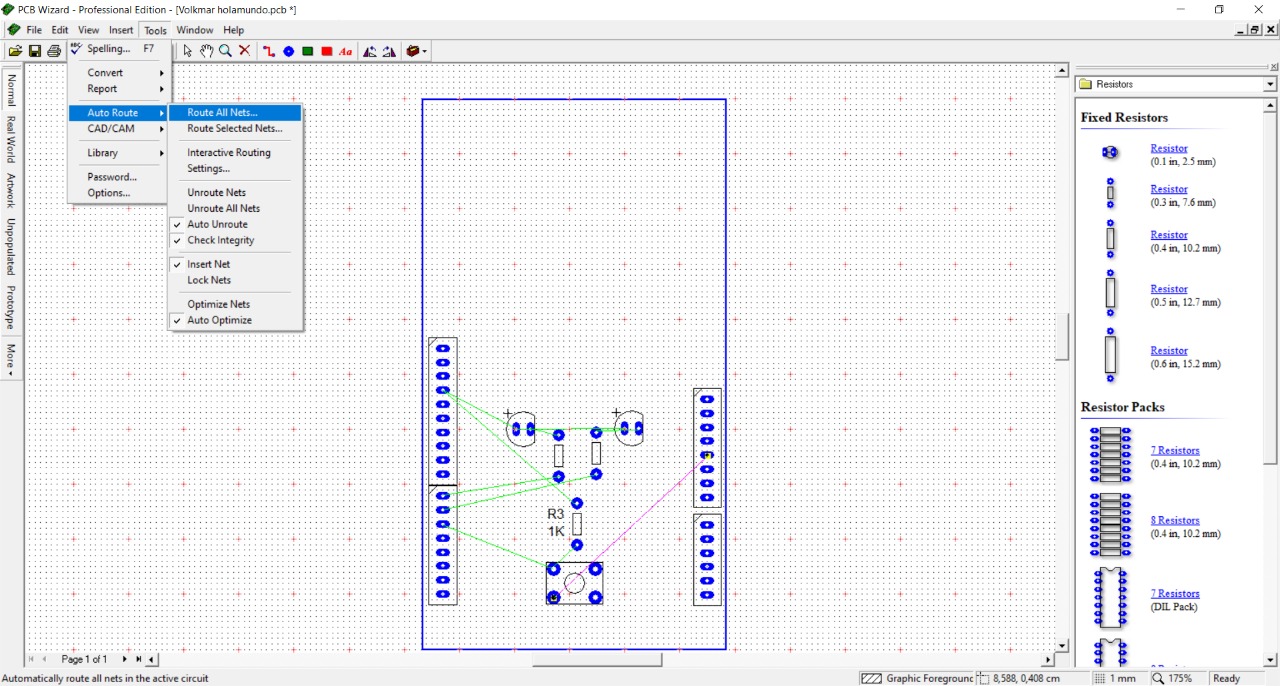
PCB Design in PCB Wizard
3D scanning: 3D Einscan Pro+
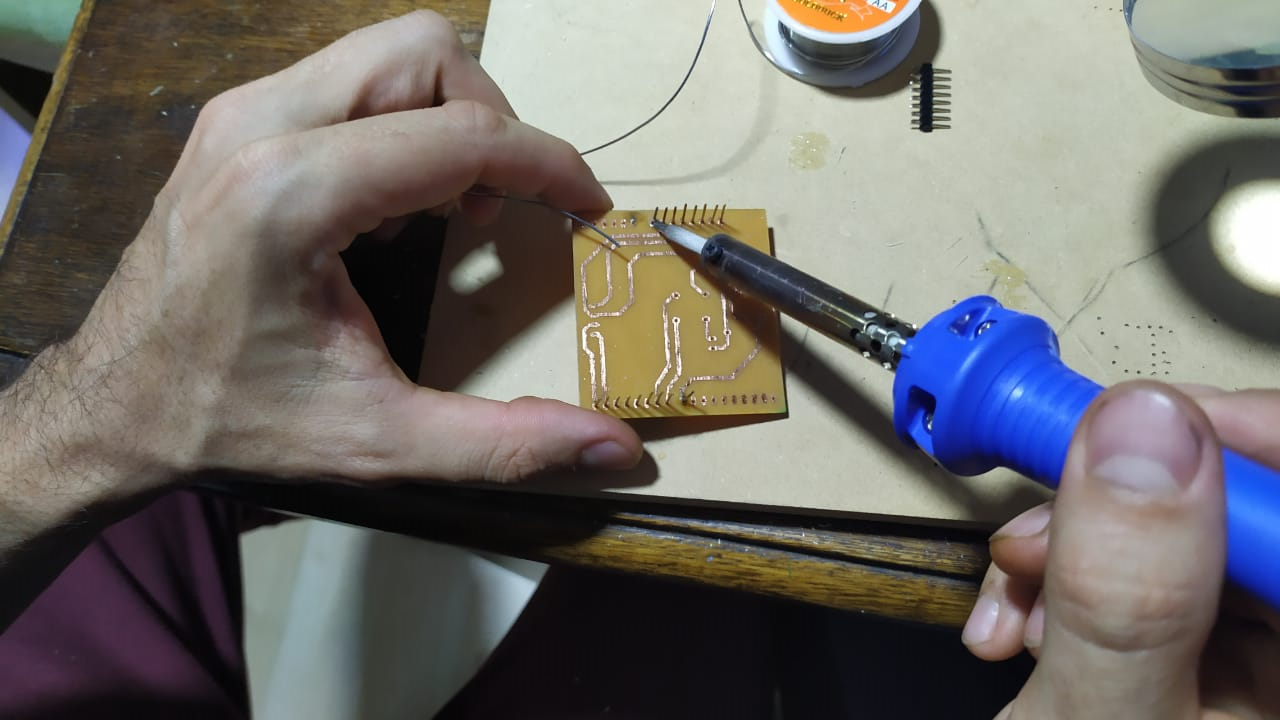
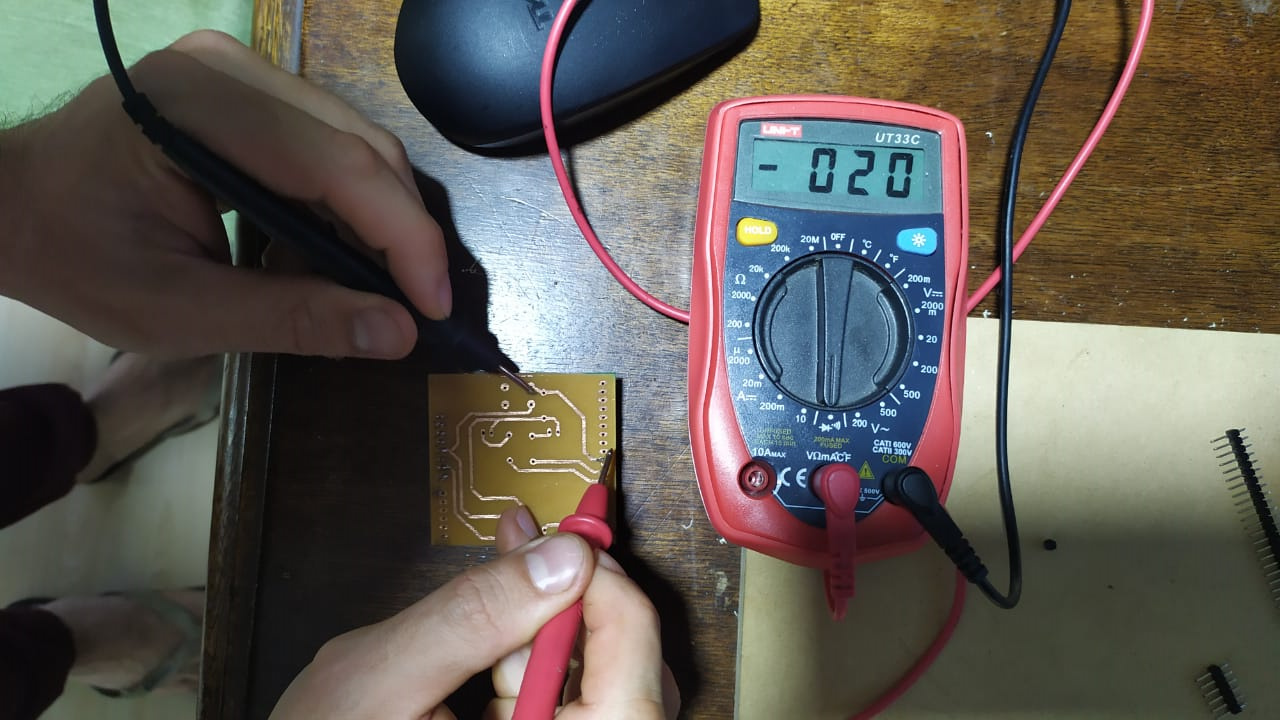
It was checked with the multimeter that the channels worked well before welding.
