Week 1 - Project management / Principles and practices
Sharpening the pencils
Sharpening the pencils
Nothing to commit, working tree clean!
.jpg)
Getting some practice and breaking wood
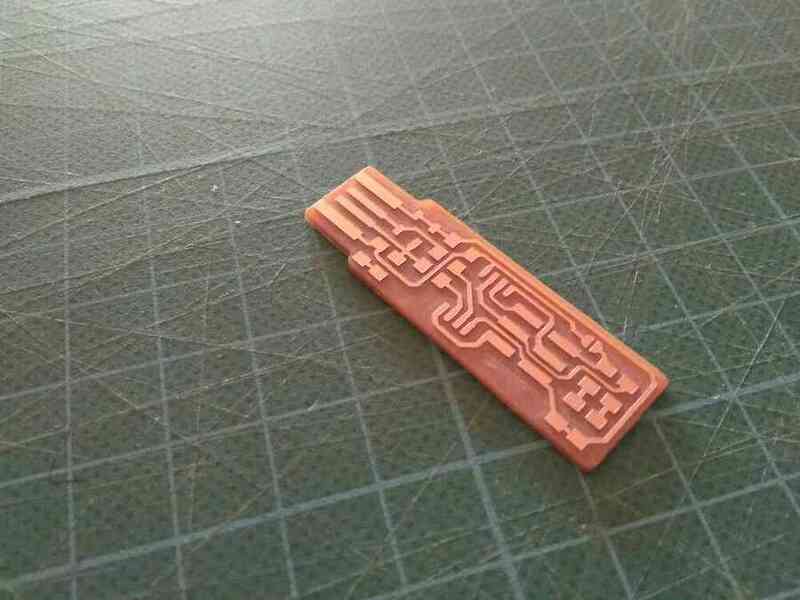
Milling and soldering the FabISP in-circuit programmer using a modified SainSmart 3018 CNC with Easel and Candle (GRBL). Detailed feed rates, height mapping workflow, SMD soldering tips and a common resistor mistake that prevented USB recognition — and how to fix it.
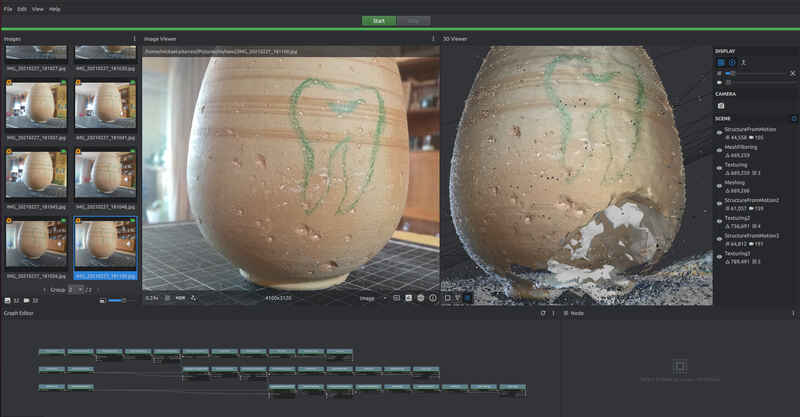
Exploring FDM 3D printing and 3D scanning techniques, with focus on preparing files for the final project brain model. Includes print settings, support strategies and post-processing for PETG.
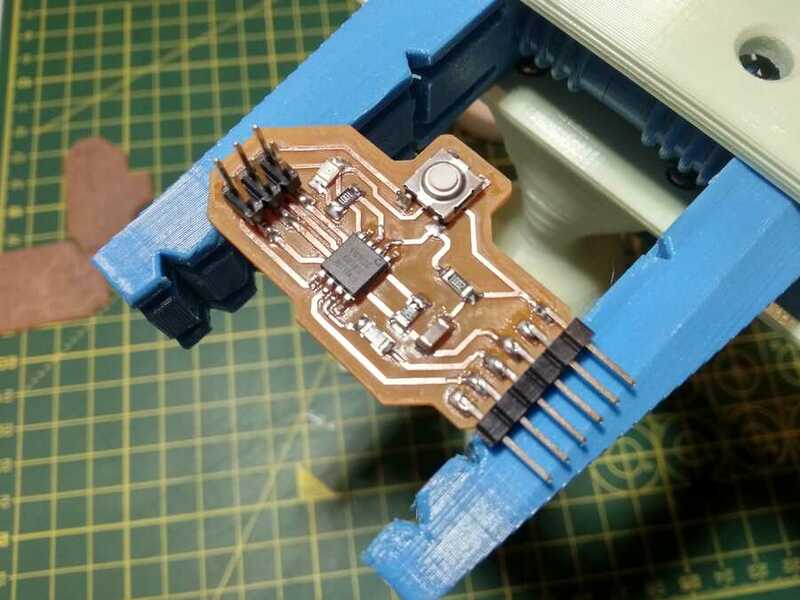
Designing a custom PCB in Eagle and Fusion 360 for the final project. Exploring component libraries, trace routing and preparing files for CNC milling. First attempt at designing electronics from scratch rather than using an existing schematic.
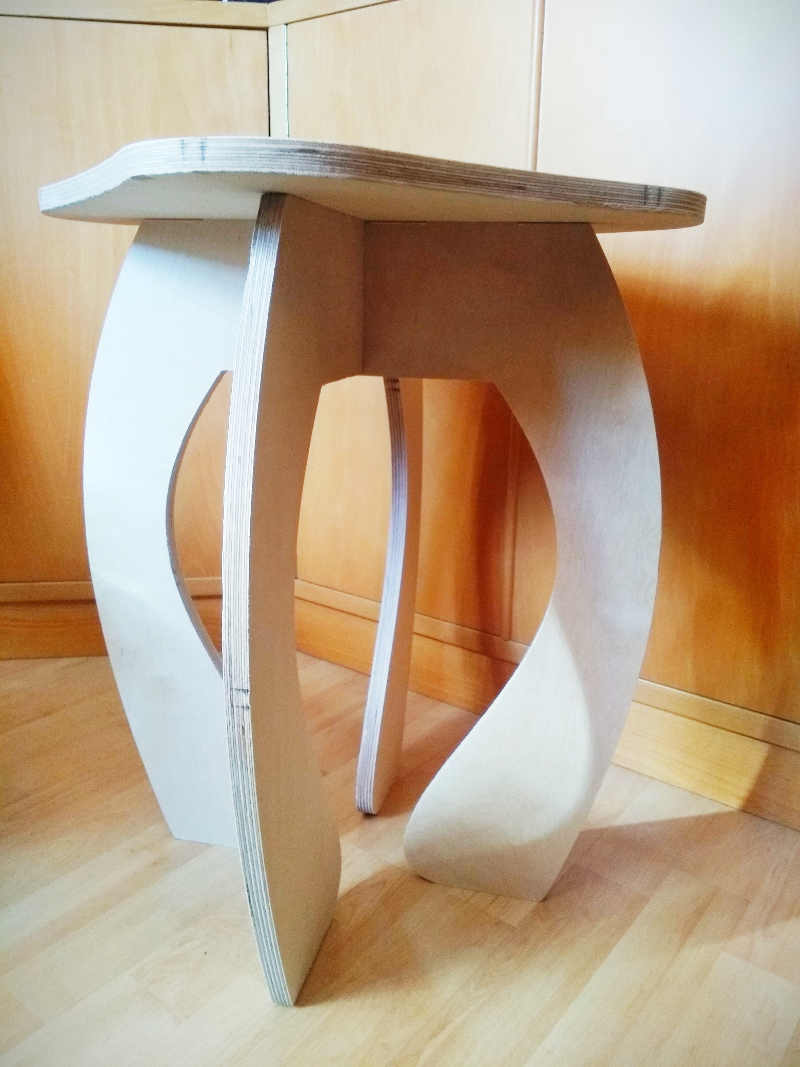
Using a large-format CNC router to machine wooden parts for the final project structure. Documenting toolpaths, feeds and speeds, fixturing and the full workflow from Fusion 360 to cut file.
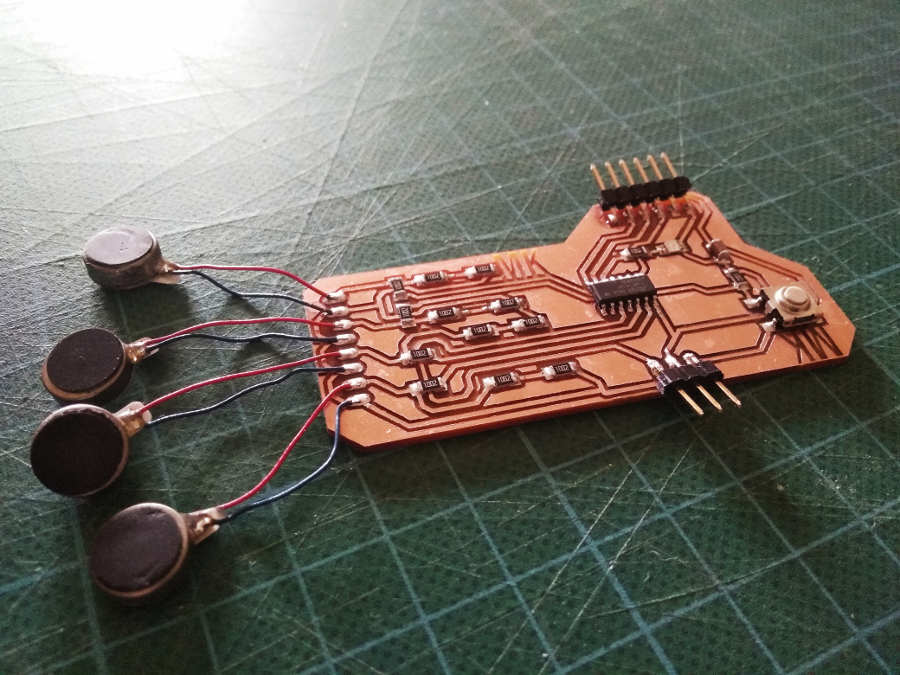
Programming ATtiny microcontrollers using the FabISP programmer built in Week 4. Exploring C programming, makefile workflow, serial communication and debugging embedded code for the final project.
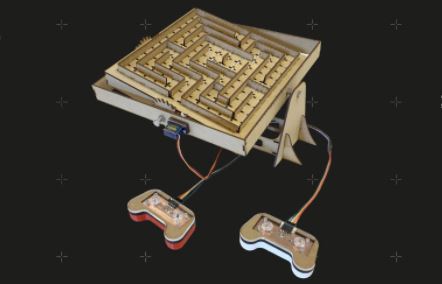
Group project: building an automated marble maze game with servo motors, button controls and Arduino — remotely during COVID-19 restrictions. Play mode and auto-solving mode coded from scratch. Laser-cut frame, custom gear system, milled controller board and full Arduino code included.
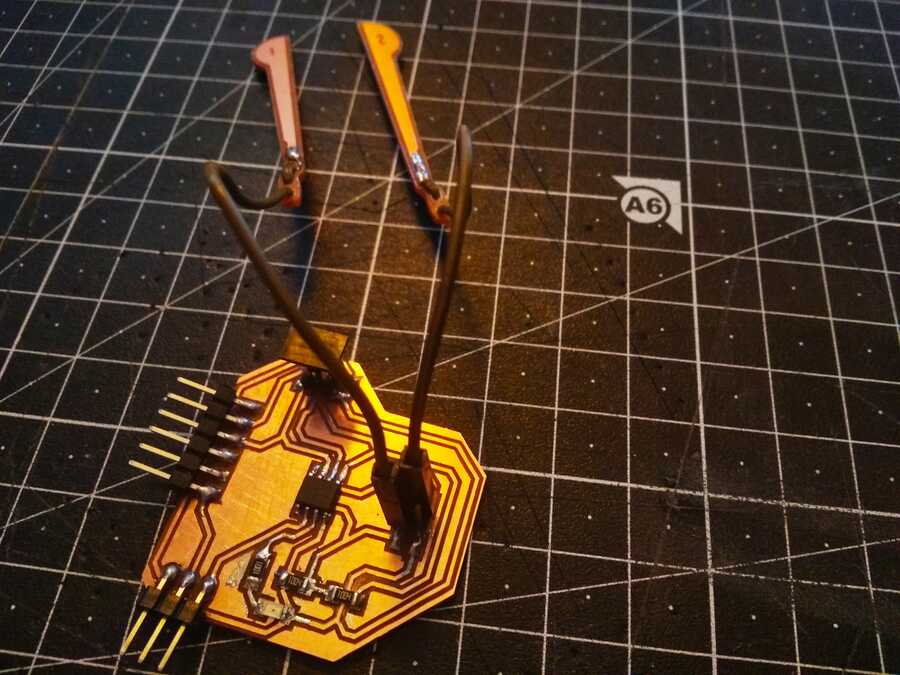
Designing and testing input devices for the final project, including capacitive touch sensing for the brain model. Exploring step response sensing, ATtiny programming and debugging the interface between sensors and the microcontroller network.
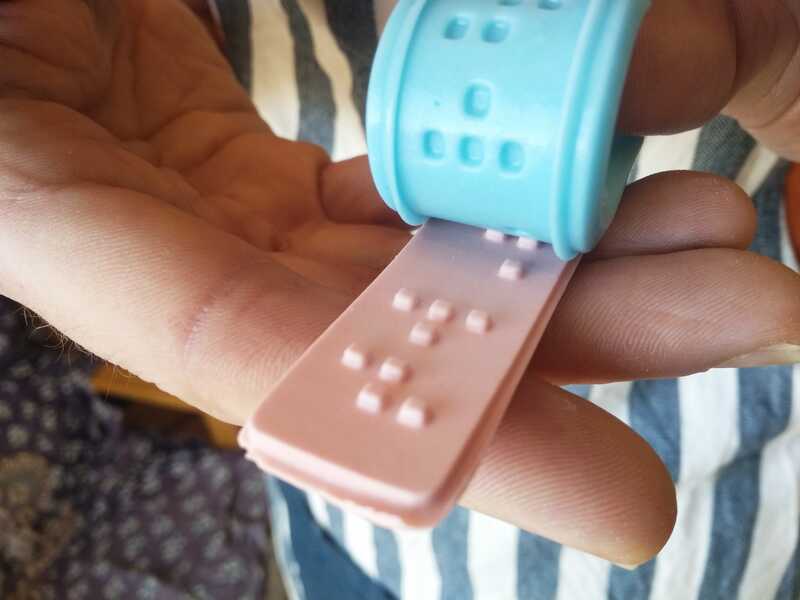
Multi-part mold design and casting workflow for the brain model: alginate body casting for the mold original, machinable wax for the mold master, and platinum silicone for the final flexible cast. Detailed material ratios, troubleshooting and finishing techniques.
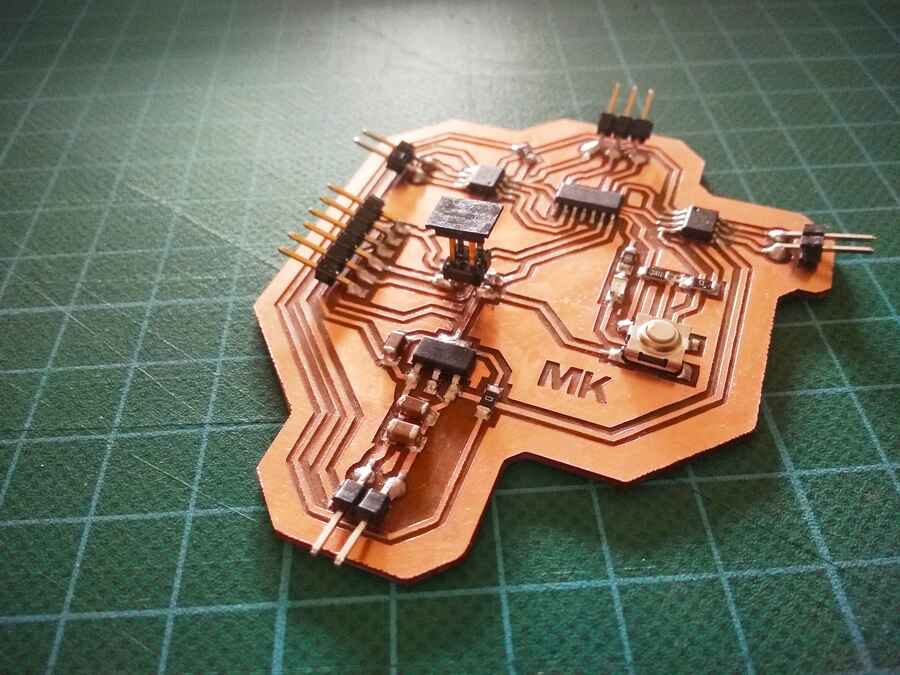
Designing a custom driver board for coin vibration motors and RGB LEDs embedded in the silicone brain model. ATtiny1614 + Allegro A4953 H-bridge motor driver. Full schematic, PCB milling, SMD soldering and testing documented.
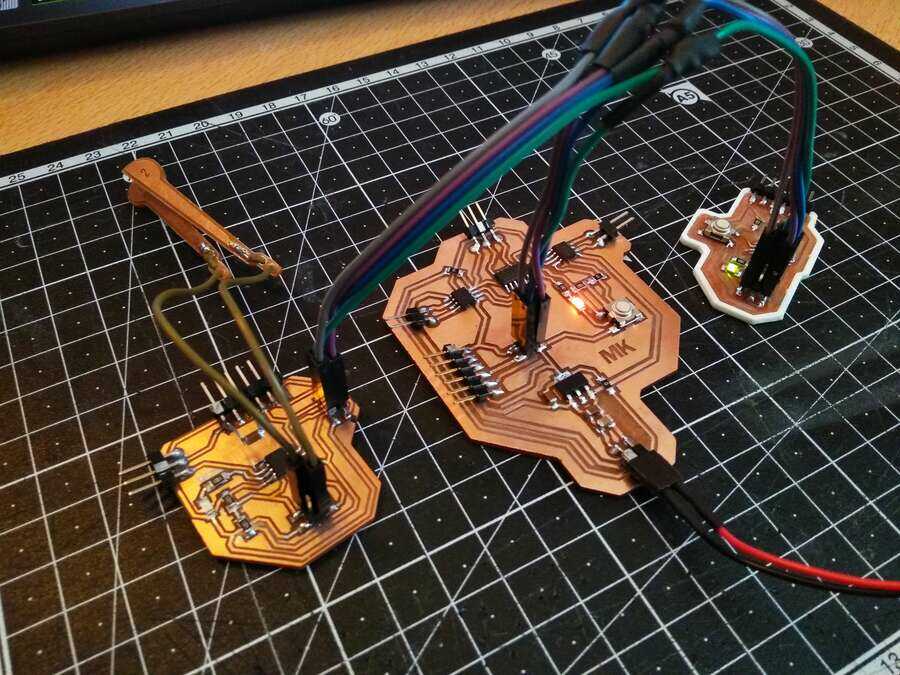
Setting up a UART network between multiple ATtiny nodes to synchronise the vibration motors, LEDs and MP3 player in the final project. Troubleshooting serial bus conflicts with the DFPlayer Mini MP3 module.
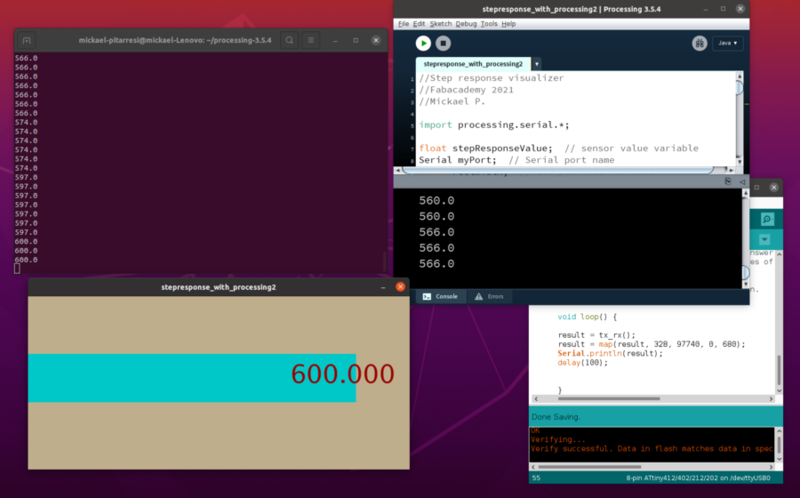
Building a Processing interface to communicate with the Arduino/ATtiny network via serial. Visual interface design and serial communication protocol for controlling the final project from a computer.
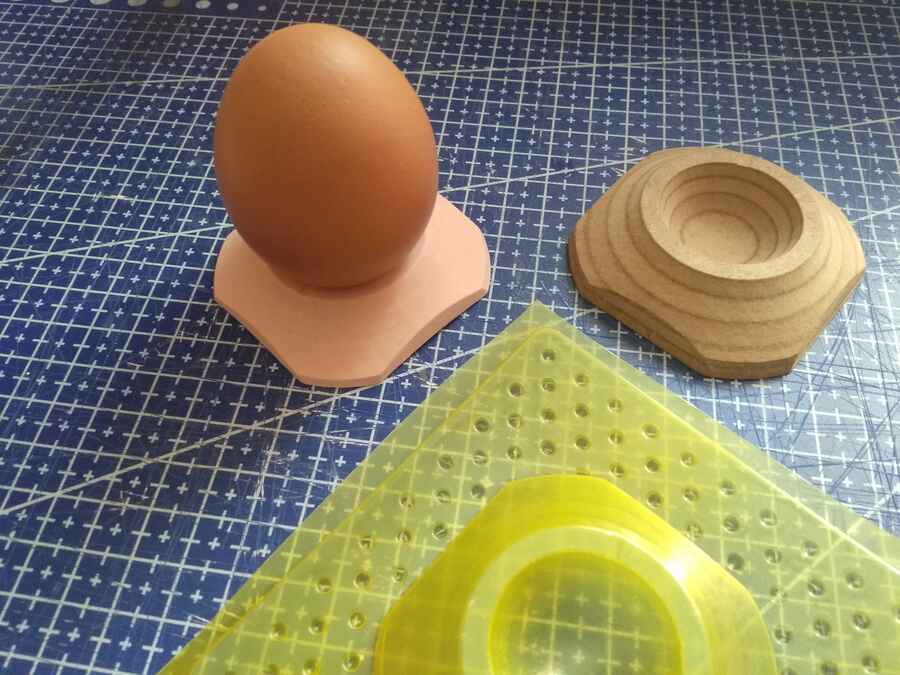
Exploring vacuum forming and additional molding techniques applied to the final project enclosure and front panel design.
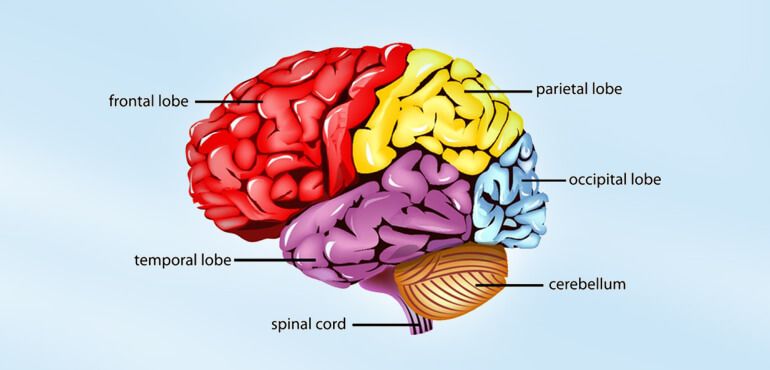
Project implications and intellectual property considerations for "Hoy toca neurociencia" — an interactive tactile brain model for visually impaired users. Accessibility design, educational application and future development paths.
Choosing and applying a Creative Commons licence to the final project. Discussion of open source hardware principles and how they apply to an accessibility-focused educational device.
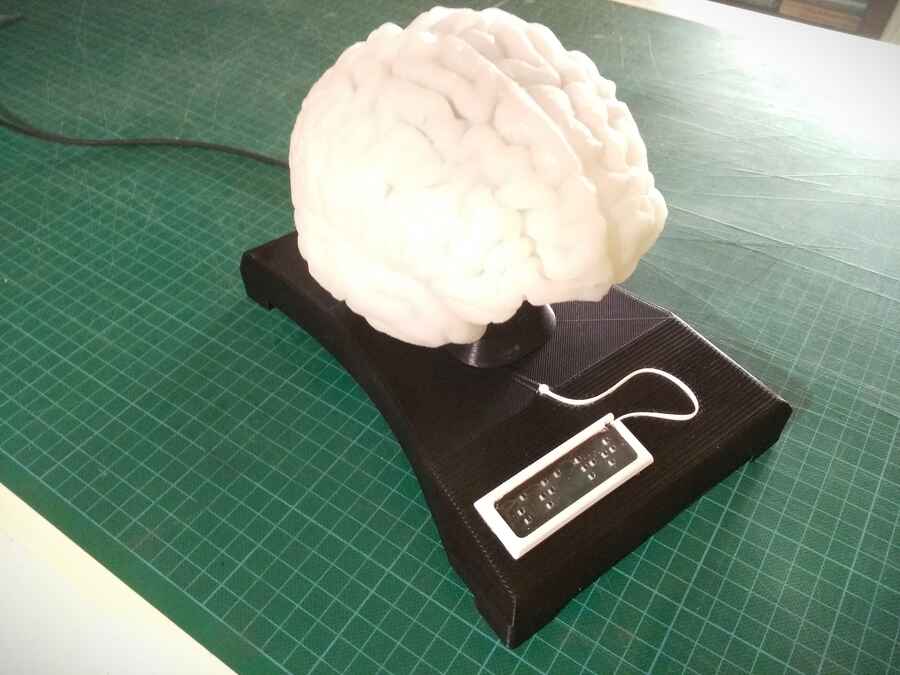
Final sprint: completing the 3D printed parts, finalising the vibration motor network, assembling all components and preparing the presentation slide and video. Honest reflection on what worked and what didn't.
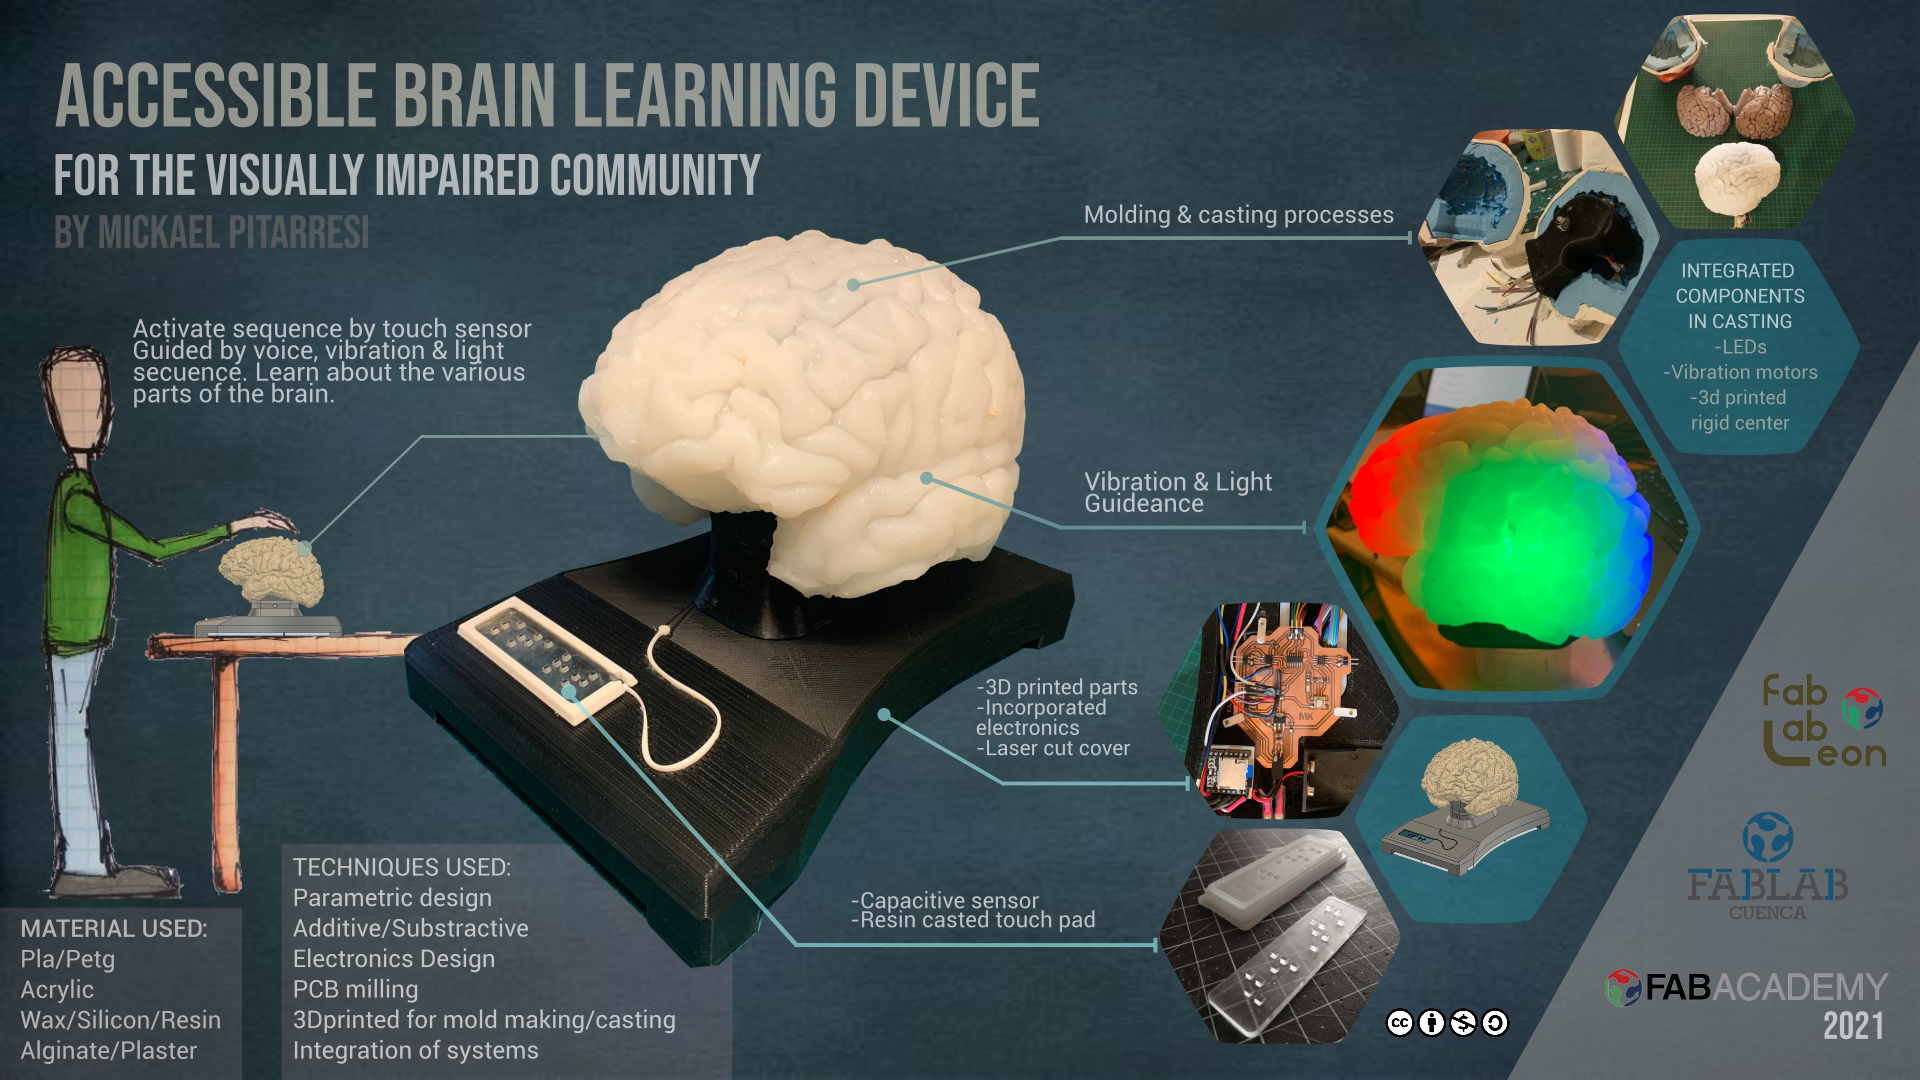
Final project "Hoy toca neurociencia" — a tactile interactive brain model that vibrates at specific areas while an audio track describes them, designed for visually impaired and blind users. Full BOM, design files, presentation slide and video.